
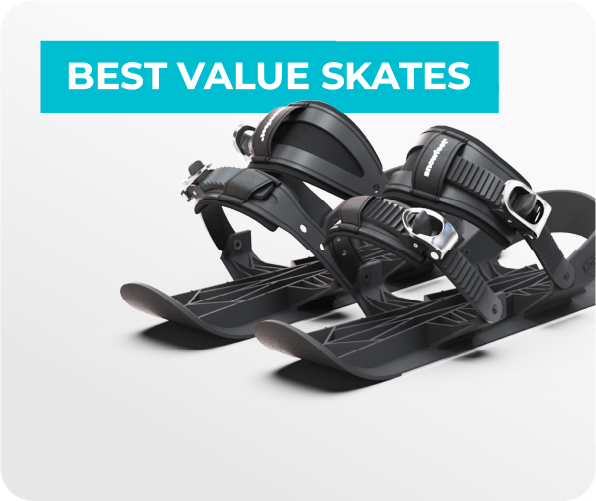
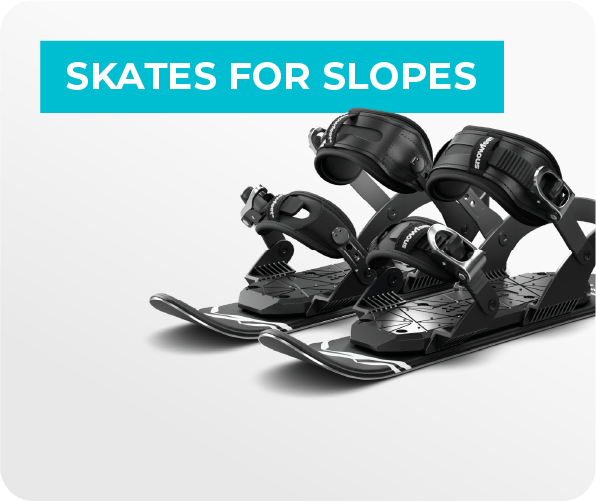
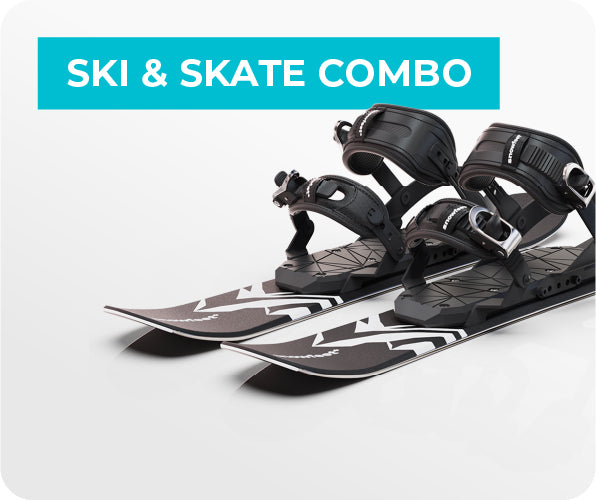
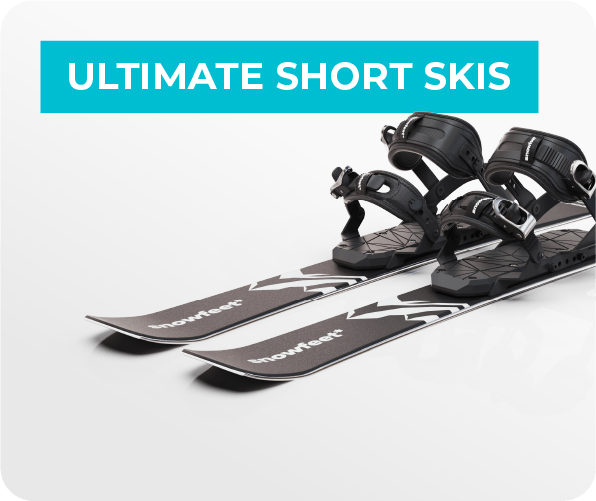
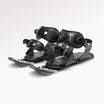
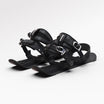
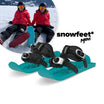
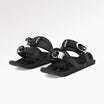
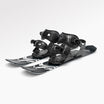
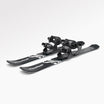
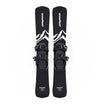
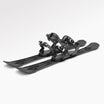
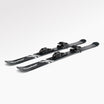
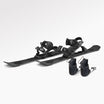
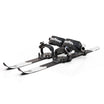
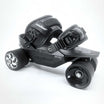
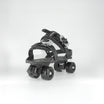
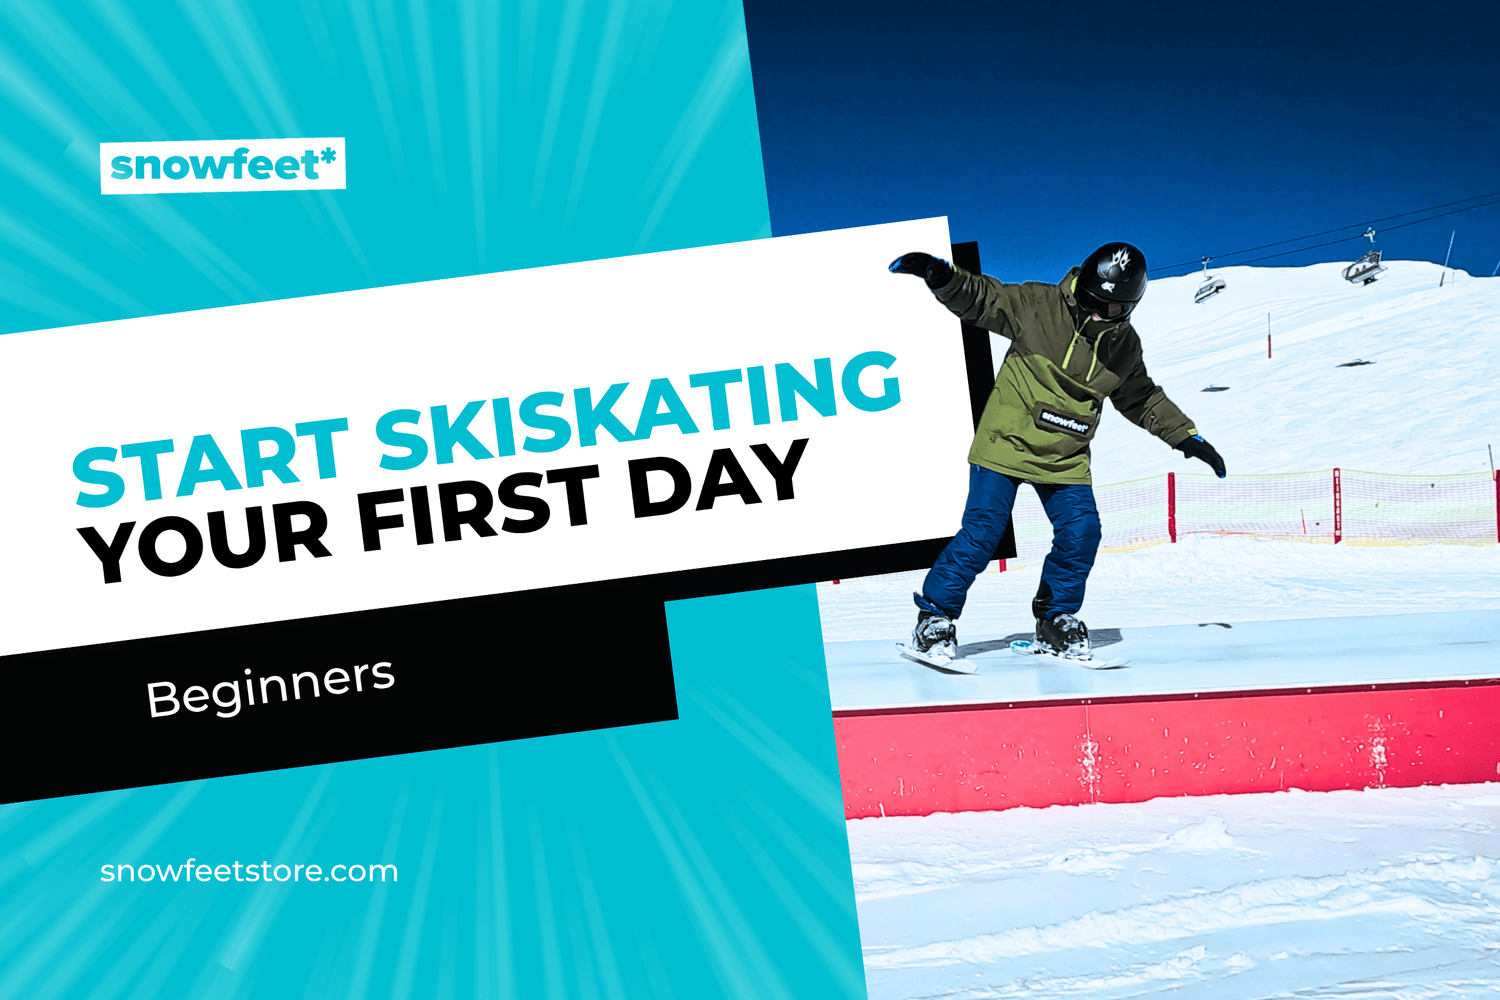
Skiskating combines the glide of ice skating with the control of skiing, using compact 17-inch skiskates that attach to your winter boots. It's easy to learn - most beginners feel confident in just 30–60 minutes - and doesn't require expensive gear or lift tickets. Snowfeet* Skiskates are lightweight, portable, and great for slopes, trails, or even your backyard.
Here’s a quick breakdown of what you need to know:
- Gear: Skiskates (like Snowfeet*), winter boots, helmet, goggles, and layered clothing.
- Learning Basics: Practice balance and gliding on flat ground before tackling slopes.
- Techniques: Use the snowplow to stop and shift weight for turns.
- Safety: Wear protective gear, stay hydrated, and follow slope etiquette.
- Cost: Snowfeet* Skiskates cost $250–$300, much less than skis or snowboards.
With the right prep and a bit of practice, you'll be gliding down slopes in no time. Let’s dive into the details!
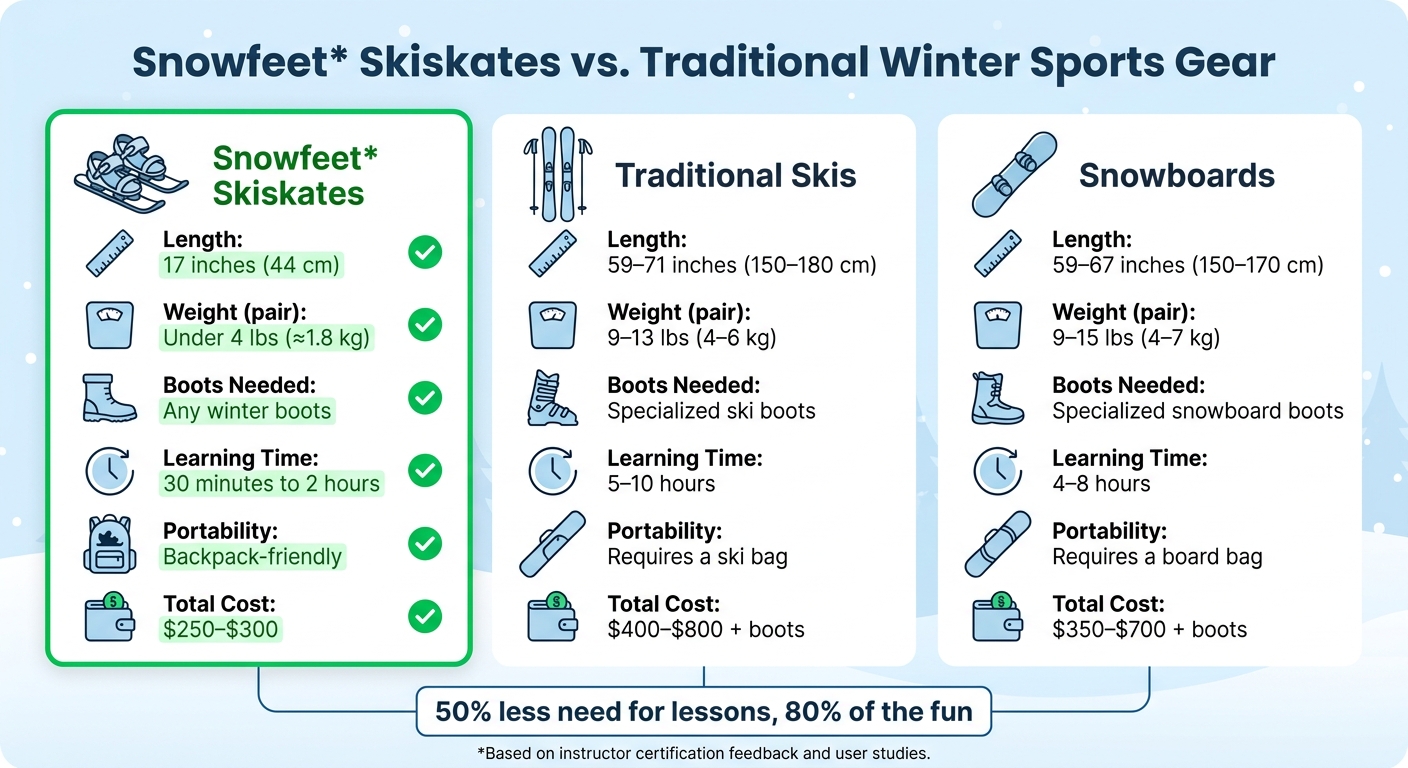
Snowfeet Skiskates vs Traditional Skis and Snowboards Comparison
What Is Skiskating and Why Snowfeet* Is the Better Choice
What Are Skiskates?
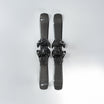
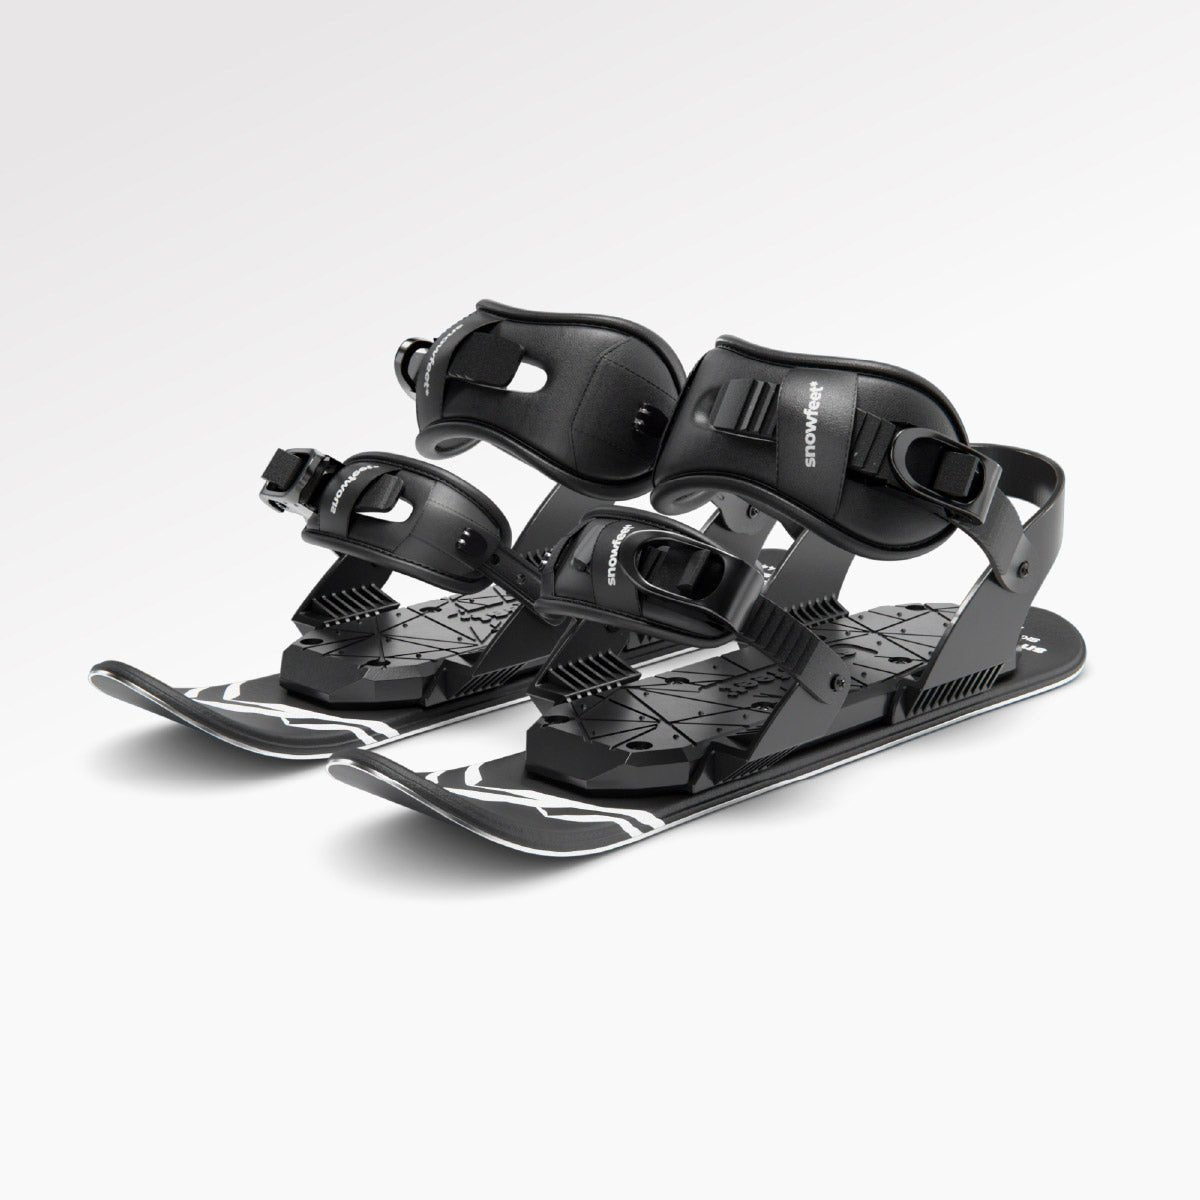
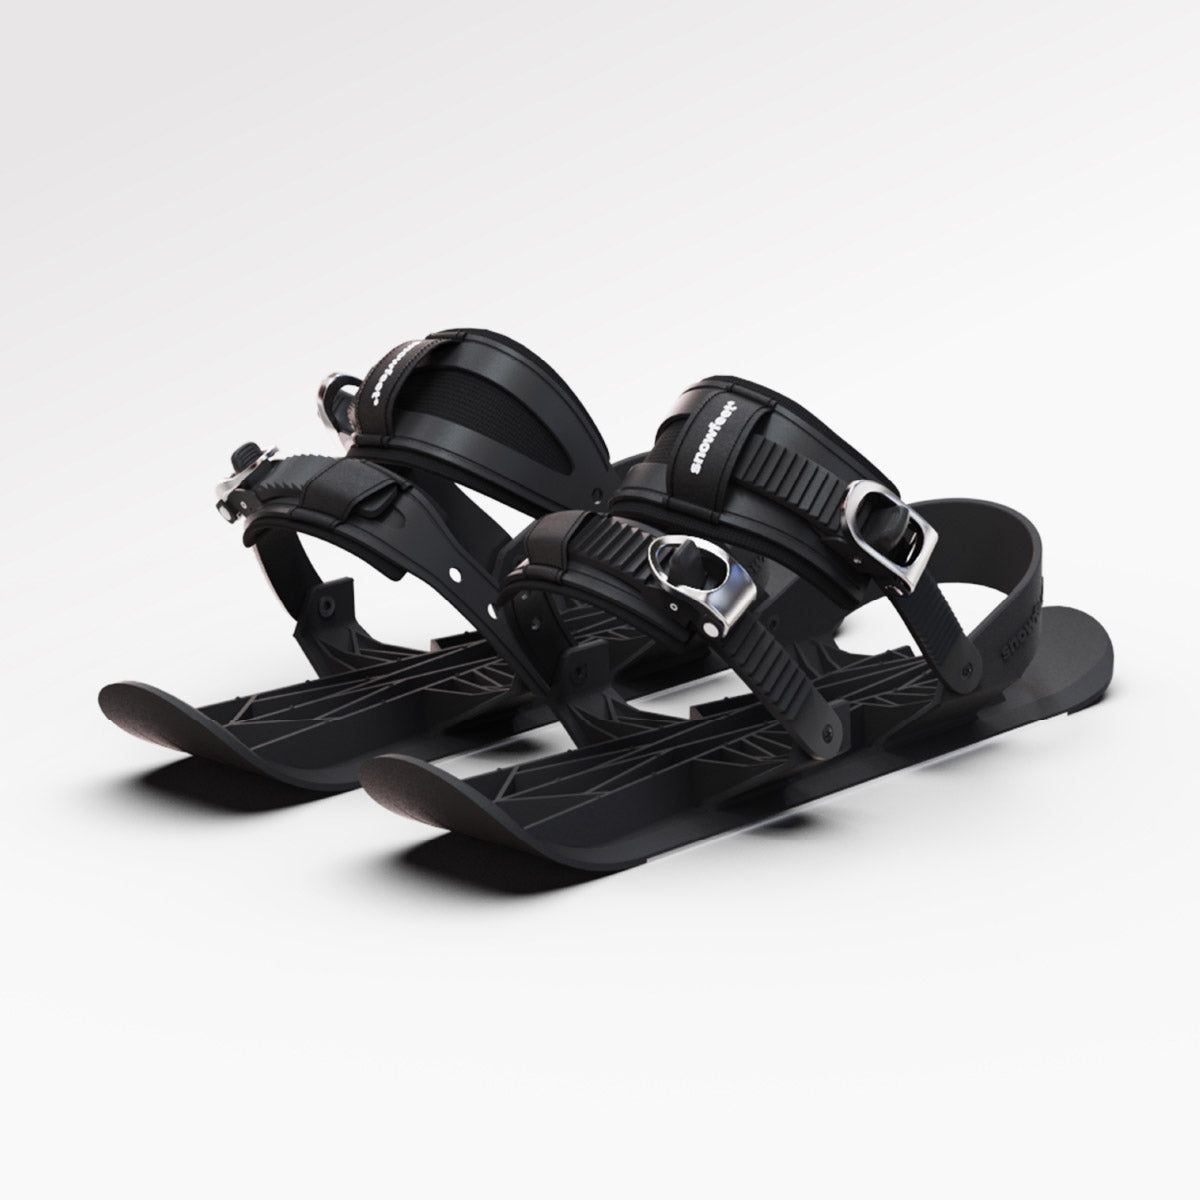
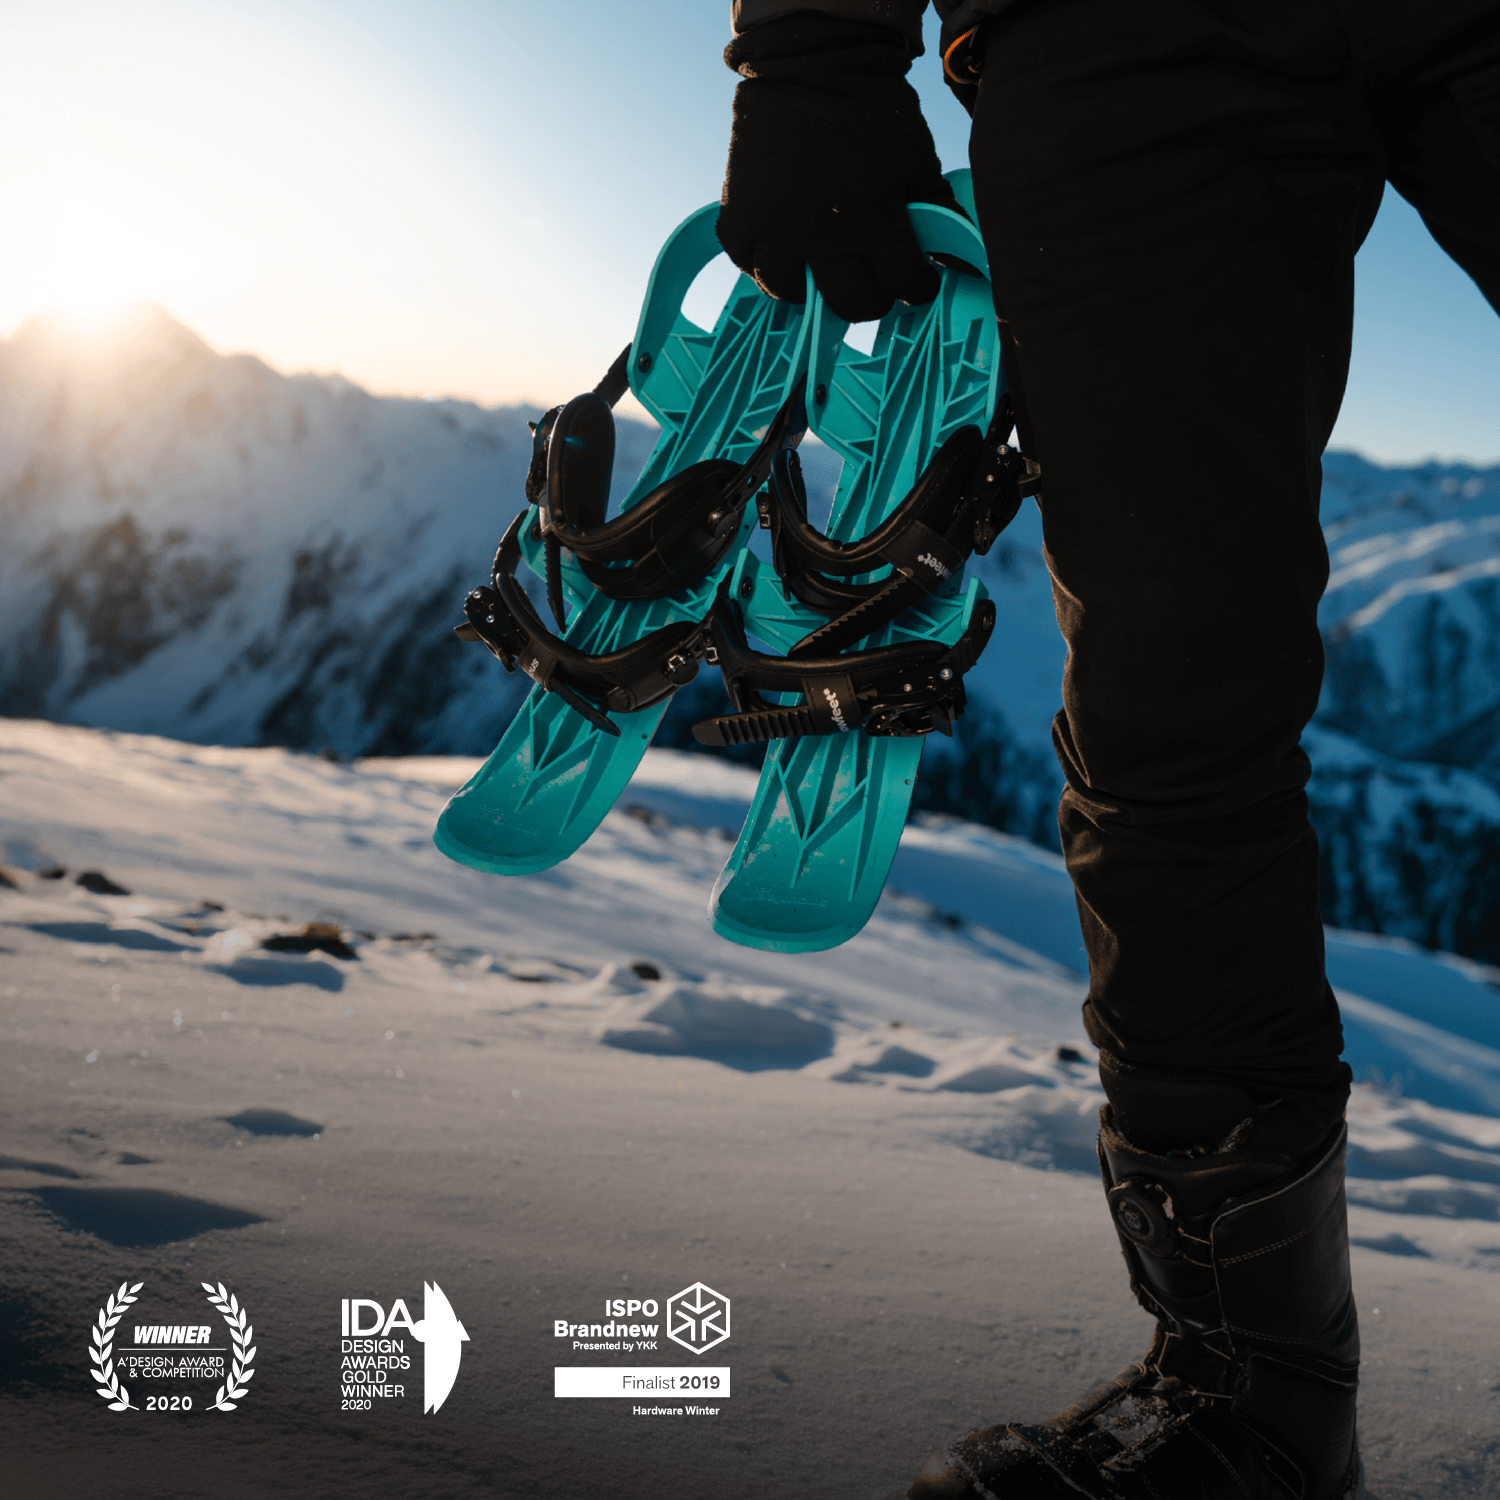
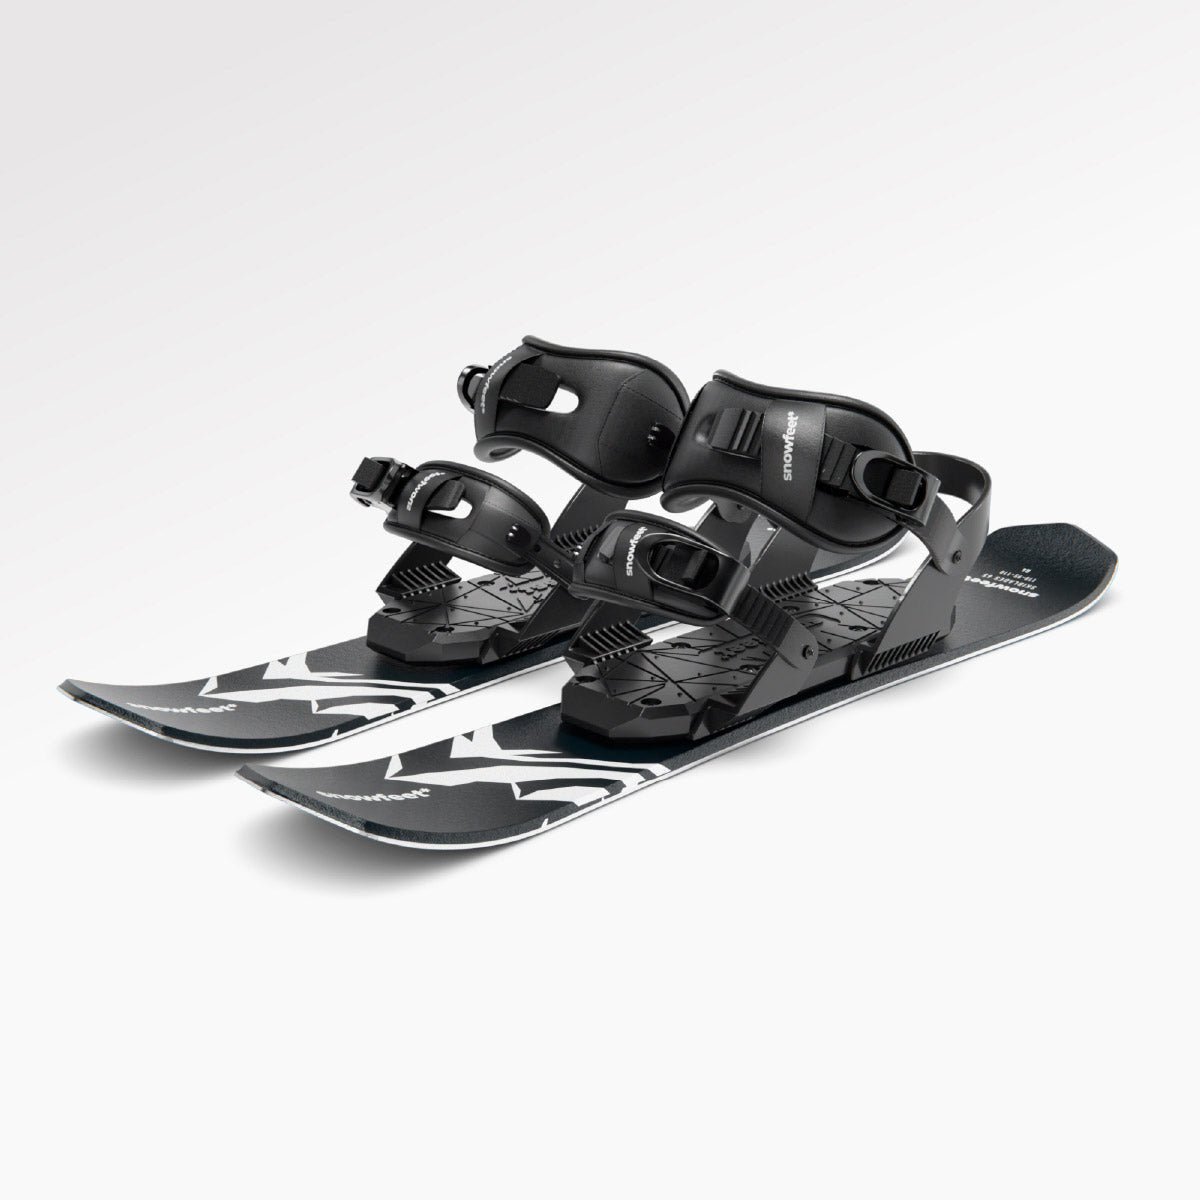
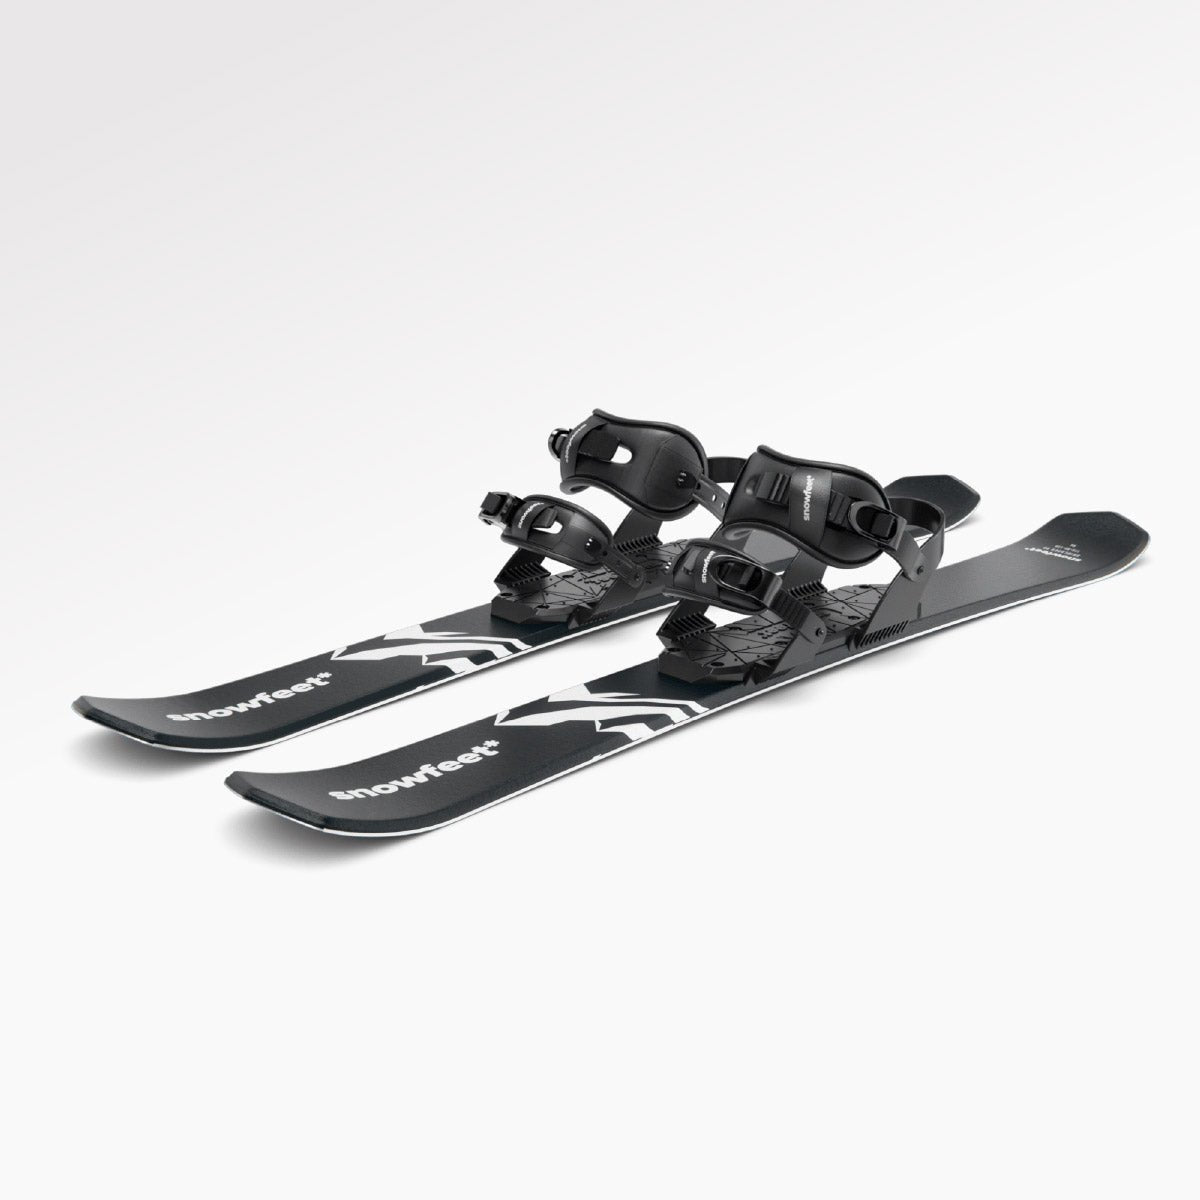
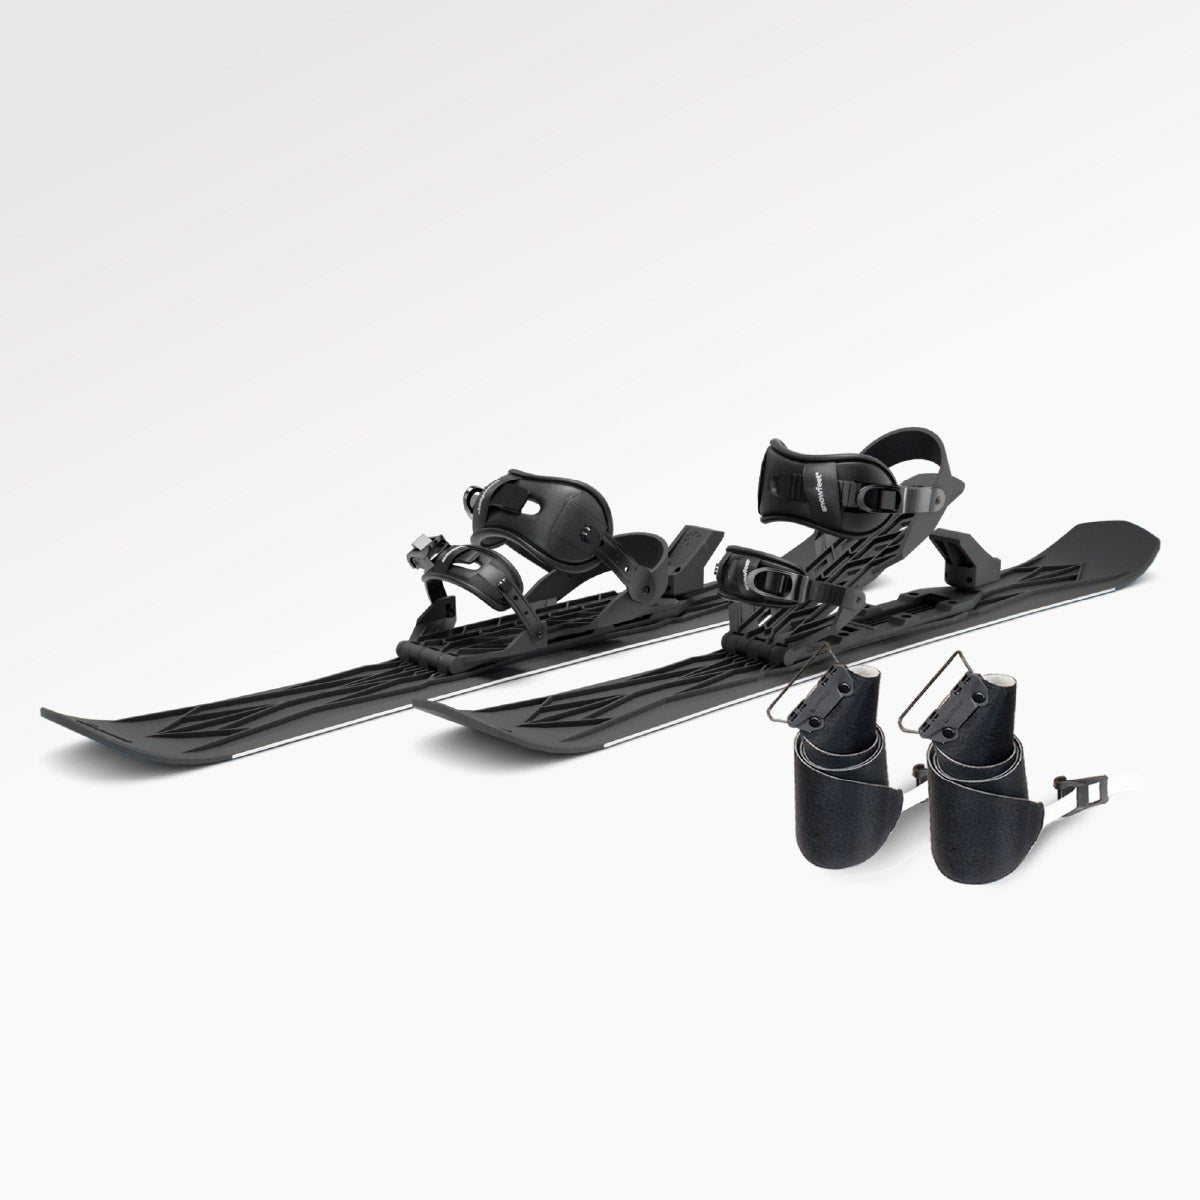
Skiskates are short, 17-inch skis that attach to your regular winter boots. They let you glide on flat terrain using a hockey-style push and employ skiing techniques like the snowplow to navigate slopes.
What makes them stand out? Their compact size. Unlike traditional skis that demand roof racks and special storage, skiskates are easy to transport. You can toss them in a backpack and head to groomed trails or even a nearby sledding hill without any hassle. This portability and simplicity make skiskates a game-changer, especially when you compare them to bulkier options.
Snowfeet* vs. Long Skis and Snowboards
Let’s see how Snowfeet* Skiskates stack up against traditional skis and snowboards:
| Feature | Snowfeet* Skiskates | Traditional Skis | Snowboards |
|---|---|---|---|
| Length | 17 inches (44 cm) | 59–71 inches (150–180 cm) | 59–67 inches (150–170 cm) |
| Weight (pair) | Under 4 lbs (≈1.8 kg) | 9–13 lbs (4–6 kg) | 9–15 lbs (4–7 kg) |
| Boots Needed | Any winter boots | Specialized ski boots | Specialized snowboard boots |
| Learning Time | 30 minutes to 2 hours | 5–10 hours | 4–8 hours |
| Portability | Backpack-friendly | Requires a ski bag | Requires a board bag |
| Total Cost | $250–$300 | $400–$800 + boots | $350–$700 + boots |
Snowfeet* Skiskates have a clear edge when it comes to learning. Unlike traditional skis or snowboards, which can take days or weeks to master, most first-time users of Snowfeet* feel confident within just 15 minutes. That means less time falling and more time having fun. For anyone new to winter sports, this quick learning curve is a huge plus.
Why Snowfeet* Skiskates Are the Best Option
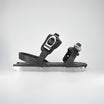
Snowfeet* Skiskates come with adjustable bindings that fit a wide range of boot sizes (EU 36–47 or US men’s 4–13). The bindings click into place in seconds - no tools required. They also feature aluminum edges for better grip on icy surfaces and rocker tips for smooth turning. All of this makes them incredibly easy to set up and use.
Durability is another win for Snowfeet*. Made from tough composite materials, they handle everything from fresh powder to packed snow with ease. Plus, they’re lightweight and portable, so you can take them anywhere without breaking a sweat. Each pair even comes with a carry bag and access to video tutorials, so you’ll never feel stuck figuring things out.
PSIA-certified ski instructors have pointed out that Snowfeet* reduces the need for lessons by 50%, while still delivering 80% of the fun of traditional skiing. And without the exhaustion or intimidation factor.
When you add it all up - ease of use, portability, and a quick learning curve - Snowfeet* Skiskates are a fantastic option for anyone looking to hit the slopes without the usual challenges of traditional winter sports gear.
Selecting and Fitting Your Skiskates
Picking the Right Skiskates for Your First Day
For beginners, the Snowfeet* Skiskates (44 cm, about 17 inches) are a fantastic choice. These skiskates are perfect for gentle slopes and bunny hills, offering a great mix of control and stability. They feature adjustable bindings that fit most standard winter boots, so there’s no need to splurge on specialized ski boots. Plus, they’re designed to make turning smooth and manageable, even on your very first run.
How to Fit Your Skiskates Correctly
Getting a proper fit is quick and easy - about 30 seconds is all it takes. Place your boot into the binding, then tighten the adjustable strap until it clicks securely. Your boot should feel snug with no side-to-side movement. If you notice any shifting, tighten it a bit more. Snowfeet* Skiskates work with winter boots, snowboard boots, or ski boots, as long as the sole thickness allows for a secure grip. To test the fit, shift your weight - your boot should stay stable without any heel lift or sliding forward.
Other Gear You'll Need
Safety first! A snow helmet with MIPS protection is a must. The National Ski Areas Association (NSAA) states, "Skiers and snowboarders who wear helmets are 7 times less likely to suffer a head injury". Pair your helmet with antifog goggles - Goodr snow goggles are a solid beginner-friendly choice at around $75.
When it comes to clothing, layering is key. Start with a moisture-wicking thermal base layer, add a fleece or lightweight down mid-layer, and top it off with a waterproof outer shell. Look for a jacket with a snow skirt and pants with elastic gaiters to keep snow out. Don’t forget waterproof gloves, tall ski socks, a neck warmer, sunglasses, lip balm, and, of course, a good attitude to take on the slopes.
With your skiskates properly fitted and your gear ready, you’re all set to practice the basics on flat ground.
Learning the Basics on Flat Ground
Correct Body Position and Balance
Before heading to the slopes, find a flat, packed area to work on your stance. Getting your balance right is the most important first step when learning to skiskate, similar to essential skiing skills for beginners. Start by positioning your legs about shoulder-width apart, with your knees slightly bent. This lowers your center of gravity and gives you more stability. For added control, try placing one foot slightly ahead of the other in a staggered stance.
Unlike traditional long skis, Snowfeet* Skiskates require a different weight distribution. Keep your weight centered or slightly shifted toward your heels - not over your toes - to avoid tipping forward. Lean your upper body forward just a bit to help stabilize yourself while ensuring your weight stays balanced toward your heels.
Practicing Basic Movements
Once you've nailed your stance, it’s time to get moving. On flat ground, the best way to start is by gliding, similar to how ice hockey players move. Push off at a slight angle with one foot, then alternate to the other, aiming for smooth, controlled glides. After a few pushes, practice gliding with both feet together. You can also work on shifting your weight from one foot to the other - first while standing still, then while moving slowly.
These simple drills help you get a feel for how Snowfeet* Skiskates react to your movements. They’re far more agile than traditional skis, so even small weight shifts give you immediate feedback. These exercises not only improve your balance but also prepare you for handling slopes with confidence.
Building Confidence Before the Slopes
Spending time on flat-ground drills might feel repetitive, but it’s worth it. This practice builds the muscle memory you'll need for controlling your movements on a slope. The responsiveness of Snowfeet* Skiskates is different from bulkier ski gear, and mastering these basics helps you trust your balance and control. When you’re ready to tackle a hill, all those practiced moves will feel natural, giving you a solid foundation to handle speed and turns with ease.
sbb-itb-17ade95
Moving to Slopes: Turning and Controlling Speed
Now that you've practiced on flat ground, it's time to take those skills to the slopes for controlled descents.
How to Use the Snowplow Technique
When you're ready to tackle a gentle slope, the snowplow technique is your go-to move. It's the same "V" shape used in skiing or ice skating. Position your Snowfeet* Skiskates with the tips pointing toward each other and the tails spread apart. This creates resistance against the snow, helping you slow down naturally. Bend your knees and lean forward slightly at the hips to stay balanced and maintain control. Thanks to their compact 44 cm design, Snowfeet* Skiskates make stopping feel almost effortless.
"Stopping is as easy as stopping on skis or skates." - Snowfeet*
How to Turn
Once you've nailed the snowplow for slowing down, it's time to focus on turning. Steering with Snowfeet* Skiskates is all about shifting your weight - something that feels intuitive and gives you fast feedback. To turn, shift your weight to the outside foot while keeping your upper body steady and aligned, as if there's an imaginary "box" between your hips and shoulders. Since Snowfeet* Skiskates are much shorter than traditional skis, they allow for tighter, more responsive turns. This makes them great for weaving through crowded areas or making quick adjustments. Many users describe them as "super easy to control" and "quick to turn". Once you feel confident with turning, you'll have better control over your speed and can safely navigate the slopes.
Controlling Speed and Staying Safe
After mastering turns, managing your speed is the next step. Start by choosing the right terrain - stick to groomed trails or packed snow and avoid icy spots or deep powder until you're more experienced. Keep your legs shoulder-width apart, knees bent, and your weight centered over the middle of your feet or slightly on your heels. Bunny hills are perfect for easing into slope riding. The maneuverability of Snowfeet* Skiskates gives you an edge in tight spaces and allows for quick stops, making them "way more forgiving than traditional skis". With practice, you'll feel more confident and in control on the slopes.
Safety Tips and When to Get Professional Instruction
How to Stay Safe on the Snow
Wearing a helmet isn’t optional - it’s a must for your first day and every day after. Add wrist guards, knee pads, and elbow pads to your gear checklist for extra protection. Before heading out, always check the mountain conditions, altitude, and slope etiquette. Stick to groomed trails and steer clear of icy patches or deep powder until you’ve built up your confidence.
Familiarize yourself with the National Ski Areas Association's Skier Responsibility Code. The golden rule? Stay in control. According to the code:
"Always stay in control. You must be able to stop or avoid people or obstacles".
Remember, the skier or snowboarder ahead of you has the right of way. It’s on you to avoid them. Avoid stopping in blind spots or narrow sections where others might not see you. And when merging onto a trail, always look uphill and yield to others before starting your descent.
Learning how to fall properly can save you from injuries. If you’re falling backward, tuck your chin and aim to land on your bottom. For forward falls, keep your elbows bent to protect your wrists. Keep a fully charged phone on you for emergencies, stay hydrated, and take breaks when needed - high altitudes and cold weather can sap your energy fast.
If you’re finding it hard to stay balanced or in control, consider taking professional lessons to speed up your progress.
When to Take a Lesson
If balancing or mastering basic safety techniques feels tough, it might be time to book a lesson with a certified instructor. A good coach can teach you the right techniques from the start, helping you avoid bad habits that can be tough to shake later on. As Adults Skate Too LLC puts it:
"A great coach doesn't just teach technique - they build confidence, prevent injuries, keep you motivated, and help you achieve your goals".
Group lessons are a great way to start without spending too much. These usually cost between $15 and $30 per session. Once you’ve nailed the basics, private lessons can help you fine-tune your skills. Beginner-level private sessions typically cost $30 to $60 for 30 minutes and offer more personalized feedback.
To find a certified instructor, ask staff at your local ski resort or rink, check bulletin boards, or search directories like the PSA (Professional Skaters Association) or USFS (U.S. Figure Skating). It’s a good idea to request a trial lesson to see if the instructor’s teaching style works for you.
Conclusion
Now that you've got the basics and safety techniques down, you're ready to hit the snow. Everything you need to start skiskating is right at your fingertips. From practicing on flat ground to mastering snowplows and turns on gentle slopes, you're set to embrace winter in a whole new way. Thanks to Snowfeet* Skiskates and their compact 17-inch (44 cm) design, building confidence is quicker and less intimidating compared to traditional skis or snowboards.
Skiskating is versatile and works well in different snow conditions. Whether you're cruising resort trails, tackling local sledding hills, or slicing through packed snow, Snowfeet* Skiskates have you covered. As Snowfeet* themselves say:
"Not really [hard], it is actually pretty easy. It is the same as learning the easiest types of skis for beginners. It takes some time but you will definitely have a lot of fun."
– Snowfeet*
A few tips to keep in mind: focus on keeping your weight over the middle or back of your feet, practice your stance on flat ground, and always wear your safety gear. If you feel like you need extra support, booking a lesson with a certified instructor can be a great way to build solid skills right from the start.
So, grab your Snowfeet* Skiskates, find a slope nearby, and experience the thrill of gliding effortlessly down the mountain. Your adventure is just a step away - enjoy every moment!
FAQs
Where can I skiskate with Snowfeet* Skiskates?
You can use Snowfeet Skiskates* to glide effortlessly on groomed slopes and trails. For the best experience, stick to smooth, well-maintained surfaces. It's a good idea to avoid steep slopes or deep powder to ensure safety. These skiskates are lightweight and easy to carry, making them a great choice for ski trails, snow parks, or other outdoor spots. They offer a fun and convenient twist on traditional skiing or snowboarding.
Do I need special boots for Snowfeet* Skiskates?
No, you don’t need special boots for Snowfeet Skiskates*. These are made to work with regular winter boots or sturdy shoes that offer good ankle support and a snug fit. Unlike traditional skis or snowboards that demand specific boots, Snowfeet* Skiskates keep things simple and convenient - perfect for beginners looking to hit the slopes without extra hassle.
Can I use Snowfeet* Skiskates at ski resorts?
Snowfeet* Skiskates are a great fit for ski resorts. Whether you're hitting downhill slopes, exploring snowparks, or navigating other snowy spots, these skates can handle it. Thanks to their small size and simplicity, they offer a fun twist on the usual skiing or snowboarding experience.


Leave a comment
This site is protected by hCaptcha and the hCaptcha Privacy Policy and Terms of Service apply.