
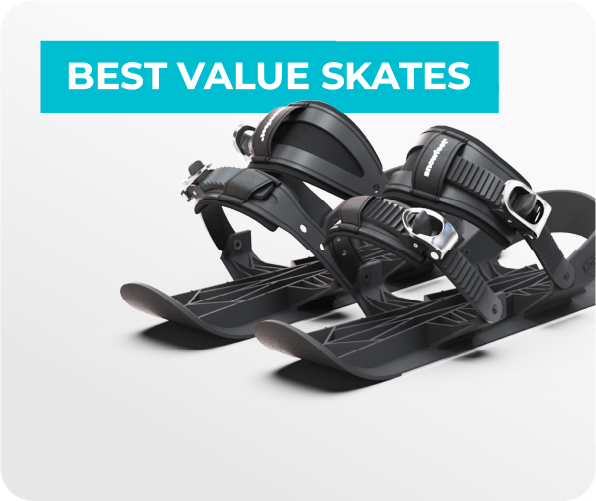
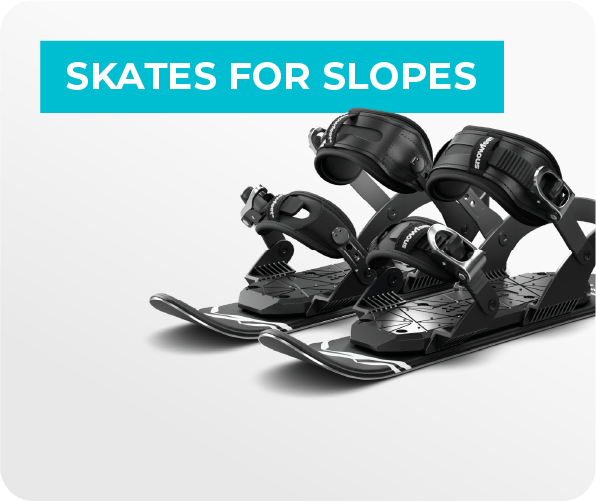
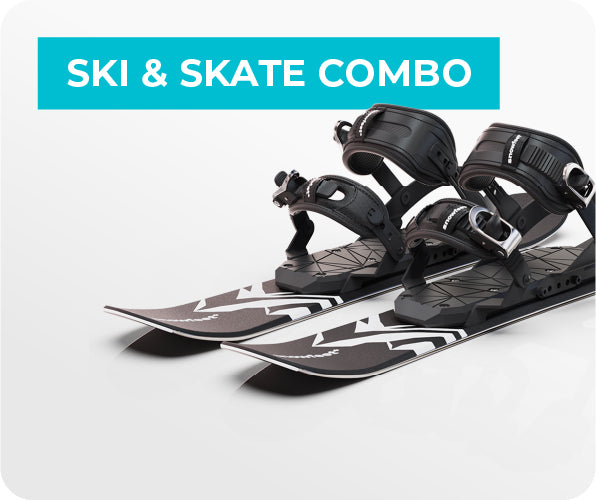
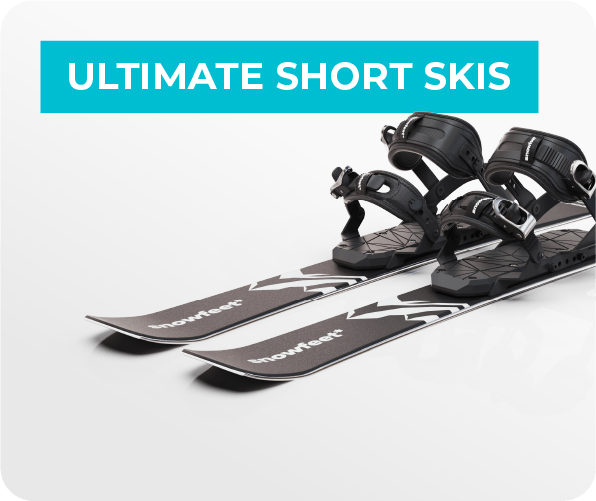
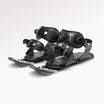
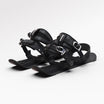
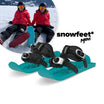
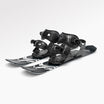
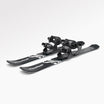
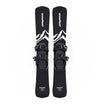
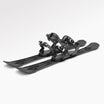
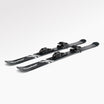
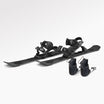
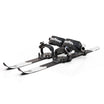
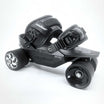
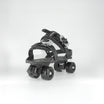
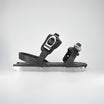
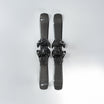
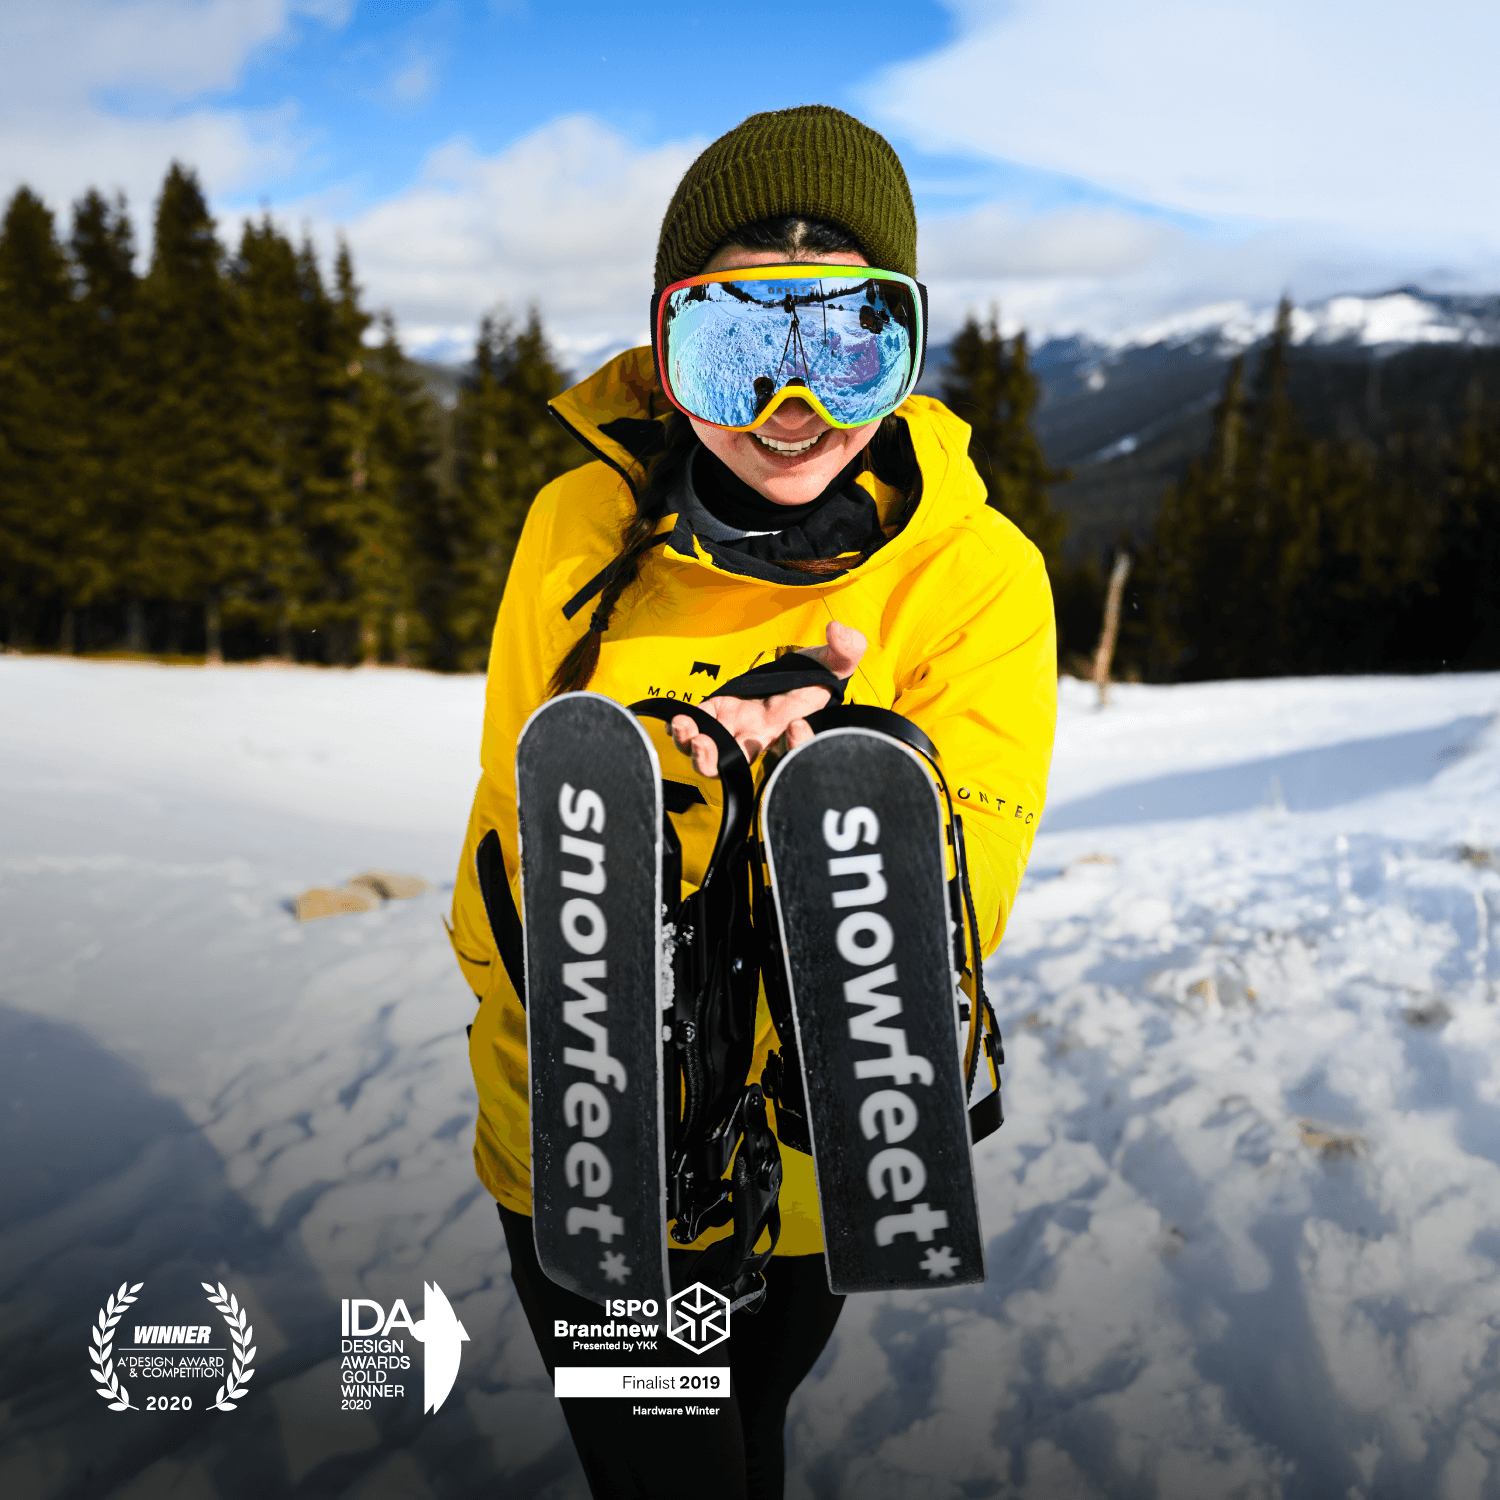
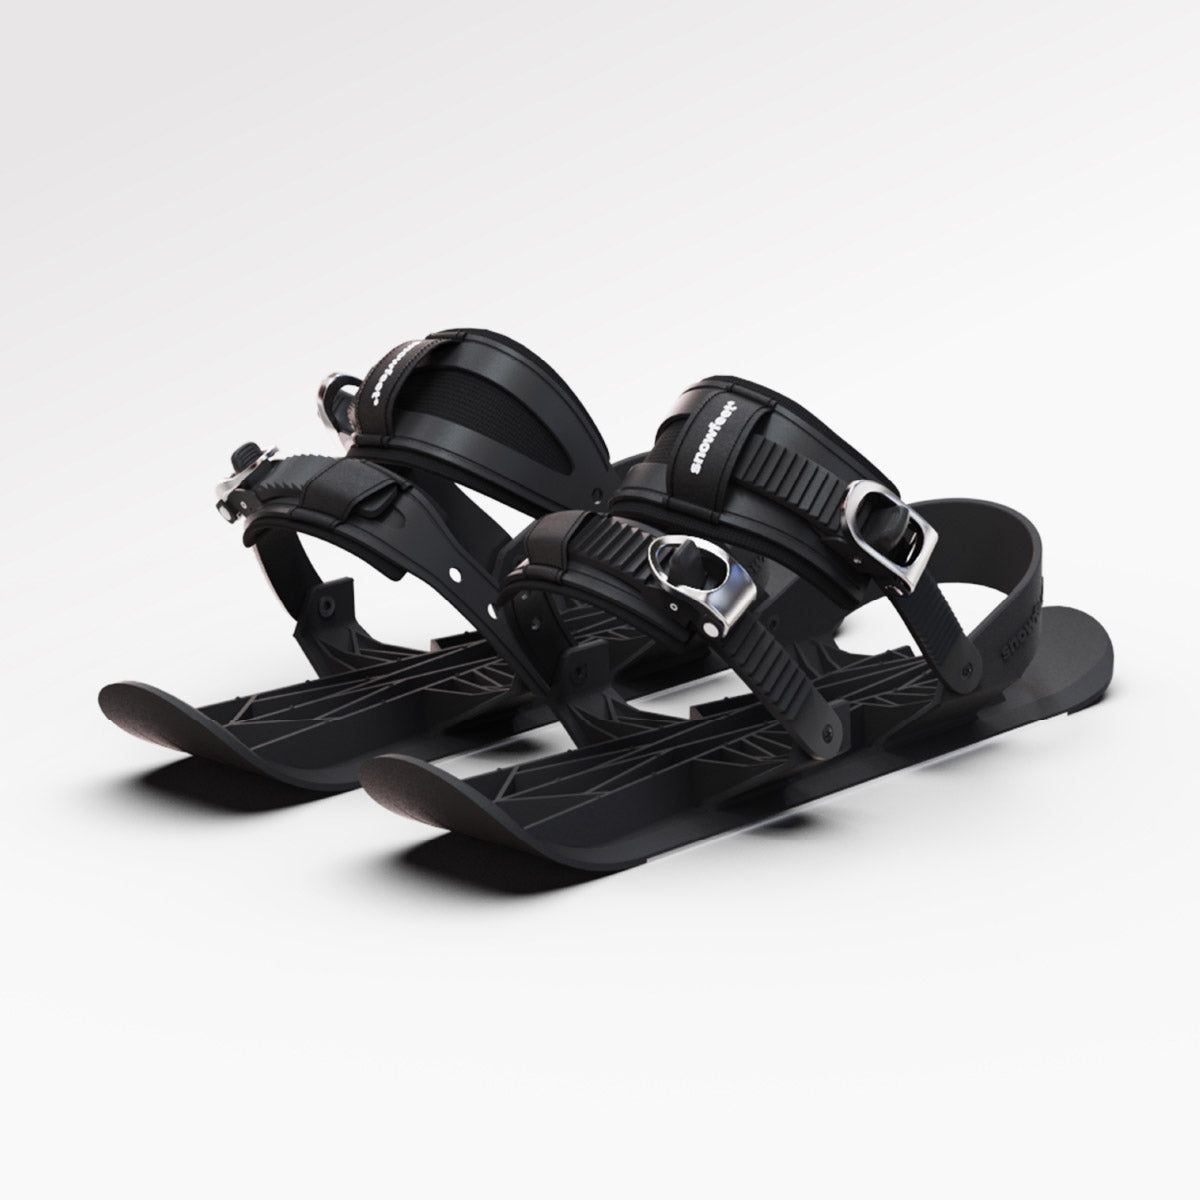
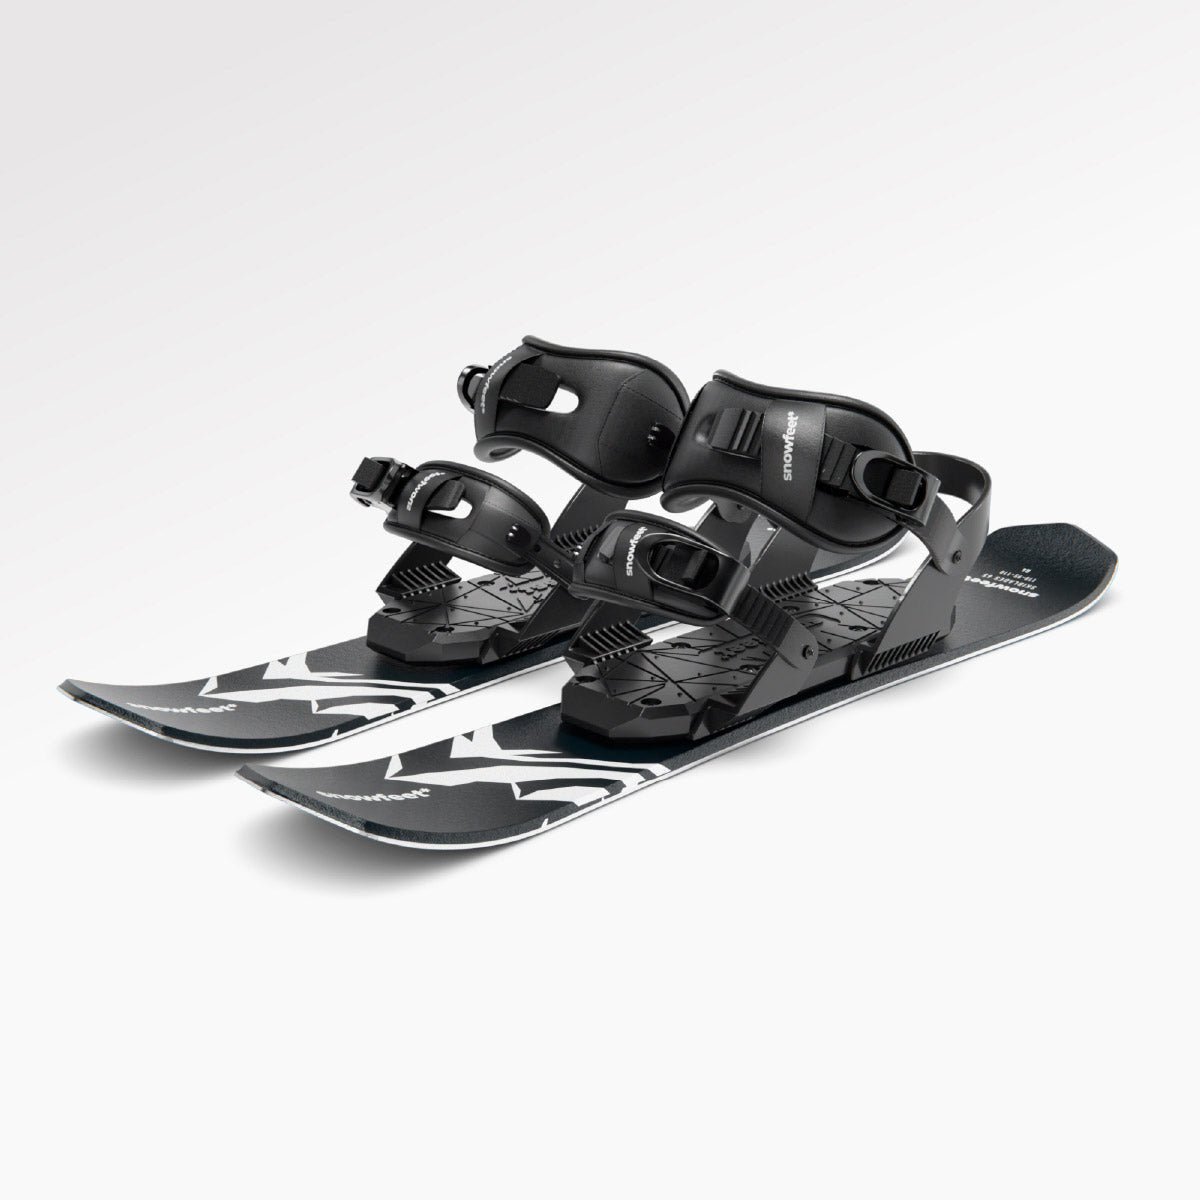
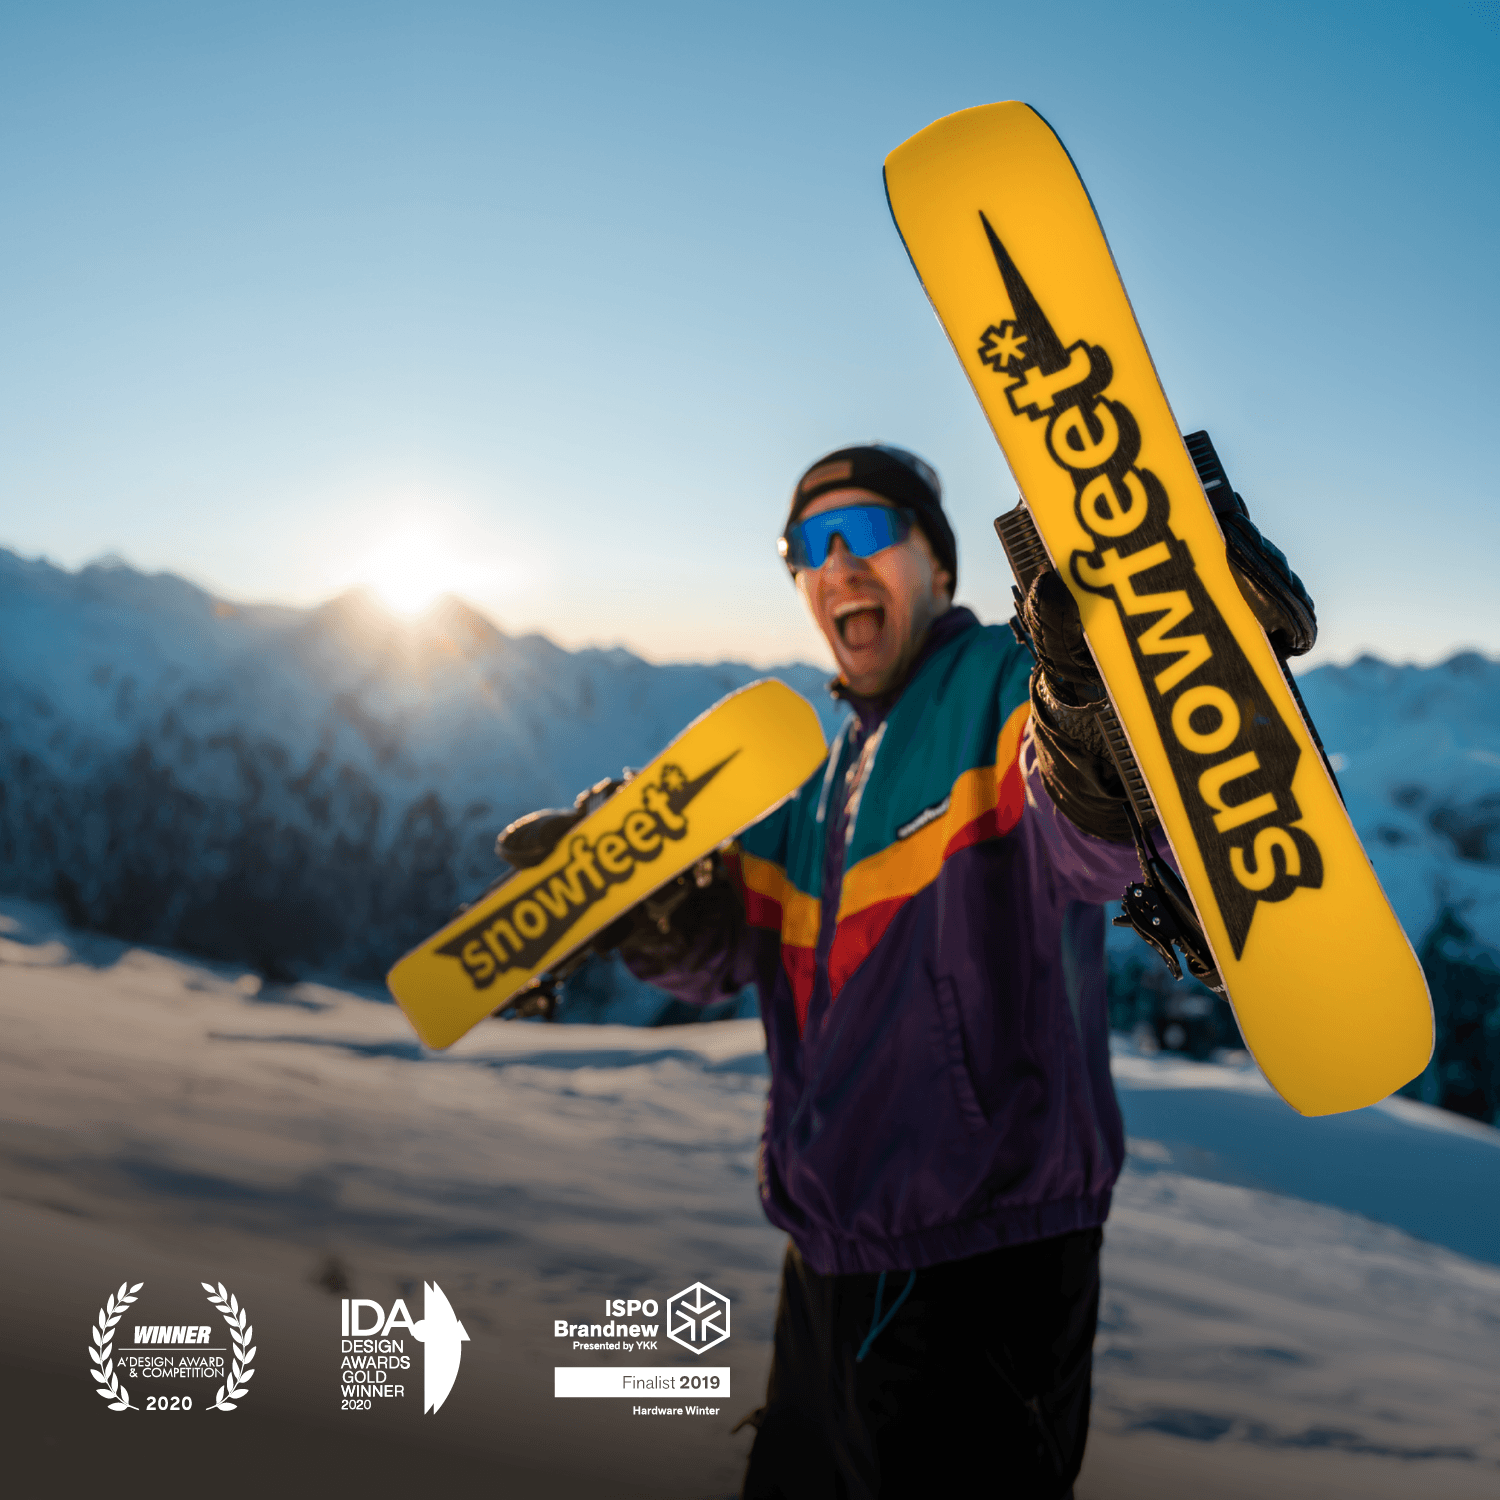
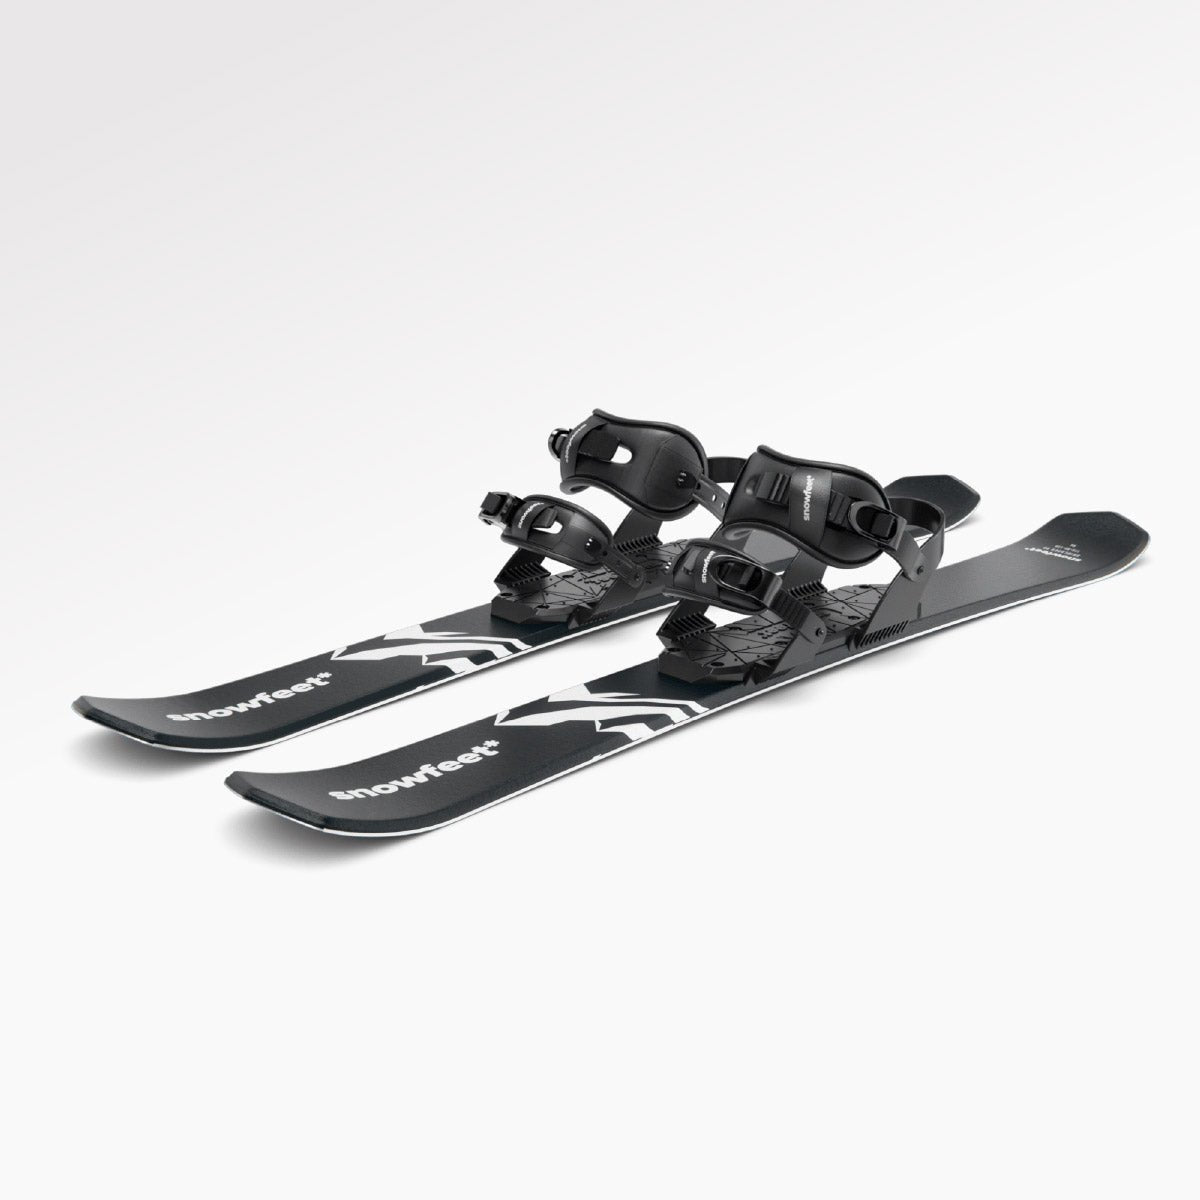
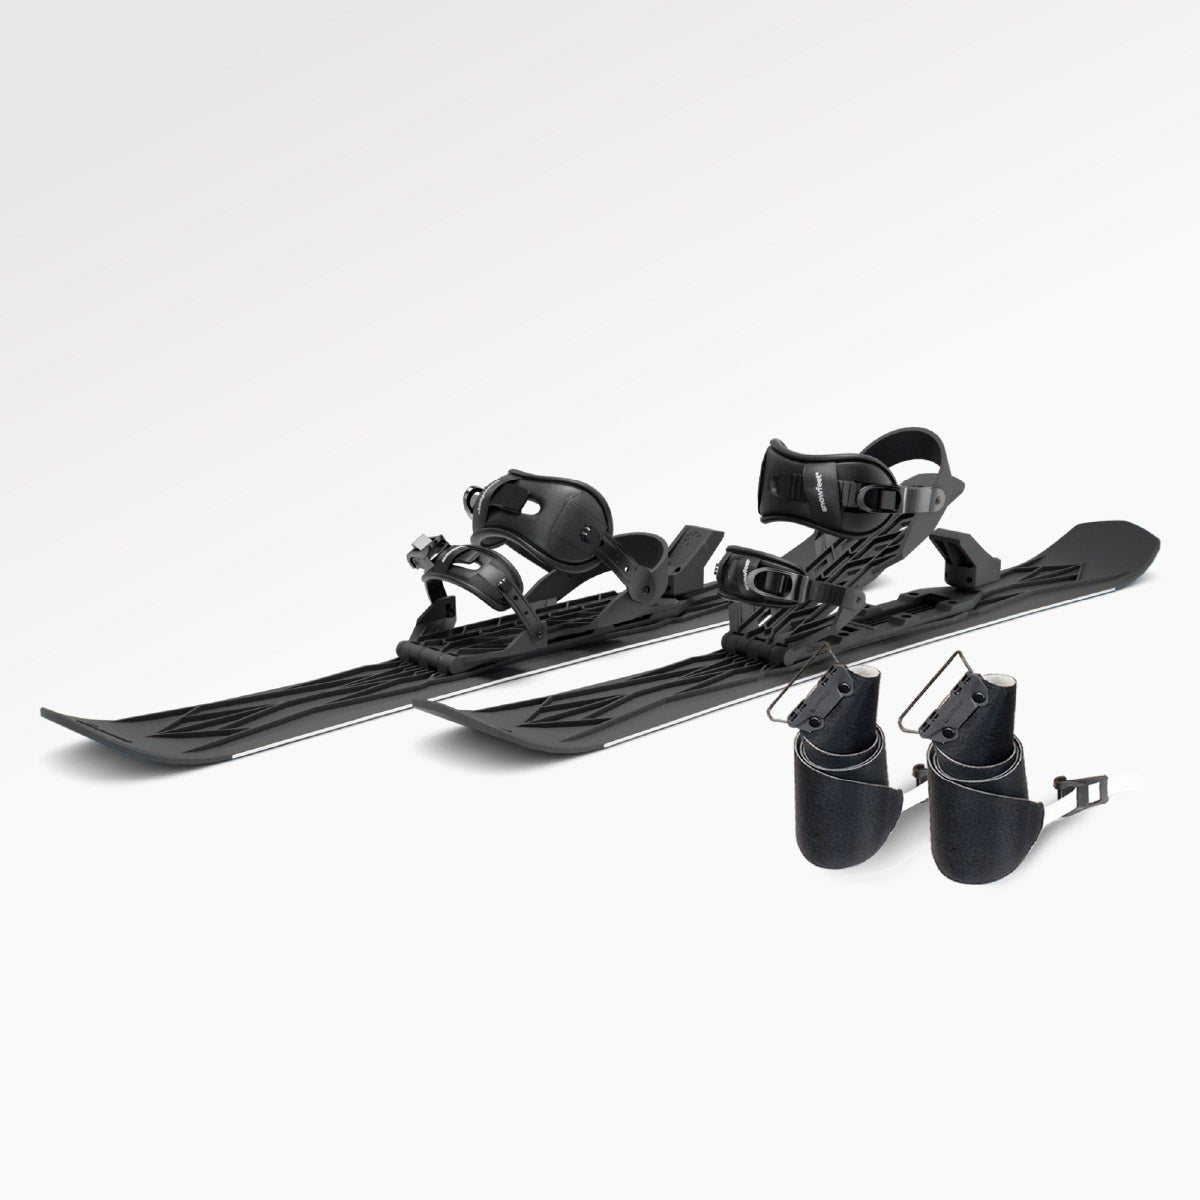
Winter can mess with your hockey training - no ice, no problem, right? Here's the deal: when rinks shut down, your skills like edge control and power can take a hit. Enter Snowfeet Skiskates (44 cm, $575) and Snowfeet PRO (50 cm, $275). These compact snow training tools mimic on-ice movements, keeping your turns sharp and your agility on point. Unlike long skis or snowboards, Snowfeet let each leg move independently, so you can practice quick cuts, stops, and explosive movements - just like on ice.
Key Takeaways:
- Why Snowfeet? They simulate hockey strides and edge work better than skis or snowboards.
- Models: Skiskates (for agility) and PRO (for stability).
- Cost: $575 for Skiskates, $275 for PRO.
- Training Spots: Backyard, snow trails, or gentle slopes.
- Drills: Stride work, tight turns, stops, agility circuits, and endurance sprints.
Want to stay game-ready all winter? Snowfeet might just be your secret weapon. Let’s break it down!
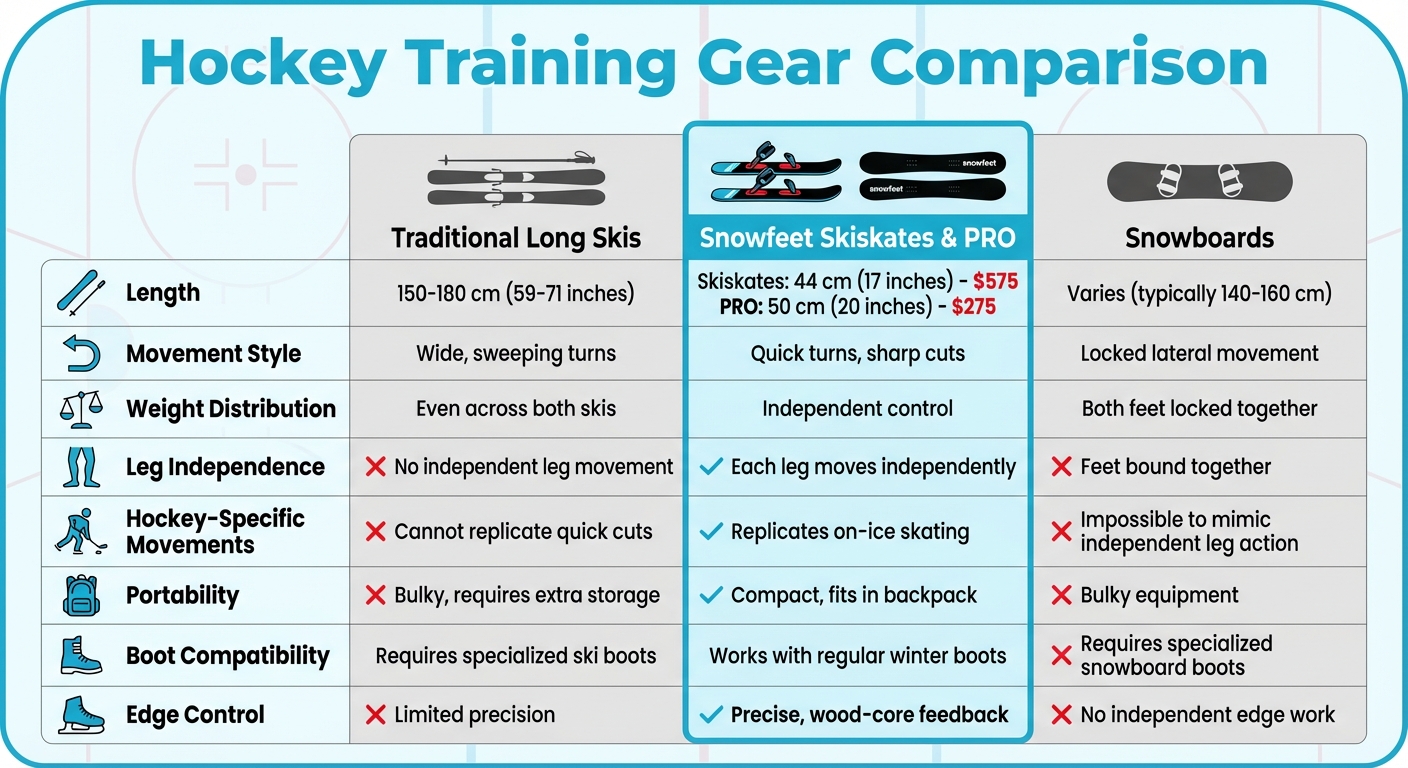
Snowfeet vs Traditional Winter Gear for Hockey Training Comparison
Why Snowfeet* Skiskates and PRO Work for Hockey Training
If you're looking to keep your hockey skills sharp during the off-season, your training gear needs to match the sport's unique demands. That’s where Snowfeet* Skiskates and PRO come into play.
Snowfeet* Skiskates vs. Traditional Long Skis and Snowboards
Traditional skis and snowboards just don’t cut it when it comes to hockey training. Long skis, usually 150–180 cm (59–71 inches), rely on wide, sweeping turns and even weight distribution. Snowboards, on the other hand, lock your feet together, making it impossible to mimic the independent leg action that’s crucial for hockey. Neither option supports the quick, explosive movements that hockey players need.
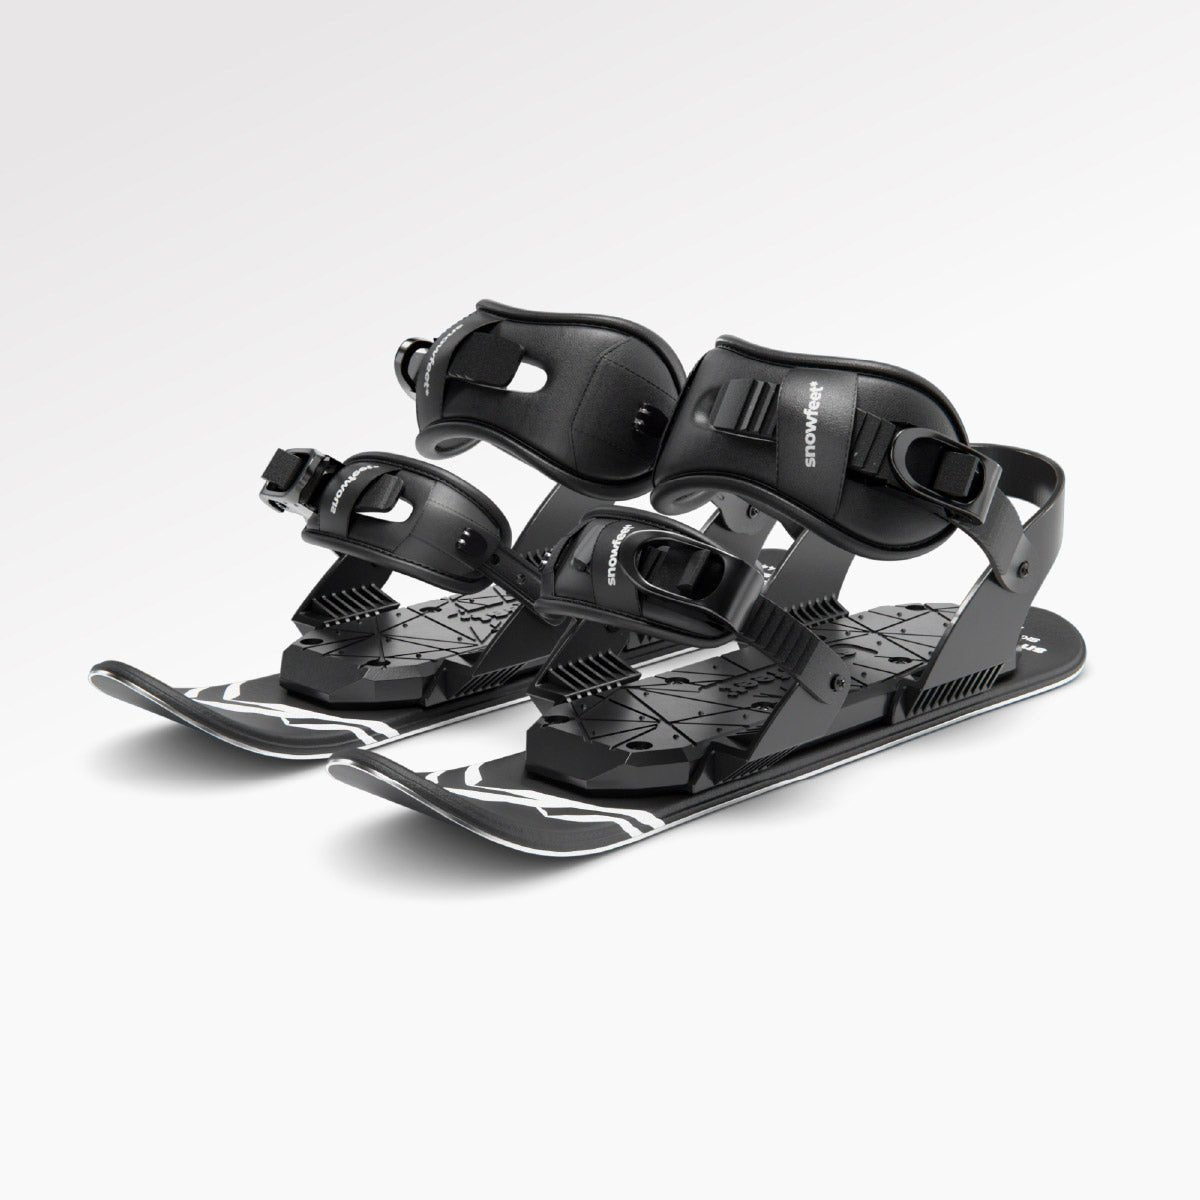
Snowfeet* Skiskates (44 cm ≈ 17 inches) and Snowfeet PRO (50 cm ≈ 20 inches) are built for hockey-specific movements. They allow for quick turns, precise edge control, and agility - exactly what’s needed to replicate on-ice skating. As TOI Sports Desk puts it:
A hockey player's on-ice practice includes training that focuses on both edges and speed development and rapid turning movements.
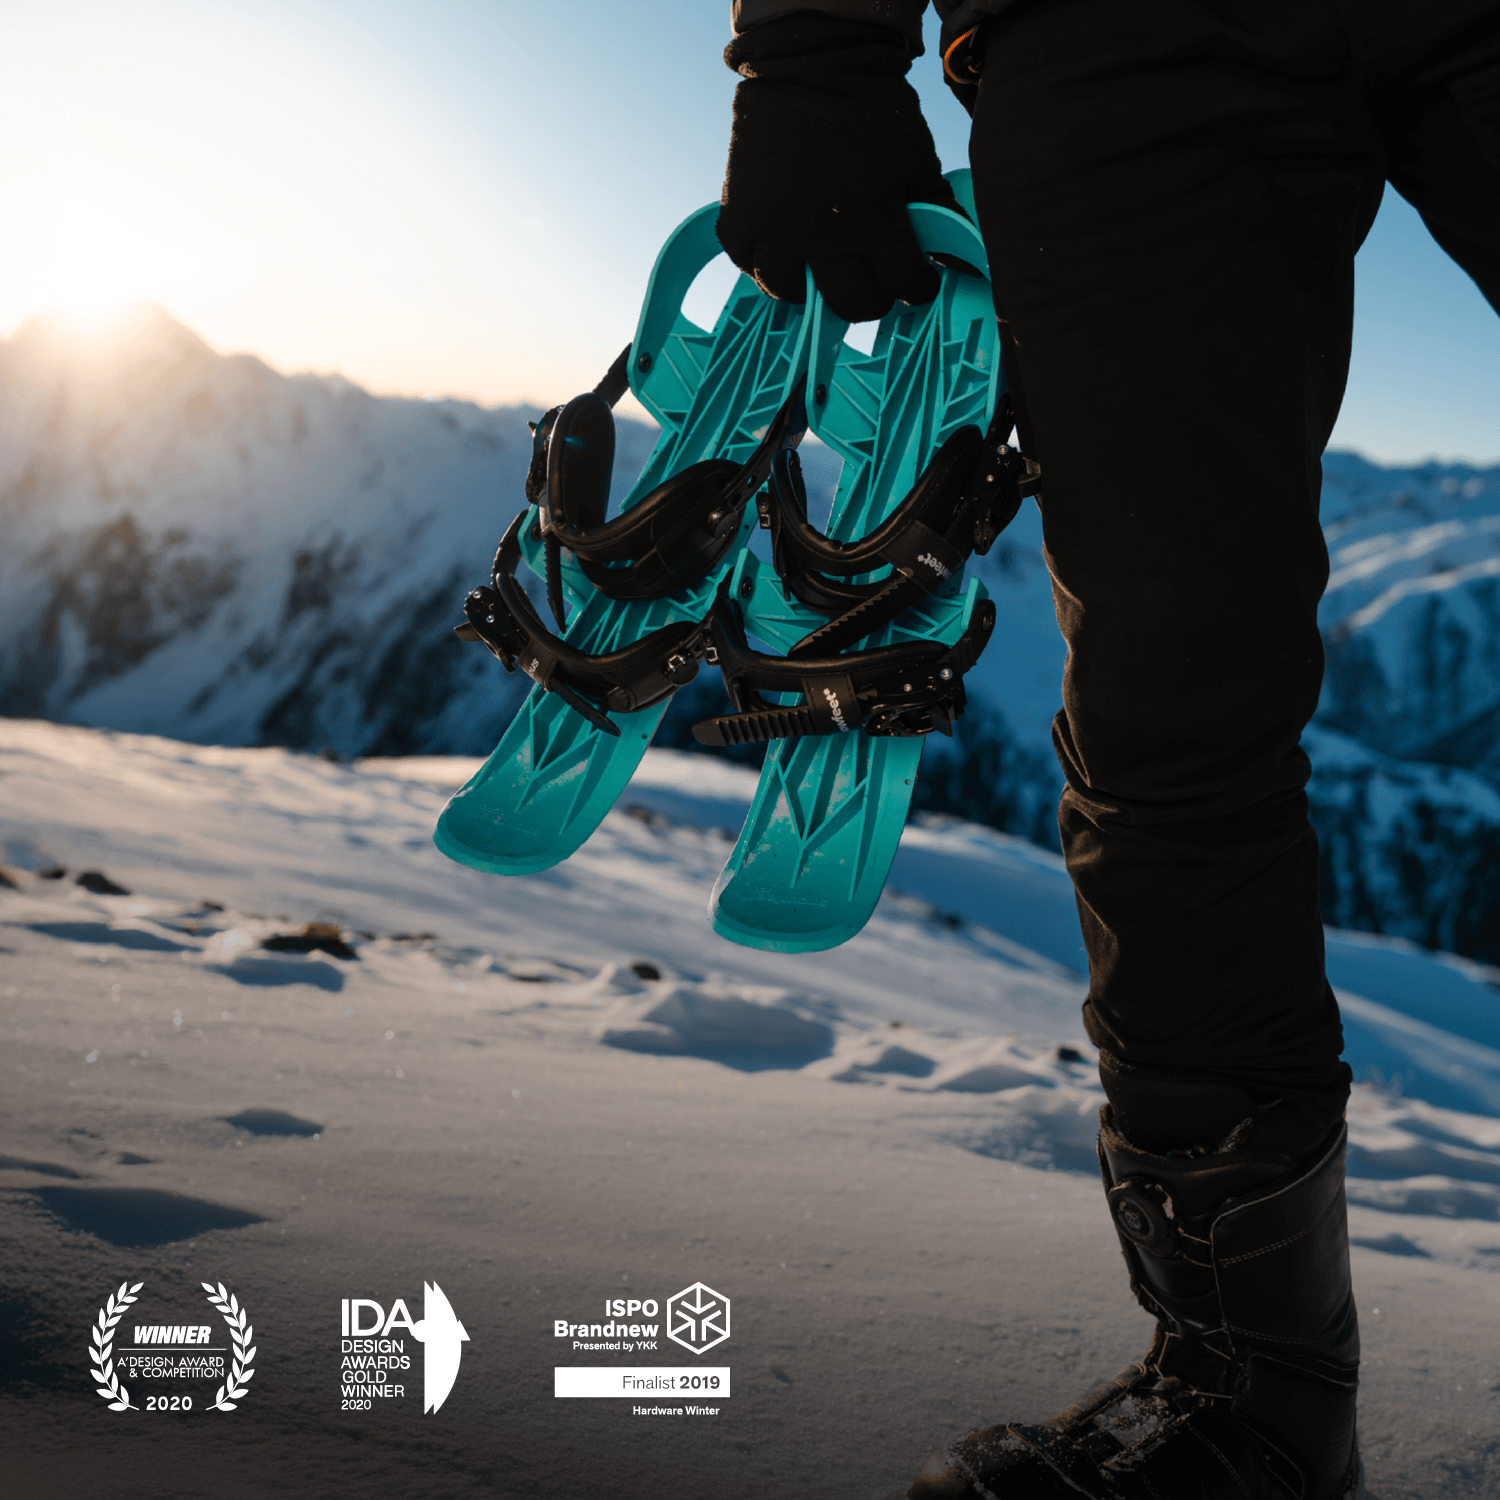
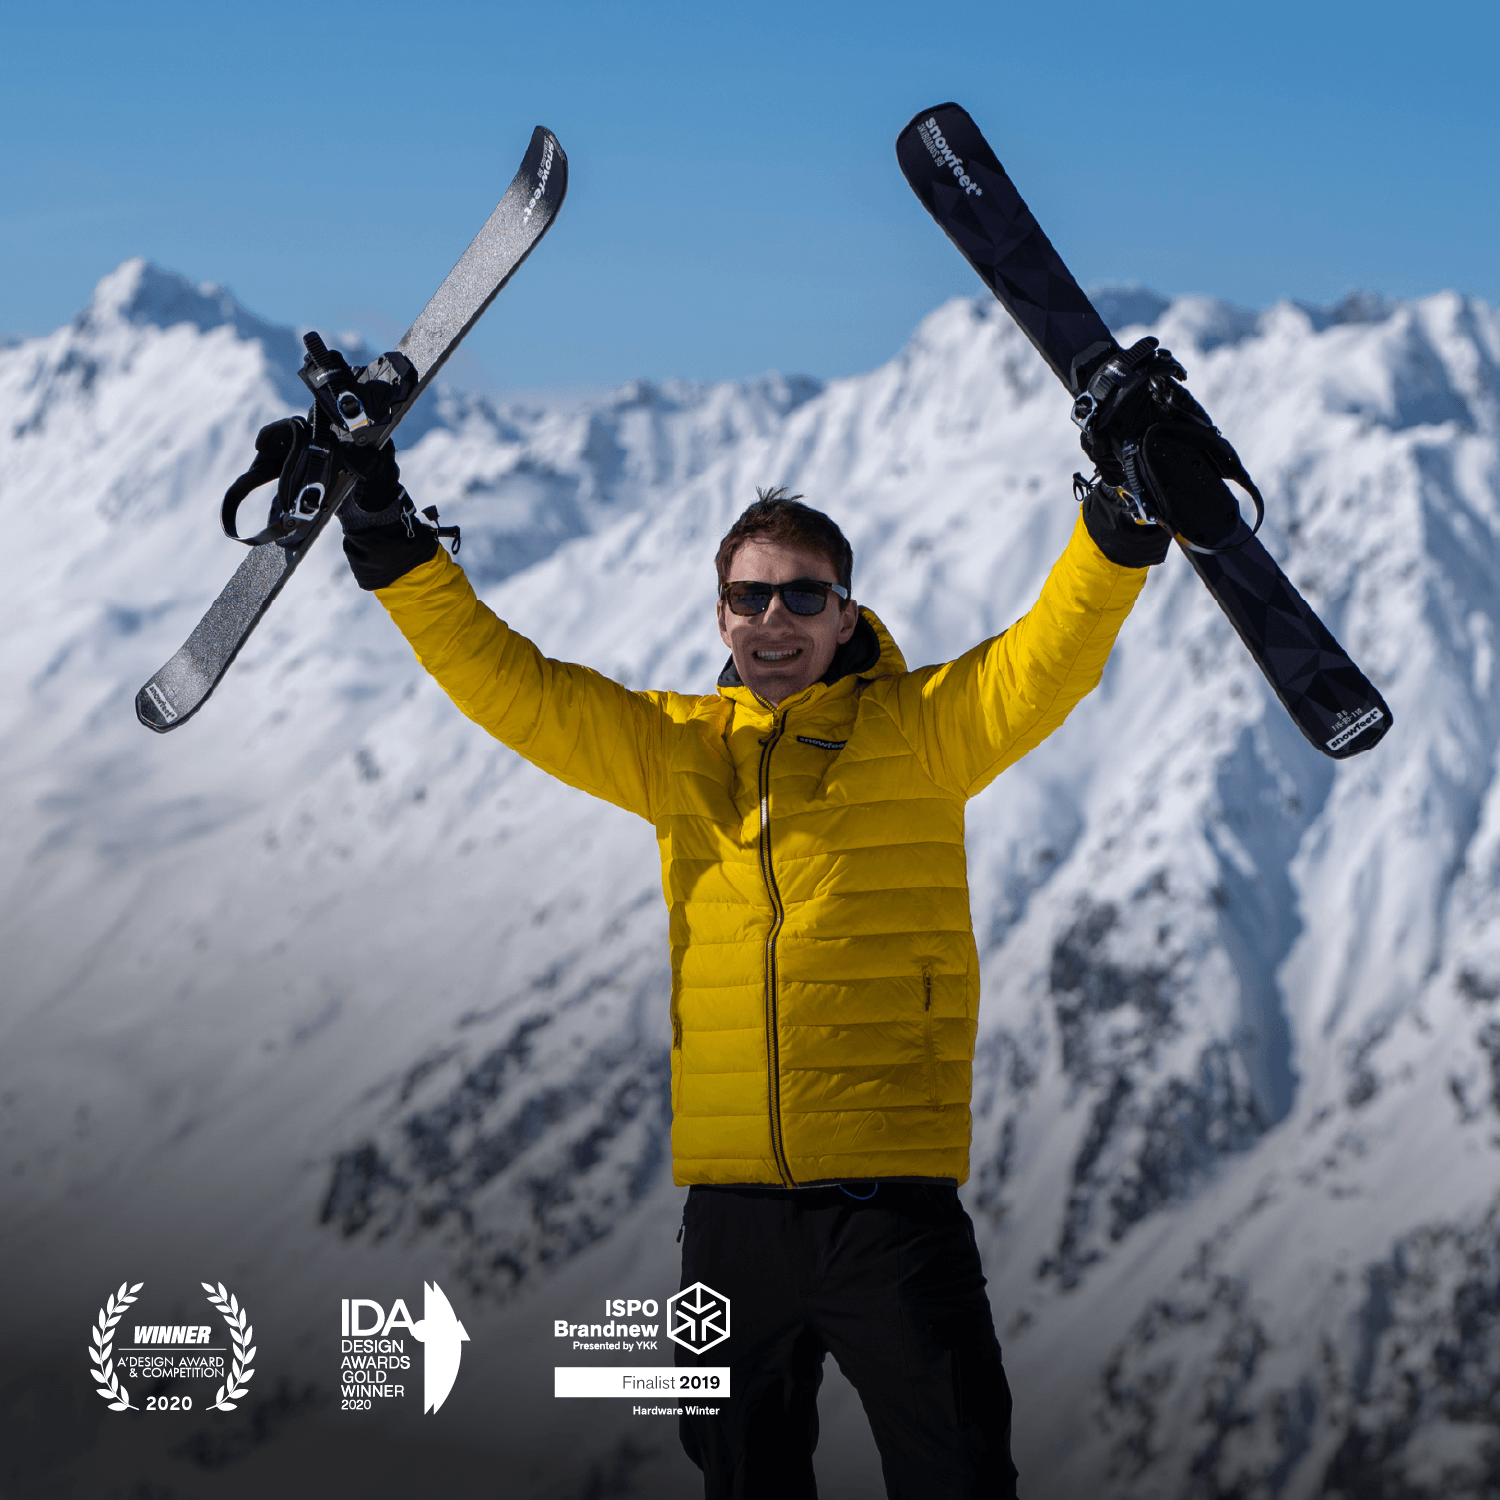
Another bonus? Traditional skis and snowboards are bulky and require extra storage space. Snowfeet* products, however, are compact and portable. You can throw them in a backpack or your car trunk with ease. Plus, they work with regular winter boots, making them super convenient.
Key Features of Snowfeet* Products for Hockey Training
What makes Snowfeet* products stand out for hockey training? Their lightweight design and ability to handle quick directional changes are game-changers. The Skiskates, at 44 cm (≈ 17 inches), are perfect for tight, sharp turns - ideal for quick cuts and crossovers. The PRO model, slightly longer at 50 cm (≈ 20 inches), adds a bit more stability without losing maneuverability.
The wood-core construction is another highlight. It gives you immediate feedback during edge shifts, mimicking the feel of high-quality ice skates. This helps you build muscle memory for key hockey skills like edge transitions, weight shifts, and explosive push-offs. Traditional skis just can’t replicate that kind of precision.
If you’re serious about maintaining your hockey edge, Snowfeet* Skiskates and PRO offer a practical and effective way to train off the ice.
Setting Up a Snowfeet*-Based Training Routine
A Snowfeet*-based hockey training routine starts with mobility and balance exercises, gradually moving toward power and skill-building drills. Before diving in, make sure your gear is ready to go for peak performance.
Preparing Your Gear for Snow Training
Choose the right Snowfeet* for your training needs. If you're focusing on quick cuts and agility, go for the Snowfeet Skiskates (44 cm, $575). For more stability, the Snowfeet PRO (50 cm, $275) is a solid pick. Both models are compatible with regular winter boots, which makes setup quick and easy.
Double-check your bindings to ensure precise edge control, and make sure your boots are waterproof with good ankle support - essential for outdoor winter training. It's also smart to pack a set of replacement straps (starting at $6) just in case.
Warm-Up and Balance Drills
Start with mobility drills on flat terrain. Push off gently with one foot while gliding on the other to keep your balance and activate your stabilizer muscles. Spend 5–10 minutes practicing slow directional changes - forward, left, and right. These movements not only warm you up but also help your body adapt to the unique feel of Snowfeet*'s wood-core construction.
Once you're warmed up, you're ready to move onto more varied terrains. This step will prepare you for the skill-focused drills ahead.
Using Snowfeet* on Snow Trails or Backyards
For the main part of your training, find a 20–30 foot stretch of packed snow in your backyard or head to gentle, groomed slopes. Practice your stride, work on tight turns, and try some hill climbs to build leg strength and boost cardiovascular endurance. Packed snow provides consistent feedback for edge control, which is key for improving your technique.
As you advance, add "stop-and-go" interval training. This mimics the high-intensity bursts of a hockey shift and targets key muscle groups like your glutes, quads, and core. It’s a great way to build the power and endurance needed for skating.
5 Hockey Drills Adapted for Snowfeet*
These drills are designed to help hockey players transition their on-ice skills to snow training using Snowfeet*. They focus on building strength, agility, and endurance in ways that traditional long skis or snowboards can't quite replicate.
Stride Development
Start by practicing strides: push off with one leg and glide on the other. Concentrate on extending your hip and engaging your glutes - just like you would during a hockey stride. Snowfeet* require you to generate real propulsion against the snow, which mirrors the dynamic force of skating. Aim for 10–15 strides on each leg, keeping your weight low and centered for balance. The Snowfeet PRO (50 cm, $275) is ideal for this drill, offering a longer platform to help you build power. As Relentless Hockey explains:
Strength is essential for change of direction and agility. Absorb and re-express – this is the foundation of any change of direction.
Once you've nailed your stride, it's time to focus on edge control.
Edge Control and Tight Turns
Set up a slalom course about 15 feet long using cones or markers. Practice carving tight S-turns at increasing speeds, paying attention to proper alignment of your ankles, knees, and hips. This ensures stability and control, especially during quick direction changes. The Snowfeet Skiskates (44 cm, $575) are great for this exercise thanks to their compact design, which offers excellent edge precision. To add an extra challenge, throw in some Cossack Squats between runs to improve lateral mobility - critical for those sharp, aggressive cuts.
Next, refine your stopping technique.
Stopping and Balance Drills
Hockey stops are essential. Practice by digging your edges into the snow at a 45-degree angle. Start slow, then gradually pick up speed as you get comfortable. Use a controlled 3–5 second tempo when lowering into each stop to train your muscles for better stability. After each stop, try single-leg step-offs to test your balance and strengthen the stabilizer muscles around your ankles. Unlike snowboards, which lock your feet together, Snowfeet* allow for independent leg movement, making this drill even more effective for hockey players.
Now, shift your focus to agility.
Agility Circuits
Design a 20-foot circuit with four stations: sprint forward, lateral shuffle to the right, backpedal, and lateral shuffle to the left. Run through the circuit 5–8 times, resting for 30 seconds between sets. The Snowfeet PRO is perfect for this drill, as its lightweight build supports quick direction changes while maintaining stability. Add crossbody reaches at each turn to further challenge your ankle, knee, and hip stability. This interval-based circuit mimics the high-intensity bursts seen in actual hockey games.
Finally, work on your endurance.
Endurance Building
Find a gentle slope about 50–100 feet long and perform uphill sprints. Sprint for 20 seconds, then glide downhill for 40 seconds to recover. Repeat this for 10–12 rounds. Hockey legend Herb Brooks once said:
The legs feed the wolf.
These sprints build both cardiovascular stamina and leg strength. Because Snowfeet* are lightweight, you won't feel weighed down, allowing you to focus entirely on your performance. While trap bar deadlifts are a staple in most hockey training programs, these uphill sprints offer a similar boost to your posterior chain power while also improving your endurance on the snow.
sbb-itb-17ade95
Getting Better Results with Snowfeet*
Combining Snowfeet* with Strength Exercises
To get the most out of your Snowfeet* training, pair it with strength exercises. While Snowfeet* drills are great for honing skating technique, your muscles need additional strength work to handle the intensity. Pro hockey players often target their glutes, quads, and core muscles to improve overall performance. These muscles are key for stabilizing yourself on Snowfeet* and generating the explosive power needed for quick turns and direction changes.
Add exercises like squats, reverse lunges, box jumps, and lateral hops to your routine between Snowfeet* sessions. These moves help strengthen the glutes, quads, and core in ways that directly support hockey strides. By combining these exercises with on-snow drills, you'll create a well-rounded training program. As TOI Sports Desk points out, "The main goal of off-season workouts differs from in-season training because they build power while enhancing explosiveness".
For conditioning, try interval training such as hill sprints or resistance cycling. These activities mimic the stop-and-go energy bursts of a hockey game and build the stamina needed for high-intensity shifts. Whether you're using your Snowfeet PRO ($275) or gearing up for ice hockey, this type of training ensures you're ready for game day.
Real Snow Training vs. Synthetic Ice
The surface you train on also plays a big role in your development. Synthetic ice tiles are great for practicing stickhandling and shooting at home, but they don’t challenge your balance the way real snow does. Snowfeet* training on snow forces your body to adapt to different conditions - whether it’s packed, soft, or icy - which strengthens your stabilizer muscles and sharpens edge control.
Unlike traditional long skis or snowboards that restrict movement by locking your feet together, Snowfeet* allow for independent leg movement. This mimics the motion of on-ice skating, making your training more specific to hockey. Plus, the natural terrain of snow - whether on trails or in your backyard - keeps you adjusting your balance constantly. This creates a more dynamic and realistic training experience, preparing you for the unpredictable conditions of actual games.
Conclusion: Winter Hockey Training with Snowfeet*
Winter doesn’t have to sideline your hockey training. With Snowfeet* Skiskates (44 cm) and PRO (50 cm), you can keep your skills sharp even when ice isn’t available. Unlike traditional skis or snowboards that limit lateral movement, Snowfeet* let each leg move independently - perfect for building unilateral power and mastering quick turns.
These design perks directly benefit your on-ice game. Hockey Canada puts it best:
Skill development is not limited to the ice. Players of all ages and experience can benefit from off-ice training.
Using Snowfeet*, you’re not just staying active - you’re fine-tuning core hockey skills like balance, edge control, agility, and explosive stop-and-go movements. Whether you’re practicing tight turns in the backyard or gaining endurance on snowy trails, these compact tools offer a hockey-specific edge that traditional winter gear just can’t deliver.
With prices at $275 for Snowfeet* PRO and $575 for Skiskates, they’re a practical investment for staying game-ready all winter. Plus, their shorter length makes them easier to handle for quick, precise movements.
FAQs
Which Snowfeet model should I choose for hockey training?
The Snowfeet PRO (50 cm) is a fantastic option for hockey training when ice isn't available. Its longer design gives you better stability and simulates the feel of skating on ice, which helps sharpen your balance, agility, and overall technique. Compared to the shorter Snowfeet Skiskates (44 cm), the PRO delivers a skating experience that's closer to the real thing. It’s perfect for dedicated players looking to step up their game on snow.
What snow conditions are best for Snowfeet drills?
Snowfeet drills are most effective on compact or slightly packed snow. These surfaces offer the right balance of support and glide, making your training smoother and more controlled. Steer clear of deep powder or overly icy areas - both can make it tougher to stay in control or get the most out of your drills. Stick to terrain that aligns with your skill level and what you're aiming to achieve during your session for the best experience.
How often should I train on Snowfeet to stay game-ready?
For the best results, practice with Snowfeet several times a week. Regular training sharpens your skating techniques, boosts agility, and enhances balance on snow. This way, you'll be ready to hit the slopes all winter long!



Leave a comment
This site is protected by hCaptcha and the hCaptcha Privacy Policy and Terms of Service apply.