
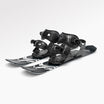
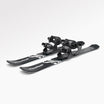
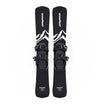
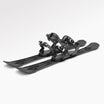
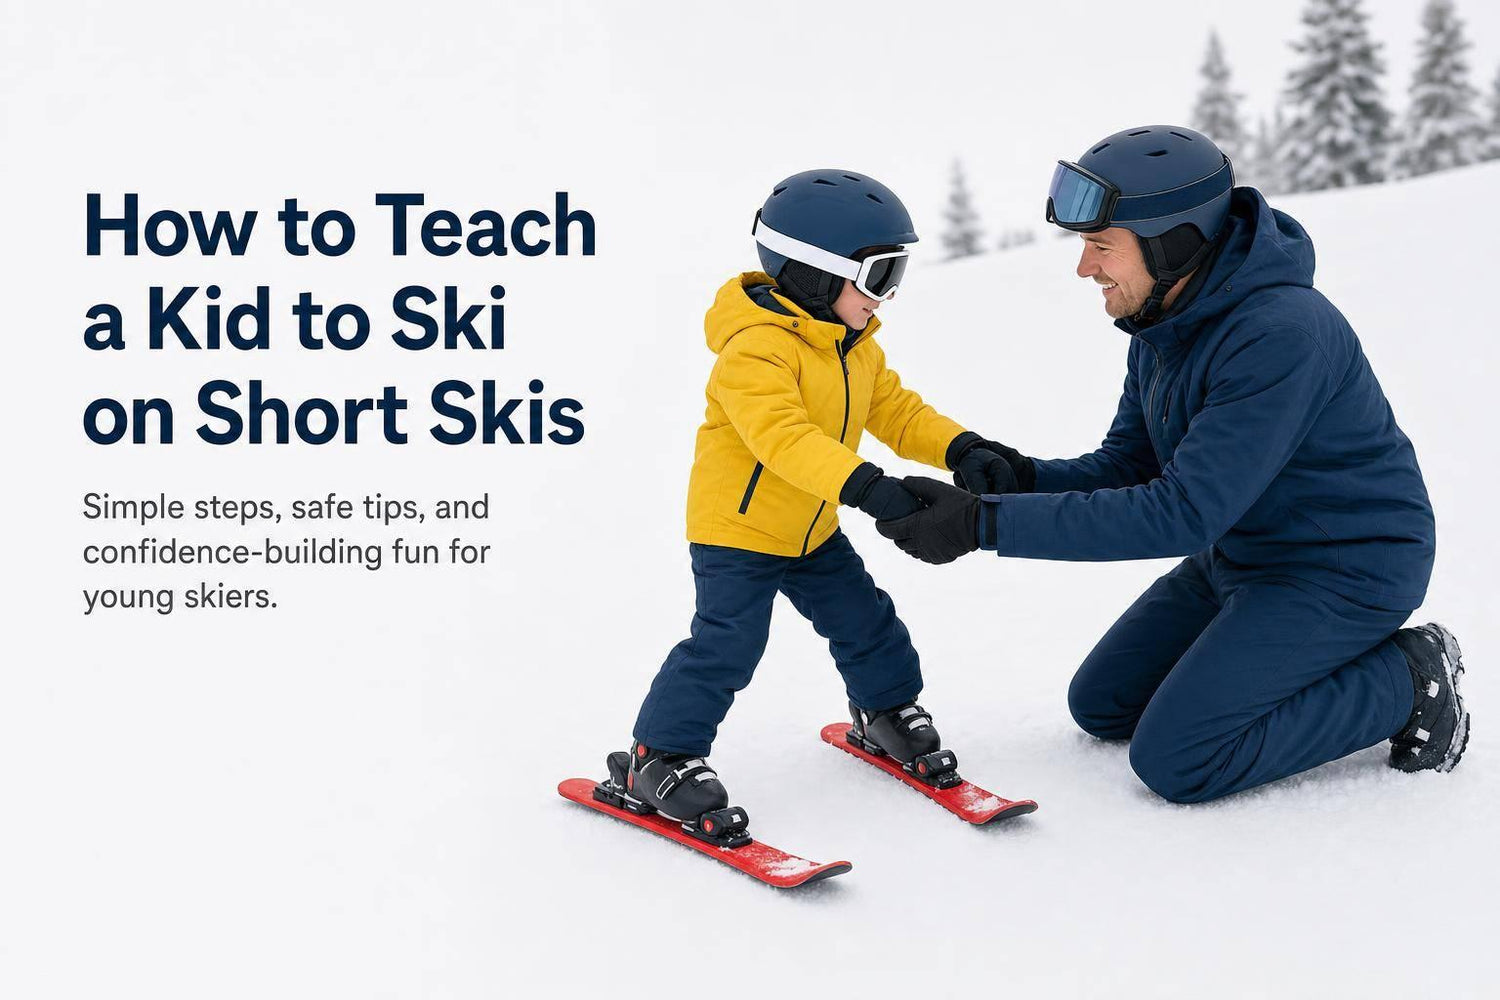
Yes - short skis are often the easiest way to teach a kid to ski. They’re lighter, less awkward, and simpler for small legs to steer. For most first-timers, I’d keep it simple: start on flat snow, teach gliding first, then stopping, then turning, and keep each session under 60 minutes.
Here’s the short version:
- Ages 3–6: start with Snowfeet MINI KIDS
- Ages 5–10: use Snowfeet Skiskates 44 cm for balance and easy turns
- Ages 8–12: move to Snowfeet Skiblades 65 cm once a kid can link turns
- Use firm winter boots for MINI KIDS and Skiskates on easy terrain
- Use a helmet, goggles, and mittens every time
- Practice on a quiet bunny slope or magic carpet area
- Teach skills in this order: balance → glide → stop → turn
- Don’t move to steeper terrain until your child can stop on purpose and turn both ways
That’s the whole playbook. Keep the slope mellow, keep the reps short, and stop before your kid gets cold or cranky. If the day ends with “Can we do that again?” you nailed it :)
Quick comparison
| Setup | Best for | Age range | Boot type | Best place to use |
|---|---|---|---|---|
| Snowfeet MINI KIDS | First slides | 3–6 | Winter boots | Flat snow, tiny hills |
| Snowfeet Skiskates 44 cm | Early balance and simple turns | 5–10 | Winter boots or soft snowboard boots | Bunny slopes |
| Snowfeet Skiblades 65 cm | Linked turns and more control | 8–12 | Snowboard or ski boots | Green runs |
| Standard kids’ skis | Longer ski days and later skill growth | Varies | Ski boots | Green runs and up |
What I like most here is the simple path: start with the setup your child can handle today, not the one you hope fits next winter. That keeps fear low, control high, and the first day a lot more fun.
Choose the Right Setup for Your Child
Best Snowfeet Option by Age and Skill Level
Pick the setup that fits your child's current age, balance, and terrain. Go with the one that makes early control easiest, not the one that looks the most “advanced.” That usually means choosing the easiest setup your child can handle right now, not the one you hope they’ll grow into by next season.
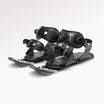
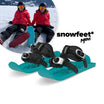
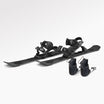
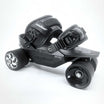
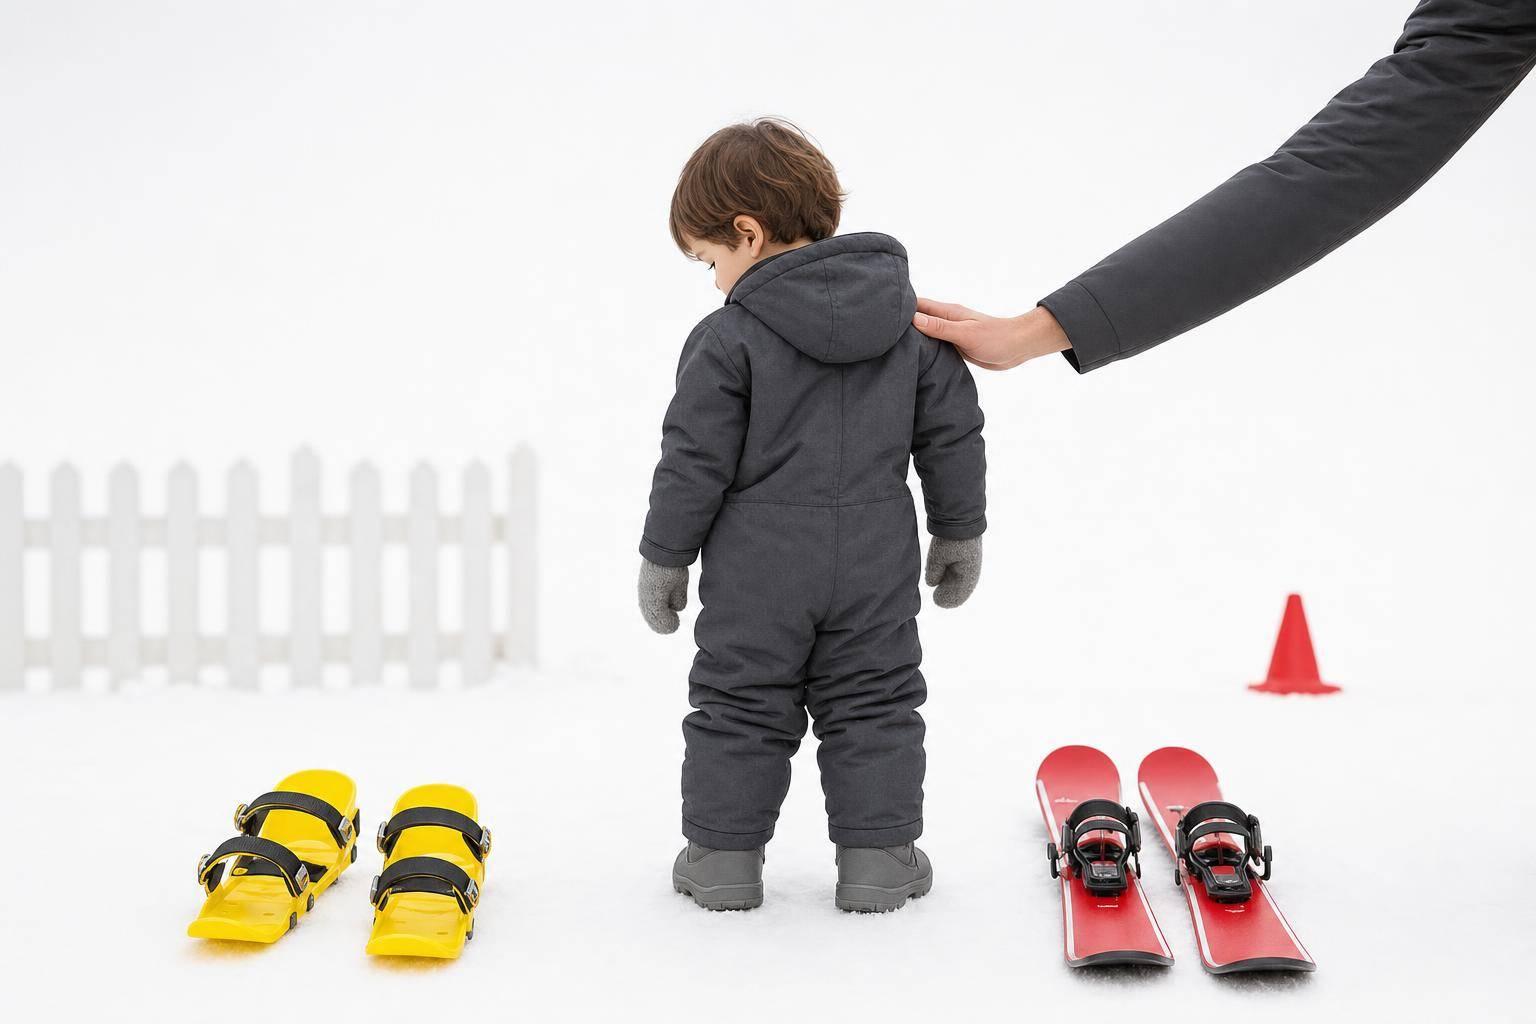
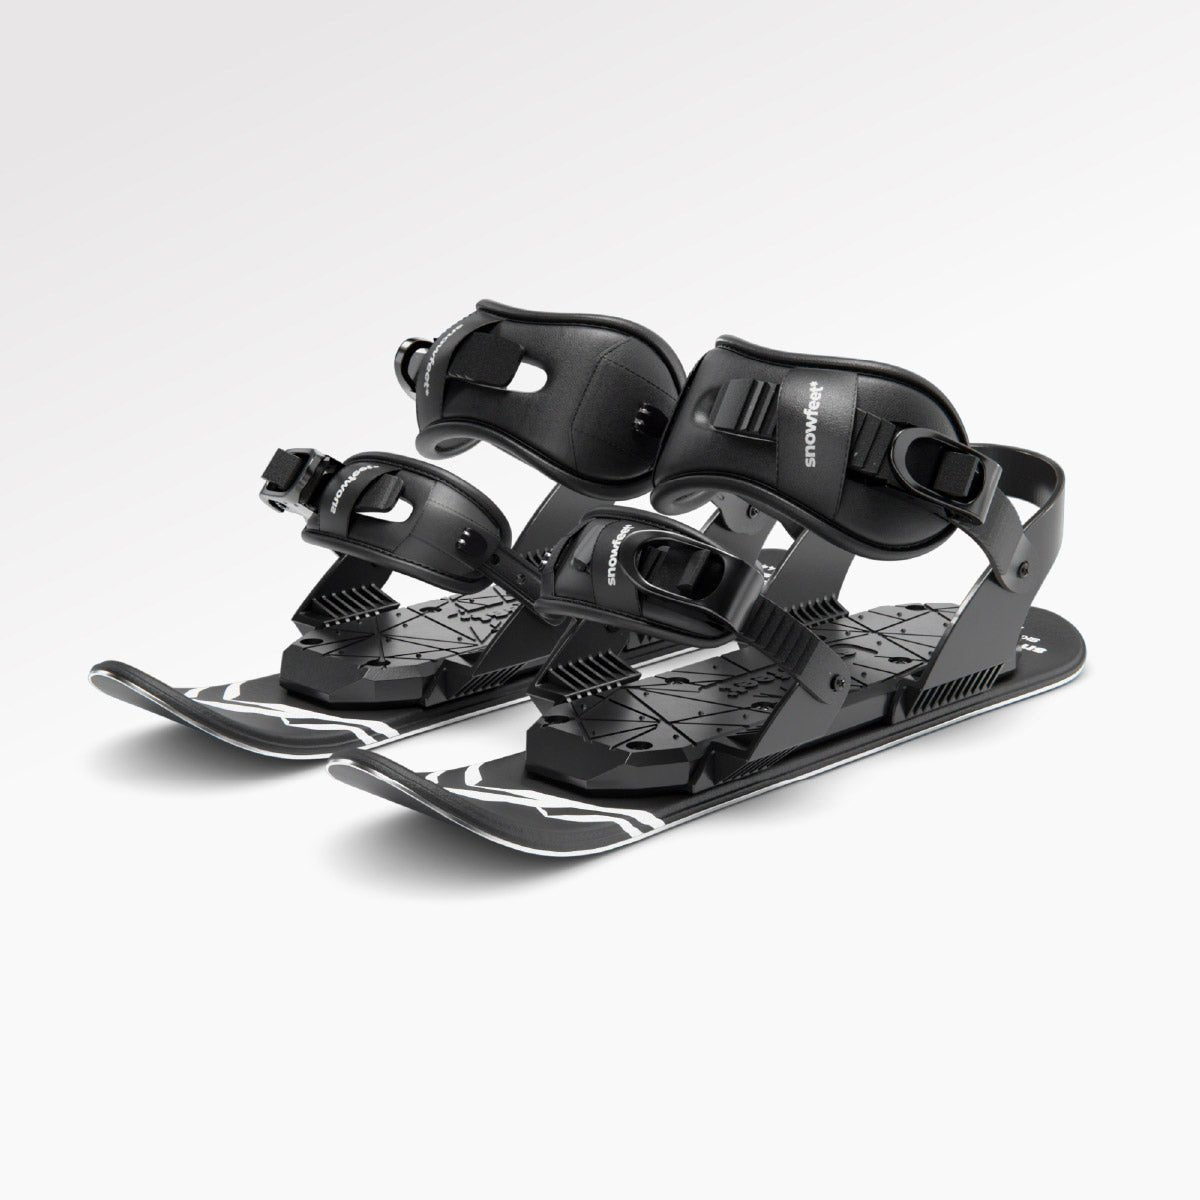
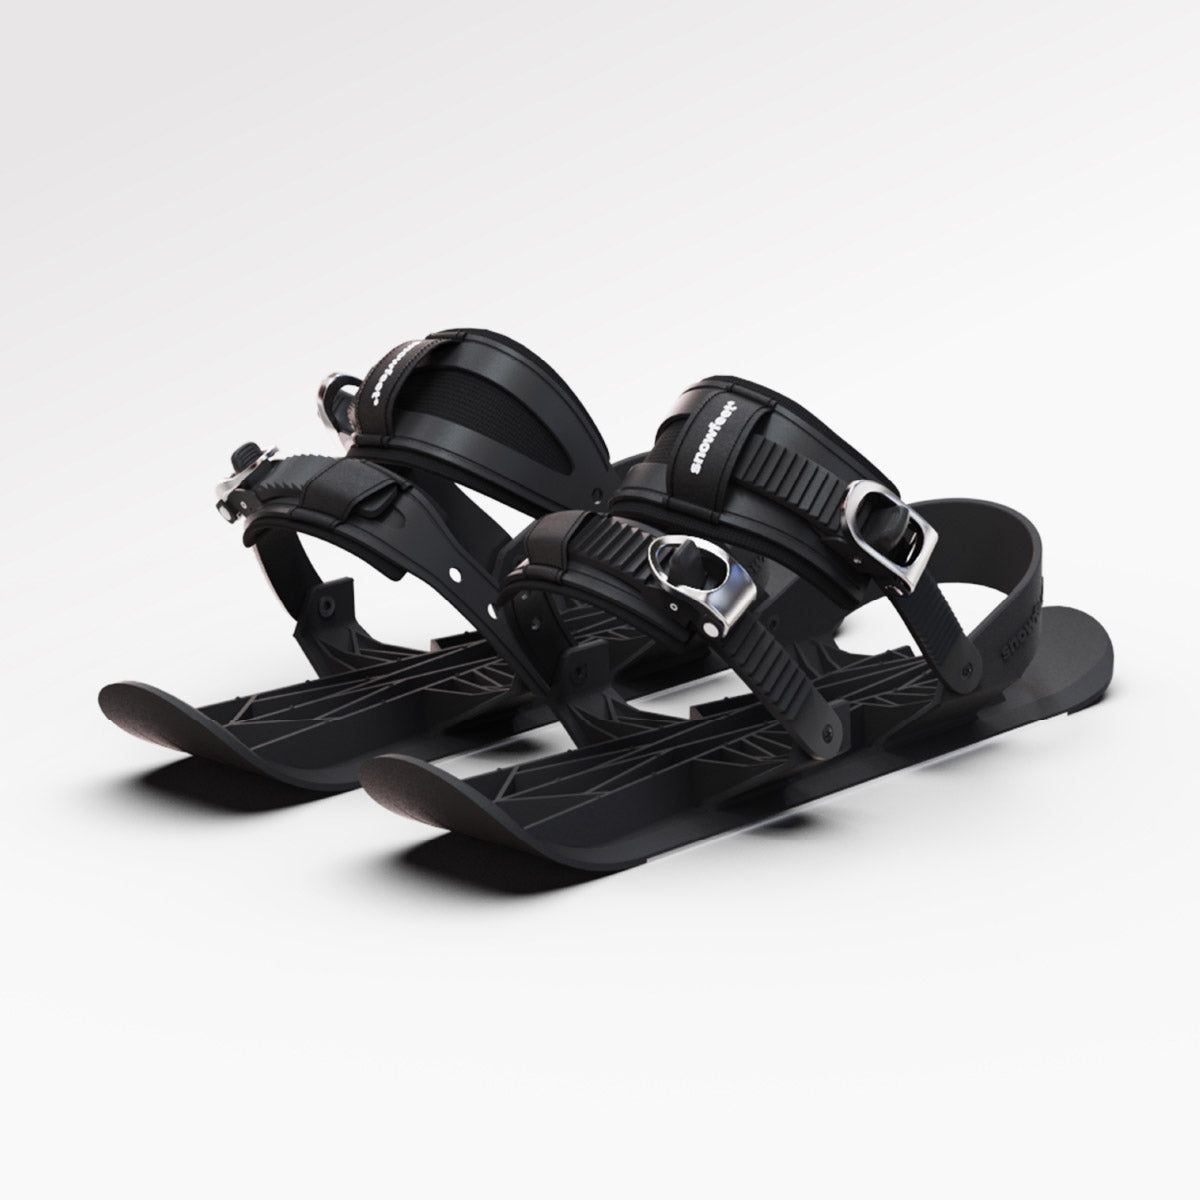
Snowfeet* MINI KIDS ($250) are made for ages 3–6. They work well for true first-timers on flat backyard snow, small sledding hills, and magic carpet zones where speeds stay low.
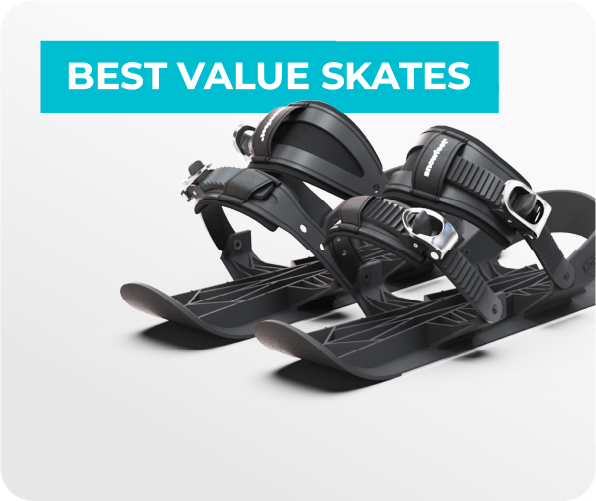
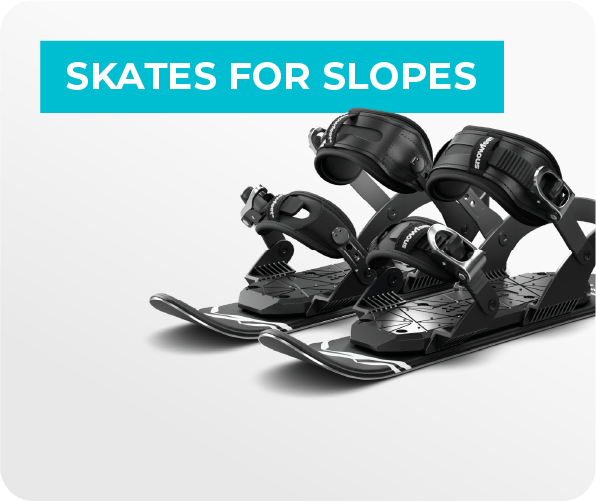
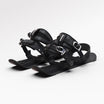
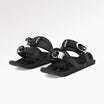
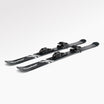
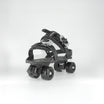
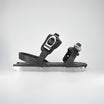
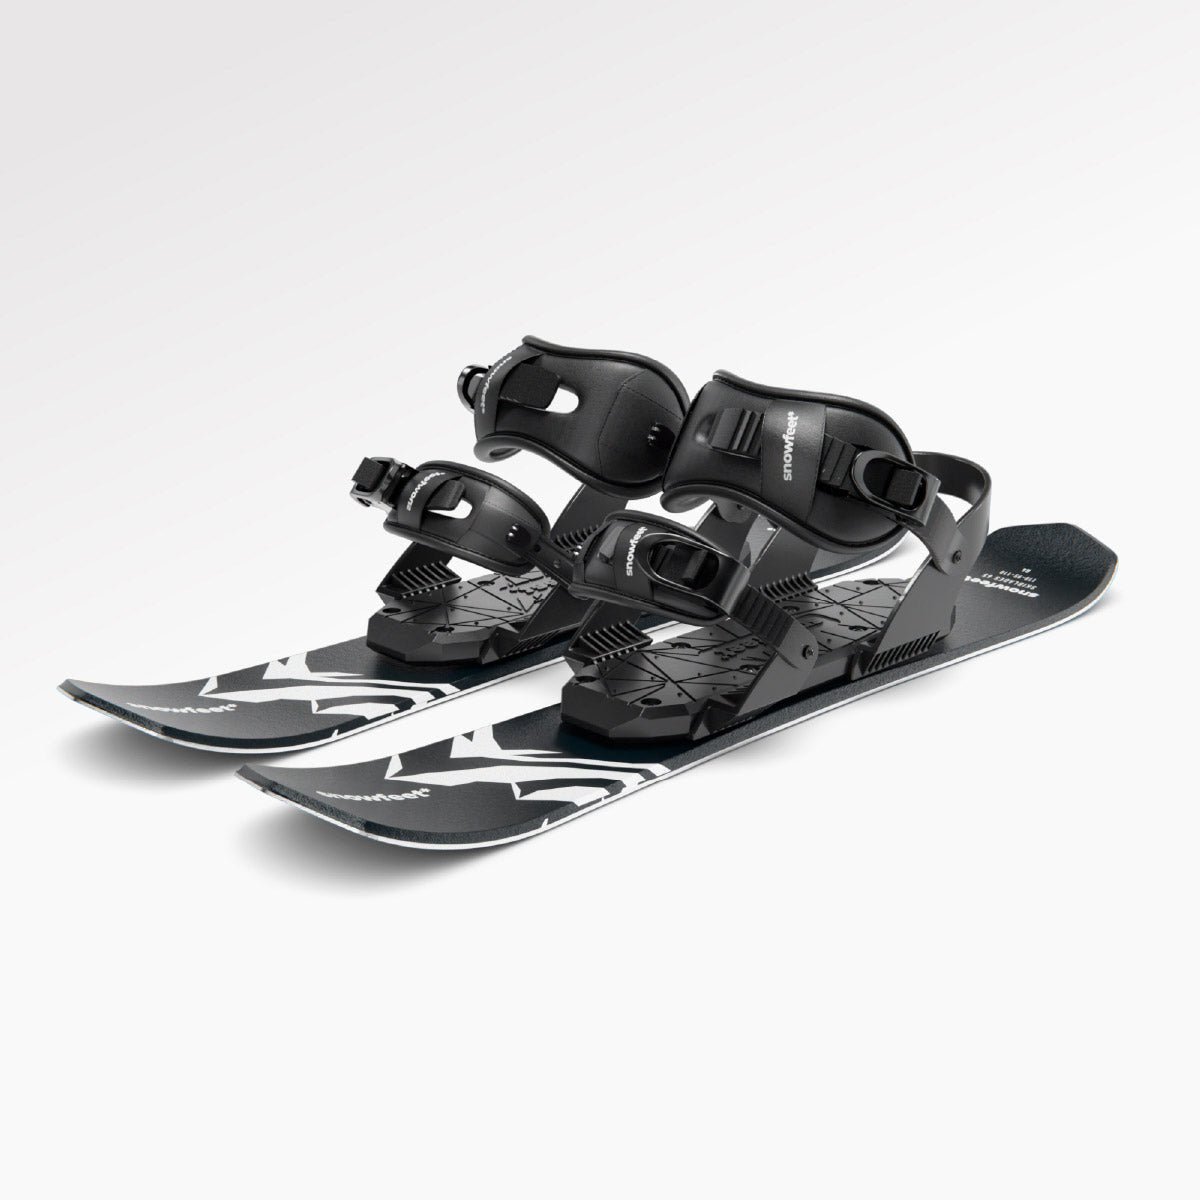
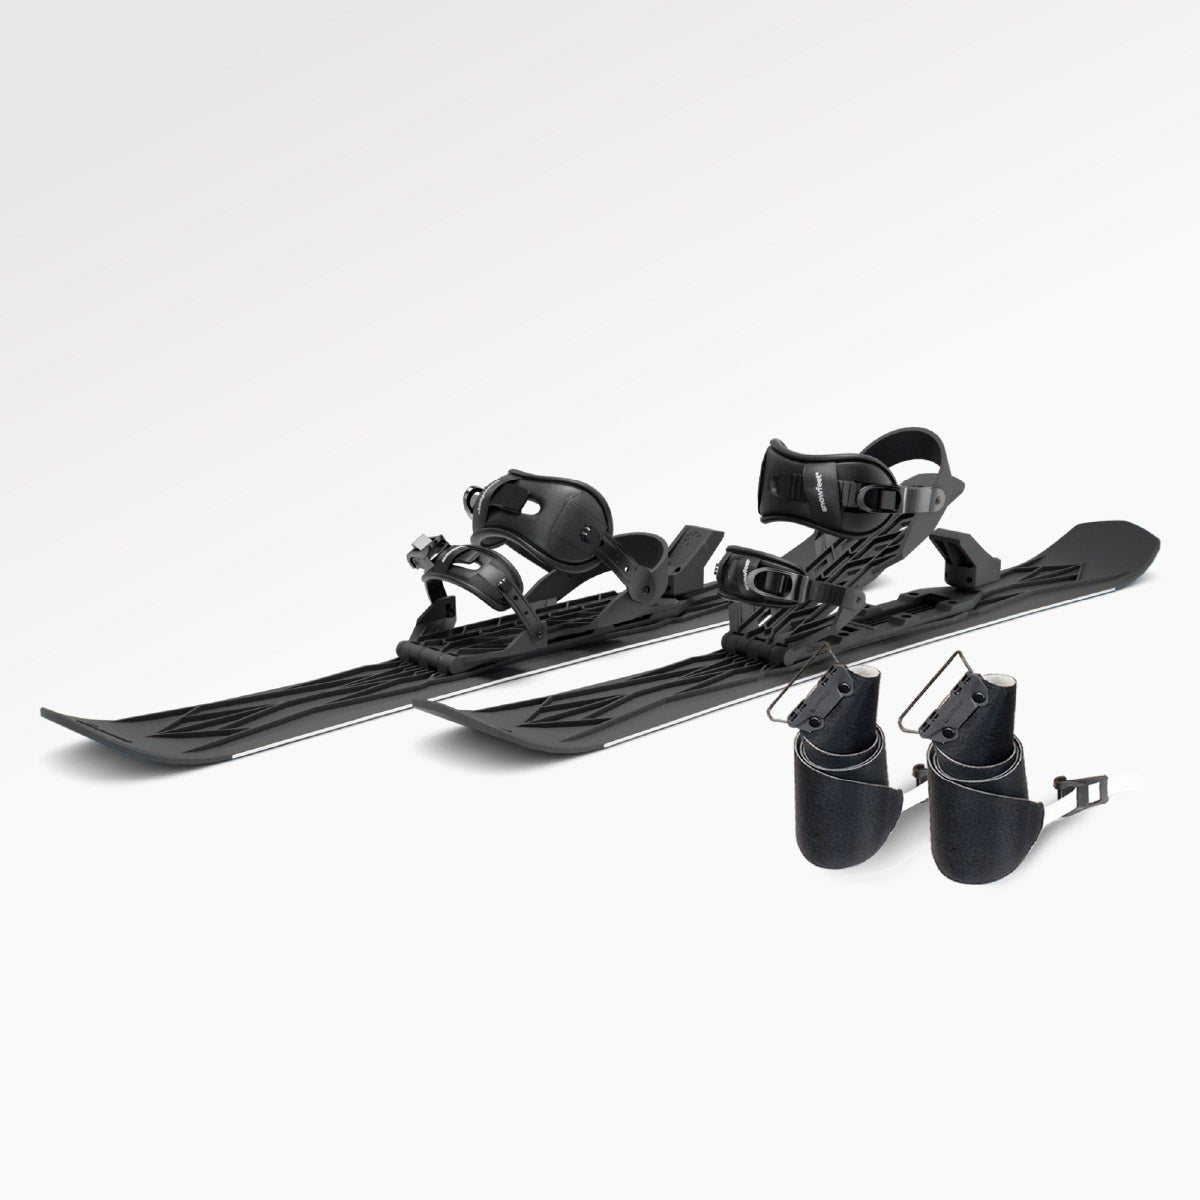
Snowfeet* Skiskates 44 cm (from $460) are a step up for kids around 5–10 who can already balance on one foot and walk on snow. You can use winter boots for casual days or soft snowboard boots for more support on gentle runs. Snowfeet rates this model for ages 7+.
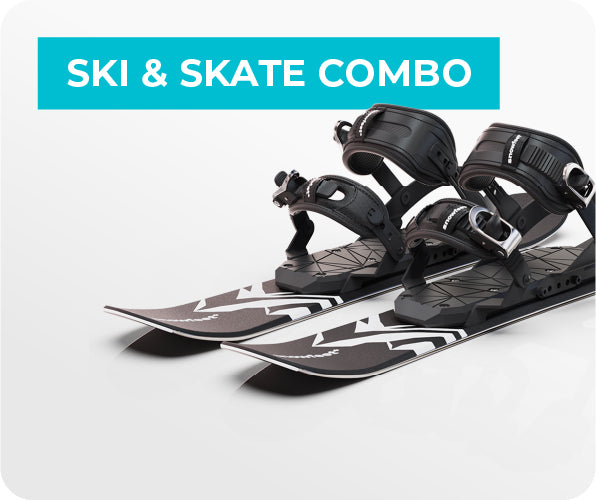
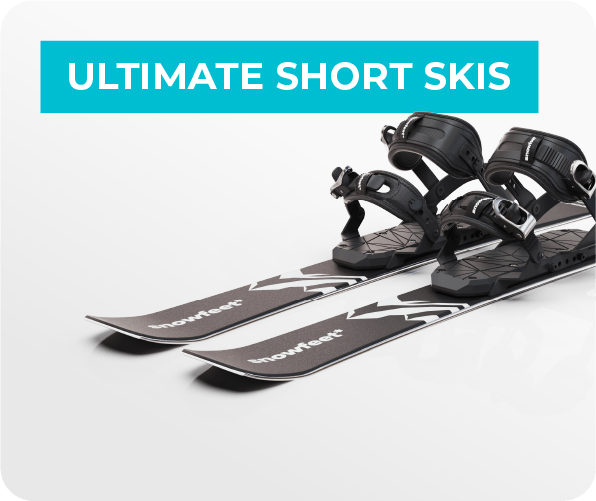
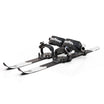
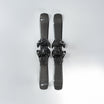
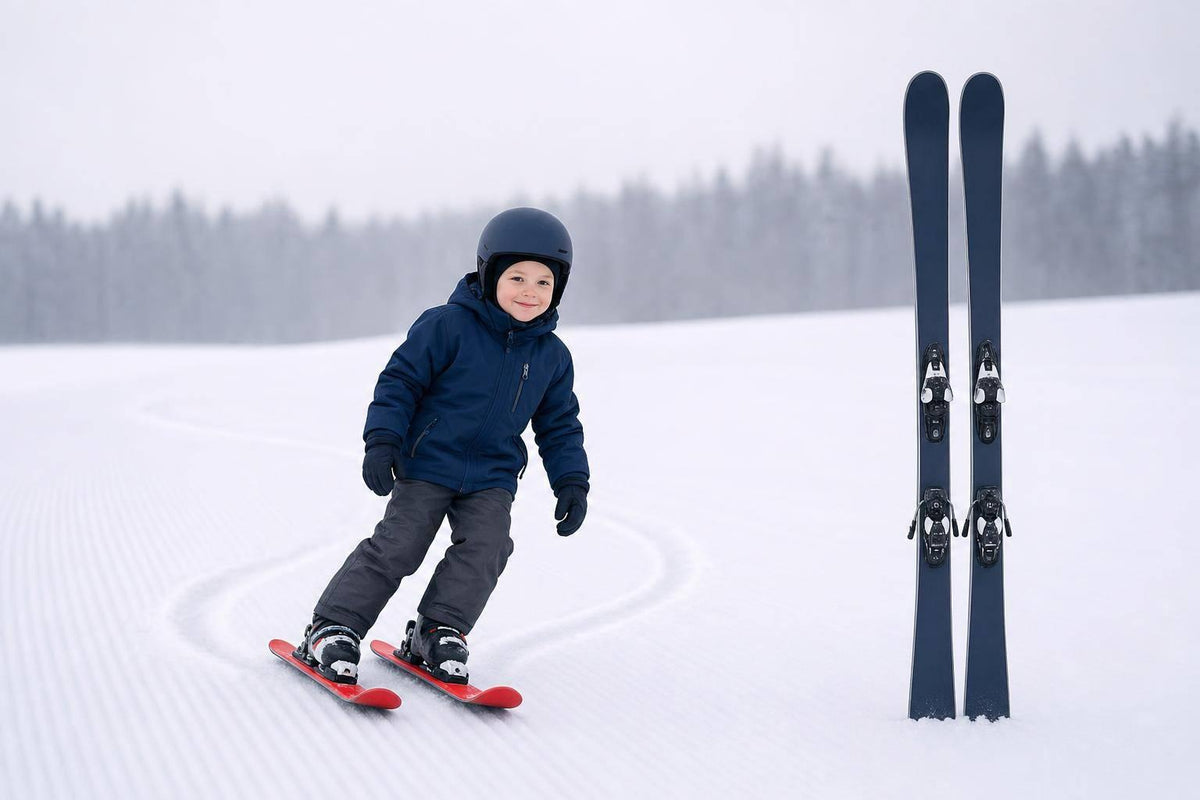
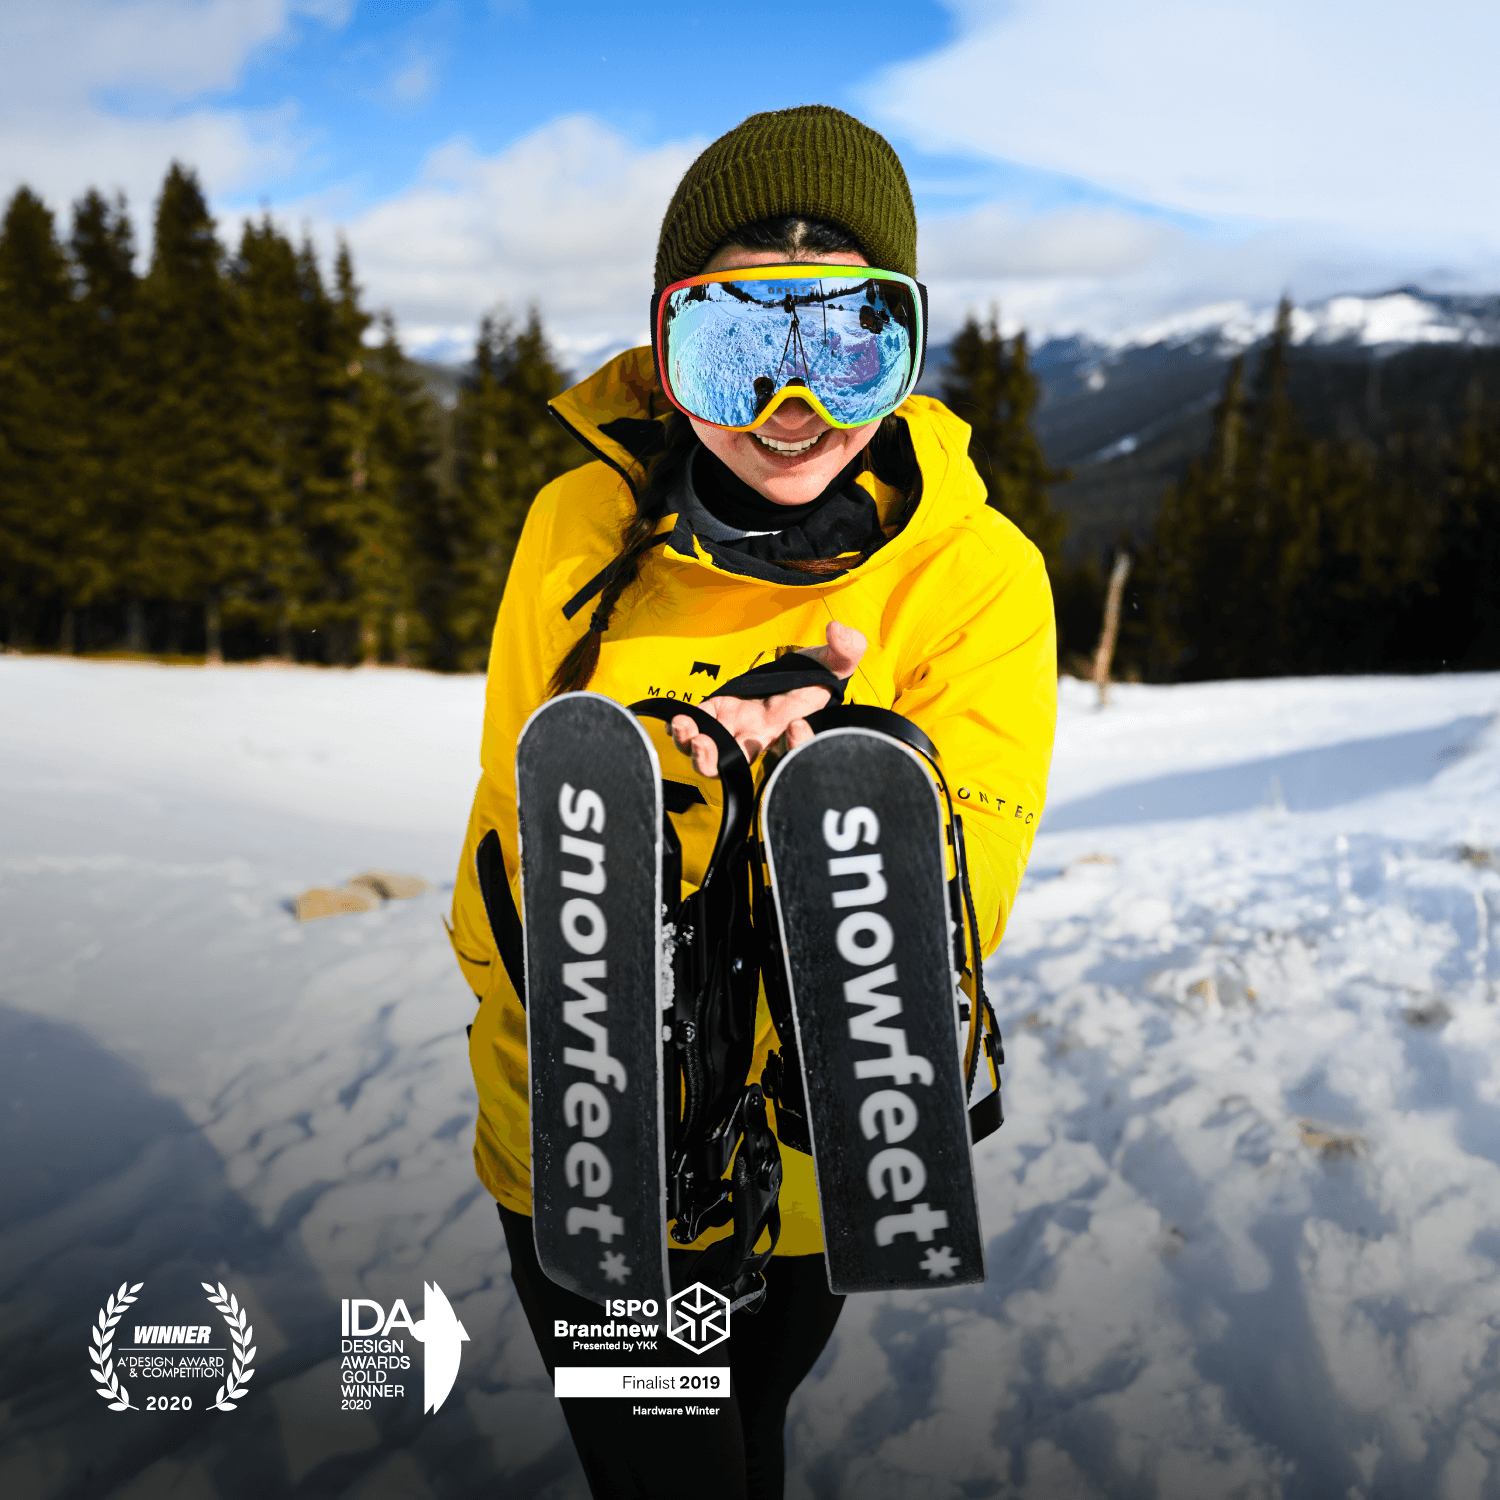
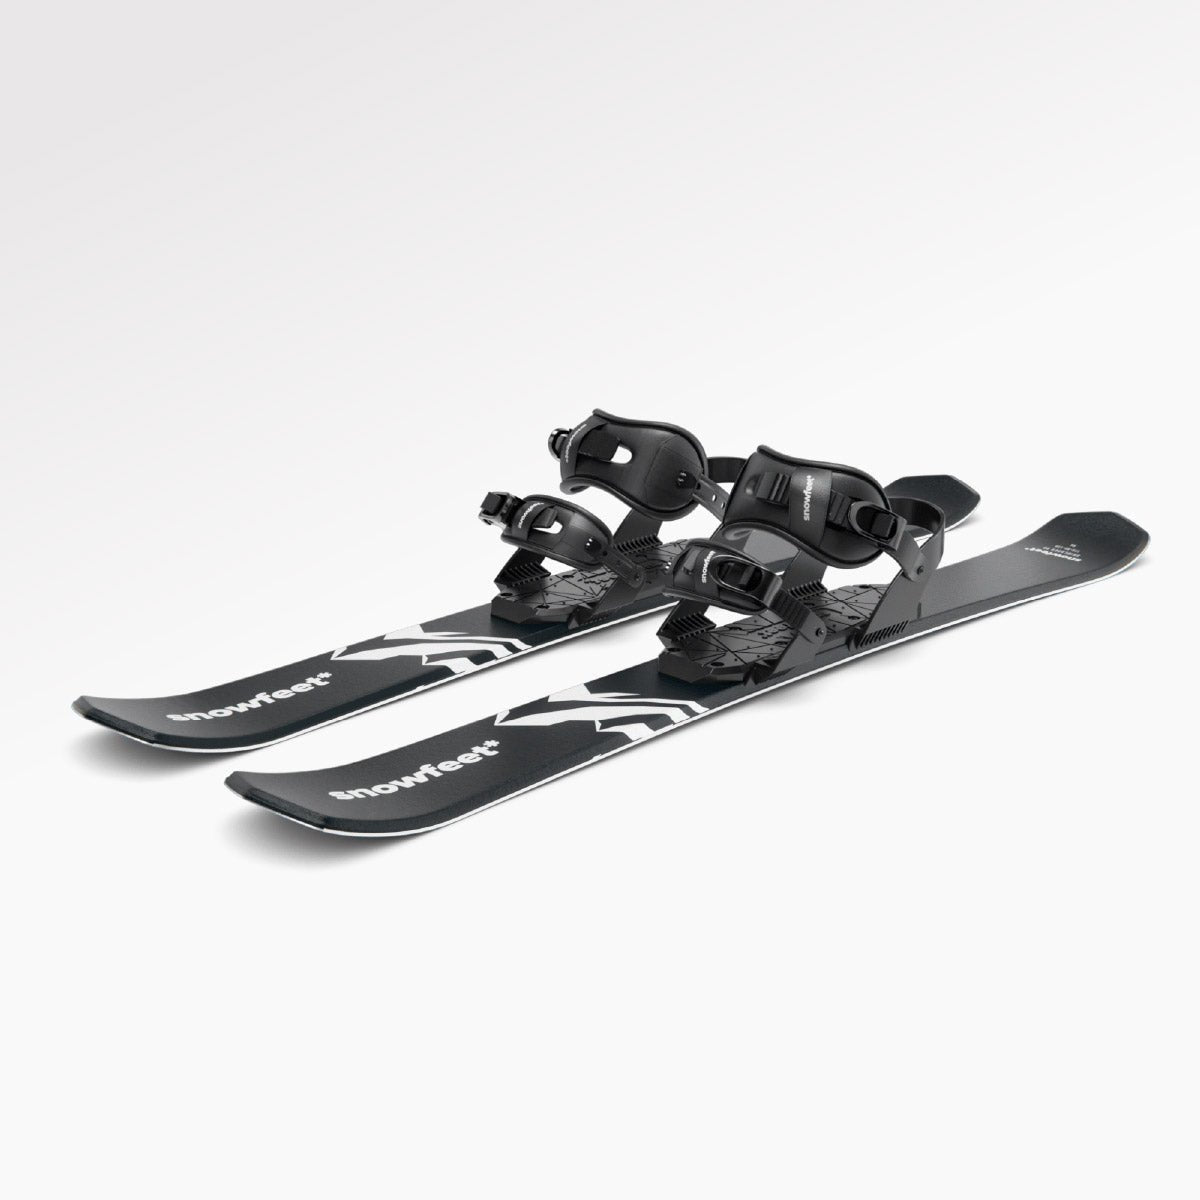
Snowfeet* Skiblades 65 cm (from $590) are the next move for kids around 8–12 who are ready to link turns on groomed green runs. They feel closer to regular skis and give more stability once a child already has basic turn control.
- Choose MINI KIDS for first slides.
- Choose Skiskates for early balance and simple turns.
- Choose Skiblades for kids ready to link turns.
Boots, Fit, and Safety Gear
For MINI KIDS and Skiskates, standard insulated winter boots with a firm sole are enough for casual, low-speed use. Skip boots with flexible soles. If the boot bends like a slipper, it’s too soft to give the ski clear feedback.
For Skiblades on chairlift-access runs, snowboard or ski boots are a better pick. They hold the ankle more firmly, support steering, and make control easier.
When you check fit, leave about 1/4 to 1/2 inch of toe room. One common mistake is buying boots a full size up so a child can grow into them. Sounds smart. Usually backfires. That extra room leads to poor control and more falls.
Also, make sure your child’s boot size sits near the middle of Snowfeet’s published size range, not way out at the top end.
Safety gear matters too. Use:
- a properly fitted ski helmet
- goggles
- insulated mittens
For temperatures around 25–35°F, a moisture-wicking base layer, a light fleece or thin puffy mid-layer, and a waterproof ski jacket and snow pants will cover most days. Below about 15°F, add a warmer mid-layer plus a balaclava or thin beanie under the helmet.
And yep, skip cotton. Entirely. It holds moisture and turns cold days into a slog, fast.
Once the fit is dialed in, your child is ready for balance practice on flat snow.
Why Snowfeet* Works Better for Most Casual Families
Kids’ skis make sense for families who ski often and want the full ski school setup. But that setup also means ski boots, separate bindings, and longer gear. For a child who’s still learning and growing fast, that can be a lot to wrangle.
Many short skis still need ski boots and can feel stiff at very low speeds. Snowfeet* works better for many casual families because the setup is simpler: more boot choice, smaller gear, and an easier first-day feel. Fewer moving parts. Less stuff to carry. Less “wait, where did the other boot go?” energy :)
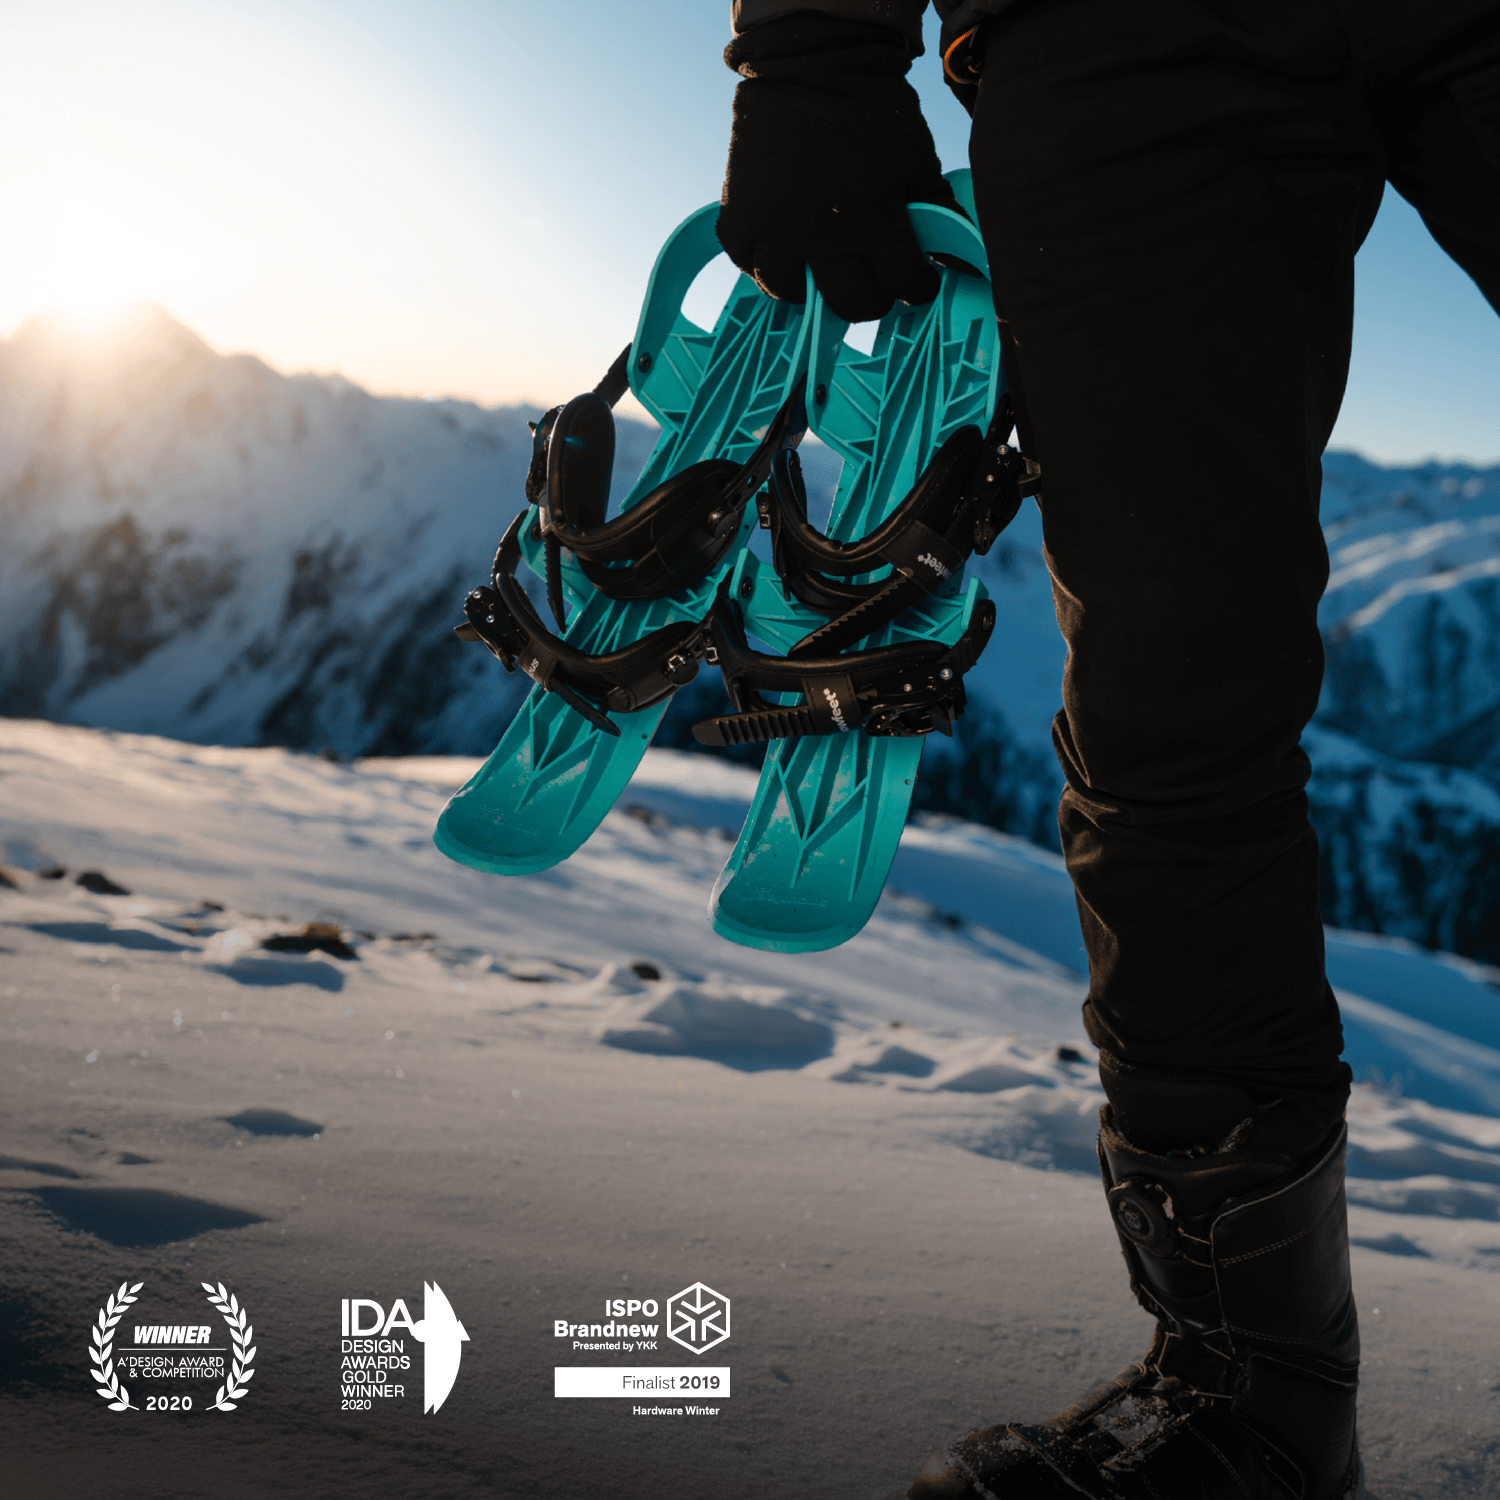
Most families already own winter boots or snowboard boots, so there’s no extra boot rental just to get started. The MINI KIDS and Skiskates also fit in a regular backpack, which is a small win that feels HUGE when you’re already carrying helmets, snacks, and spare layers.
With the setup picked, move straight to off-snow balance drills.
Prepare for the First Day on Snow
Practice Balance Before Getting on the Slope
Once you’ve picked the setup, the first day should feel familiar before it feels technical.
Start at home. Have your child walk around in ski boots for a few minutes so the clunky feel doesn’t come as a shock later. Then, once you get to the resort, head to a flat spot near the lodge and strap or clip the short skis on, based on the model.
Before you go anywhere near a slope, let them:
- Stand still
- Take a few marching steps
- Shuffle side to side
- Put the skis on and take them off
Short skis give kids quick feedback, which is great. Even small balance wins show up fast, and that helps build comfort.
This is also the perfect time to practice falling and getting back up. Show them how to fall to the side with loose arms instead of reaching forward with stiff hands. Then show them how to roll onto hands and knees and push themselves back up. Keep it light. Make it a game if you can. Kids learn a lot more when it feels like play and not a drill.
Try to keep this warm-up short - about 10 to 20 minutes. Young kids get tired fast, and once they’re tired, fear tends to sneak in. When the boots and short skis start to feel normal, move to the easiest snow you can find.
Pick the Right Learning Area and Keep It Safe
After the flat-ground warm-up, find the quietest beginner area you can. You’re looking for a gentle incline where your child can glide a short way, slow down on their own, and stop without needing any skill yet. A wide, flat runout at the bottom matters a lot. That’s what helps a child feel safe enough to give sliding a shot.
Short skis react fast, so tiny, quiet slopes are the sweet spot. Magic carpet zones and kids’ learning areas usually work best because traffic is slow and easy to read. Skip crowded beginner lanes, lift lines, and any spot where faster skiers might zip by out of nowhere. If your schedule gives you a choice, midweek mornings or non-holiday sessions are often calmer.
Your job here is to steady, not steer.
Stay to the side or a little downhill from your child. Be close enough to help with one hand if needed, but not so close that you’re in their line. It’s tempting to grab both arms or guide from behind - totally normal parent move - but that throws kids off their own balance. It also teaches them to lean on you instead of trusting their feet. Simple verbal cues and a light touch on one shoulder are usually plenty.
A few signs tell you the terrain is too much:
- Repeated sitting down
- A stiff posture
- Refusal to move
If you see any of those, go back to flatter ground or stop for a snack break. No drama, no big speech, just reset and try again later. If they stay relaxed here, they’re ready for straight glides next.
The ultimate fun skis for kids. 🎿
sbb-itb-17ade95
Teach the Core Skills Step by Step
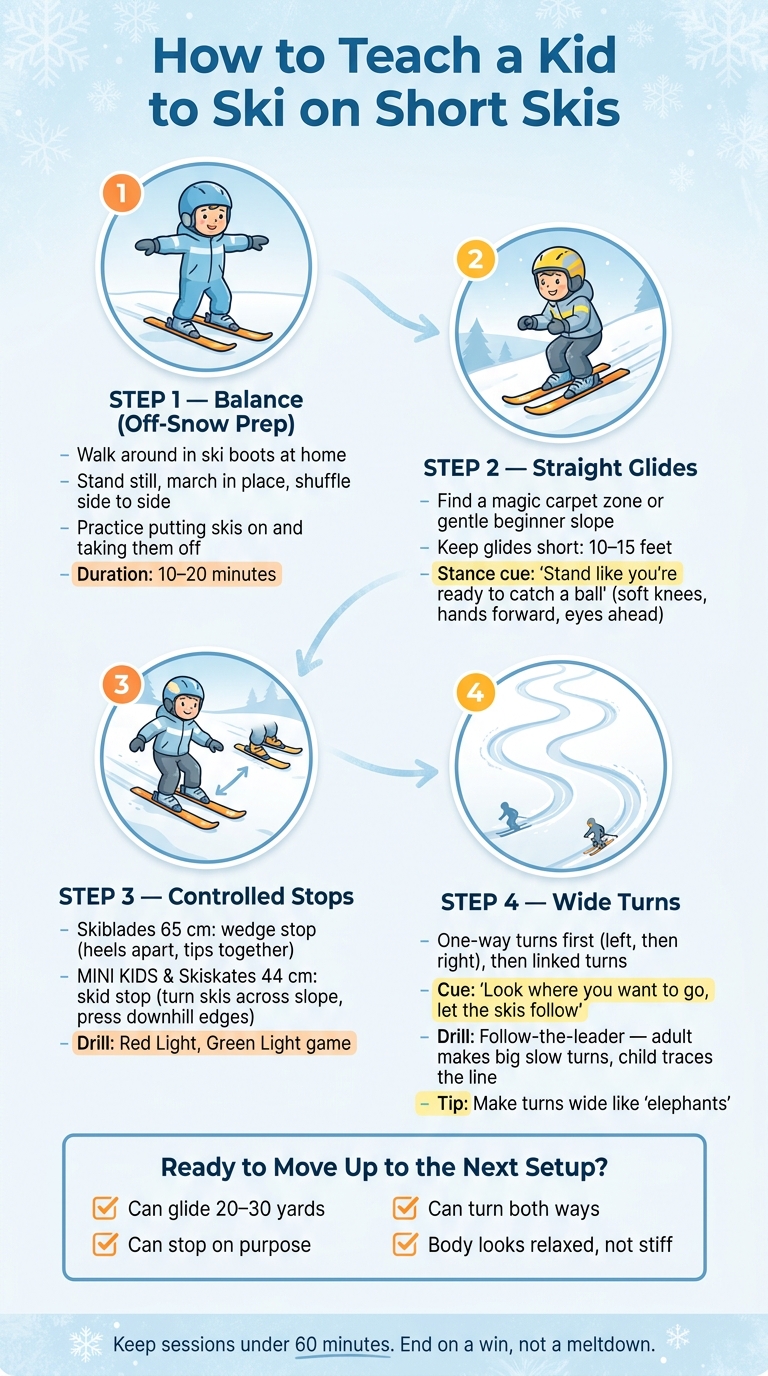
How to Teach a Kid to Ski on Short Skis: Step-by-Step Progression
Start With Straight Glides and Controlled Stops
Now that the setup and learning area are dialed in, start with short glides on the easiest slope you can find. Think magic carpet zone, not a full green run. Keep each glide short - about 10 to 15 feet.
That distance is enough.
The point here isn’t speed. It’s helping your child feel what gliding feels like without getting rattled.
Use the same balanced stance each time: soft knees, hands forward, eyes ahead. One cue that works well with kids is: stand like you’re ready to catch a ball. It’s simple, and they get it fast.
Then move to stopping.
On Snowfeet Skiblades 65 cm*, teach a wedge stop. Heels apart, tips a bit closer together. That shape gives kids a simple way to slow down and stop.
On Snowfeet MINI KIDS* and Snowfeet Skiskates 44 cm*, the ski is too short for a strong wedge to brake well. In that case, teach a gentle skid stop instead. Have them turn the skis across the slope and press the downhill edges.
A game like Red Light, Green Light makes this part way more fun. And, honestly, if kids think it’s a game, they’ll do ten more reps without a fuss :)
Add Wide Turns and Simple Follow-the-Leader Drills
Once your child can stop calmly a few times in a row, start steering.
Begin with one-way turns. From a gentle glide, ask them to look across the slope and slowly steer that way until they almost stop. Practice both left and right first. After that, link the turns so they gently cross the slope from side to side.
A good cue is simple: look where you want to go, and let the skis follow.
One drill works especially well here: Follow-the-leader. Ski a few yards ahead and make big, slow turns. Then let your child trace your line.
Keep it mellow:
- Make your turns wide and slow
- Stay a few yards ahead
- Pick an easy game, like “elephants,” for big slow turns
Short skis react fast, so little movements go a long way. That’s why calm, wide turns work better than big, jerky steering.
Know When to Move to the Next Setup or Steeper Terrain
Move up based on skill, not the calendar.
A good sign your child is ready: they can glide 20 to 30 yards, stop when they mean to, and turn both ways without looking stiff or nervous.
The gear path is pretty natural:
- Snowfeet MINI KIDS* helps kids build the basics
- Snowfeet Skiskates 44 cm* add more glide and control
- Snowfeet Skiblades 65 cm* suit kids who can link turns and handle speed well
When you switch gear, keep the terrain the same at first. Go back to the main drills and let your child get used to the new setup before adding steeper slopes.
A good rule of thumb: change one thing at a time - gear or terrain, never both.
If progress stalls, the next step is avoiding the few mistakes that slow kids down.
Avoid Common Mistakes and Wrap Up the Learning Plan
Mistakes Parents and Kids Make on Short Skis
Once your child can glide and stop, you’re past the hardest part. Now the goal is simple: don’t let a few common mistakes slow things down.
Most short-ski problems come from the same small handful of issues. Catch them early, and things tend to go a lot more smoothly.
These are the mistakes that most often undo solid lessons.
| Mistake | What It Looks Like | Why It Happens | Quick Correction |
|---|---|---|---|
| Terrain too steep | Child freezes, sits back, or can't stop | Parent moves up too fast | Return to magic carpet flats; progress only when stopping is consistent |
| Overhelping | Child skis only while being held | Too much contact | Ski beside them without touching; hold hands only at the very start |
| Pushing speed too early | Straight-line runs, panic at the bottom | "Just go!" before stopping is reliable | Back to Red Light, Green Light on gentle terrain until stops are automatic |
| Leaning back | Hips behind feet, backward falls | Feet drifting inward | "Touch your knees, touch your boot tops" drill; cue: nose over toes |
| Rushing to longer skis | Confidence drops sharply after gear switch | Parent assumes time = readiness | Stay on the current setup until control looks relaxed |
A few extra rules matter here too:
- Never ski with a child between your legs.
- Stand beside them or slightly behind them.
- Leave poles out.
That last point gets missed a lot. More terrain, more time, and more speed might sound like progress, but that’s often what turns a good first day into a rough one.
Conclusion: The Fastest Path to Skill and Confidence on Snow
With those mistakes out of the way, the plan stays pretty simple.
Pick the right Snowfeet model for your child’s size and skill. Start on nearly flat terrain. Teach gliding, stopping, and turning in that exact order. Keep sessions under an hour. End each run with a win, not a meltdown.
Then move through the progression - MINI KIDS to Skiskates to Skiblades - based on skill, not just time. You want to see a relaxed body, solid stops, and easy turns before switching gear.
Longer alpine skis still make sense for racing goals or advanced carving. But for most U.S. families who ski a few weekends each year, shorter gear cuts down the fear, keeps speed lower, and gets kids to the fun part much sooner. And that’s the whole game, honestly. If skiing feels fun, they’ll want to do it again :)
Short skis help keep lessons calm, simple, and fun.
FAQs
How do I know if my child is ready for short skis?
Your child is ready for short skis when they can balance well, stand in a steady way, and follow simple instructions like stopping when you ask.
So, age matters less than control. That’s the big thing.
Go with the shortest model they can handle right now:
- MINI KIDS: best for first slides on flat terrain
- 44 cm Skiskates: good for basic weight shifts and small hops
- 65 cm Skiblades: a nice fit for gentle slopes and first turns
- 99 cm Skiblades: for older, confident kids riding groomed runs
Shorter gear is often easier at the start. It gives kids a better shot at feeling in control instead of getting dragged around by skis that are too much, too soon :)
Should I choose winter boots or ski boots for my kid?
It depends on the Snowfeet model and your child’s skill level.
Snowfeet MINI KIDS work with regular winter boots. That makes first lessons a lot easier and more comfy for kids. No stiff gear, no extra hassle - just strap in and go :)
For Skiskates 44 cm and Skiblades 65 cm, you can use ski boots or snowboard boots.
Here’s the simple version:
- Snowboard boots feel softer and more comfortable
- Ski boots give better edge control and more stability
So, if your child is just getting started, softer boots may feel less intimidating. If they already have some skills and want more control on turns, ski boots can be a better fit.
When should my child move to longer short skis or steeper terrain?
Only move up when your child shows steady control, balance, and confidence on easy, groomed slopes. They should be able to stop with a wedge or hockey stop, steer around other skiers, and manage their gear without help.
If 44 cm Skiskates or 65 cm Skiblades start to feel too twitchy or too shaky on longer runs, that’s a good sign it may be time to size up. Take it slow. Don’t rush into steeper, icy, or crowded terrain.


Leave a comment
This site is protected by hCaptcha and the hCaptcha Privacy Policy and Terms of Service apply.