
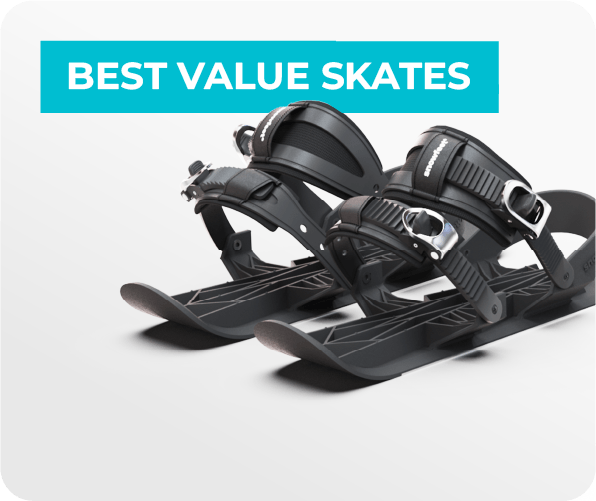
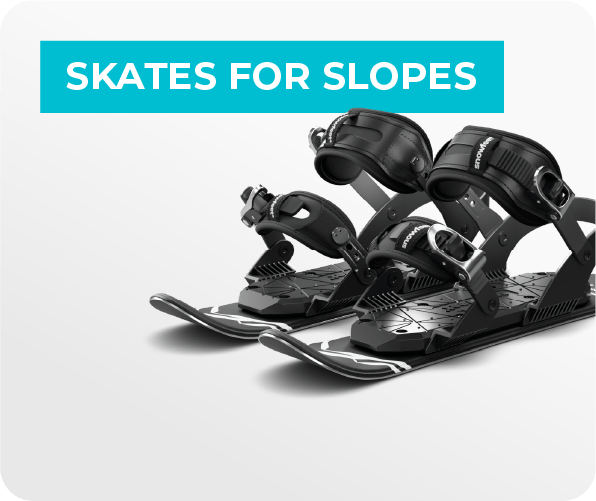
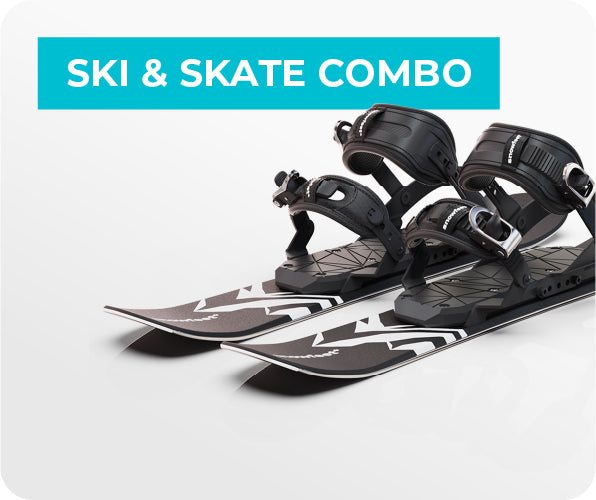
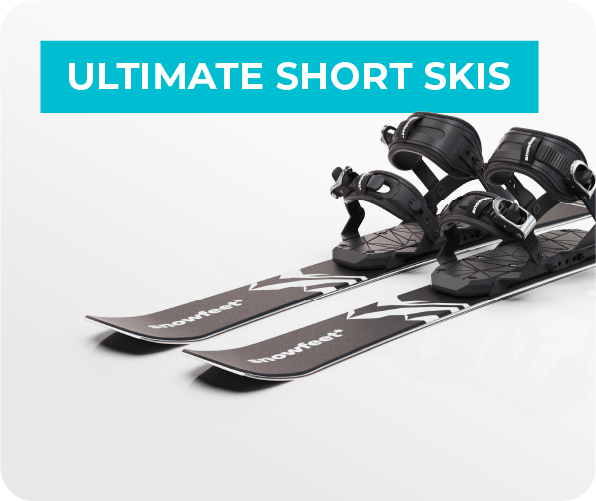
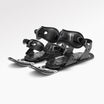
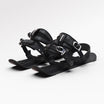
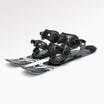
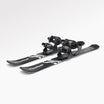
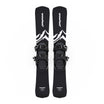
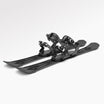
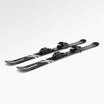
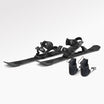
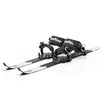
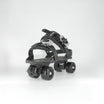
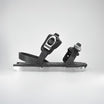
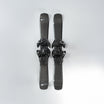
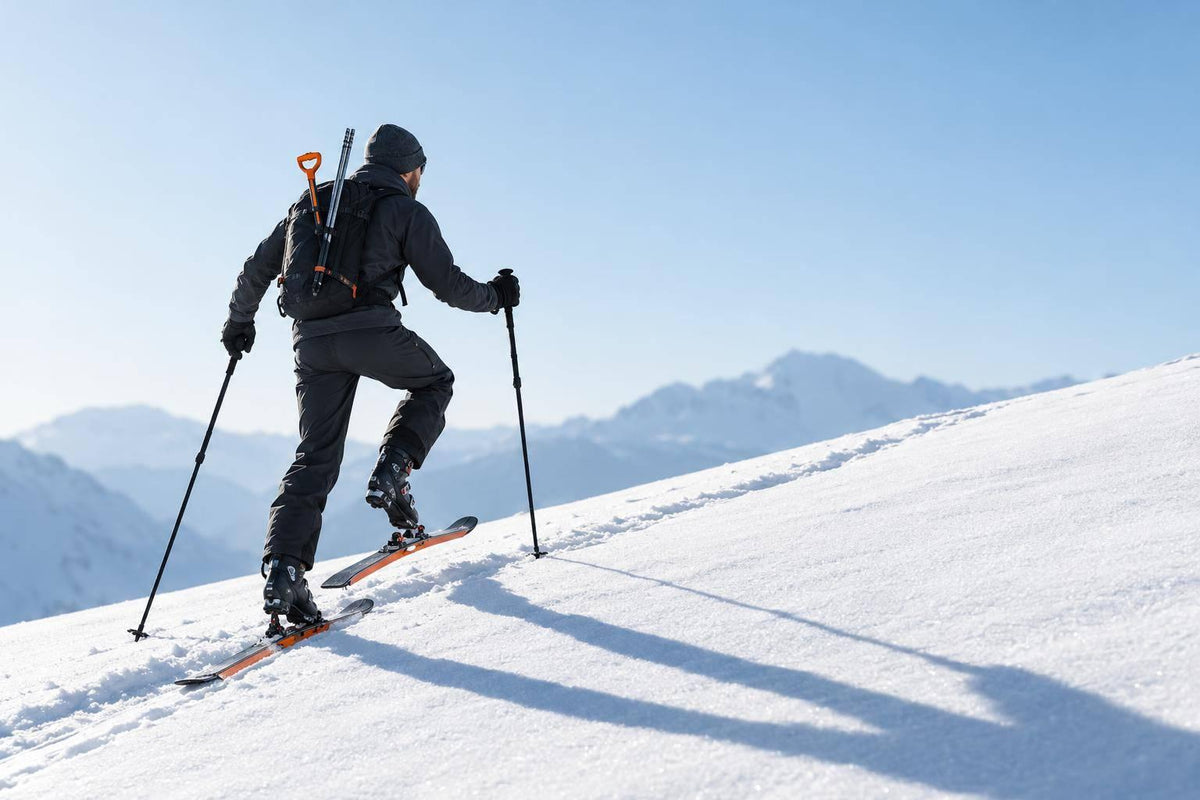
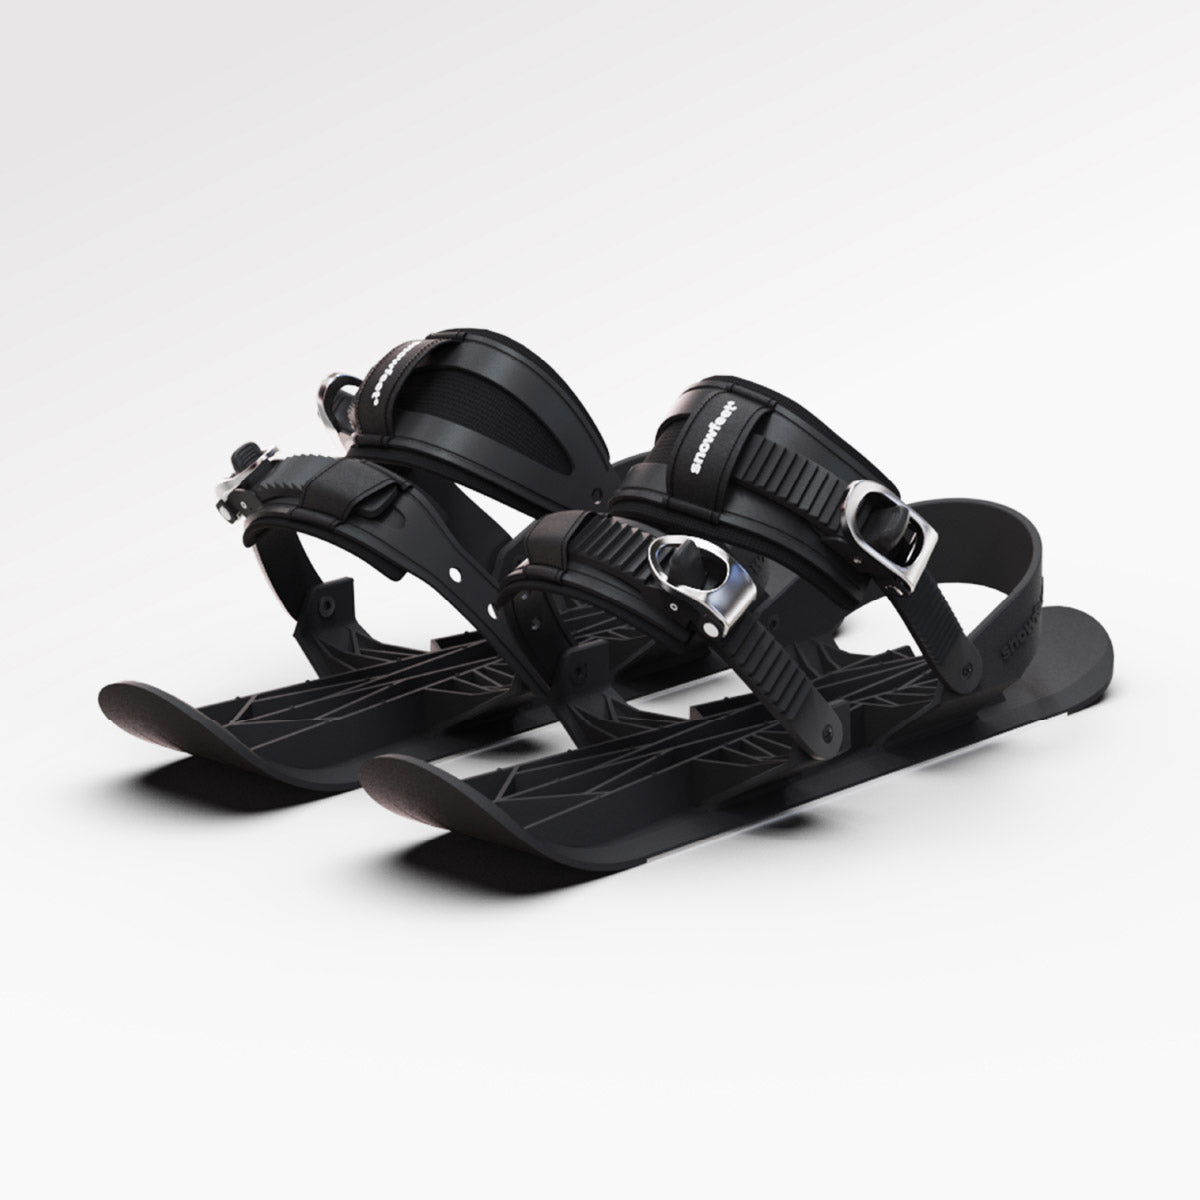
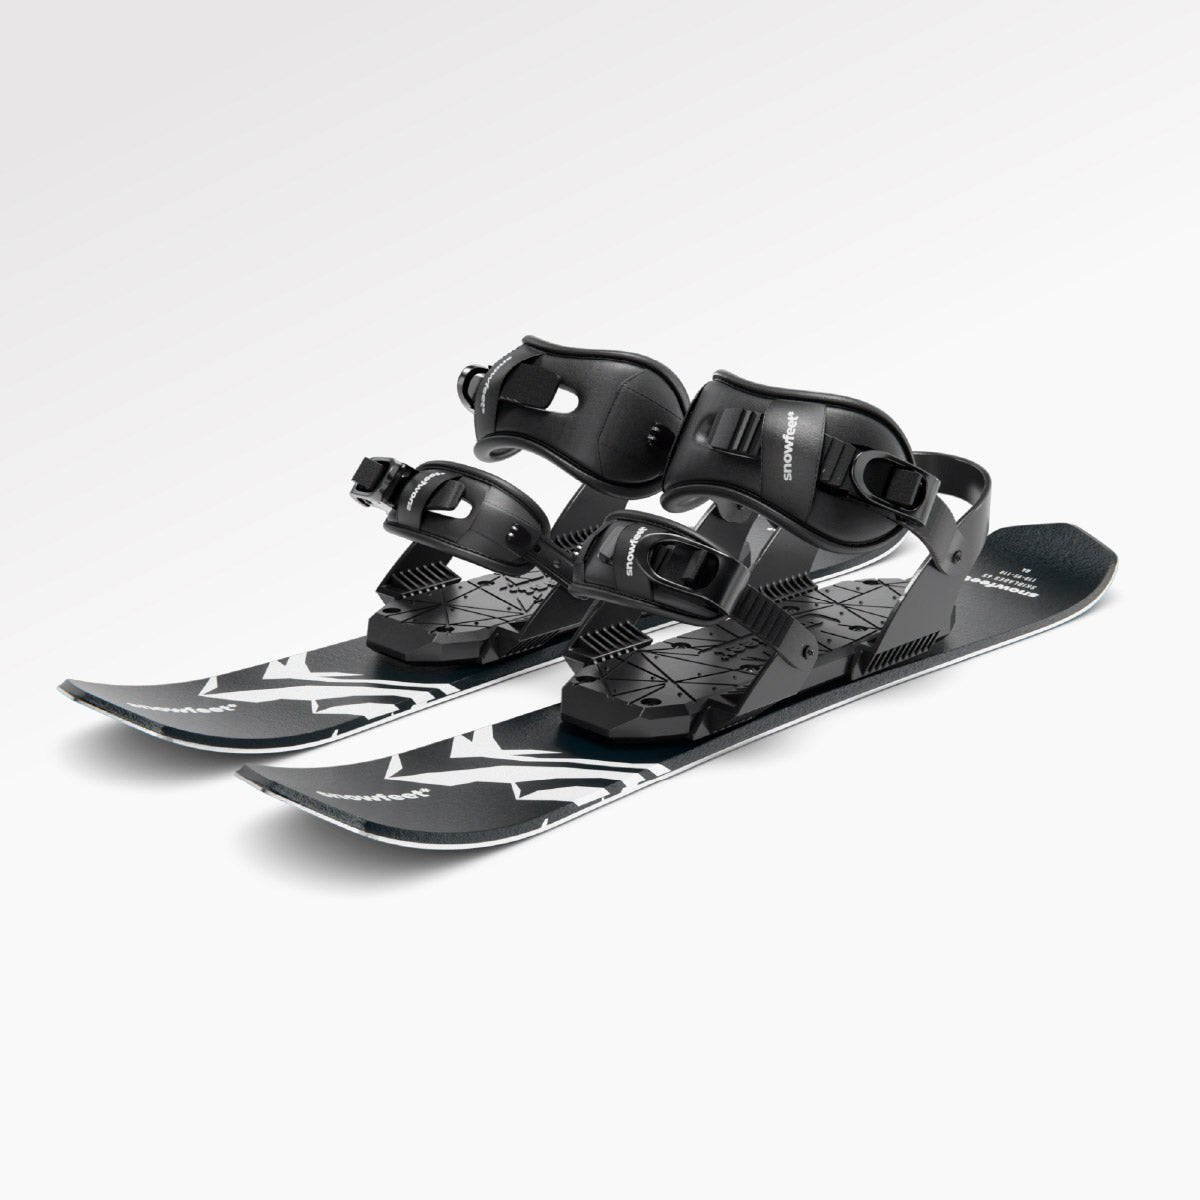
Short skis can climb - but only with a free-heel binding, boots that fit, and secure climbing skins. WALKSKI 100 cm (about 39 inches) is built for casual, low-angle tours. Snowfeet’s 44, 50, 65, and 99 cm slope models aren’t built for uphill touring.
A good setup is just the start:
- Check the fit: Test boot movement and skin attachments. Trim skins as directed, leaving about 2 mm of metal edge exposed.
- Glide, don’t stomp: Keep weight centered, slide each ski forward, and choose a gentle climbing angle. Practice turns on easy ground.
- Care for the skins: Start with dry bases, clear snow buildup, and dry skins away from direct heat after each tour.
- Plan for the whole route: Check weather, avalanche forecasts, and escape options. Set a turnaround time and pack safety and repair gear.
Longer touring skis offer more float in deep snow and more glide on long approaches. And no ski length makes avalanche terrain safe: training, a beacon, a shovel, and a probe are needed before entering it.
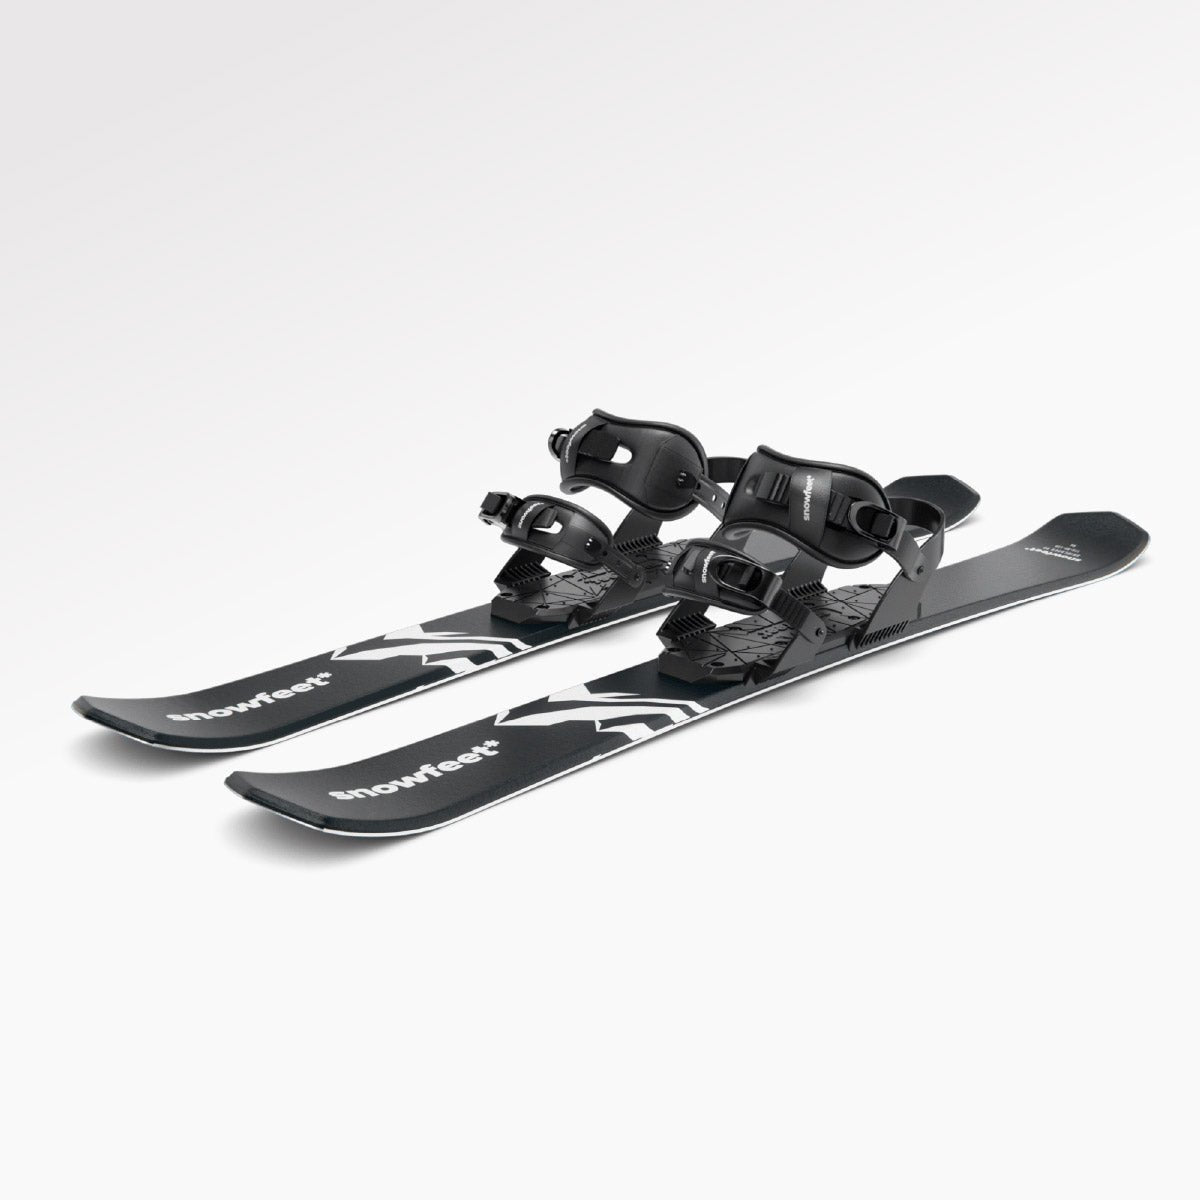
Snowfeet* WALKSKI Backcountry Touring Skis | 100 CM
Choose, Fit, and Care for Climbing Skins
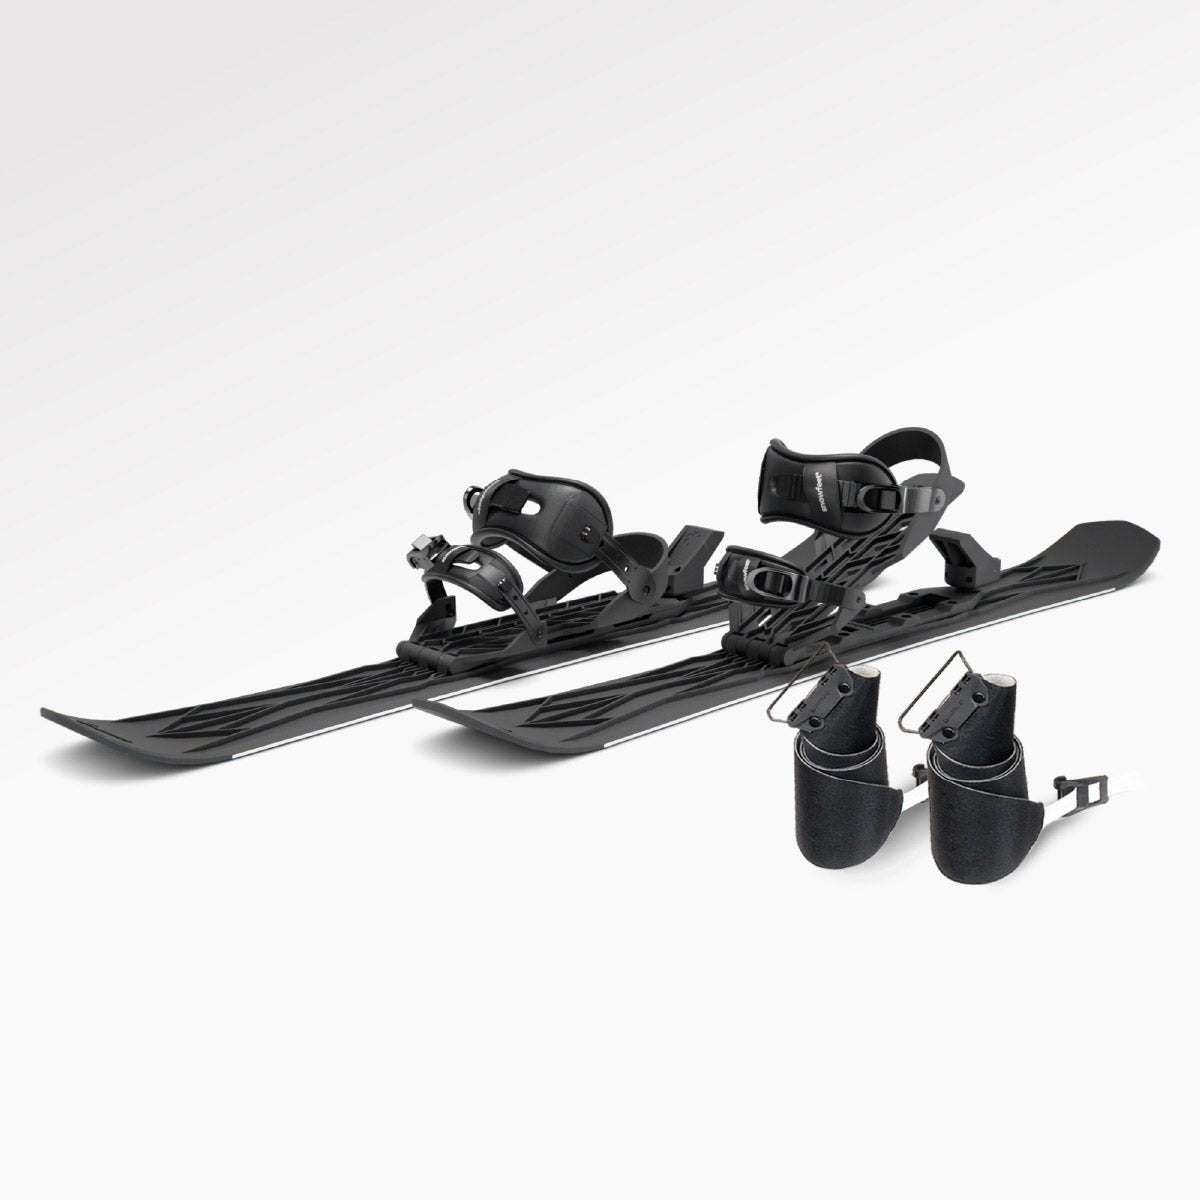
Climbing skins use one-way fibers to grip on the uphill and glide forward. With WALKSKI 100 cm, fit the skins to your exact ski and binding setup. When buying replacements, follow the ski and skin makers’ fit guides for your setup. Once the skins fit and move freely, you can work on a steady uphill stride.
Check Skin Size and Attachment Fit
Measure your skis’ length and width before buying or trimming skins. For maximum coverage, choose skins about 5–7 mm narrower than the ski’s widest point. For a lighter setup, match the waist width. Trim only as directed, then check that the skins make full contact from tip to tail.
Make sure the tip connector sits securely and the tail has the right tension. The skin should cover the intended grip zone with no gaps or folds. On WALKSKI 100 cm, keep skins clear of the binding so Walk and Climb modes move freely.
- Base grip: Start with clean, dry surfaces to help the skins stick and keep snow out. Cold can weaken the adhesive’s hold, so follow the maker’s warming instructions.
- Tip and tail hold: Check connector fit and strap tension. Clips secure the ends, but the adhesive still needs to hold well.
Traction depends on the fibers, the trim, and full skin contact.
Attach and Remove Skins Cleanly
Dry the ski bases and clear snow or moisture from the adhesive. Attach the tip connector first. Center the skin, smooth out any folds, then secure the tail.
To remove a skin, release the tail, peel toward the tip, and unhook the tip connector. Fold skins glue-to-glue, using a skin-saver sheet as directed. On cold descents, keep skins warm under your jacket to help the adhesive stay sticky.
Fix Slipping, Peeling, and Snow Buildup
- Sliding backward: The slope may be too steep, or the skins may have poor contact. Take a gentler angle and improve skin contact.
- Peeling or snow under the skin: Check for a wet or dirty base or a poor fit. Clear trapped snow, dry the surfaces, and reset the attachments.
- Restricted heel movement: A skin or connector is blocking the binding. Stop and reset it.
- Snow clumping: Clear the fibers and apply skin wax.
If the skins still slip, choose a gentler climb or terrain better suited to short skis.
After each tour, let skins dry fully in a cool room, away from direct heat. Never machine wash them. Store them as directed - usually folded glue-to-glue with a skin-saver sheet. Before your next ascent, check the adhesive, fibers, straps, and clips. Carry ski straps or duct tape for temporary fixes.
Climb With Balance and Full Skin Contact
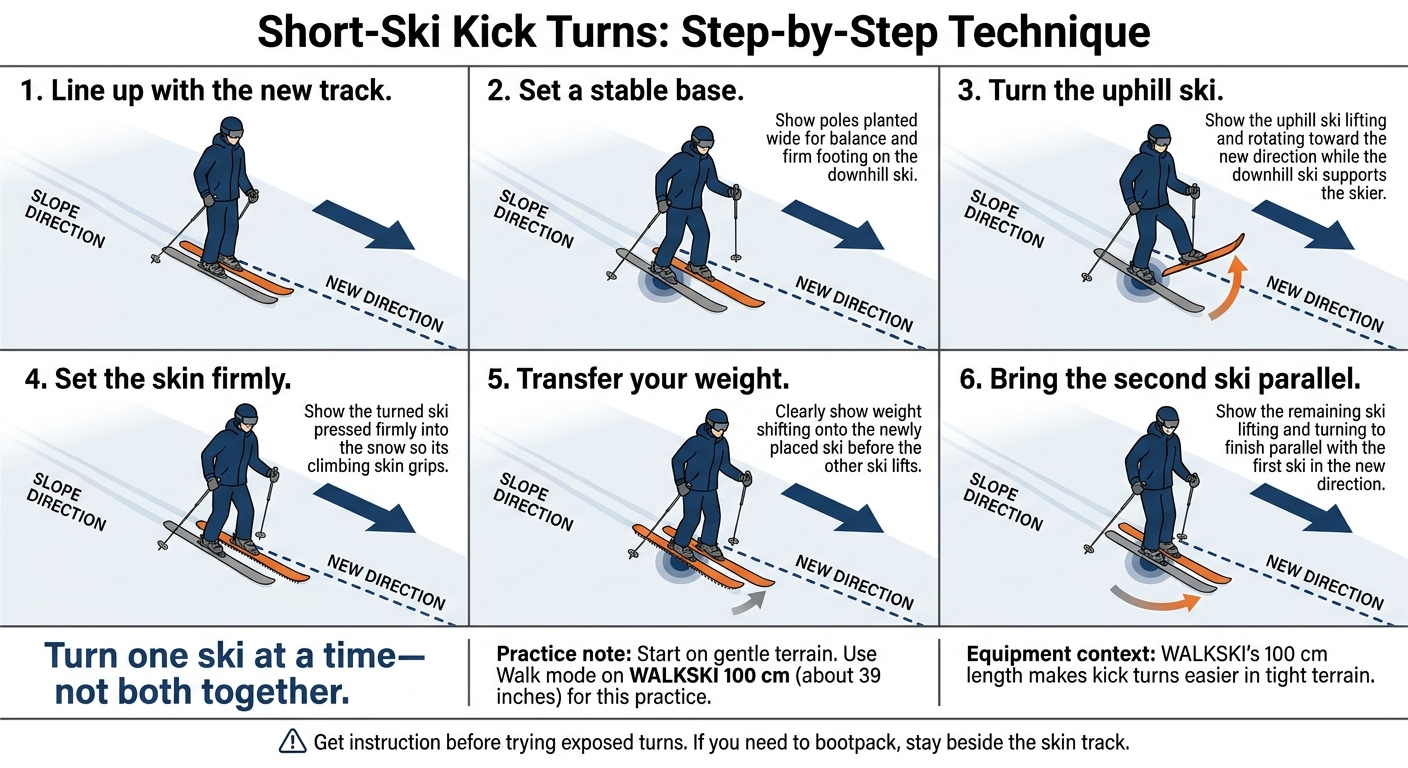
Short-Ski Kick Turns: Step-by-Step Technique
Start on gentle terrain before trying traverses or turns. On Snowfeet* WALKSKI 100 cm (about 39 inches), use Walk mode for this practice. Find a smooth rhythm at a pace you can keep up. Once you feel stable, work on keeping the skins flat and gliding with less effort.
Stay Centered and Glide Instead of Stepping
Stand upright with your weight centered over the bindings. Slide or shuffle each ski forward instead of lifting it. Move from the hip, keep the ski flat on the snow, and use your poles for balance and rhythm. This balanced stance helps you hold your line as you choose your climbing angle.
Choose a Gentler Climbing Angle
Take the lowest-angle route that lets you hold your line. Straight climbs need more skin grip; traverses and switchbacks take less effort.
On traverses, roll your ankles slightly downhill to keep the whole skin against the snow - not just the edge. When climbing straight uphill, keep the bases flat where conditions allow. Shorten your glide rather than push harder. Use Climb 1 or Climb 2 as the slope gets steeper.
Practice Kick Turns on Gentle Slopes
Move until both boots are level with the new track. Plant your poles wide for balance, then get firm footing on the downhill ski.
Lift the uphill ski and turn it toward the new direction. Press it firmly into the snow so the skin grips. Shift your weight onto that ski before lifting the other ski and bringing it parallel. Turn one ski at a time instead of twisting both together.
WALKSKI’s 100 cm length makes kick turns easier in tight terrain. Get instruction before trying exposed turns. If you need to bootpack, stay beside the skin track.
Once you can turn cleanly on gentle terrain, match your route to the slope angle and avalanche exposure.
sbb-itb-17ade95
Choose Terrain and Plan for Backcountry Hazards
Once your skins and stride work well, the mountain sets the limits. Short skis are easier to carry, not safer in avalanche terrain. Snowfeet* WALKSKI 100 cm are easy to maneuver, but their small size doesn’t reduce avalanche risk. Good gear and technique can’t remove backcountry hazards.
Check Avalanche Forecasts and Terrain Exposure
Give terrain and snow conditions the same care you gave equipment compatibility. Before you leave, read your local avalanche center’s forecast. Check wind, new snow, and warming or cooling trends.
Review the whole route - not just the climb - for avalanche starting zones, runouts, terrain traps, cornices, cliffs, and icy sections. Gentle ground can still sit below an avalanche path. Keep checking weather and snow conditions as you climb.
Get avalanche training and practice companion rescue before entering avalanche terrain. Each person needs a working beacon, shovel, and probe, plus the skills to use them. Start by practicing on a resort’s designated uphill route, and follow posted access rules.
Your route also needs a clear exit plan.
Set Turnaround Rules and Pack Safety Gear
Compact gear can tempt you to go farther or climb steeper slopes. Set your limits before you head out. Travel with a capable partner, and leave your route and return time with someone at home.
Pack navigation tools, a charged phone or satellite messenger, insulation, shell layers, food, water, first aid, and a repair kit with ski straps and duct tape.
Agree on turnaround rules before departure. Poor visibility, unstable snow, fatigue, gear failure, or terrain beyond the group’s ability are reasons to turn back. Reassess when wind, snowfall, or temperatures change - not just at planned checkpoints. If your skins slip on a steep or icy section, stop before you reach exposed terrain.
Conclusion: Check Your Gear, Grip, and Route
Short-ski touring works only when your skis, free-heel bindings, boots, and skins all match. Center the skins, leave a small strip of metal edge exposed, and dry them after use. Choose the gentlest line where your skins still grip. Long touring skis float and glide better in deep snow and on long approaches, but Snowfeet WALKSKI 100 cm is the better compact choice for casual, low-angle touring.
Before you head out, check your skis, skins, bindings, boots, poles, navigation tools, communication gear, layers, food, water, and repair kit. Review the weather and avalanche forecasts. Then confirm a cautious route and a turnaround plan. In avalanche terrain, carry a beacon, shovel, and probe - and know how to use them.
FAQs
How do I verify boot and binding compatibility for WALKSKI?
Check that your boots fall within the supported size range:
- Winter and snowboard boots: US 6–14.5 (EU 38–49)
- Ski boots: US 4.5–14.5 (EU 36–49 or MP 22.5–32.5)
Before heading out, test your boots in the adjustable bindings. Make sure they fit snugly and provide enough ankle support. For better performance and control, Snowfeet recommends waterproof boots with a firm, supportive structure rather than boots that flex too much.
How do I choose skin material for short skis?
Choose skins made for your short-ski model for a snug fit and steady traction. Snowfeet* WALKSKI skins come pre-sized, so you can skip tricky trimming. They’re also a lightweight option compared with universal skins.
Center the skins on the ski bases, leaving the metal edges exposed for grip on ice. Look for secure tip-and-tail clips that keep the skins taut and help prevent slipping on the climb.
When should I replace my climbing skins?
Adhesive failure is the main sign it’s time to replace your climbing skins. Replace them when dirt or debris stops the glue from sticking well, or when moisture and ice buildup keep causing traction problems.
To help your skins last longer, keep the glue clean and dry, and store them properly. If they still slip despite good technique and clean glue, they’ve likely reached the end of their useful life.



Leave a comment
This site is protected by hCaptcha and the hCaptcha Privacy Policy and Terms of Service apply.