
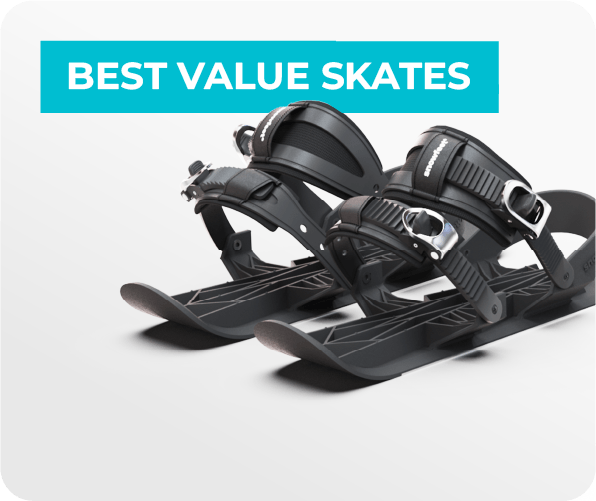
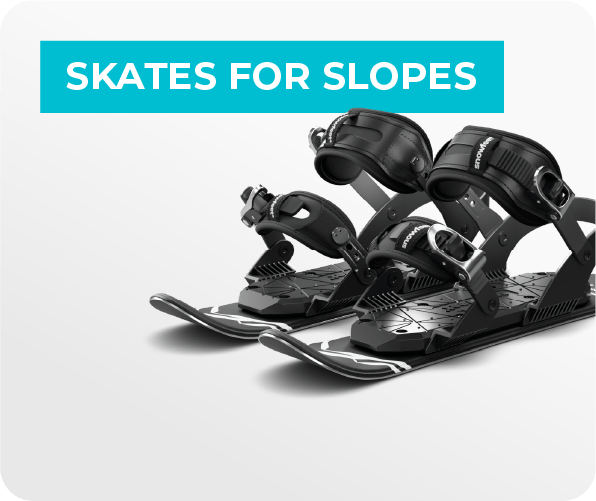
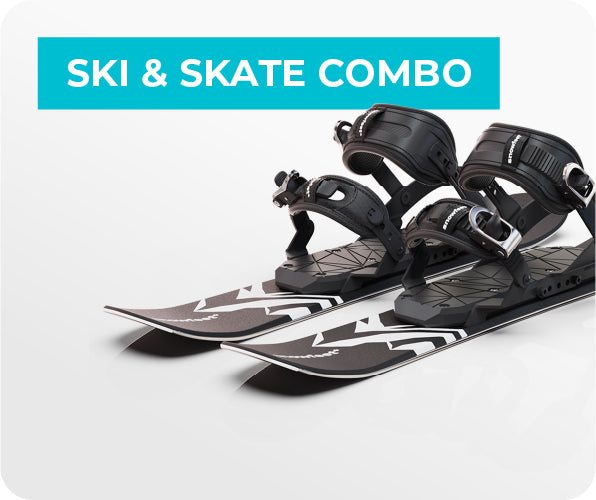
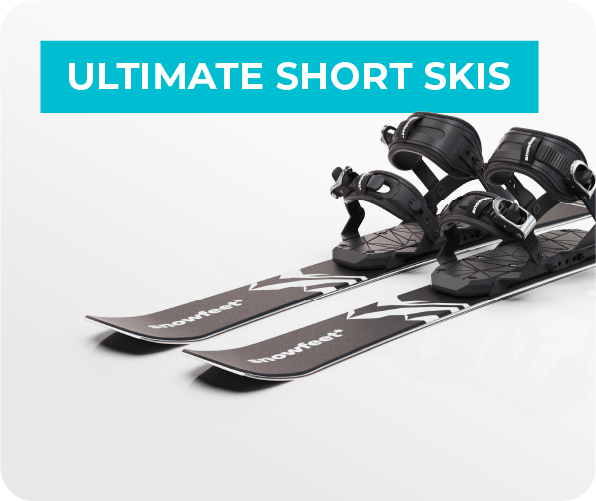
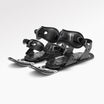
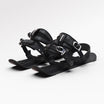
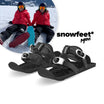
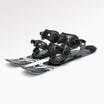
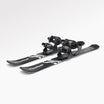
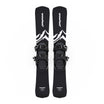
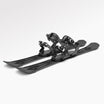
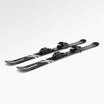
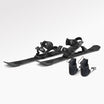
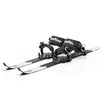
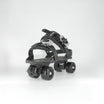
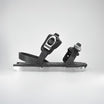
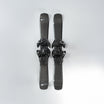
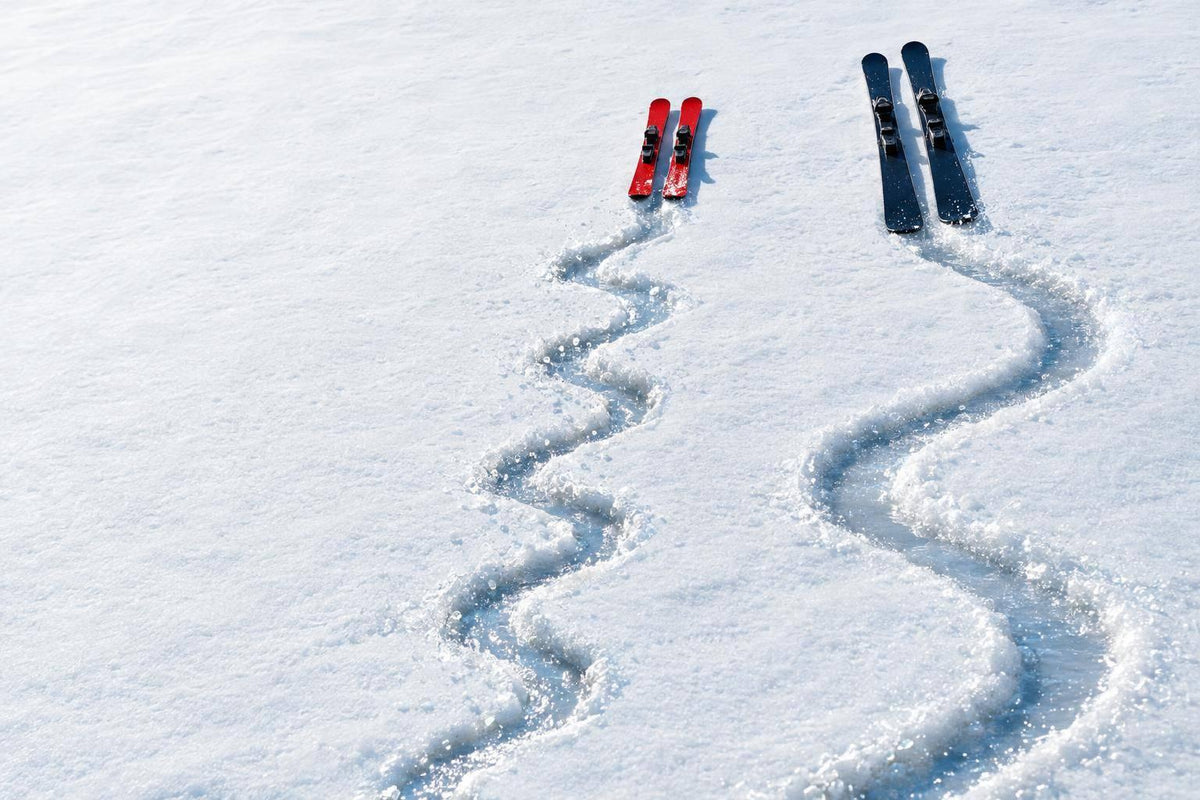
I’d choose WALKSKI for short, rolling routes - not long tours or deep powder. At 39 inches (100 cm), these skis need less room to turn, but give up glide, flotation, and stability at speed.
Here’s my short checklist before you head out:
- Check the fit: Winter, snowboard, or ski boots may work, but each boot must sit snug in its binding.
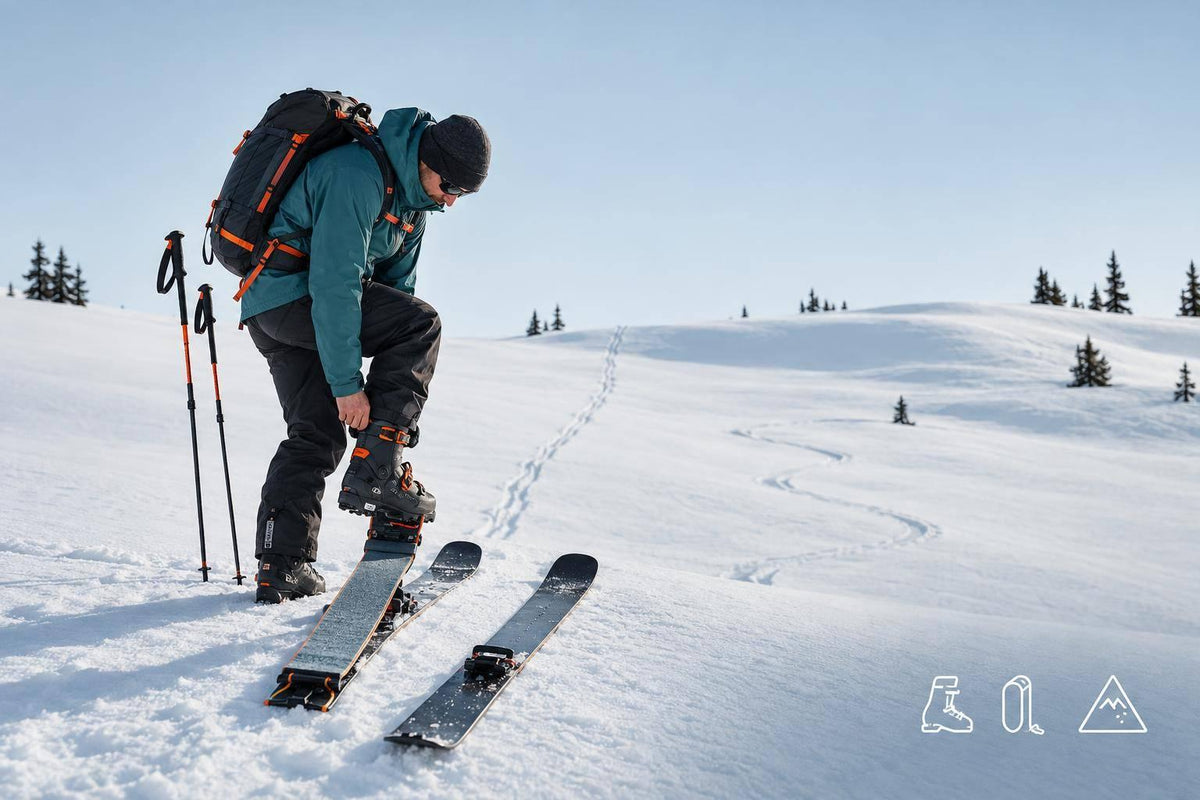
- Skin up, ski down: Attach the included skins for climbs. Before descending, remove them, stow the climbing risers, and check that Ski mode holds both heels.
- Keep it mellow: Pick short climbs and low-speed descents with room to stop. Practice transitions on low-risk snow first.
- Check the whole route: <u>Low-angle terrain doesn’t mean no avalanche risk.</u> Check the forecast, overhead slopes, and terrain traps. Bring the training, partner, and gear the route calls for.
The supplied listing puts the price at $750, with bindings and skins included. My take? Choose WALKSKI for compact handling; choose longer touring skis for more miles, deeper snow, and more downhill support.
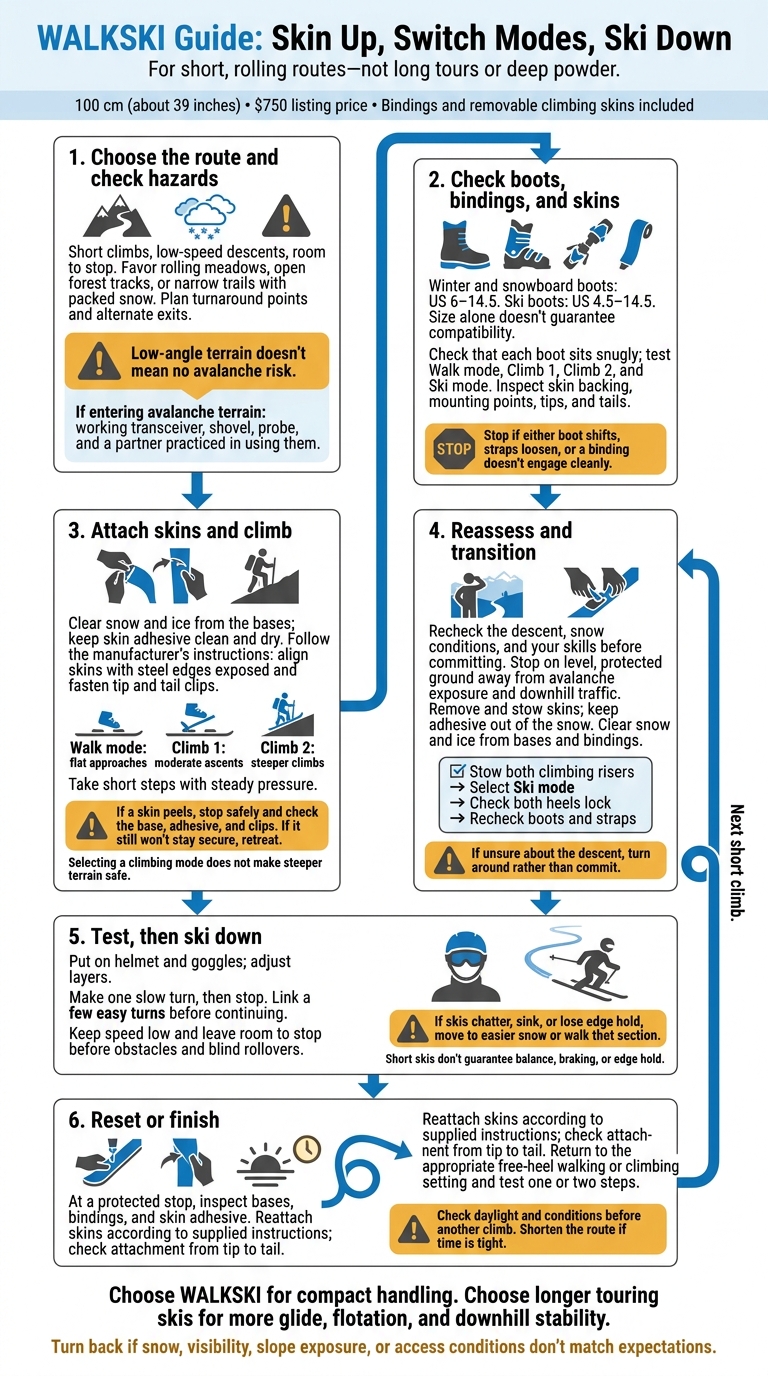
WALKSKI Guide: Skin Up, Switch Modes, Ski Down
Snowfeet WALKSKI | Backcountry Skiing in Georgia
Choose Short, Low-Angle Routes
Stick to rolling meadows, open forest tracks, or narrow trails with packed snow, short climbs, and room to stop. Map out turnaround points and alternate exits before you leave. Skip deep powder, icy descents, and tight trees unless they suit your skill level.
| Decision factor | WALKSKI 100 cm | Longer touring skis |
|---|---|---|
| Uphill glide | Suits short climbs | More efficient glide on long approaches |
| Downhill stability/flotation | Easy to pivot at low speed; less stable at speed and sinks more in deep snow | Greater stability at speed and generally better flotation |
| Tight turns/portability | Needs less turning space; easier to carry and store | Needs more turning space; bulkier to transport |
For short outings, WALKSKI wins on compact handling. Longer skis still win on glide, flotation, and speed.
If your route fits WALKSKI’s range, check your boots, binding modes, and skins next.
Check Boot Fit, Binding Modes, and Skins
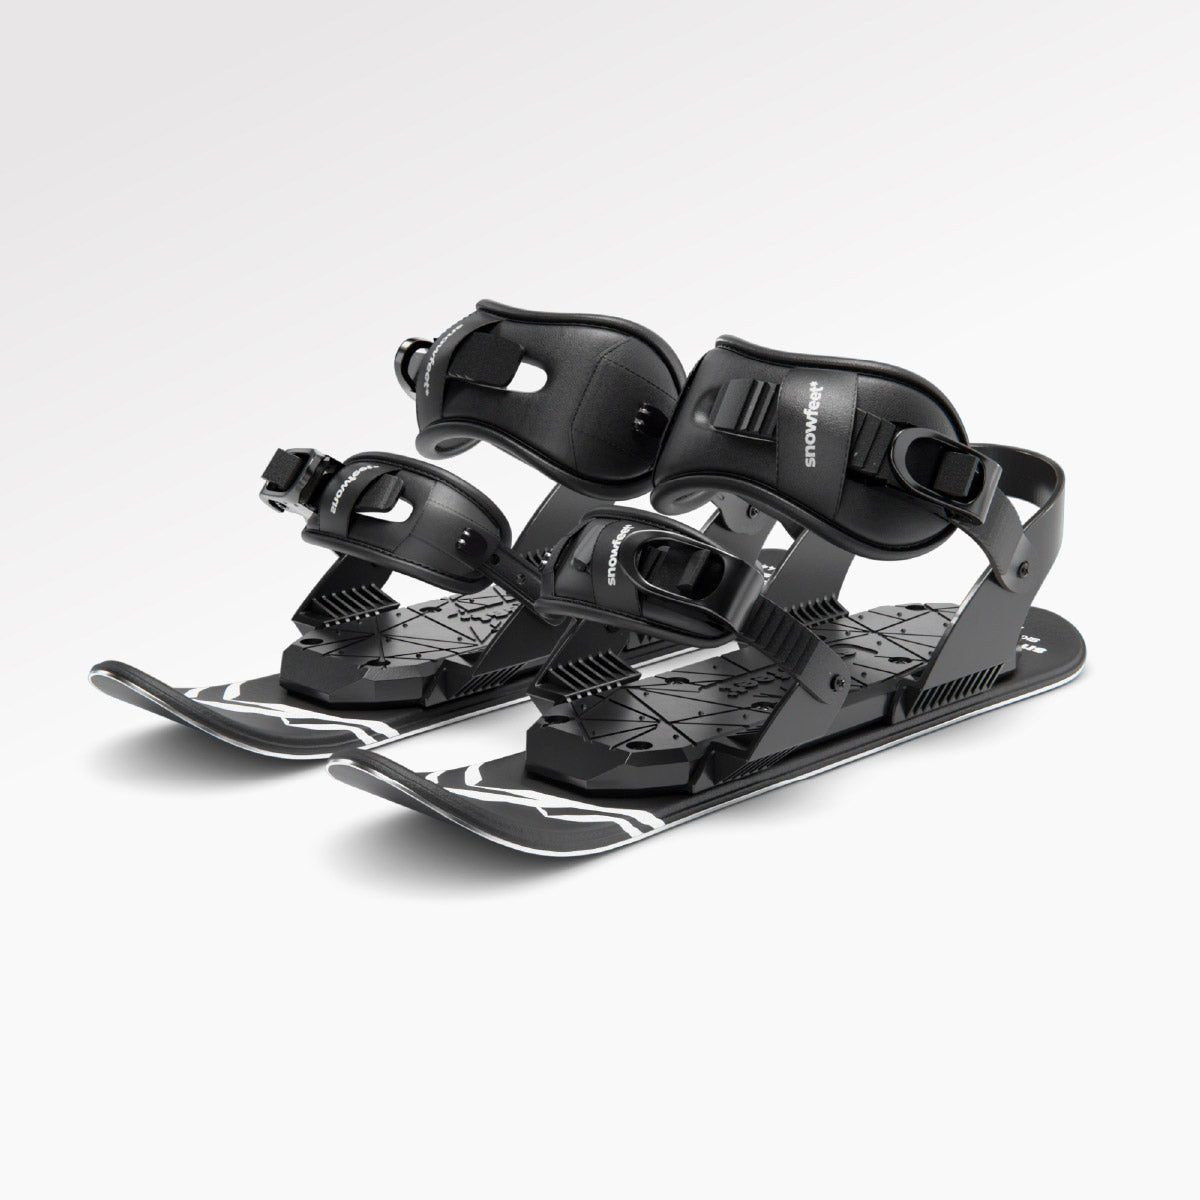
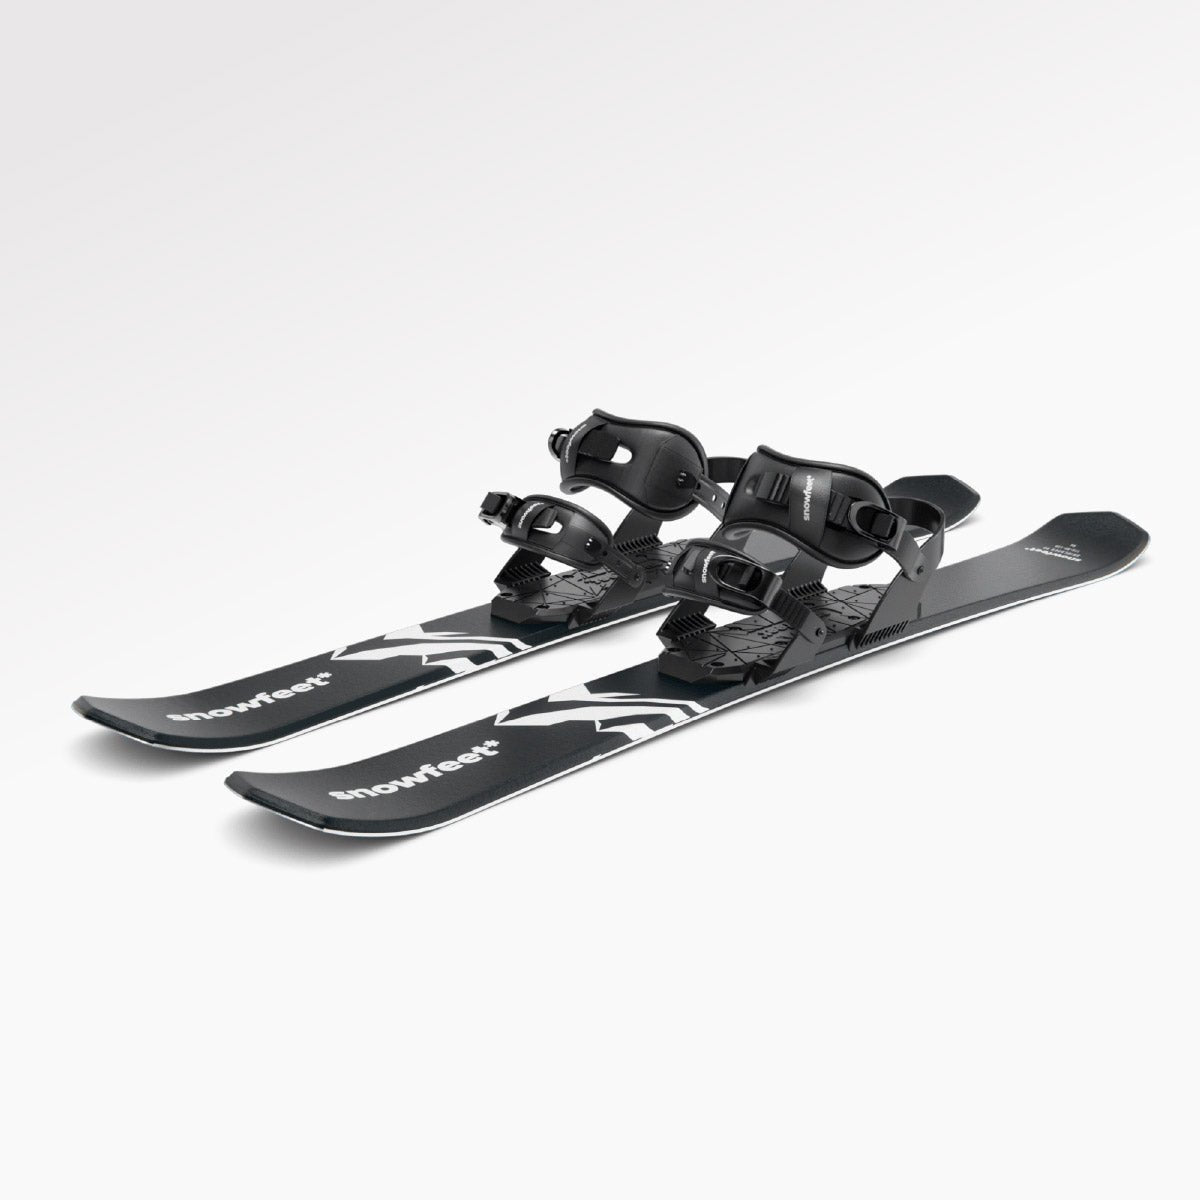
WALKSKI fits winter and snowboard boots in US sizes 6–14.5 and ski boots in US sizes 4.5–14.5. Secure your boots and check the fit - size alone doesn’t guarantee compatibility. Soft winter boots feel comfortable for walking, but they provide less support and edging control than ski boots. Choose terrain to match. Getting the fit right now saves time when you reach the skin track.
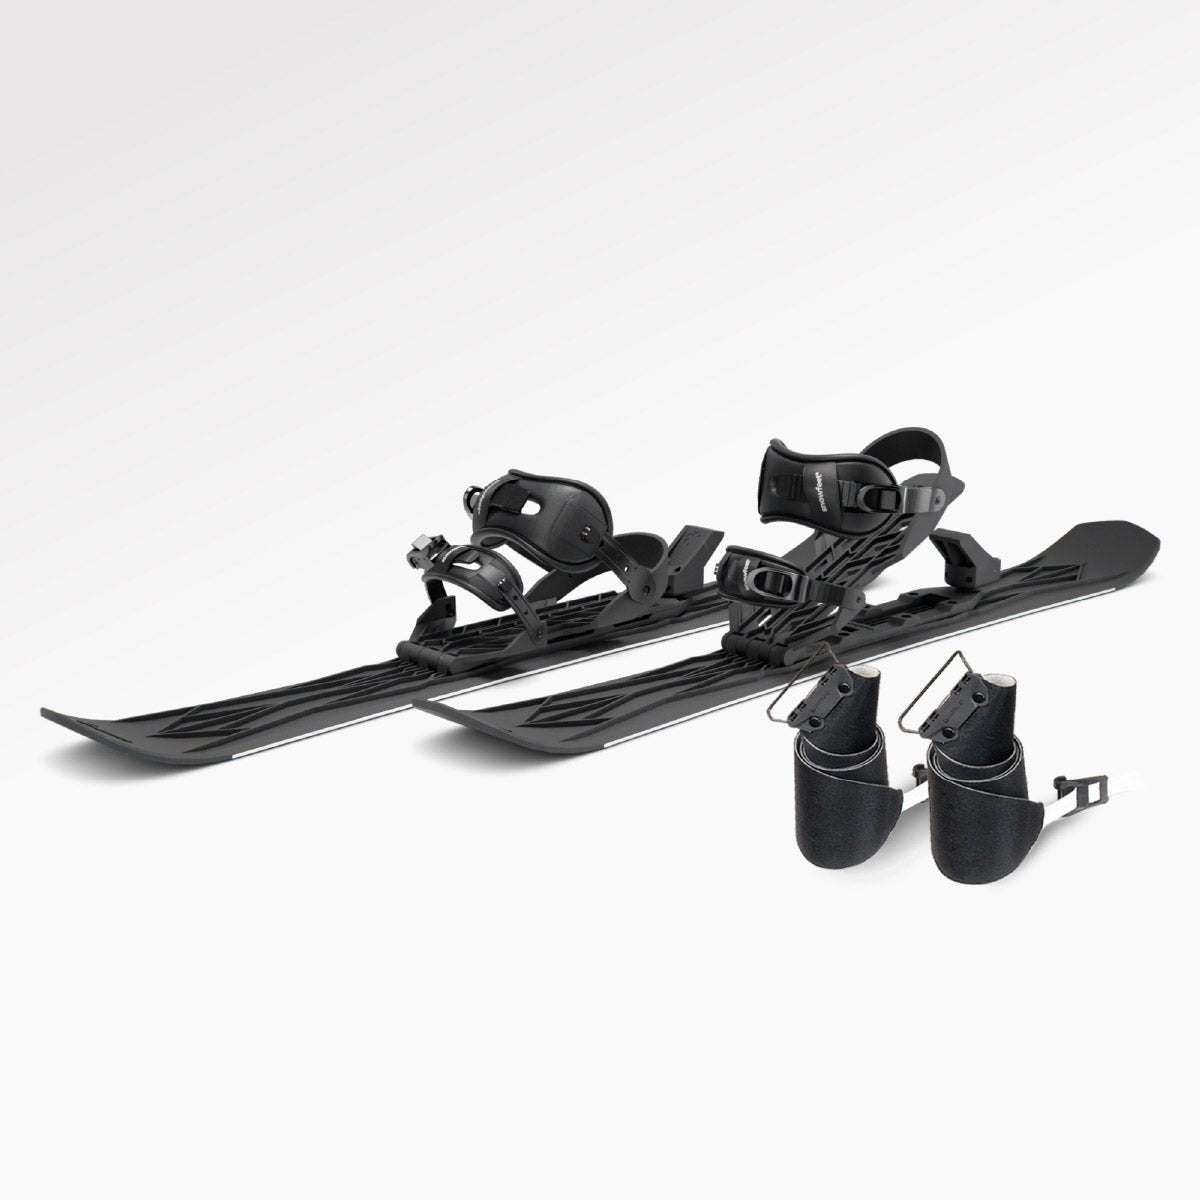
Test Walk mode, Climb 1, Climb 2, and Ski mode. Inspect the included removable skins’ backing, mounting points, tips, and tails. Attach them straight, without covering the steel edges.
Walk a few steps on level snow, then try a short climb with the skins attached. Remove and stow them, switch to Ski mode, and test a short descent with easy turns. Stop if either boot shifts, straps loosen, or a binding doesn’t engage cleanly.
Once the setup works on flat snow, check the full route for hazards.
Check Avalanche Exposure and Route Hazards
Even a short, gentle route needs a full hazard check. Read the local avalanche forecast and review recent weather, wind, snowfall, and warming trends.
Check for overhead start zones, connected slopes, terrain traps, creek crossings, thin snow over water, wind-loaded pockets, icy sections, and spots that could be hard to exit.
If any part of the route enters avalanche terrain, carry a working transceiver, shovel, and probe. Travel with a partner practiced in using them. Set your communication, spacing, and turnaround plans before you leave. Turn back if snow, visibility, slope exposure, or access conditions don’t match what you expected.
Attach Skins and Climb
Practice attaching and removing the skins at home so the steps feel routine when you’re out in the cold.
On rolling terrain, aim to climb with less effort and make smooth transitions to the descent. WALKSKI’s short length makes it easy to switch from uphill to downhill on rolling backcountry routes.
Clean the Bases and Attach the Skins
Clear snow and ice from each base. Keep the adhesive clean and dry so the skins stick well. Follow Snowfeet*’s instructions: align the skins with the metal edges exposed, then fasten the tip and tail clips.
Take Short Steps With Steady Pressure
Use Walk mode for flat approaches, Climb 1 for moderate ascents, and Climb 2 for steeper climbs. If the skins slip, move to the next climb mode and keep steady pressure on them. Short steps help you get the most from your skins on short climbs.
If a skin starts to peel, stop in a safe spot. Check the base, adhesive, and clips, and clear any trapped snow or ice before reattaching it. If the skin still won’t stay secure, retreat rather than push on.
Recheck Conditions Before Descending
Before switching to Ski mode, check that the descent still suits your skills and the snow conditions. If you’re unsure, turn around rather than commit to the descent. If it still looks good, switch straight to Ski mode and remove the skins.
sbb-itb-17ade95
Switch Modes and Ski Down
Confirm the descent is still safe, then switch modes at a protected stop.
Store the Skins and Set Ski Mode
Stop on level, protected ground away from avalanche exposure and downhill traffic. Peel off the skins slowly, keeping the adhesive out of the snow. Brush off loose snow, then store the skins dry in a pocket or pack compartment.
Clear snow and ice from the bases and bindings. Stow both climbing risers, select Ski mode, and check that both heels lock. Tighten your compatible boots and binding straps for downhill support. Compatibility doesn’t guarantee a secure fit - check each boot in its binding.
Start on the gentlest open pitch before building speed.
Check Your Gear and Test a Turn
Adjust your layers and put on your helmet and goggles. Make one slow turn, then stop. Link a few easy turns before continuing. WALKSKI’s 100 cm (about 39-inch) length makes turning easy, but short skis don’t guarantee balance, braking, or edge hold.
Keep your speed low. Leave room to stop before trees, rocks, creek crossings, or blind rollovers. WALKSKI is best for short, controlled descents. If the skis chatter, sink, or lose edge hold, move to easier snow or walk that section. Don’t force a turn.
Reset for the Next Climb
At another protected stop, inspect the bases, bindings, and skin adhesive. Reattach the skins using the supplied instructions, and check that they sit firmly from tip to tail. Return to the appropriate free-heel walking or climbing setting, then test one or two steps before moving on.
Allow time for each transition. Check daylight and conditions before starting another climb, and shorten the route if time is tight.
Conclusion: Is WALKSKI Right for Your Outings?
WALKSKI works best when the route matches the ski: short, rolling terrain where you skin up gentle climbs, switch to Ski mode, and ski down short pitches. Gentle terrain still calls for avalanche awareness. Check overhead slopes, terrain traps, and regrouping spots before you go.
Compare Compact Handling With Touring Limits
| Feature | Value on rolling routes | Limit to consider |
|---|---|---|
| 100 cm (about 39-inch) length | Easy to turn, carry, and store | Less glide, flotation, and high-speed stability than longer touring skis |
| Multi-boot bindings | Work with winter, snowboard, and ski boots | You still need to check the fit |
| Removable skins and binding modes | Uphill grip and settings for changing terrain | Frequent transitions take time |
For these outings, easy handling matters more than maximum glide. The official product page lists Snowfeet* WALKSKI Backcountry Touring 100 cm at $750, with bindings and removable climbing skins included: WALKSKI Backcountry Touring 100 cm.
Long touring skis still have the edge for mileage, powder, and steep descents. For casual riders sticking to short, rolling routes, WALKSKI offers a more practical fit.
FAQs
Can I use WALKSKI if I’ve never skied before?
Yes. At 39.4 inches (100 cm), WALKSKI are easier to turn, steer, and control than long touring skis. That makes them less intimidating for beginners.
Before heading into the backcountry, check your gear and choose terrain that matches your skills. Practice transitions and ski control on gentle, packed slopes.
Never go alone. Carry an avalanche beacon, probe, and shovel - and get the training to use them.
How do I choose boots for better downhill control?
For the most downhill control with Snowfeet WALKSKI 100 cm, choose ski boots. Their stiff ankle support helps you make precise edge movements. The universal binding also fits winter boots and snowboard boots.
Snowboard boots are the best starting point for most casual users, with a balance of comfort and moderate support. Whichever boot type you choose, look for firm ankle support, a flat, firm sole, and a snug binding fit with no side-to-side play.
Should I remove the skins for every short descent?
Yes - remove your skins before every descent, even a short one. Snowfeet WALKSKI climbing skins grip the snow for uphill travel. They’re meant to come off when you switch to skiing downhill.
Leaving them on cuts glide and makes the skis harder to control. The skins are easy to remove, so the switch to downhill skiing is quick.


Leave a comment
This site is protected by hCaptcha and the hCaptcha Privacy Policy and Terms of Service apply.