
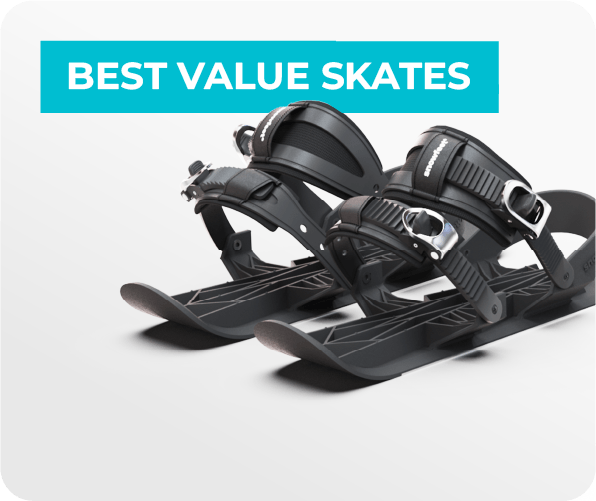
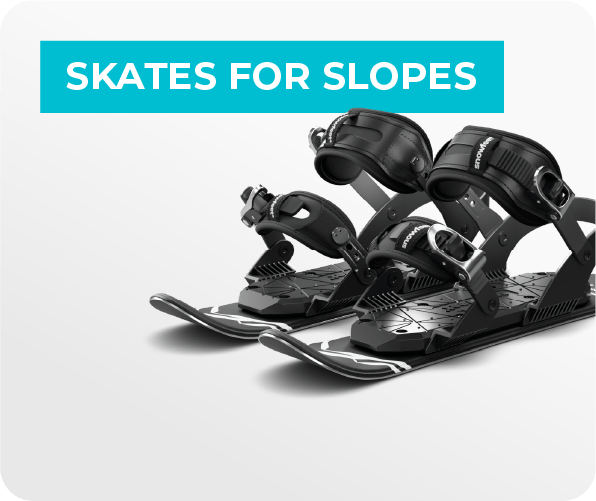
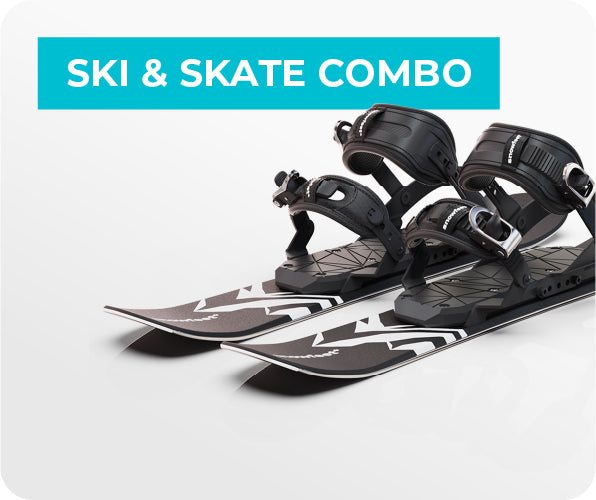
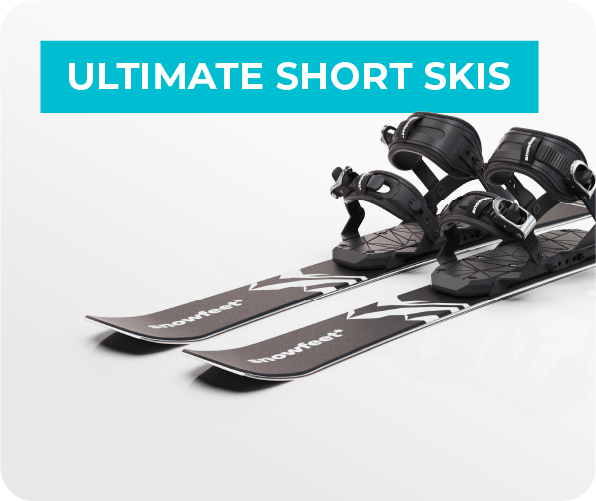
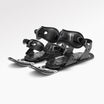
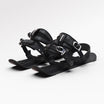
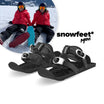
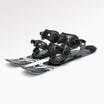
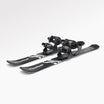
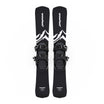
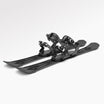
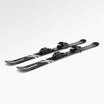
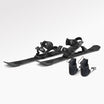
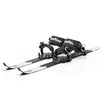

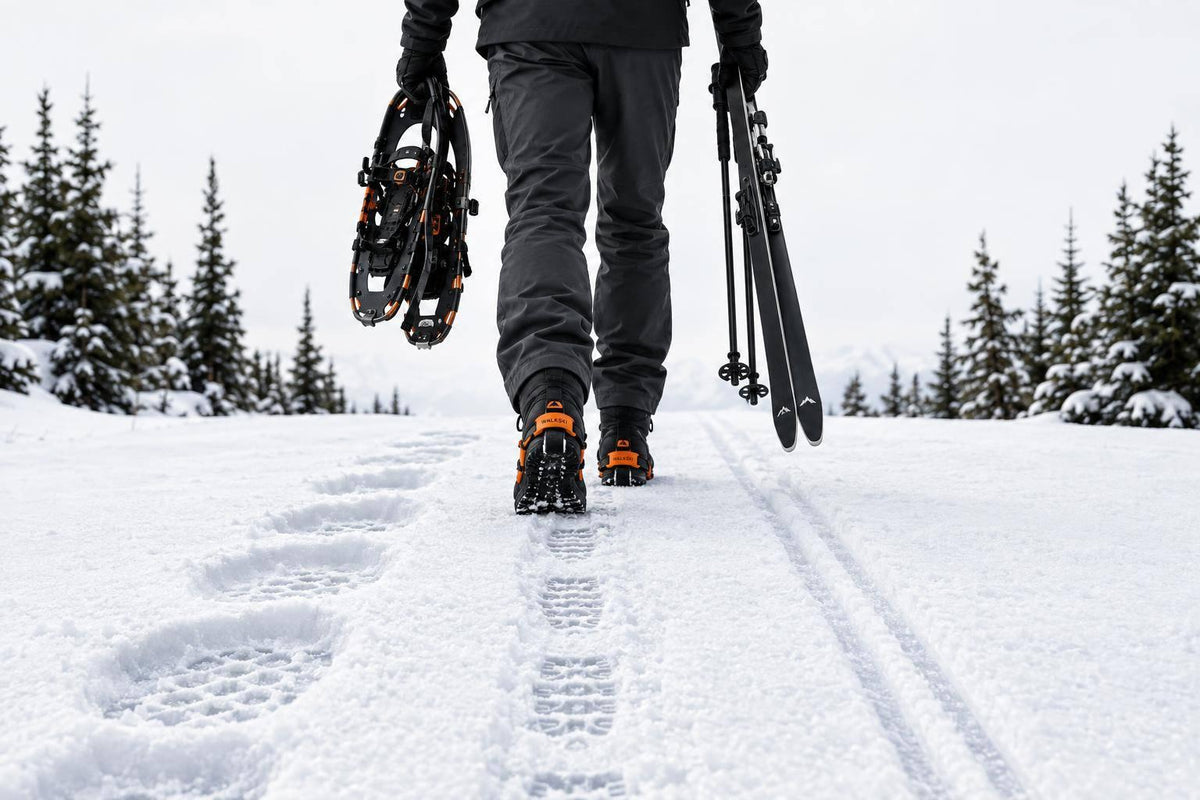
Start on flat, groomed snow, practice without poles, and learn to stop before trying hills. Snowfeet* NORDIC skis measure about 35 inches (90 cm). They’re easy to carry and turn, but long skate skis offer more glide and front-to-back support.
For a first outing, keep the plan simple:
- Check the fit: The Pro XC version needs compatible cross-country boots - not winter shoes. SNS boots won’t fit its NNN bindings.
- Build balance first: Use small outward pushes and shift weight onto each ski before adding poles.
- Practice braking: Learn a controlled wedge stop with plenty of clear space.
- Keep it short: Take breaks, leave classic tracks untouched, and try gentle hills only when balance and braking feel steady.
The goal isn’t speed. It’s a calm glide, a clean stop, and enough energy to enjoy the trip back.
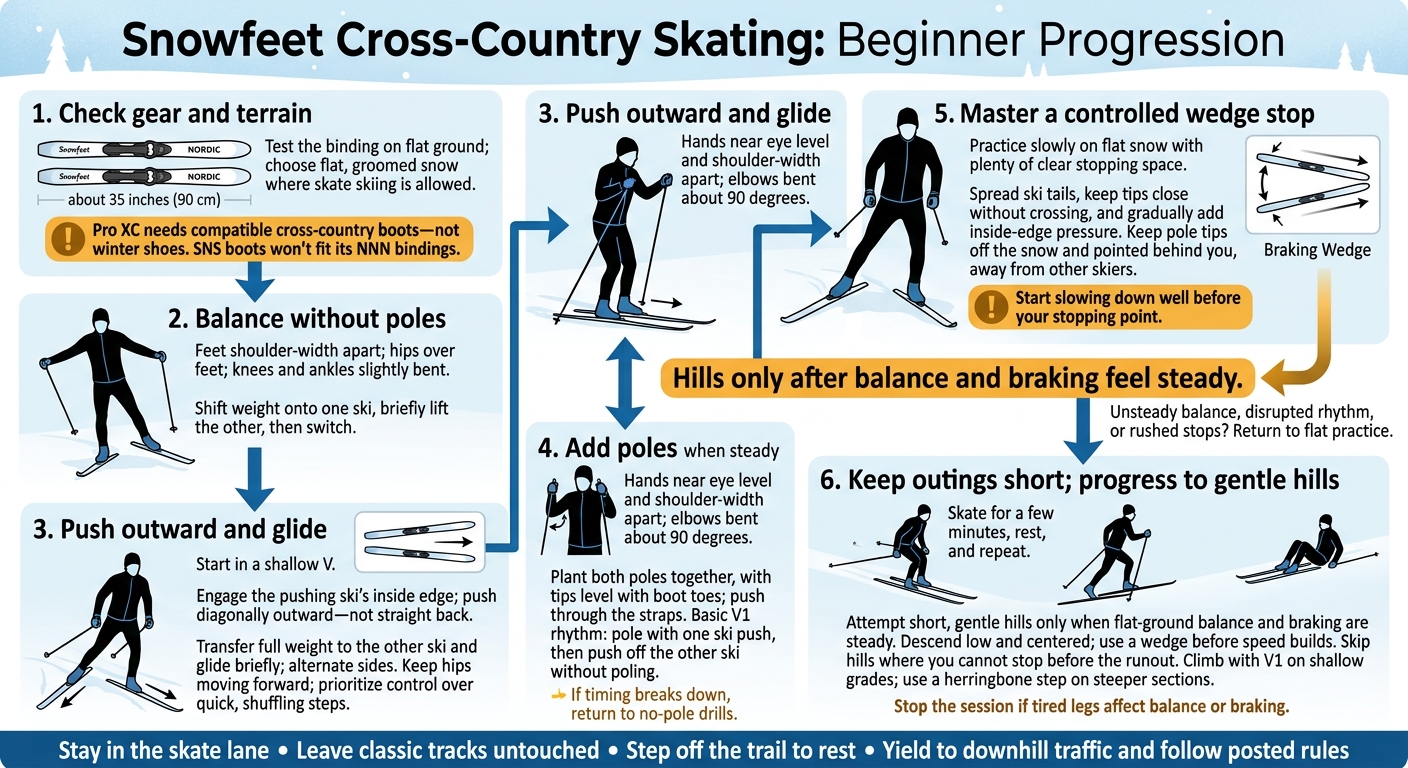
Snowfeet Cross-Country Skating: Beginner Progression
2. Practice Balance, Weight Transfer, and Push-Off
Find a Balanced Stance
On your flat, groomed practice trail, set your poles aside. Stand with your feet shoulder-width apart, hips over your feet, and knees and ankles slightly bent.
Shift your weight onto one ski. Lift the other ski for a moment, set it down, then switch sides. Keep your knees bent. If you lose your balance, reset your stance and try again.
Push Outward and Glide on One Ski
Use the flat, groomed trail from the first section. Start with short drills without poles.
Set your skis in a shallow V. Shift your weight onto one ski and tip it onto its inside edge. Push diagonally outward - not straight back - as you move your full weight onto the other ski. Keep your hips moving forward so they don’t trail behind your feet.
Try a simple step-and-glide drill: alternate small pushes, lift the free ski clear of the snow, and glide briefly before switching sides. Aim for a clean push, full weight transfer, and a steady glide - not quick, shuffling steps.
Once you can balance and glide cleanly, add poles and begin learning how to stop.
3. Add Poles and Learn to Stop
Time Pole Pushes With Your Skating
Add poles once you feel steady skating without them. Keep the centered stance and weight transfer from section 2. Slip your hands into the straps. Hold your hands near eye level and shoulder-width apart, with your elbows bent about 90 degrees.
Plant both poles together, with the tips level with your boot toes. Tighten your core and push through the straps rather than pulling with your arms. For a basic V1 pattern, match the pole push with one ski push. Then glide and push off the other ski without poling. If the timing feels off, go back to no-pole drills.
Once you’ve got a steady poling rhythm, practice braking under control.
Slow Down and Stop With a Wedge
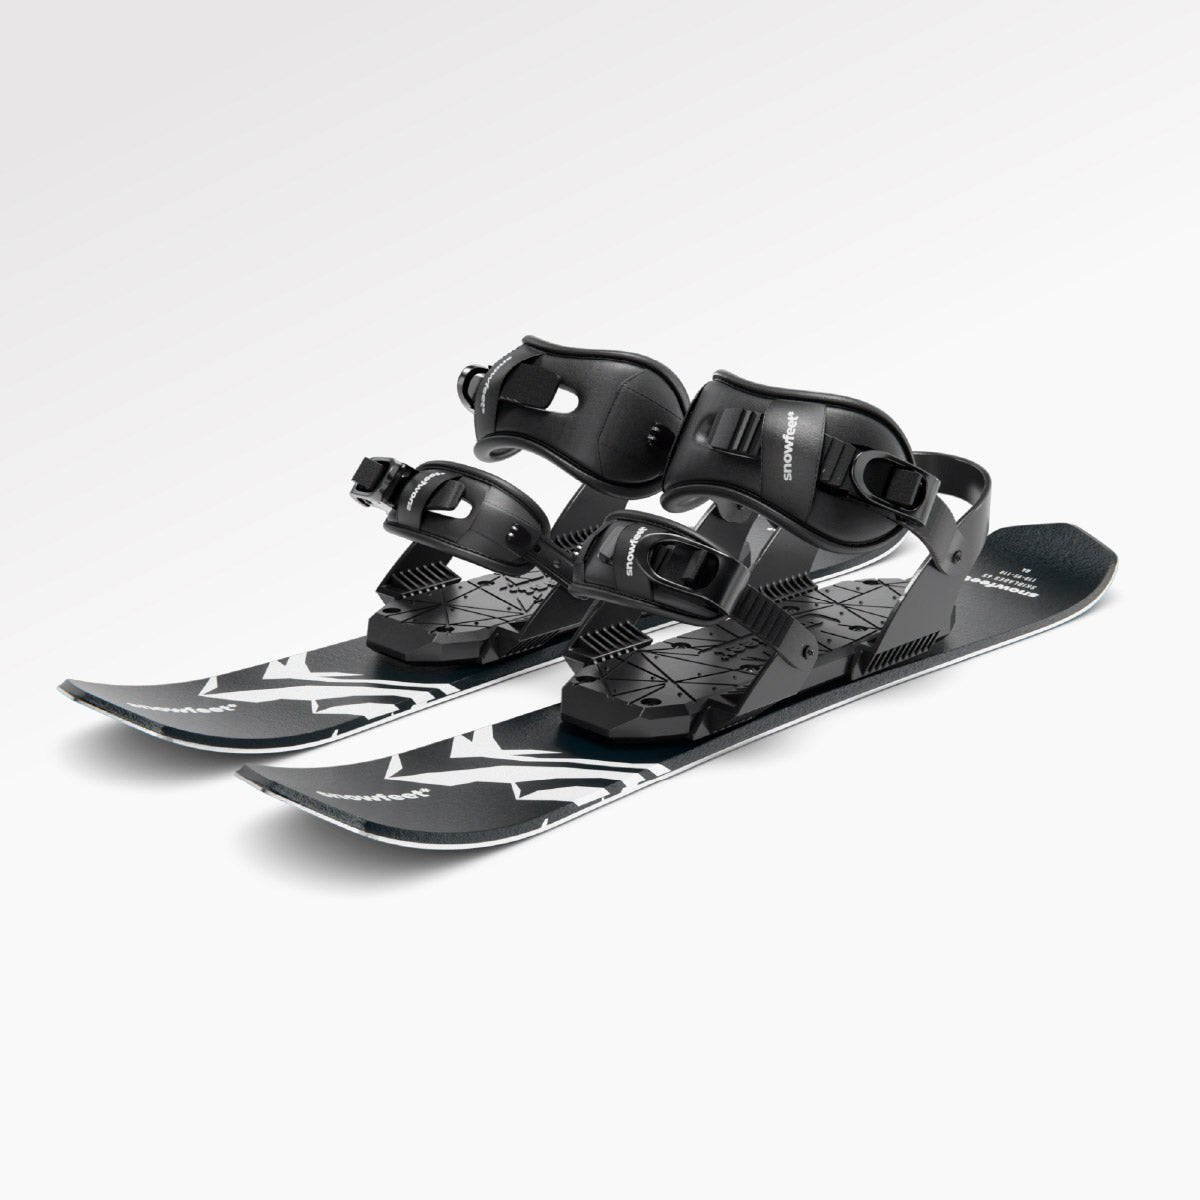
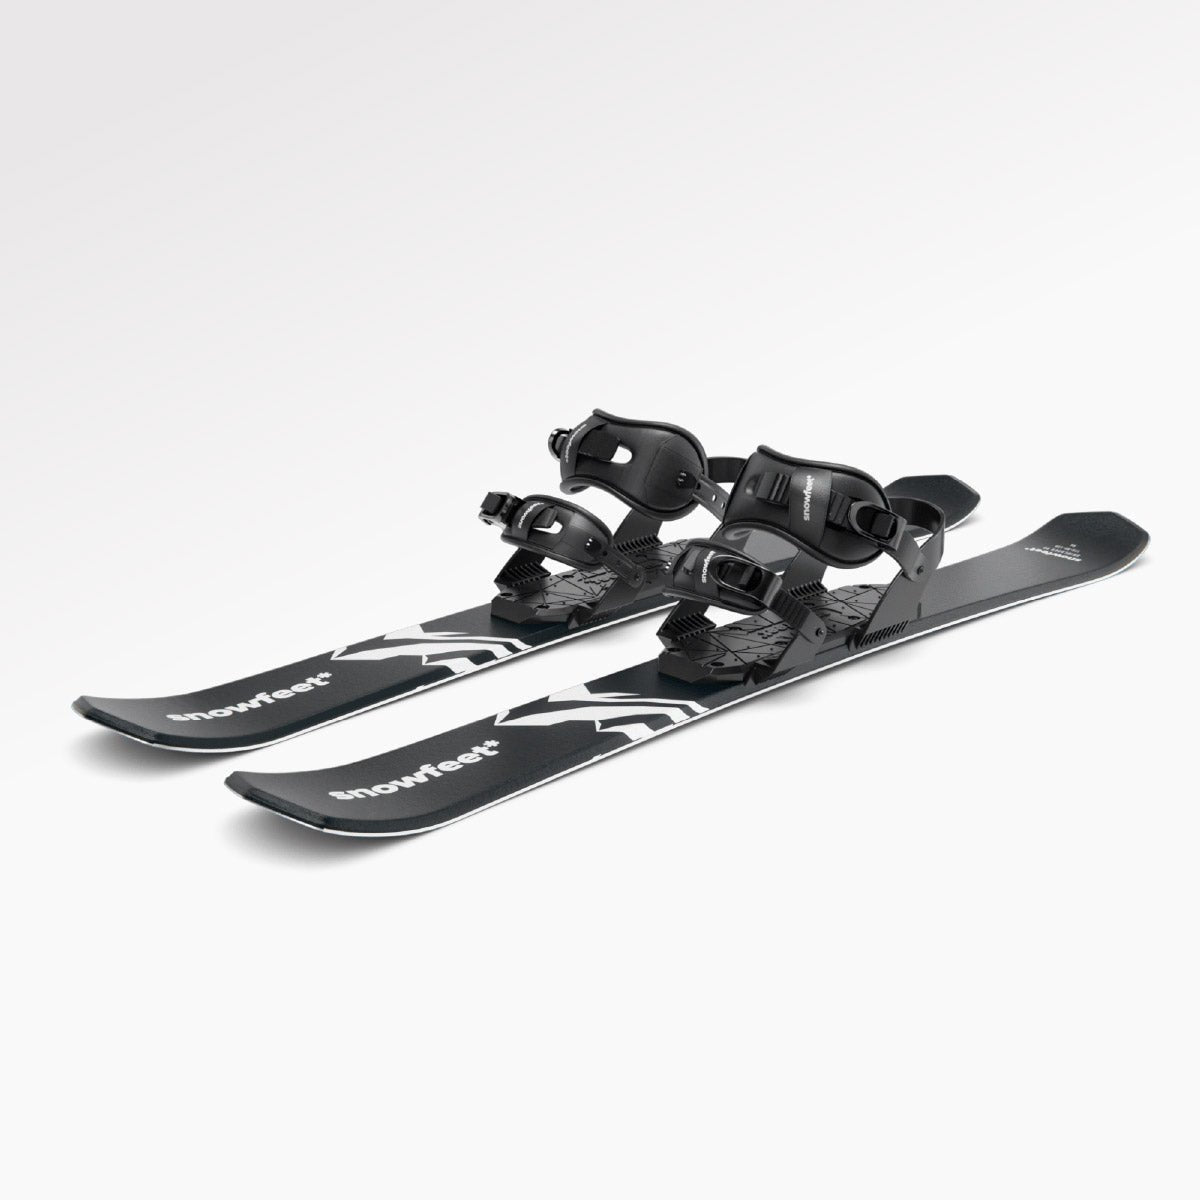
Next, work on speed control. Give yourself plenty of clear space to stop. Push your heels outward to spread the ski tails. Keep the tips close, but don’t let them cross. Roll your ankles and knees inward to engage the inside edges, then add pressure bit by bit. Snowfeet* NORDIC 90 cm skis (about 35 inches) have metal edges to help with edge control.
Pick a stopping point and approach it slowly. Start slowing down well before you reach it. Widen your wedge and add inside-edge pressure as needed. Practice until you can stop under control before trying a slope. Keep your pole tips off the snow and pointed behind you, away from other skiers.
After stopping, move out of the skate lane so others can pass. Practice these drills on flat snow first, then try short, gentle hills.
4. Plan Your First Session and Gentle Hills
Start Flat and Take Rest Breaks
Once flat-ground drills feel steady, keep your first session short and controlled. Skate skiing works your heart and lungs while testing your balance and coordination. Skate for a few minutes, rest, and repeat.
Start with a few laps without poles. Add them only when your balance stays steady. Call it a day if tired legs start to affect your balance or braking.
Descend and Climb a Gentle Hill
After a few flat intervals, try a short, gentle slope - but only if you feel in control on flat snow. On the descent, stay low with your hips centered over your feet. Use a wedge brake before you build speed. Skip any hill where you can’t stop before the runout.
For climbs, use V1 on shallow grades and a herringbone step on steeper sections. Yield to downhill traffic and follow posted trail rules.
Fix Technique Before Going Farther
If a hill shows a gap in your skills, work on it on flat snow before adding distance.
- Weight not shifting fully? Return to flat-ground balance drills.
- Poles throwing off your rhythm? Set them aside and practice the skating motion.
- Stopping feels rushed? Practice wedge braking on flat ground before trying hills again.
Stay in the designated skate lane, and step off the trail when you rest.
sbb-itb-17ade95
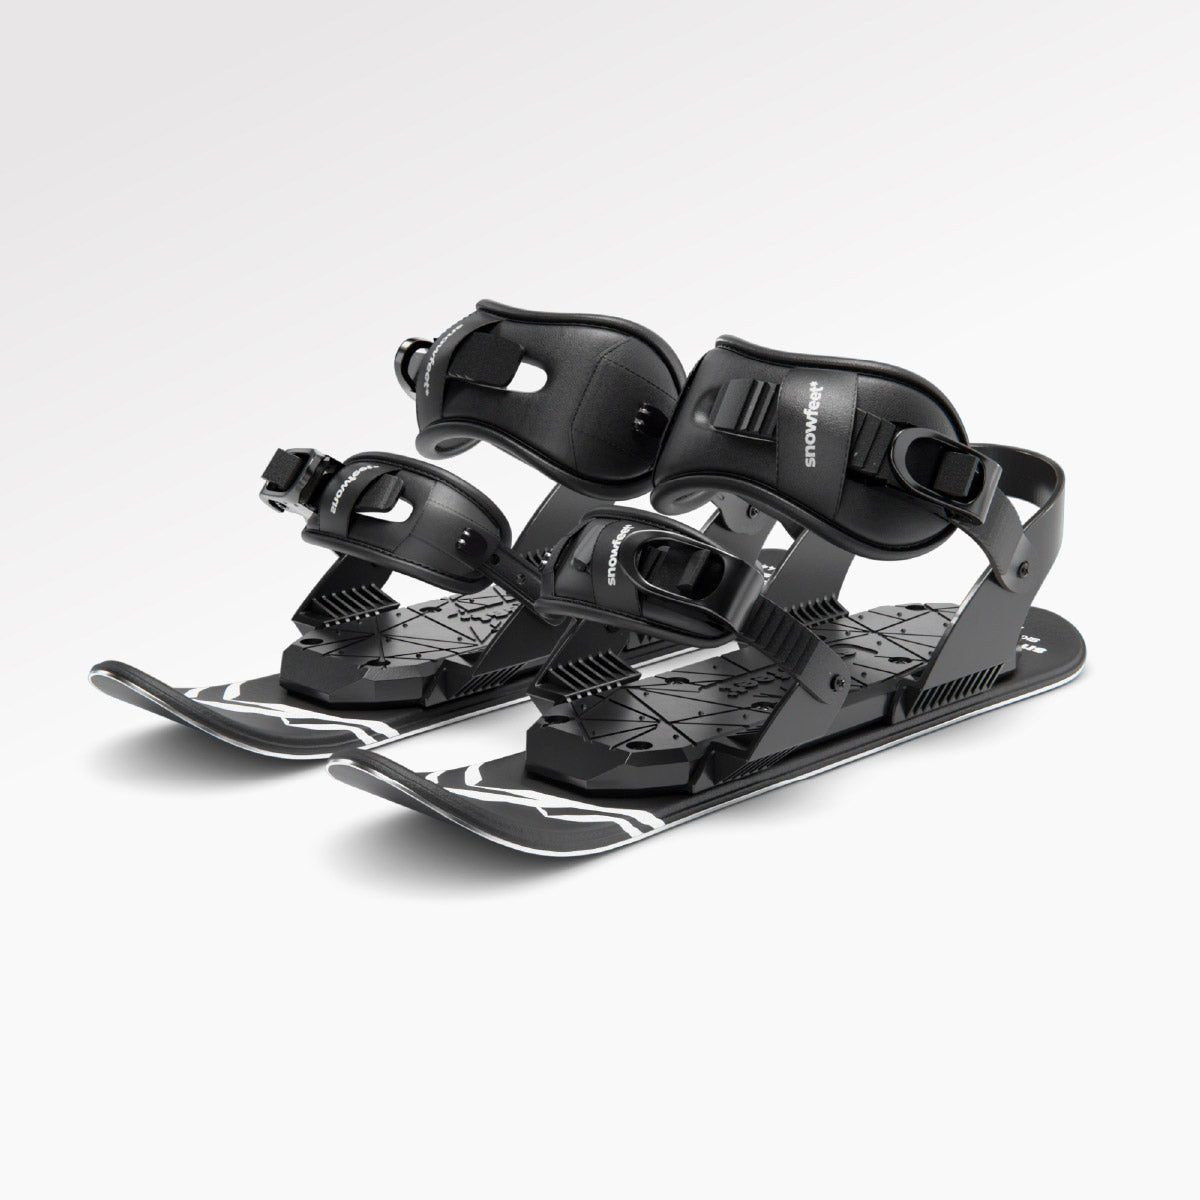
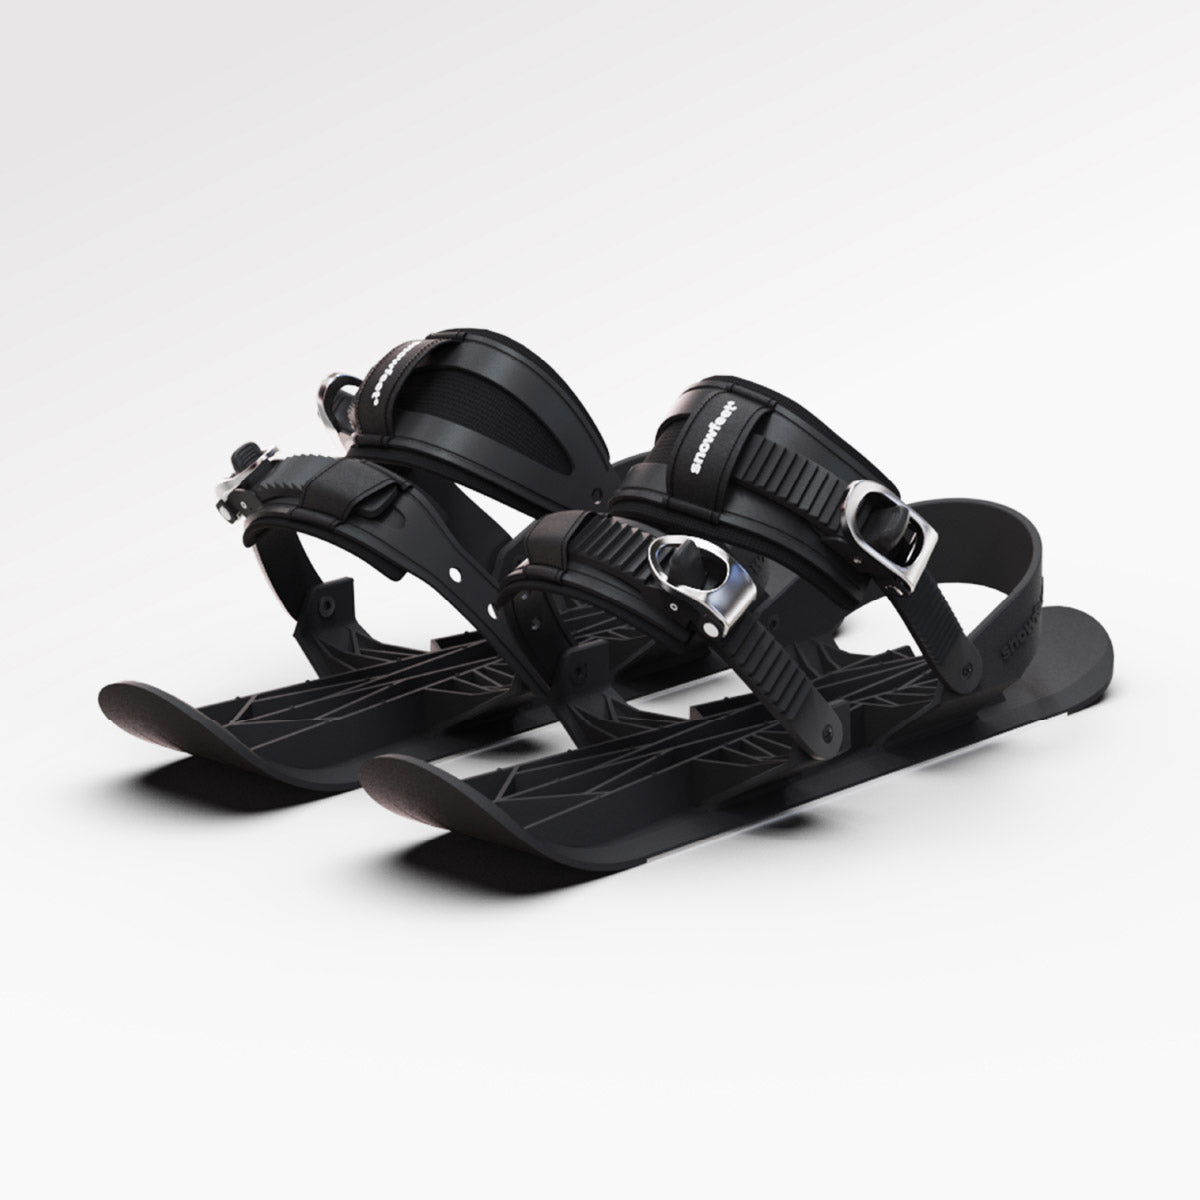
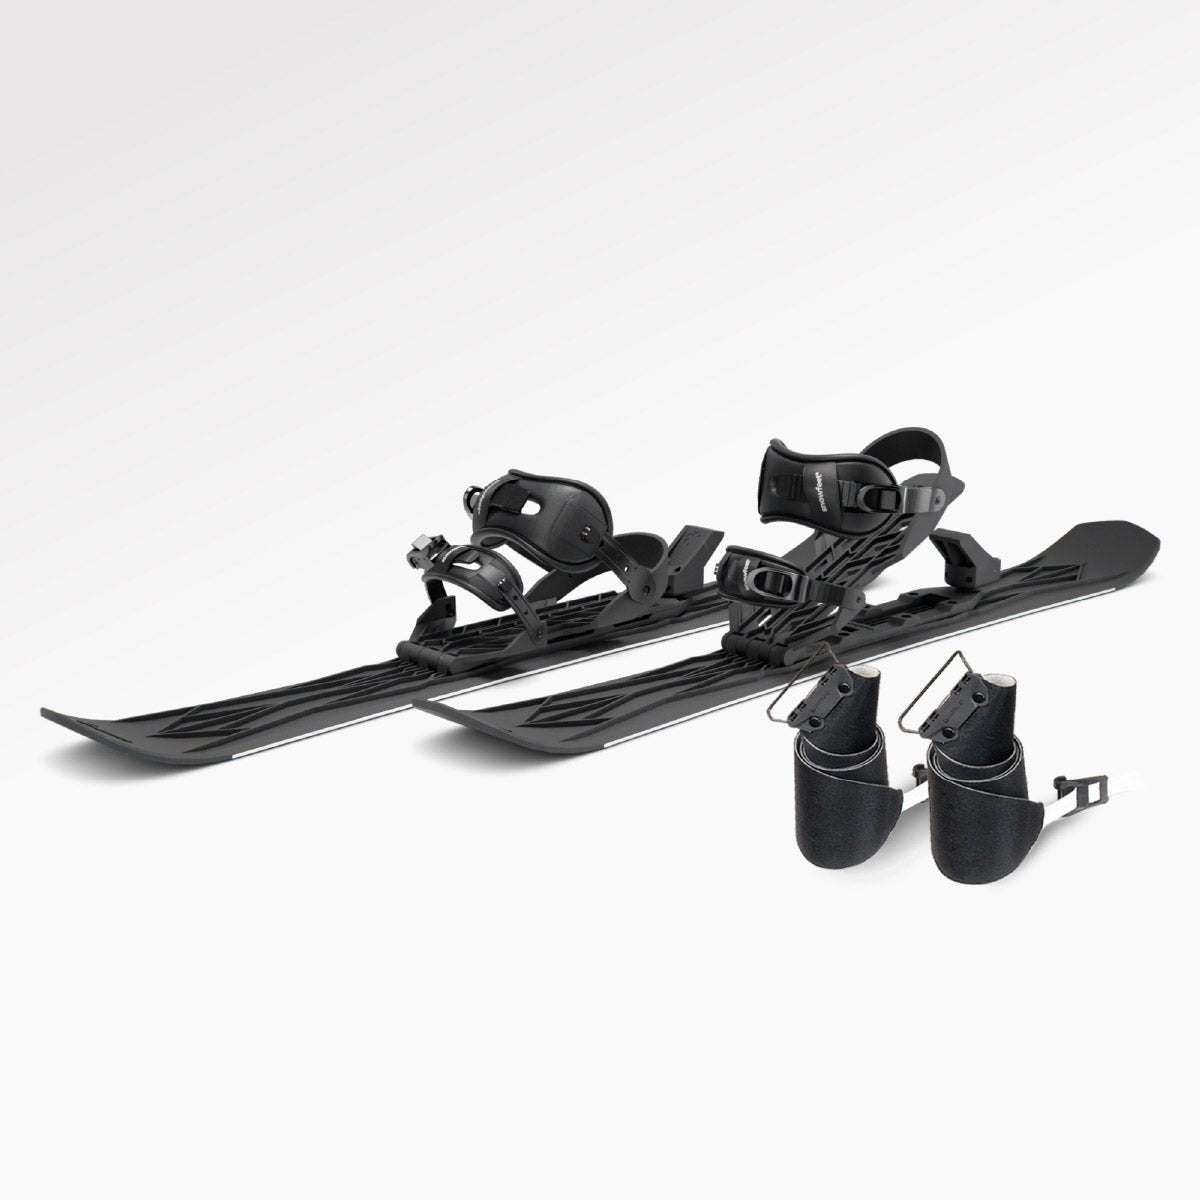
This Nordic Ski Can Be Attached to Any Winter Shoes | Snowfeet Cross-country Skate Skis | 90 cm
5. Conclusion: Keep Early Outings Short and Controlled
Before your first outing, give your gear one last check. Check your Snowfeet* NORDIC setup and test the binding on flat ground before heading out.
On the trail, keep things simple: make sure skate skiing is allowed, stay in the skate lane, and stop only where you have clear space.
Let the basics guide you: full weight transfer, coordinated poling, and controlled braking. If those skills feel solid, you’re ready for short outings.
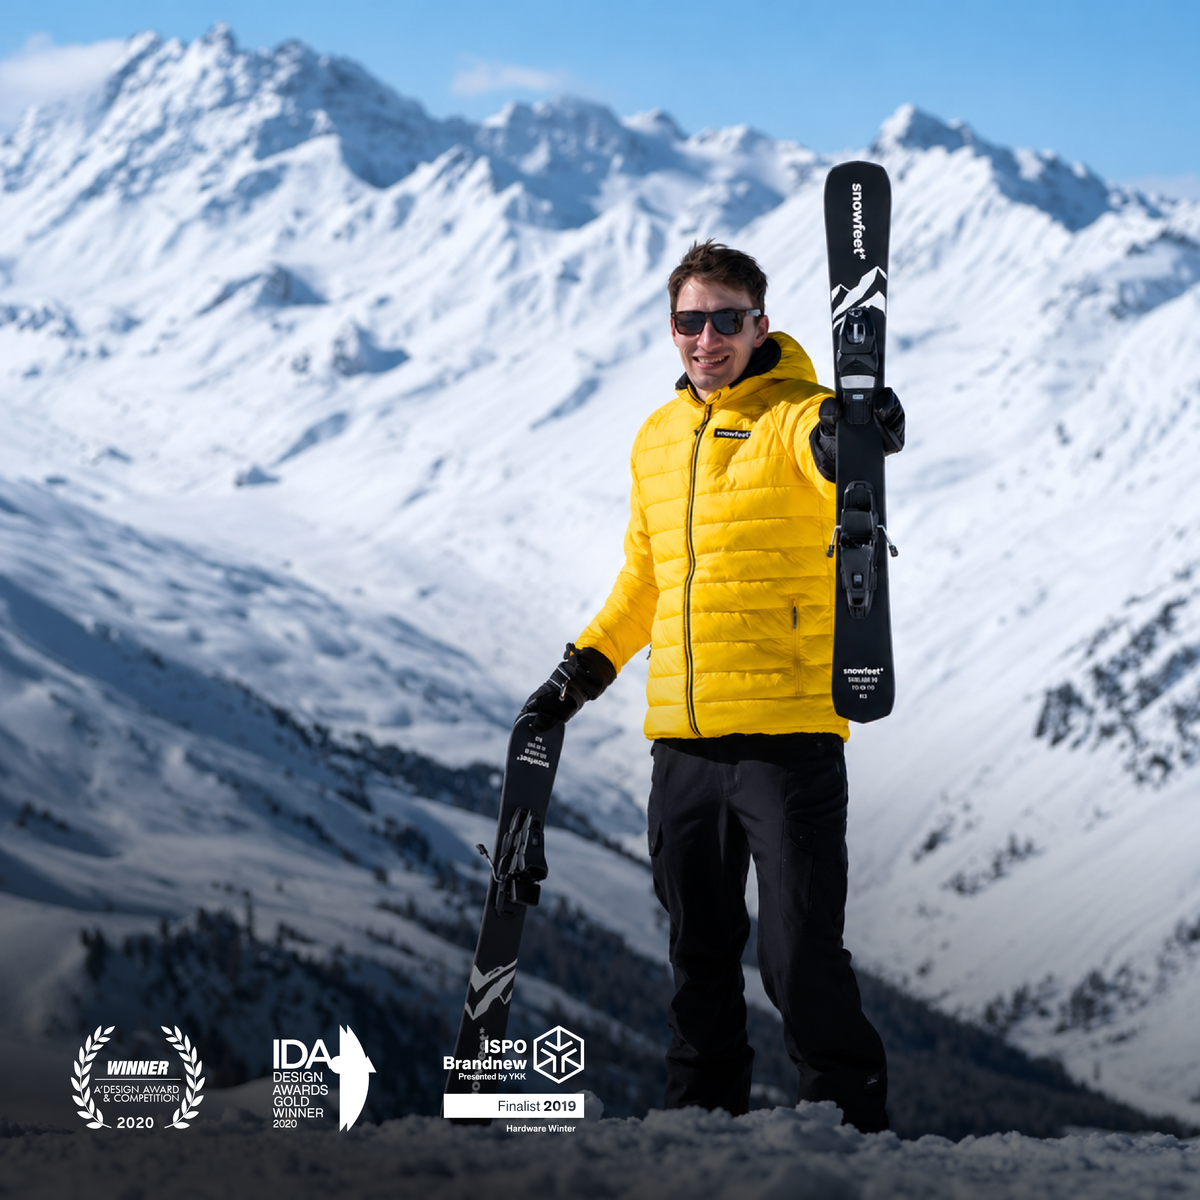
Long skate skis glide farther. But at about 35 inches (90 cm), Snowfeet* NORDIC is easier to carry, store, and use for casual outings.
FAQs
How do I check if my boots fit Snowfeet* NORDIC bindings?
Match your boots to the binding type first. Snowfeet NORDIC universal bindings* fit regular winter footwear in US sizes 6–13. Adjust them for a snug fit that holds your heels down while leaving room to wiggle your toes.
For the Pro XC version, you’ll need NNN-compatible boots - SNS boots won’t fit. Practice clicking in and out a few times on flat ground.
How does snow quality affect skating on Snowfeet* NORDIC?
Snowfeet* NORDIC skis work best on groomed trails and firm, packed snow, where you’ll get predictable glide and control. Metal edges help with grip and stability on firm or icy patches. But avoid ice and soft, deep snow - stopping and staying in control get much harder in those conditions.
Keep the bases clean and apply liquid glide wax to help the skis glide better and reduce snow buildup.
How can I tell if I’m ready for longer outings?
You’re ready when the movements feel natural and you feel sure of your balance, weight transfer, and ability to stop. Start with 20- to 30-minute sessions on your Snowfeet* NORDIC skis to build stamina without pushing too hard.
Over time, ski longer, put in more effort, and try different terrain. Use a smartwatch to track your progress and set goals, like skiing for 30 minutes without a break. Always pack water, navigation tools, and extra layers.



Leave a comment
This site is protected by hCaptcha and the hCaptcha Privacy Policy and Terms of Service apply.