
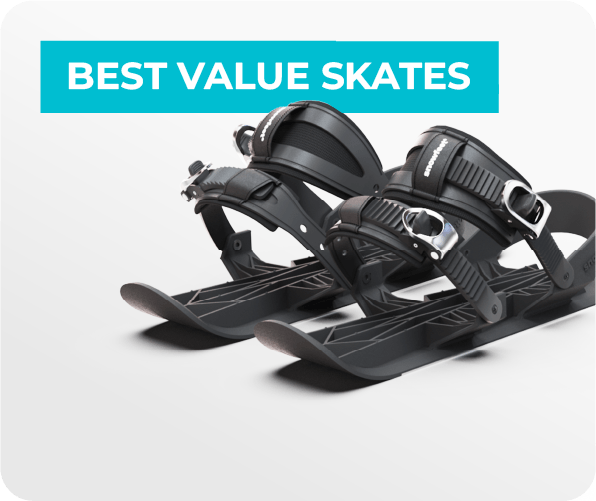
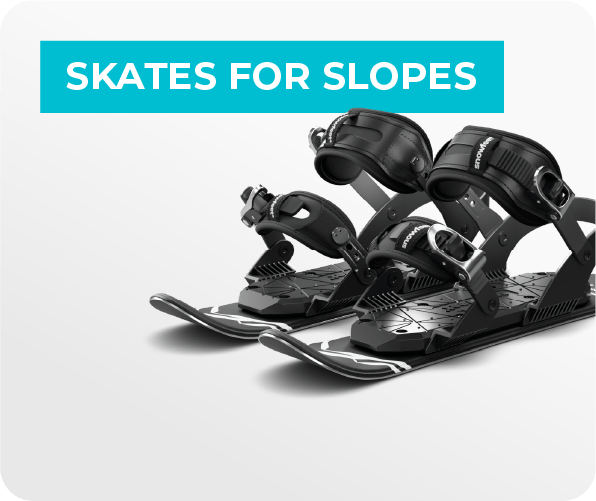
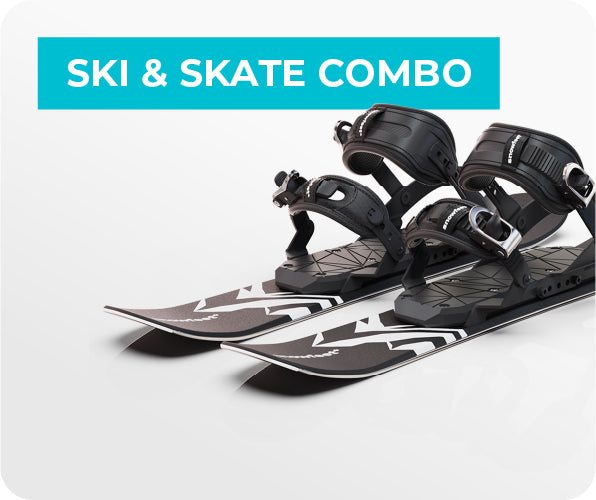
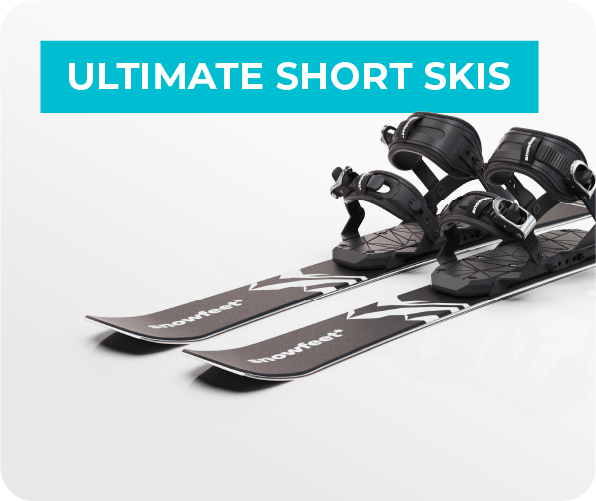
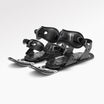
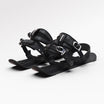
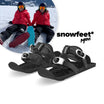
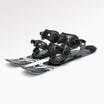
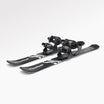
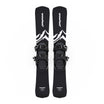
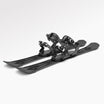
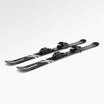
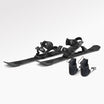
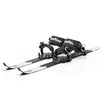
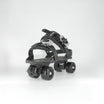
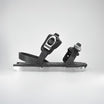
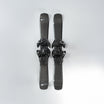
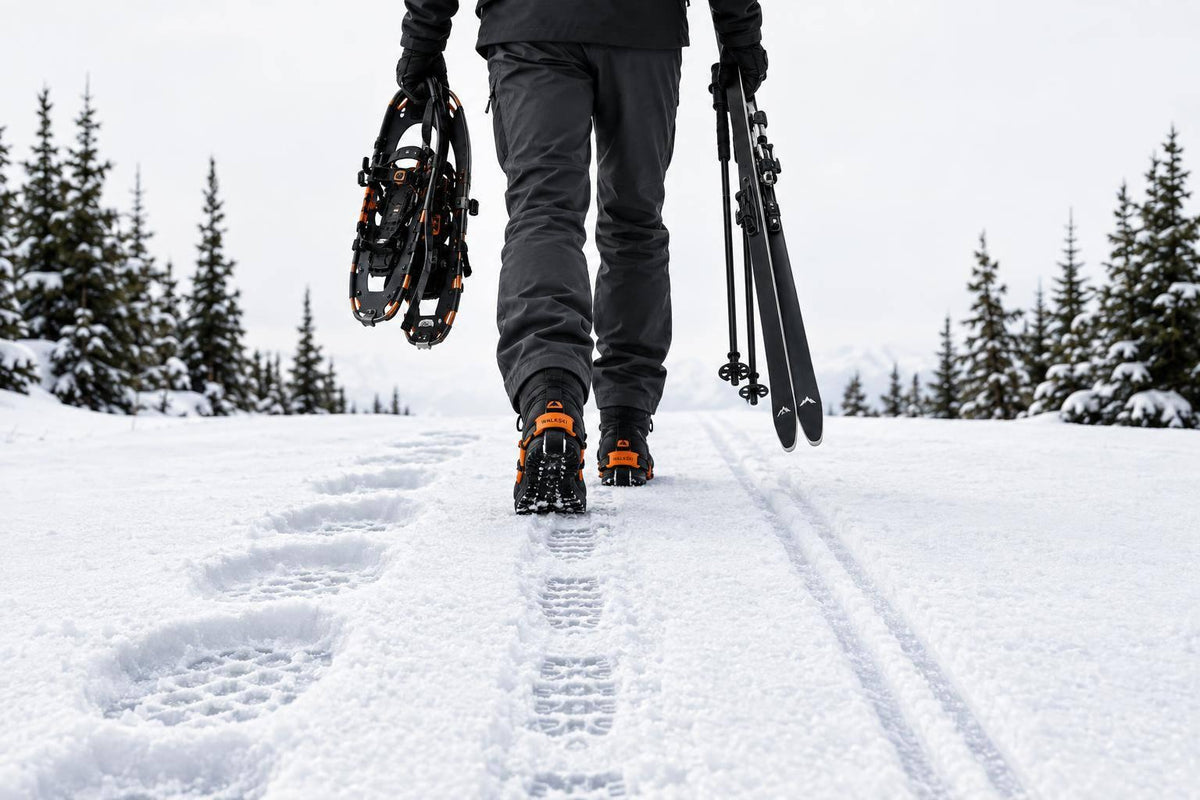
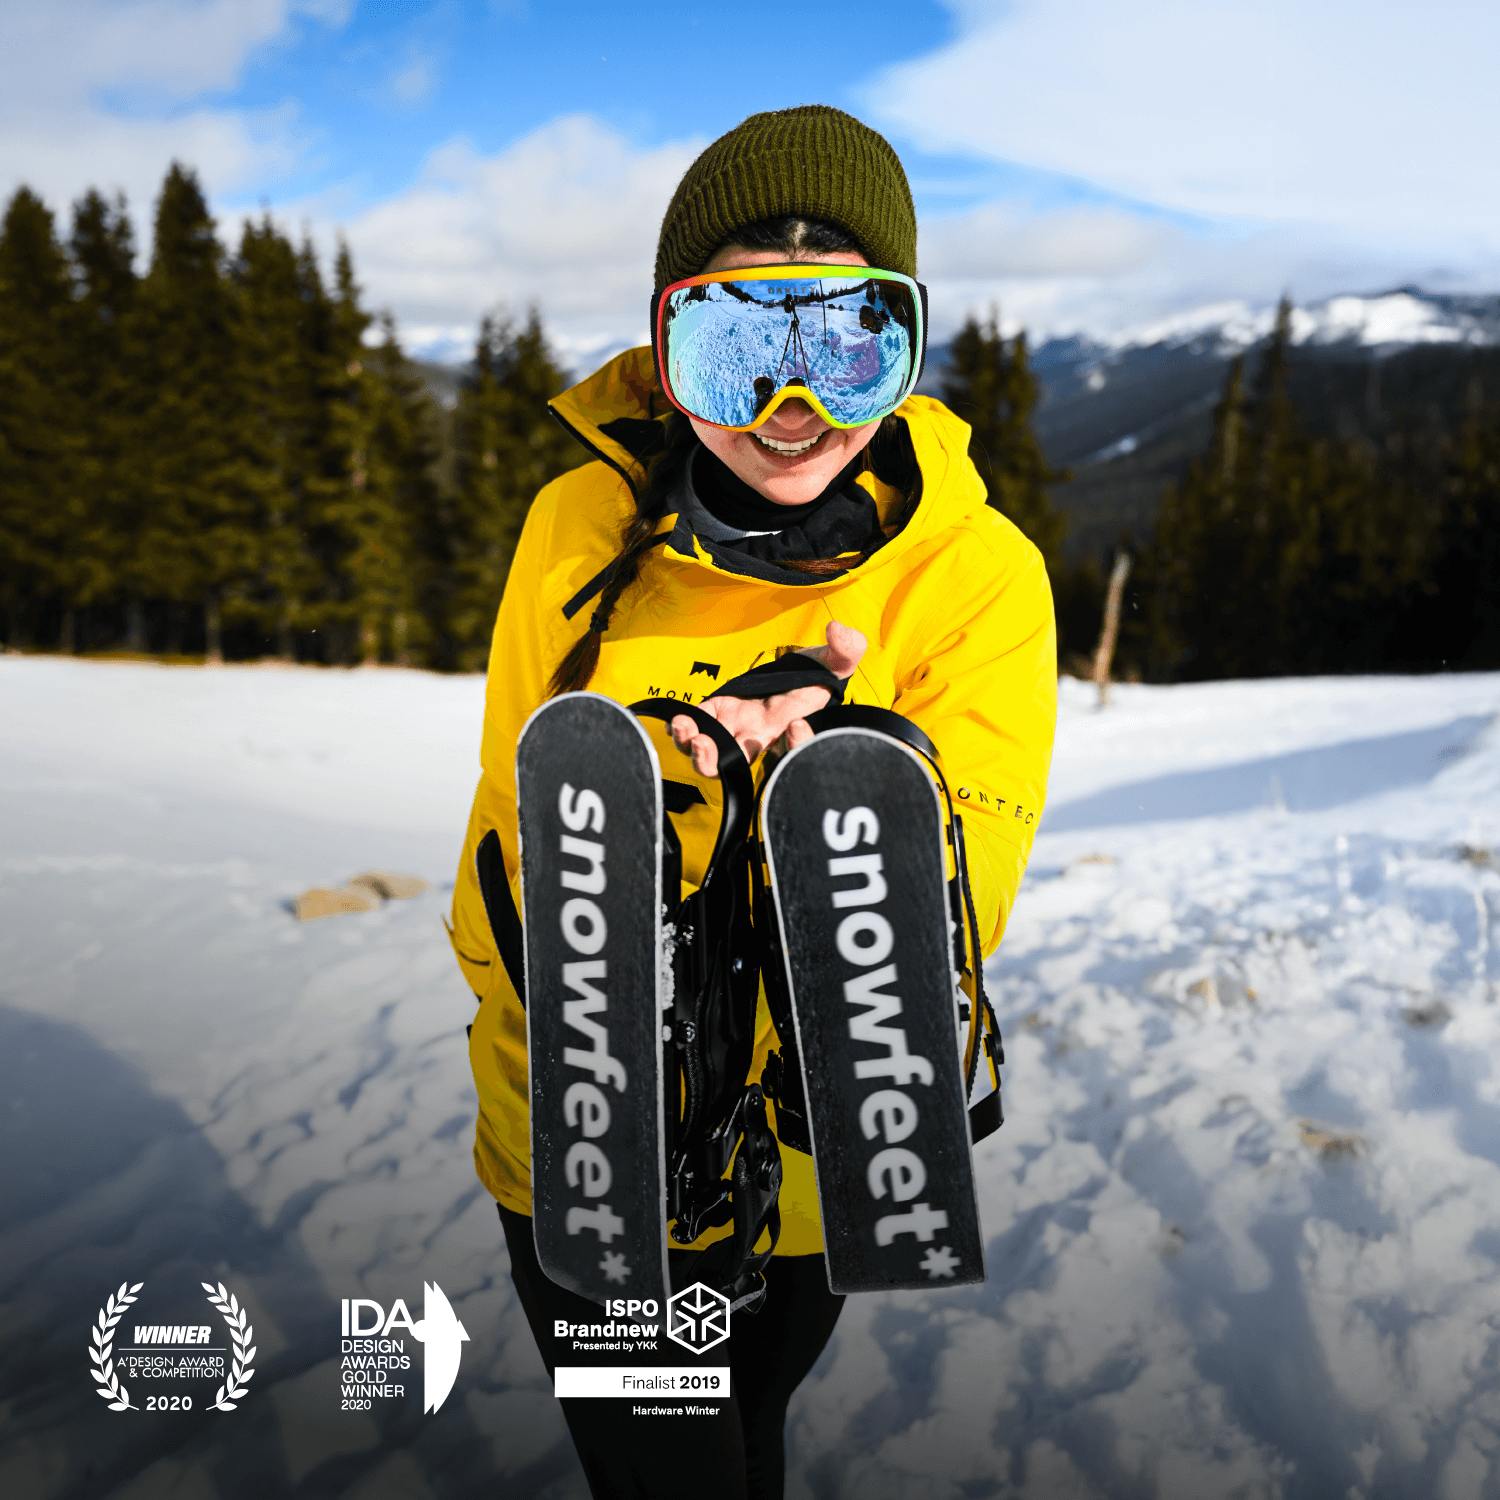
WALKSKI fits short, packed, rolling winter approaches - not deep powder or steep descents. At 100 cm (about 39 inches), it adds glide without the length of full-size skis. Before buying, check boot fit, pack weight, and the route’s snow and slope.
The choice comes down to three options:
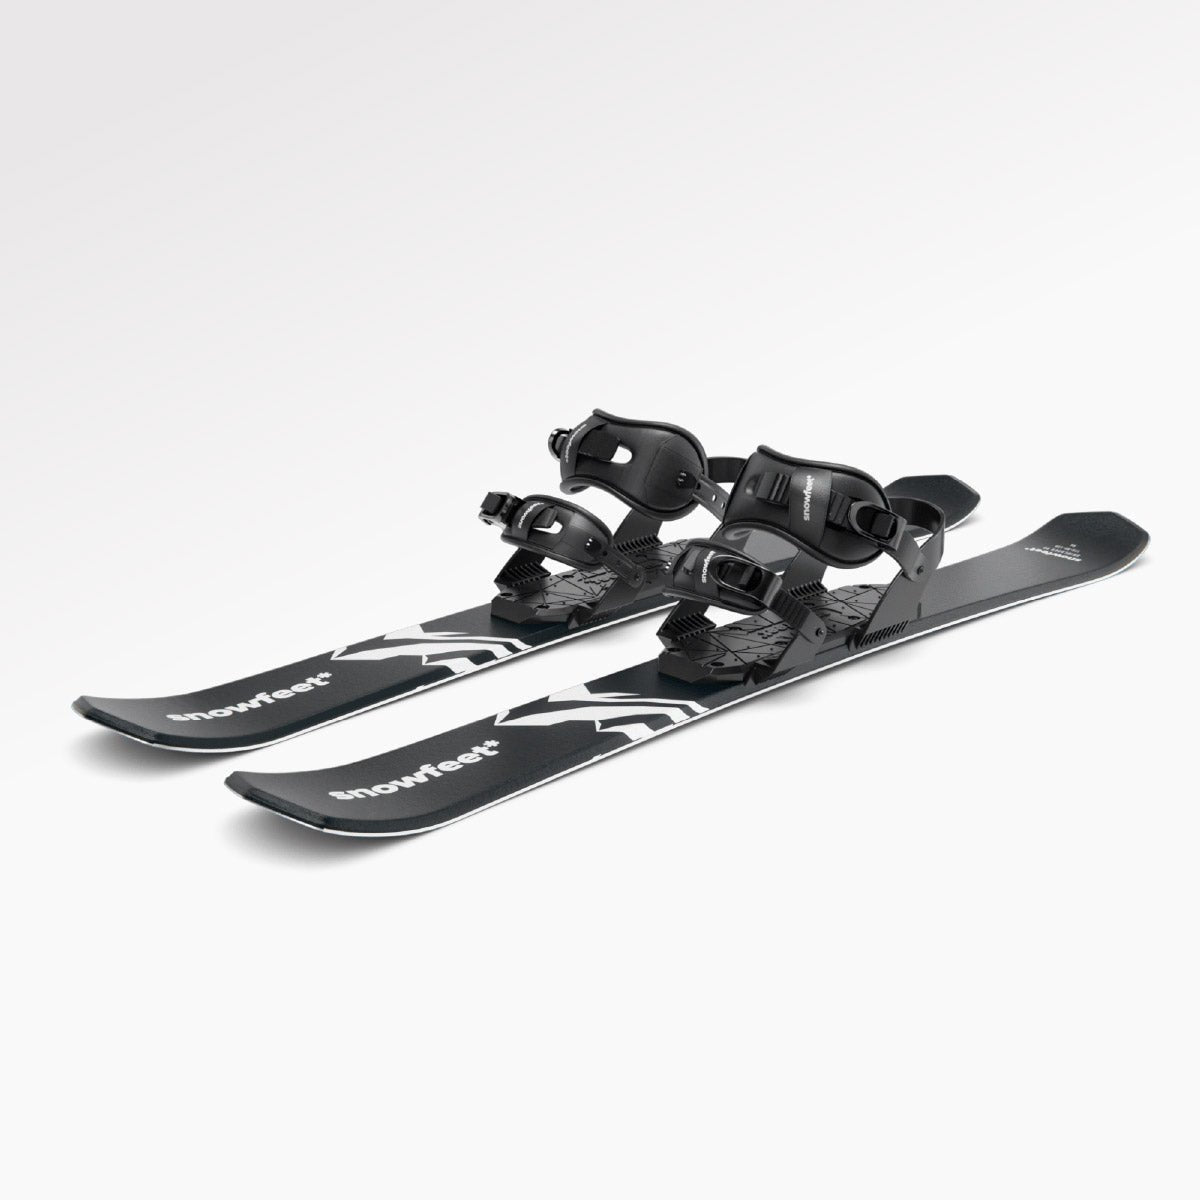
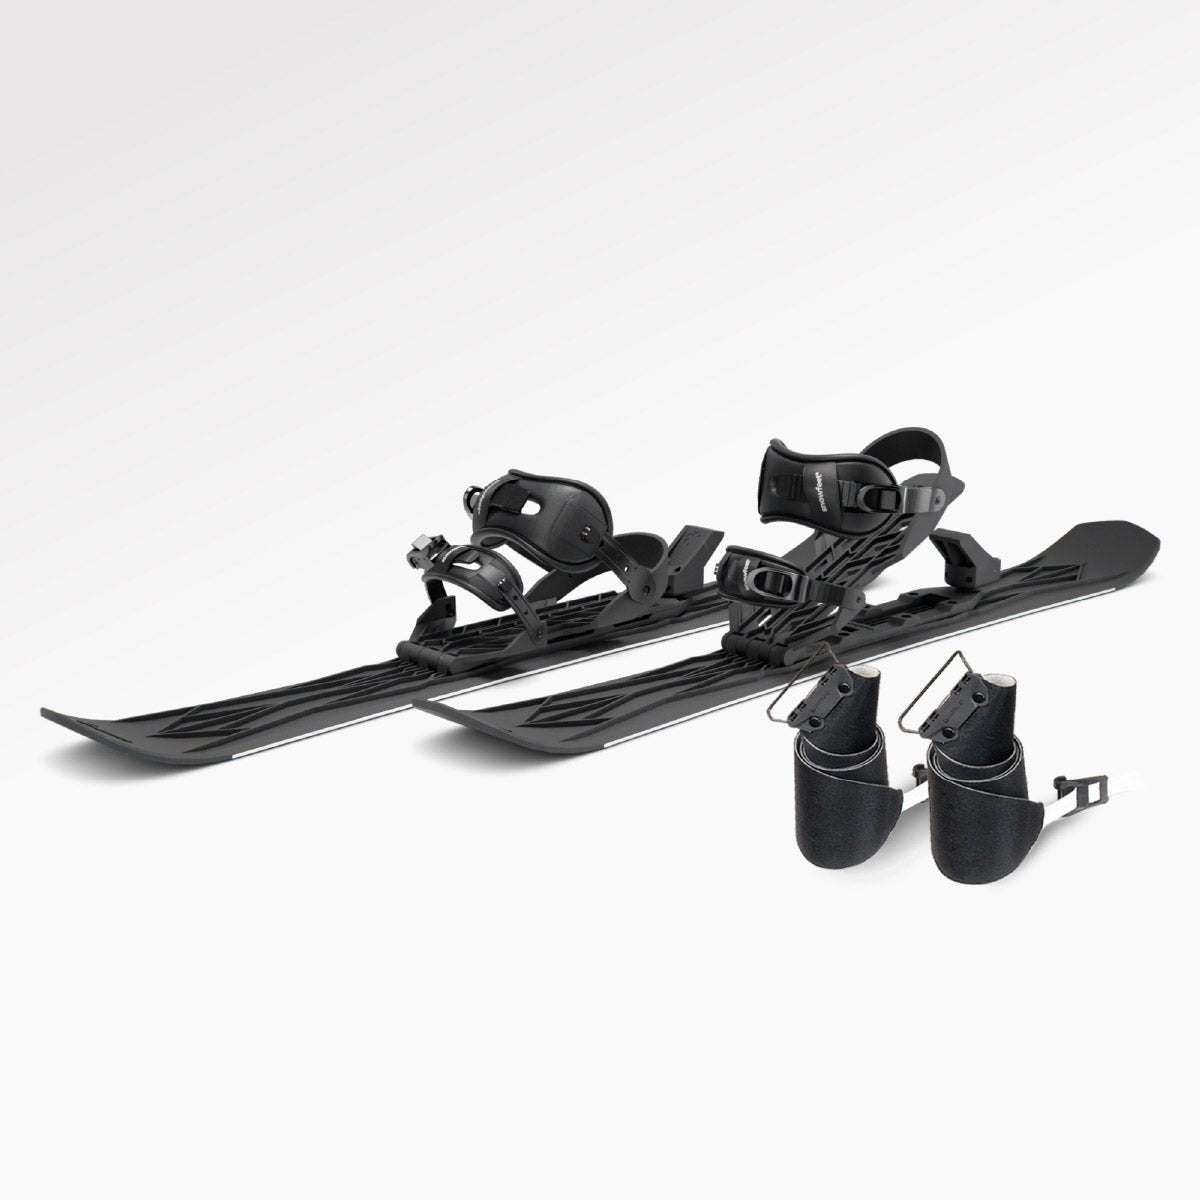
- WALKSKI: Compact skis with removable skins, free-heel walking, and locked heels for descents. Best for short glides and mixed approaches.
- Snowshoes: A good fit for stop-and-go travel and deep snow when sized for the full load. No glide, but fewer mode changes.
- Full-length touring skis: Better for long, snow-covered routes. Nordic setups favor glide; alpine-touring setups offer more downhill control.
Quick Comparison
| Factor | WALKSKI | Snowshoes | Full-length touring skis |
|---|---|---|---|
| Best terrain | Packed, rolling approaches | Brushy trails and soft snow | Long, continuous snow routes |
| Boot fit | Fits some winter, snowboard, and ski boots | Fits many winter boots | Needs boots matched to bindings |
| Uphill grip | Removable skins | Built-in cleats or crampons | Wax, scales, or skins |
| Carrying | Short, but weighs 6.9–8.8 lb per pair | Bulky on a pack | Needs more clearance |
| Cost | Article lists both $830 and $1,230; verify model and contents | Cited examples: $219.95–$399.95 | Price must include boots, bindings, and other gear |
Short skis don’t make steep or icy terrain safe. Practice stops and mode changes on flat snow first. Any route through avalanche terrain calls for training, a terrain assessment, and rescue gear - no matter what’s underfoot.
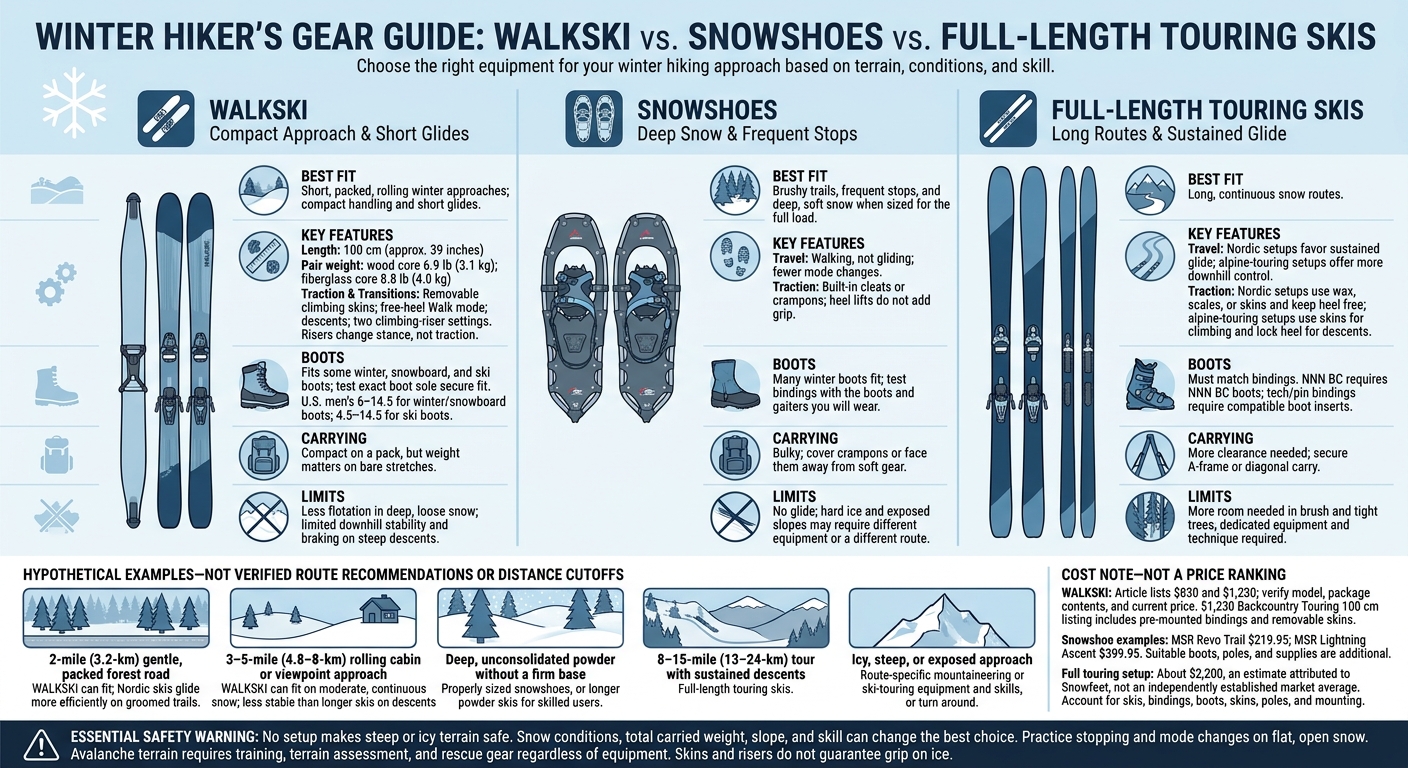
WALKSKI vs. Snowshoes vs. Touring Skis: Choose by Terrain
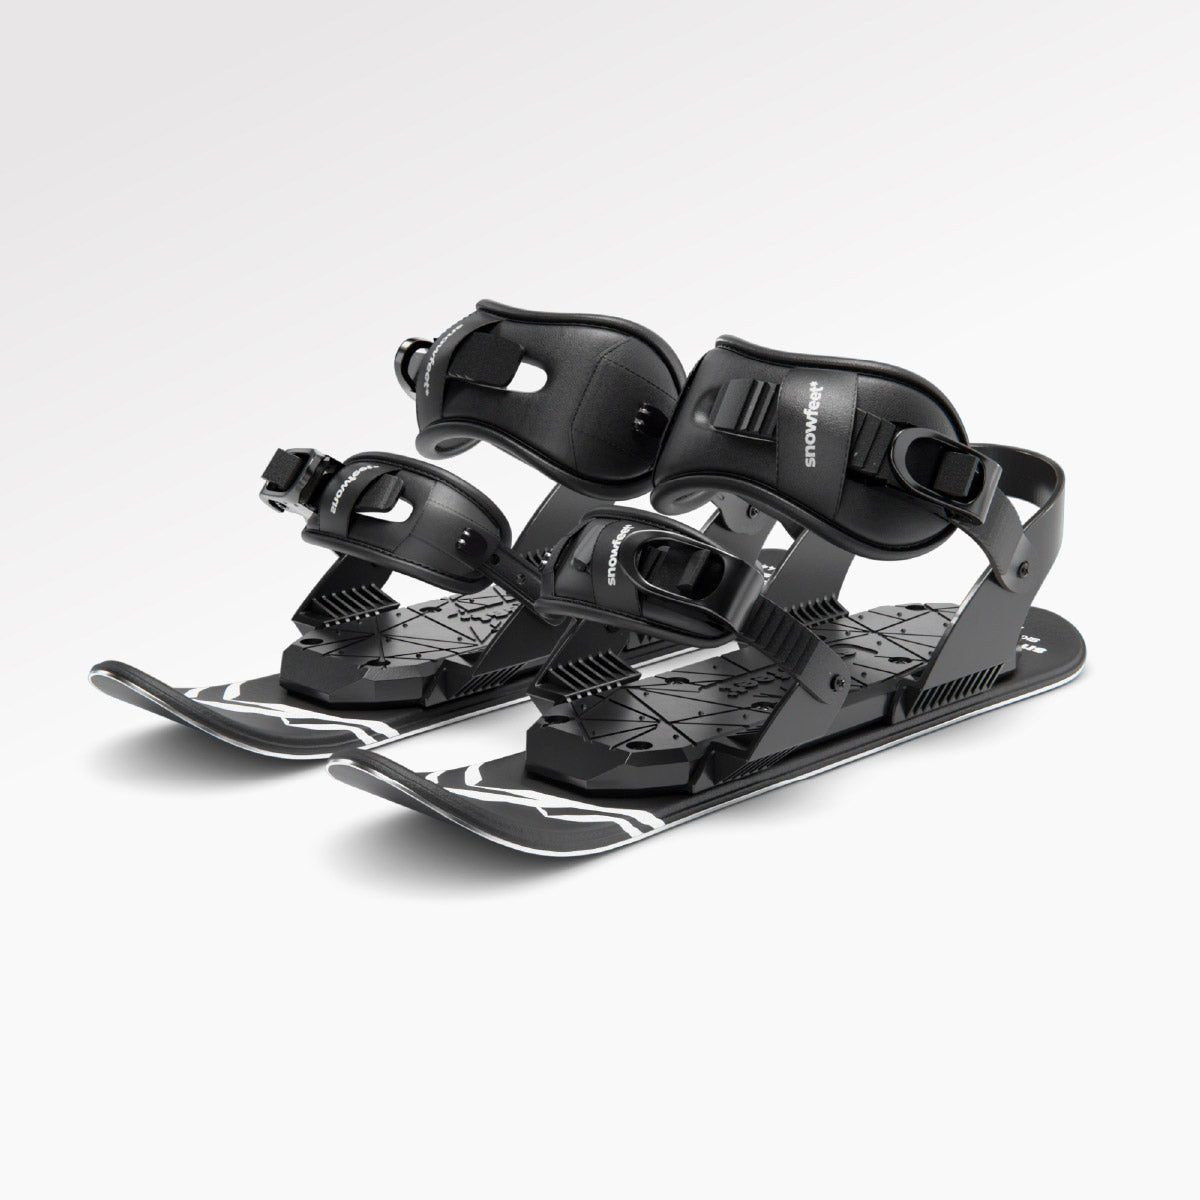
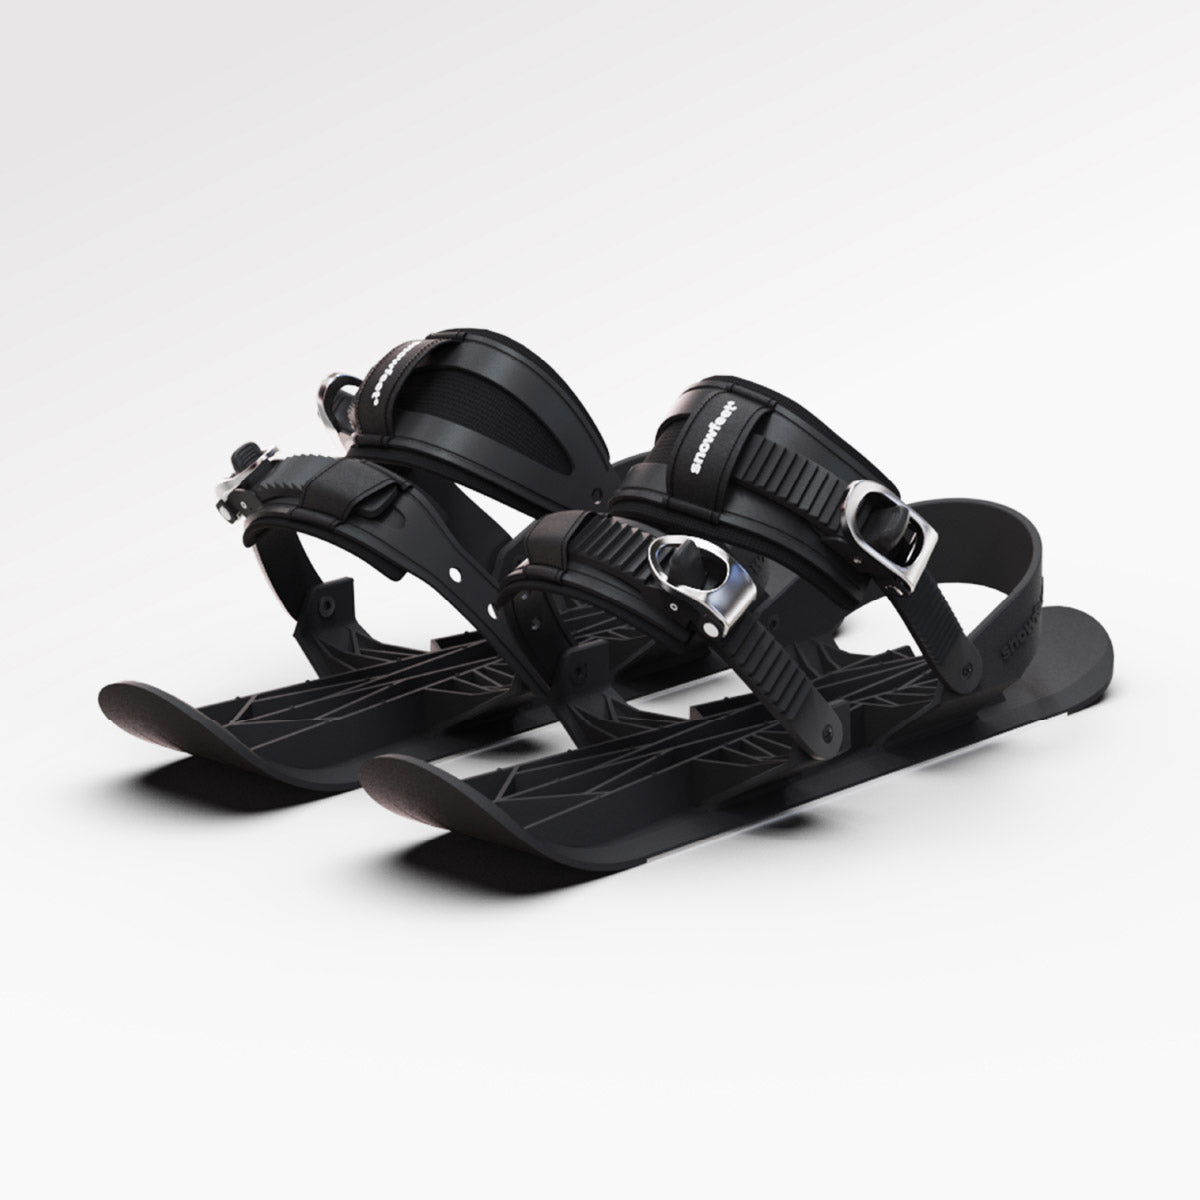
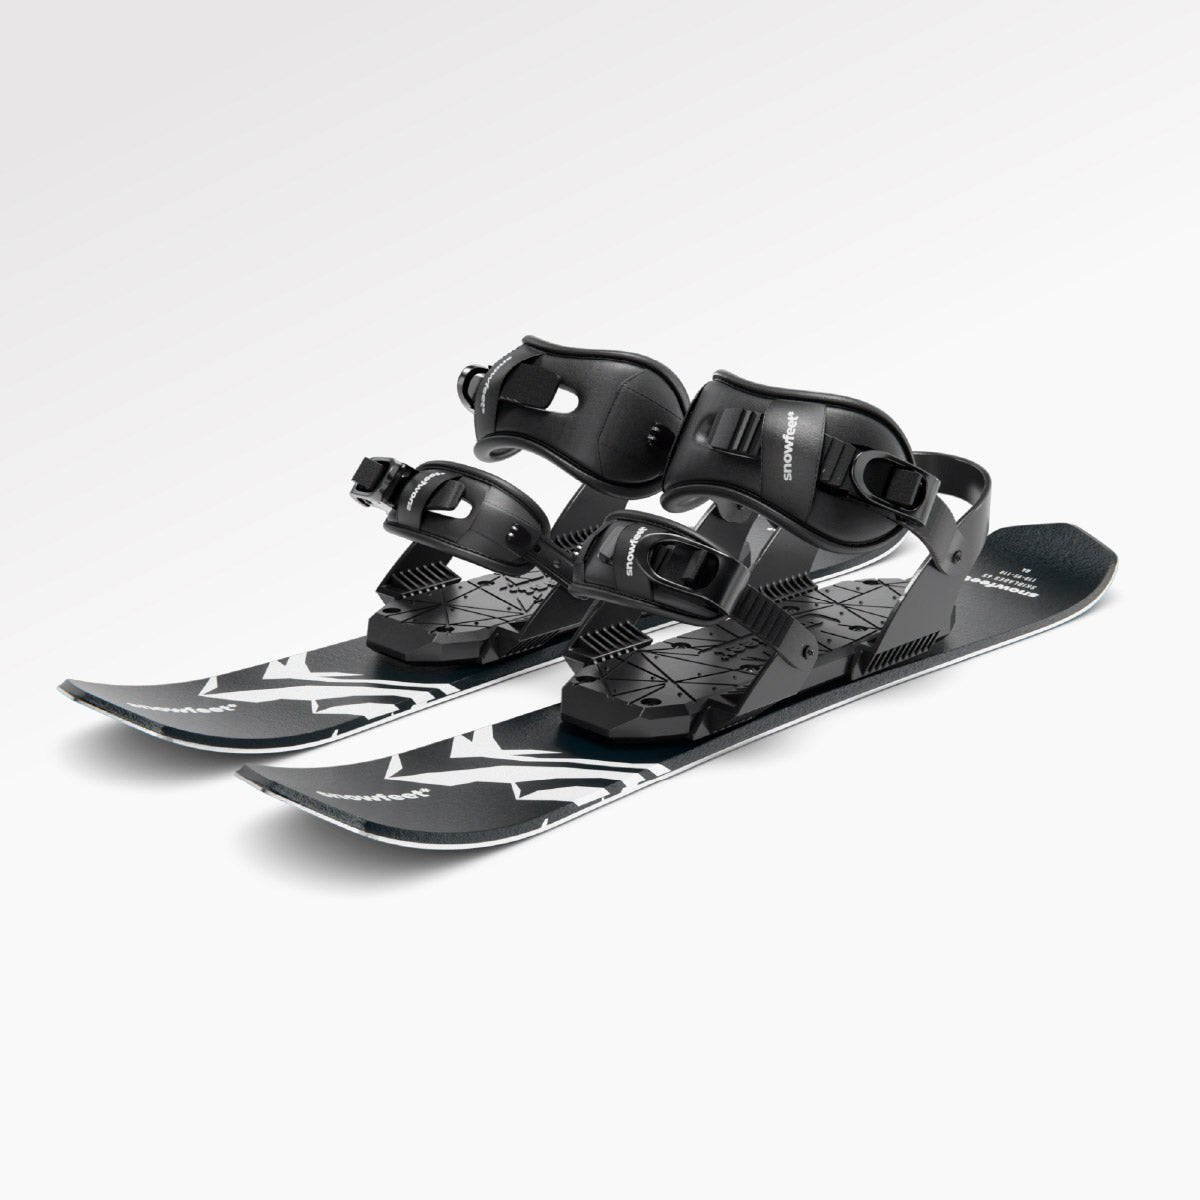
1. Snowfeet* WALKSKI Backcountry Touring 100 cm
Snow and Terrain
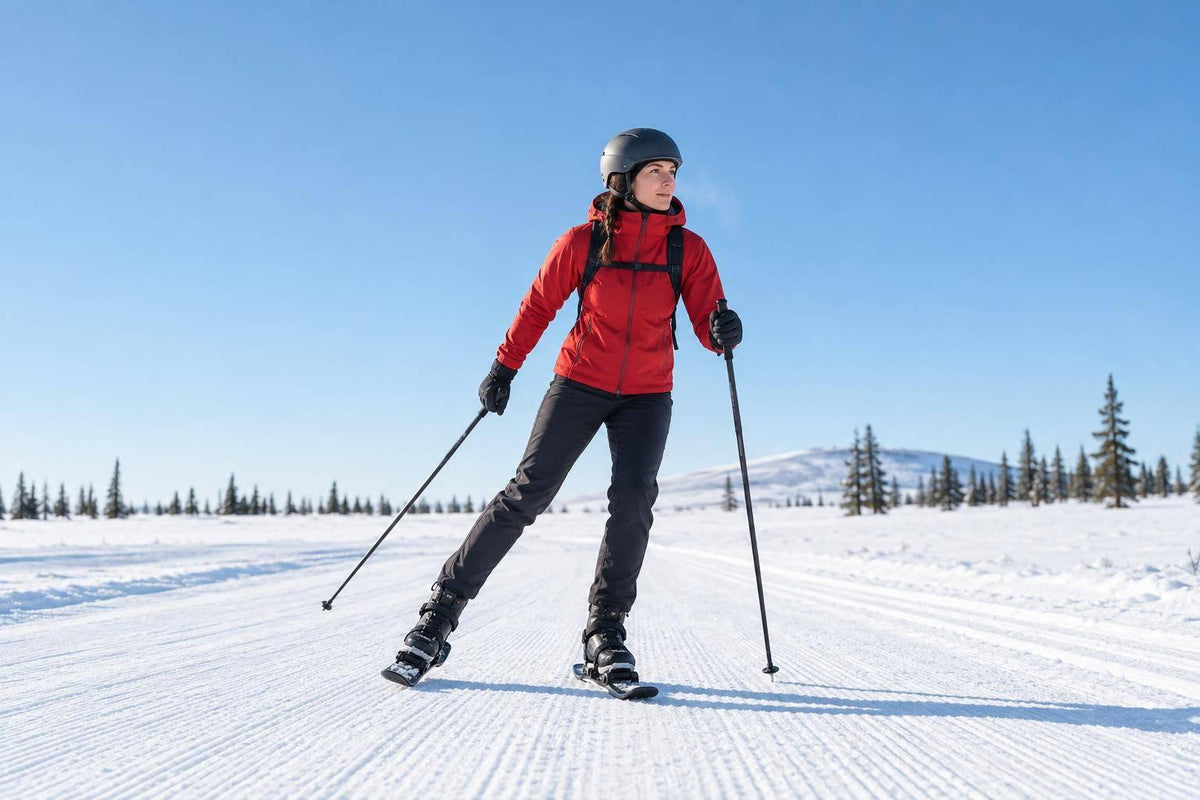
WALKSKI’s 39-inch length makes it easier to turn and reposition than full-length touring skis - a plus on narrow forest approaches. It adds glide compared with snowshoes and is easier to handle than full-length skis in tight trees. But deep, loose snow and steeper descents test its flotation and downhill stability. On approach trails, grip and quick mode changes matter more than speed.
Climbing Grip and Descent Control
Removable climbing skins supply uphill grip. The bindings offer Walk mode, Ski mode, and two climbing-riser settings. Risers change your stance, not your traction.
Before heading downhill, remove the skins, stow the risers, and lock the heels. Locked heels don’t make steep or icy terrain safe. These short skis still call for sound terrain judgment.
Boot Fit and Total Cost
Snowfeet* lists a fit range of about U.S. men’s 6–14.5 for winter boots and snowboard boots, and 4.5–14.5 for ski boots. Check your boot’s sole shape and fit before buying.
Listed price: $1,230 for the WALKSKI Backcountry Touring 100 cm, including pre-mounted bindings and removable climbing skins. See the Official WALKSKI product page.
Switching Modes and Carrying
Practice switching between Walk and Ski modes and putting on and removing skins before your first outing. Use free-heel mode on flats, add skins for slick climbs, and get set for the descent before dropping in.
The wood-core pair weighs 6.9 lb (3.1 kg), while the fiberglass-core pair weighs 8.8 lb (4.0 kg). The lighter wood-core build is the better fit for mixed approaches. At 39 inches, these skis are easier to strap to a pack for stretches of bare ground - but once the snow ends, you’re still carrying them.
2. Snowshoes
Snow and Terrain
Snowshoes suit brushy trails with frequent stops, where staying on top of the snow matters more than glide. WALKSKI makes more sense when the route stays snow-covered and you want to glide between stops.
Choose snowshoe size based on your total load: boots, clothing, and a full pack. Larger decks help in dry powder. Smaller models are easier to place on narrow trails when firm snow supports your weight.
Climbing Grip and Descent Control
Toe crampons help you climb, while traction rails limit sideways slipping. Heel lifts make long climbs easier, but they don’t add grip. On descents, take short, careful steps and use poles for balance.
Hard ice or exposed slopes call for crampons, an ice axe, or a different route. Snowshoes don’t reduce avalanche risk. Check the avalanche forecast and carry the rescue gear your terrain calls for.
Boot Fit and Total Cost
Try the bindings with the winter boots and gaiters you’ll wear. The straps should hold your boots in place without pressure points.
Your budget needs to cover poles, gaiters, and insulated waterproof boots - not just snowshoes. For a lower-cost option than WALKSKI, current REI listings put the MSR Revo Trail at $219.95 and the Lightning Ascent at $399.95.
Switching Modes and Carrying
Snowshoes keep things simple: walk while you need flotation, then take them off on bare ground. Strap them to the outside of your pack, with the crampons covered or facing away from soft gear.
For longer stretches without stops, WALKSKI adds glide and cuts walking effort. That tradeoff becomes clearer with full-length touring skis on longer approaches.
3. Full-Length Touring Skis
Snow and Terrain
Full-length touring skis work best on continuous snow. WALKSKI gives you more options on approach trails with mixed snow and bare ground.
Nordic skis are fastest on packed or groomed trails. Broader backcountry Nordic skis handle ungroomed forest roads better, while alpine touring (AT) skis add climbing skins and more control on descents. Long skis glide and float better than WALKSKI, but they need more room and catch more easily in brush and tight trees.
Climbing Grip and Descent Control
Nordic setups use grip wax, scales, or skins for traction, with the heel left free. AT bindings let you lock the heel for the descent after skinning uphill.
Ice calls for caution with either setup. You may need ski crampons - or a different route.
Boot Fit and Total Cost
The biggest split is boot fit and total setup cost. WALKSKI lets you skip dedicated touring boots if your winter boots fit its bindings securely.
Check boot and binding compatibility before buying. NNN BC bindings need NNN BC boots. Tech (pin) bindings need boots with compatible inserts. Regular hiking boots usually won’t work.
Budget for skis, bindings, boots, skins, poles, and mounting as separate costs. Snowfeet* puts a standard ski touring setup at about $2,200.
Switching Modes and Carrying
Before an AT descent, stop on flat ground, remove your skins, switch the bindings to downhill mode, and adjust your boot cuffs or walk mode. Practice those steps at home. Carry a skin bag, scraper, spare straps, and repair tape.
Nordic setups need fewer mode changes since the heel stays free.
For carrying, use a secure A-frame or diagonal setup rather than relying on side straps alone. Long skis suit continuous snow; compact gear like WALKSKI works better when snow and bare ground alternate.
Next comes the main divider: snow depth, crust, and slope angle.
Snowfeet WALKSKI | Backcountry Skiing in Georgia
sbb-itb-17ade95
How Snow and Terrain Affect Performance
Approach trails test how each setup handles deep snow, firm surfaces, and steep slopes. WALKSKI works best on firm, rolling approaches. Snowshoes suit deep, soft snow, while longer skis suit continuous routes.
Snow and Flotation
Snow density and total carried weight matter as much as ski length. WALKSKI is compact and easy to turn, but it provides less flotation than properly sized snowshoes or longer touring skis. Deep, dry powder calls for more surface area underfoot than firm snow. Your body weight, boots, clothing, and loaded pack all affect how far you sink.
Even the lighter wood-core build adds weight to your pack. In deeper snow, more flotation helps support that load.
The chart shows where WALKSKI works well - and where snowshoes or longer skis have the edge.
| Conditions | WALKSKI | Snowshoes | Full-length touring skis |
|---|---|---|---|
| Packed approaches | Glide on short routes | Steady walking; no glide | Efficient sustained travel |
| Light powder | Works over a firm base | Predictable footing | More flotation |
| Deep powder | Sinking; less control | Dependable when sized for the load | Depends on ski width and skill |
| Ice or hardpack | Uncertain skin grip | Limited crampon purchase | Edge grip depends on technique |
| Narrow tracks | Easy pivots around obstacles | Bulky foot placement | Little room to turn |
| Rolling terrain | Best fit: moderate, linked glides | Repeated walking climbs | Efficient over longer distances |
| Steep descents | Limited stability and braking | Slow travel; difficult footing | More downhill control |
Conditions, skill, and pack weight can change these results. As the route gets steeper or icier, traction matters more.
Climbing Grip and Descent Control
On moderate climbs, the low riser makes packed approaches easier; the high riser helps on steeper pitches. Neither riser adds traction, and skins don’t guarantee grip on hard ice.
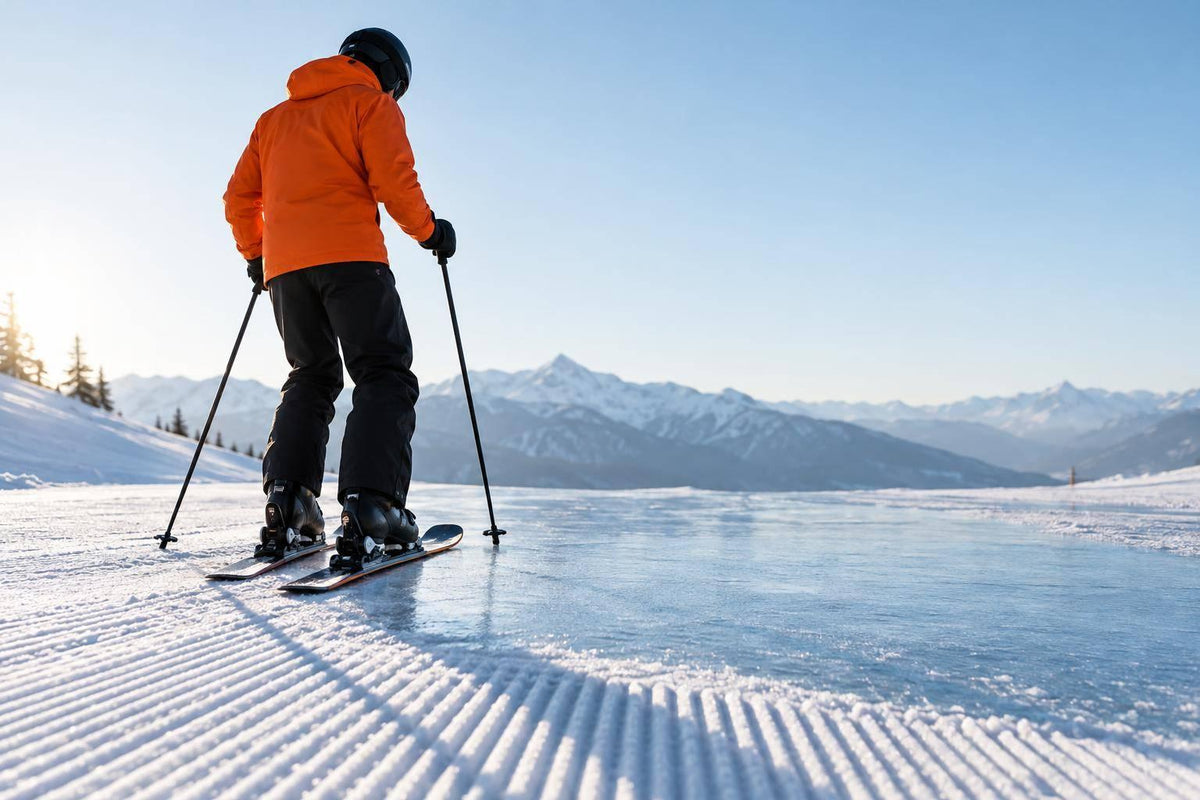
Grip depends on slope angle, skin condition, boot pressure, and pack weight. On icy or very steep sections, skins can’t replace crampons, an ice axe, or technical snow travel skills. Stop, carry the skis, or change your route before you lose control. Don’t use WALKSKI in avalanche terrain without proper training and rescue gear.
On groomed approach routes, check land-manager and trail-operator rules. Stay out of parallel classic tracks, and don’t walk or snowshoe in skate lanes unless posted otherwise. WALKSKI offers glide without long skis - not access to every trail.
Next comes boot fit and how fast you can switch modes in the field.
Boot Fit, Trail Gear, and Mode Changes
Boot Fit and Total Cost
Once you’ve chosen a route, boot fit and binding security determine whether WALKSKI will work for your trip.
Test the exact boots you’ll wear - not just the listed shoe size. Check that the binding holds your heel securely and allows heel lift in Walk mode. Even compatible winter boots won’t provide the support and edging control of ski-mountaineering boots. But using boots you already own can cut your total cost.
| Check | WALKSKI 100 cm | Snowshoes | Full-length touring skis |
|---|---|---|---|
| Boot fit and adjustment | Universal binding; check sole length, heel hold, and binding setting | Usually fits a broad range of footwear, depending on the binding | Boots must match the specific touring binding |
| Release behavior | No documented automatic release | Non-release straps | Release depends on the binding |
| Traction | Removable climbing skins | Built-in crampons/cleats | Climbing skins |
| Complete-system cost | Current price: $830; check bundle contents and add boots, poles, carry gear, tax, and shipping. | Add suitable boots, poles, and winter trail supplies to the snowshoe price | Include compatible boots, bindings, skins, poles, and winter trail supplies |
| Transitions and carrying | Change binding mode and handle skins; secure compact skis to a pack | Remove and strap bulky snowshoes to a pack | Change binding mode and handle skins; longer skis need more carrying clearance |
Switching Modes and Carrying
Practice the steps at home first. Then test walking, short glides, stopping, and mode changes on flat, open snow.
Check both bindings before you move. If ice blocks closure, a boot loosens, or you can’t stop reliably, stop. Switch travel modes or turn around.
Keep the bases clean and dry. Secure the skins and follow their storage instructions.
For bare stretches and crossings, lash both skis to your pack. Tie down loose straps and cover exposed edges.
How the whole setup works matters more than ski length alone.
| Category | Gear and practical limits |
|---|---|
| Required | Compatible, supportive boots; correctly adjusted bindings; climbing skins for climbs; poles; winter trail supplies; and secure pack attachment points |
| Recommended | Snow baskets for poles, spare gloves, repair straps or tape, a small tool kit, and a skin-storage bag |
| Situational | Microspikes for firm, low-angle sections; crampons and an ice axe only with suitable boots and training; avalanche gear only in avalanche terrain |
Next: which route types and trip lengths favor WALKSKI over snowshoes or full-length touring skis.
Trip Examples and Buying Checklist
These are hypothetical trip types, not verified route recommendations. Snow firmness, load, slope angle, and your skill level can change which gear works best. Use the examples below to match trip length, snow conditions, and descents to the simplest setup that fits.
Hypothetical trip Best fit Main limits 2-mile (3.2-km) gentle forest road with packed snow WALKSKI for short, packed approaches Nordic skis glide more efficiently on groomed trails; ice may call for different traction. 3–5-mile (4.8–8-km) rolling cabin or viewpoint approach WALKSKI on moderate, continuous snow Less stable than longer skis on descents. Deep, unconsolidated powder without a firm base Snowshoes, or longer powder skis for skilled users Put flotation ahead of compact size. 8–15-mile (13–24-km) tour with sustained descents Full-length touring skis Requires specialized boots, bindings, technique, and more carrying space. Icy, steep, or exposed approach Use mountaineering or ski-touring gear suited to the route, or turn around. Requires route-specific skills and equipment. Avalanche terrain requires assessment, training, and rescue gear, no matter what's on your feet.
If WALKSKI fits your route, check the price, package contents, and boot fit before buying. These details affect both safety and cost.
Listed price: $1,230 for the Snowfeet* WALKSKI Backcountry Touring Skis 100 cm, with pre-mounted bindings and climbing skins included. Check that your exact boots fit securely. Then budget for poles, suitable traction, a secure pack carry system, tax, and shipping.
Practice mode changes on safe, flat snow - not on steep or exposed terrain. If you may enter avalanche terrain, carry a beacon, probe, and shovel, and get trained to use them.
FAQs
How much skiing experience do I need for WALKSKI?
You don’t need much skiing experience to use WALKSKI. Made for beginners, casual riders, and hikers, these short, 39-inch (100 cm) skis are easier to steer, turn, and control than long backcountry skis.
They glide and handle differently than snowshoes, so expect a short learning curve. Still, most users find they can learn the basics in about five minutes and build confidence on rolling terrain, forest roads, and gentle meadows.
How can I test my boots’ fit before buying WALKSKI?
Supported sizes are US 6–14.5 for winter and snowboard boots and US 4.5–14.5 for ski boots. But size is only part of the fit. Your boot must sit securely in the universal binding, with no slipping, twisting, or side-to-side play.
Unsure about your boot’s sole shape? Email contact@snowfeetstore.com before buying, especially if you use Burton Step-On boots. Clear all snow and ice from your boots and the binding mechanism to ensure a secure connection.
How should I plan for changing snow conditions?
Check official forecasts and snow reports before you head out. Clear snow and ice from your bindings, too.
Use Walk mode on flats, climbing risers uphill, and locked-heel Ski mode downhill. Keep skins on when it’s slick. On longer flats, take them off for better glide.
Always carry an avalanche beacon, probe, and shovel. If conditions worsen - such as softening snow or rising avalanche risk - change your route or turn back.


Leave a comment
This site is protected by hCaptcha and the hCaptcha Privacy Policy and Terms of Service apply.