

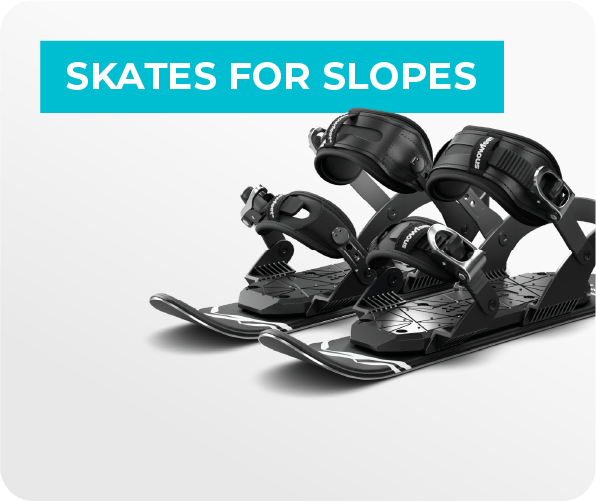


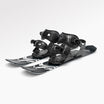
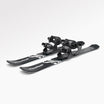
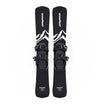
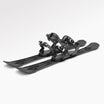
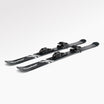
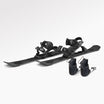
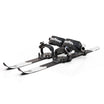
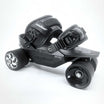
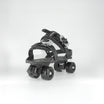
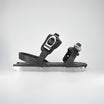
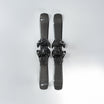

Ever feel like your short skis are dragging instead of gliding? Waxing at home can fix that - and it’s easier than you think. A freshly waxed base makes turning 30% easier and helps your skis last longer. Plus, it improves speed, especially in cold weather where unwaxed skis can lose up to 56% of their glide. The best part? Short skis like Snowfeet (38–120 cm) are compact enough to maintain right at your kitchen table. You’ll need a ski waxing iron, glide wax, a scraper, and a brush. Here’s the process in a nutshell:
- Clean the base with a ski-specific cleaner and brush off dirt.
- Secure the skis on a table or workbench.
- Apply wax with a heated iron, spread it evenly, and let it cool.
- Scrape off excess wax and polish with a nylon brush for a smooth finish.
Waxing every 3–5 uses keeps your skis fast and responsive, while proper storage (like drying edges and applying oil) prevents rust. Ready to glide better? Let’s get started.
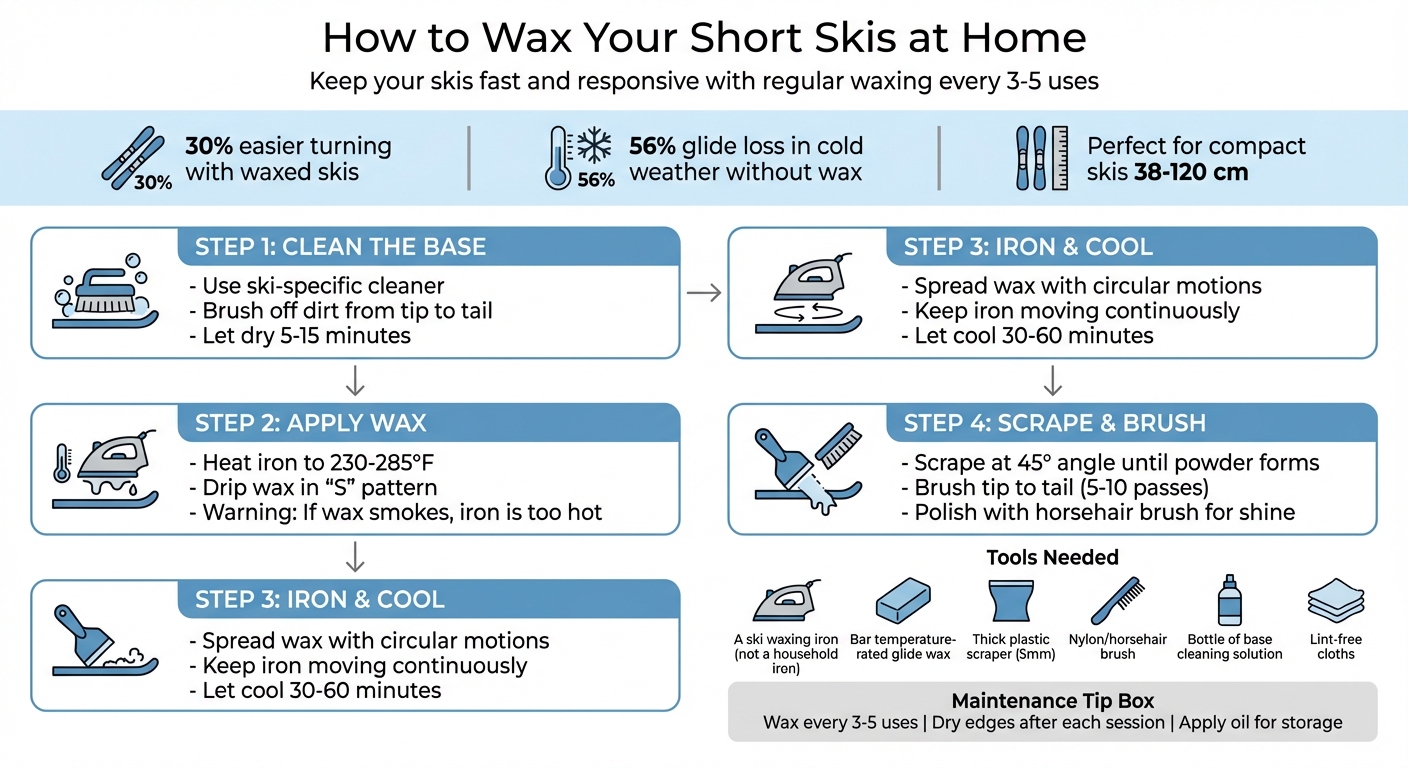
4-Step Process to Wax Short Skis at Home
How to Wax Skis at Home
Tools and Materials You'll Need
Waxing your Snowfeet* short skis is refreshingly simple. Unlike traditional full-length skis that often require a dedicated workbench, you can easily tackle this task right at your kitchen table.
Basic Tools for Waxing Short Skis
First up, you’ll need a ski waxing iron. Don’t use a regular household iron - those tend to have unreliable temperature control, which can damage your skis. As MEC points out:
cheap clothes irons don't always hold steady temps so you run the risk of wrecking your skis.
Next, grab some temperature-rated glide wax, a plastic scraper (around 5mm thick), and a nylon or horsehair brush to give your skis a smooth, polished finish.
For cleaning, use a base cleaning solution along with lint-free cloths - coffee filters work great here. Avoid paper towels, as they can leave behind fibers. To keep the brakes out of your way while waxing, secure them with sturdy rubber bands. Snowfeet* also offers its own liquid wax and a handy sharpening stone for quick touch-ups on the go.
Having the right tools makes all the difference in getting that smooth glide and long-lasting performance that sets Snowfeet* apart from traditional skis. Once you’ve got your basics covered, a few extra accessories can take your waxing game to the next level.
Extra Accessories for Better Results
A ski vise or a stable surface is a must for scraping. Thanks to the compact size of Snowfeet* skiblades, you can use just about any standard table for this. Microfiber cloths are perfect for wiping down your skis before and after waxing, ensuring a clean surface. Don’t forget to dry the metal edges thoroughly after each session to prevent rust. For long-term storage, applying a light coat of oil to the edges is a smart move to keep them in top shape, as recommended by the Snowfeet* team.
With these tools and accessories, you’ll be ready to set up a solid workstation and keep your skis in peak condition.
Preparing Your Snowfeet* Short Skis for Waxing

Before you start waxing your Snowfeet* short skis, it’s essential to make sure the base is squeaky clean. A clean base helps the wax absorb better, giving you smoother and faster rides. According to Fischer Sports, skis with a well-waxed base have a rich color and feel smooth and flexible. If they start looking dull or grayish, it’s a clear sign they need some TLC. Here’s how to get your skis ready before you break out the wax.
Cleaning the Base
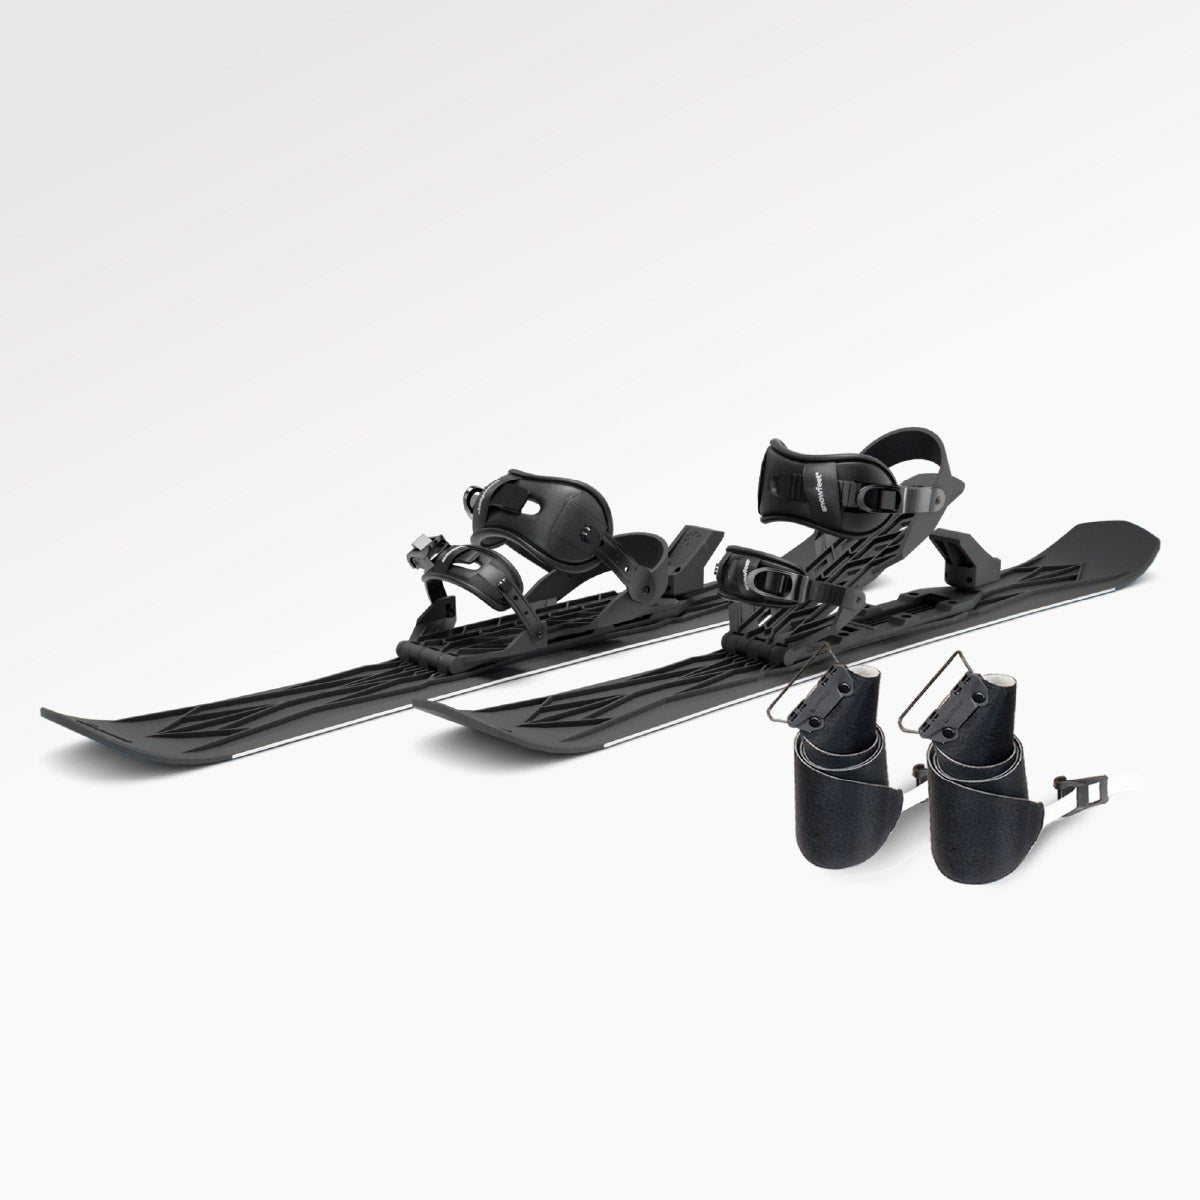
Start by brushing off any dirt and grime using a metal or bronze brush. Use straight strokes, working from the tip of the ski to the tail. This ensures you’re clearing away debris without damaging the base. Next, grab a base cleaner designed specifically for skis. Apply it evenly across the base using a clean, lint-free cloth - coffee filters work great for this! Let the cleaner sit and evaporate for about 5 to 15 minutes. Once it’s dry, go over the base again with a bronze or steel brush to open up the pores. This step is crucial for helping the wax stick properly.
Securing Your Short Skis
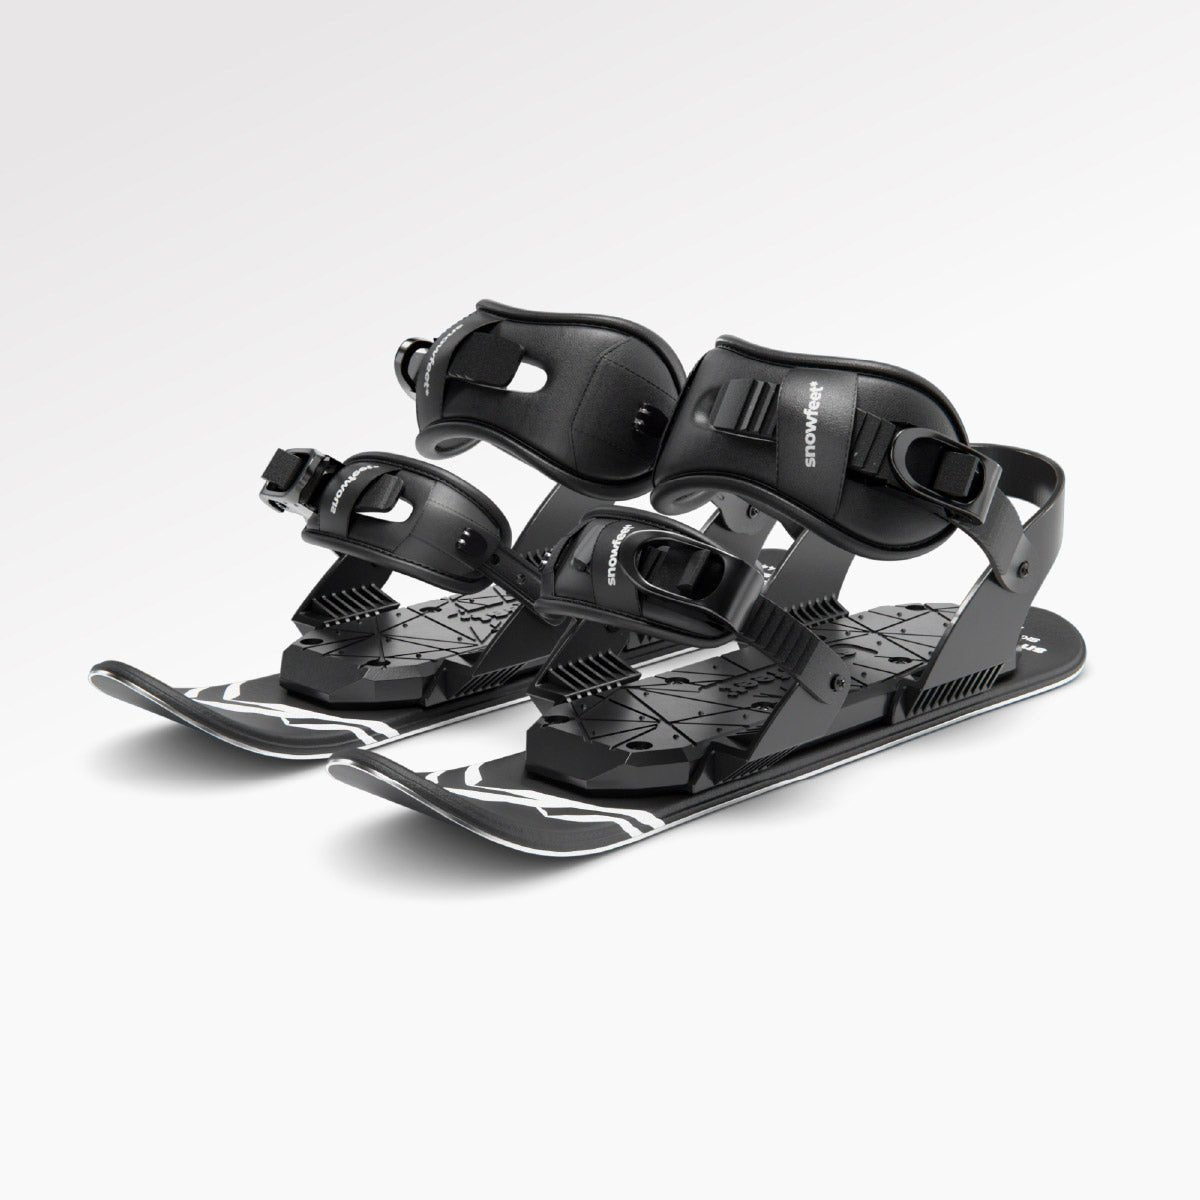
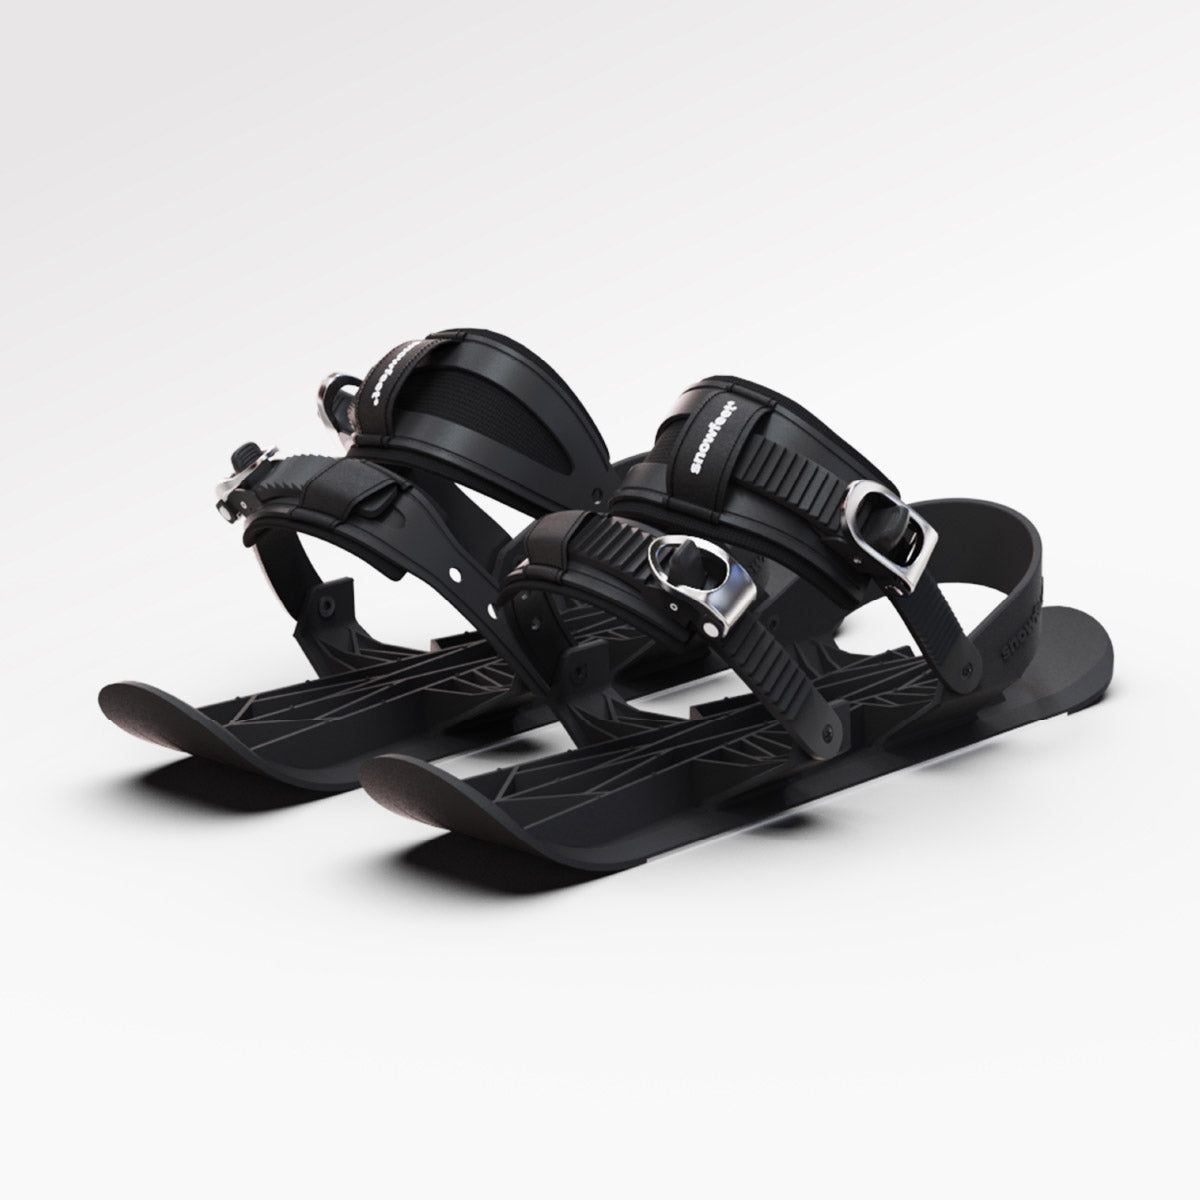
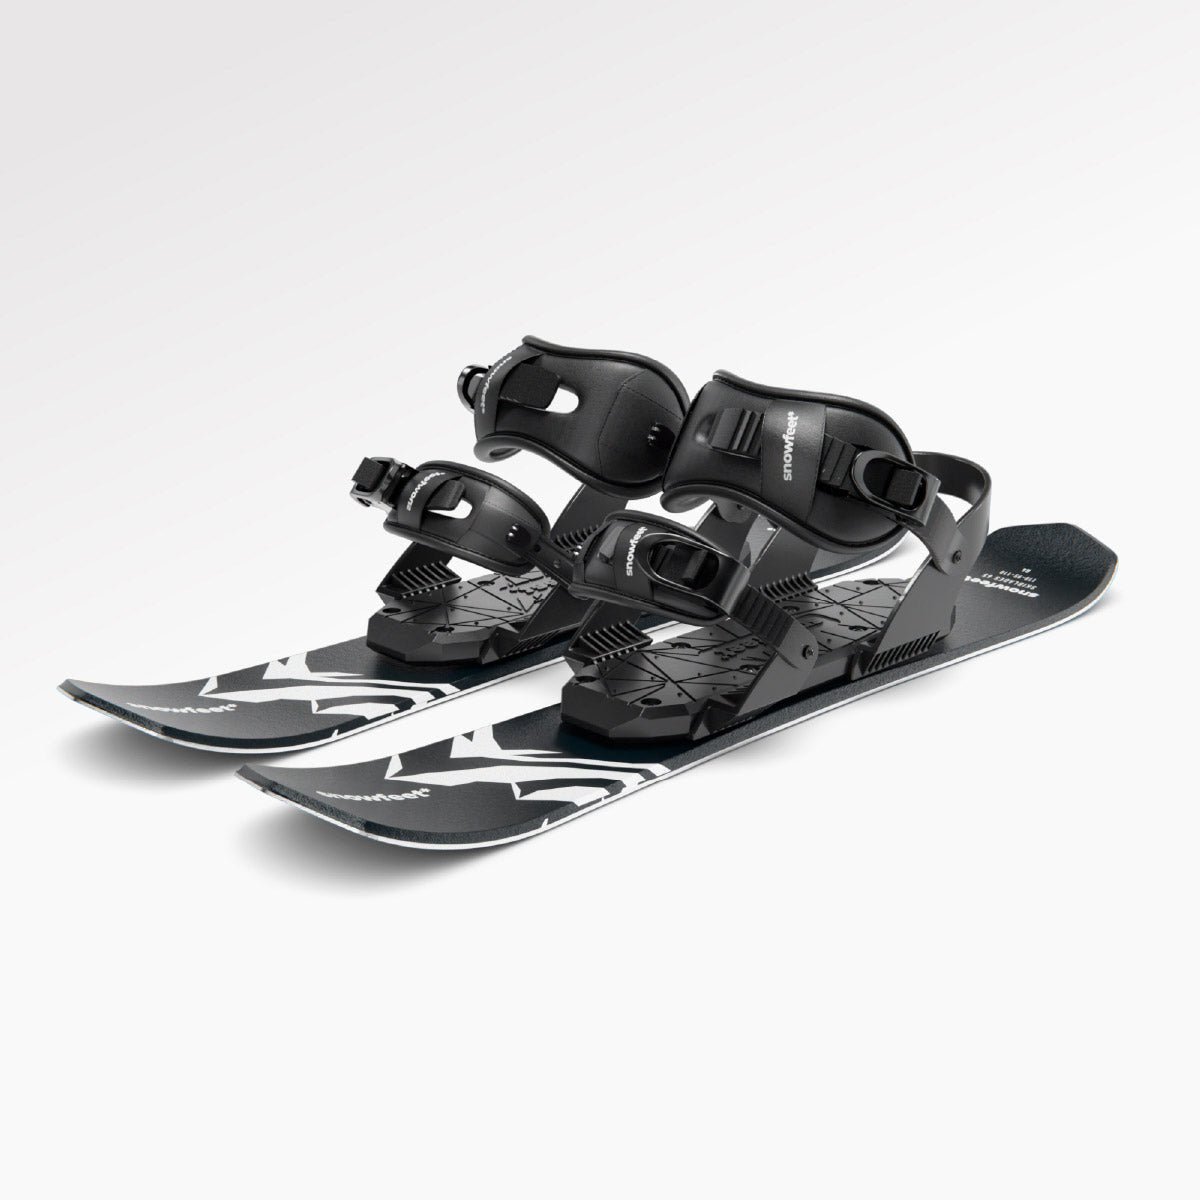
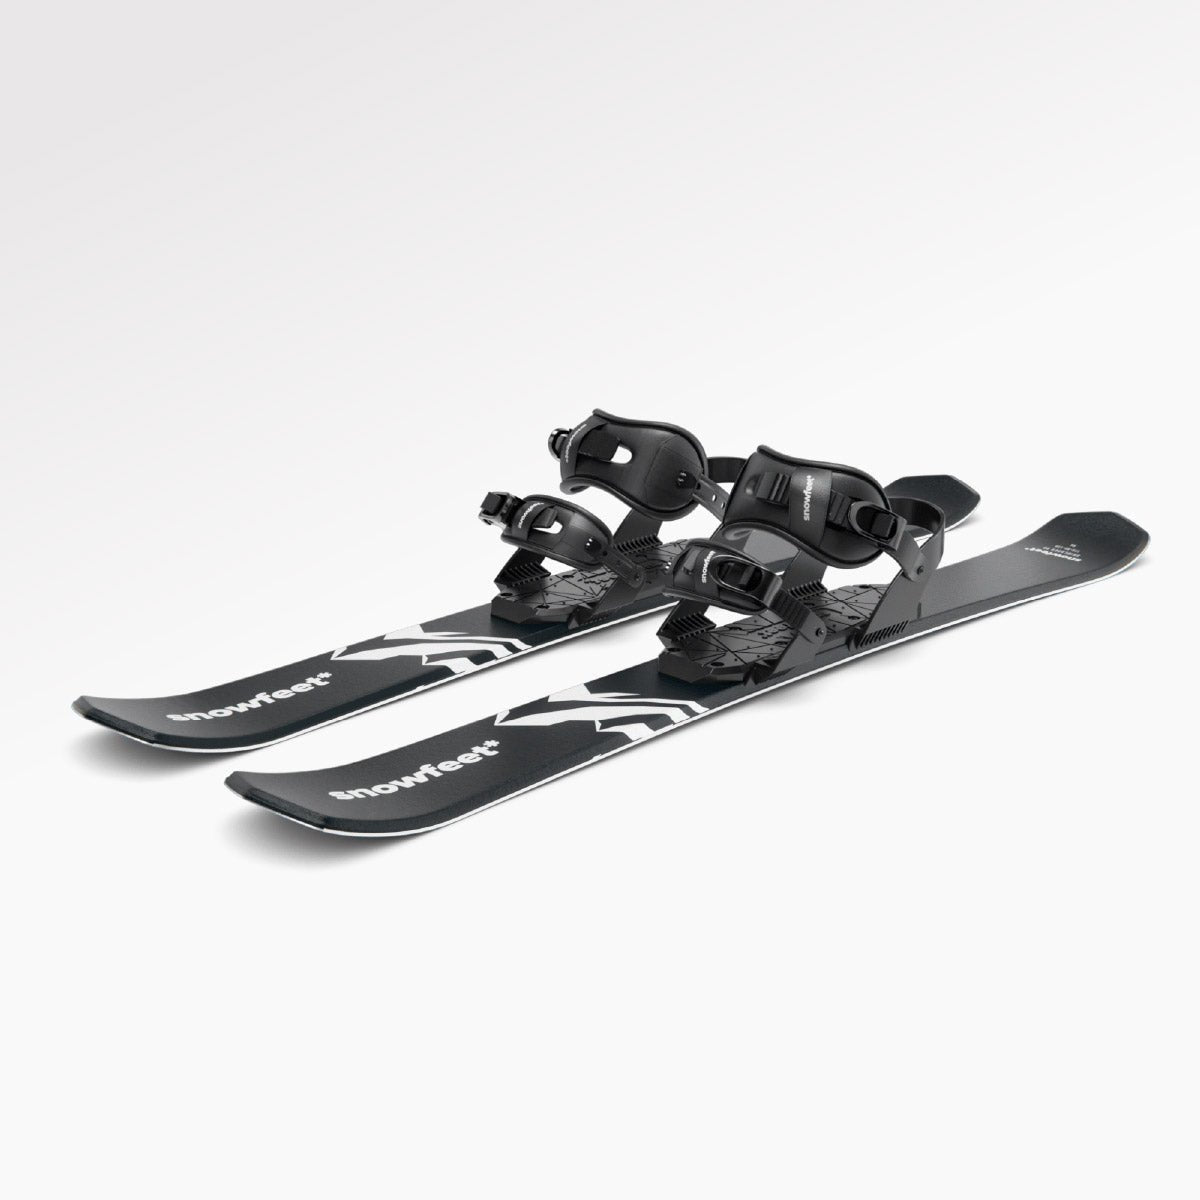
Before you dive into waxing, make sure your short skis are securely fixed. Because of their compact size, Snowfeet* skiblades are easier to handle than traditional skis. You can use a ski vise (which costs around $160) or even improvise with a sturdy kitchen table and some books for stability. Place the skis base-side up and secure the brake arms with a strong rubber band by hooking it between them. Snowfeet* skiblades, which come in lengths of 65 cm, 99 cm, and 120 cm, are lightweight and much shorter than regular skis. This makes them super easy to manage on a standard workbench, so you can handle maintenance at home without breaking a sweat.
How to Wax Snowfeet* Short Skis
With your Snowfeet* short skis cleaned and secured, it’s time to get them waxed. Thanks to their compact size - available in lengths like 65 cm, 99 cm, and 120 cm - the process is quicker than waxing traditional skis. But don’t rush it! Precision is still key. The fiberglass-reinforced polyamide base needs an even wax layer to fill its pores and ensure a smooth, fast glide. Ready? Let’s dive into the steps.
Step 1: Apply the Wax
First, heat your waxing iron to somewhere between 230°F and 285°F. Be cautious - if the wax starts smoking, your iron’s too hot. As MEC advises:
If the wax begins to smoke, the iron is too hot.
Once you’ve got the right temperature, press the wax bar against the iron to let it drip onto the ski base. Start along the outer edges, as these areas tend to dry out more quickly, and then drizzle the wax in an “S” pattern for balanced coverage. While Snowfeet* skis don’t need as much wax as larger skis, aim for an even, consistent layer.
Step 2: Iron the Wax Into the Base
Now, it’s time to spread the wax. Use your iron in small, continuous circular motions across the base. Keep it moving - staying in one spot too long can damage or delaminate the skis. These circular motions allow the wax to soak into the base more effectively than straight strokes. The goal is an even, well-absorbed layer across the compact surface.
Step 3: Let the Wax Cool
Once the wax is spread, set your Snowfeet* skis aside to cool completely. This usually takes 30 to 60 minutes. During this time, the wax bonds with the base, filling the tiny pores and prepping the skis for a smoother glide. Make sure they’ve returned to room temperature before moving on to the next steps - scraping and brushing for that perfect finish.
sbb-itb-17ade95
Scraping and Brushing Your Snowfeet* Skis
After letting your wax cool for 20 to 60 minutes, it’s time to reveal that sleek, fast finish. Scraping and brushing aren’t just extra steps - they’re what turn a waxy base into a high-performance surface. These final touches make sure your Snowfeet* skis deliver top-notch speed and efficiency, giving them an edge over traditional long skis. Leaving extra wax on the base can slow you down, while skipping proper brushing can clog the base, reducing glide. MEC sums it up perfectly:
"Freshly waxed skis help you ski faster, but that's not the only reason to wax your skis. If your skis are running well, it's generally easier to turn and ski overall."
The compact design of Snowfeet* short skis (available in 65 cm, 99 cm, and 120 cm) makes this process quicker than with traditional skis, but precision is still key. Let’s walk through the steps to get your skis race-ready.
Scraping Off Excess Wax
Start with a sharp plastic scraper to avoid damaging the base. Swix highlights why this is important:
"It is important to use a sharp scraper. High pressure with an unsharp scraper can make the structure unsharp."
Hold the scraper at a 45° angle and use steady, firm strokes. Don’t forget to use the notch to clean the edges - this ensures smooth carving later. Keep scraping until the wax is reduced to a fine powder, leaving the base smooth and ready for the next step.
Brushing for a Smooth Finish
When it’s time to polish, grab a nylon brush (around $21) - it’s a great all-around tool. Brush from tip to tail using long, even strokes. Five to ten passes should do the trick to remove any leftover wax. For an extra touch of shine, follow up with a horsehair brush (about $23). As Ben Fox from Outside Online puts it:
"Brushing is a bit like buffing a car - the more, the better, and you can never really do too much."
With their shorter length, Snowfeet* skis take less time and effort to prep than traditional skis. The result? Maximum glide and smoother turns, every single run.
Wax Selection and Maintenance for Snowfeet* Short Skis
Choosing the Right Wax
Liquid wax is a great pick if you're after quick and easy maintenance. The Snowfeet Team suggests using it for touch-ups between your trips to the slopes - perfect for the fast-paced lifestyle these compact skis are built for. Application is simple: wipe it on, buff it off, and you're good to go.
If you're looking for something longer-lasting, all-temperature hydrocarbon wax is a solid choice. For example, Swix LF8 (around $33) works well with the hot wax method. Unlike longer skis that often need temperature-specific waxes for racing, Snowfeet* skis thrive with universal wax, making them ideal for recreational fun. Plus, their compact sizes - 65 cm, 99 cm, and 120 cm - mean they don’t need as much wax. While a full pair of alpine skis might use 12 to 15 grams of wax, your Snowfeet* will require less.
Regular waxing doesn’t just keep your skis looking good - it makes them faster and more responsive. Up next, let’s talk about how often to wax and how to store them properly for peak performance.
How Often to Wax and Storage Tips
To keep your Snowfeet* performing their best, wax them every 3 to 5 uses. If you’re riding on manmade snow or icy surfaces, you’ll need to wax more often since those conditions wear off wax faster. Skipping regular waxing can lead to base burn, where the P-tex oxidizes and loses its ability to absorb wax effectively.
After each session, dry off the metal edges to prevent rust, which can hurt performance. For long-term storage, apply a thin layer of oil to the edges and keep your Snowfeet* in a dry spot at room temperature - your garage or even under your bed works well. At the end of the season, put on a final coat of wax but don’t scrape it off. This protective layer keeps the base from drying out during the off-season. When winter comes back around, your Snowfeet* will be ready to hit the slopes again without missing a beat.
Conclusion
Taking care of your Snowfeet* short skis at home isn’t just about upkeep - it’s about unlocking their full potential on the slopes. A proper waxing routine means faster speeds, smoother glides, and no pesky snow sticking to the base. In short, it keeps your skis performing exactly how they’re meant to: lightweight, quick, and responsive.
Thanks to Snowfeet*’s compact design - available in sizes like 65 cm (≈25.6 in), 99 cm (≈39 in), and 120 cm (≈47.2 in) - maintenance is a breeze. You’ll need less wax, less time, and less effort, making it both simple and easy on your wallet. With over 50,000 riders worldwide and a stellar 4.9/5 rating from 5,500+ verified reviews, it’s clear that a little care goes a long way.
Pairing freshly waxed bases with sharp, rust-free edges gives you the ultimate edge in control and precision. Whether you’re carving through groomed trails or tackling icy conditions, your Snowfeet* will be ready to perform at their best.
FAQs
How often should I wax my short skis to keep them performing their best?
For the best performance, give your short Snowfeet skis a wax every 4–6 sessions under typical use. If you're tackling heavy skiing days, especially on wet or slushy snow, you might want to wax them after each session. For lighter use, a good wax once or twice per season should do the trick.
Keeping up with regular waxing doesn’t just improve glide - it also helps protect your skis from wear and tear, making them last longer. The great thing about short skis like Snowfeet? They need less wax compared to traditional skis, which means easier upkeep and a lower cost while still delivering excellent performance on the slopes.
How is waxing short skis different from waxing traditional skis?
Waxing short skis, like Snowfeet *Skiblades (44–120 cm), is a breeze compared to maintaining traditional skis. Thanks to their compact size, you’ll need just a small amount of wax, a few basic tools, and no fancy setup. All you need is a basic iron, a small block of universal wax, a plastic scraper, and a brush. The best part? You can knock it out in under 30 minutes, even in a small space like your kitchen. Plus, their smaller surface makes edge sharpening and storage a whole lot simpler.
On the other hand, traditional skis - usually 150–190 cm long - are a bit more of a project. They require more wax, specialized tools, and often a dedicated tuning bench to get the job done right. The process takes longer, which is why many skiers leave it to the pros. Their larger size and weight also mean more frequent edge work and a need for extra storage space. If you’re looking for easy, efficient maintenance, Snowfeet short skis are a clear winner.
Can I use a regular household iron to wax my short skis?
When waxing short skis, like Snowfeet Skiblades, it's smart to stick with a dedicated ski-waxing iron or use Snowfeet's suggested liquid-wax method. Household irons can get too hot, making it tricky to control the temperature and risking damage to your ski base. Ski-waxing irons, on the other hand, are built to keep a steady, low heat that’s perfect for safely waxing short skis and getting the best performance out of your gear.







Leave a comment
This site is protected by hCaptcha and the hCaptcha Privacy Policy and Terms of Service apply.