Want your skis to glide like a dream? Waxing them is the secret. Whether you're carving down slopes or cruising with Snowfeet* short skis, a proper wax job makes all the difference. Here's what you need to know:
- Waxed skis = smoother turns, better control, and less damage.
- Tools? A waxing iron, scraper, brushes, base cleaner, and the right wax.
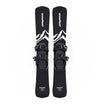
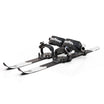
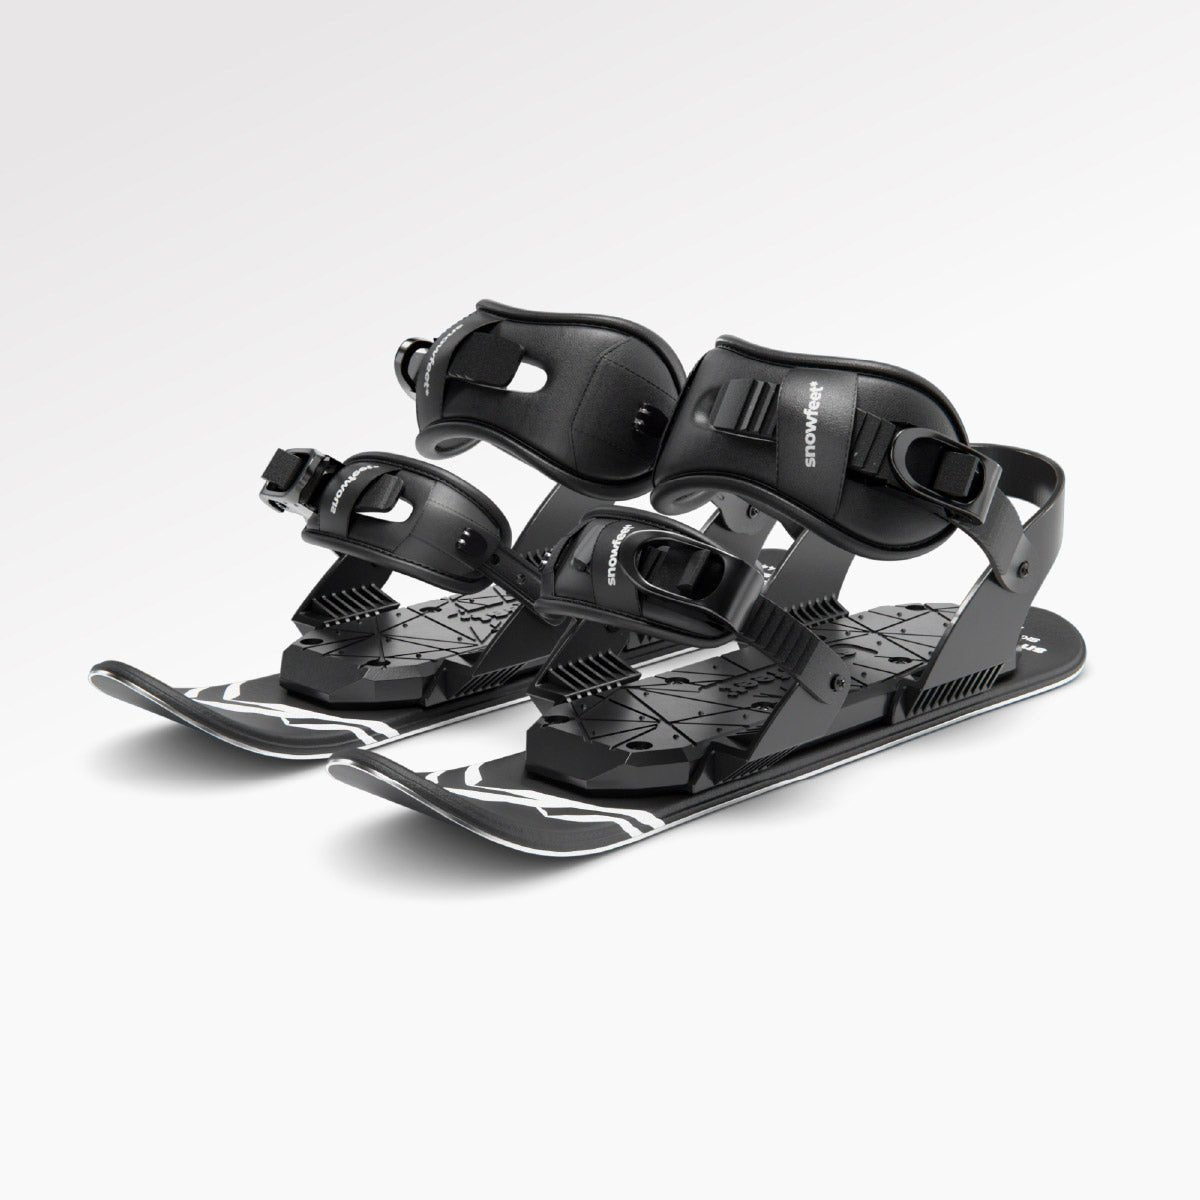
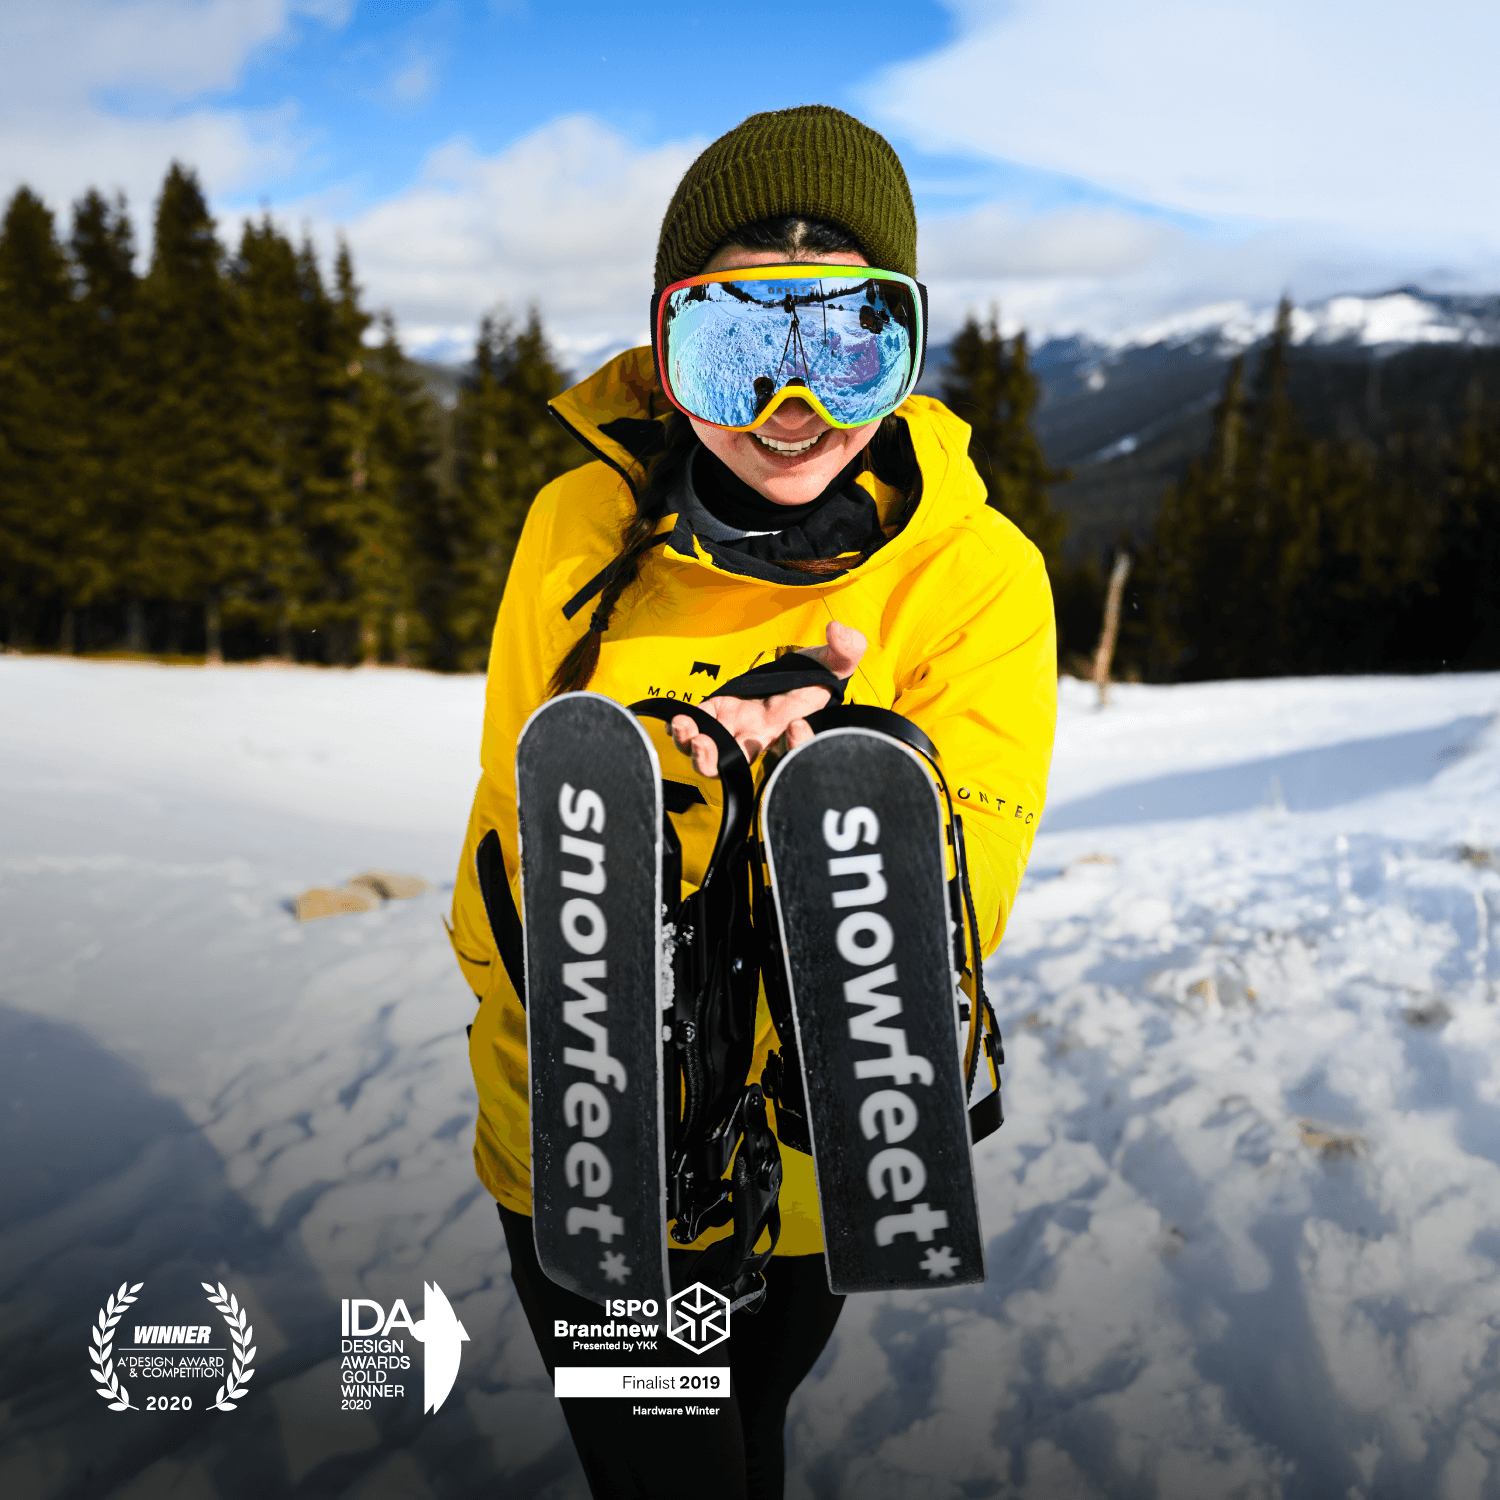
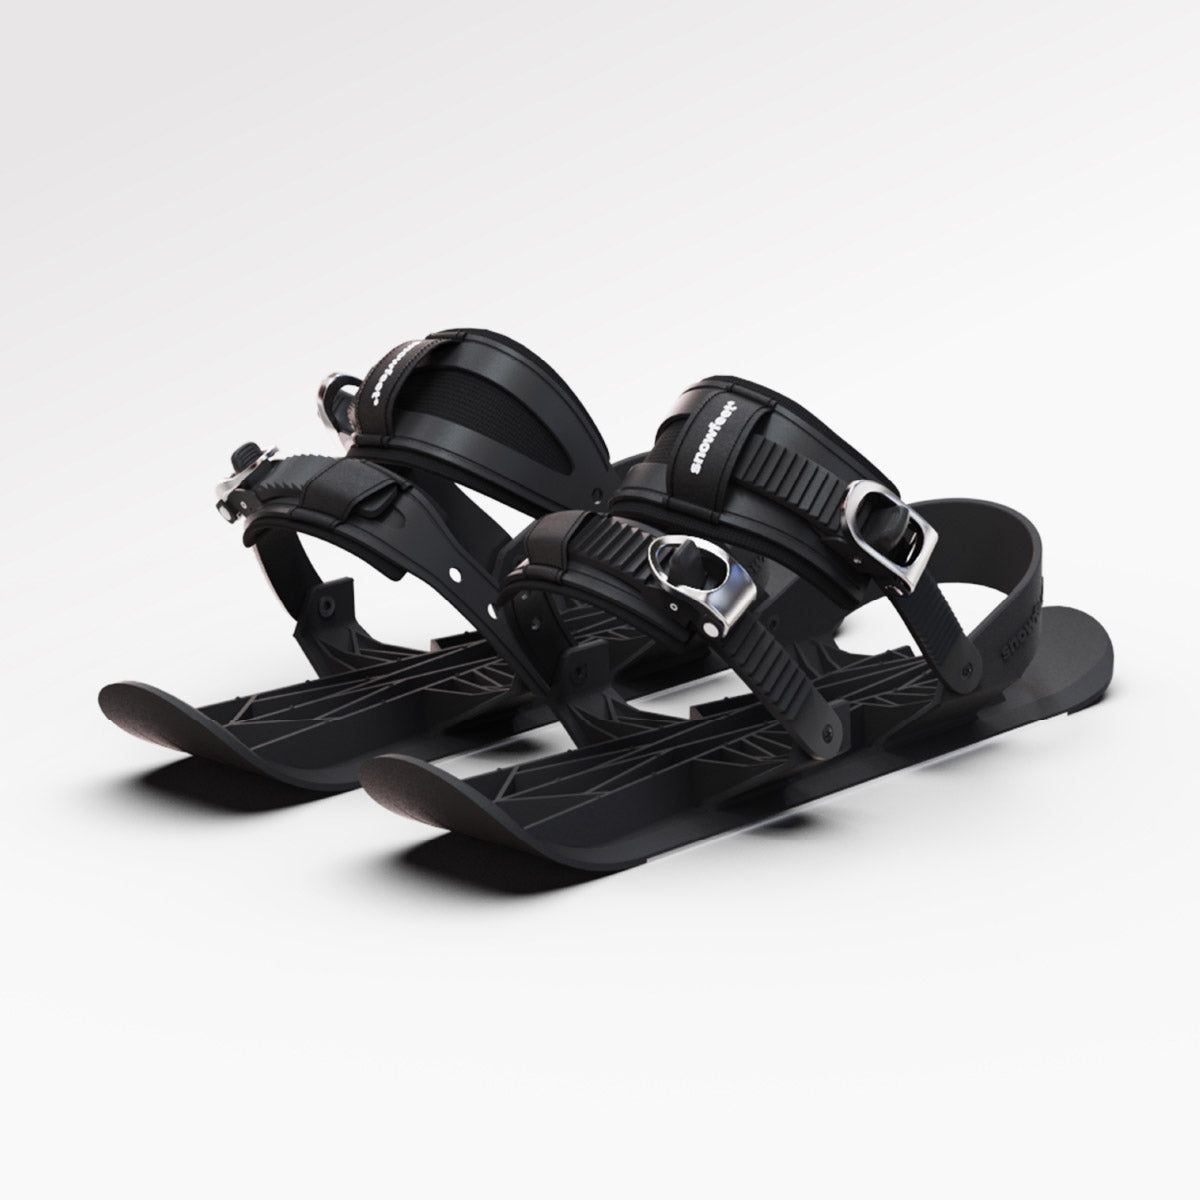
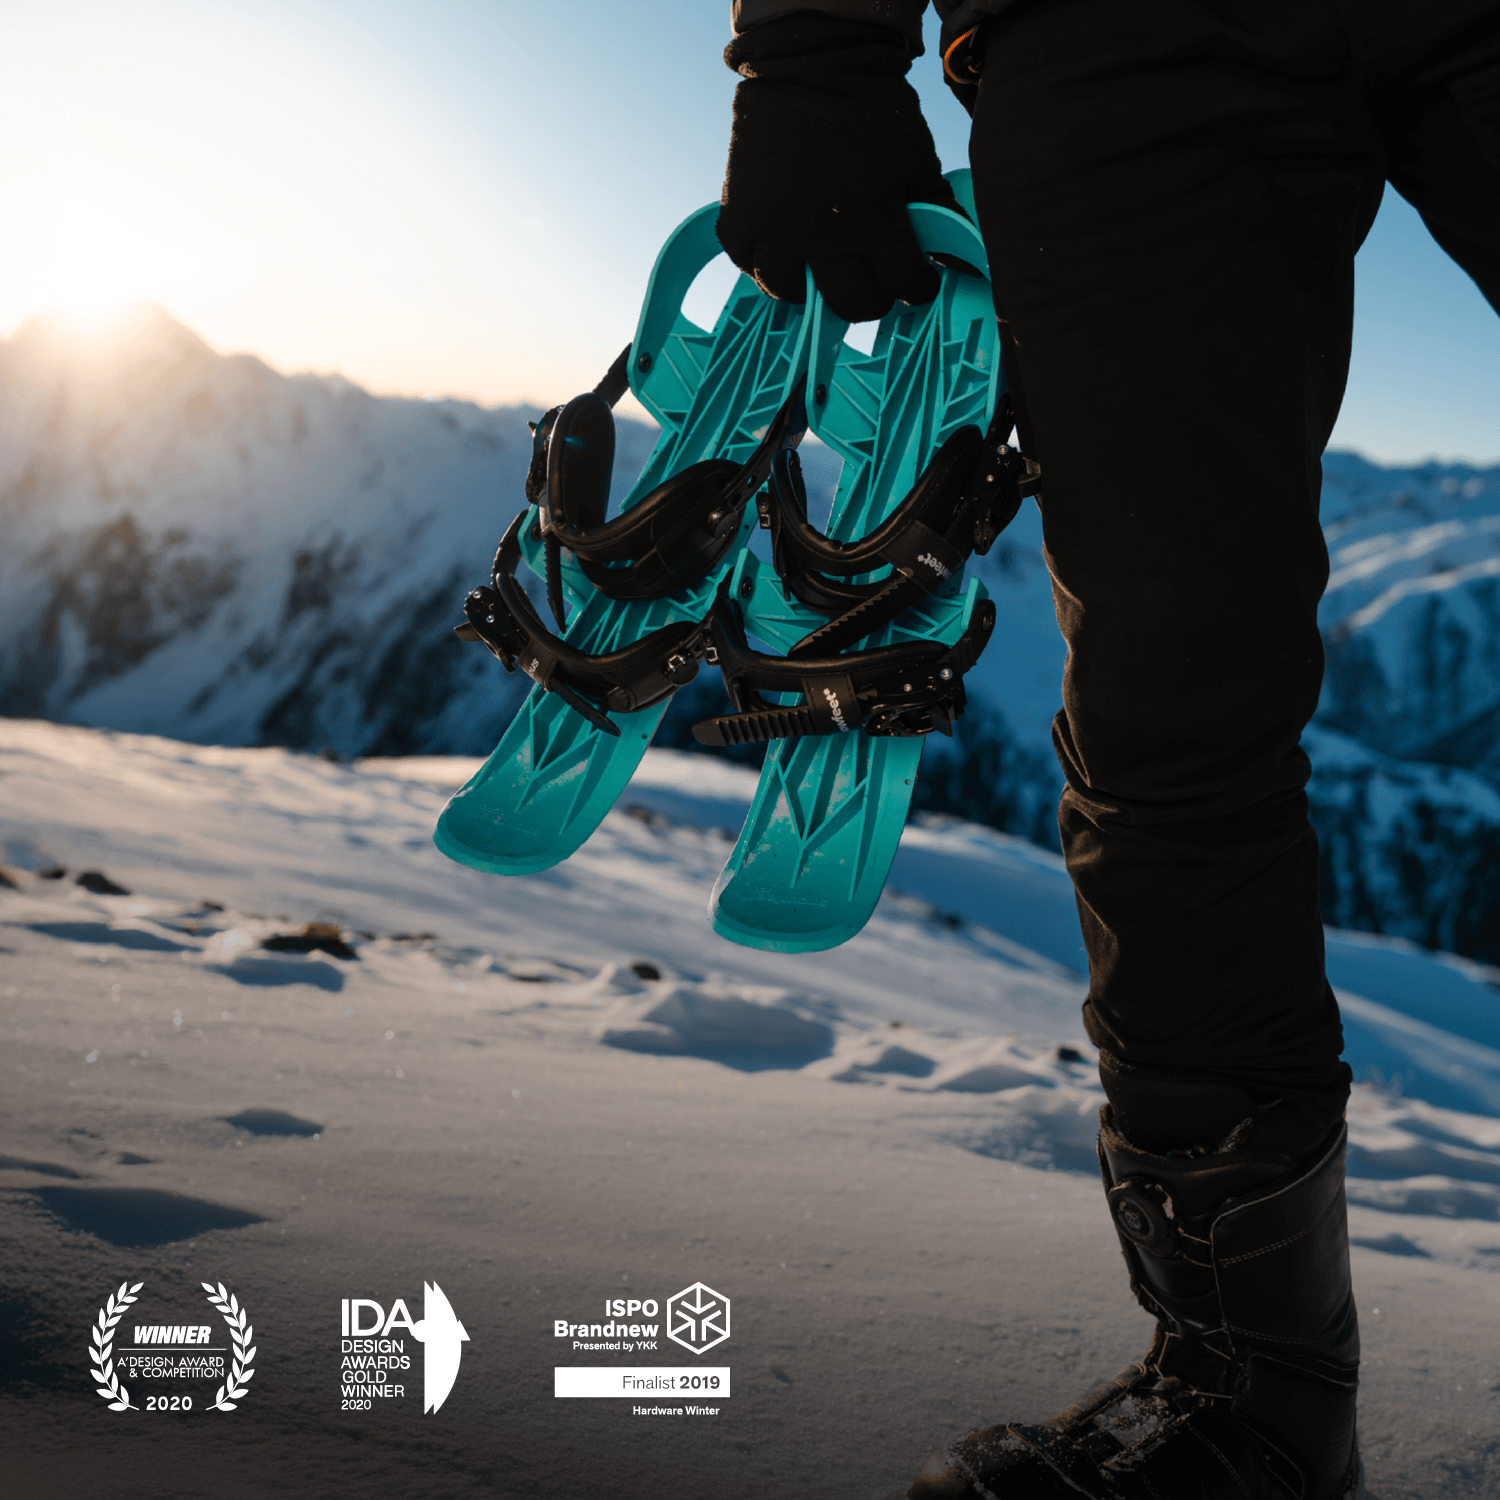
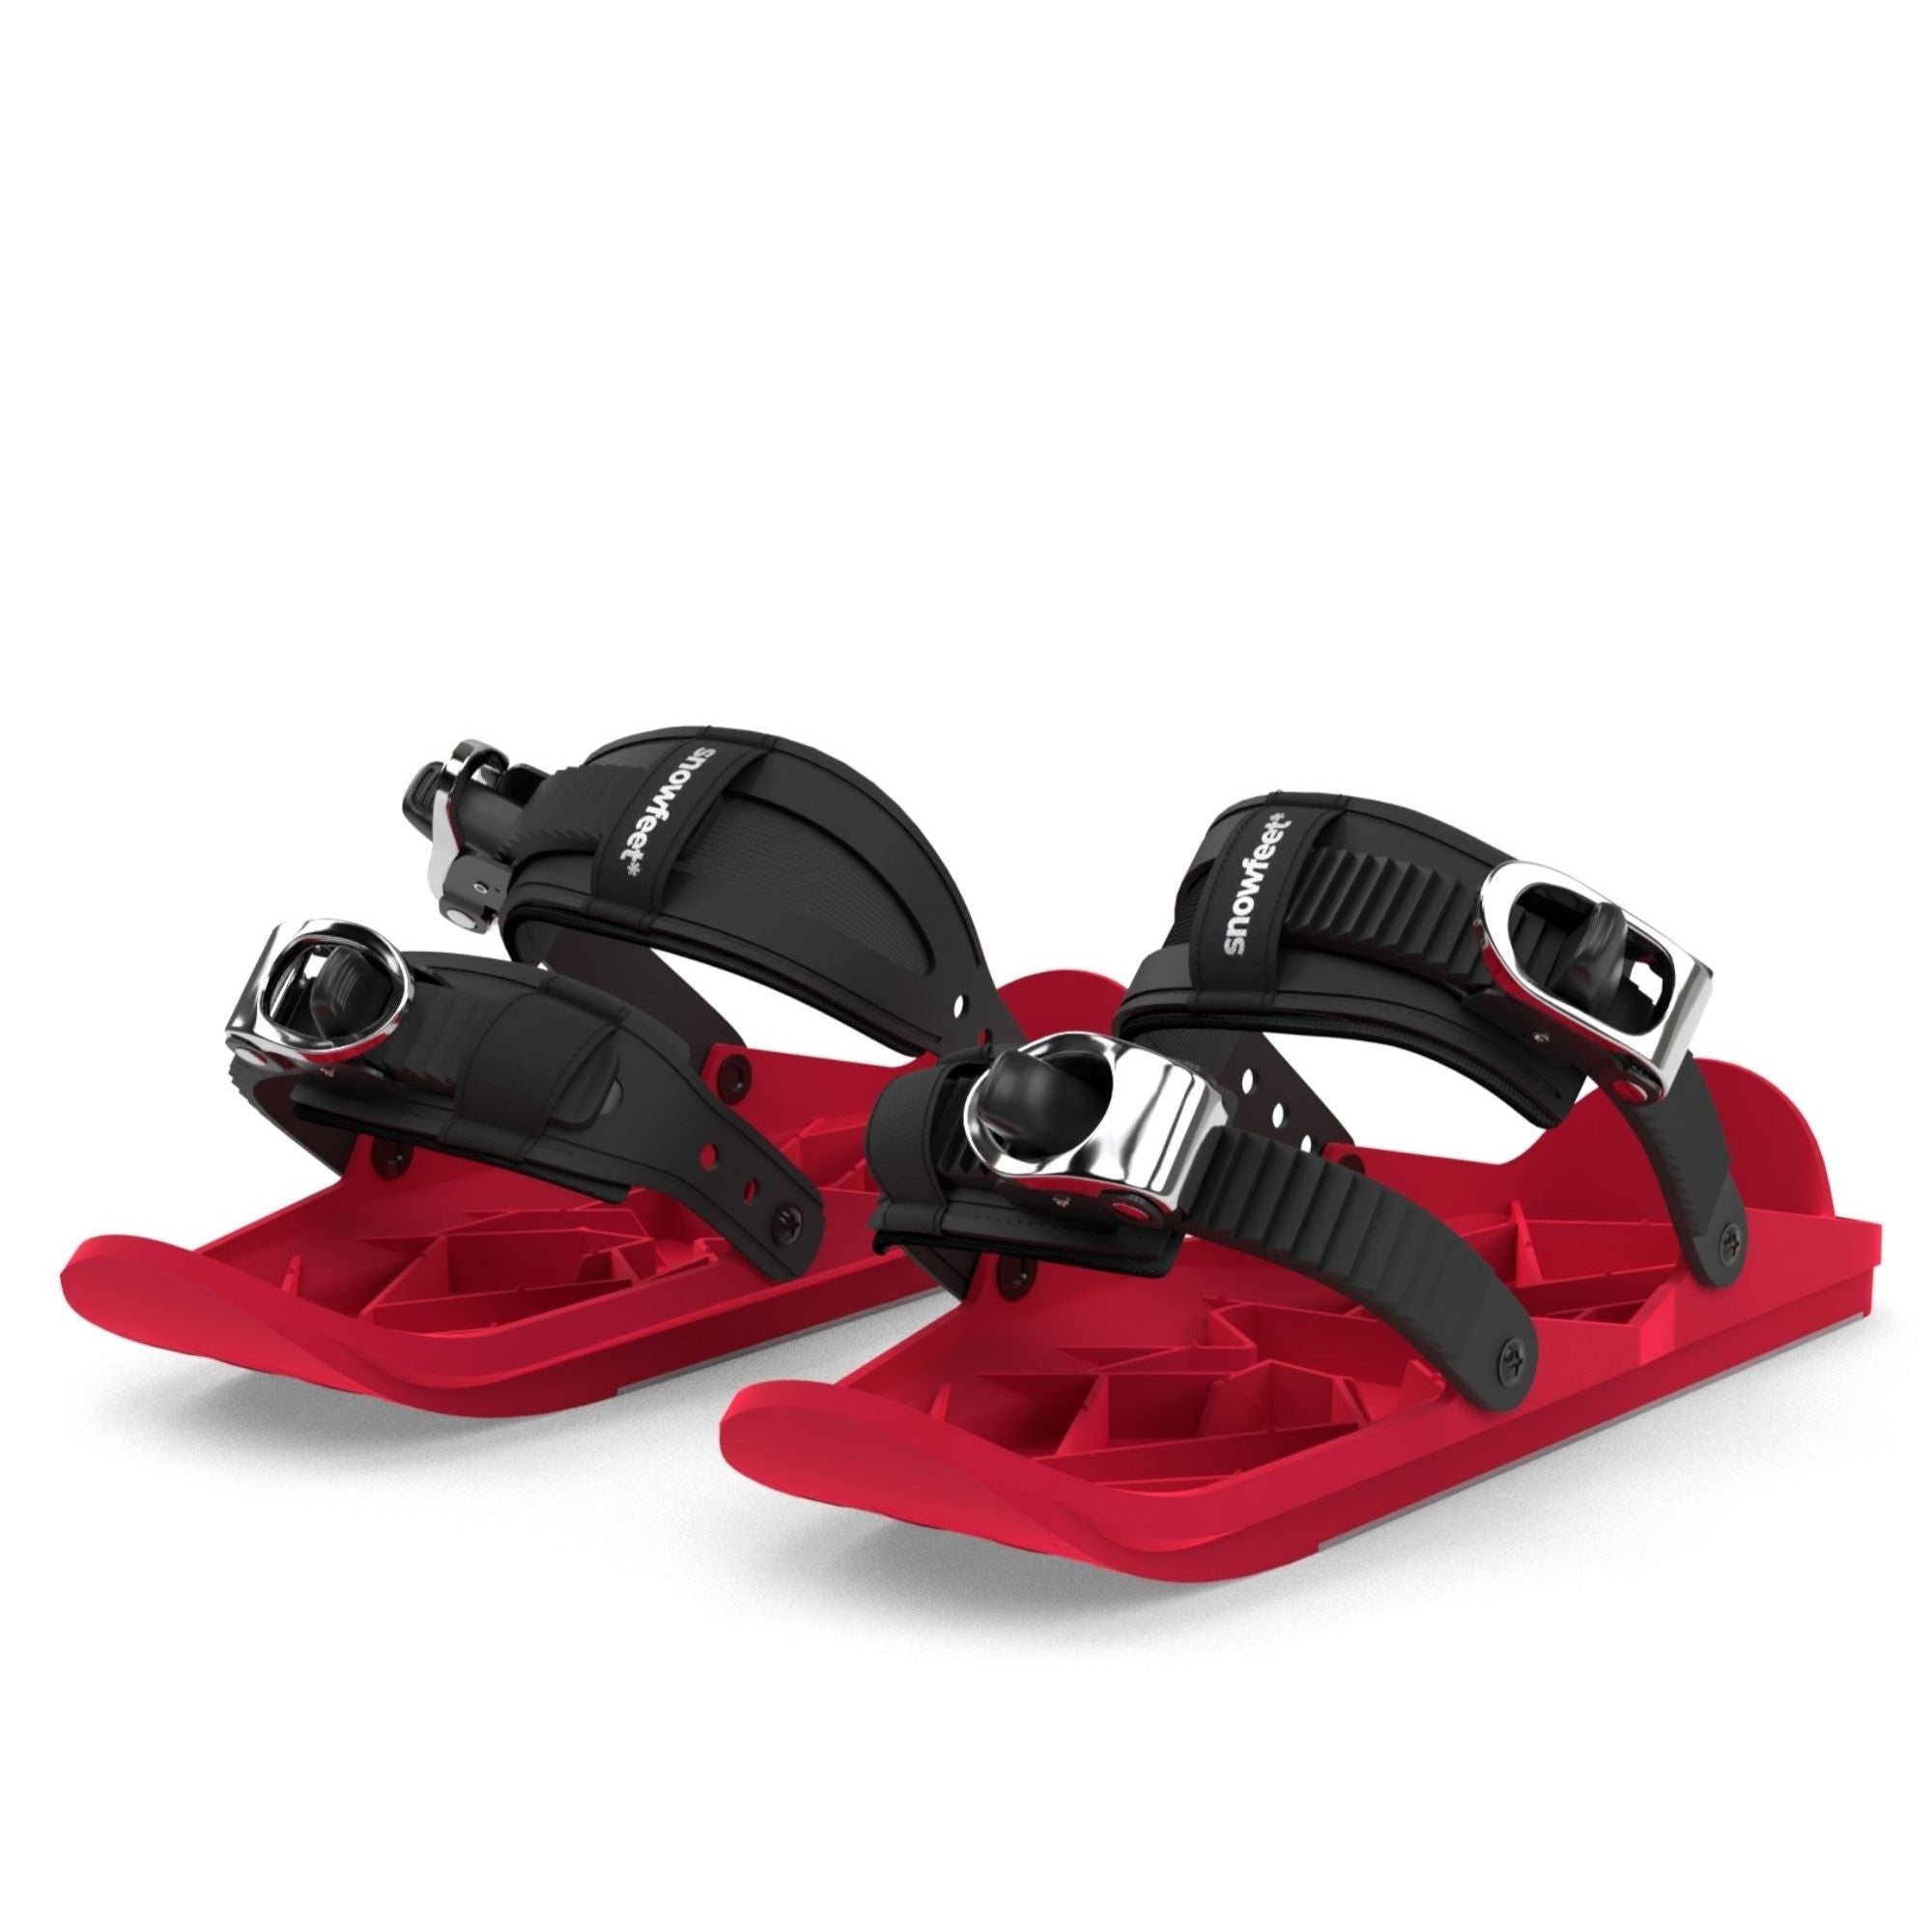
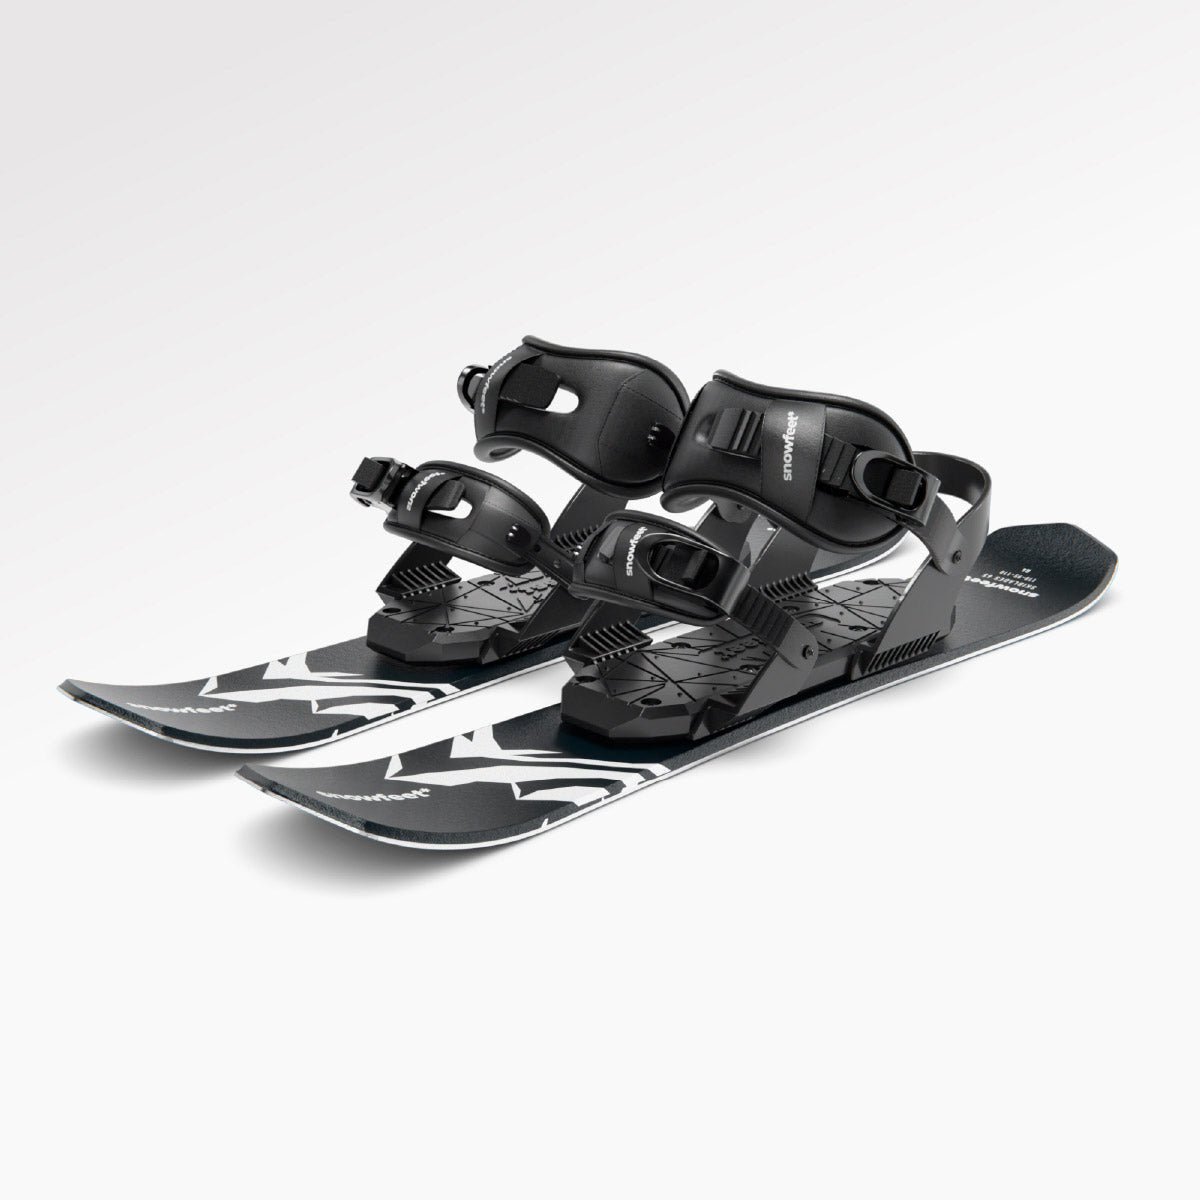
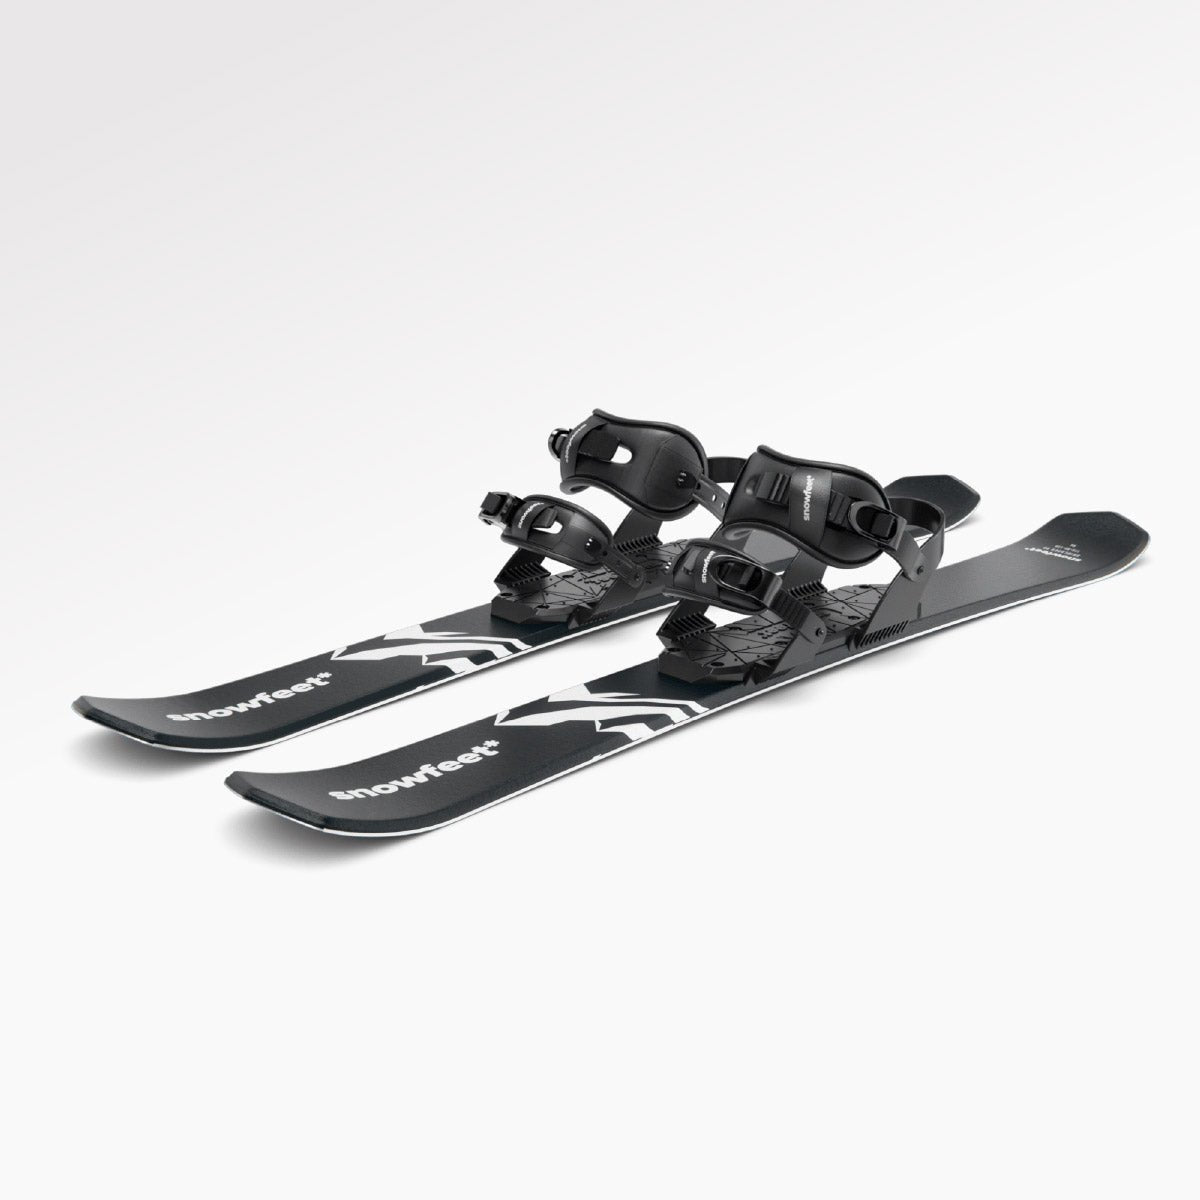
- Snowfeet* short skis? They're easier to wax and use less material than longer skis.
Key steps:
- Clean your skis to remove dirt and old wax.
- Apply wax using an iron or liquid wax.
- Scrape and brush for a polished finish.
Wax every 4–6 ski days (or 8–10 for beginners) and before storing your gear. Snowfeet* make the process faster and simpler - perfect for beginners. Ready to hit the slopes? Let’s dive in!
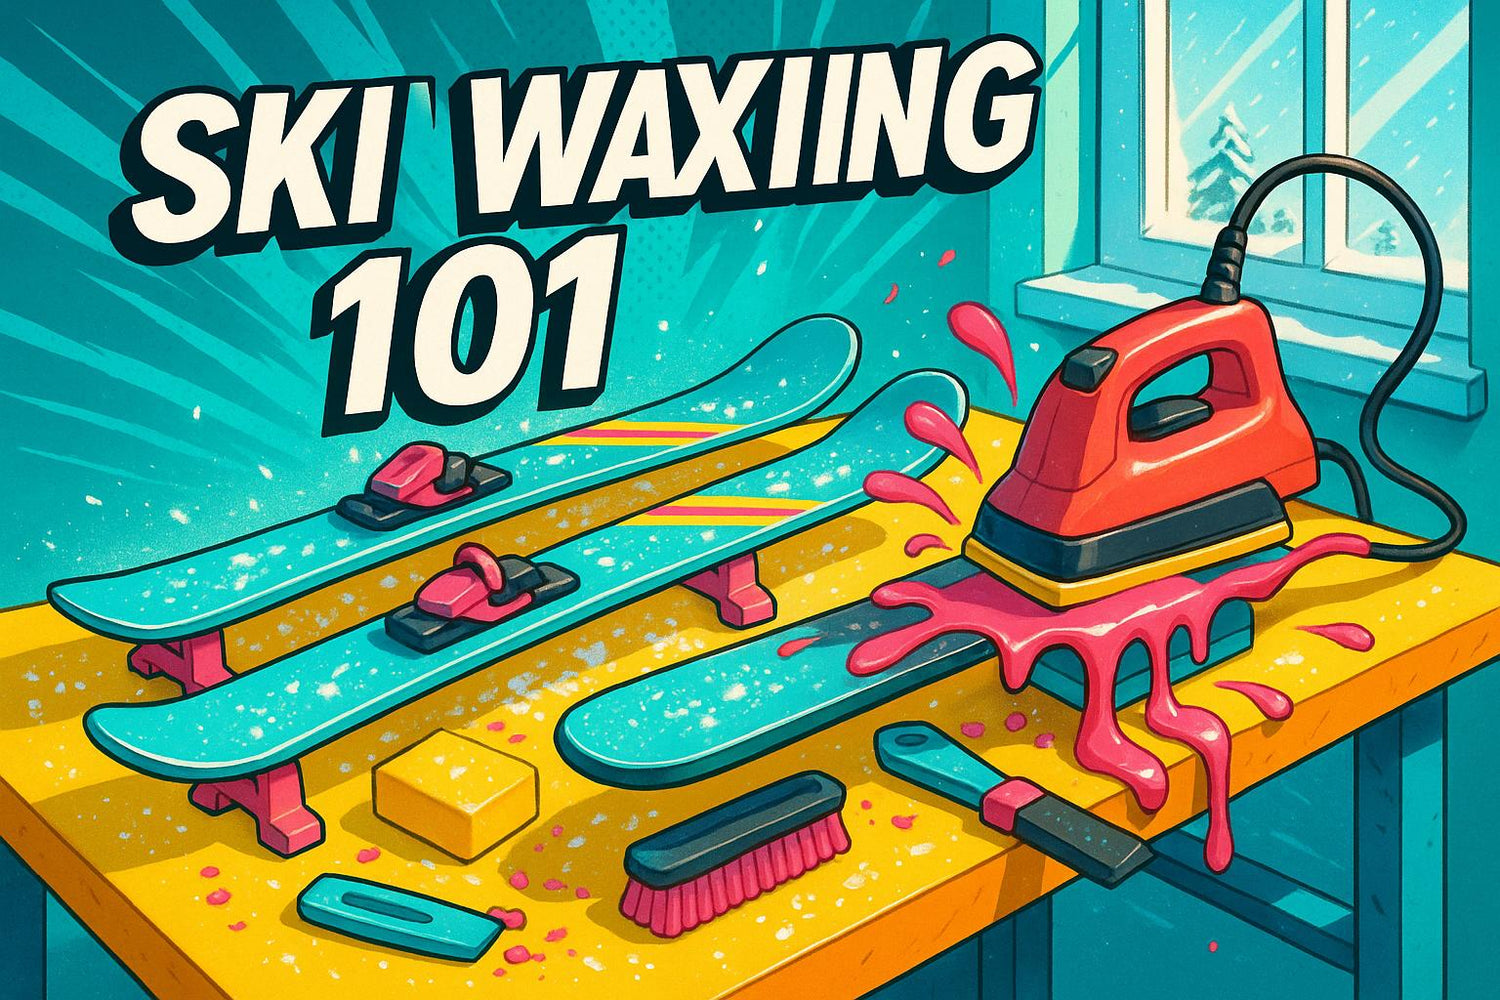
Ski waxing 101. A beginners guide to waxing skis.
Tools and Materials You Need for Home Ski Waxing
Ski waxing doesn’t require a fortune or a high-tech setup. With a few basic tools - most of which you can snag for under $100 - you’ll be ready to keep your skis in top shape. Start small, and as you gain confidence, you can expand your kit.
Essential Tools and Their Purpose
-
Waxing Iron
A dedicated waxing iron is a must. It keeps a steady temperature (ideally between 230°F and 300°F) to protect your ski bases. Don’t use your laundry iron - invest in a proper waxing iron for about $40. You can find them at places like REI or online. -
Plastic Scrapers
These are used to scrape off excess wax without harming your ski bases. They’re inexpensive, usually $8–$12, but should be replaced once they get worn. -
Brushes
You’ll need two types: a brass brush to remove leftover wax and a soft brush (like boar’s hair) to polish. These brushes will set you back $15–$25, but they’ll last for years if taken care of. -
Base Cleaner and Rubbing Alcohol
Base cleaner (around $12–$15 per bottle) and rubbing alcohol (less than $3) are essential for cleaning off old wax and dirt before applying new wax. -
Clean Towels or Rags
Use soft cotton towels to wipe down your skis. They’re gentle on the bases and ensure a clean surface for waxing.
For those using Snowfeet*, maintenance kits are available, offering a convenient all-in-one solution.
Picking the Right Wax for Your Skis
If you’re new to waxing, start with a universal wax. It works across a variety of temperatures and is a budget-friendly way to boost your skis' glide and performance. For more specific conditions, temperature-specific waxes are the way to go:
- Cold Waxes: Designed for freezing temperatures.
- Warm Waxes: Best for mild, slushy conditions.
- Mid-Range Waxes: Cover most typical skiing scenarios.
For racers or performance enthusiasts, premium fluorocarbon waxes are an option. They’re pricier but offer better dirt resistance and reduced friction. Plus, with Snowfeet*, the smaller surface area means you’ll use less wax per application, making even the higher-end options more affordable.
When selecting a wax, think about factors like snow and air temperature, humidity, snow crystal type, wind, and sun exposure. Regular waxing is key for maintaining speed and protecting your skis, especially for Snowfeet*, which are designed for groomed snow.
Setting Up Your Workspace
You don’t need a fancy setup, but a well-ventilated area is crucial to avoid inhaling wax fumes. A garage with the door open, a ventilated basement, or even a covered patio will work. Just steer clear of completely enclosed spaces.
Temperature matters too. Aim for a workspace between 60°F and 70°F. If it’s too cold, the wax won’t penetrate properly. Too warm? Things can get messy with overly fluid wax.
Secure your skis to make the process safer and more effective. Beginners often use simple clamps or a workbench. If you want to level up, specialized ski vises cost between $50 and $100. To protect your surfaces, lay down old newspapers, cardboard, or a drop cloth to catch wax drips and make cleanup easier.
For Snowfeet* users, the compact and lightweight design simplifies the setup. You can work on smaller surfaces and use basic clamps. A portable waxing station that fits in a large storage bin is perfect for waxing on the go - whether you’re in a hotel room or at a ski lodge.
Keeping your tools organized and accessible will make the process smoother. Once your workspace is ready, you’ll be all set to dive into the step-by-step waxing process.
Step-by-Step Guide to Waxing Your Skis at Home
Got your workspace set up and tools ready? Great! Let’s get into waxing your skis. The good news is, waxing isn’t as tricky as it might seem. And if you’re working with Snowfeet* short skis, their smaller surface area makes the job even easier.
Step 1: Prepping Your Skis for Waxing
First things first, secure your skis in a vise or clamp with the base facing up. This keeps them steady while you work. Cleaning is a must before you start waxing - old wax, dirt, or grime can block the new wax from soaking in. Spray on some base cleaner, let it sit for a moment, and then wipe it off with a clean cotton rag. For tougher buildup, grab a base brush to scrub it out.
If your skis have been in storage, you’ll want to remove any storage wax the same way. For an extra touch, lightly run an abrasive pad like Fibertex along the base. This smooths out the surface and helps the wax stick better.
Step 2: Applying and Melting the Wax
Now that your skis are clean and prepped, it’s time to wax. Heat up your waxing iron to the temperature recommended on your wax’s packaging. This is important - too much heat can damage the base. For Snowfeet*, liquid wax works great since it’s easy to apply evenly. Just follow the instructions on the bottle for best results.
If you’re using block wax, hold it against the heated iron to drip wax onto the base in a zigzag pattern. Then, glide the iron along the base to spread the wax evenly. Once you’ve got a nice coat, let the wax cool completely. You’ll know it’s ready when it looks solid and slightly cloudy.
Step 3: Scraping and Brushing for a Smooth Finish
After the wax has cooled, it’s time to smooth things out. Scraping removes the extra wax while leaving a thin, functional layer behind. Hold a plastic scraper at a 45° angle and work from tip to tail with long, steady strokes. For Snowfeet* skis, which might have a slightly concave base, a thinner, flexible scraper - or even something like an old credit card - can help you get into those tricky spots along the edges.
Once you’re done scraping, grab a brass brush to clean up the base, followed by a soft brush to polish it. Regular waxing not only improves your skis’ glide but also keeps snow from sticking, so it’s worth making this part of your routine - even on ski trips. Snowfeet* skis, with their compact design, make this process quick and hassle-free.
Lastly, tidy up your workspace by sweeping away wax shavings. And just like that, your skis are ready to hit the slopes with better glide and less resistance. Time to enjoy the ride!
sbb-itb-17ade95
Snowfeet* Short Skis vs Traditional Skis and Snowboards: Waxing Made Easy

Why Snowfeet* Requires Less Maintenance
When it comes to upkeep, Snowfeet* short skis are a breeze compared to traditional skis and snowboards. Thanks to their compact size, waxing and maintenance are far simpler. Traditional skis are typically between 59 and 71 inches long (about 150 to 180 cm), while Snowfeet* short skis are only around 30 to 40 inches (75 to 100 cm). That’s a lot less surface to deal with, which means you’ll use much less wax for each application.
The smaller size also speeds up the waxing process. You won’t need a large workspace or special setup - your kitchen counter might do just fine! Plus, their lightweight design makes them easy to handle and store. These features make waxing and maintenance less of a chore, leaving you more time to enjoy the slopes.
Comparison Table: Snowfeet* vs Traditional Skis and Snowboards
Here’s a quick look at how Snowfeet* stacks up against traditional skis and snowboards when it comes to waxing and maintenance:
| Factor | Snowfeet* Short Skis | Traditional Skis | Snowboards |
|---|---|---|---|
| Length / Surface | ~30–40 in (75–100 cm) | ~59–71 in (150–180 cm) | ~47–63 in |
| Wax Consumption | Minimal wax required | Standard wax usage | Standard wax usage |
| Time Efficiency | Faster waxing process | More time-consuming | Moderately lengthy |
| Workspace Needed | Compact (kitchen counter) | Requires larger workspace | Requires larger workspace |
| Portability & Storage | Easy to store anywhere | Bulkier; needs space | Requires more storage |
| Ease of Waxing | Great for beginners | Requires more technique | Needs intermediate skills |
With Snowfeet*, you’ll use less wax, save time, and need less space - all without sacrificing performance. These short skis follow the same waxing principles as their bigger counterparts, but in a way that’s much more approachable for both newcomers and seasoned skiers.
Conclusion: Waxing Your Skis for Peak Performance
Now that you've got the waxing process down, it's time to make the most of your time on the slopes.
Regular waxing brings out the best in your skis. Whether you're carving through powder with traditional long skis or zipping around on Snowfeet* short skis, a good wax job boosts glide, sharpens control, and keeps your gear in top shape for the long haul.
As we mentioned earlier, Snowfeet*'s compact design makes waxing a breeze. You’ll use less wax and can even set up your waxing station right on your kitchen counter - how convenient is that?
For the best results, aim to wax every 4–6 skiing days. Beginners can stretch it to 8–10 days, but don’t skip an end-of-season wax to protect your skis during storage.
With Snowfeet*, you’re not just saving time on maintenance - you’re gaining more time to enjoy the slopes. Their clever design makes waxing quicker, storage easier, and performance solid, so you can focus on the fun instead of the upkeep.
So, grab your wax and get started. With proper care, your Snowfeet* short skis will glide like a dream, turn on a dime, and last for seasons to come. The mountains are calling - time to put your skills to the test and enjoy the smooth ride that comes with well-waxed skis!
FAQs
How often should I wax my skis, and does this change for Snowfeet short skis?
For most skis, waxing every 3 to 6 days of use is the standard for keeping them performing at their best. Snowfeet short skis follow a similar routine, though you might notice you can stretch the time between waxings a bit more. Thanks to their compact size and unique design, they tend to wear down the wax less than traditional skis.
Keeping up with regular waxing is key for smooth gliding, better control, and protecting your Snowfeet skis from unnecessary wear. However, if you’re tackling particularly rough or abrasive snow, you might need to wax them more often to keep everything running smoothly.
Why should I use a ski waxing iron instead of a regular household iron for waxing my skis?
Using a dedicated ski waxing iron is a must if you want to get the best results and keep your skis in great shape. These irons are built with precise temperature control and a thicker, flat plate that spreads heat evenly. That means your wax melts smoothly and absorbs better into the ski base. Plus, it helps avoid overheating or damaging your skis - something that can easily happen with a regular household iron, which tends to have uneven heat and unpredictable temperature shifts.
Ski waxing irons are specifically designed for the job, making them a safer and more efficient option for maintaining your Snowfeet Skiblades, Skiskates, or other short skis. Sure, a household iron might seem like a quick fix, but it just doesn’t provide the care and performance your snow gear deserves.
How do I choose the right ski wax for different snow conditions?
Choosing the right ski wax boils down to two main things: snow temperature and humidity. For those freezing, icy days, a harder wax is your go-to. It grips better and cuts down on friction. On the flip side, when the snow is warmer and wetter, softer waxes are the way to go - they’ll help you glide like a pro.
Snowfeet gear is built to shine when waxed correctly for the conditions. This not only gives you a smoother, more durable ride but also makes your experience sleeker compared to traditional skis. Matching your wax to the snow type and moisture levels ensures you’ll get the best performance from your Snowfeet while keeping them adventure-ready for the long haul.








Leave a comment
This site is protected by hCaptcha and the hCaptcha Privacy Policy and Terms of Service apply.