


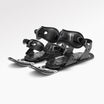
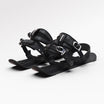
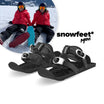
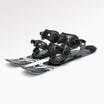
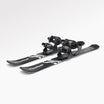
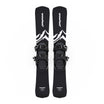
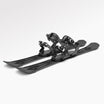
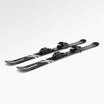
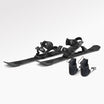
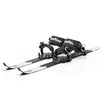
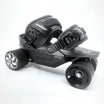
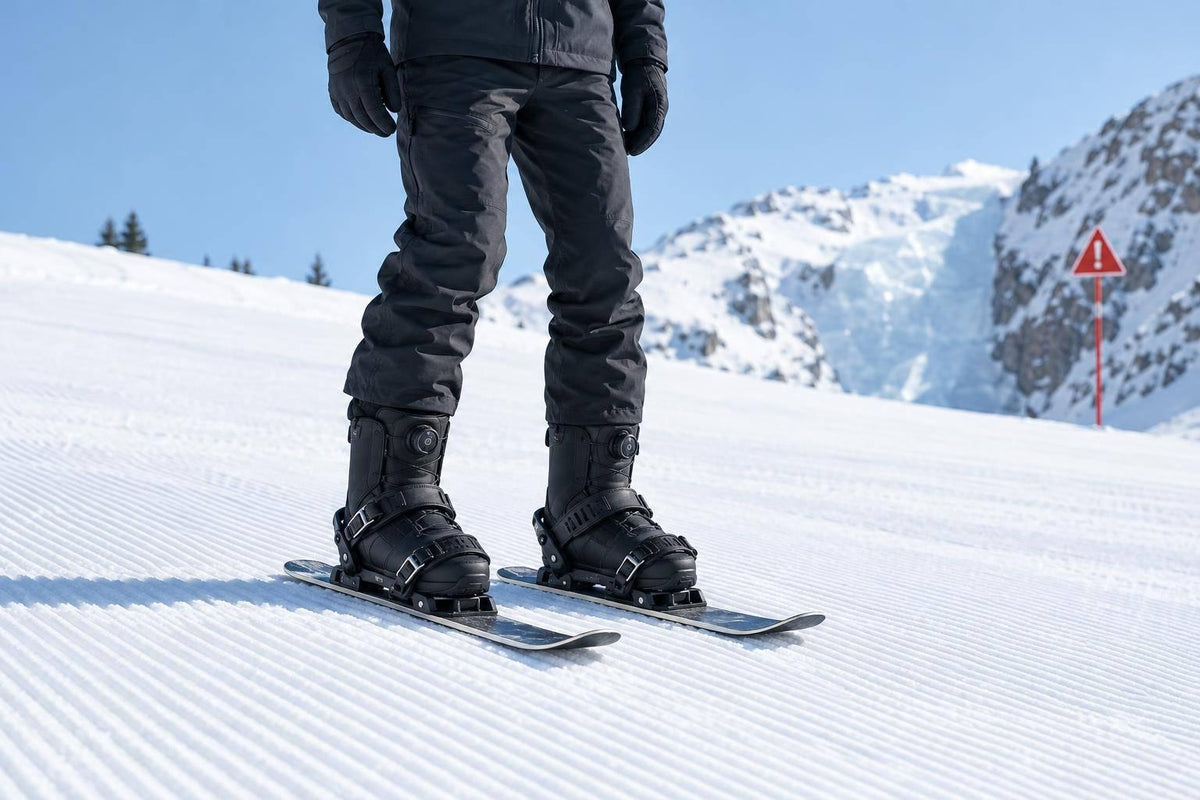
My advice: skip the ice. Snowboard boots can work with matching Snowfeet* bindings on firm snow at low speeds, but Snowfeet* advises against riding on ice, frozen surfaces, or very steep slopes.
Here’s what I’d check before heading out:
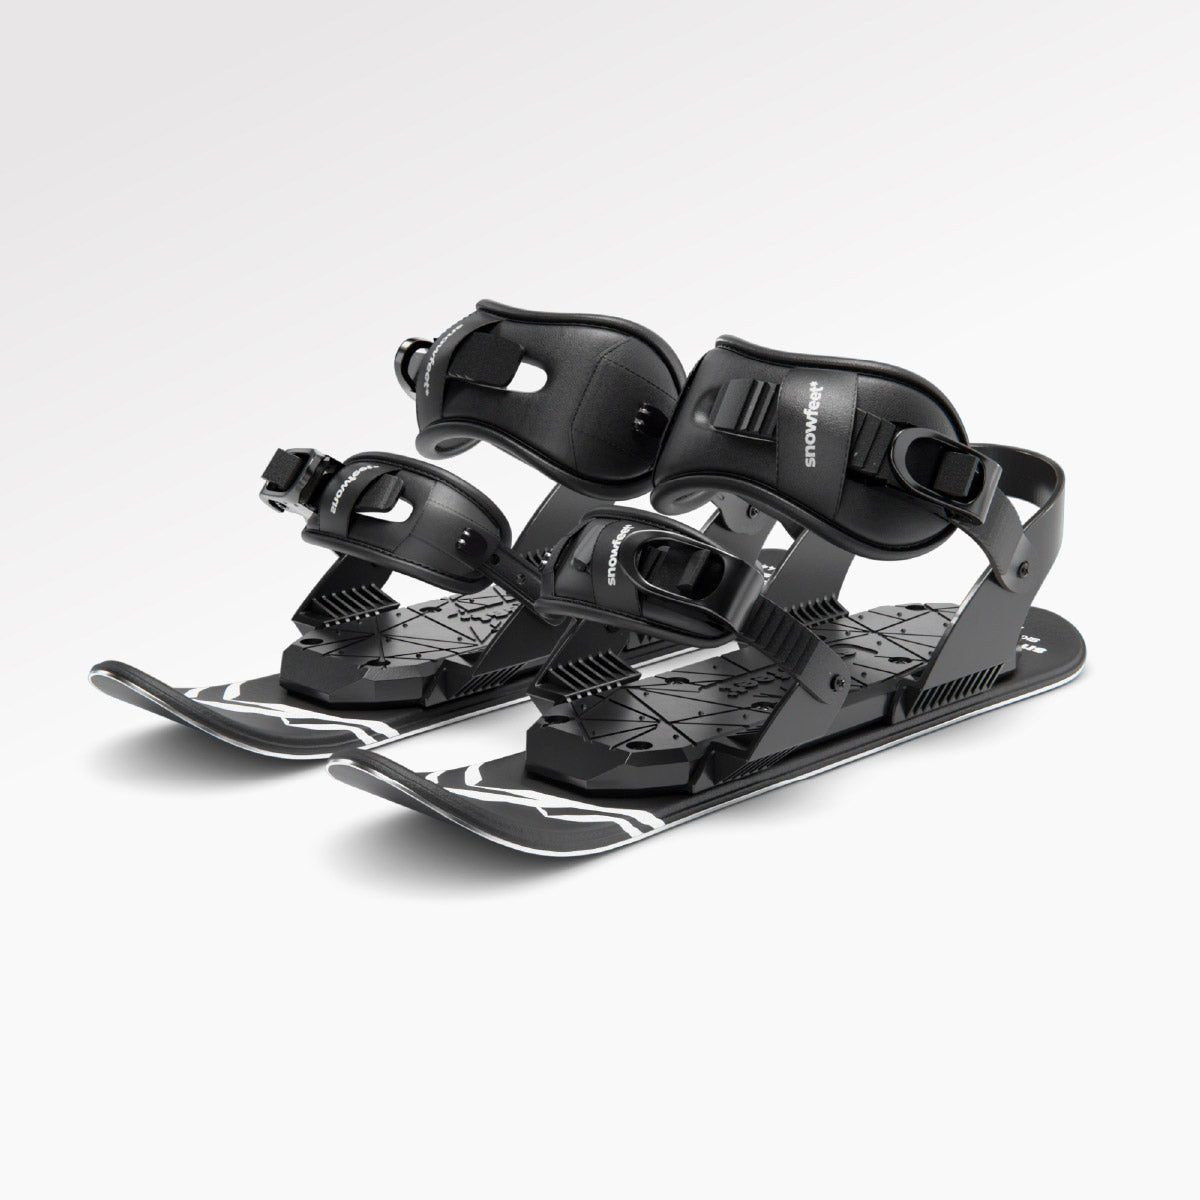
- The setup: Use snowboard-boot bindings - never standard alpine bindings. These setups don’t release like alpine bindings.
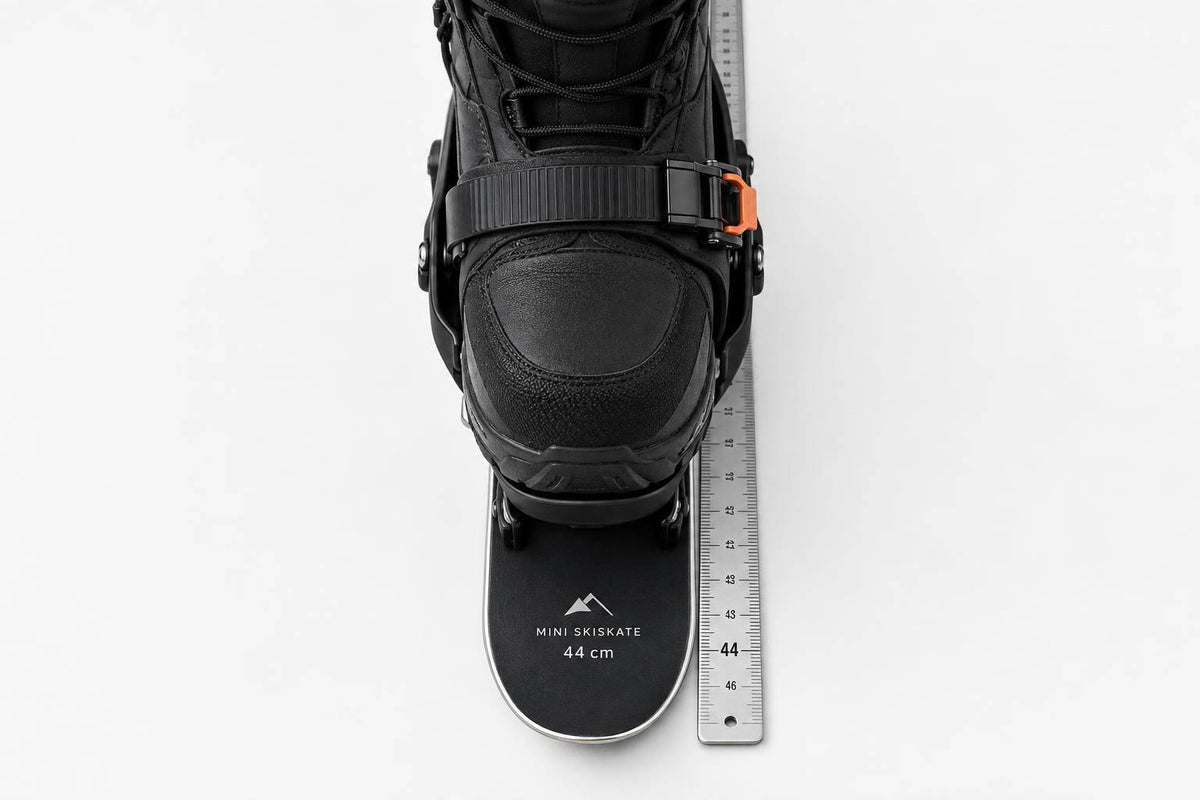
- The length: Choose 44 cm (17.3 in) for easy carrying, 65 cm (25.6 in) for casual groomed runs, or 99 cm (39 in) for more glide and stability.
- The fit: Keep boots snug. Check straps, screws, and edges before each run.
- The control: Practice smooth turns and stops on a gentle slope with a long, flat runout. Keep speeds low.
My rule? <u>If you can’t turn and stop on command, don’t take the run.</u> Sharp edges help on firm snow, but they don’t make ice safe. Choose easier terrain, not more speed.
Snowboarder tries Snowfeet* | Which Snowfeet* Short Ski is the Best? | Snowblades 44, 65, 99 Review
Step 1: Choose Your Snowfeet* Length and Bindings
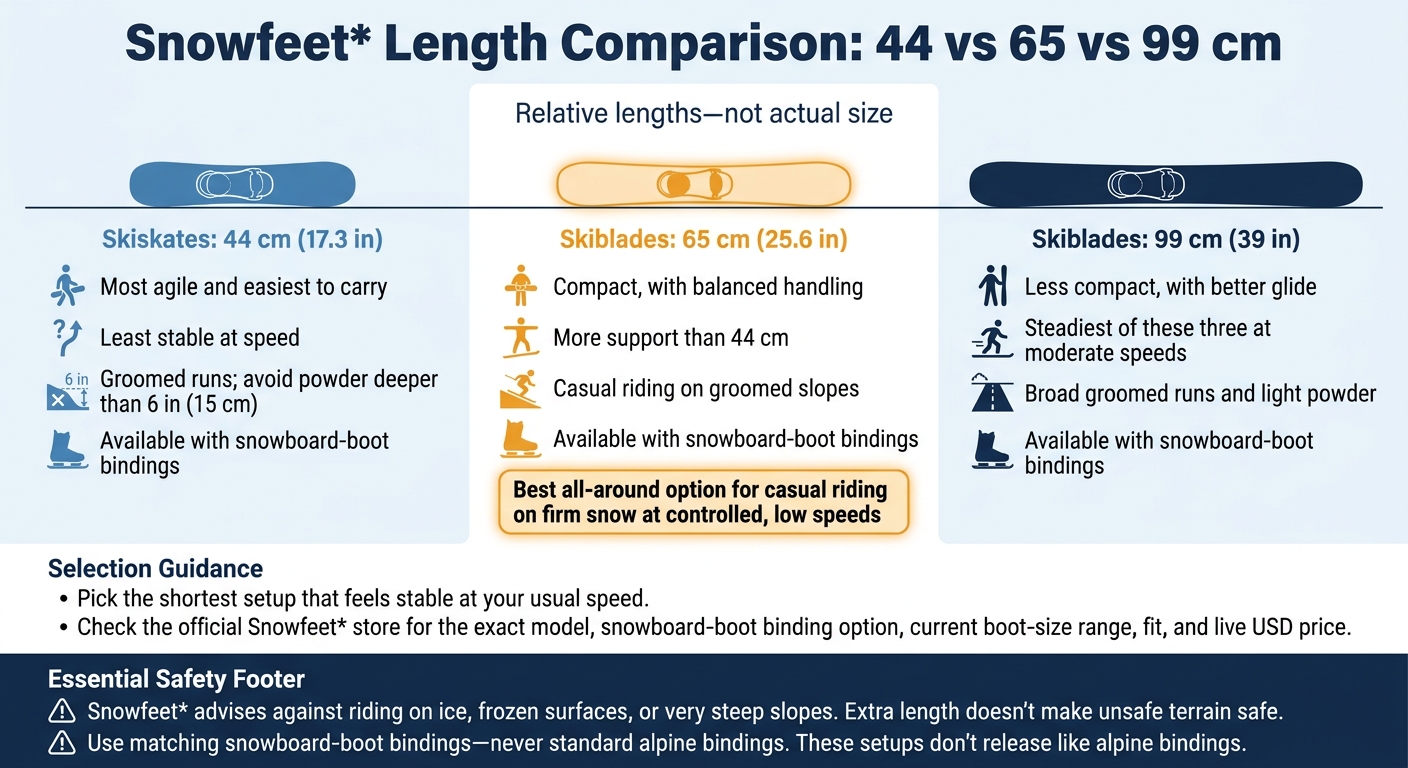
Snowfeet* Length Comparison: 44 vs 65 vs 99 cm
Compare 44 cm, 65 cm, and 99 cm Models
For casual riders who stick to firm snow and controlled, low speeds, 65 cm Skiblades are the best all-around Snowfeet* option. Go with 44 cm for easy carrying or 99 cm for more glide and steadier cruising at moderate speeds.
Pick the shortest setup that feels stable at your usual speed. Then pair it with the right snowboard-boot binding.
| Model and length | Handling and portability | Relative stability | Best use and limits | Snowboard-boot bindings |
|---|---|---|---|---|
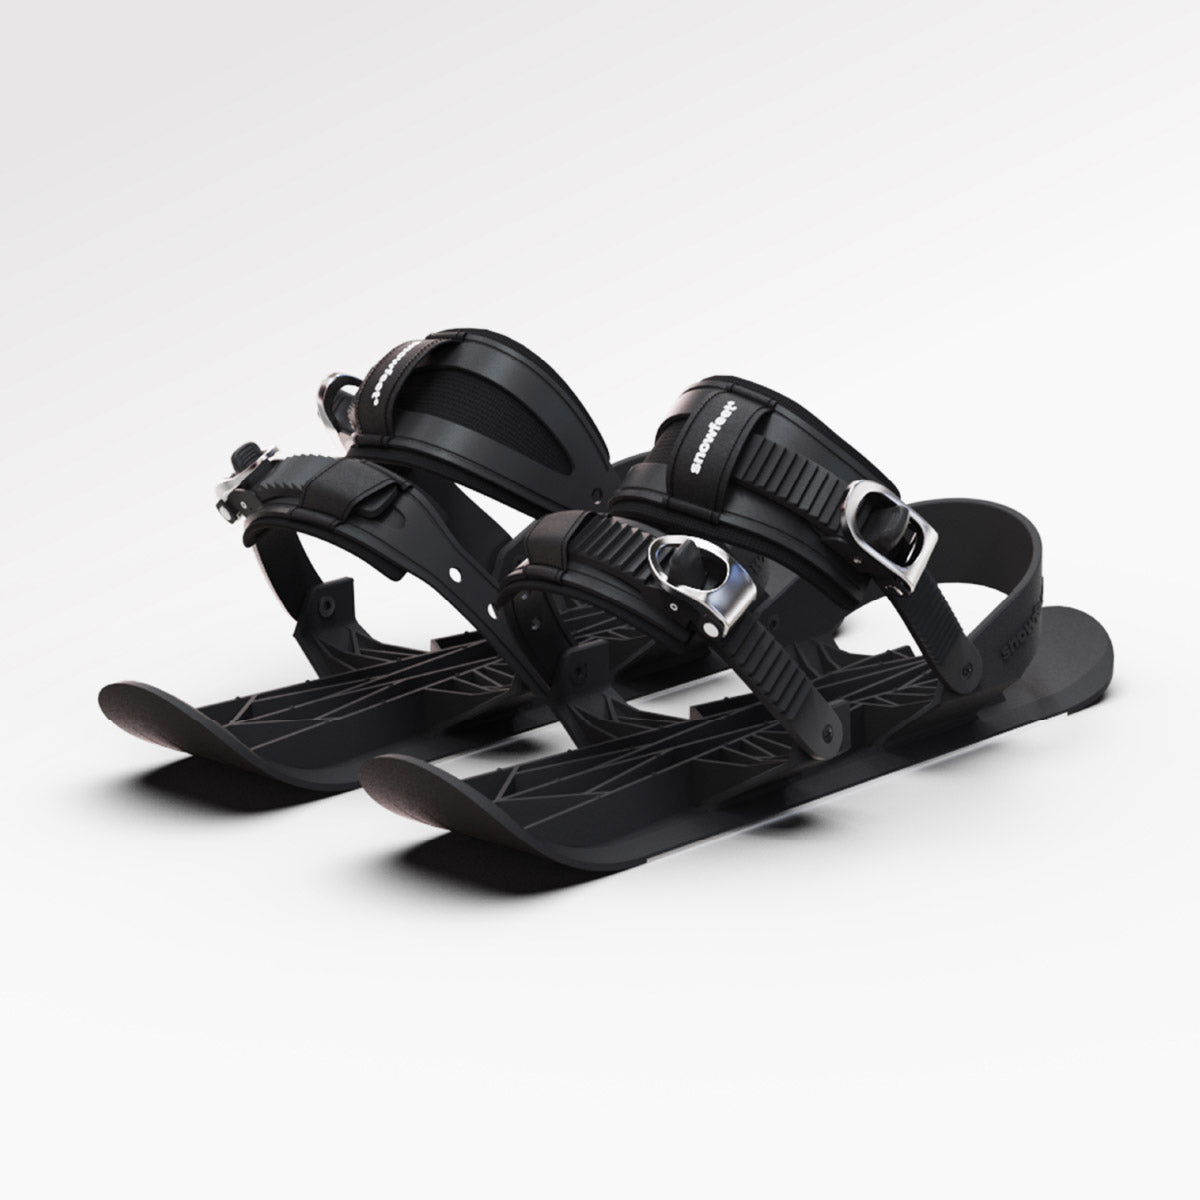
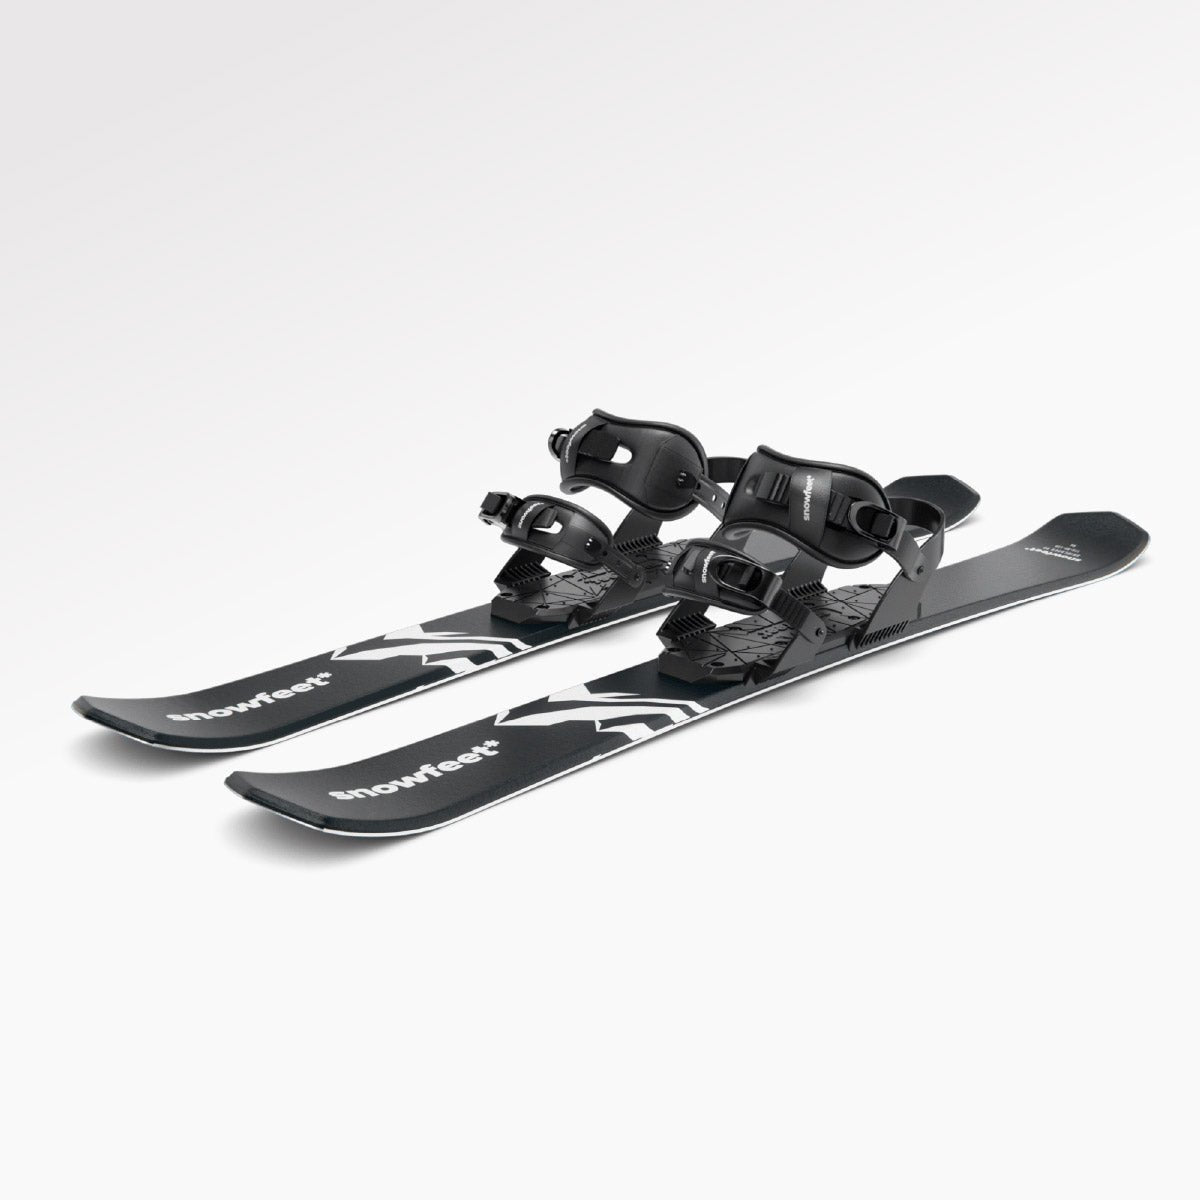
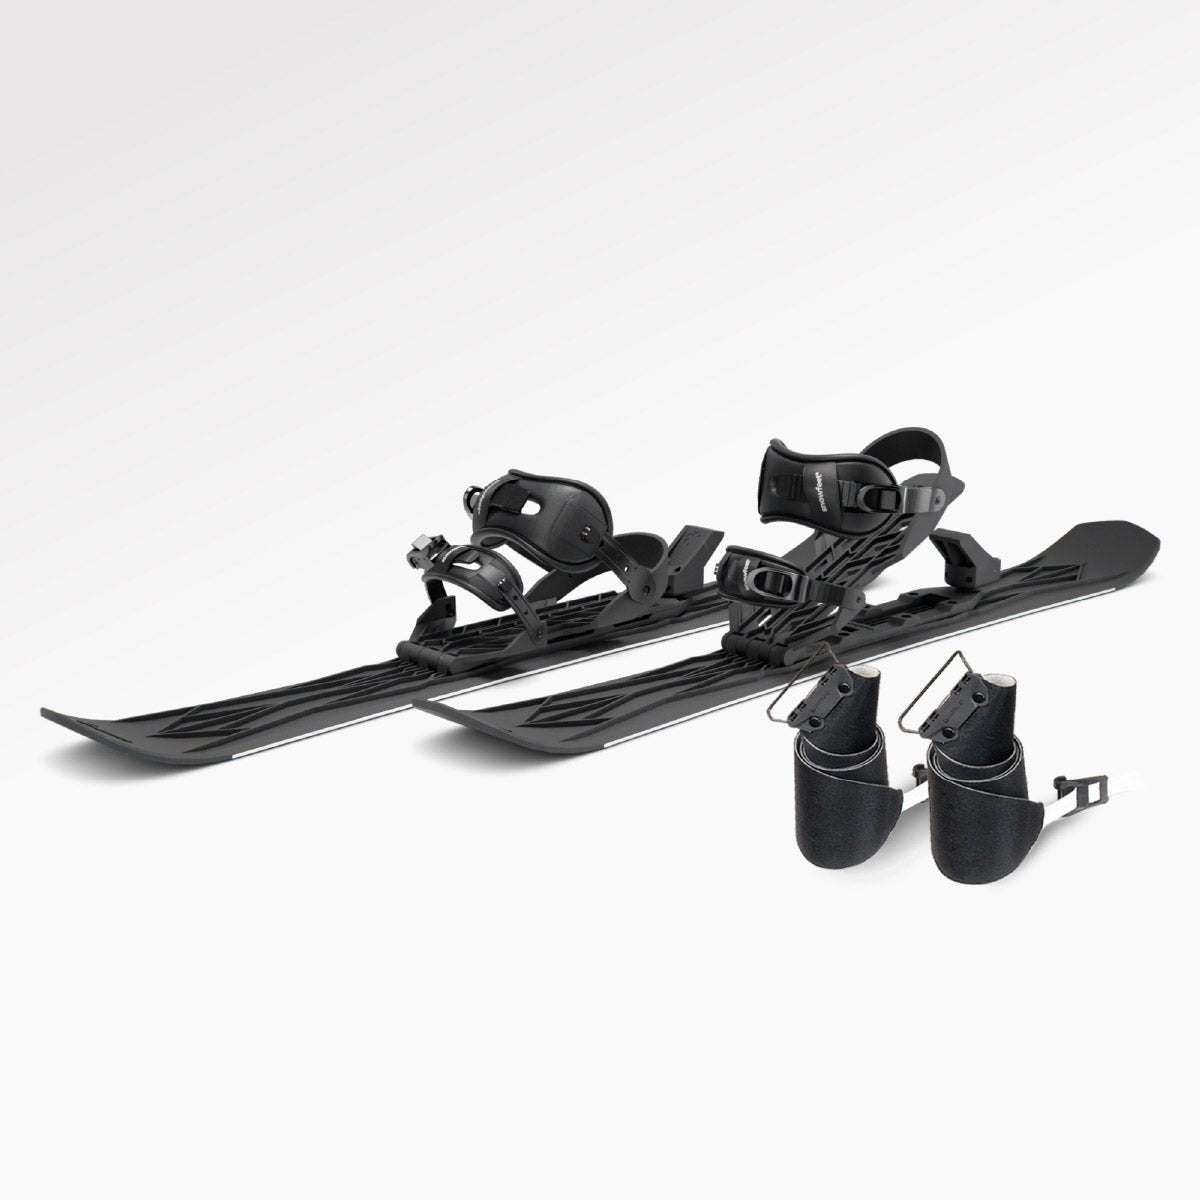
| Skiskates: 44 cm (17.3 in) | Most agile and easiest to carry | Least stable at speed | Groomed runs; avoid powder deeper than 6 in (15 cm) | Available with snowboard-boot bindings |
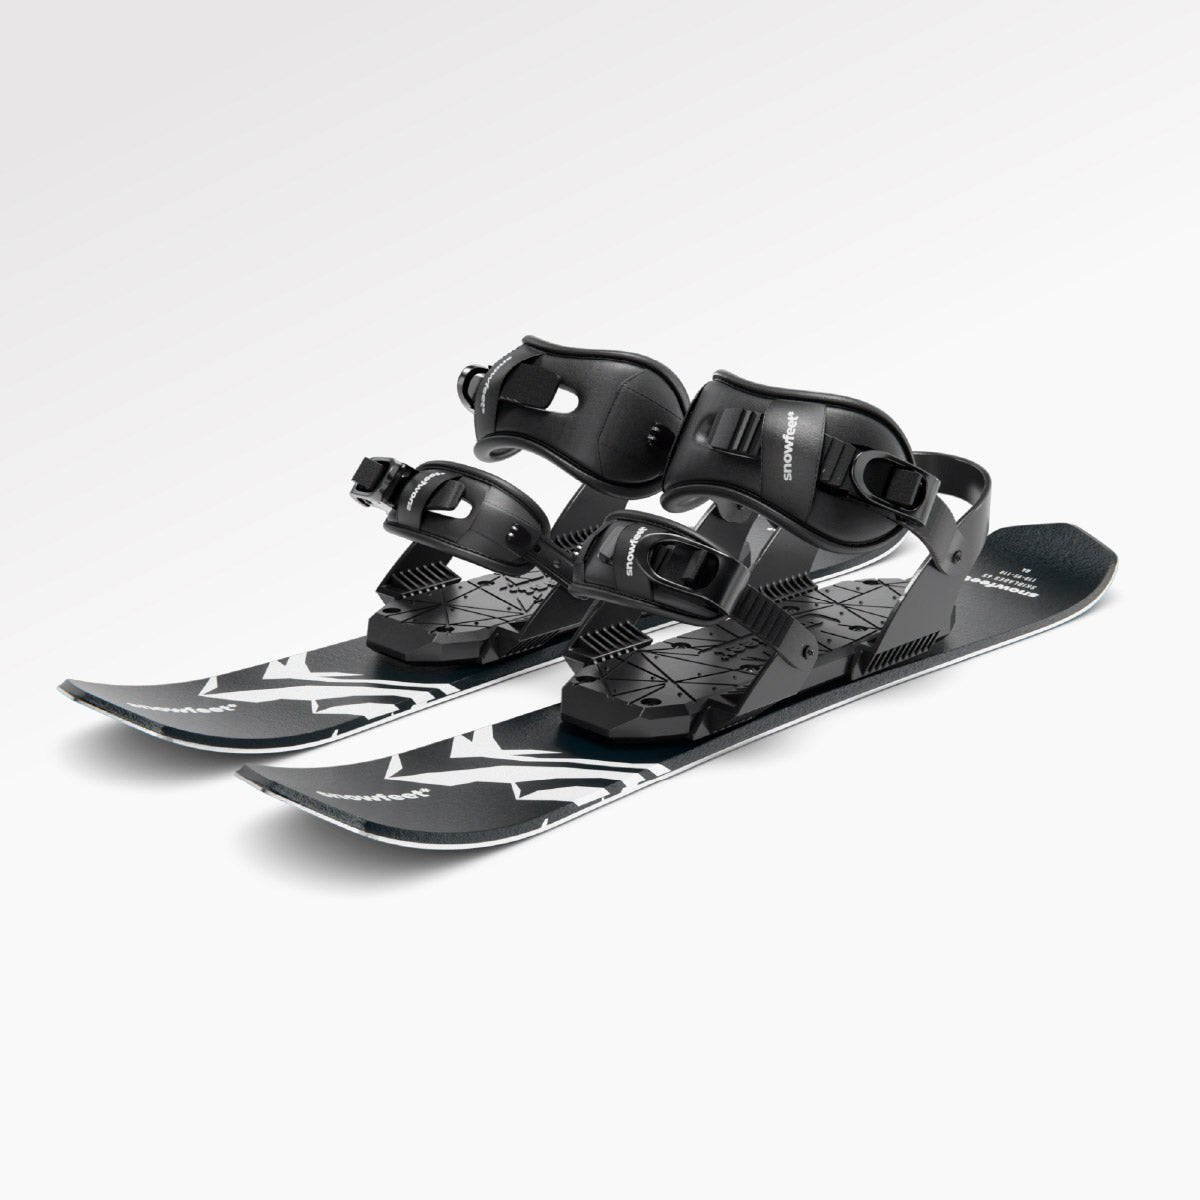
| Skiblades: 65 cm (25.6 in) | Compact, with balanced handling | More support than 44 cm | Casual riding on groomed slopes | Available with snowboard-boot bindings |
| Skiblades: 99 cm (39 in) | Less compact, with better glide | Steadiest of these three at moderate speeds | Broad groomed runs and light powder | Available with snowboard-boot bindings |
Snowfeet* offers a more compact setup for recreational riding. But long skis perform better on steep, icy terrain at high speeds. Extra length doesn’t make unsafe terrain safe.
Once you’ve picked a length, check the matching binding and price in the official store.
Check Product Links, Binding Options, and USD Prices
Compare Skiskates 44 cm, Skiblades 65 cm, and Skiblades 99 cm in the official Snowfeet* store. Select the snowboard-boot binding option, then confirm the current boot-size range and fit for your boot shape.
Choose based on the speeds you’re comfortable riding - not which model looks longest or most serious. Check the live USD price for the exact model and snowboard-boot binding option you want.
Step 2: Fit Your Boots and Inspect Your Gear
Once you’ve chosen the right Snowfeet* length and snowboard-boot bindings, get a snug boot fit and check every contact point before riding. Use waterproof, supportive snowboard boots within Snowfeet*’s recommended size range. Wear gloves when handling metal edges.
Seat, Strap, and Test Each Boot
Clear snow and ice from the boot soles and bindings, then wipe them dry. Fasten each boot firmly. For smaller boots, use the specified strap-adjustment holes - don’t force the fit. Trim any excess strap material.
On flat ground, test that each boot stays secure without shifting. If either boot moves, stop and adjust the fit before riding. Repeat this check before every run.
Check Metal Edges, Straps, and Hardware
Check the metal edges for damage, rust, or dullness, and dry them after use. Before every ride, inspect the straps, screws, nuts, and mounting hardware. Use a screwdriver to check that everything is tightened properly. Don’t ride if any part is damaged, loose, or unable to hold the boot securely.
Stop if you can’t control your speed or direction. Once the fit and hardware pass these checks, practice controlled edging and braking on a gentle slope.
sbb-itb-17ade95
Step 3: Practice Edging and Speed Control
After checking the fit, head to a gentle slope to practice control before trying harder snow. Use the easiest slope you can access, with a long runout. On your Snowfeet* Skiskates or Skiblades, practice traverses in both directions, gentle linked turns, and controlled stops. Sharp edges help on firm snow, but they won’t save you on glare ice.
Stay Centered and Build Edge Pressure Gradually
Stay centered with your ankles and knees flexed and your hands forward. Let your legs steer while your upper body stays quiet. Snowboard boots offer less direct edging support than rigid alpine ski boots. Use smooth movements instead of forcing the skis onto edge.
At low speed, roll your ankles and knees into the turn bit by bit. Feel the edges grip, build pressure as you move across the slope, then release it smoothly. Don’t twist or stomp. If your edges keep slipping out, return to easier terrain. Don’t lean harder uphill or speed up to find grip.
Once you can link turns without sudden jumps in speed, work on keeping that pressure smooth as the slope gets steeper.
Slow Down Before Steeper or Icier Sections
Slow down before the surface turns hard or icy. Make rounded turns that finish across the slope, but only where traffic and visibility allow. Avoid speeding up in a straight line: short skis lose stability at speed sooner than standard-length skis. If you don’t have enough room to turn and stop, don’t enter the section.
Use a controlled hockey-stop skid only where you already know you have enough space to stop. Practice this skid stop at low speed before you rely on it, and don’t force a hard pivot.
Conclusion: Stay in Control and Know When to Stop
After testing fit and edging on easy snow, use this recap to decide whether to take the run. For casual riding, Snowfeet* 65 cm is the best all-around pick, 44 cm is the easiest to carry, and 99 cm adds stability. Use compatible snowboard-boot bindings, snug boots, sharp edges, controlled edging, and low speeds.
These setups are for controlled, low-speed riding only. Snowfeet* advises against riding on ice, frozen surfaces, and very steep slopes.
Checklist: When to Stop or Choose Easier Terrain
Check these points before every icy run:
- Equipment problems: Stop if your boots shift, bindings loosen, or edges show damage or rust. Retighten screws and repair damaged parts before riding again.
- Terrain and skill limits: Skip the run if glare ice leaves you without grip, the slope is too steep to stop safely, there’s no flat run-out, or you can’t control your speed. Choose easier terrain without ice instead.
Use snowboard boots only when fit, control, and terrain all check out - not when ice takes away reliable control.
FAQs
What should I do if I encounter unexpected ice?
Stay calm, apply edge pressure with care, and keep your speed in check. When you need to stop completely, use a hockey stop you’ve practiced.
Sharp metal edges matter. But shorter skis are less stable at speed, and soft snowboard boots give you less direct support.
If the slope is too steep or the ice is beyond what your gear or skills can handle, head to an easier slope.
How can I tell if my snowboard boots are too soft?
With your boots secured in compatible Snowfeet bindings, flex firmly forward. They should feel snug and centered, with no side-to-side movement or heel lift.
Soft boots can slow edge response, especially at higher speeds. If the fit is secure but you still struggle with stability or control on steep, icy terrain, your boots may be too soft for those conditions. Stiffer boots offer more direct, precise edge control.
Do non-release bindings change my injury risk?
Yes. Non-release bindings don’t release automatically during a fall. In contrast, standard alpine bindings are designed to release the boot to help protect your legs. Snowboard-style bindings keep your skis attached, so you need to factor in the risk of lower-leg injuries.
To help reduce these risks, stay in control, wear proper safety gear - including a helmet - and use good judgment.


Schreib einen Kommentar
Diese Website ist durch hCaptcha geschützt und es gelten die allgemeinen Geschäftsbedingungen und Datenschutzbestimmungen von hCaptcha.