Backcountry skiing is thrilling, but it’s not without risks. To stay prepared, you’ll need the right gear, safety tools, and packing strategy. Here’s a quick rundown:
- Avalanche Safety: Always carry a beacon, shovel, and probe. Practice using them regularly.
- Navigation Tools: Bring a GPS device, map, and compass. Don’t rely solely on tech.
- Climbing Skins: Choose skins that match your skis. Keep them dry and warm for better performance.
- Emergency Gear: Pack a first-aid kit, headlamp, whistle, and an emergency shelter.
- Clothing: Layer smartly - base layers, insulation, and waterproof shells.
- Food & Water: Stay fueled with high-energy snacks and insulated hydration systems.
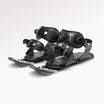
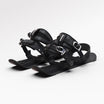
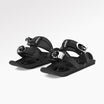
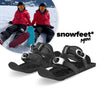
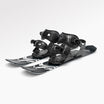
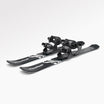
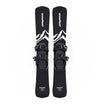
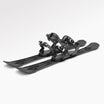
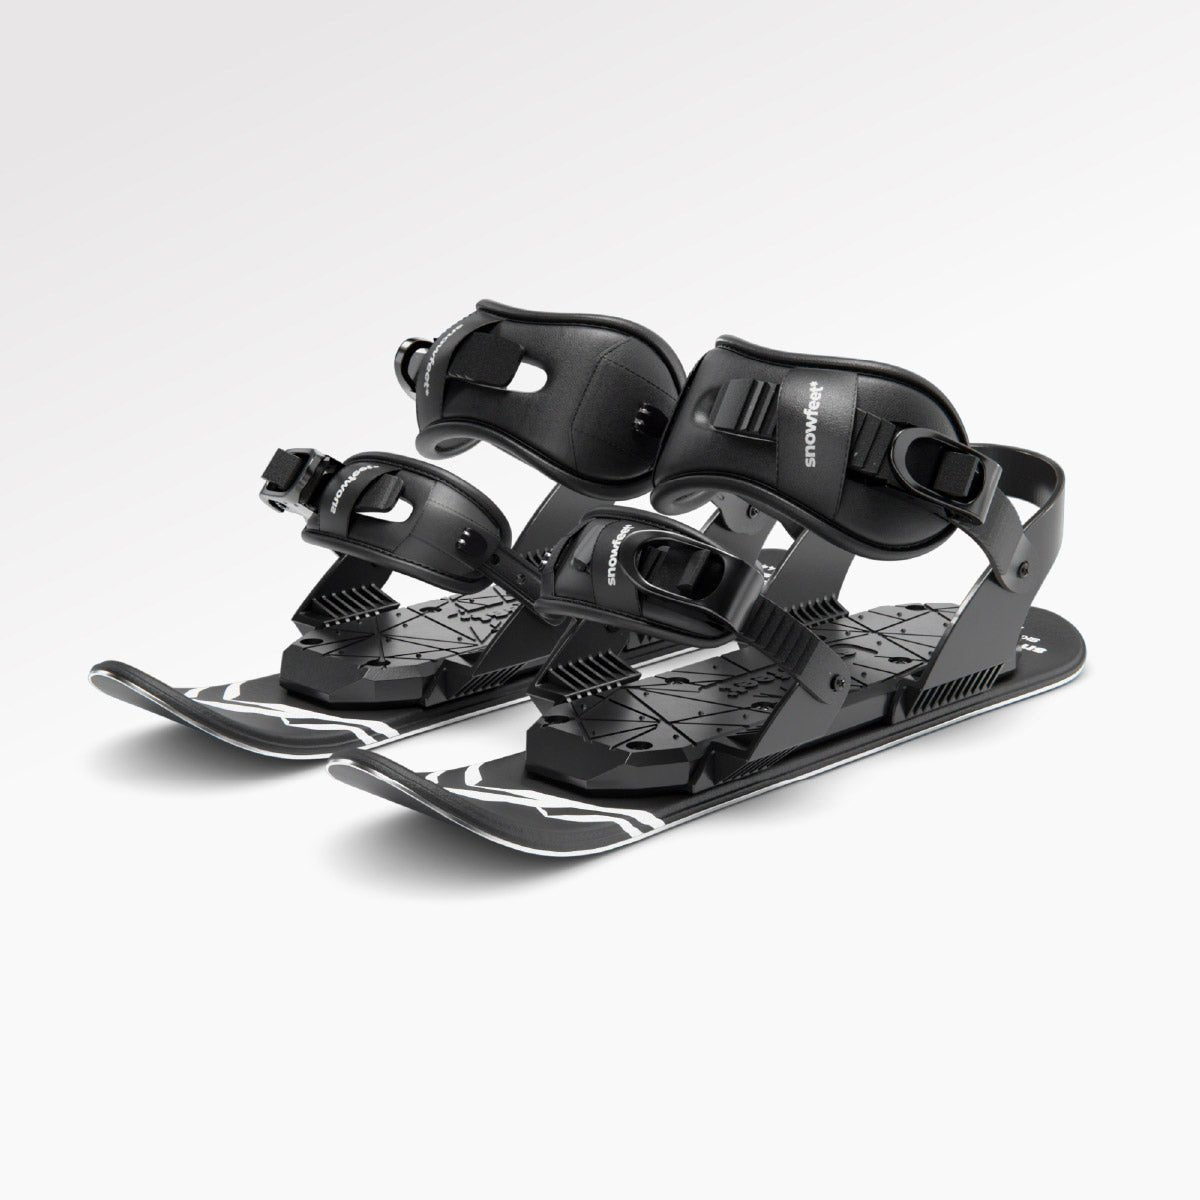
- Lightweight Options: Consider shorter skis like Snowfeet WALKSKI for easier packing and versatility.
The goal? Pack light, stay safe, and enjoy the ride. Let’s break it down further!
How to Pack for Ski Touring Like a Mountain Guide | Into the Mountains 6
Safety Gear for Backcountry Skiing
When you're heading into avalanche terrain, the right safety gear isn't just a good idea - it can literally save your life. Backcountry skiing demands self-reliance, so let's break down the essentials you'll need and how to use them effectively.
Avalanche Safety Equipment
Your core gear for avalanche safety includes the "big three": a beacon (avalanche transceiver), probe, and shovel. These tools work together as a system, and you need all of them for a successful rescue. Considering the average avalanche burial depth is about 4 feet, you'll need to act fast and move a LOT of snow in an emergency.
- Avalanche Transceiver: This device sends out a signal so rescuers can find you if you're buried. Wear it close to your body (not in your backpack), and always check the battery before heading out. Cold weather drains batteries quickly, so keep spares warm and handy. During a rescue, the transceiver switches to search mode to help locate a buried person.
- Probe: Once you've pinpointed the general area with the transceiver, the probe helps you find the exact location and depth of the person buried. Opt for one that's at least 8 feet long and quick to deploy - every second counts.
- Shovel: Go for an aluminum shovel instead of plastic, as plastic can crack in freezing temperatures. It should be lightweight but strong enough to handle compact avalanche debris.
Just owning this gear isn't enough - you need to practice using it. As Backcountry Access (BCA) wisely puts it, "Simplicity is speed". Regular training can make all the difference in a high-pressure situation.
For added safety, consider investing in an avalanche airbag pack. A 2014 study found that 36 out of 100 avalanche fatalities might have been avoided if the victims had been wearing airbag packs. Make sure the airbag's deployment handle is easy to reach before you hit the slopes.
Once your avalanche gear is sorted, you'll also need reliable tools for navigation and emergencies.
Navigation and Emergency Equipment
Getting lost in the backcountry isn't just inconvenient - it can turn dangerous fast. That's why your navigation kit should include both modern gadgets and old-school tools. Technology can fail, but a map and compass won't.
Start with a topographic map and compass of the area, and make sure you know how to use them. They're your backup when GPS devices run out of juice or struggle to connect under dense tree cover.
For GPS navigation, here are a few solid options:
| Device | Weight | Battery Life (GPS Mode) | Price | Key Features |
|---|---|---|---|---|
| Garmin GPSMAP 67 | 8.1 oz | 180 hours | $469 | Multi-band GPS, excellent reception |
| Garmin eTrex 32x | 5.6 oz | 25 hours | $280 | Budget-friendly, compact |
| Garmin inReach Mini 2 | 3.5 oz | 336 hours | $364 | Satellite messaging, ultra-compact |
The Garmin GPSMAP 67 is a top pick for serious backcountry use. In 2024, OutsideGearLab praised its multi-band technology, which keeps a reliable satellite connection even in tricky spots like dense forests or slot canyons. If you're on a tighter budget, the Garmin eTrex 32x offers solid performance but skips some of the fancier features.
For emergencies, the Garmin inReach Mini 2 is a game-changer. It lets you send satellite messages from remote areas (though you'll need a subscription). Don’t forget a headlamp with extra batteries, a whistle, and a signaling mirror to attract attention. A lightweight emergency shelter, like a bivy sack, can be a lifesaver if you're stuck overnight.
First-Aid and Survival Supplies
Accidents happen, and your first-aid kit should be ready for anything from minor scrapes to serious injuries. But here's the catch: gear is only useful if you know how to use it. As mountain guide Gavin Hess points out, "Don’t carry things you don’t know how to use. Basic first aid training is worthwhile". A Wilderness First Aid course is a smart investment before you venture out.
Key items for your kit include:
- CPR mask: Keep it in an easily accessible pocket.
- Bleeding control supplies: Pack items like QuikClot, gauze, and medical tape.
- Triangle bandages: These are versatile for slings or wound wrapping.
- Splints: A SAM splint and voile straps are great for stabilizing fractures.
For survival, pack extra layers like a puffy jacket and gloves, along with a space blanket or bivy sack for warmth. A lighter and hand warmers can be lifesavers if someone goes into shock. And don’t overlook the basics: sunscreen and SPF lip balm protect against harsh UV rays reflected off the snow, while high-energy snacks keep your blood sugar steady in the cold.
Lastly, customize your kit based on your trip. A short day trip in the Cascades might require less gear than a multi-day trek in Alaska. Tailor your supplies to your environment and personal needs.
How to Pack and Use Climbing Skins
Climbing skins are a must-have for tackling snowy slopes. These adhesive strips stick to the bottom of your skis, giving you the grip to climb uphill without sliding back. They’re designed to let you glide forward while gripping the snow. Once you’re ready to head downhill, just peel them off and stash them away. Simple, right? This straightforward setup pairs perfectly with Snowfeet* gear, known for its compact and lightweight design.
Selecting the Right Climbing Skins
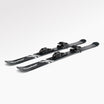
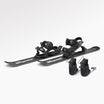
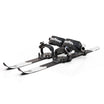
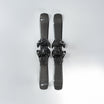
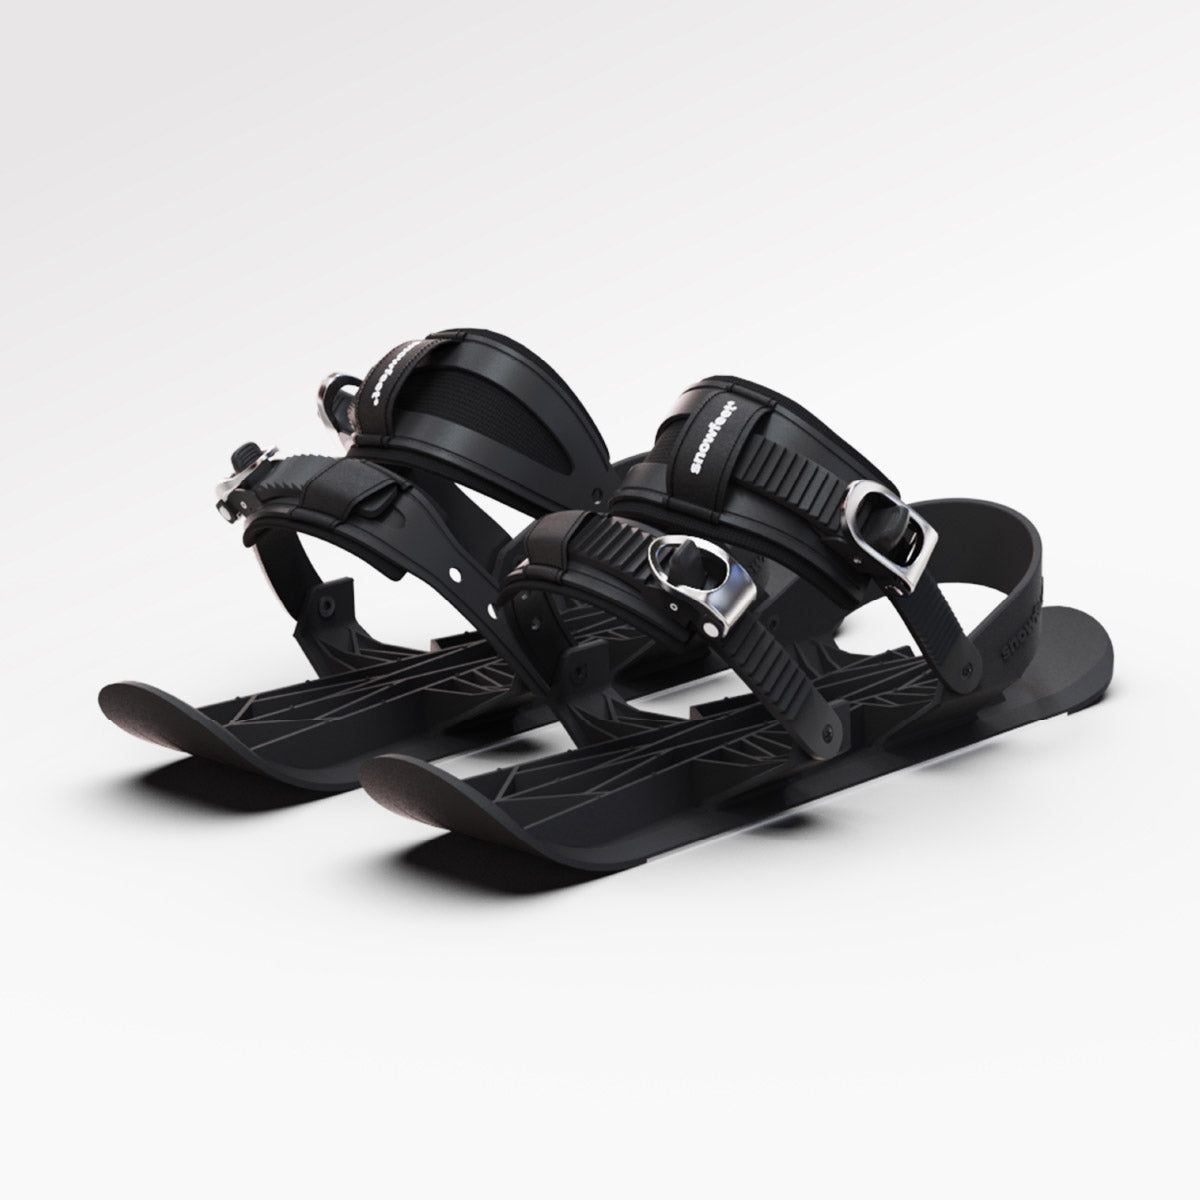
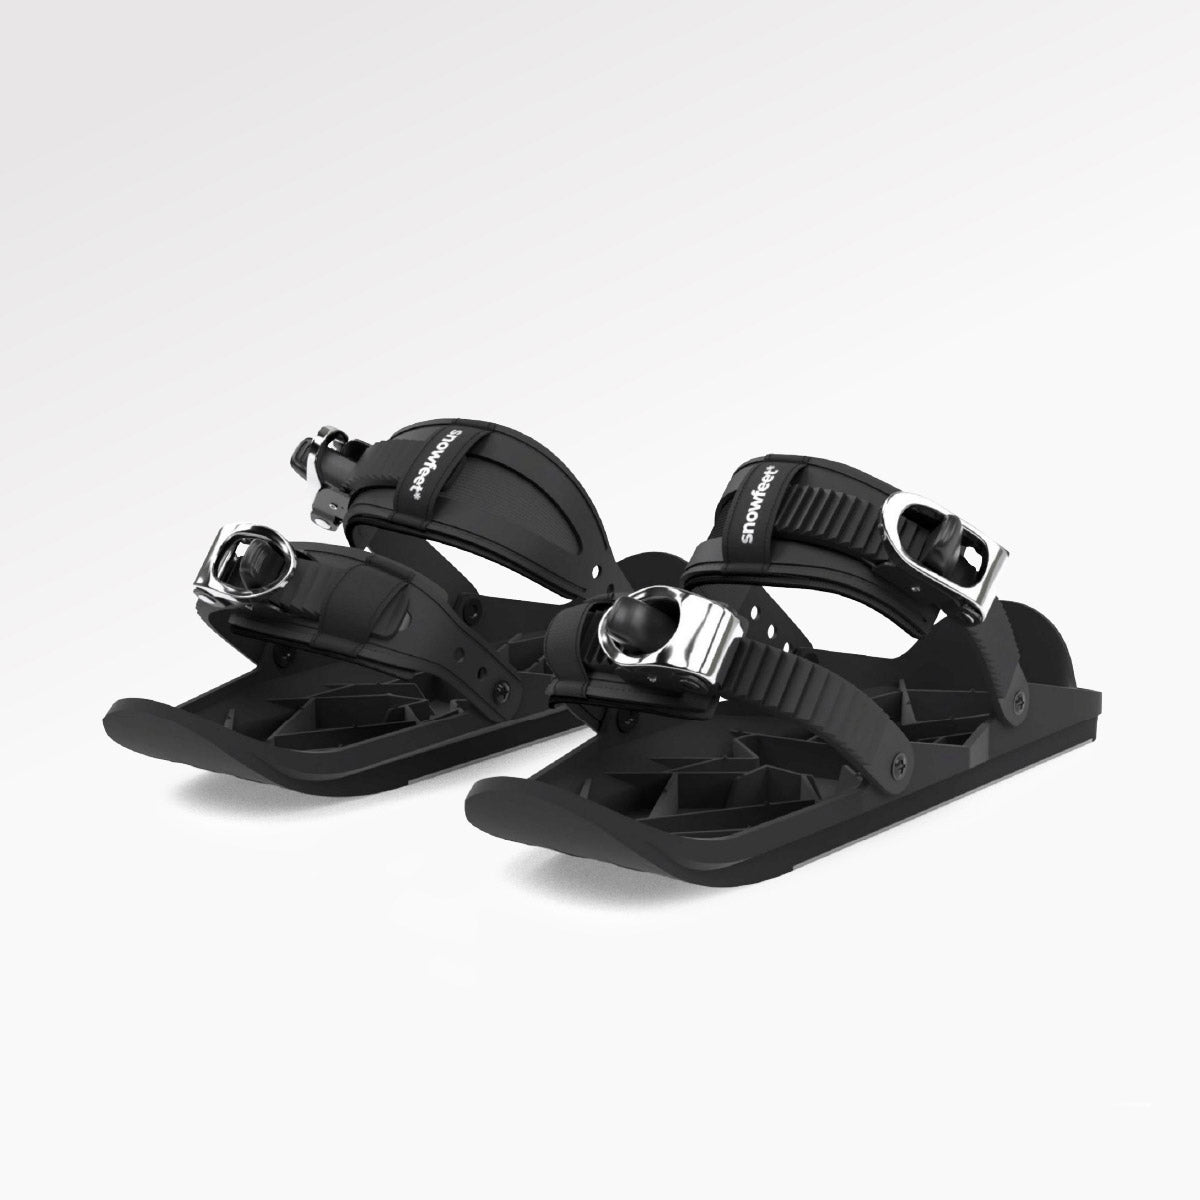
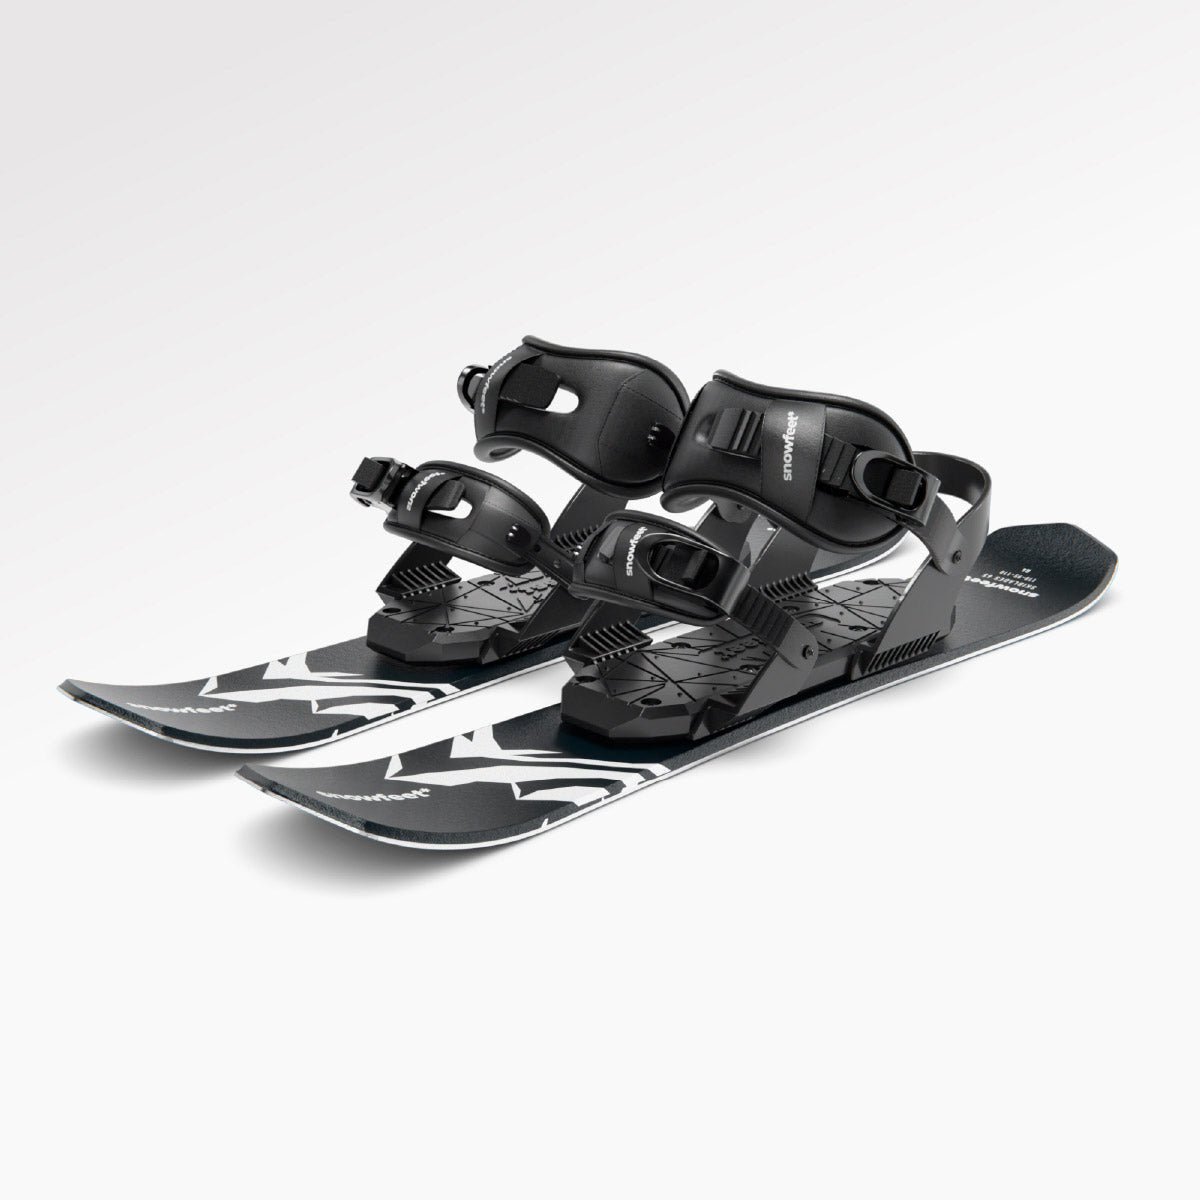
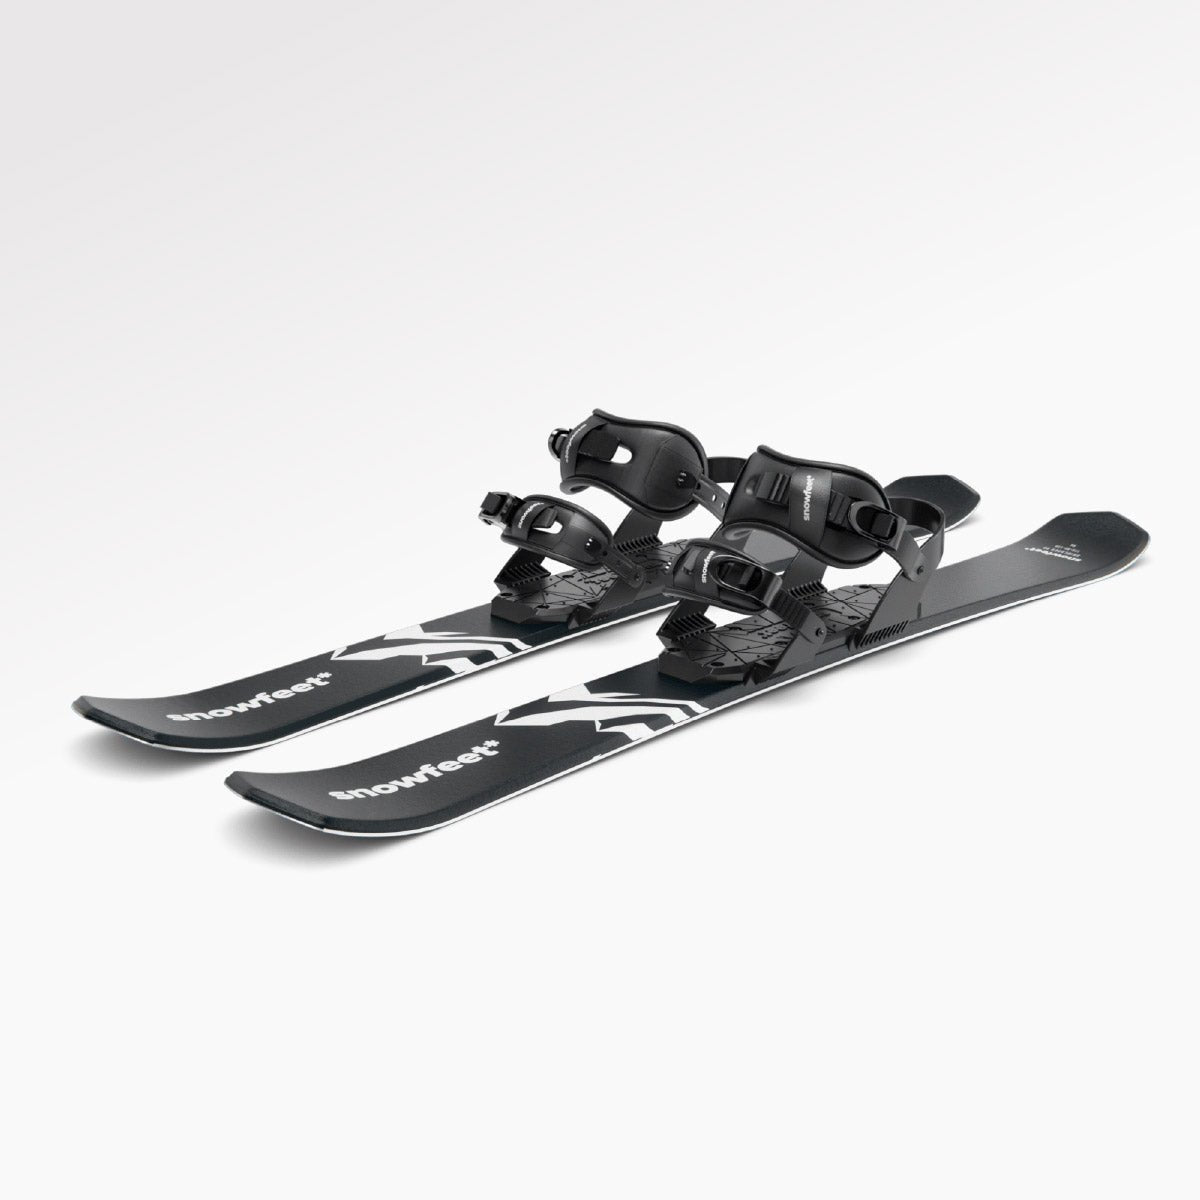
The key to choosing climbing skins is matching them to your ski dimensions. Traditional backcountry skis, like those from Rossignol or Atomic, are usually 160–190 cm long. This means they need longer, heavier skins, which can take up a lot of room in your pack. On the other hand, Snowfeet* WALKSKI Backcountry Touring Skis, at just 100 cm, make life easier. Their shorter length means you can use lighter, more compact skins that are easier to handle.
If you’re unsure about sizing, go with the shorter skin option. This works especially well with Snowfeet* products, where the compact design naturally calls for shorter skins. Plus, Snowfeet* gear is budget-friendly - WALKSKI skis cost $490 compared to traditional setups that can run up to $2,200. That’s a big difference, and it comes with the added bonus of lighter, more portable skins.
For even smaller setups, like the Snowfeet* NORDIC Cross-country Skate Skis (90 cm), the skins are even more compact. This means quicker attachment and less bulk to carry around, especially in freezing conditions. Traditional cross-country ski setups, like those from Head or Elan, often require longer skins, which can be a hassle to manage.
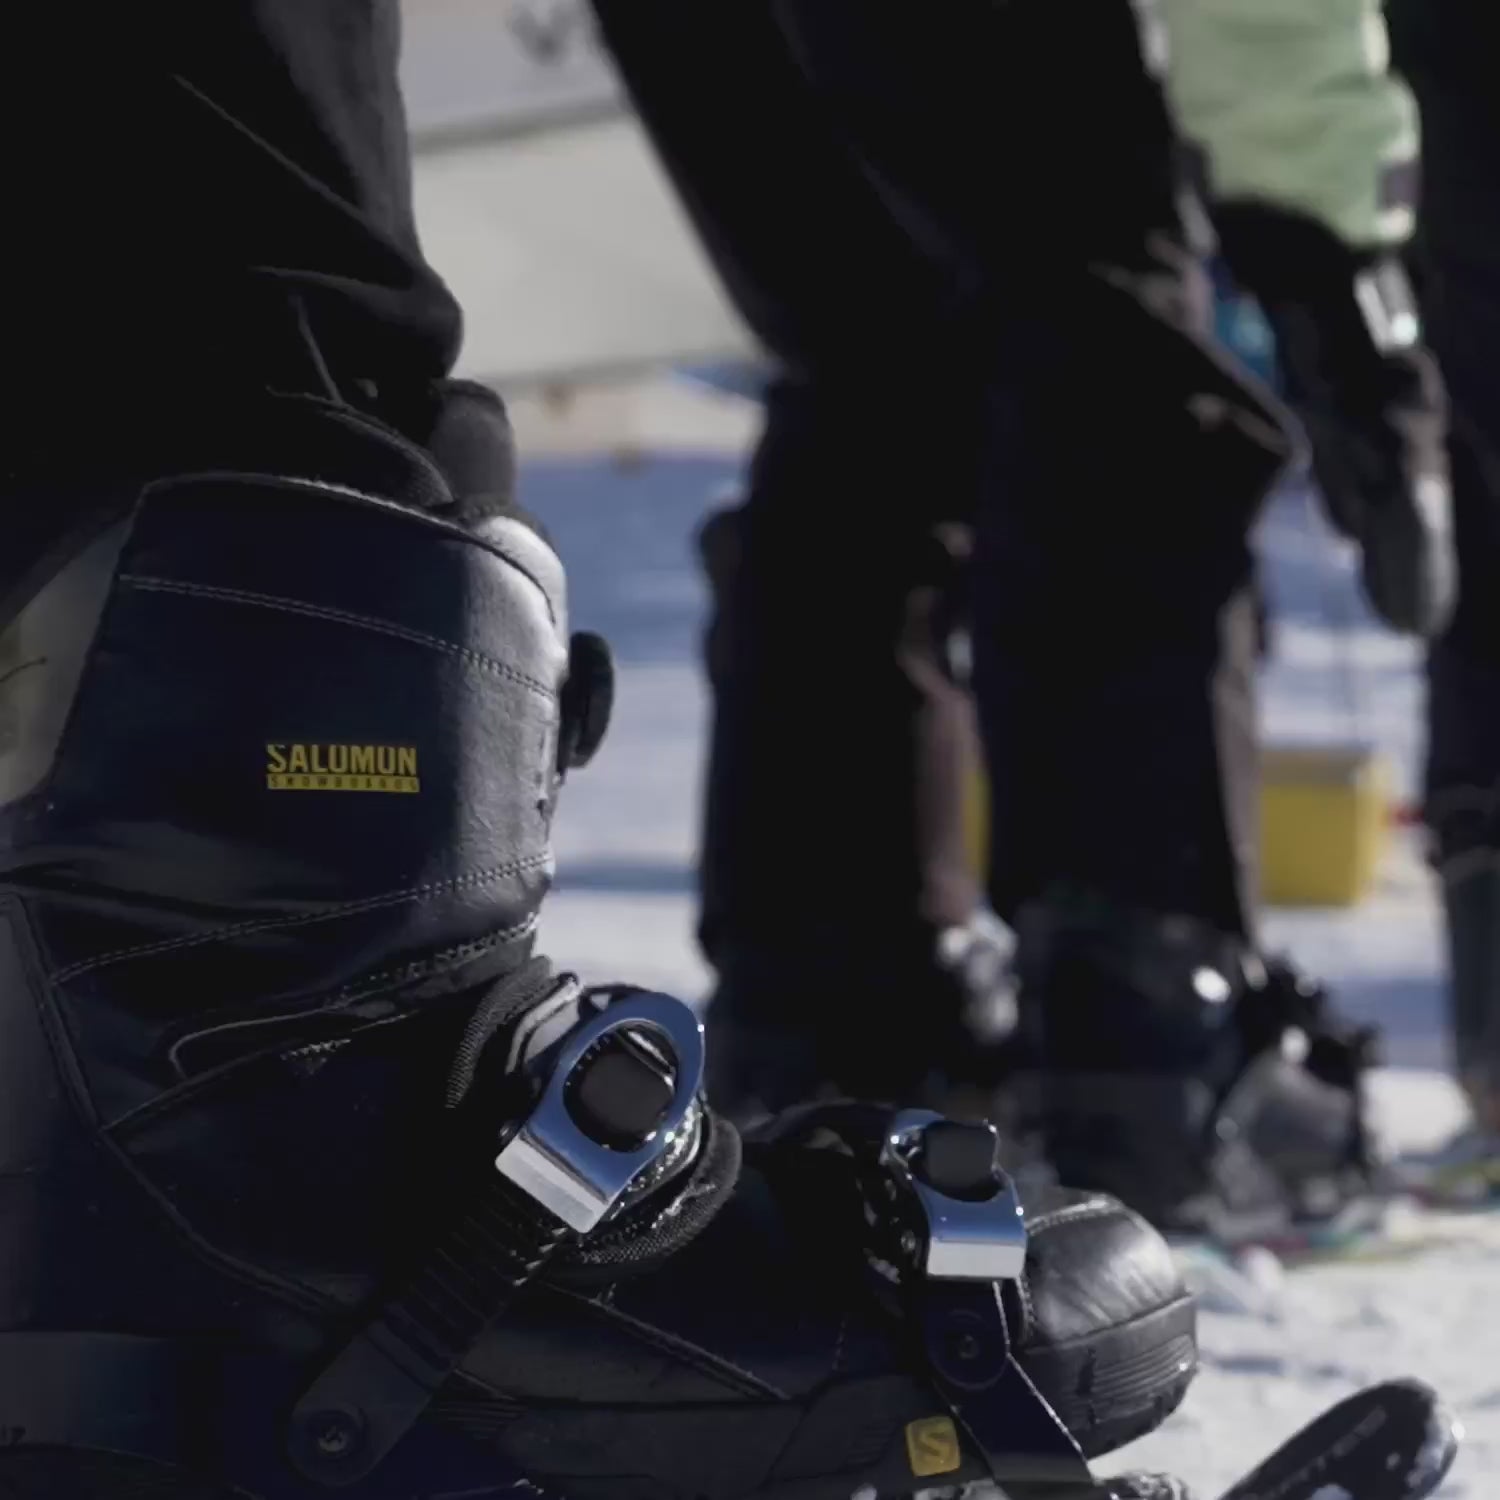
Snowfeet* also shines when it comes to compatibility. Their products work with winter boots, ski boots, and even snowboard boots. That means you don’t have to stress about finding skins that match specialized footwear, unlike with many traditional setups.
Skin Care and Storage
Once you’ve got the right skins, taking care of them is crucial for keeping them in top shape. The adhesive on climbing skins is sensitive to three main things: moisture, heat, and air exposure. To keep them working well, protect them from these elements.
For short-term storage, fold the skins glue-to-glue. This minimizes the surface area exposed to air and moisture, preserving the adhesive. With Snowfeet* products, this process is even easier since you’re working with smaller, more manageable skins.
When the temperature drops below 28°F (-2°C), it’s a good idea to keep your skins warm by tucking them under your jacket or vest. Thanks to the compact size of Snowfeet* skins, this is simple to do and keeps them ready for your next climb.
Before reattaching skins, always clean and dry your ski base. This ensures the adhesive sticks properly. Snowfeet* skis, with their shorter length, make this step quicker and less of a chore.
Modern systems like DYNAFIT Speedskins are designed to fold glue-to-glue, which helps reactivate the adhesive without needing extra separators. This feature pairs perfectly with shorter skis, making the whole process faster and more efficient.
Finally, never store your skins in hot places like a car or garage during summer. The compact size of Snowfeet* skins makes it easier to store them indoors, where temperature and humidity are more stable. When you’re out on a tour and need to stash your skins mid-descent, look for a clean, dry spot that’s slightly warm. Thanks to their reduced size, Snowfeet* skins can easily fit into jacket pockets or smaller pack compartments, keeping them in great shape for your next adventure.
Gear for Comfort and Performance
Backcountry skiing isn’t just about the thrill of the slopes - it’s about being prepared with the right gear to ensure both comfort and peak performance. The clothing you wear, the food you pack, and even the smallest personal items can make or break your experience. With Snowfeet* gear, packing becomes more efficient and lighter, giving you space for the essentials that matter most. These items not only keep you comfortable but also help you perform at your best, complementing your safety and skin gear for a well-rounded setup.
Clothing and Layering
"Layering is a critical skill that helps us stay comfortable and safe in the backcountry." - Blackbird Mountain Guides, LLC
Your clothing is your first shield against unpredictable weather. A solid layering system includes base layers, insulation layers, shell jackets and pants, and a puffy jacket for emergencies. The goal? Stay dry and regulate your body temperature as conditions shift.
- Base layers: These wick sweat away from your body and are the foundation of your system. You’ll typically choose between synthetic fabrics or wool blends. Synthetics are durable and manage moisture well at a lower cost, while wool naturally resists odors. Just one rule: no cotton.
"Cotton Kills." - Blackbird Mountain Guides, LLC
- Insulation layers: These are your backup for warmth when you’re not actively moving. Down is lightweight and packs well but struggles when wet. Synthetic insulation, on the other hand, keeps its warmth even in damp conditions.
- Shell layers: These protect you from wind and precipitation. Softshell options are often preferred for breathability, but if you’re up against harsh weather, a durable hard shell is the way to go. Even high-end Gore-Tex isn’t perfect, so balance your options based on the forecast.
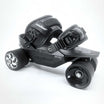
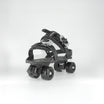
Snowfeet* WALKSKI Backcountry Touring Skis (100 cm) offer a compact design that frees up pack space compared to traditional setups, making it easier to carry extra layers or emergency gear.
Pro tip: Start your tour feeling slightly chilly - you’ll warm up quickly once you get moving. Adjust your layers as you go to stay comfortable without overheating.
Water, Food, and Tools
Fueling your body is non-negotiable when you’re out in the cold. Your caloric and hydration needs spike during backcountry tours, so plan accordingly. Snowfeet* gear’s compact design gives you more flexibility to pack what you need.
- Bring a lightweight, insulated hydration system to prevent your water from freezing. A thermos with a warm drink can be a morale booster on longer trips.
- Pack high-energy snacks that are easy to eat on the go. Think trail mix, energy bars, or even chocolate.
- A compact repair kit is a must. Include a multi-tool, duct tape, and for Snowfeet* users, spare straps for the bindings. Thanks to the lightweight and streamlined design of Snowfeet*, your repair kit can stay small compared to what’s needed for bulkier setups like those from Head or Elan.
Don’t forget a lightweight emergency shelter and a folding shovel. The shovel can double as a tool for assessing snow conditions or building a quick shelter if needed.
Personal Items
When space is at a premium, every personal item counts. Snowfeet*’s efficient design means you can pack the essentials - and then some.
- Eye protection: Bring goggles or sunglasses suited for changing light conditions.
- Sunscreen: Use SPF 30 or higher on all exposed skin, and reapply regularly to avoid sunburn.
- Hygiene: A waterproof bag with toilet paper and hand sanitizer is a simple but crucial addition.
- Electronics: Keep your phone close to preserve its battery in the cold, and carry a portable charger. A headlamp with spare batteries is also essential.
The extra space from Snowfeet* gear even allows for a few “luxuries,” like spare gloves or sunglasses - things you’d often leave behind with bulkier setups.
For safety, pack a whistle for emergency signaling. If you’re heading into areas with limited cell service, a satellite communicator is a smart addition. Snowfeet*’s compact system makes it easier to bring these life-saving tools without overloading your pack.
sbb-itb-17ade95
Why Snowfeet* Beats Traditional Ski Brands
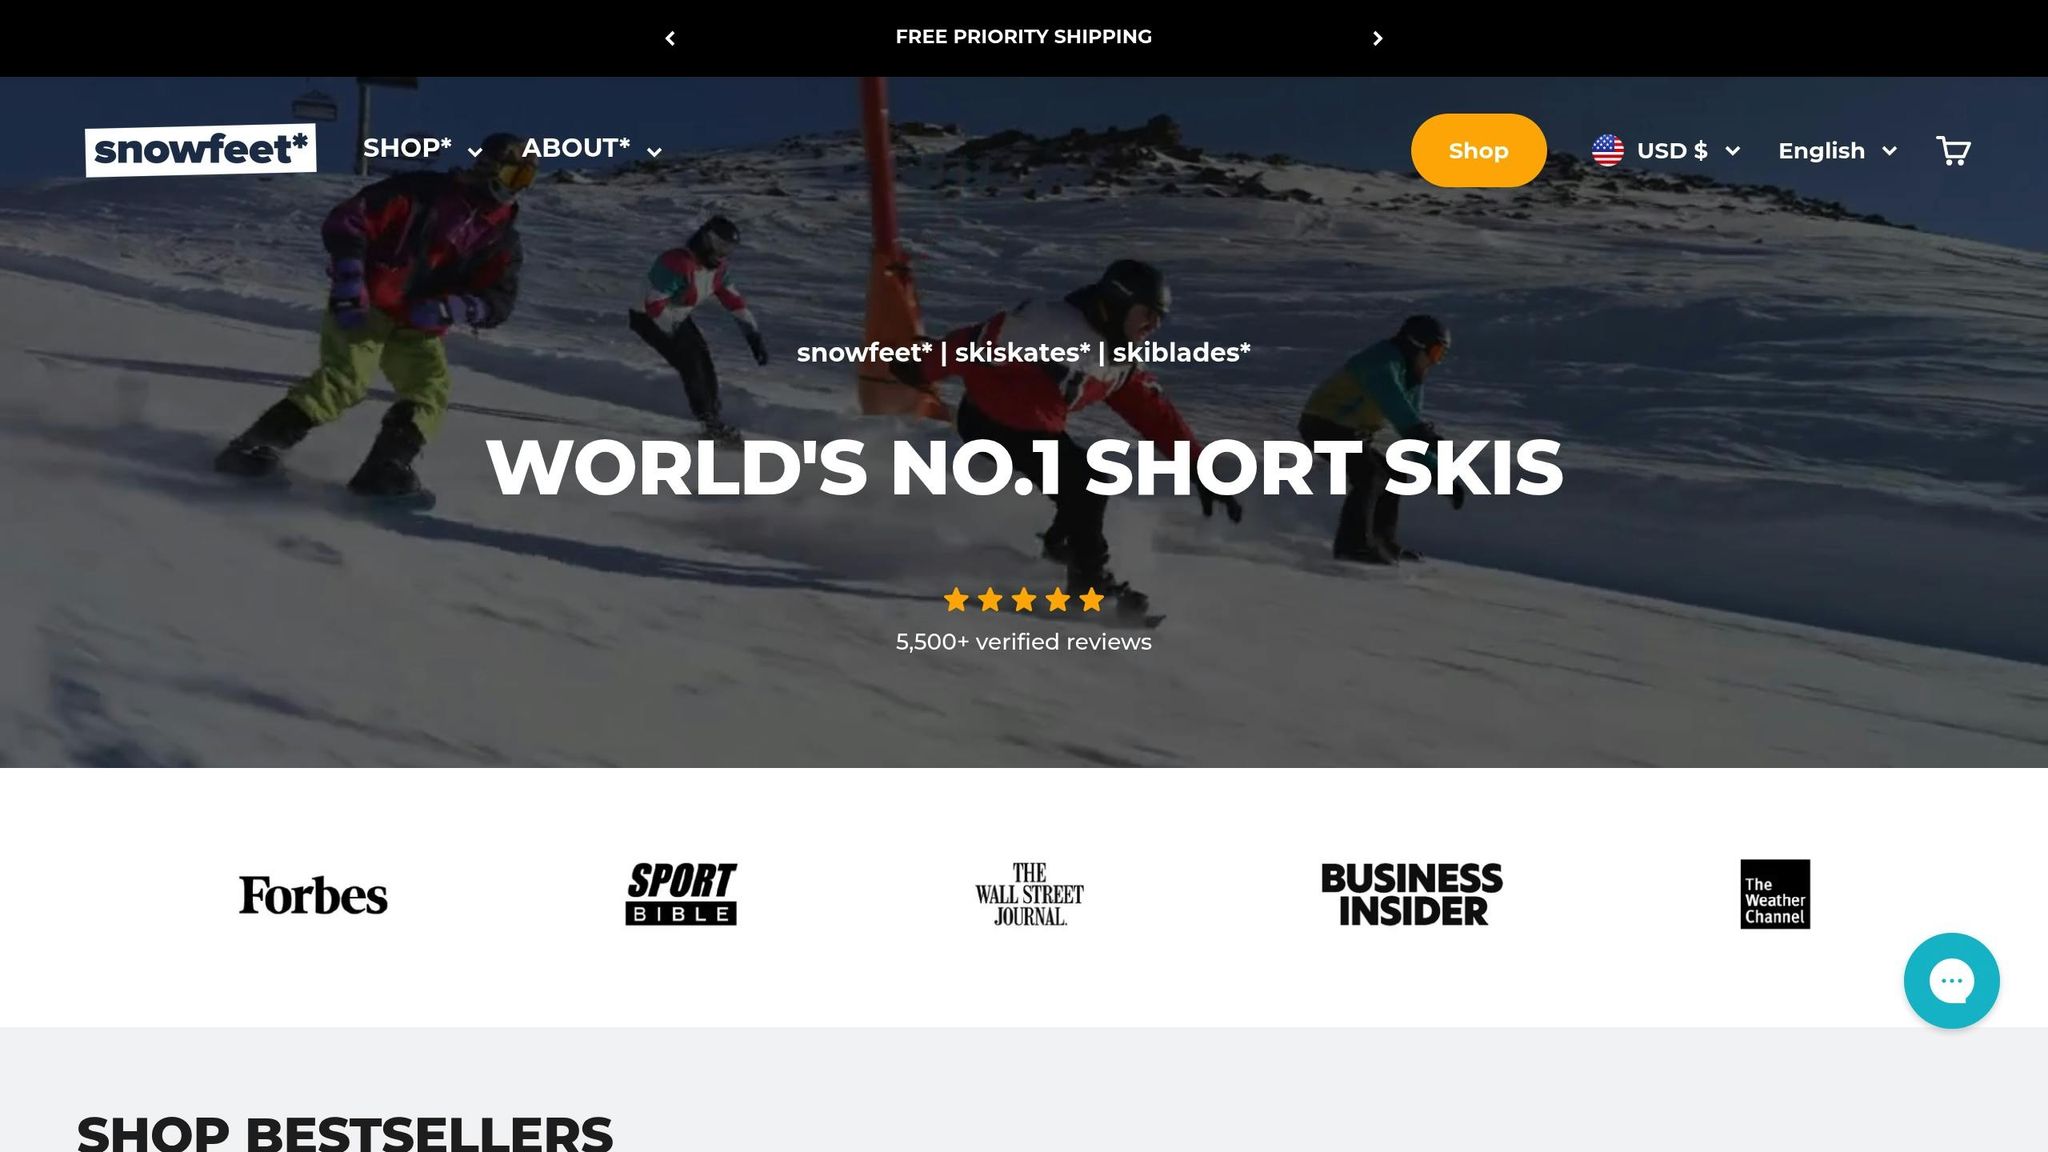
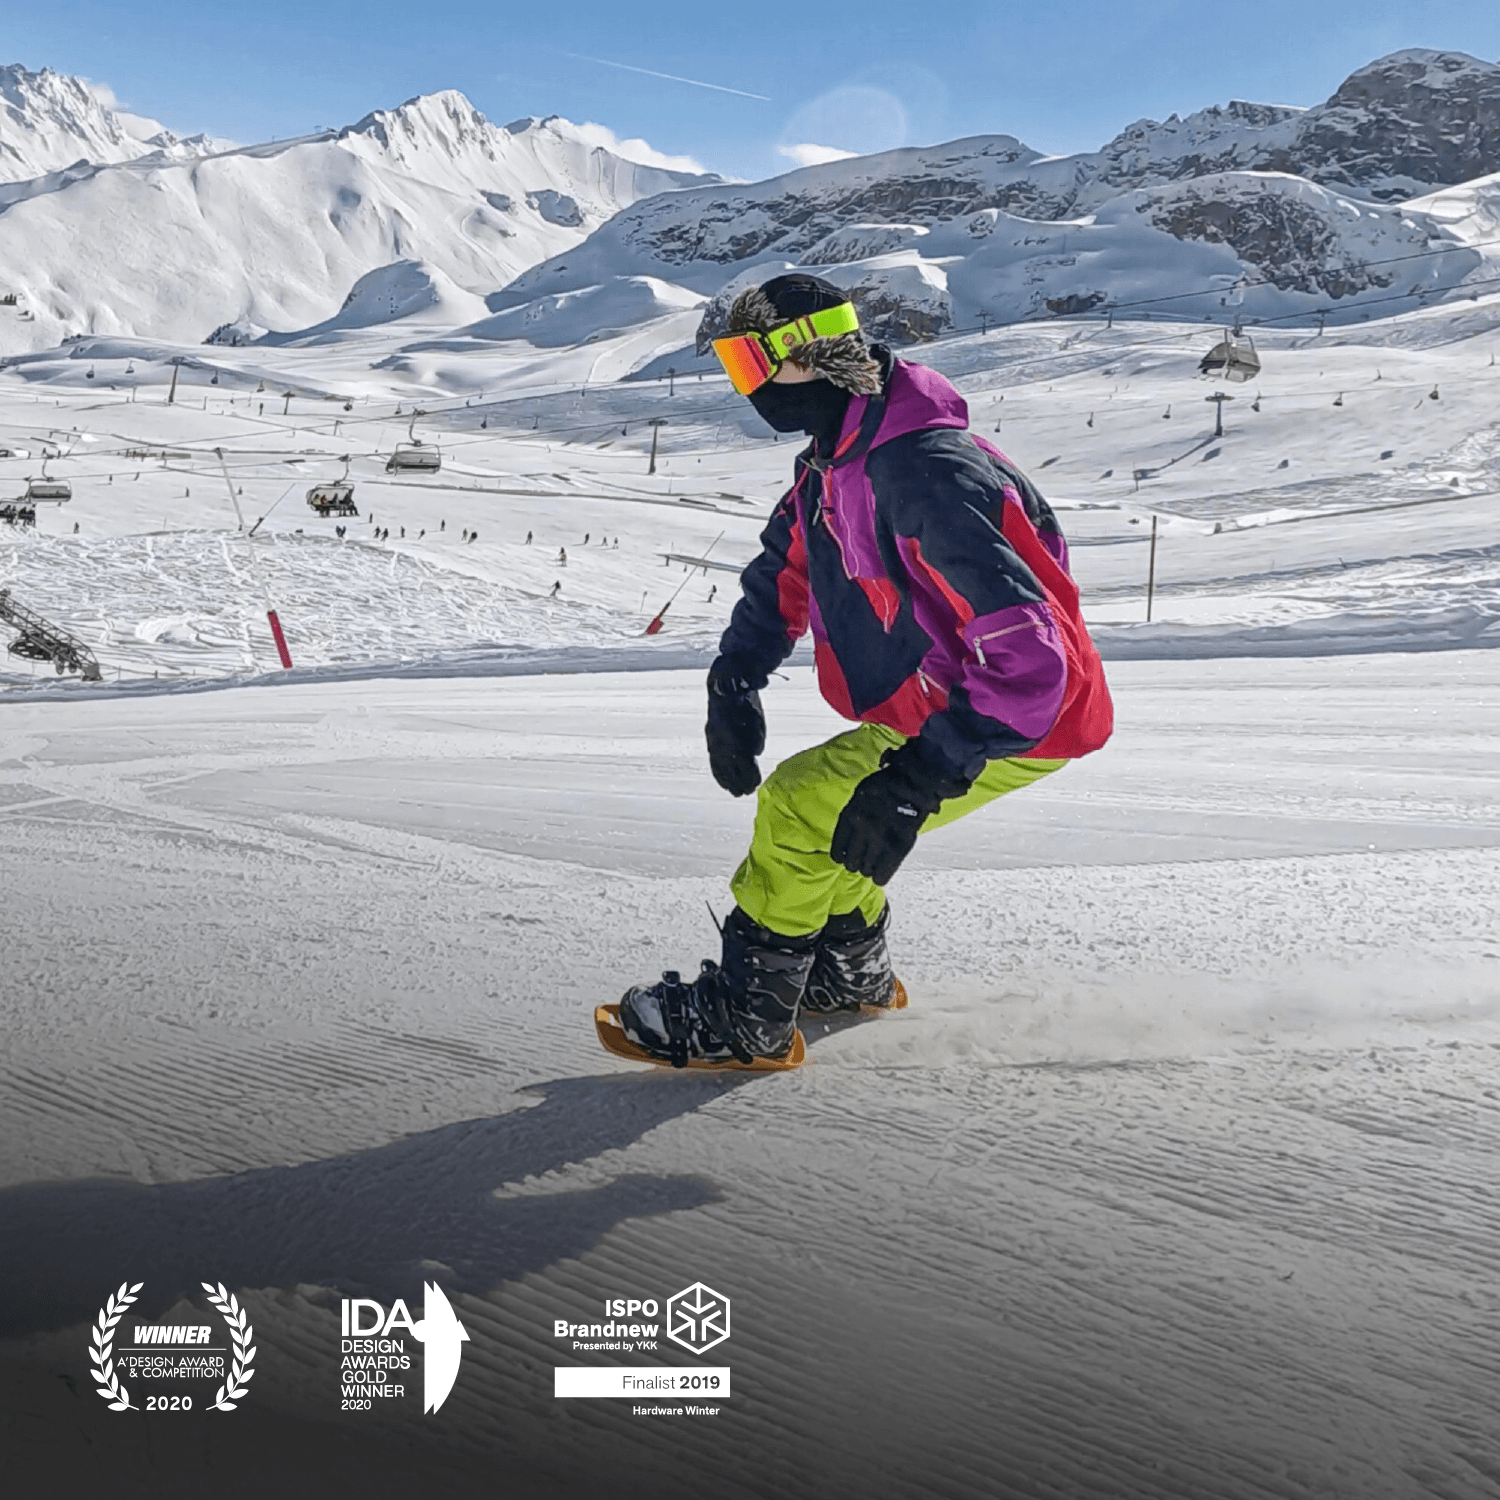
When it comes to backcountry gear, efficiency is everything. That’s where Snowfeet* shines, leaving traditional ski brands like Rossignol, Atomic, Elan, and Head in the dust. These traditional setups are longer, heavier, and require specialized boots - not to mention the hassle of packing and carrying them around. Snowfeet* flips the script with its compact, lightweight design that tackles many of the challenges skiers face in the backcountry.
Traditional skis can weigh anywhere from 8 to 12 pounds per pair. Snowfeet* slashes that weight dramatically, making your setup lighter and your experience more comfortable. Less weight means less fatigue, better balance, and ultimately, a safer ride on tricky terrain. It’s a game-changer for anyone looking to explore with ease.
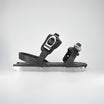
Another major win? Snowfeet* works with almost any winter footwear (US sizes 6–13). No need for clunky, specialized ski boots. You can wear your favorite hiking boots for the trek in and still enjoy full skiing functionality when the snow calls. It’s a level of convenience that traditional setups just can’t match.
The compact design also delivers unmatched control and responsiveness. Whether you’re dodging obstacles or navigating tight spots, Snowfeet* gives you the agility you need - something that long, traditional skis struggle to provide.
Comparison: Snowfeet* vs Traditional Skis
| Feature | Snowfeet* WALKSKI/NORDIC | Traditional Brands (Rossignol, Atomic, Elan) |
|---|---|---|
| Weight | Much lighter | 8–12 lbs per pair |
| Pack Size | Fits inside a standard backpack | Requires bulky ski packs |
| Boot Compatibility | Works with any winter shoes (US sizes 6–13) | Needs specific ski boots |
| Maneuverability | Great for tight spaces | Limited in narrow areas |
| Learning Curve | Easier to pick up | Steeper learning process |
| Terrain Access | Handles narrow hiking trails | Better suited for wide paths |
| Emergency Stopping | Quick and precise | Slower and harder to manage |
| Versatility | Perfect for hiking, cross-country, slopes, and hills | Focused on slopes |
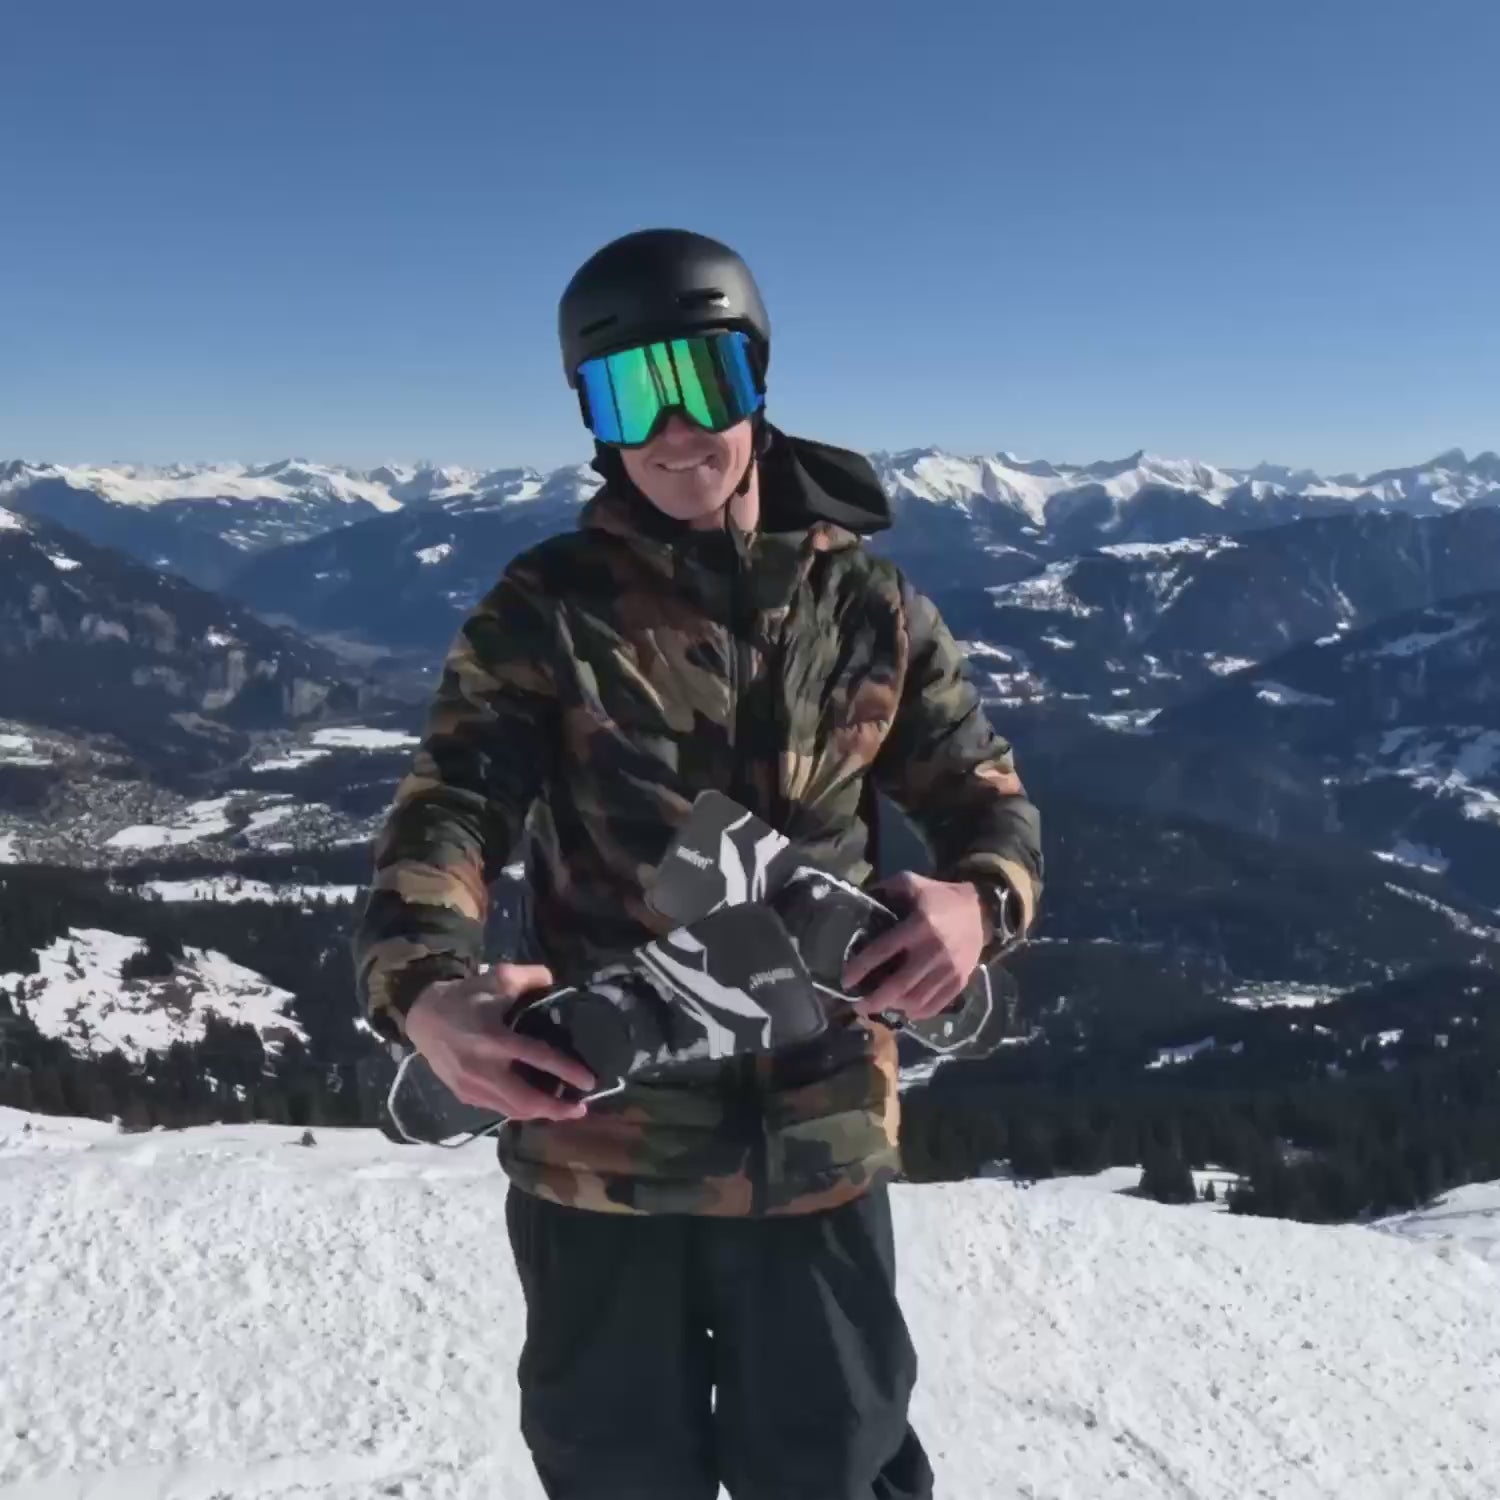
Snowfeet* isn’t just a lighter alternative - it’s a smarter one. Unlike traditional skis that often need to be strapped to the outside of your pack (hello, wind resistance and snagging branches), Snowfeet* fits neatly inside your backpack. This keeps your gear streamlined and protected, making your trek simpler and safer.
But the real cherry on top? Snowfeet* opens up terrain that traditional skis can’t touch. Narrow hiking trails, tight spaces, and unconventional routes are now part of the adventure, giving you the freedom to explore like never before.
For backcountry skiers who value efficiency, safety, and flexibility over the age-old belief that “longer is better,” Snowfeet* is a breath of fresh air. Its compact design doesn’t just save space - it redefines what’s possible on the snow.
Backcountry Ski Packing List
Packing for a backcountry ski adventure is all about staying safe and comfortable while keeping things lightweight and organized. Snowfeet* makes this process easier with its compact, lightweight design that fits snugly inside your pack, improving mobility and safety.
Start with your Essential Safety Equipment. This includes the avalanche safety trio - beacon, shovel, and probe - along with emergency gear (covered in earlier sections). Keep these items in easily accessible pockets so you can grab them quickly if needed.
When it comes to Snowfeet* Gear and Accessories, the compact size eliminates the need for bulky external carriers. Make sure to pack the right climbing skins and some skin wax for smoother ascents.
"Shorter backcountry skis are lightweight and portable, allowing adventurers to effortlessly carry them on their back. The compact size of these skis makes them an ideal choice for those who value efficiency and convenience without compromising on performance." - Snowfeet Team
Next, focus on your Clothing and Layering System to stay warm and dry. Stick to the three-layer principle:
- A moisture-wicking base layer (synthetic or merino wool)
- An insulating layer (fleece or down jacket)
- A waterproof and breathable shell layer
Don’t forget extras like gloves, a warm hat, a neck gaiter, and spare socks. Gaiters are also a great addition since Snowfeet* works with regular winter boots instead of specialized ski boots.
For energy and hydration, pack smart. Hydration and Nutrition should include 2–3 liters of water in insulated bottles or a hydration system with insulated tubing to prevent freezing. Bring high-energy snacks like nuts, dried fruit, and energy bars, plus a warm meal for longer trips. Keep these items in easily reachable pockets for convenience.
A Tools and Repair Kit is a must. Include essentials like duct tape, ski straps, extra binding screws, a small screwdriver, and skin wax. Snowfeet*’s simpler binding system means fewer repair needs compared to traditional setups, which is a nice bonus.
Don’t overlook Personal and Emergency Items. Pack sunglasses, sunscreen (a must at higher altitudes), SPF lip balm, hand warmers, an emergency bivy or space blanket, and any personal medications. A small camera or smartphone in a waterproof case is great for capturing those epic views.
Snowfeet* stands out when it comes to saving pack space. Unlike traditional setups from brands like Rossignol or Atomic that often require external mounting and specialized boot carriers, Snowfeet* fits entirely inside your pack. This protects your gear and keeps your center of gravity stable.
"The ABCs of packing: Accessibility, Balance, and Compact." - Amy David, AMGA Apprentice Ski Guide and AIARE Avalanche Instructor for Idaho's Sawtooth Mountain Guides
Packing Strategy is just as important as what you bring. Place heavier items like your shovel and probe in the middle and lower sections of your pack for better balance. Use Ziploc bags to organize smaller items and keep electronics dry. Store your Snowfeet* vertically against the back panel of your pack, and keep skins in a separate, easy-to-reach pocket.
Finally, remember Weight Considerations. On long approaches, every ounce matters. Snowfeet*’s lightweight design helps reduce fatigue, unlike traditional setups that can weigh you down with heavier equipment. Everything should fit securely inside your pack - no dangling items that could snag on branches or throw off your balance.
With Snowfeet*, you’ll enjoy a lighter, more streamlined setup that’s easy to carry and perfect for backcountry adventures. Say goodbye to bulky, awkward gear and hello to a more efficient way to explore the mountains.
Conclusion: Make Backcountry Adventures Easier with Snowfeet*
Backcountry skiing doesn’t have to mean lugging around heavy, awkward gear. Snowfeet* changes the game by offering a lightweight, compact option that fits neatly in your pack and helps you maintain better balance on tricky terrain.
By ditching the bulk, Snowfeet* reduces fatigue and enhances safety in avalanche-prone areas. Plus, there’s no dangling equipment to snag, and they work with your regular winter boots - no need for specialized setups.
That said, there’s one important caveat:
"It is more difficult to turn or stop with Snowfeet than it is with skis. We do not recommend using Snowfeet on steep slopes. Always wear protective gear and helmet." - Snowfeetstore.com
The shorter design makes transitions smoother and cuts down on leg strain during long approaches. While traditional skis might be better for deep powder, Snowfeet* shines on moderate slopes and packed snow - exactly where most recreational backcountry skiers spend their time.
Another standout feature? The learning curve. Snowfeet* is much easier to pick up than traditional skis, making backcountry skiing more approachable for beginners. For those who’ve been hesitant to venture beyond the resort, this opens up a whole new world of winter exploration.
For adventurers craving simplicity, Snowfeet* eliminates the hassle of bulky gear. No long skis, no complicated boot systems, no extra fuss - just a streamlined setup that lets you focus on enjoying the mountains safely and comfortably.
In short, Snowfeet* redefines backcountry skiing by making it more accessible and efficient. Whether you’re a seasoned skier looking to lighten your load or a beginner eager to explore new terrain, Snowfeet* strikes the perfect balance between safety, comfort, and ease for your next winter adventure.
FAQs
What safety gear do I need for a backcountry ski trip, and how can I use it effectively?
For a safe backcountry ski trip, you’ll need some must-have avalanche safety gear: a beacon (transceiver), a probe, and a shovel. These aren’t optional - they’re your lifeline in case of an avalanche. But having the gear isn’t enough. You’ve got to know how to use it. Spend time practicing so you’re ready if the unthinkable happens. Signing up for an avalanche safety course is a smart move too - it’ll teach you the skills you need to stay safe.
Don’t forget other important items like a helmet and goggles to shield you from impacts and flying debris. A GPS device or map is also crucial for navigating those remote, unmarked areas. And here’s the thing: gear alone won’t keep you safe. Preparation and training are just as important. Before you head out, check the avalanche forecast, map out your route, and always let someone know where you’re going and when you plan to be back.
What makes Snowfeet* products better than traditional skis for backcountry adventures?
Snowfeet* gear offers a fresh spin on skiing, thanks to its lightweight build, compact size, and multi-use functionality. Unlike traditional skis, which can feel like you're lugging around a small tree, Snowfeet* products are easy to carry and handle. This makes trekking uphill or switching between terrains a lot less of a workout and a lot more enjoyable. If convenience and ease are what you’re after, these are a game-changer.
What’s more, Snowfeet* gear shines when it comes to versatility. They glide smoothly over a variety of terrains and provide a level of agility that traditional skis - like those from Rossignol or Atomic - just can't match. If you're looking for a lightweight, no-fuss option for backcountry adventures, Snowfeet* is the way to go.
How can I properly care for and store climbing skins to keep them in top condition for backcountry skiing?
How to Care for Your Climbing Skins
Taking care of your climbing skins is key to keeping them in great shape and ready for action. After each use, make sure to let them air dry completely. But here’s the catch - don’t leave them in direct heat or sunlight, as this can mess up the adhesive.
When you’re storing them during the day, fold the skins glue-to-glue. This helps keep dirt and moisture from sticking to the adhesive. Then, pop them into a breathable bag or container to keep them safe.
For long-term storage, find a cool, dry, and dark spot, like their original bag. Some skiers even swear by storing their skins in the fridge or freezer to keep the glue fresh. Just steer clear of high heat or humid places - those can wear down the adhesive and mess with their performance. A little extra care goes a long way in making sure your skins are always ready for your next adventure!






Leave a comment
This site is protected by hCaptcha and the hCaptcha Privacy Policy and Terms of Service apply.