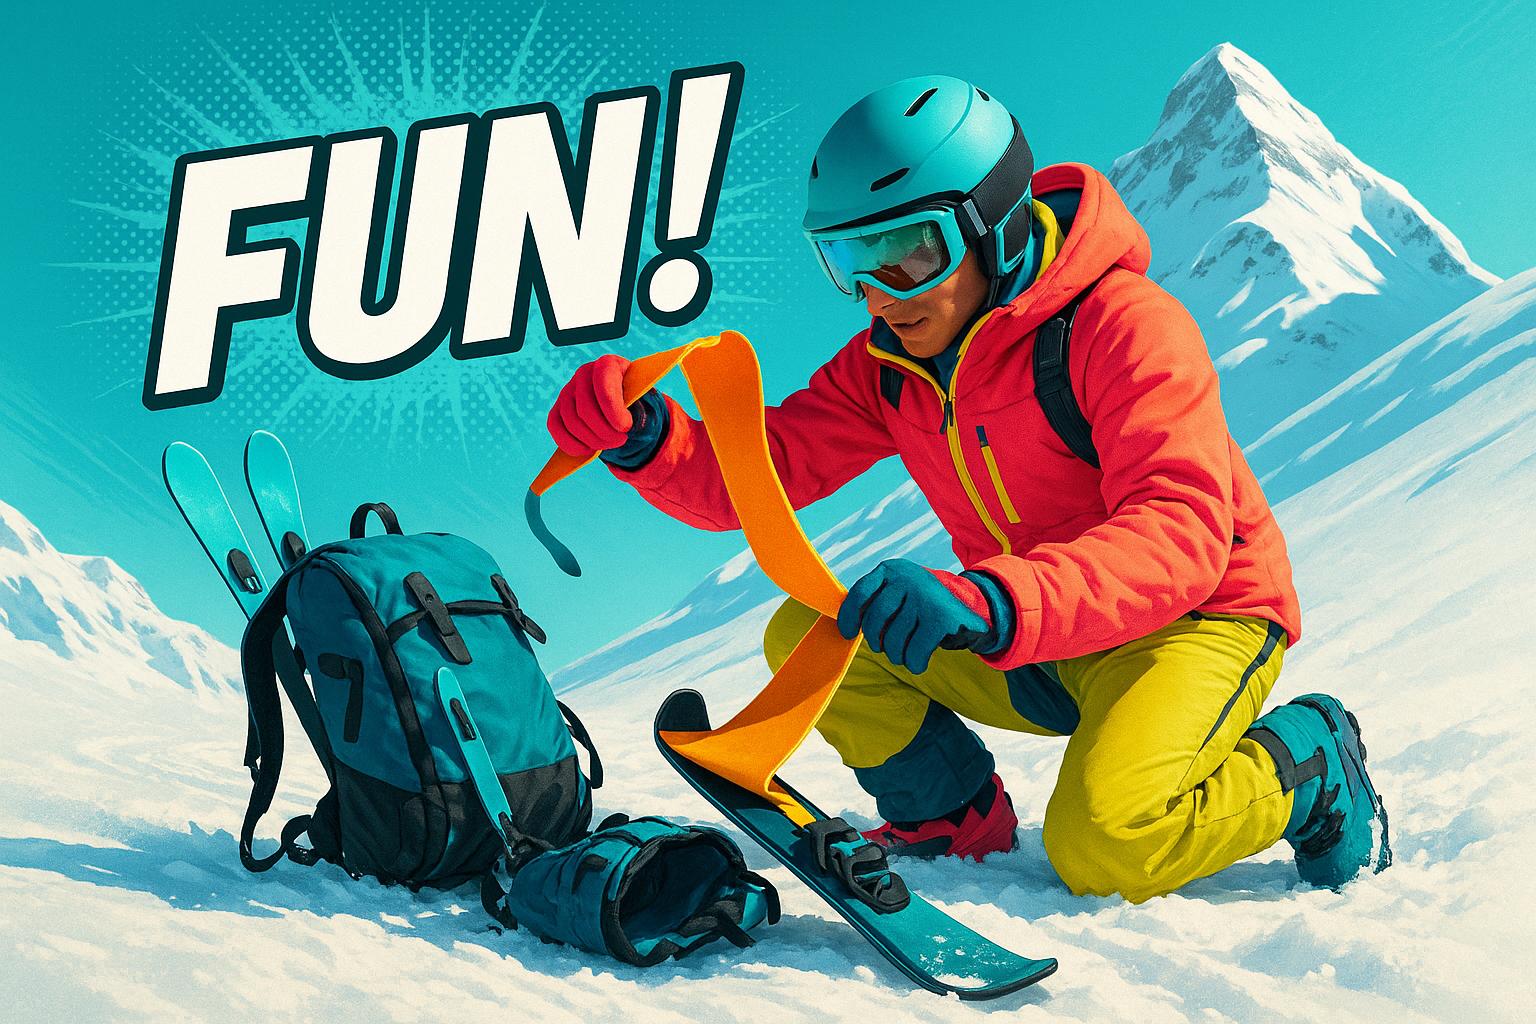
Climbing skins are a must-have for backcountry skiing. They’re strips of fabric that attach to the underside of your skis, letting you climb uphill without sliding back. One side sticks to your skis, and the other has fibers that grip the snow for traction. Here’s the gist:
- What they do: Help you climb snowy slopes without slipping backward.
- How they’ve changed: From horsehair and sealskin to modern nylon and mohair for better durability and performance.
- Why they’re essential: Without them, skiing uphill is nearly impossible.
How they work: The fibers glide forward but grip when you push back. Nylon offers strong grip for icy terrain, while mohair glides better on long tours. Mixed materials balance both.
How to use them:
- Attach the skin using tip loops, tail clips, and adhesive backing.
- Trim them to match your ski width (leave the edges exposed for control).
- Keep them warm and dry for better adhesion and longer life.
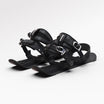
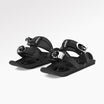
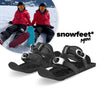
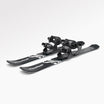
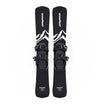
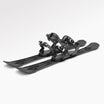
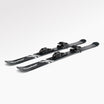
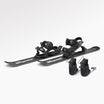
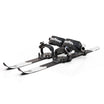
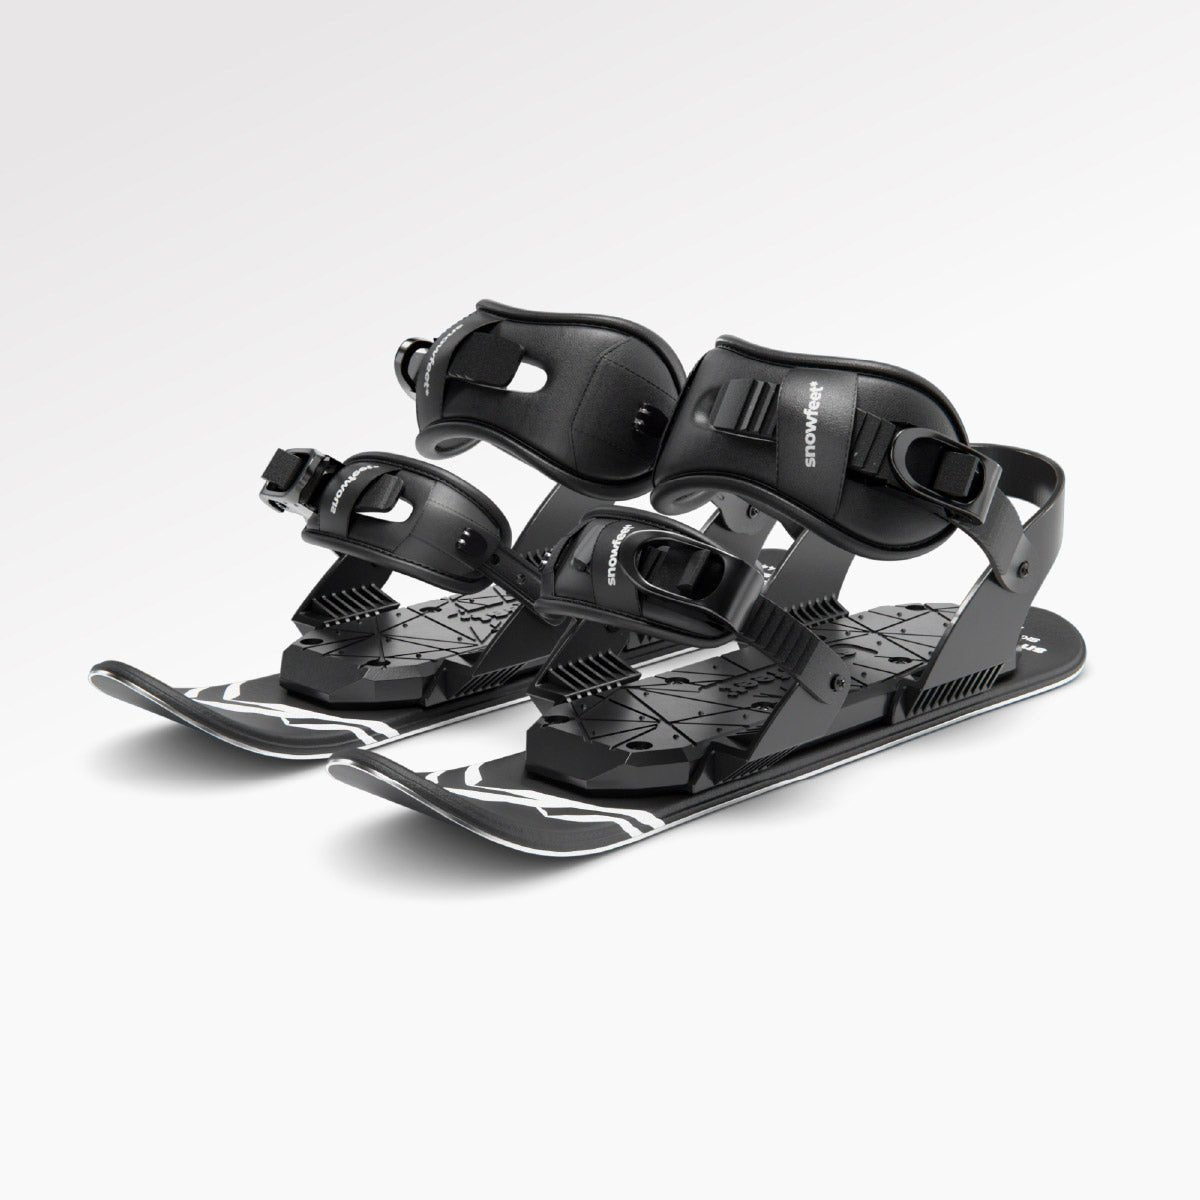
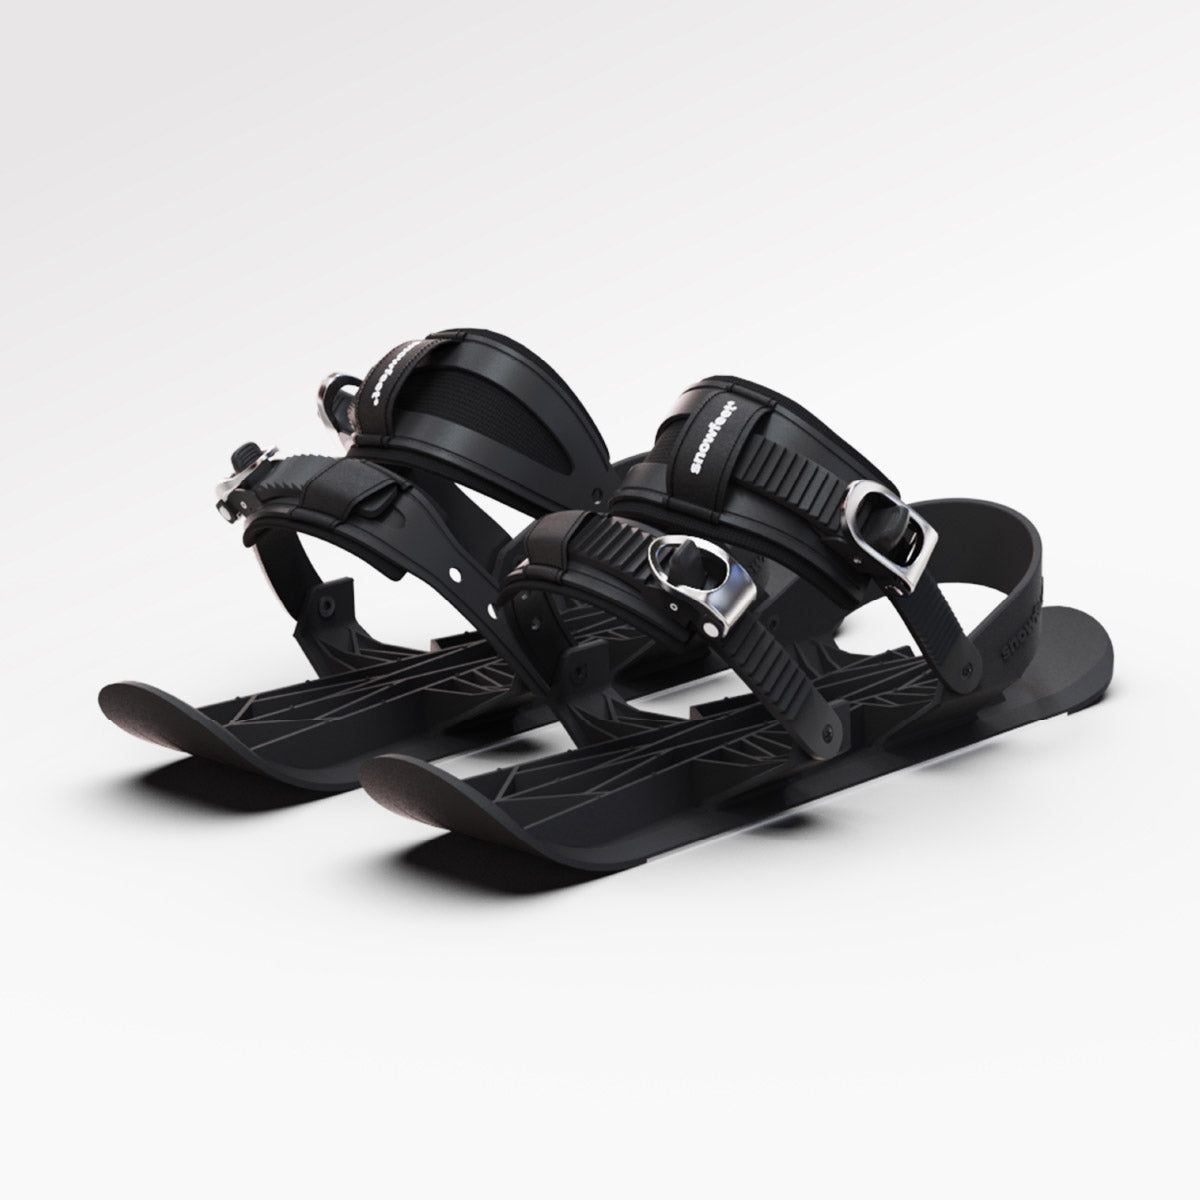
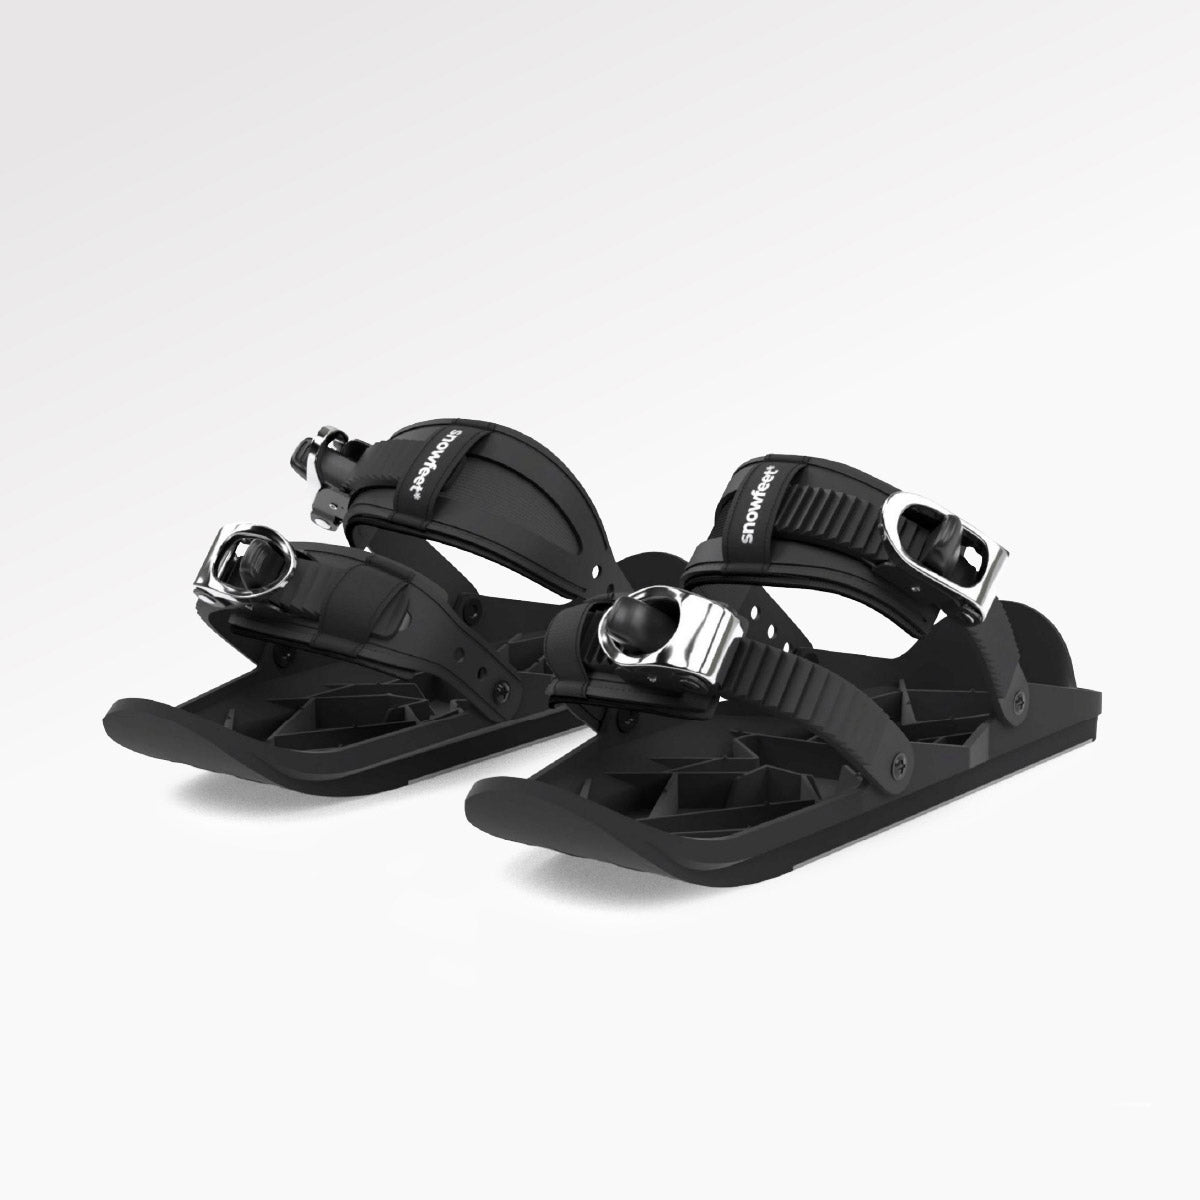
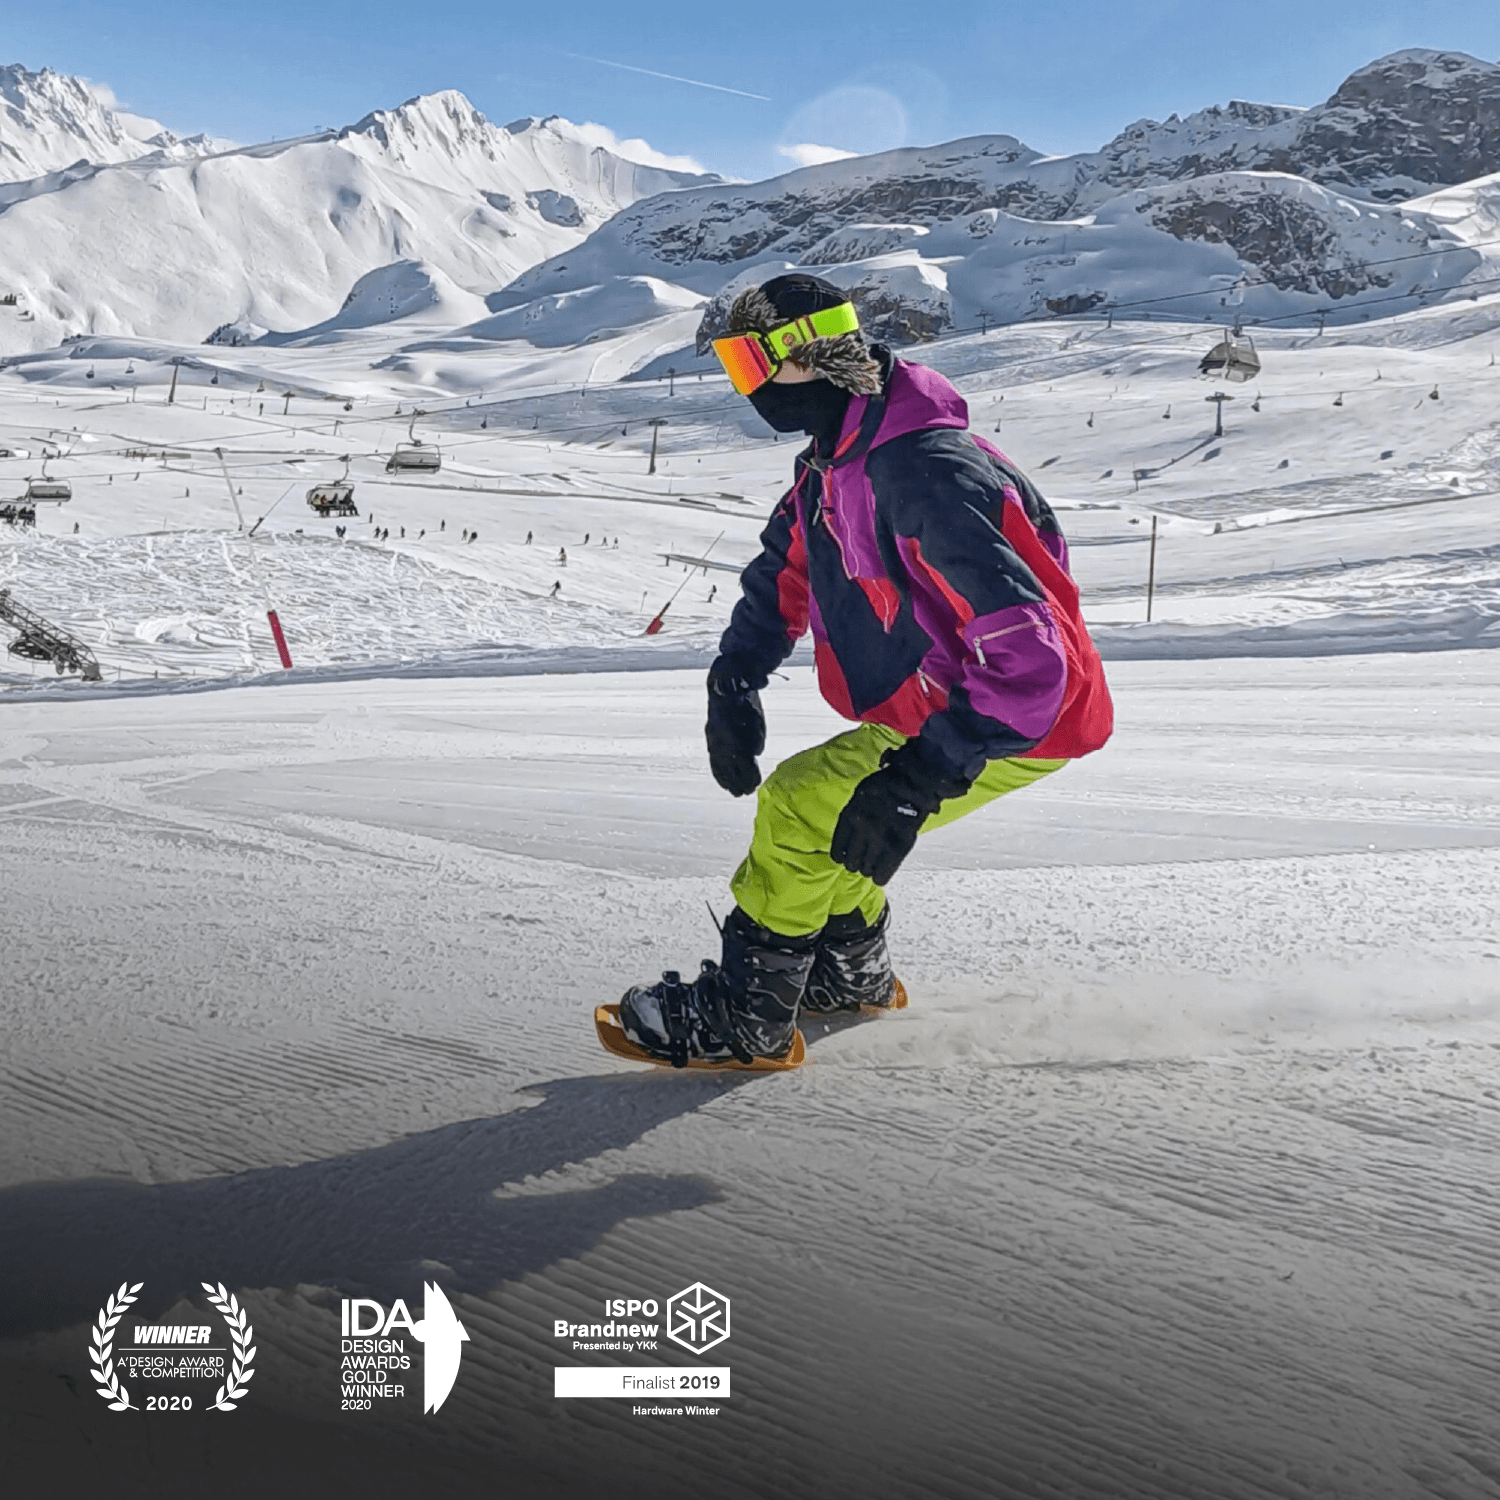
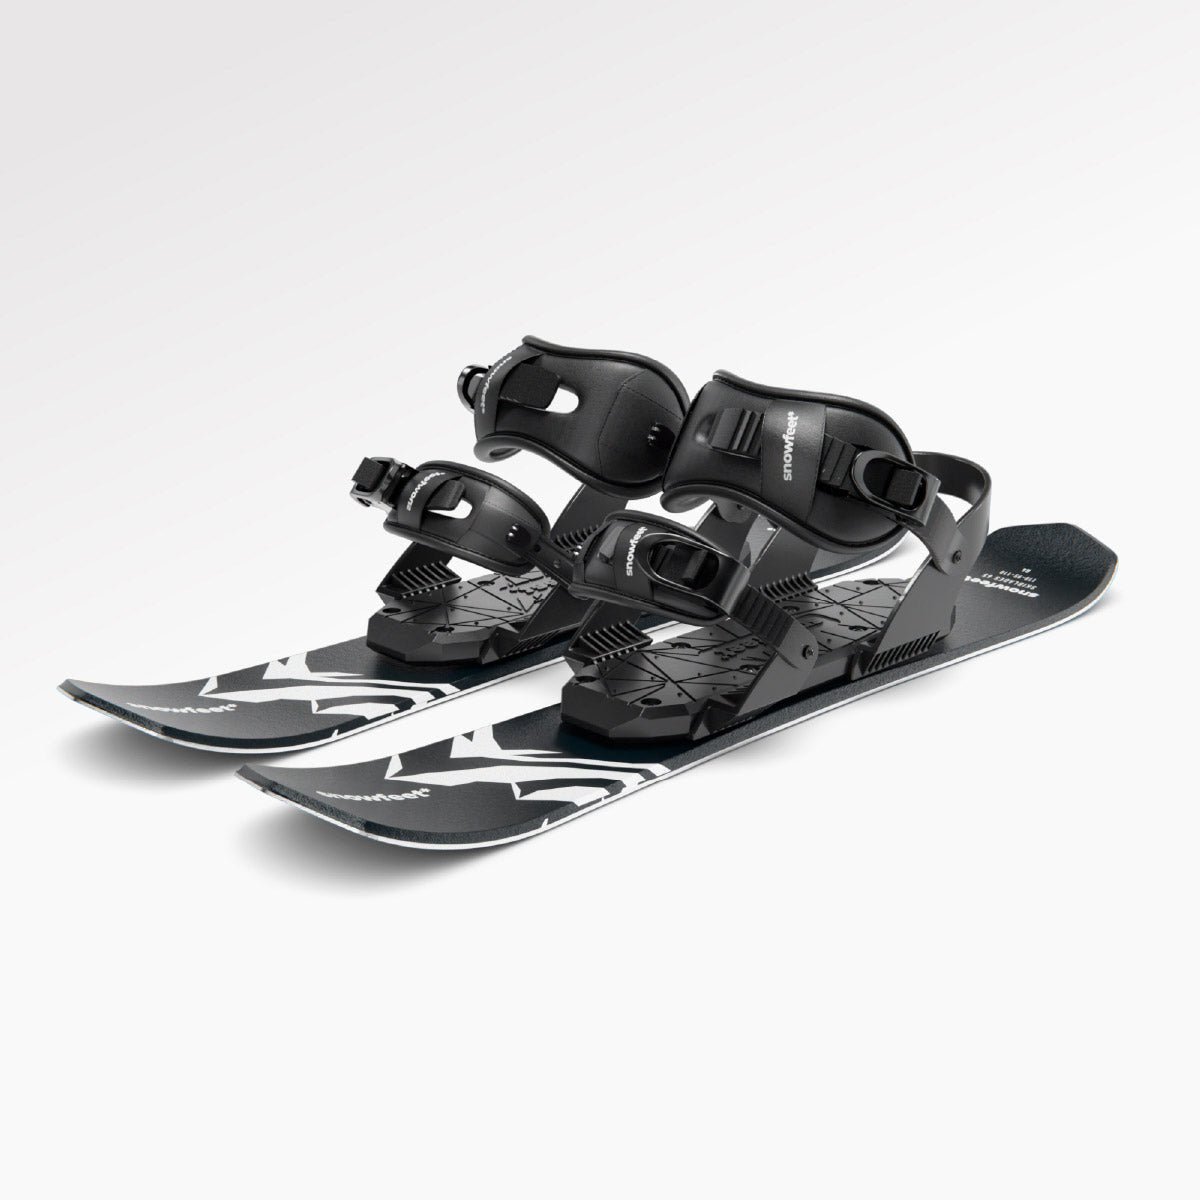
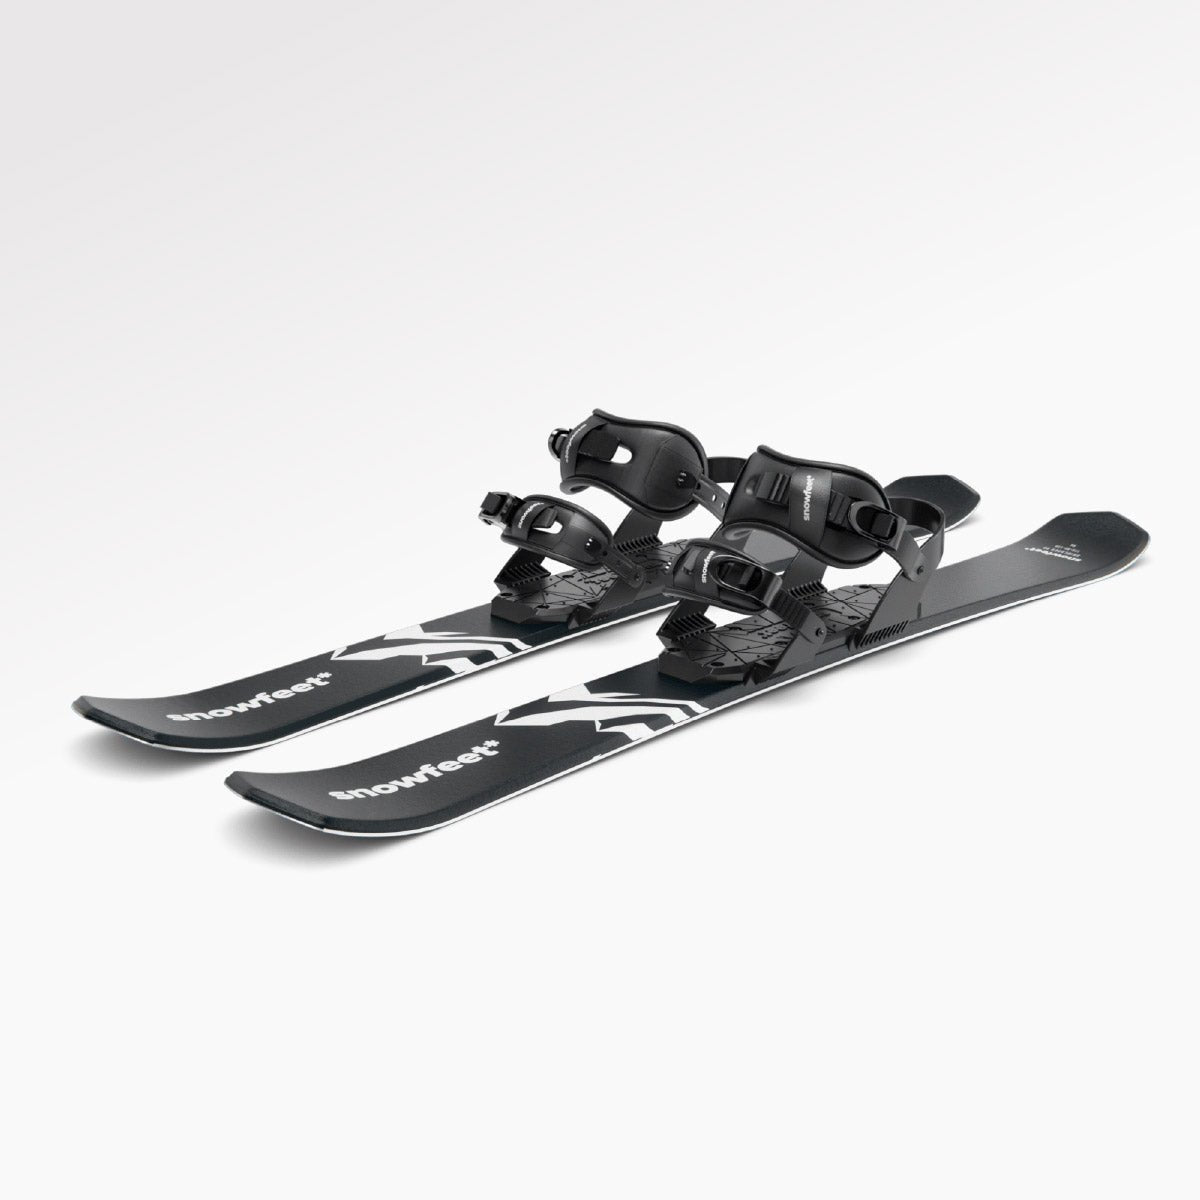
If you’re using shorter skis like Snowfeet* WALKSKI, they’re lighter, easier to handle, and require less skin material - perfect for beginners or tight terrain.
Snowfeet* short skis, paired with skins, are easier to carry, more energy-efficient for climbs, and simpler to maneuver than longer skis. They’re also compatible with most boots, making them a great pick for backcountry adventures.
How Climbing Skins Work
How Skins Grip the Snow
Climbing skins rely on special angled fibers that grip the snow to stop your skis from sliding backward. When you push forward, the fibers lay flat, allowing for a smooth glide. But as soon as you apply backward pressure, the fibers engage and grip the snow.
The material of the fibers plays a big role in performance. Nylon skins are great for icy or steep terrain where strong grip is a must. On the other hand, mohair skins offer better glide but don’t grip as well as nylon.
For Snowfeet* WALKSKI users, these fibers work particularly well with the shorter 39-inch ski length. The smaller surface area reduces drag during gliding while still providing solid traction. This gives WALKSKI users an edge over longer skis from brands like Head or Elan. Next, we’ll look at how to attach these skins securely to your skis.
How to Attach Skins to Skis
Climbing skins attach to skis using three key components: tip loops, tail clips, and adhesive backing. The tip loop hooks onto the front of the ski, while the tail clip keeps the skin taut along the ski’s length. The adhesive backing ensures a strong bond to the ski base.
To avoid damaging the ski edges, start attaching the skins from the middle of the ski. Make sure the ski base is clean and dry before applying the skins for the best adhesion. Most skins allow you to adjust the length at the tail, though some specialized skimo race skins don’t have this feature.
Attachment methods can vary by brand. For instance, Pomoca skins work well with skis featuring plastic-reinforced tails, while G3 skins offer a universal fit once adjusted properly. Thanks to the compact design of the Snowfeet* WALKSKI, the attachment process is easier compared to traditional long skis. The shorter length means fewer potential issues and quicker setup.
Getting the Right Size and Fit
To get the best performance, size and trim your skins to match your ski width, leaving the steel edges exposed for better control. A proper fit improves uphill traction, which is especially helpful for backcountry adventures with Snowfeet*.
After using your skins, keep them warm (like inside your jacket) to maintain the adhesive’s stickiness. Dry them thoroughly after each outing, and for long-term storage, press the adhesive sides together.
The Snowfeet* WALKSKI makes sizing easier, too. At just 39 inches long, these skis require much less skin material than traditional touring skis from brands like Rossignol or Atomic, which are typically 65 to 75 inches long. This means less weight to carry, simpler storage, lower replacement costs, and an easier trimming process - perfect for beginners.
| Skin Material | Grip Level | Glide Quality | Durability | Best Conditions |
|---|---|---|---|---|
| Nylon | High | Moderate | High | Icy, steep terrain |
| Mohair | Moderate | High | Moderate | Powder, long tours |
| Mixed | High | High | High | All conditions |
Step-by-Step Guide: Using Climbing Skins with Snowfeet* WALKSKI Backcountry Touring Skis

How to Attach Climbing Skins
Attaching climbing skins to Snowfeet* WALKSKI skis is a simple process, thanks to their compact 39-inch design. Their shorter length means you’ll need less skin material compared to traditional touring skis like those from Rossignol or Atomic. This makes them lighter, easier to store, and quicker to set up.
First, make sure your climbing skins are cut to the right length and width according to the manufacturer’s guidelines. Then, clean the base of your skis thoroughly - any snow, ice, or dirt can mess with adhesion.
Next, loop the cable around the ski tip, ensuring the adhesive side sticks to the base. Carefully press the skin onto the ski from tip to tail, smoothing it down as you go to remove wrinkles or air bubbles. Center the skin so the edges of the ski remain exposed. This setup improves grip on uphill climbs and control during traverses.
Finally, secure the tail clip firmly at the bottom of the ski. The WALKSKI’s compact size makes this step easier, reducing stress on the attachment points and ensuring a snug fit.
How to Adjust for Proper Fit
Once your skins are attached, take a moment to fine-tune the fit for the best performance. Your skins should cover the ski’s plastic base while leaving the metal edges exposed. This setup gives you solid traction for climbing while maintaining edge control for traverses and descents.
The most important section to cover is the area from just in front of the toepiece to about 12 inches behind the heel. On the 39-inch WALKSKI, this zone makes up a larger portion of the ski compared to traditional, longer models.
If needed, adjust the tail hardware to ensure the skin stays tight along the entire ski. If your skins don’t have adjustable hardware, you may need to trim the tip hardware to fit. Keep in mind that skins too narrow underfoot can cause slipping, while skins that are too wide won’t hold an edge well on icy or sloped terrain.
If you need to re-trim the edges, use an X-ACTO knife with a metal straightedge on a cutting board. The WALKSKI’s design is forgiving, so small trimming errors that might cause issues on longer skis are less of a problem here - perfect for beginners.
How to Remove and Store Skins
After your adventure, taking care of your skins will help them last longer. Remove the skins carefully to avoid getting snow or debris on the adhesive. Start by peeling the skin halfway off, then fold it against itself to protect the glue from wind and snow. If snow does stick to the adhesive, use the ski edge to scrape it off.
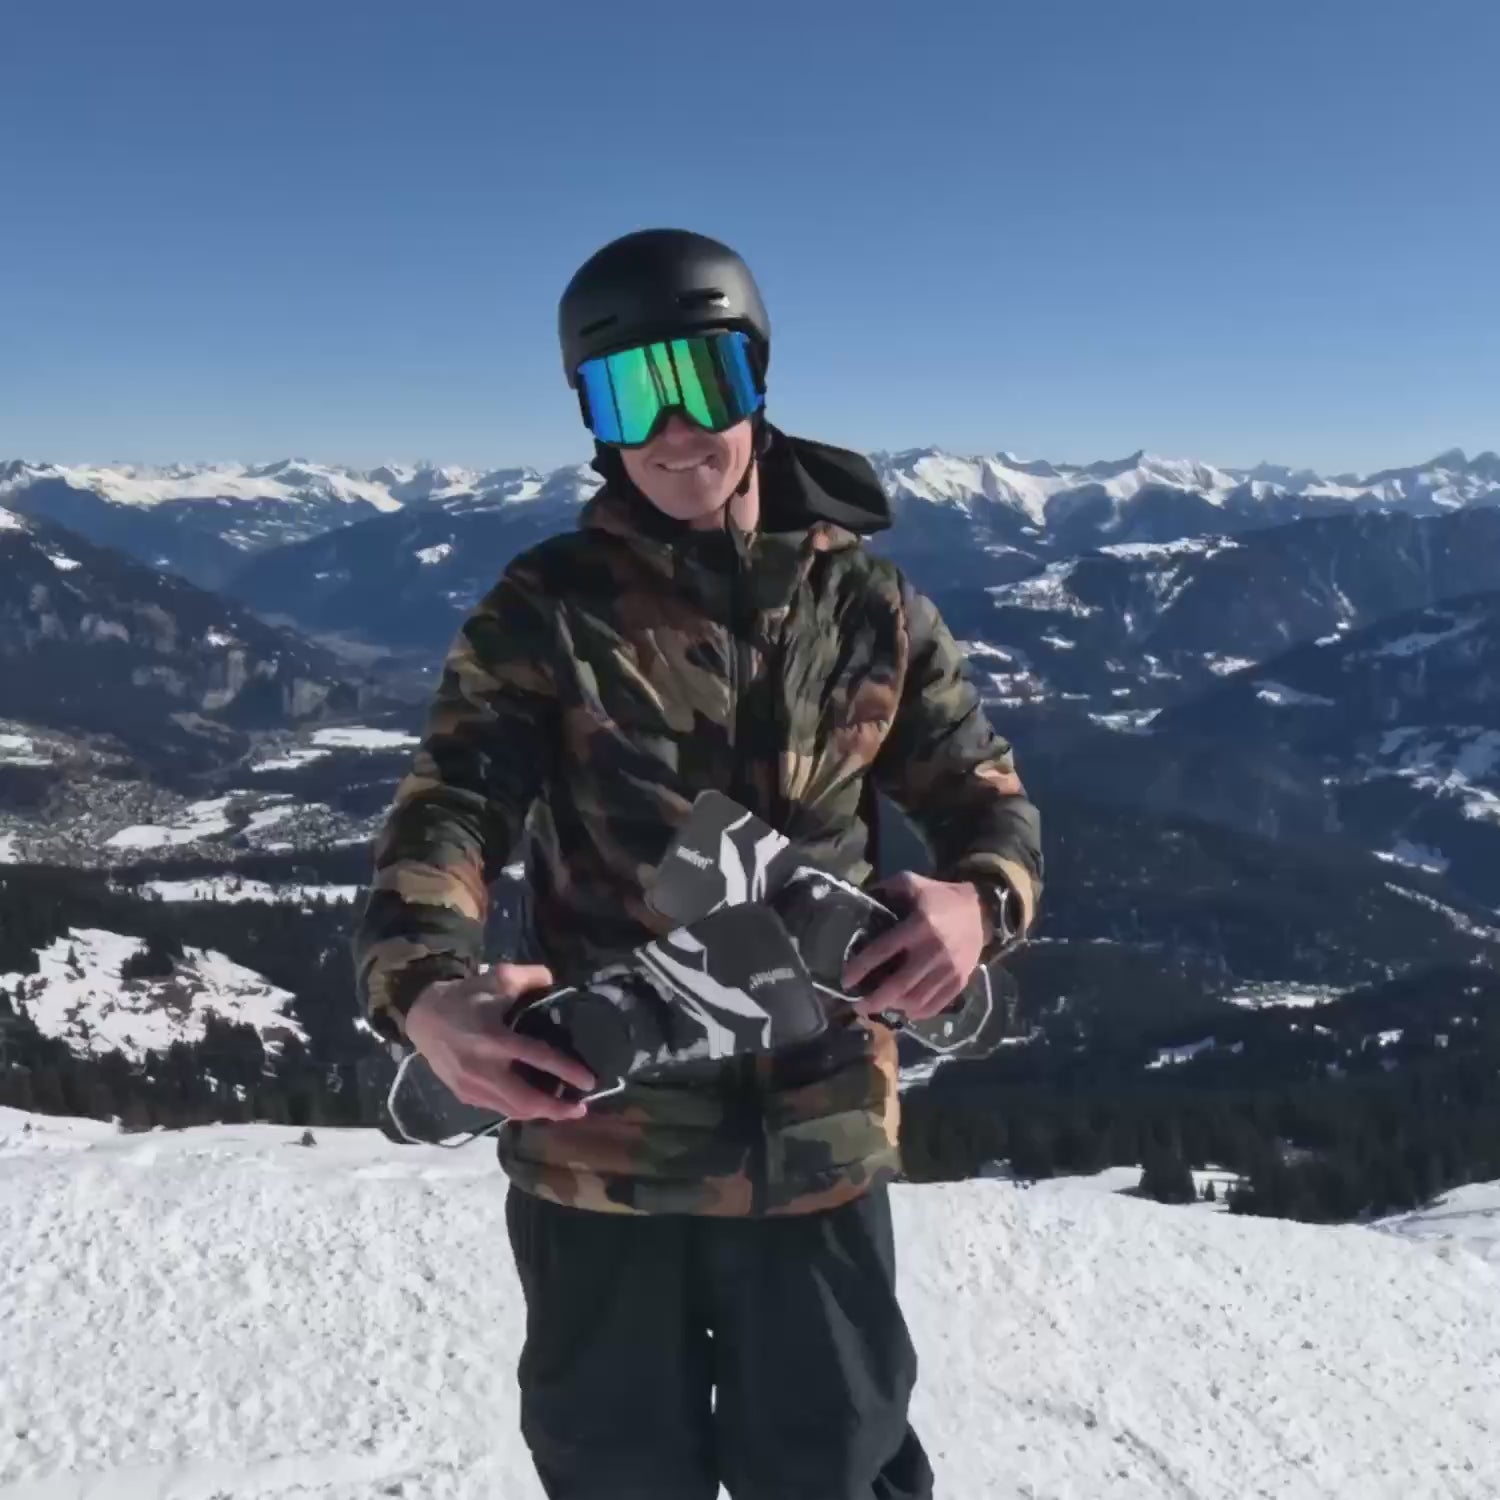
To store them, fold the skins in half from the middle, aligning the edges neatly. The compact size of WALKSKI skins makes them easy to pack in your backpack. For added convenience, carry them inside your jacket to keep them warm, which helps with adhesion in colder weather.
When you’re back home, dry the skins by hanging them glue-to-glue over a rack or towel rod. Thanks to their smaller size, WALKSKI skins dry faster than traditional ones. For storage, keep them in a cool, dark, and dry place, away from heat or UV light.
If the skins get dirty, wipe them with a damp cloth - avoid using cleaning agents. Use tweezers to remove any debris stuck to the adhesive. For long-term storage, fold them glue-to-glue and stash them in a cool, dark spot. Their compact design makes them perfect for small spaces, so they’re great for apartment dwellers or anyone short on storage room.
How To Use Climbing Skins When Ski Touring in the Backcountry
sbb-itb-17ade95
Benefits of Using Climbing Skins with Snowfeet* Short Skis
Snowfeet* short skis are a game-changer for backcountry enthusiasts, offering improved uphill mobility and ease of use.
Lightweight and Easy to Carry
At just 39 inches, the Snowfeet* WALKSKI is a breeze to carry compared to traditional touring skis. These short skis use less climbing skin material and weigh under 6.6 pounds per pair, putting them in the lightweight category often favored for alpine touring. This reduced weight means less strain during uphill travel, which is crucial since about 80% of backcountry skiing involves climbing. By saving energy on the ascent, you’ll have more left in the tank for an enjoyable descent. In short: lighter skis, less fatigue, more fun.
Beginner-Friendly Design
For those new to backcountry skiing, Snowfeet* short skis paired with climbing skins make the learning process smoother. Their compact size improves balance and maneuverability, making it easier to get the hang of things. With over 5,500 verified customers, many users rave about how approachable these skis are:
"These skiblades are so much fun and easy to control. Never going back to regular skis." - Andrew B.
The responsive design helps beginners quickly pick up the basics of uphill movement, like stride patterns and weight distribution, making them a solid choice for mastering backcountry techniques.
Compatible with Various Boots
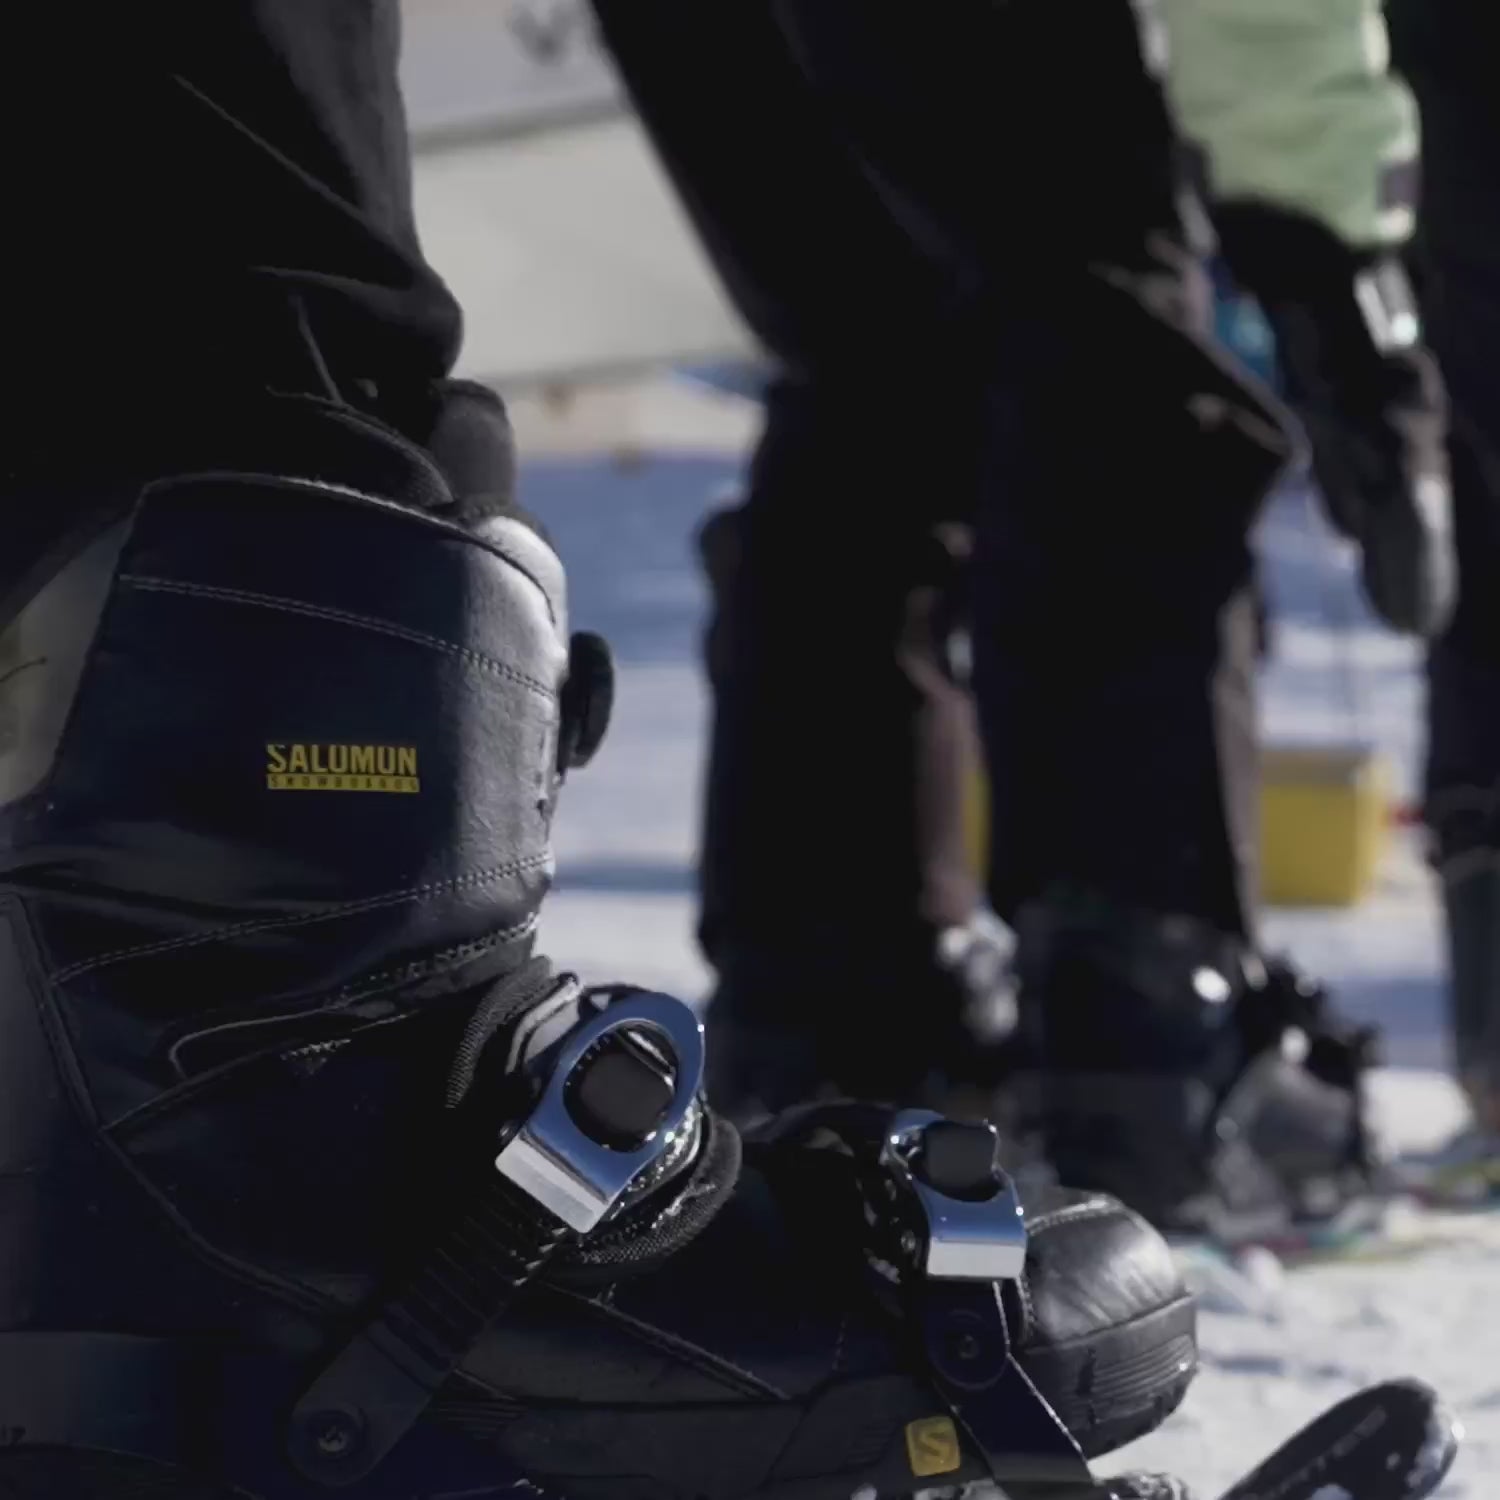
One of the standout features of Snowfeet* skis is their versatility. They accommodate a wide range of boot types, fitting shoe sizes from 6 to 13 US (38 to 47 EU). Whether you’re wearing regular winter boots, snowboard boots, or traditional ski boots, these skis have you covered. Plus, with different binding options - Basic, Standard, and Pro X - you can find the perfect setup to match your gear. This flexibility means you can hit the backcountry without needing to invest in specialized touring equipment, making Snowfeet* a practical and accessible option for all kinds of skiers.
Snowfeet* vs. Long Ski Brands
Snowfeet* short skis and traditional long skis bring different strengths to the table, especially when it comes to design, weight, and how they handle uphill climbs with climbing skins. These differences play a big role in shaping your backcountry skiing experience. Let’s break it down.
Main Differences in Design and Performance
Length and Portability are game-changers for backcountry touring. Traditional skis are typically over 170 cm long, while Snowfeet* skis range from just 17 to 47 inches (44–120 cm). This compact size makes Snowfeet* much easier to carry and maneuver, whether you’re hiking to untouched slopes or weaving through tight tree lines.
Weight and Energy Use are critical for those long uphill climbs. Traditional touring skis, like those from Head or Elan, are heavier and require larger climbing skins, which add drag and make ascents more tiring. In contrast, Snowfeet* are lightweight, letting you conserve energy and climb more efficiently.
Maneuverability in Tight Terrain is another area where Snowfeet* shines. When you’re navigating through dense forests or dodging obstacles, their smaller size allows for quick, precise turns - something that’s much harder with long skis.
Learning Curve and Accessibility are also worth noting. Long skis from established brands often require more technical skill and physical strength. Snowfeet*, on the other hand, are beginner-friendly, offering an easier and faster learning experience. This makes them a great option for those new to backcountry skiing or looking for a smoother transition to more advanced skills.
Comparison Table: Snowfeet* vs. Long Ski Brands
Here’s a quick side-by-side look at how Snowfeet* stacks up against traditional long skis:
| Feature | Snowfeet* Short Skis | Traditional Long Ski Brands |
|---|---|---|
| Length | 17–47 inches (44–120 cm) | 67+ inches (170+ cm) |
| Weight | Under 6.6 lbs per pair | 8–12+ lbs per pair |
| Boot Compatibility | Works with any winter boots, snowboard boots, or ski boots | Requires specific touring boots |
| Climbing Skin Size | Smaller, lighter skins | Larger, heavier skins |
| Maneuverability | Excellent for tight spaces | Requires more effort to turn |
| Learning Curve | Beginner-friendly, fast progression | Steeper learning curve |
| Portability | Fits in a backpack, super easy to carry | Needs ski bags, harder to transport |
| Price Range | $150–$690 | $400–$1,200+ |
| Uphill Efficiency | Less energy needed for climbs | More energy required due to weight |
When using climbing skins, the advantages of Snowfeet* become even clearer. Their lightweight design means less effort and reduced fatigue on uphill climbs . While long skis from brands like Elan or Head focus on stability at high speeds, that benefit doesn’t apply much during the slow, steady pace of skinning uphill.
For backcountry skiing, where you’re dealing with varied terrain, Snowfeet* short skis are a solid choice. They perform exceptionally well in tight spaces, like tree skiing. On the flip side, traditional long skis offer better floatation in deep snow, but that comes at the cost of maneuverability. If versatility is what you’re after, Snowfeet* delivers, making them a practical option for most backcountry touring adventures.
Why Snowfeet* is the Best Choice for Backcountry Skiing
Key Points to Remember
When you're heading into the backcountry with climbing skins, Snowfeet* stands out thanks to its lightweight and compact design. Unlike traditional touring skis from brands like Rossignol or Atomic, these shorter skis make it easier to move around and cut down on the weight you're carrying.
One of the game-changing features of Snowfeet* is its dual binding system. This setup lets you switch effortlessly between free-heel and fixed-heel modes, making transitions from uphill to downhill skiing a breeze. Plus, you don’t need to invest in specialized touring boots - these skis work with just about any winter footwear, from hiking boots to snowboard boots.
Snowfeet* also integrates a traction system that takes backcountry mobility to a whole new level. The team behind Snowfeet* explains the advantage perfectly:
"Yes, they are generally more efficient for climbing uphill due to their lighter weight and increased maneuverability. If your backcountry adventures involve frequent ascents, shorter skis could be the more practical choice for tackling uphill terrain with greater ease."
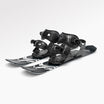
And here's another bonus: the built-in sealskin in the chute offers reliable grip for uphill climbs, so you can leave those extra climbing skins at home. Short skis, like Snowfeet*, really shine in tight spots where quick turns and precise control are essential - something longer skis (often over 170 cm) just can't handle as well. Their agility also opens up routes that would be off-limits with bulkier gear.
For those new to backcountry skiing, Snowfeet* offers a smoother learning curve. The compact size makes them much easier to handle, helping beginners build confidence without the struggle of managing larger, more cumbersome equipment.
Try Snowfeet* for Yourself
Once you try Snowfeet*, you'll see how they can transform your backcountry adventures. Unlike traditional skis that often require roof racks or oversized bags, Snowfeet* are small enough to fit into a standard backpack. This makes them perfect for multi-day trips or reaching remote areas via public transportation.
Built to last, these skis are lightweight yet durable, standing up to tough conditions while reducing fatigue. At around $490, the WALKSKI skis offer great value for the versatility they bring to your skiing experience.
With their portable design, Snowfeet* adapts seamlessly from backcountry ascents to resort runs, making them a solid choice for skiers who want flexibility. Unlike traditional touring skis that are often limited to specific terrains, these can handle a variety of conditions with ease.
If you're ready to elevate your backcountry experience, give Snowfeet* a shot. By combining climbing skins with expertly crafted short skis, they've made uphill climbs more efficient, improved maneuverability, and ensured every outing is as enjoyable as possible.
FAQs
What’s the difference between nylon and mohair climbing skins, and how do I choose the best option for backcountry skiing?
Nylon climbing skins are known for being tough, heavier, and offering excellent grip, which makes them a solid pick for steep or icy terrain where traction is essential. On the flip side, mohair skins are lighter, provide smoother glide, and are ideal for long, flat approaches where efficiency and speed matter most.
Choosing the right skins depends on the kind of terrain you usually tackle. If steep climbs and challenging slopes are your thing, nylon skins are your best bet. But if you’re all about covering long distances or keeping your gear as light as possible, mohair skins are the smarter option. Pairing mohair skins with Snowfeet* compact skis is a game-changer. This combo delivers an ultra-light, glide-friendly setup that’s far more portable and versatile than traditional skis from brands like Rossignol or Atomic. It’s the perfect setup for effortless uphill travel and backcountry adventures.
How do Snowfeet* short skis improve your backcountry skiing experience compared to traditional skis?
Snowfeet* short skis bring a whole new level of agility and ease to backcountry skiing. If you’ve ever wrestled with the bulkiness of traditional long skis from brands like Rossignol, Atomic, or Head, you’ll appreciate the lightweight, compact design of Snowfeet*. These short skis are built for quick, precise movements, making them a dream for tackling steep slopes, weaving through narrow trails, or navigating dense tree lines.
What’s more, their portability and straightforward design make them an ideal pick for beginners or anyone craving a low-maintenance backcountry adventure. Thanks to their shorter length, they’re easier to carry, store, and handle - no need to struggle with oversized gear. Whether you’re powering uphill or cruising downhill, Snowfeet* short skis offer a fun and nimble way to explore the backcountry without the hassle.
How can I maintain climbing skins to ensure they last longer and perform well with Snowfeet* short skis?
To keep your climbing skins in top shape and working perfectly with your Snowfeet* short skis, a little care goes a long way. After each use, dry them at room temperature in a cool, dark, and dust-free spot. Steer clear of direct heat or sunlight - those can mess with the adhesive. Also, keep the glue side clean and free from snow, water, or dirt, as moisture can mess with the stickiness. If they do pick up some dirt, just clean them gently with mild detergent and water.
When it comes to storing them long-term, make sure they’re completely dry first, then stash them in a cool, dark place. If the adhesive starts losing its grip, you can re-glue specific areas to bring them back to life. By following these easy steps, your climbing skins will stay in great shape and ready for your next adventure with Snowfeet* short skis.
Related Blog Posts
- Skinbased Skis Explained: OAC, Altai Hok & Trekking Skis Guide
- Intro to Light Backcountry: Essential Gear for Exploring Beyond the Groomed Trails (Without the Pro Setup)
- How to Choose Your First Backcountry Ski Setup (Skis, Bindings, Skins) - 2025
- How to Pack for a Backcountry Ski Day: Safety, Skins, and Essential Gear





Leave a comment
This site is protected by hCaptcha and the hCaptcha Privacy Policy and Terms of Service apply.