Ski carving je lyžařská technika, která nahrazuje boční smýkání hladkými, kontrolovanými oblouky a zanechává čisté, výrazné stopy ve sněhu. Zaměřuje se na použití hran lyží pro přesnost a rovnováhu. Zde je rychlý přehled:
- Co je Ski Carving?: Technika, při které lyžaři používají hrany lyží k provádění S-tvarovaných zatáček s většinou své váhy (70–80 %) na vnější lyži.
-
Výhody:
- Energetická účinnost: Vyžaduje méně úsilí díky využití gravitace.
- Kontrola rychlosti: Preciznost v zatáčkách pomáhá řídit rychlost.
- Univerzálnost: Funguje na různých svazích.
- Výkon: Rychlejší sjezdy s pevnou kontrolou.
-
Carvingové lyže:
- Design: Úzké pasy (65–80 mm), hluboké boční výřezy a tradiční camber pro přesné zatáčky.
- Cenové rozpětí: 400–600 $ (střední třída) až 1 000+ $ (prémiové).
- Krátké lyže (65–120 cm): Snazší zatáčky, rychlá ovladatelnost a lepší kontrola.
Rychlé srovnání: krátké vs. tradiční carvingové lyže
| Charakteristika | Krátké lyže (<160 cm) | Tradiční lyže (160+ cm) |
|---|---|---|
| Poloměr zatáčky | Těsnější, citlivější | Širší, plynulé zatáčky |
| Stabilita rychlosti | Nejlepší při středních rychlostech | Lepší pro rychlé sjezdy |
| Univerzálnost terénu | Skvělé pro muldy a parky | Ideální pro upravené tratě |
| Křivka učení | Snazší a rychlejší zvládnutí | Vyžaduje pokročilejší techniku |
| Kontrola hran | Snazší zapojení | Vyžaduje více dovedností |
Carving je o zvládnutí kontroly hran a správném postavení těla. S praxí a správným vybavením může proměnit váš lyžařský zážitek v precizní, kontrolovaný a plynulý.
Jak carvingovat na lyžích | 5 tipů a cvičení pro začátečníky / pokročilé
Vysvětlení carvingových lyží
Moderní carvingové lyže jsou navrženy s funkcemi, které usnadňují a zpřesňují zatáčení, a vyhovují lyžařům všech úrovní zkušeností.
Standardní design carvingových lyží
Carvingové lyže jsou postaveny se specifickými prvky pro zvýšení výkonu. Jak říká lyžařský expert Hunter R.:
Carvingové lyže jsou navrženy s užšími pasy, hlubšími bočními výřezy a optimálním uchopením hran pro řezání a krájení ztvrdlého sněhu a upravených sjezdovek.
Zde je přehled jejich klíčových designových prvků:
| Funkce | Specifikace | Výhoda |
|---|---|---|
| Šířka v pase | 65–80mm | Umožňuje rychlé přechody z hrany na hranu |
| Konstrukce | Sendvič s kovovým jádrem | Zajišťuje stabilitu a odolnost |
| Sidecut | Výrazné přesýpací hodiny | Umožňuje těsnější a přesnější zatáčky |
| Camber | Tradiční profil | Maximalizuje kontakt se sněhem pro lepší kontrolu |
Carvingové lyže obvykle stojí od 400 do 600 $ za střední modely, zatímco prémiové možnosti mohou přesáhnout 1 000 $. Jejich konstrukce často kombinuje dřevěné jádro pro vyvážený výkon s kovovými vrstvami pro větší stabilitu. Následně se podíváme, jak kratší lyže tyto vlastnosti ještě více zlepšují.
Výkon krátkých lyží
Krátké carvingové lyže přinášejí vlastní sadu výhod:
- Rychlé zahájení zatáčky a lepší ovladatelnost
- Méně fyzické námahy, což usnadňuje dlouhé jízdy
- Praktická velikost pro přepravu a skladování
Lyže v rozmezí 65–120 cm poskytují vynikající kontrolu, zajišťují přesnost bez kompromisů ve výkonu.
Porovnání typů lyží
Délka vašich lyží hraje zásadní roli v tom, jak se chovají za různých podmínek. Zde je srovnání kratších carvingových lyží oproti tradičním, delším možnostem:
| Charakteristika | Krátké carvingové lyže (<160 cm) | Tradiční carvingové lyže (160+ cm) |
|---|---|---|
| Poloměr zatáčky | Těsnější, citlivější | Širší, plynulé zatáčky |
| Stabilita rychlosti | Nejlepší při středních rychlostech | Lepší pro rychlé sjezdy |
| Univerzálnost terénu | Skvělé pro muldy a parky | Ideální pro upravené tratě |
| Křivka učení | Snazší a rychlejší zvládnutí | Vyžaduje pokročilejší techniku |
| Kontrola hran | Snazší zapojení | Vyžaduje více dovedností |
Pro lyžaře zaměřené na zdokonalení carvingové techniky představují kratší lyže skvělý kompromis mezi kontrolou a výkonem.
Průvodce carvingovými dovednostmi
Carving je o zvládnutí kontroly hran a správném nastavení těla. Zde je přehled klíčových prvků, které vám pomohou rozvíjet a zdokonalovat carvingové dovednosti.
Začínáme
Michael Rogan, profesionální lyžařský instruktor a hlavní trenér PSIA Alpine Team, vysvětluje:
Pro carving se musíte naučit naklánět lyže na jejich hrany místo nucených zatáček.
Začněte na klidné, mírně svažité zelené sjezdovce, kde si procvičíte kontrolu hran. Jakmile se budete cítit jistě, můžete přejít na strmější modré sjezdovky. Zaměřte se na tyto základní kroky:
- Kontrola hran: začněte cvičeními bočního skluzu, abyste pochopili, jak vaše lyže zapojují hrany. Kružte kotníky a koleny, zatímco horní část těla držíte stabilní, abyste rozvinuli kontrolu.
- Rozložení váhy: při zatáčení přeneste váhu na vnější lyži pro lepší stabilitu a přesnost.
Ovládnutí těchto základů vás připraví na pokročilejší carvingové techniky.
Pokročilé metody
Olympijská šampionka Mikaela Shiffrinová zdůrazňuje klíčovou roli tlaku na vnější lyži:
Je velmi důležité být co nejdříve na vnější lyži. Veškerá vaše rychlost pochází z tlaku, který dokážete vyvinout na vnější lyži, aby se ohnula v opravdu krátkém čase.
Chcete-li posunout svůj carving na další úroveň, zaměřte se na zdokonalení techniky s těmito tipy:
- Zapojení středu těla: jak radí Shiffrinová, „První věc, kterou můžete na trati udělat, je zpevnit střed těla, získat pevnou pozici horní části těla a udržet ji celou cestu dolů.“
- Úhly hran: olympijský vítěz Ted Ligety dodává: „Musíme posunout lyže ven a pryč od těla, abychom dosáhli velkých úhlů hran.“
Při carvingu na strmějších svazích je přesnost ještě důležitější. Mějte na paměti tyto tipy:
- Udržujte postoj na šířku boků pro lepší rovnováhu.
- Ohýbejte vnitřní nohu, abyste zvýšili úhel hrany.
- Posuňte horní část těla ven z oblouku pro plynulejší pohyb.
- Postupně přenášejte tlak od špičky ke patě lyží.
S praxí a těmito pokročilými technikami budete carvingovat s jistotou a kontrolou na jakémkoli terénu.
sbb-itb-17ade95
Nastavení vybavení
Jakmile zvládnete carvingové techniky, je čas zajistit, aby vaše vybavení odpovídalo vašim dovednostem. Správně spárované lyže a boty nejen zlepšují přesnost carvingu, ale také zvyšují bezpečnost na svahu.
Párování lyží a bot
Správná kombinace lyžařských bot a vázání je nezbytná pro maximální výkon a bezpečnost. Dobře sladěné vybavení minimalizuje riziko předčasného uvolnění nebo nevyvolání uvolnění při pádu.
Typy bot a kompatibilita vázání:
- Alpínské boty (ISO 5355): Kompatibilní s alpínskými, MNC a GripWalk vázáními.
- GripWalk boty (ISO 23223): Fungují s MNC a Marker Sole.ID vázáními.
- Touringové boty (ISO 9523): Navrženy pro MNC, Marker Sole.ID a specifická AT vázání.
Výběr flexe boty:
Jak říkají odborníci, "Nejdříve padnutí, pak tuhost." Upřednostněte pohodlí a správné padnutí před zaměřením na tuhost boty, abyste zajistili výkon i bezpečnost.
Jakmile máte vyřešené boty a vázání, dalším krokem je výběr délky skiblade, která odpovídá vaší úrovni dovedností a preferovanému terénu.
Snowfeet Průvodce modely

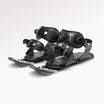
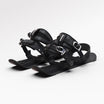
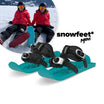
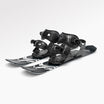
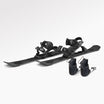
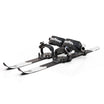
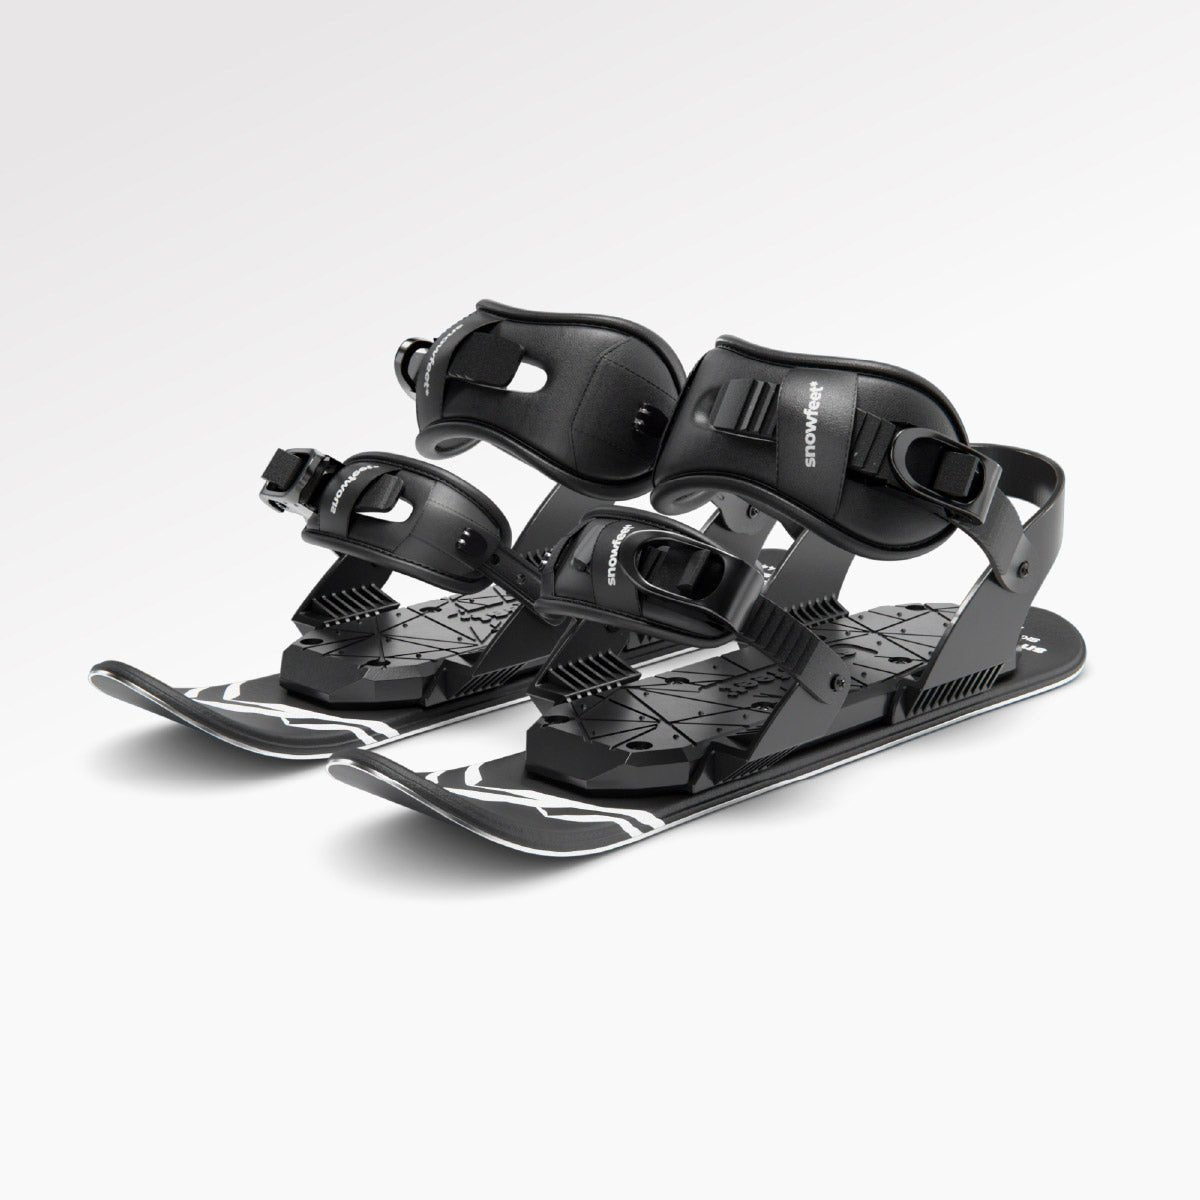
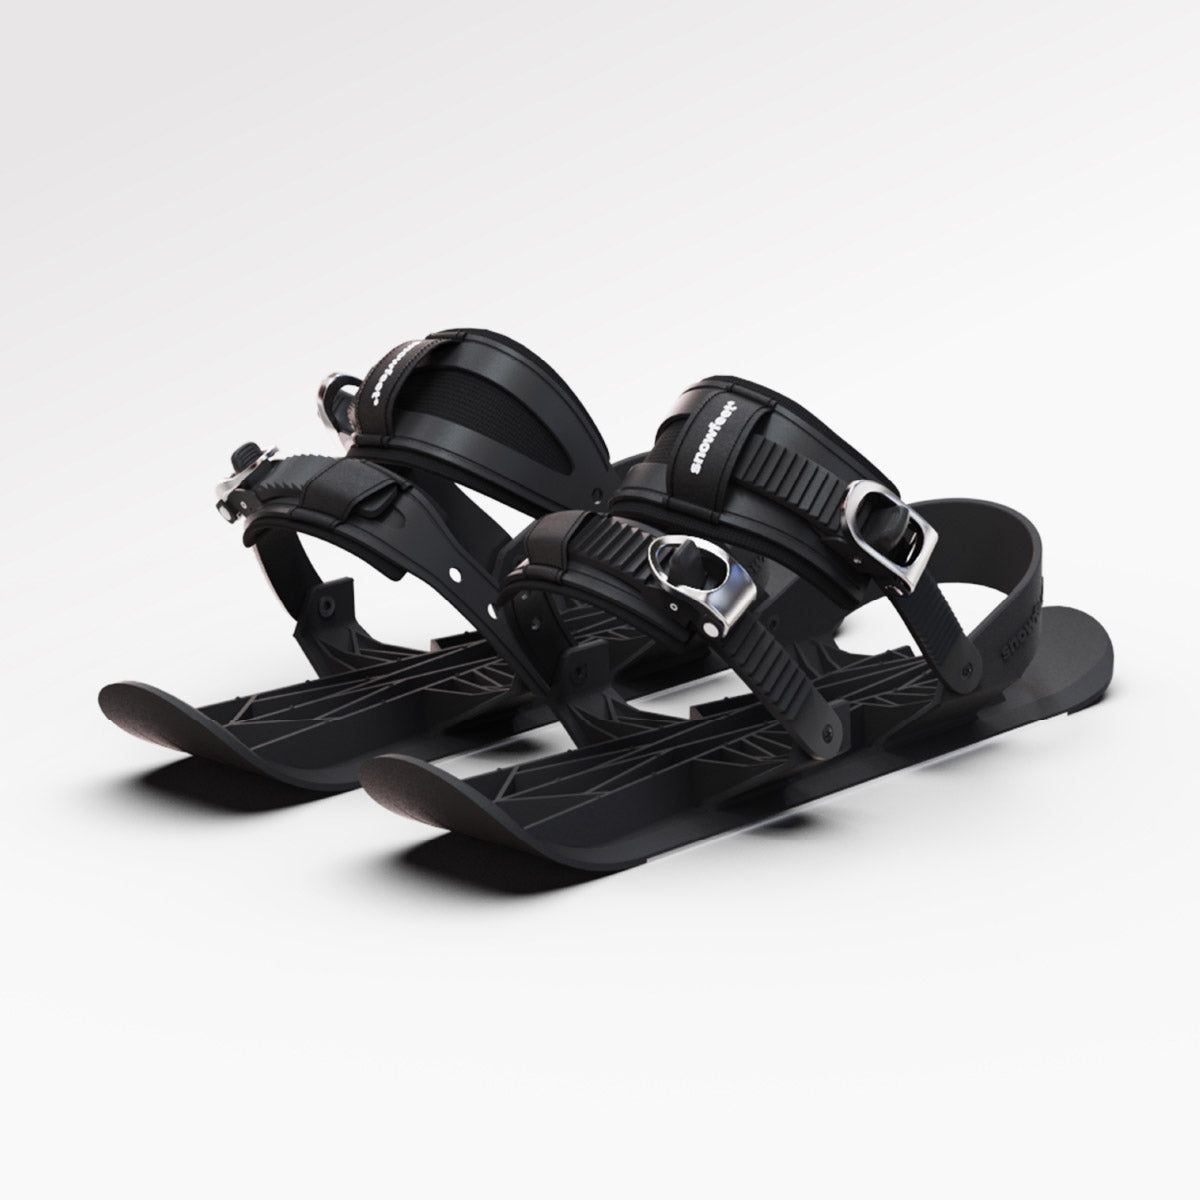
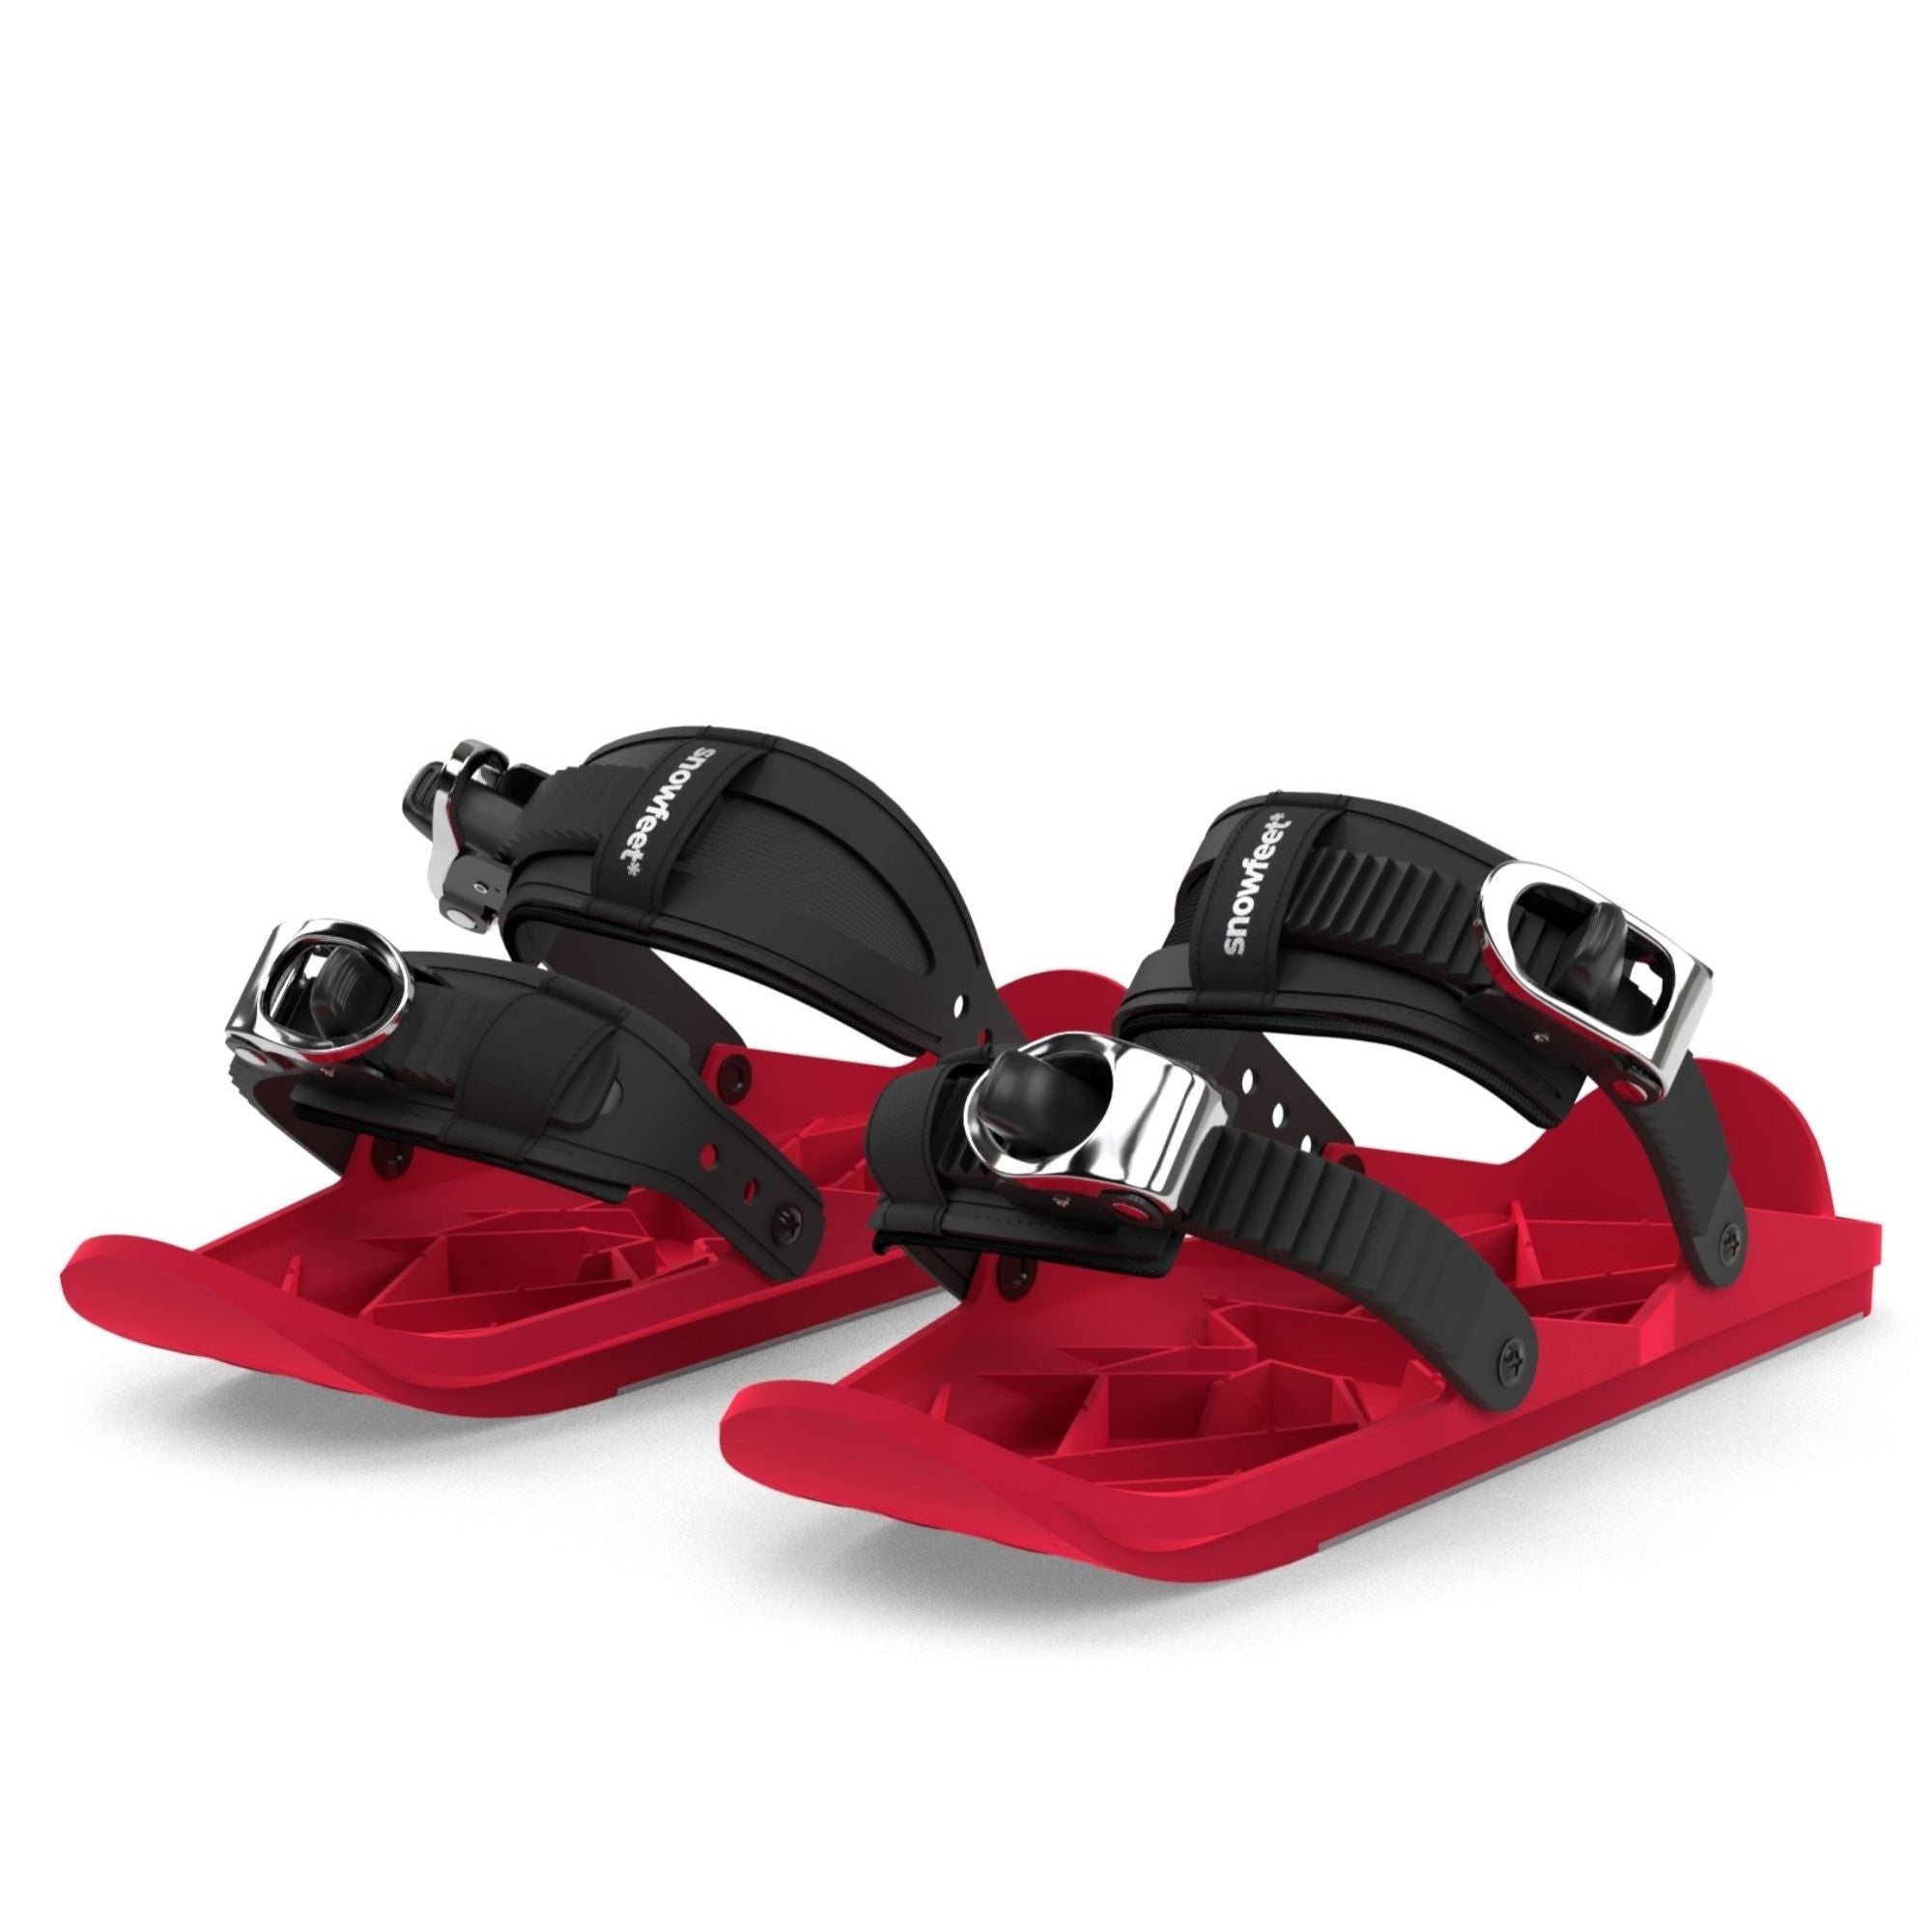
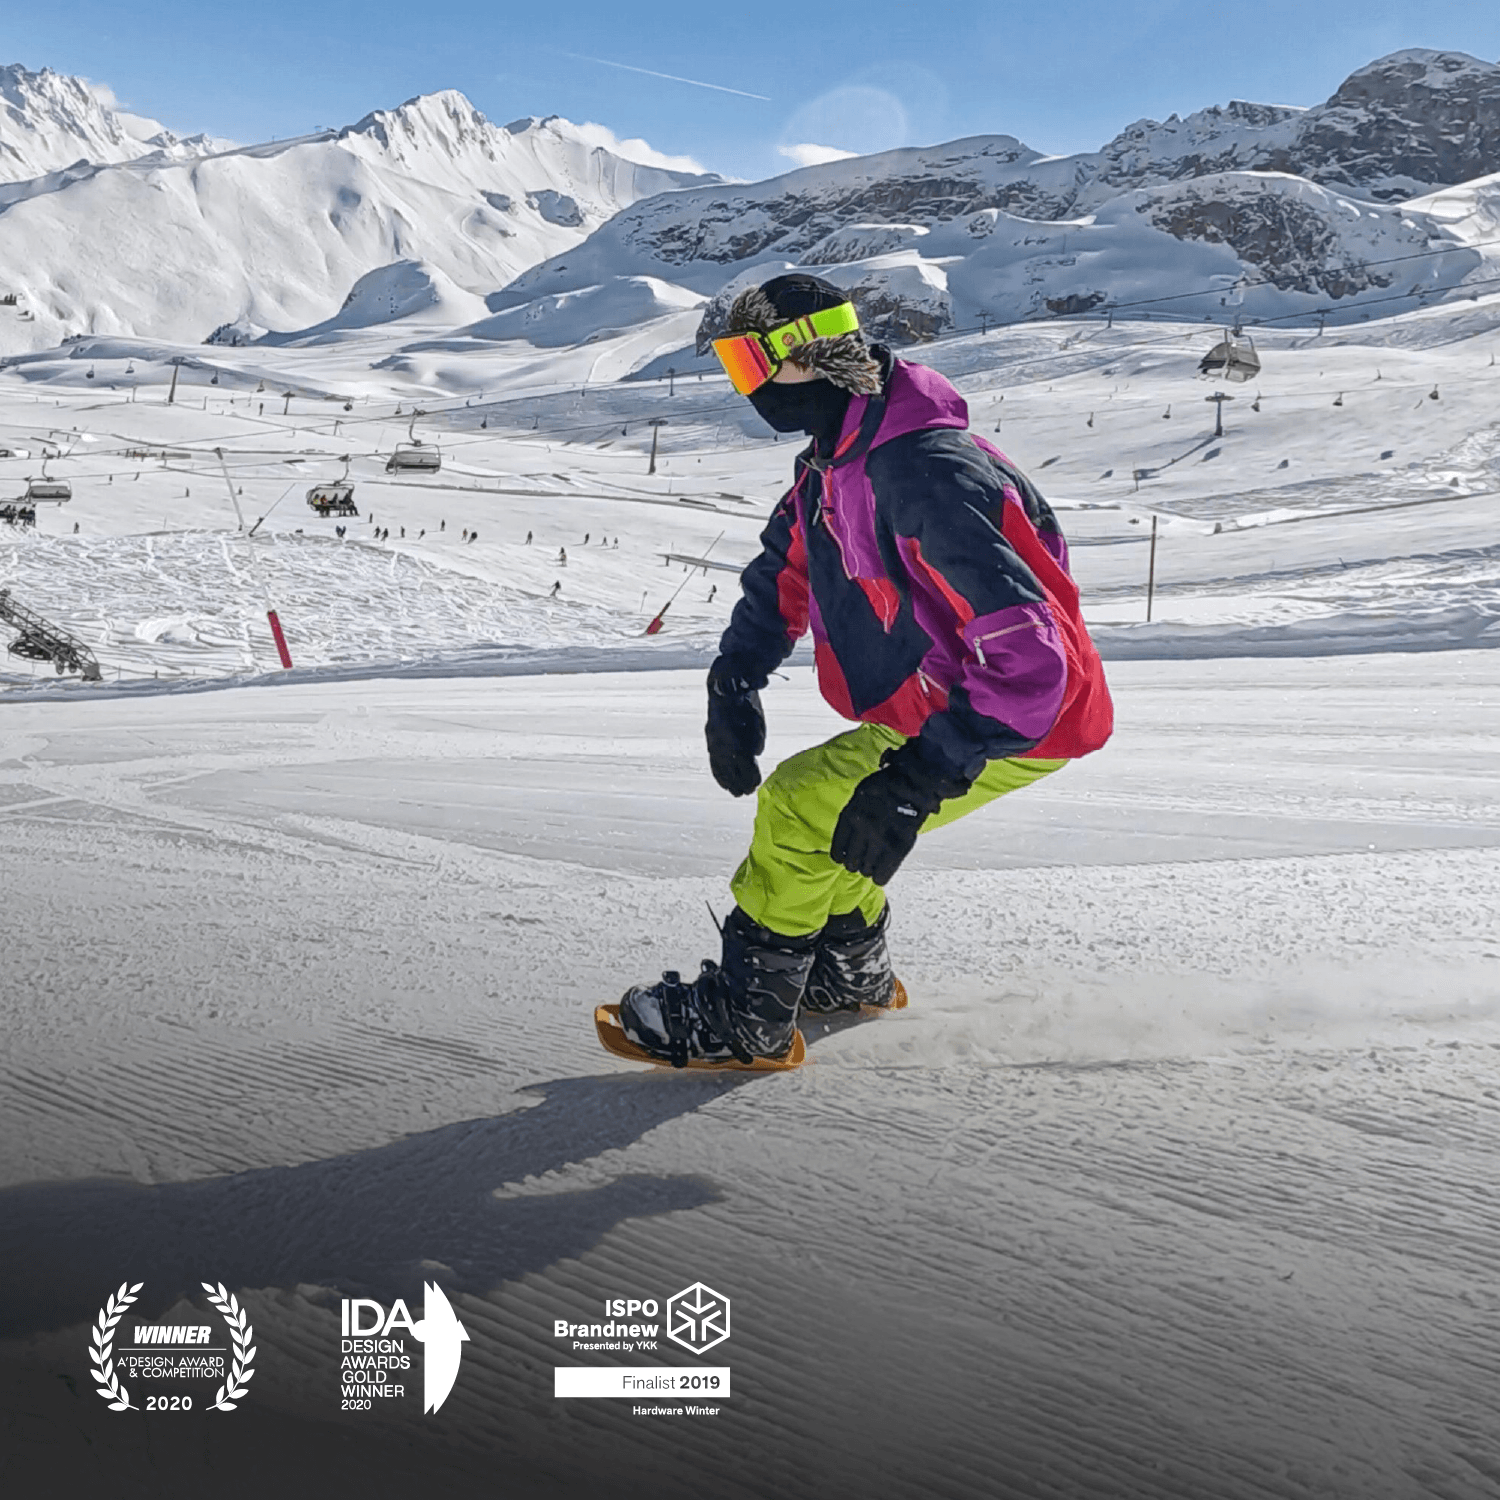
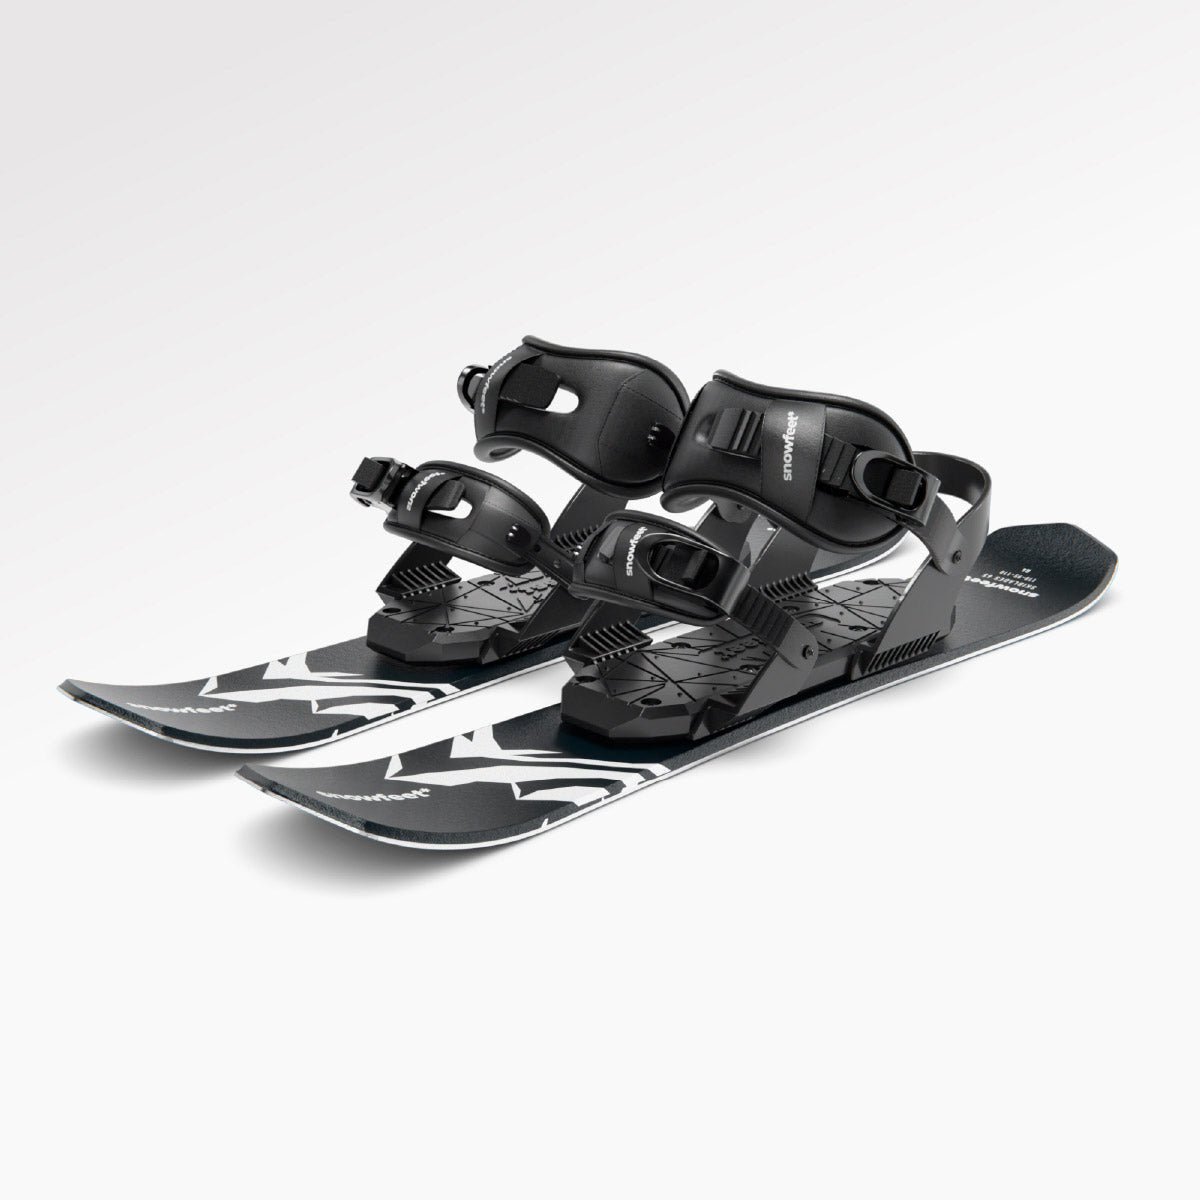
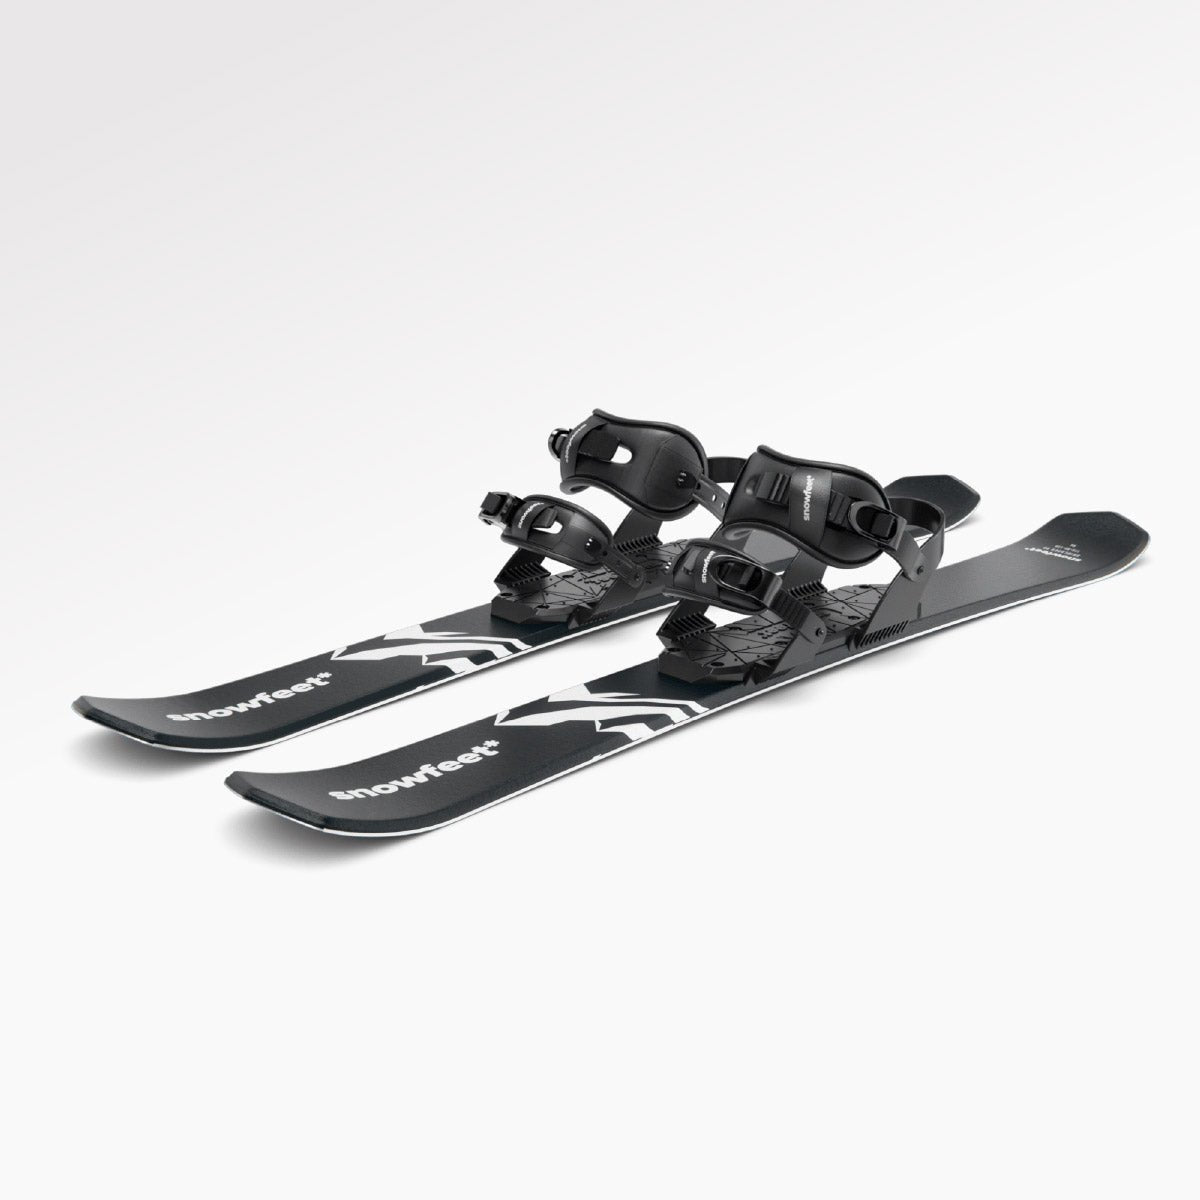
Správný výběr délky skiblade je klíčový pro optimalizaci vašeho carvingového zážitku. Snowfeet nabízí tři délky skiblade - 65 cm, 99 cm a 120 cm - každá přizpůsobená specifickým potřebám a podmínkám.
| Délka | Ideální pro | Terén | Vlastnosti |
|---|---|---|---|
| 65 cm | Začátečníci | Mírné svahy | Rychlé, snadné zatáčky |
| 99 cm | Středně pokročilý | Smíšený terén | Vyvážená kontrola |
| 120 cm | Pokročilý | Strmé svahy | Zvýšená stabilita |
Pro nadšence carvingu jsou modely 99 cm a 120 cm vynikající volbou. Zejména 120 cm skiblades poskytují vynikající držení hran a stabilitu pro agresivní carving, přičemž jsou stále snazší na ovládání než tradiční dlouhé lyže.
Doporučení podle terénu:
- Groomed Runs: 99 cm skiblades vynikají na dobře upravených sjezdovkách, nabízejí rychlé přechody z hrany na hranu a vyvážený pocit pro hladký carving.
- Powder Conditions: Pro hlubší sníh nabízí model 99 cm POWDER širší design, který zlepšuje plavání a poskytuje lepší kontrolu v měkkých sněhových podmínkách.
Nakonec udržujte své vybavení v perfektním stavu pravidelnou údržbou a profesionálními seřízeními. To zajišťuje konzistentní výkon a prodlužuje životnost vašeho vybavení.
Shrnutí
Zvládnutí carvingu na lyžích může pozvednout váš zážitek z lyžování tím, že zlepší kontrolu, přesnost a efektivitu. Jak říká lyžařský expert Abe F.:
Čistý carving je opravdovou radostí, když se provádí správně, a stojí za to věnovat čas a úsilí, abyste v něm byli dobří.
Carving zahrnuje použití hran vašich lyží k vytvoření výrazných S-tvarovaných stop ve sněhu, což ukazuje zdokonalenou techniku. Kromě fyzického aspektu carving aktivuje nervové dráhy odpovědné za rovnováhu a koordinaci, a zároveň uvolňuje endorfiny, které zvyšují celkovou radost.
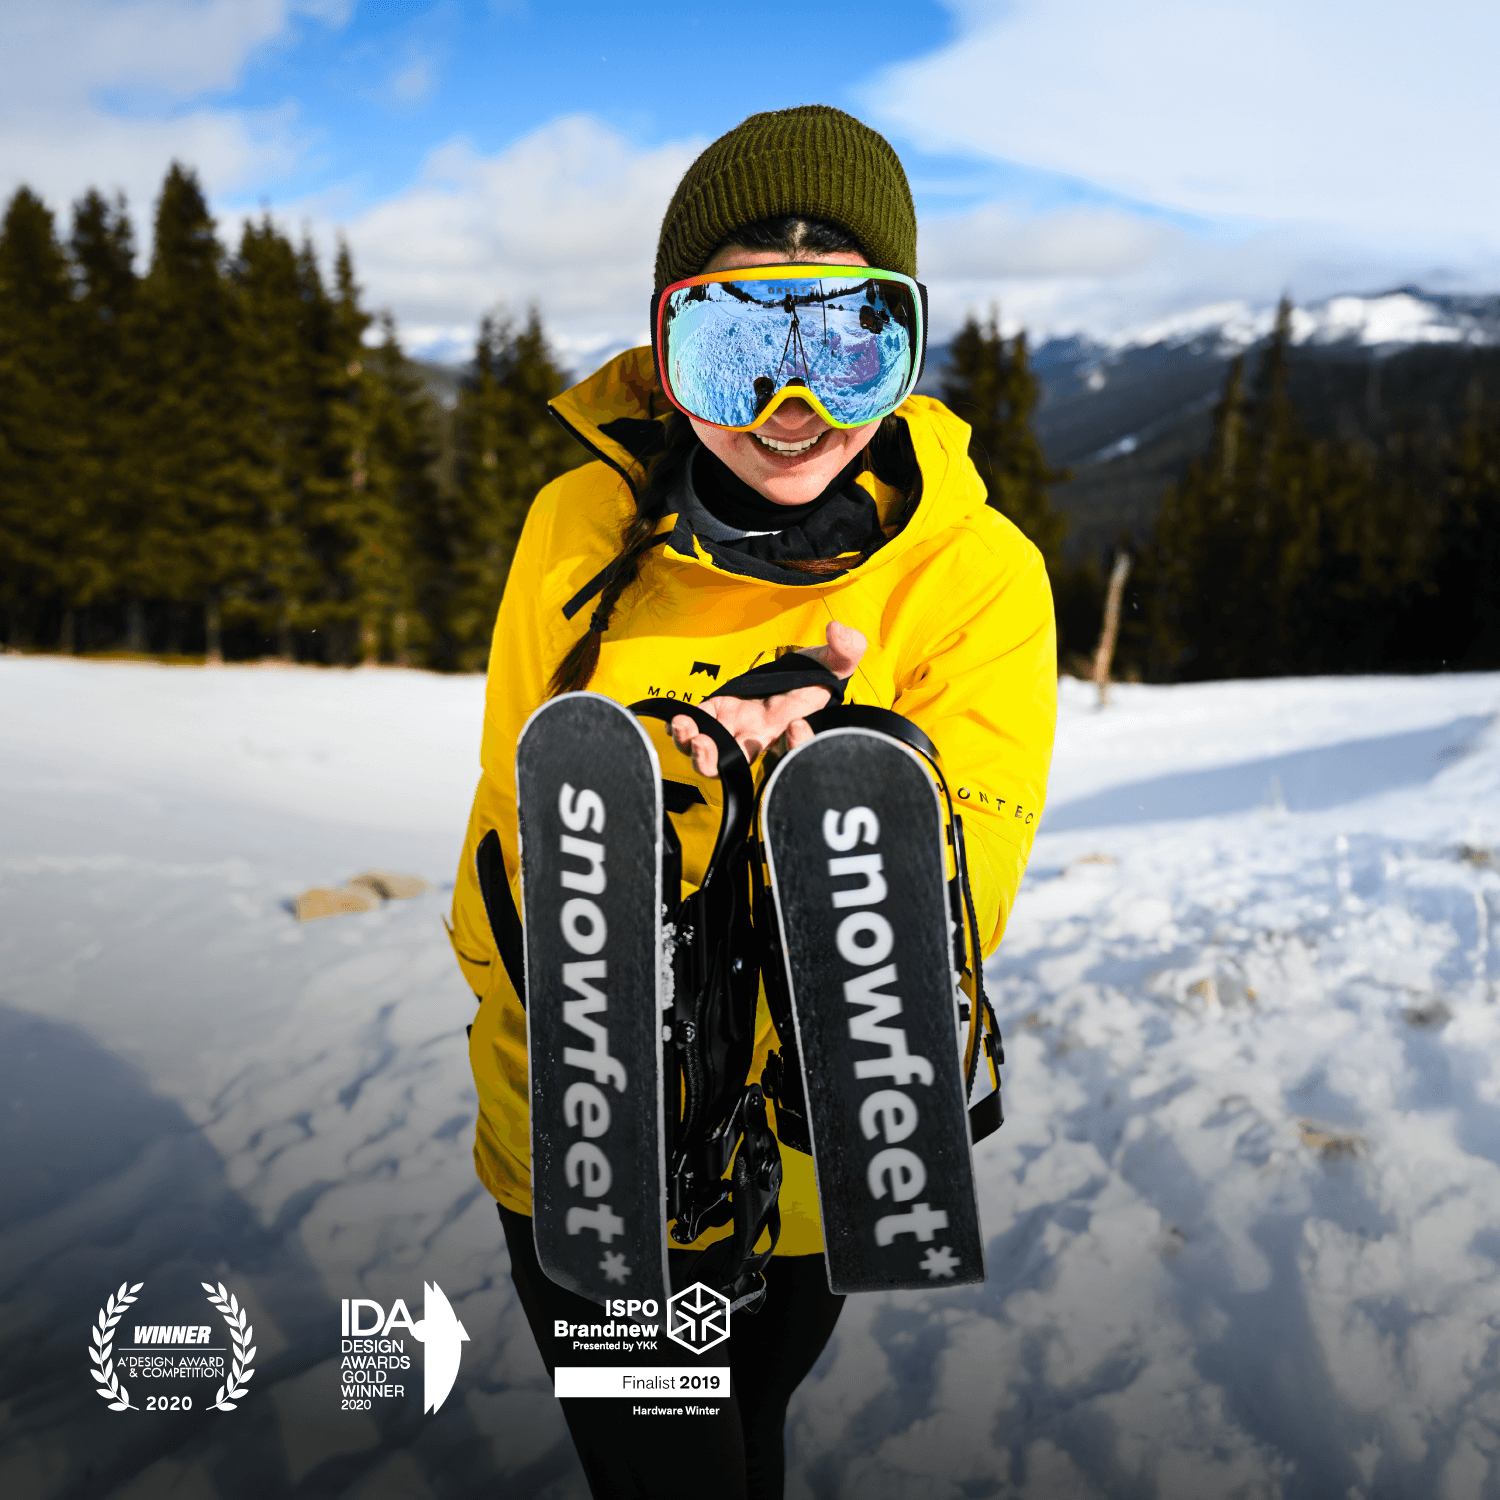
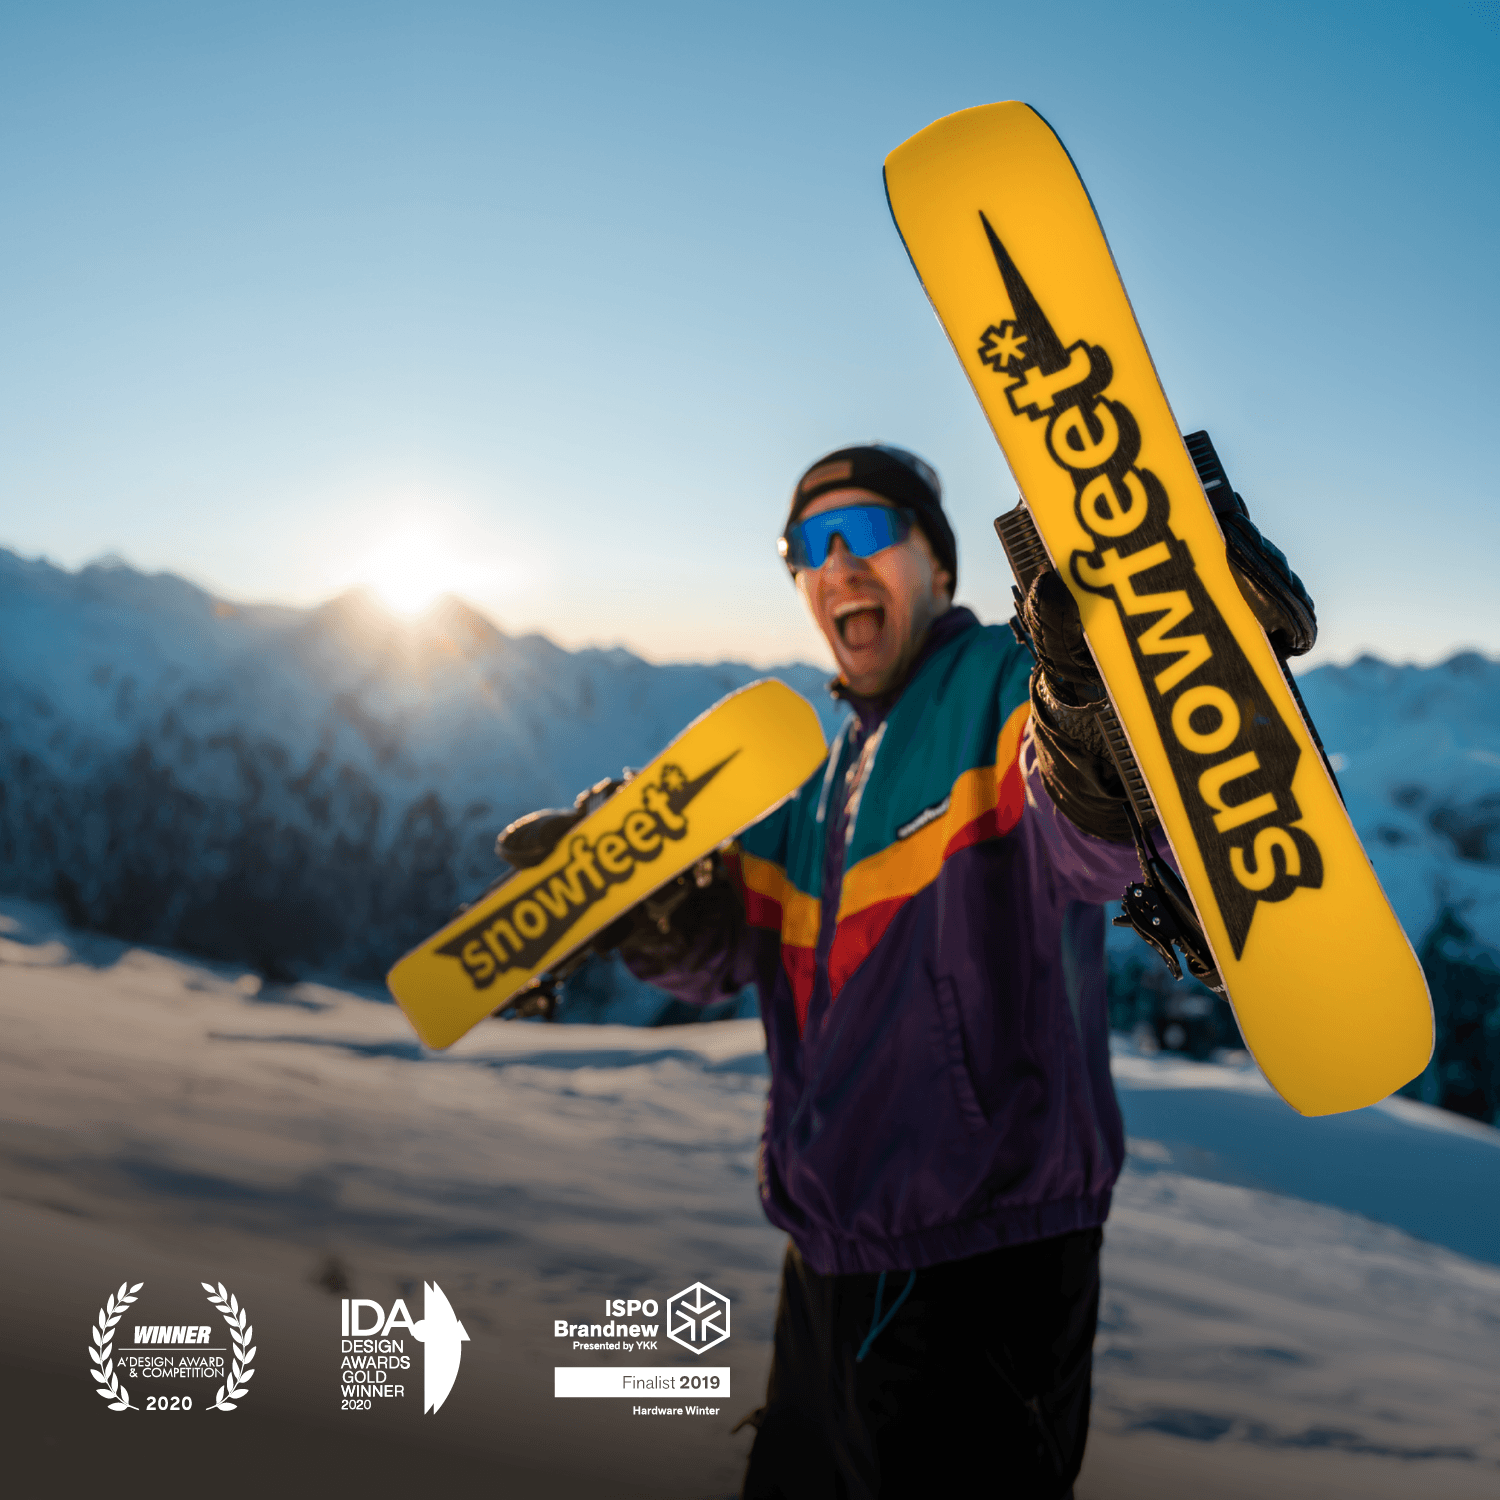
Pro ty, kteří chtějí zlepšit své carvingové dovednosti, Snowfeet nabízí skiblades přizpůsobené podle úrovně zkušeností:
| Úroveň dovedností | Doporučený model | Klíčové výhody |
|---|---|---|
| Začátečník | 65 cm Skiblades | Snazší ovládání, rychlé a plynulé zatáčky |
| Středně pokročilý | 99 cm Skiblades | Univerzálnost v různých terénech, vyvážená jízda |
| Pokročilý | 120 cm Skiblades | Vynikající přilnavost hran, zvýšená stabilita |
Carving je jeden z nejuspokojivějších lyžařských pohybů. Na rozdíl od základních zatáček jde při carvingu o to, nechat hrany lyží prořezávat sníh, což vám dává přesnost, kontrolu a pocit plynulosti při sjíždění svahu.
Výhody carvingu potvrzují lyžaři, kteří tuto techniku přijali. Niels Staal sdílí své zkušenosti:
Je to opravdu to nejlepší z obou světů. Pohodlí pro naše nohy a přitom možnost lyžovat. Měli jsme dvě zkoušky na místní (malé) lyžařské trati poblíž, ale teď jsme je mohli použít na opravdové hoře. Je to perfektní! Pěkné a mobilní, pohodlné a opravdu hodně zábavné, mohu je vážně doporučit každému.
Tyto pohledy zdůrazňují důležitost kombinace dovedné techniky s vhodným vybavením pro výjimečný zážitek z lyžování. Carving nejen zlepšuje fyzický výkon, ale také podporuje všímavost a uvolnění stresu, což z něj činí obohacující záležitost.
Často kladené otázky
Jak si vybrat správnou délku carvingových lyží podle mé úrovně dovedností a preferencí terénu?
Výběr správné délky carvingových lyží závisí na kombinaci faktorů: vaší úrovni zkušeností, výšce a typu terénu, který preferujete. Pokud teprve začínáte, jsou kratší lyže - ty, které sahají někde mezi bradou a nosem - skvělou volbou. Jsou snazší na ovládání a usnadňují učení. Pro středně pokročilé lyžaře jsou lyže kolem výšky nosu ideální rovnováhou mezi kontrolou a stabilitou. Pokročilí lyžaři často volí lyže odpovídající jejich plné výšce nebo dokonce o něco delší. Tato extra délka pomáhá se stabilitou při vyšších rychlostech a umožňuje ostřejší carving na dobře upravených svazích.
Terén je také důležitý. Krátké lyže vynikají při rychlých, ostrých zatáčkách na upravených tratích. Naopak delší lyže jsou lepší pro udržení stability při vyšších rychlostech a zvládání různých podmínek. Jednoduché pravidlo: pokud jste začátečník, odečtěte si při výběru délky lyží asi 10–15 cm od své výšky. Jak získáte jistotu a dovednosti, můžete postupně přejít na delší lyže pro dynamičtější zážitek.
Jak si krátké carvingové lyže stojí ve srovnání s tradičními carvingovými lyžemi z hlediska výkonu a snadnosti učení?
Krátké carvingové lyže, obvykle pod 160 cm, jsou navrženy tak, aby byly velmi obratné a snadno ovladatelné. To je činí vynikající volbou pro začátečníky nebo kohokoli, kdo zdokonaluje carvingové dovednosti. Jejich design umožňuje hladší a rychlejší zatáčky s minimální námahou, což výrazně urychluje učení. Naopak delší lyže poskytují větší stabilitu při vyšších rychlostech, ale mohou být náročnější na ovládání v úzkých nebo technických terénech.
Co se týče výkonu, krátké lyže vynikají v obratnosti. Jsou ideální pro sjíždění boule, ostré zatáčky a různé terény. Naopak delší lyže jsou lepší pro lyžaře, kteří upřednostňují rychlost a stabilitu na upravených tratích. Pokud hledáte zábavnou a citlivou jízdu při zdokonalování techniky, krátké carvingové lyže jsou skvělou volbou.
Jaké techniky mohu použít, abych se zlepšil v carvingu na různých svazích?
Pro zdokonalení carvingových dovedností se soustřeďte na několik klíčových technik. Začněte s hraněním – to znamená naklonit lyže na hrany místo smýkání v zatáčkách. Tím lyže lépe drží na sněhu a vykreslují čisté, přesné oblouky. Nejprve to procvičujte na mírných svazích a postupně zvyšujte úhel hranění, jak získáváte jistotu.
Dalším klíčovým prvkem je rovnováha. Udržujte horní část těla stabilní, zatímco nechte nohy volně pohybovat, abyste řídili zatáčky. Cvičení jako boční skluz jsou skvělá pro zlepšení kontroly hran. Při sjíždění strmějších svahů se zaměřte na větší tlak na sjezdovou lyži, abyste kontrolovali rychlost i směr. Přizpůsobení techniky terénu vám pomůže dosáhnout hladšího a kontrolovanějšího carvingu.



Zanechte komentář
Tento web je chráněn službou hCaptcha a vztahují se na něj Zásady ochrany osobních údajů a Podmínky služby společnosti hCaptcha.