


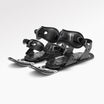
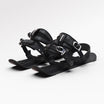
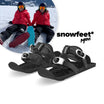
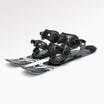
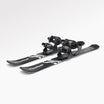
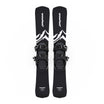
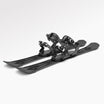
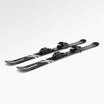
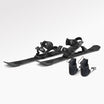
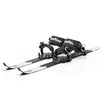
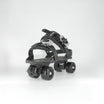
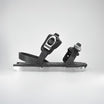
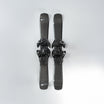
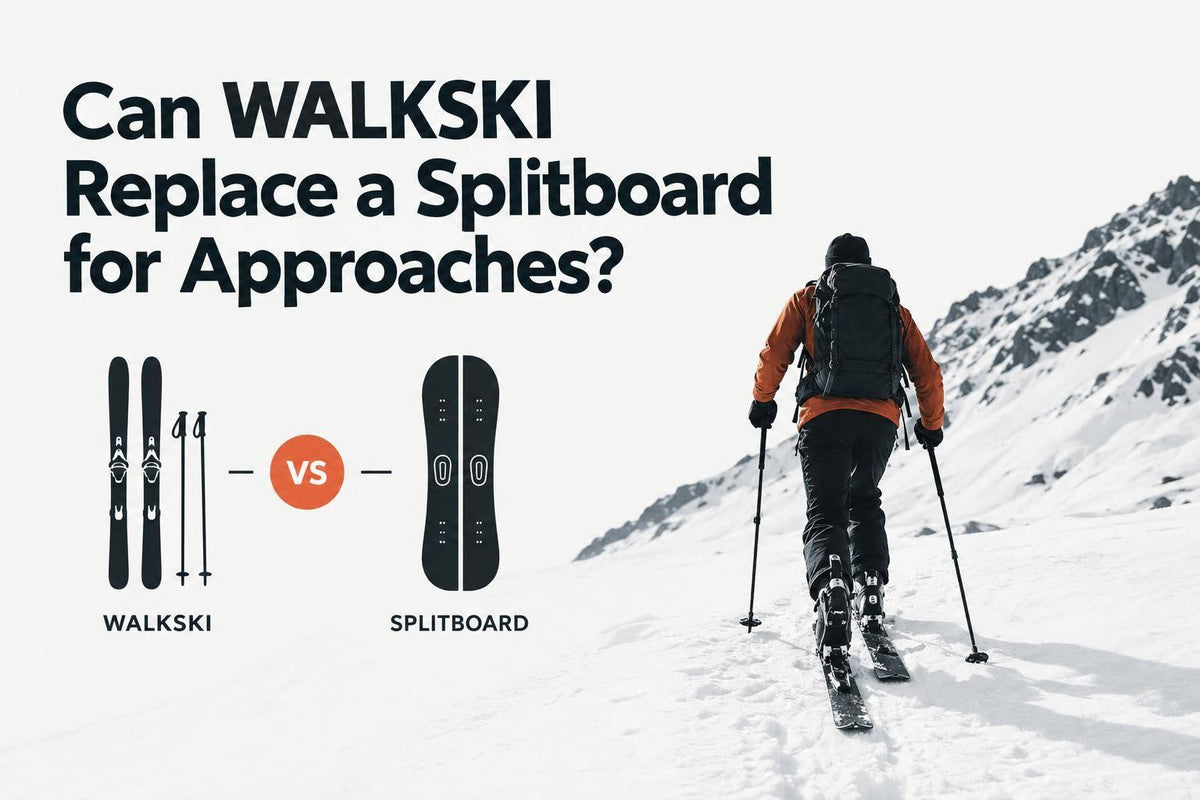
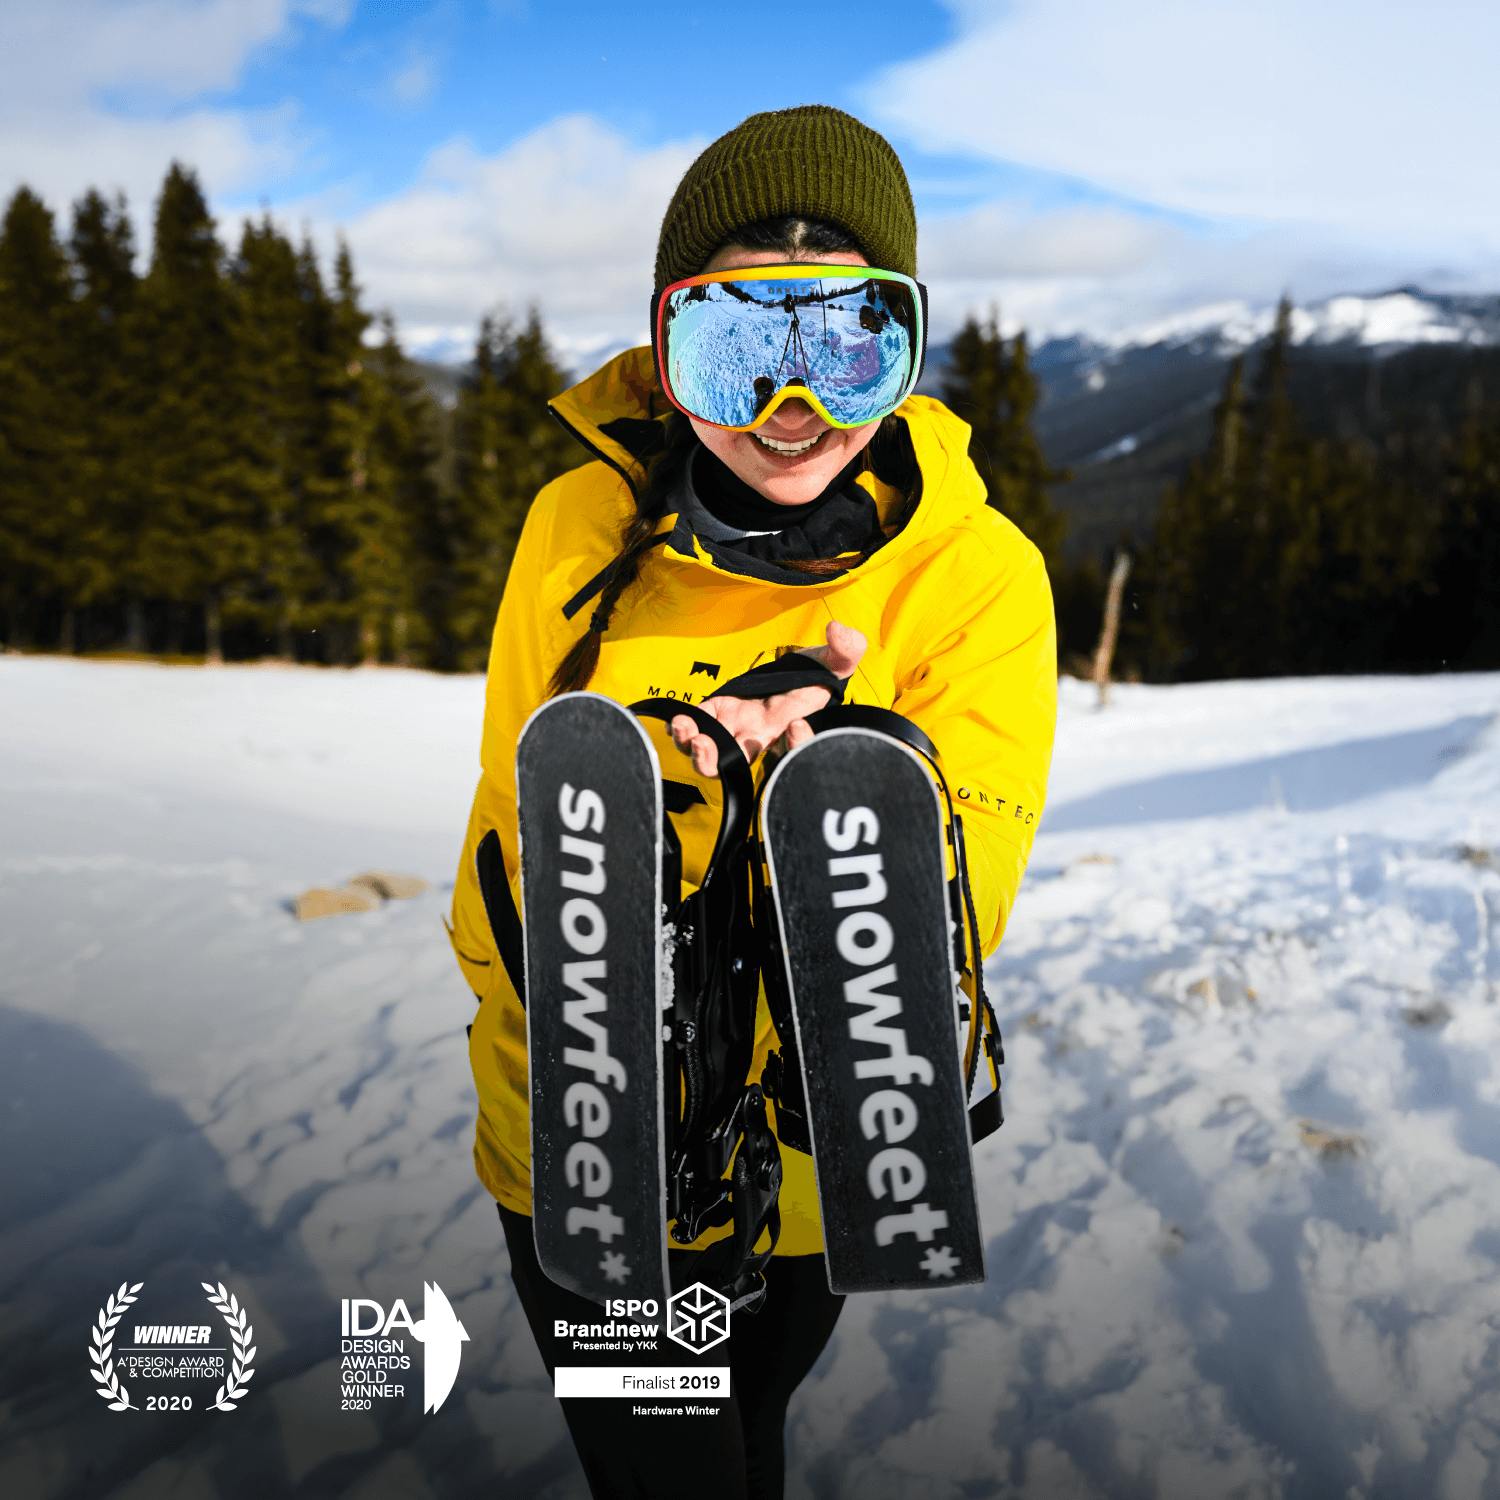
I’d choose WALKSKI for short, packed approaches - not as a full splitboard replacement. Its 39-inch (100 cm) skis let you climb in snowboard boots while carrying your solid board. For deep snow, steep climbs, and long tours, I’d pick a splitboard.
The catch? You carry both setups. WALKSKI’s listed ski-only weight is 6.9–8.8 lb per pair, before counting your snowboard and other gear.
Quick Comparison
| What matters | WALKSKI + solid snowboard | Splitboard |
|---|---|---|
| Best terrain | Short, firm access tracks | Deep snow and long tours |
| Uphill setup | Free-heel skis with skins; board on pack | Board halves with skins |
| Steep climbs and traverses | Needs more care; risers don’t add grip | Generally better suited |
| Transition | Stow skis and step into your board | Join halves and switch bindings |
| Cost and fit | Reuse your board and boots; check fit and live price | Needs a splitboard touring setup |
My buying rule: <u>check the full setup, not just the ski price</u>. Confirm boot fit, included bindings and skins, poles, pack carry, and total weight. And in avalanche terrain, I’d bring a partner, training, and a beacon, shovel, and probe - either way.
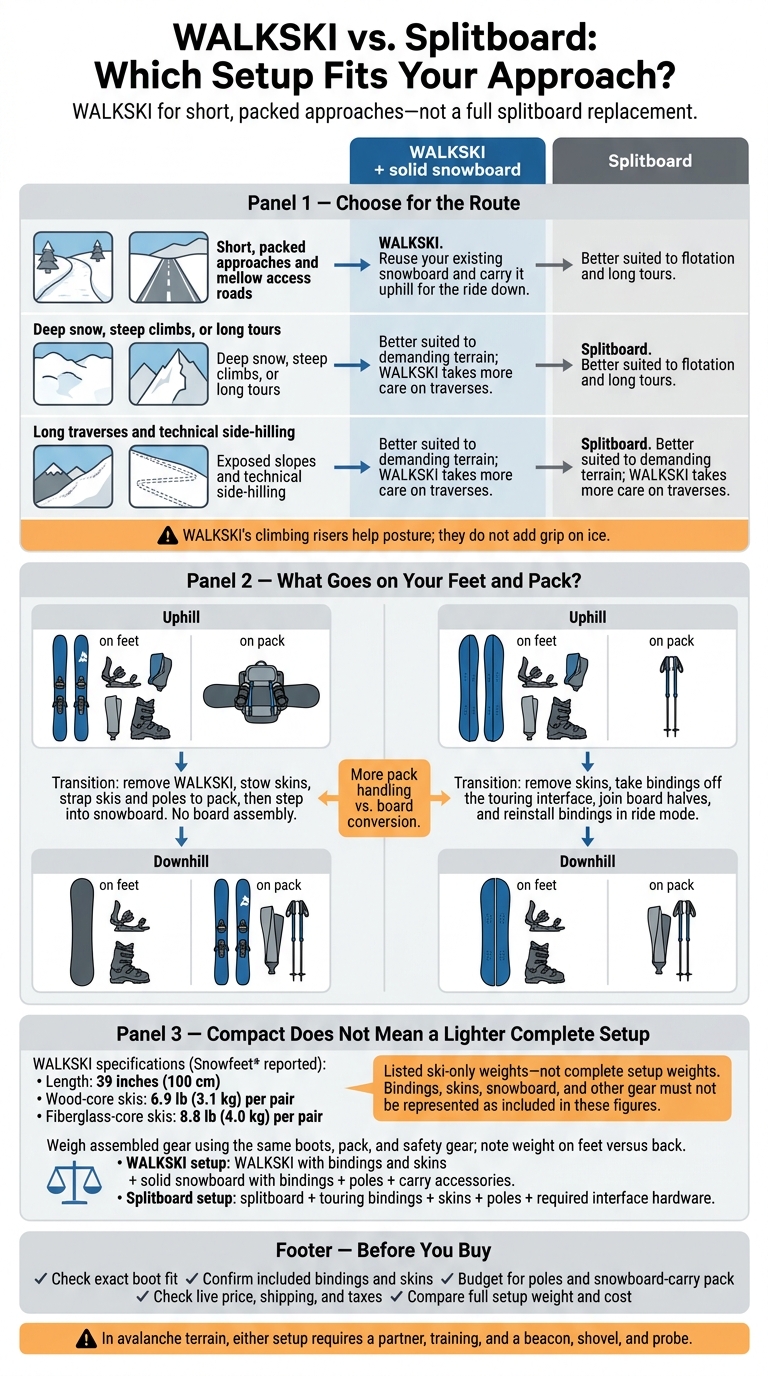
WALKSKI vs. Splitboard: Which Setup Fits Your Approach?
Snowfeet WALKSKI | Backcountry Skiing in Georgia
Uphill Performance Across Snow and Terrain
The real test isn’t the ride down. It’s how well WALKSKI gets you and your snowboard to the line.
| Terrain | WALKSKI + solid snowboard on pack vs. splitboard |
|---|---|
| Packed snow | WALKSKI’s best use case; skins help on firm, narrow tracks. |
| Shallow powder | The added pack weight makes you sink more. |
| Deep snow | A splitboard offers better flotation and uphill efficiency. |
| Steep or icy climbs | WALKSKI’s risers help your climbing posture, but don’t add grip on ice. |
| Traverses | A splitboard feels more stable; WALKSKI takes more care. |
| Long tours | Carrying a snowboard on your pack becomes the main drawback. |
Short Approaches on Packed Snow
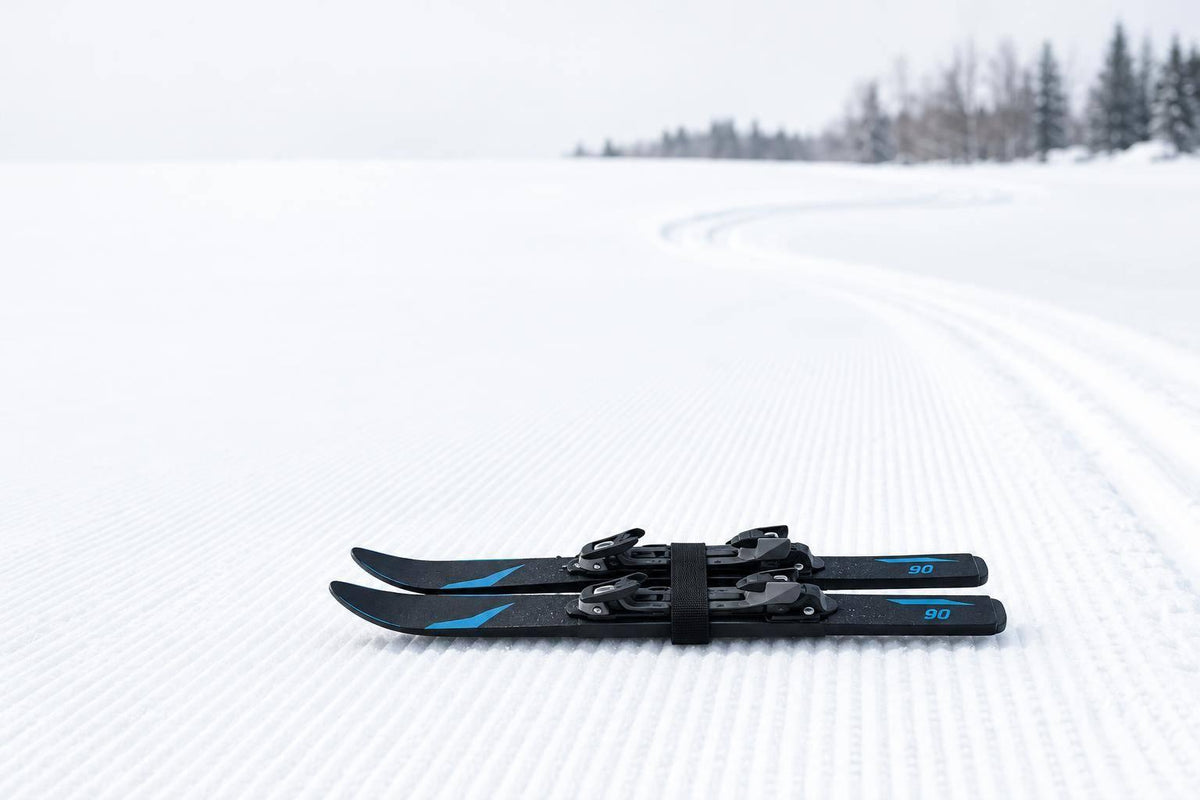
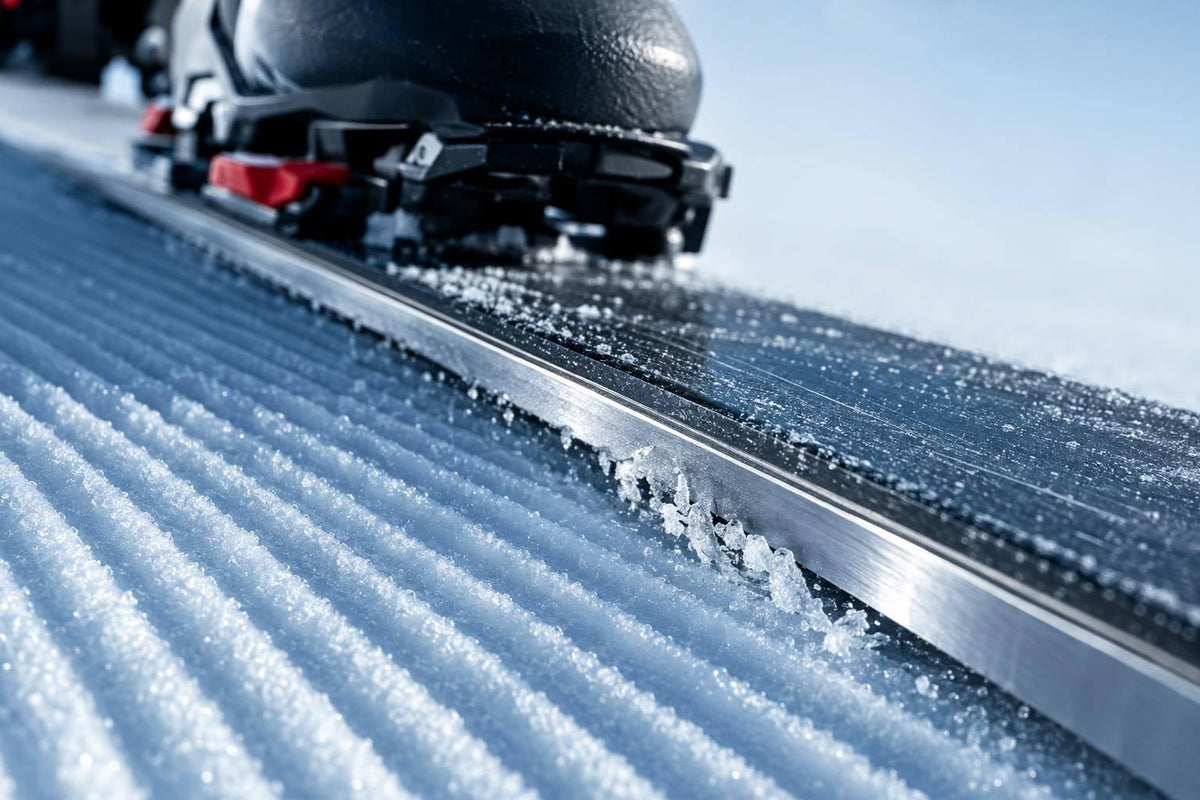
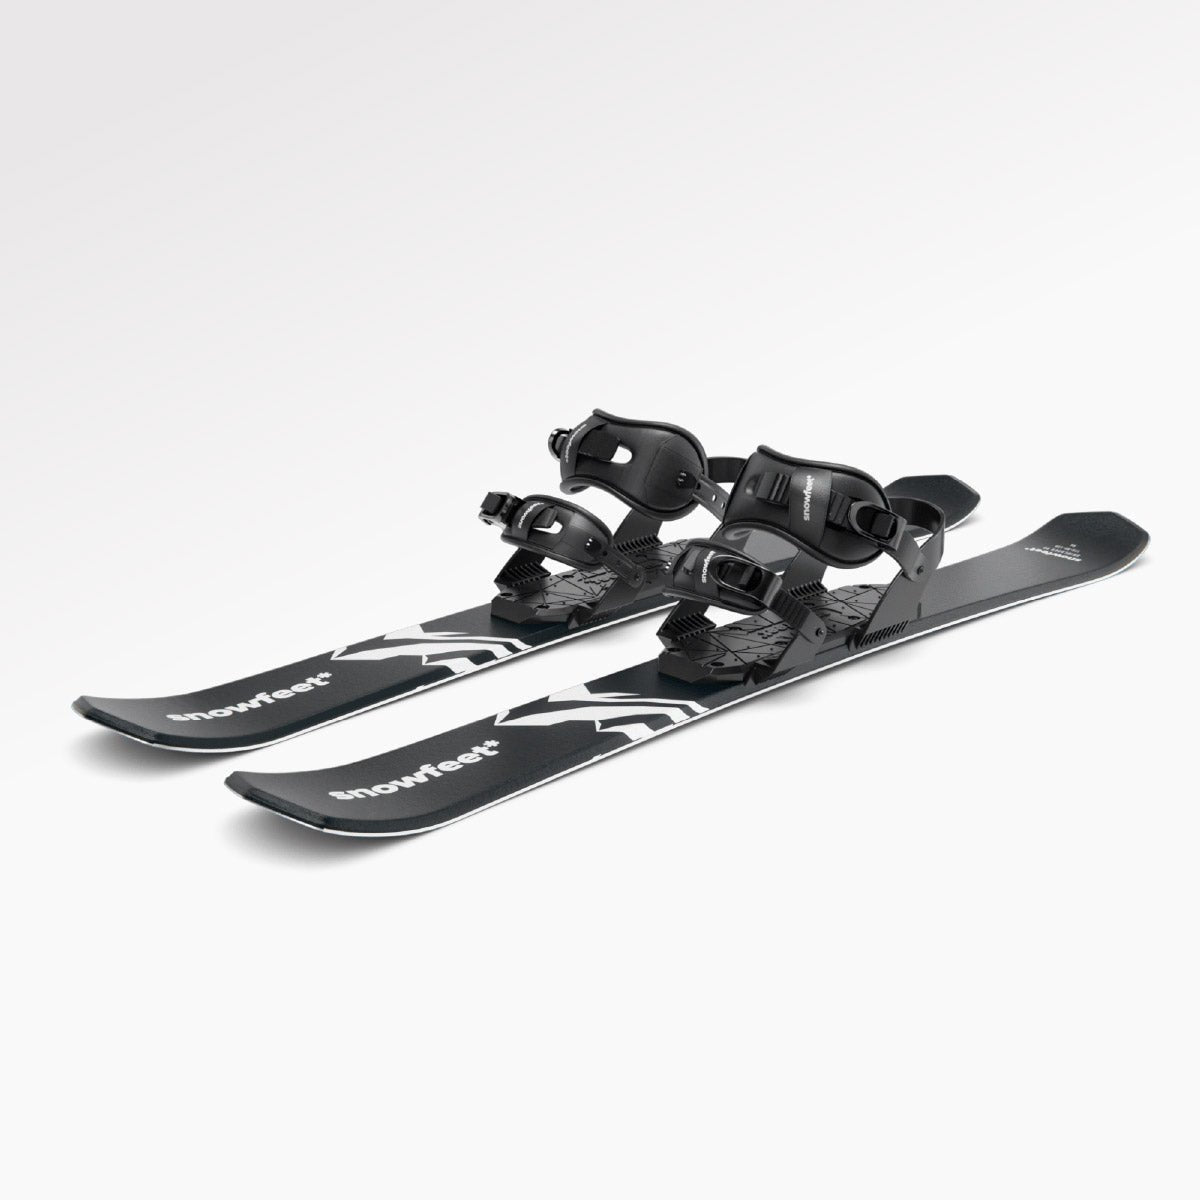
WALKSKI works best for short, firm approaches. Its 39-inch (100 cm) platform is easy to place on narrow access tracks, where flotation matters less. Use Walk mode for striding and the removable skins for uphill grip.
For short access hikes, the main draw is simple: you can reach your line without buying a full splitboard setup.
Deep Snow, Steep Climbs, and Traverses
In shallow powder or deep snow, watch how much you sink rather than relying on a set snow-depth limit. Your weight and the snowboard on your pack add to the load. As snow gets softer, WALKSKI becomes less efficient, and that pack weight matters more. A splitboard’s larger surface area generally helps you stay closer to the surface.
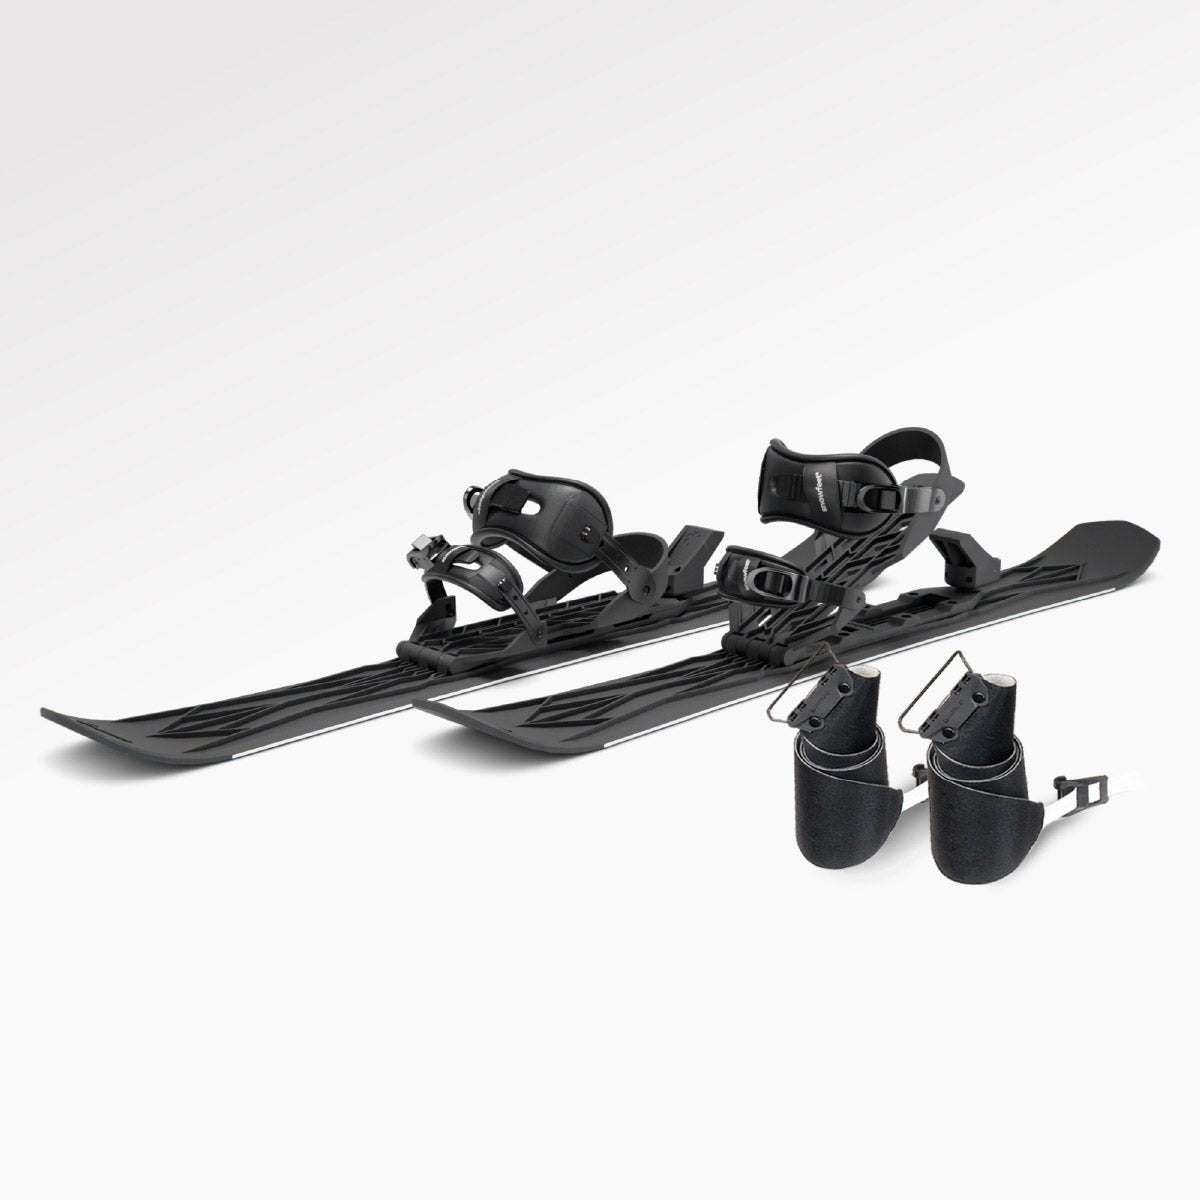
WALKSKI’s Climb 1 low riser and Climb 2 high riser help your stance on steeper pitches. The removable skins provide uphill grip. But risers don’t add traction, and skins alone don’t guarantee secure travel on ice.
On firm traverses, shorter skis offer less edge security, so each step takes more care and control. Strap your snowboard tightly to your pack to limit movement. A shifting load makes it harder to balance on angled tracks.
Before buying, check boot fit, included gear, and the current price.
Boot Fit, Required Gear, and Price
Check Boot Fit and Package Contents
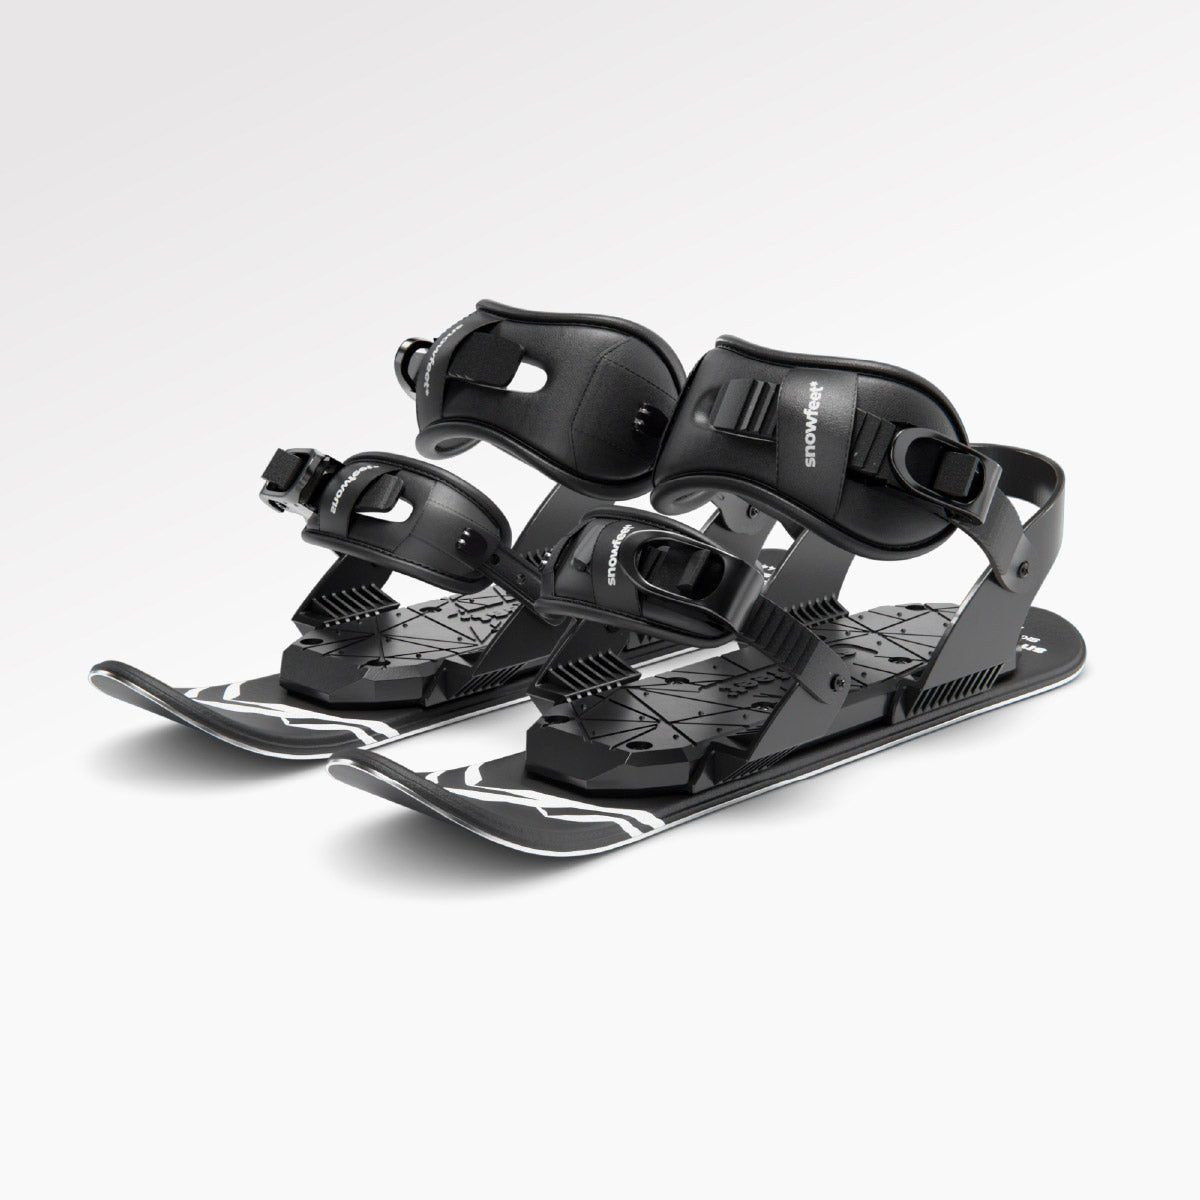
WALKSKI lets you use your snowboard boots, but a snug fit is what gives you control. Snowfeet* lists compatibility with snowboard and winter boots in US sizes 6–14.5, plus ski boots in US sizes 4.5–14.5 (MP 22.5–32.5).
Adjust the straps while wearing the boots you’ll use. Check for side-to-side movement and heel lift inside the binding. Then test the setup on a short local climb and traverse before heading into the backcountry. If straps loosen or boots shift, stop and readjust. Use Walk mode to climb. When switching to Ski mode, check that the heel lock fully engages.
Compatible boots don’t make WALKSKI climb like a splitboard. Get the fit right before the slope gets steep or the snow gets soft.
| Setup item | Advertised inclusion | What matters for the approach |
|---|---|---|
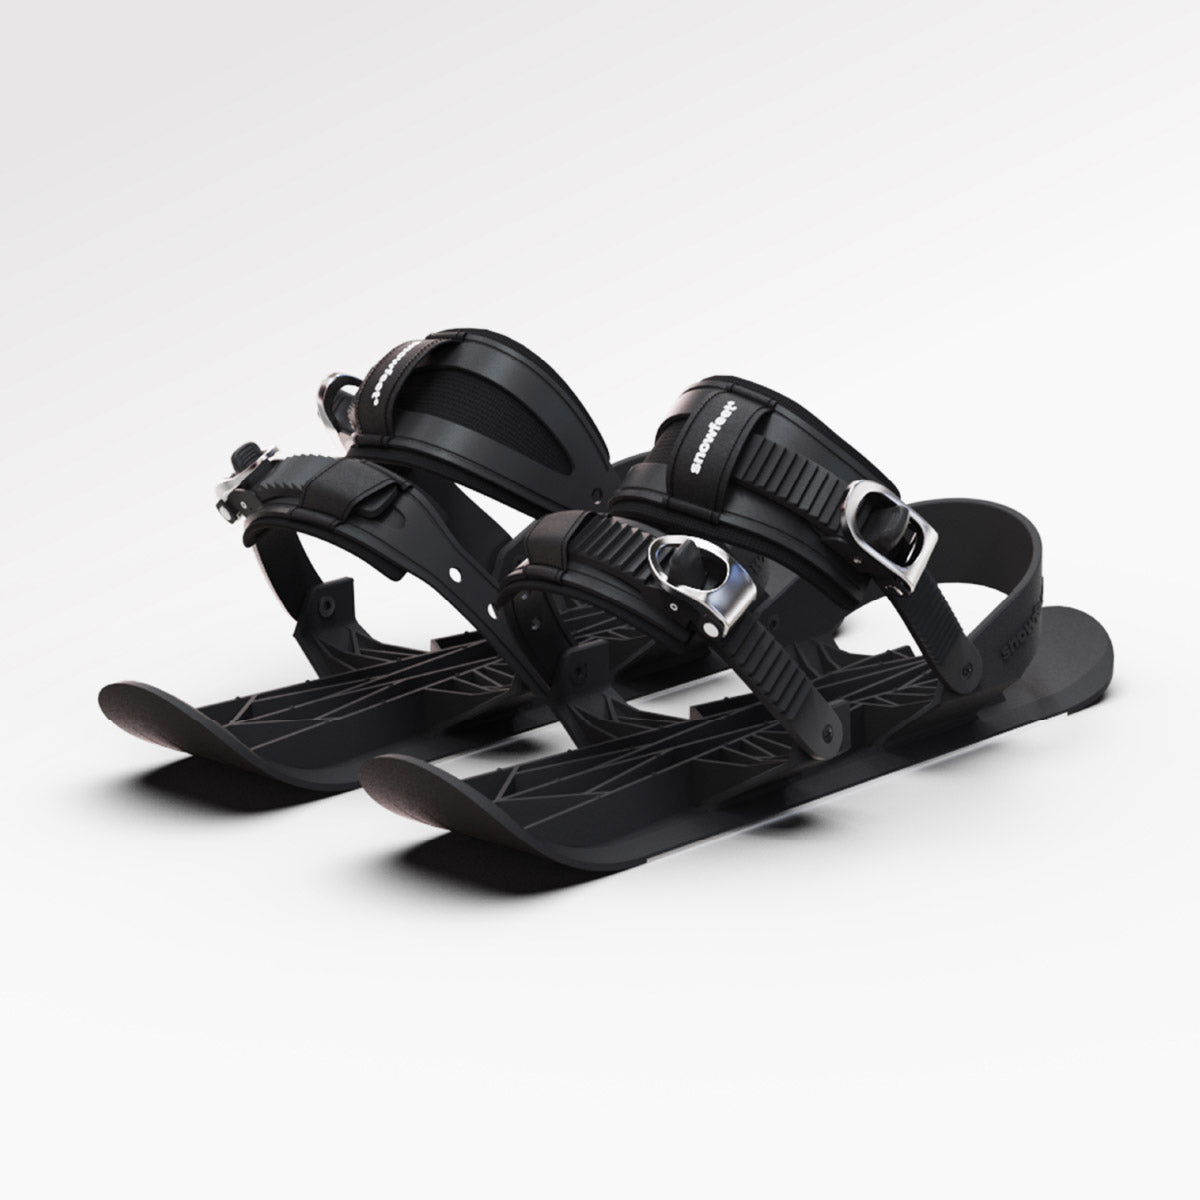
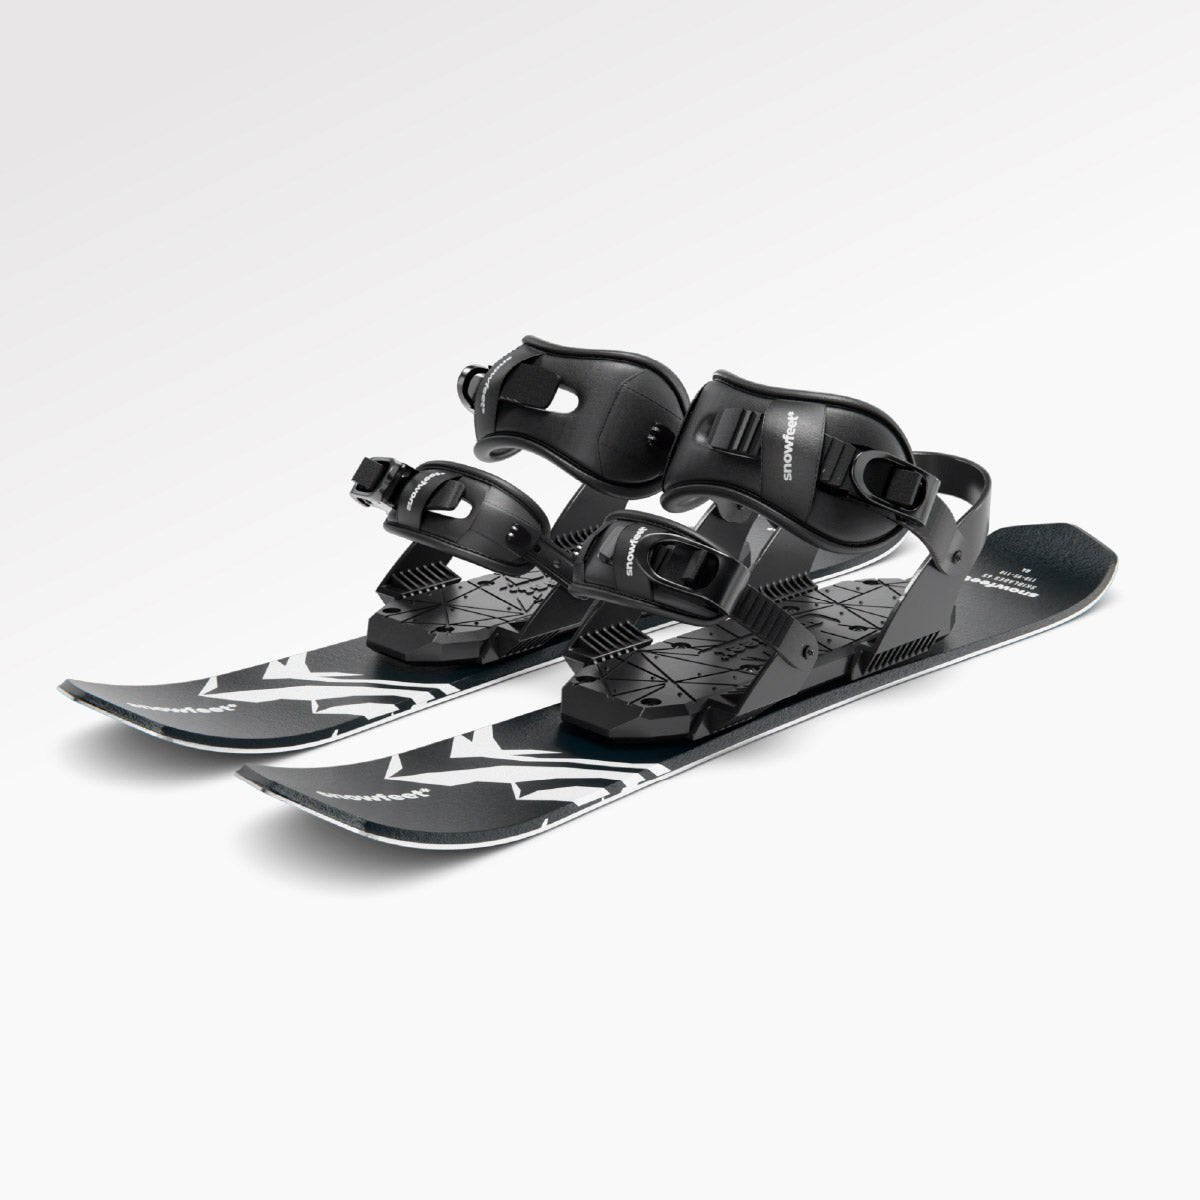
| WALKSKI 100 cm skis and universal bindings | Included | Check the binding setup, size range, strap adjustment, and heel lock. |
| Removable climbing skins | Included | Needed for uphill grip; check that the skins and attachments fit. |
| Compatible boots | Not included | Check fit and side-to-side support. |
| Adjustable poles | Not included | Required for this touring setup; include them in your budget. |
| Pack with snowboard carry | Not included | Required to carry your solid board uphill. |
In avalanche terrain, carry a beacon, shovel, and probe. Go with a partner and get training to use that gear.
Check the Current WALKSKI Price
Official prices have ranged from $595 to $890, with one listing priced in euros at €885. Check the live store price, shipping, and taxes before you buy.
Compare the full setup cost - not just the sticker price. WALKSKI’s main cost advantage comes from reusing your snowboard boots and solid board. You’ll still need the other touring gear.
Next up: how fast you can switch from WALKSKI back to your snowboard, and how much extra weight you’ll carry uphill.
sbb-itb-17ade95
Transitions, Packing, and Total Weight
With fit and price covered, the next step is to check how much weight and hassle WALKSKI adds on the skin track.
Switching From WALKSKI to Your Snowboard
Stop in a safe, low-exposure spot. Remove WALKSKI, stow the skins, and strap the skis and poles to your pack. Then step into your snowboard. Use heel lock only in WALKSKI ski mode.
With a splitboard, you remove the skins, take the bindings off the touring interface, join the board halves, and reinstall the bindings in ride mode. WALKSKI skips that board conversion, but you still have a separate ski setup and snowboard to handle.
Compare Complete Setup Weights
Snowfeet* lists the wood-core WALKSKI at 6.9 lb (3.1 kg) per pair and the fiberglass-core version at 8.8 lb (4.0 kg) per pair. Those figures cover only the skis - not the full setup.
The table below compares transition tasks and what you carry on your feet and pack.
| Comparison | WALKSKI + solid snowboard | Splitboard |
|---|---|---|
| Transition steps | Stow the approach gear and switch to your snowboard | Convert from touring to ride mode |
| Uphill: on feet | WALKSKI, bindings, skins, and boots | Splitboard halves, touring bindings, skins, and boots |
| Uphill: on pack | Solid snowboard with bindings | Poles if you aren’t using them |
| Downhill: on feet | Solid snowboard, bindings, and boots | Reassembled splitboard, bindings, and boots |
| On the pack during the ride down | WALKSKI, skins, and poles | Skins and poles |
| Packability | Short enough to strap to a pack for the descent | The board stays on your feet during the climb; only skins and poles need stowing for the descent |
| Setup complexity | More pack handling, but no board assembly | More interface and board-assembly steps |
| What to weigh | WALKSKI with bindings and skins + solid snowboard with bindings + poles + carry accessories | Splitboard + touring bindings + skins + poles + required interface hardware |
Weigh the assembled gear, using the same boots, pack, and safety gear for both setups. Record the total weight, then note how much sits on your feet versus your back. WALKSKI’s short length makes it easier to strap to a pack, but you still carry the snowboard’s weight and bulk on the climb.
Conclusion: WALKSKI for Short, Packed Approaches
Choose for the snow and route - not just compact size. Here’s a simple guide:
| Your usual outing | Better choice | Why |
|---|---|---|
| Short, packed approaches and mellow access roads | WALKSKI | Use your existing snowboard and carry it uphill for the ride down. |
| Deep snow, steep climbs, or long tours | Splitboard | Better suited to flotation and long tours. |
| Long traverses and technical side-hilling | Splitboard | The better tool for demanding terrain. |
For snowboarders who make occasional short approaches on packed snow, Snowfeet* WALKSKI is the more convenient approach tool. A splitboard remains the full-tour tool.
Before you buy, check your exact boot fit, which bindings and climbing skins are included, the current price, and the full setup weight - including the snowboard you’ll carry uphill.
FAQs
How far can I comfortably tour on WALKSKI?
Snowfeet WALKSKI is built for short tours of 30–90 minutes, typically on routes under 1–2 miles with 500–1,000 feet of elevation gain. It’s best suited to firm to moderate snow.
A splitboard is still the better choice for long-distance or all-day tours and deep powder. But for local hills, dawn patrols, and tight forest trails, WALKSKI offers a lighter, more convenient option when splitboard gear feels like more than you need.
How can I test my snowboard boots’ fit before buying?
Test your boots in the WALKSKI bindings before buying. Make sure the soles are flat and firm, your ankles flex comfortably, and the sole length fits within the binding’s adjustment range.
Select Walk or Climb mode to free your heel, then snug the straps. Walk on level snow and keep your heel flat. If it lifts too much, tighten the ankle strap or slide your boot forward. Check for side-to-side wobble before you start climbing.
How should I pack WALKSKI for the ride down?
At the top of your climb, remove and properly stow your climbing skins. Fully retract the climbing risers, then lock the heels into Ski mode.
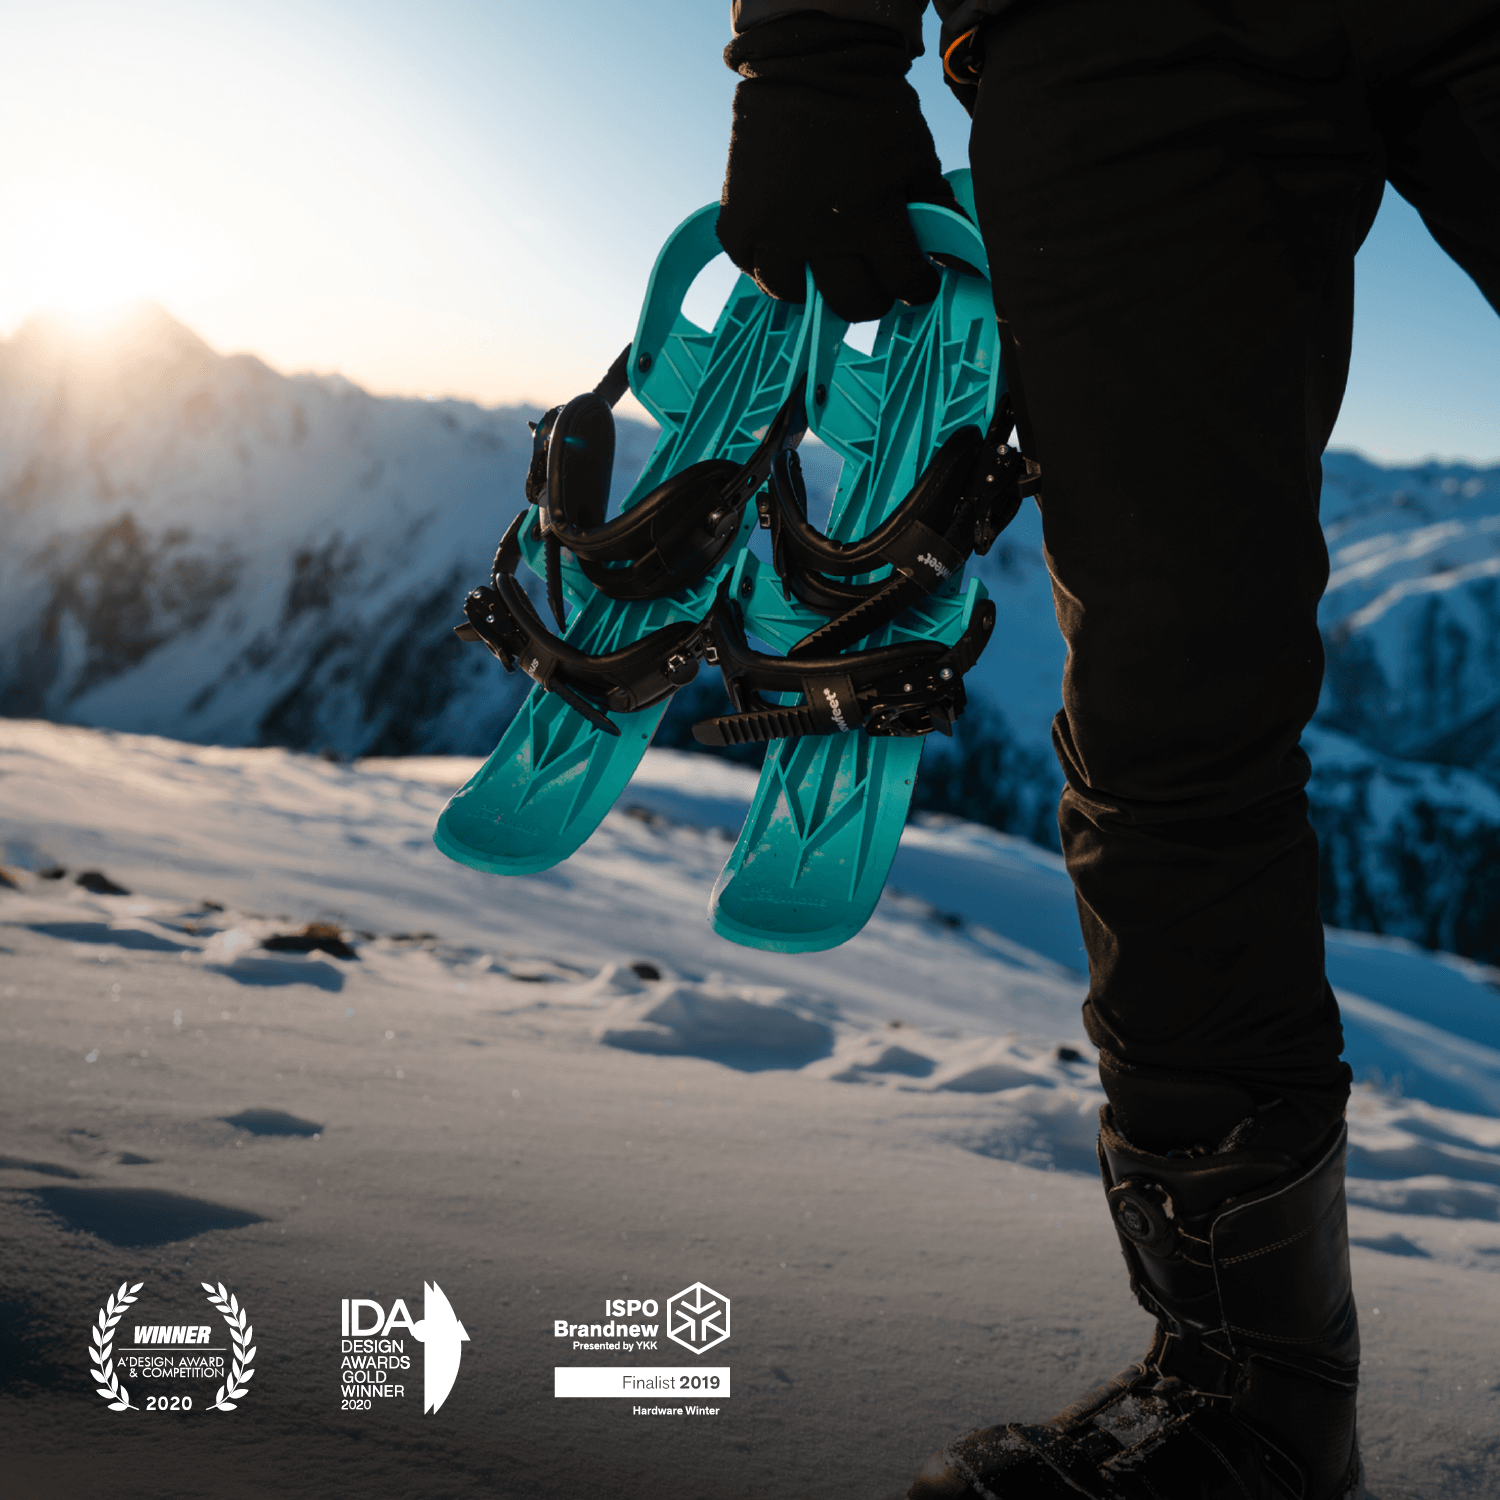
Secure your compact, lightweight WALKSKI to a backpack with ski-carry straps before riding down on your solid snowboard.


Laisser un commentaire
Ce site est protégé par hCaptcha, et la Politique de confidentialité et les Conditions de service de hCaptcha s’appliquent.