

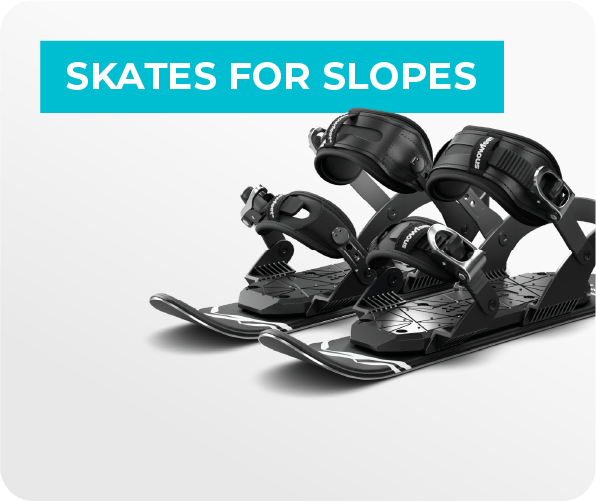
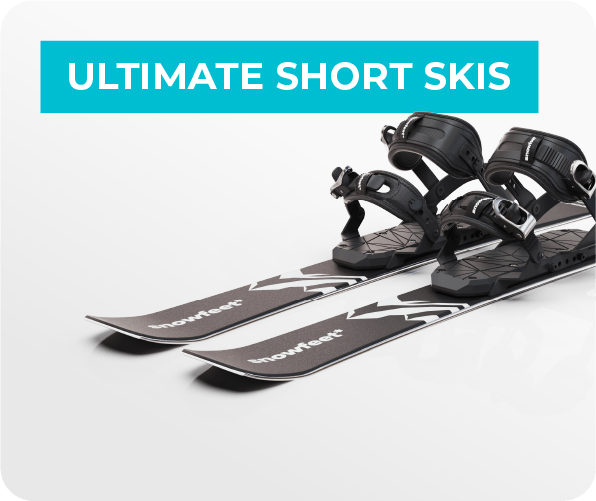
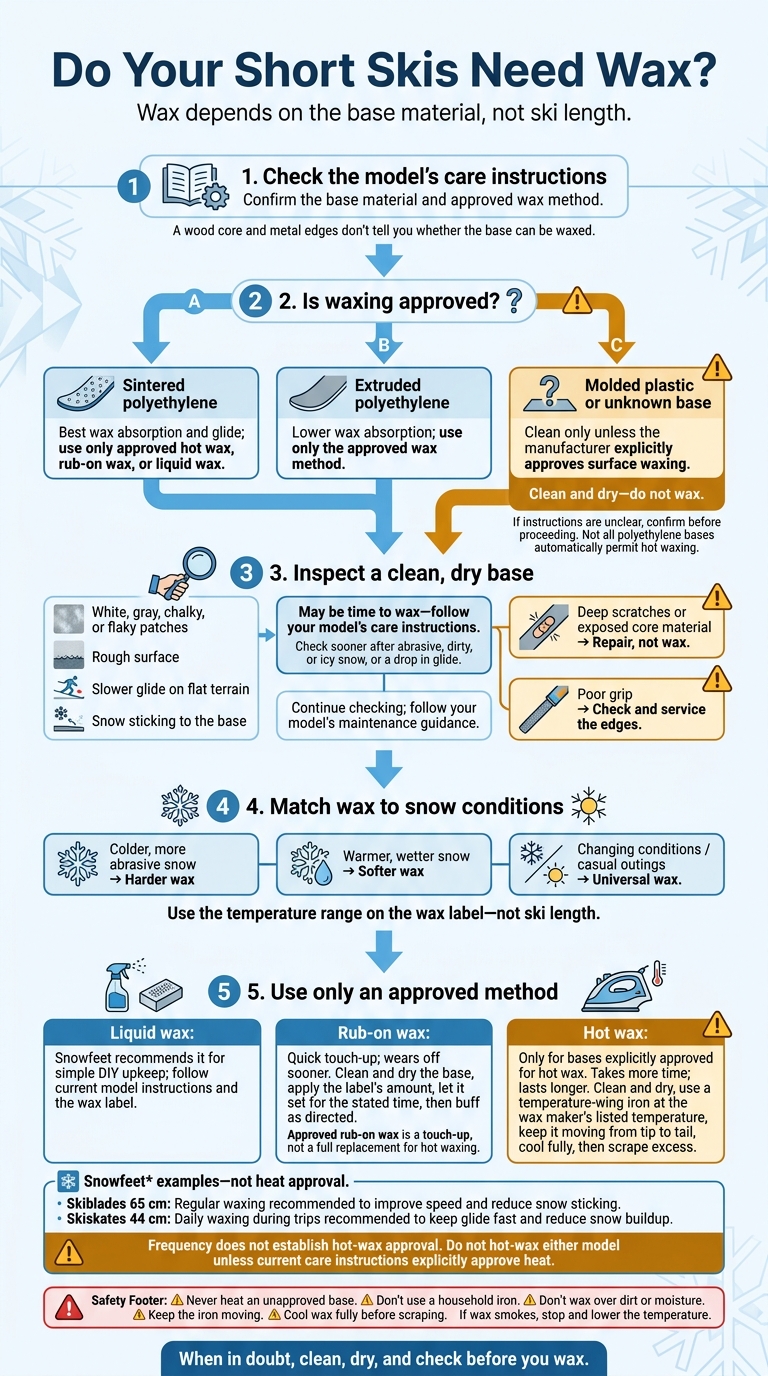
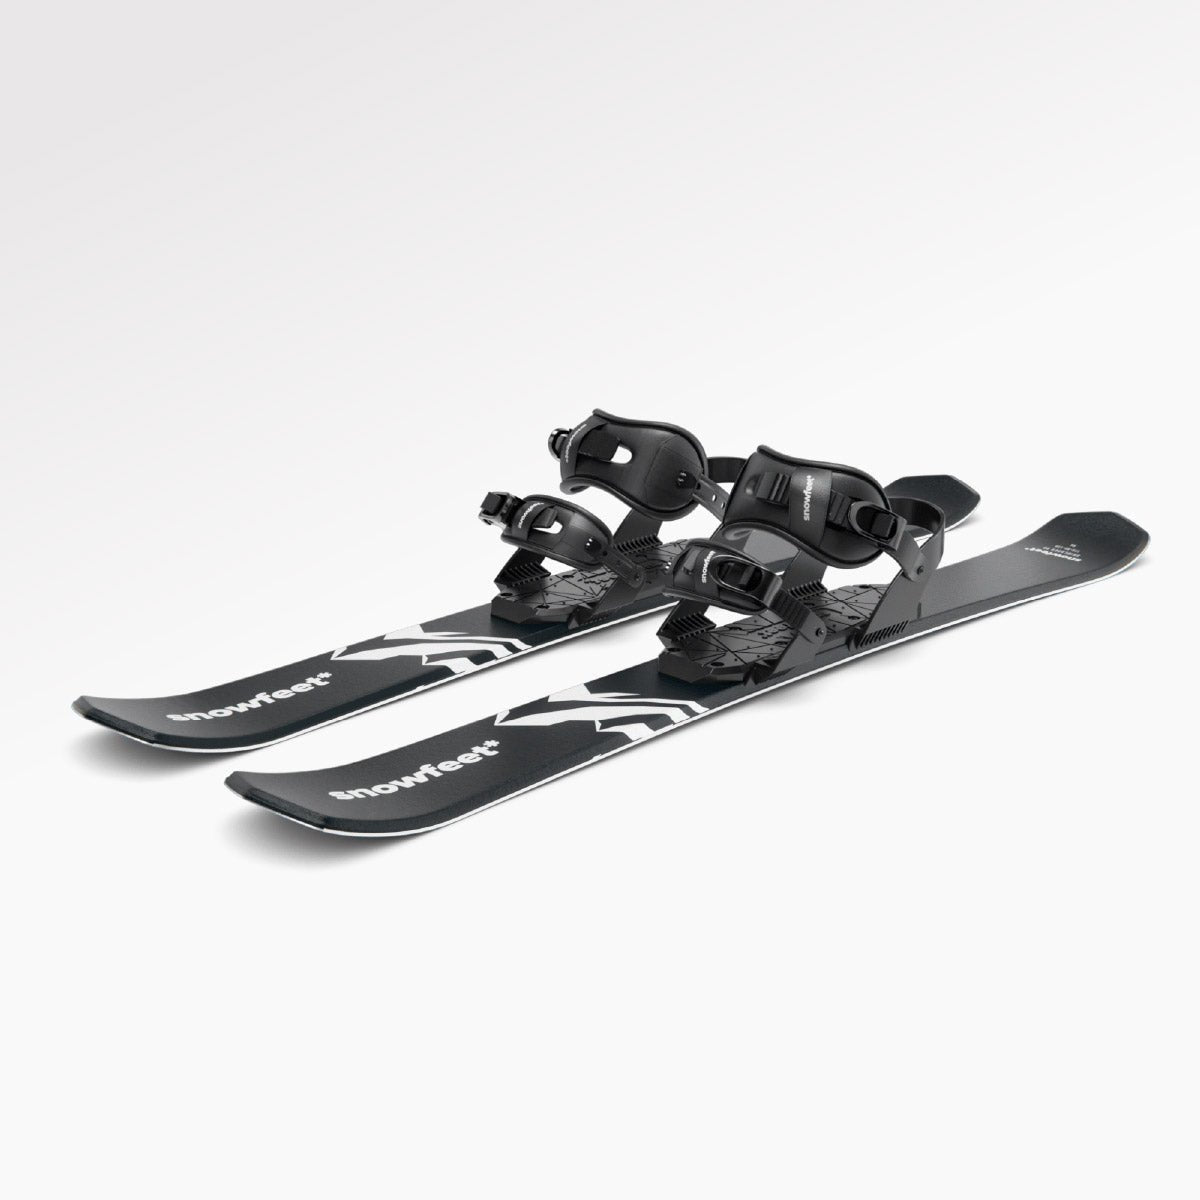
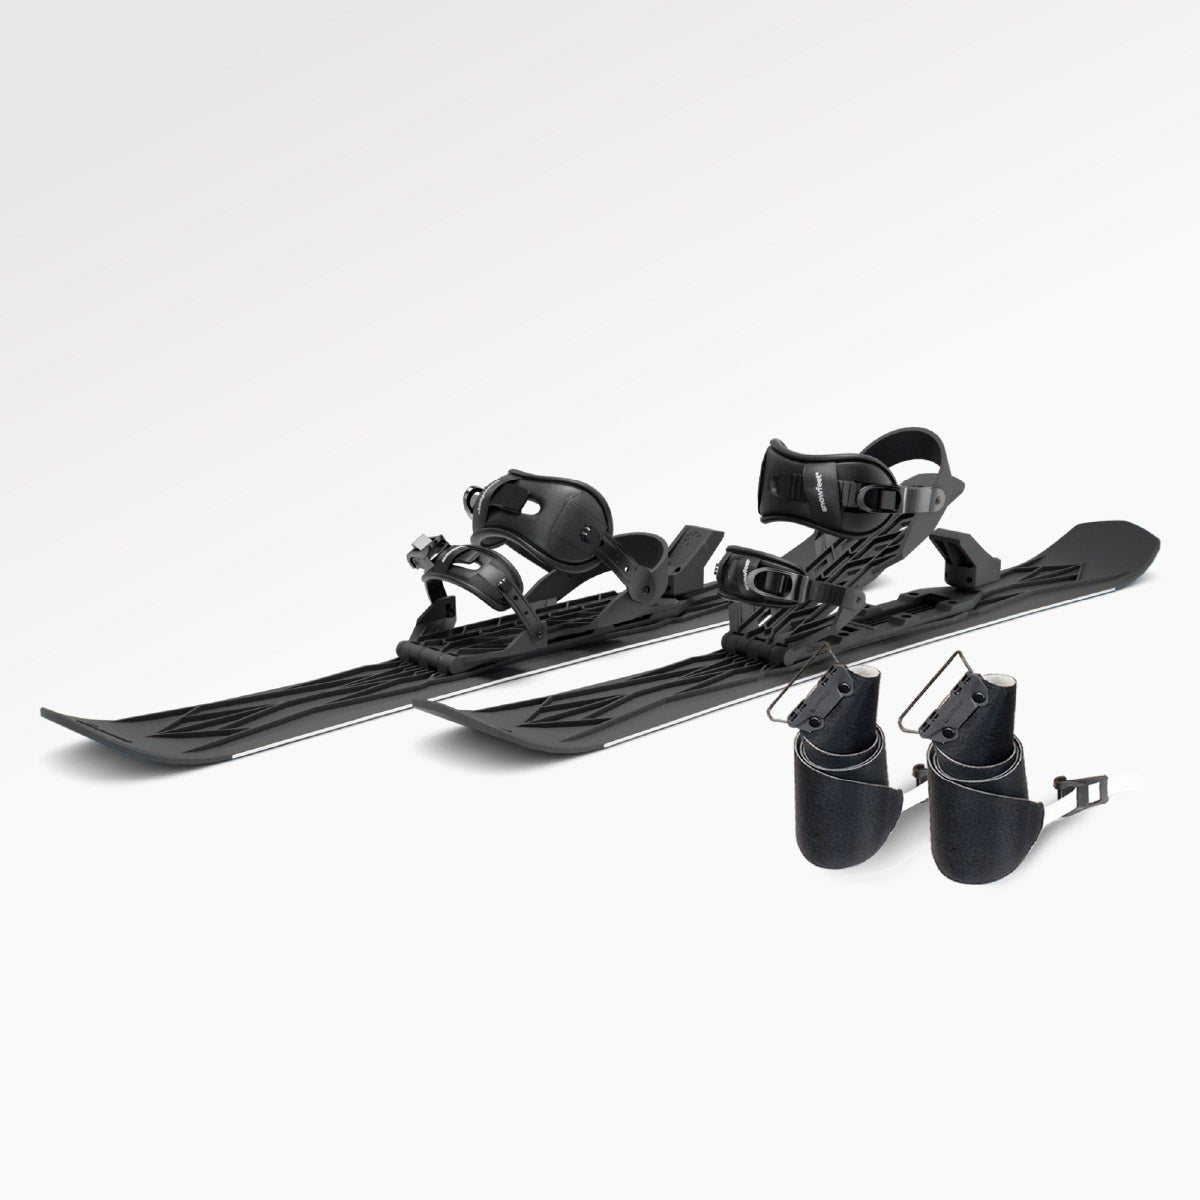
Short skis need wax only if their bases allow it. My first step: check the model’s care guide for the base type and approved wax method. That goes for Snowfeet* Skiblades 65 cm and Skiskates 44 cm, too - length doesn’t decide the wax routine.
Here’s my checklist:
- Check the base. Polyethylene bases can take wax; molded-plastic bases may need only cleaning.
- Look for wear. On a clean, dry base, chalky patches, slow glide, or stuck snow can signal it’s time to wax.
- Match the snow. Use the wax label’s temperature range, not the ski’s length.
- Use approved methods. Liquid or rub-on wax can suit touch-ups. <u>Use hot wax only if the manufacturer allows it.</u>
- Keep repairs separate. Wax won’t fix deep scratches or dull edges.
My rule: when in doubt, clean, dry, and check before you wax. A hot iron isn’t the place to guess. :)
Do Your Short Skis Need Wax?
Snowfeet* Mini Ski Skates Guide: Tuning | Sharpening Edges | Waxing Base
Check Your Base Before Waxing
Before you wax, check the manufacturer’s manual or care page for the base material and approved wax method. A wood core and metal edges don’t tell you whether the base can be waxed.
Waxable Bases vs. Molded Plastic
Sintered polyethylene usually absorbs wax best and provides the most glide and protection. Extruded polyethylene absorbs less wax, but a waxed surface still helps. Use this table as a quick guide, but follow the manufacturer’s instructions first.
| Base type | Waxing guidance |
|---|---|
| Sintered polyethylene | Best wax absorption and glide; use only approved hot wax, rub-on wax, or liquid wax. |
| Extruded polyethylene | Lower wax absorption; use only the approved wax method. |
| Molded plastic or unknown base | Clean only unless the manufacturer explicitly approves surface waxing. |
Waxing Snowfeet* Skiblades 65 cm and Skiskates 44 cm
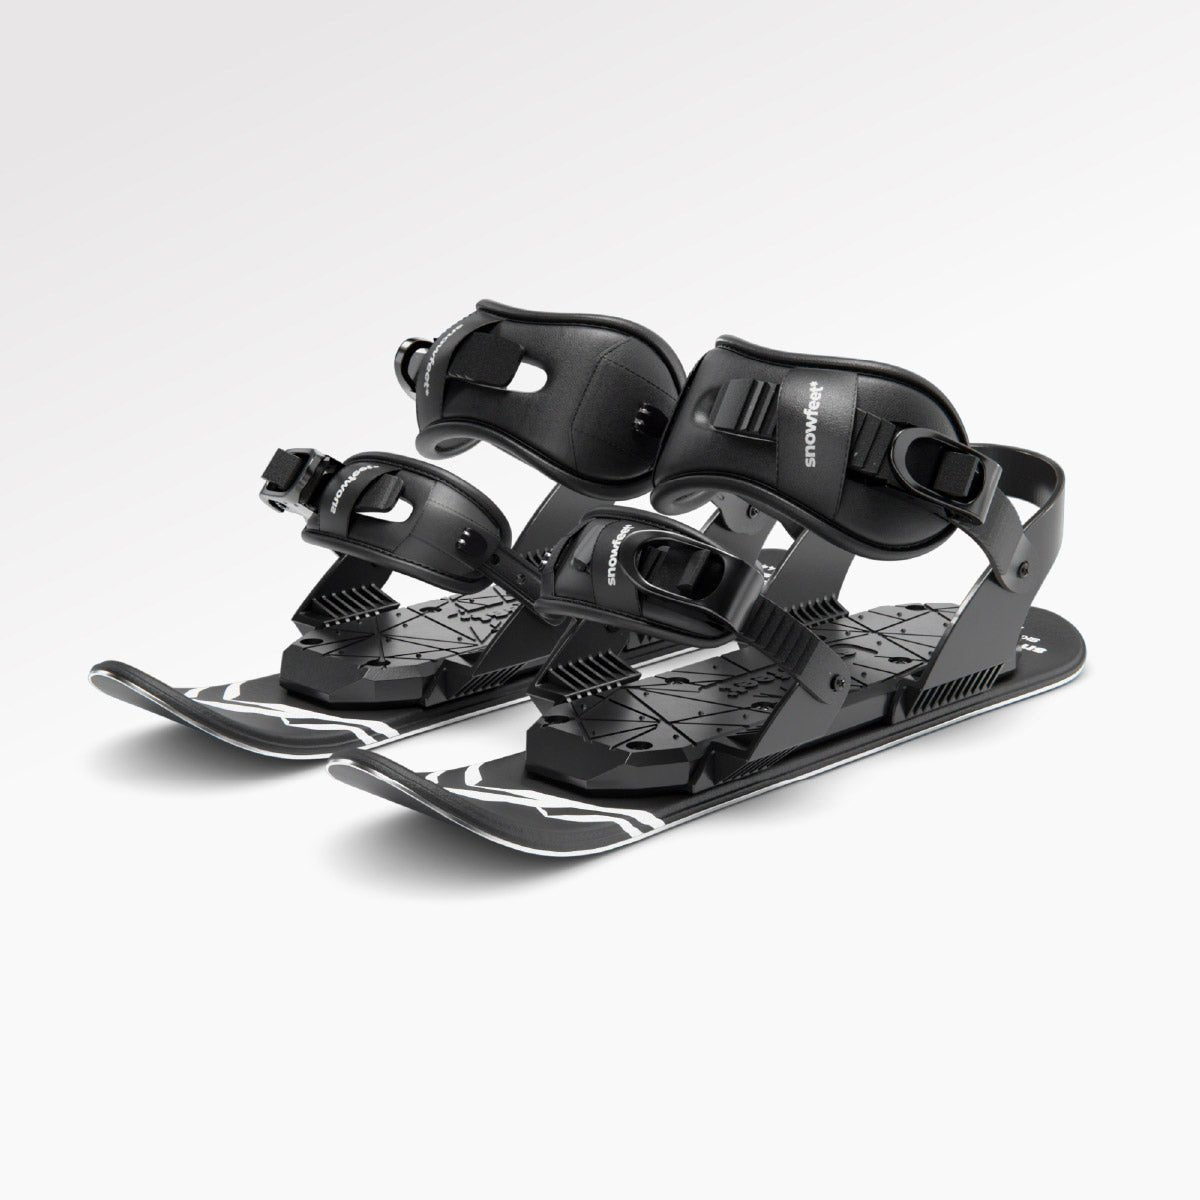
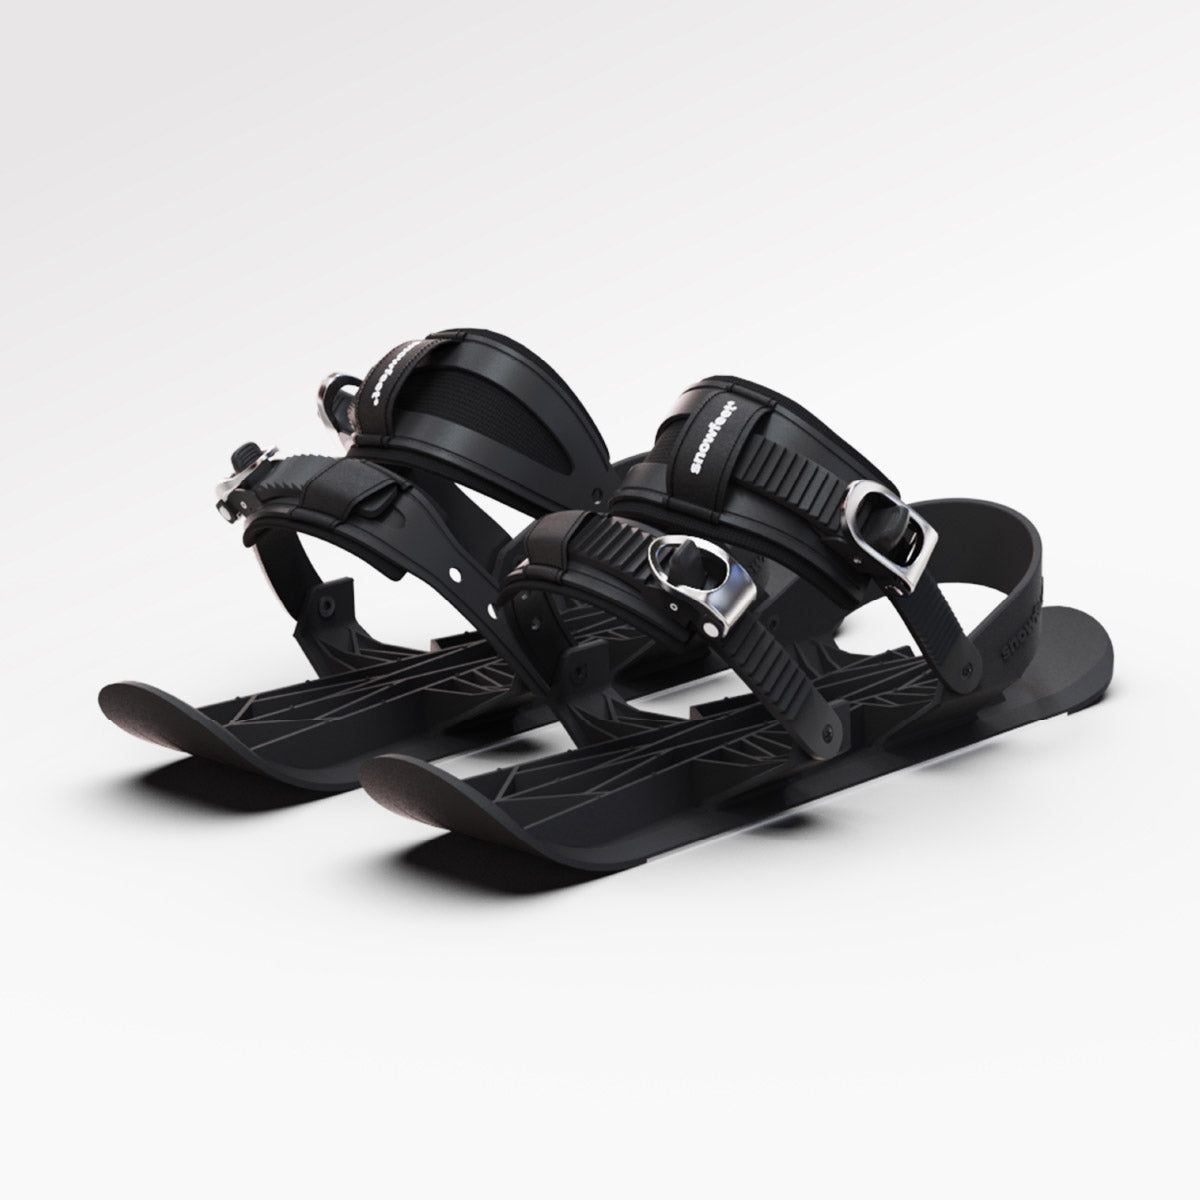
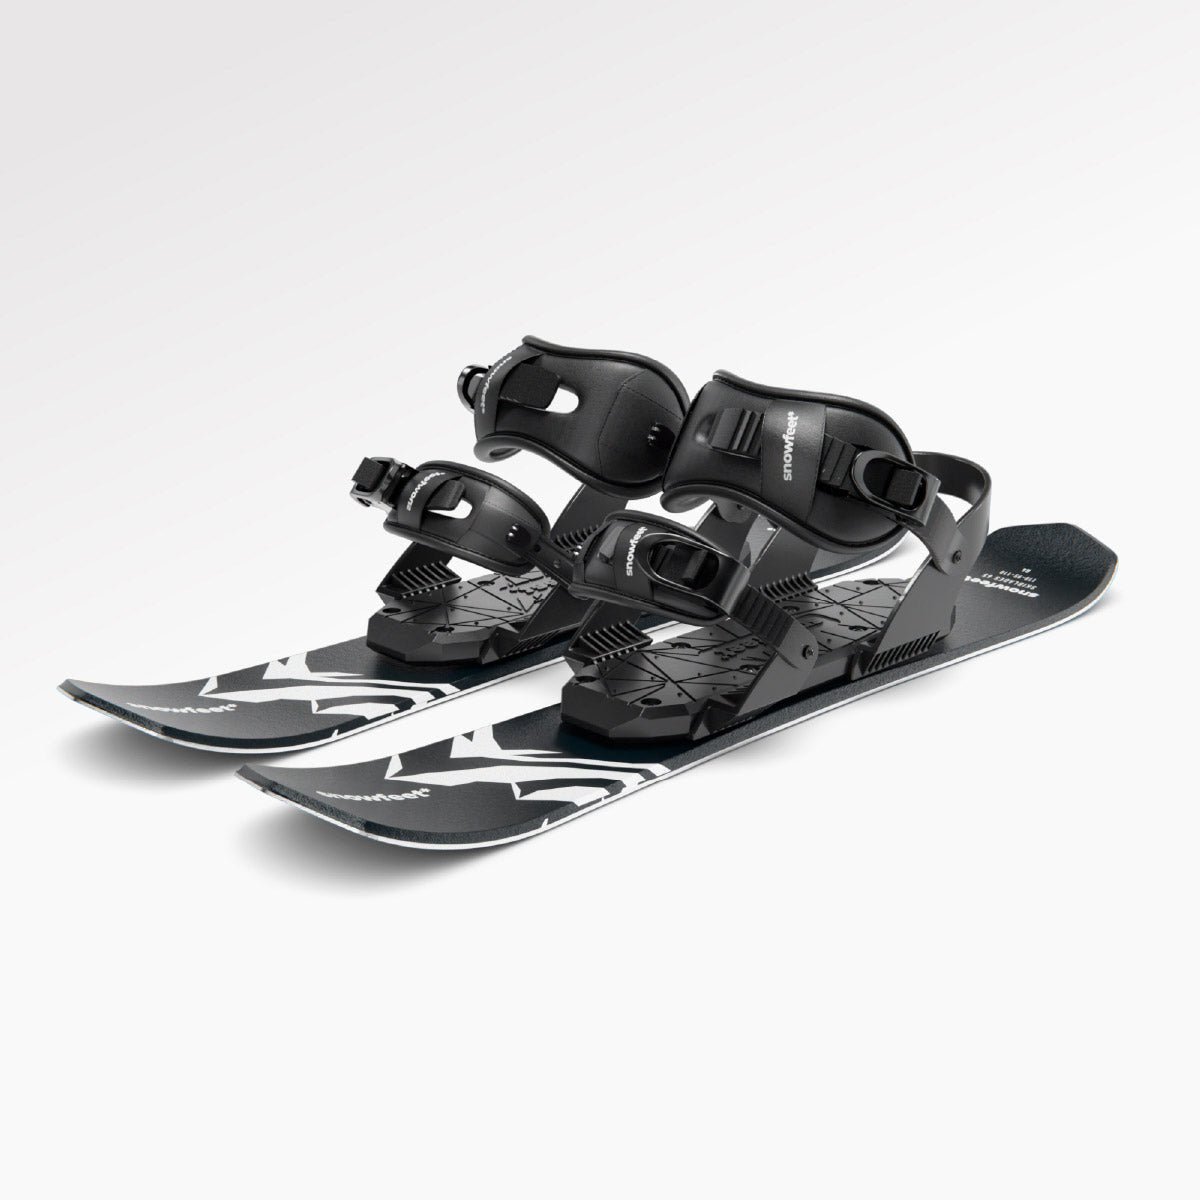
Snowfeet* Skiblades 65 cm are recommended for regular waxing to improve speed and reduce snow sticking. Snowfeet also recommends liquid wax for DIY maintenance. Check the current care instructions before choosing hot wax.
Snowfeet* Skiskates 44 cm are recommended for daily waxing during trips to keep glide fast and reduce snow buildup. That sets frequency, not hot-wax approval. Confirm the approved method before choosing hot wax, rub-on wax, or liquid wax.
Once you’ve confirmed the base type, check for signs that it needs a new coat of wax.
Know When Your Short Skis Need Wax
Once you’ve confirmed that your base is waxable, check it for wear. Wax helps a waxable polyethylene base glide faster and resist drying and abrasion. It won’t fix gouges or replace edge care.
Signs Your Base Needs Wax
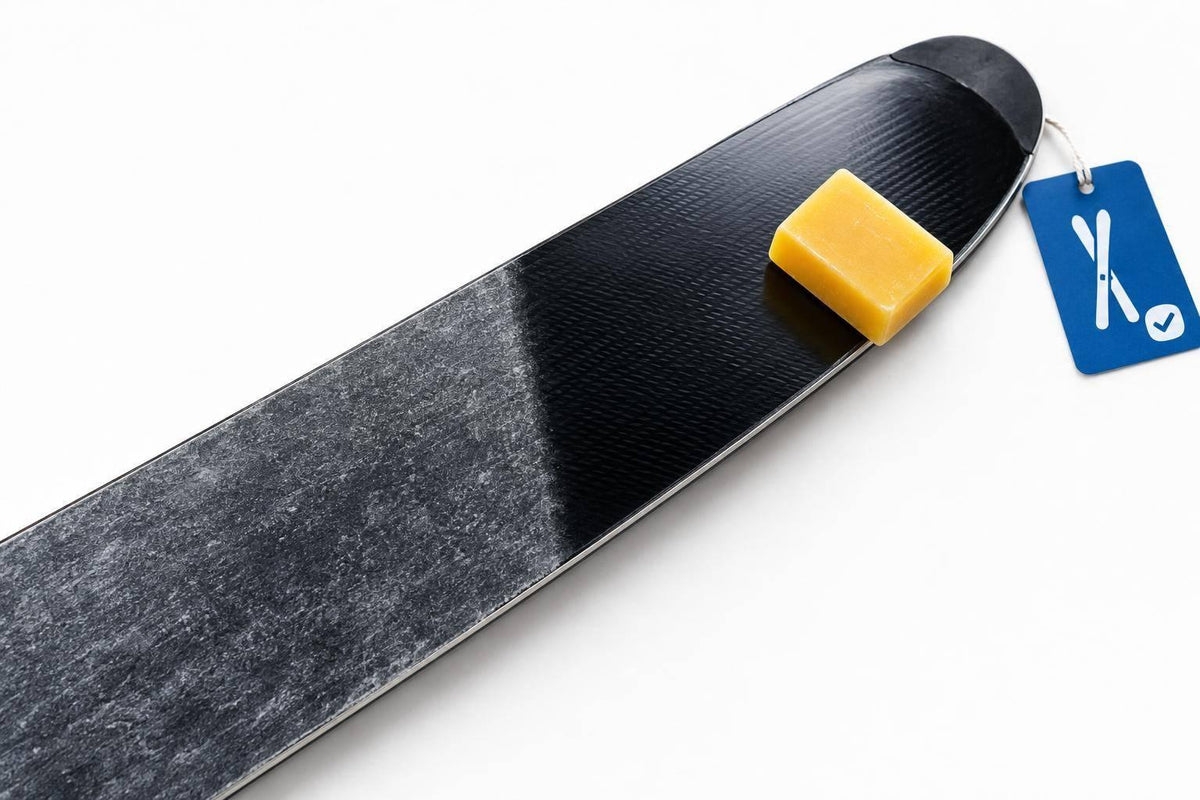
Check your base when it’s clean and dry. White, gray, chalky, or flaky patches point to a dry base, especially near the tips, tails, and edges. A rough surface, slower glide on flat terrain, or snow sticking to the base can also mean it’s time for wax.
Deep scratches or exposed core material need repair - not wax. If your skis aren’t gripping well, check and service the edges.
Check your base sooner after skiing on abrasive, dirty, or icy snow, or whenever you notice a drop in glide. Your model’s care instructions come first.
Once you spot wear, choose a wax that suits the snow temperature.
Choose Wax for the Snow Temperature
Snow conditions - not ski length - guide your wax choice. Use harder wax for colder, more abrasive snow and softer wax for warmer, wetter snow. Universal wax works well for casual outings when conditions change.
Follow the temperature range on the wax label, and use the waxing method listed in your model’s instructions.
sbb-itb-17ade95
Choose a Safe Waxing Method
Once you’ve confirmed that the base can take wax, choose the safest method approved for your gear.
Rub-On Wax, Hot Wax, or Cleaning Only?
Stick to the method your model’s care instructions allow.
Do not hot-wax Snowfeet* Skiblades 65 cm or Skiskates 44 cm unless the current care instructions explicitly approve heat. Snowfeet* favors liquid wax for simple DIY upkeep.
Use this chart to match the method to your base.
| Method | Approved base type | Equipment | Speed and longevity | Main limits |
|---|---|---|---|---|
| Rub-on wax | Base approved for surface waxing | Approved wax, applicator, buffing cloth | Quick touch-up; wears off sooner | Less thorough than hot wax |
| Hot wax | Base approved for hot wax | Waxing iron, wax, plastic scraper, brush; ventilation | Takes more time; lasts longer | Too much heat can damage the base |
| Cleaning only | No-wax bases, including some molded plastics | Soft cloth or approved cleaner | Quick cleaning; no wax layer | No added wax glide |
Approved rub-on wax is a touch-up, not a full replacement for hot waxing. If you ride often and your gear allows hot wax, you can do it yourself or take it to a ski shop.
How to Apply Wax
For approved rub-on wax, start with a clean, dry base. Use only the amount listed on the label. Let it set for the stated time, then buff as directed. Follow the ventilation rules, keep wax off bindings and clothing, and don’t add heat unless the label allows it.
For a base approved for hot wax, secure the ski, remove dirt and old residue, and let it dry fully. Set a temperature-controlled waxing iron to the wax maker’s listed temperature. Spread the wax evenly, keeping the iron moving from tip to tail. Let the wax cool fully before scraping off the excess.
Avoid Common Waxing Mistakes
Never heat a plastic base that isn’t approved for heat, and don’t use a household iron. Don’t wax over dirt or moisture, hold the iron in one spot, or scrape while the wax is still soft. Remove excess wax rather than leaving a thick layer on the running surface. If the wax smokes, stop and lower the temperature.
Conclusion: Follow Your Model’s Care Instructions
Wax depends on the base material, not ski length. Check your model’s manual. Wax only approved bases, and use the approved method. If the base is molded plastic or the manual says not to wax, stick to cleaning and drying.
For Snowfeet* Skiblades 65 cm and Skiskates 44 cm, the right routine is simple: clean them, dry them, then follow the model’s approved wax instructions. Dry metal edges after each outing, and check the instructions before riding again.
Check Snowfeet’s current care page before using any wax or cleaner. Use your model’s approved care routine rather than a generic waxing schedule.
FAQs
What if I can’t identify my short skis’ base material?
Check the base: If it looks dull, white, or chalky - or feels dry and rough - a waxable base may need wax. Not sure? Check the manufacturer’s guidance before applying liquid wax to help it glide and protect it from wear.
Some Snowfeet* models have P-Tex or graphite bases that need regular waxing. Their compact size makes upkeep faster and easier than with long skis.
Do new short skis need wax before their first use?
It depends on the model. _Wood-core Snowfeet models come pre-waxed and ready to ride._* That includes 44 cm (17.3-inch) Skiskates and 65–120 cm (25.6–47.2-inch) Skiblades.
Fiberglass-reinforced models need wax before your first outing. This helps them glide smoothly and keeps snow from building up.
All short skis need regular waxing to keep them performing well, protect the base, and help you move faster than riders on standard, high-maintenance gear.
Why does snow still stick after I wax?
The wax may have worn off, or the snow conditions may call for more frequent waxing. For Snowfeet* Skiskates and Skiblades, chalky, dry spots or less glide mean it’s time for another coat. Wax every 3 to 6 outings, or daily when the snow is abrasive, man-made, or warm and wet.
If snow still sticks despite regular waxing, check for deep scratches or base damage. These spots can trap snow and may need professional repair.




Efterlad en kommentar
Denne side er beskyttet af hCaptcha, og hCaptchas Politik om beskyttelse af persondata og Servicevilkår er gældende.