


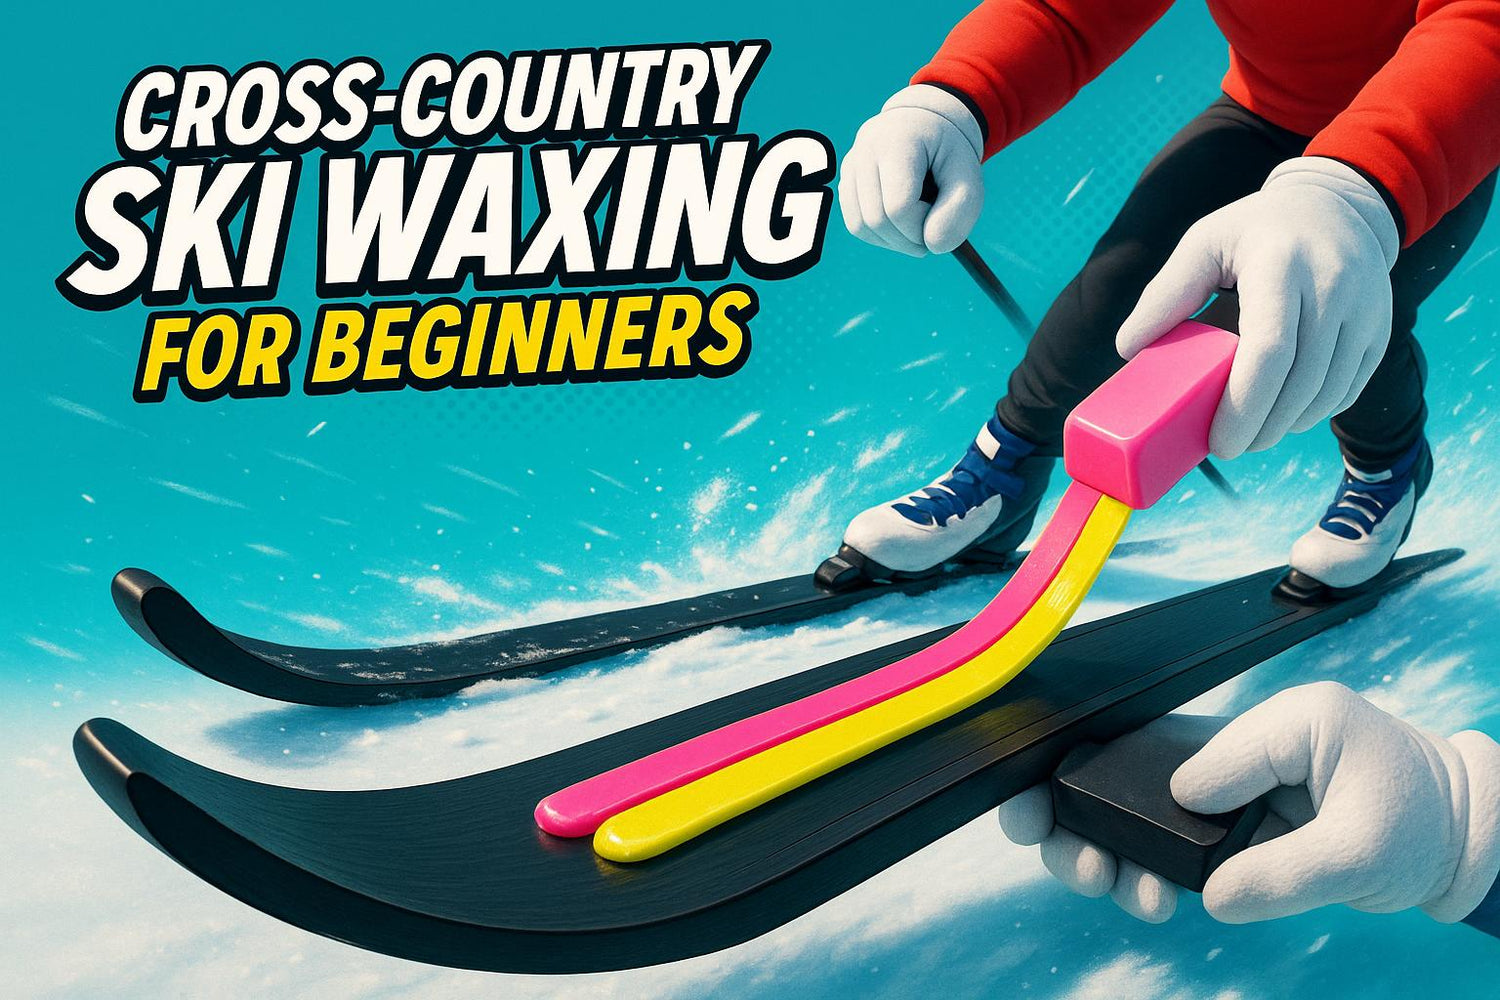
Waxing your cross-country skis isn’t just about speed - it’s about making your ride smoother, easier, and more enjoyable. Whether you’re skiing on powder, ice, or wet snow, the right wax can help you glide better and maintain grip. Here’s the gist:
- Waxing Basics: Keeps your skis protected, reduces friction, and improves control.
- Glide vs. Grip Wax: Glide wax goes on the tips and tails for smooth sliding. Grip wax is applied underfoot for traction.
- Snow Conditions Matter: Match your wax to the temperature and snow type (powder, wet, icy, etc.).
- Snowfeet*: A low-maintenance alternative to longer skis. They’re quicker to wax, use less wax, and are easier to handle.
For beginners, waxing might sound overwhelming, but it’s not as complicated as it seems. With a little practice, you’ll be waxing like a pro in no time. Let’s dive into the details!
TUTORIAL - How to Wax Your Nordic Skis 🎿 | Decathlon

Picking the Right Wax for Snow and Temperature
Choosing the right wax can make a noticeable difference when you're out on the trails. Snow conditions can change in the blink of an eye, so knowing how to pick the right wax will keep you moving smoothly and confidently, no matter what Mother Nature throws at you.
Glide Wax vs. Grip Wax: What's the Difference?
Glide wax is your go-to for reducing friction on the tip and tail sections of your skis, helping you glide effortlessly over the snow. This works hand-in-hand with the glide and grip zones we talked about earlier. Waxes come in varying hardness levels - harder waxes are better for colder temperatures, while softer waxes are more suited for warmer conditions.
On the other hand, grip wax is all about traction. Applied to the center of your skis, it gives you the grip you need for a solid push-off. If you're using Snowfeet*, you can skip this step entirely since they don’t require separate grip wax.
Wax comes in a few forms to suit your needs: traditional solid blocks for hot waxing, liquid wax for quick fixes, and rub-on wax for ultimate convenience.
Matching Wax to Temperature and Snow Type
Temperature plays a big role in choosing the right wax. Most waxes are labeled based on air temperature, but as it gets closer to 32°F (0°C), the snow’s water content becomes the deciding factor. For example, at temperatures between 14°F and 25°F (-10°C to -4°C), the thin water layer between your skis and the snow is just right for reducing friction.
Here’s how to match your wax to the type of snow you're dealing with:
- Fresh powder: High-fluoro waxes work wonders here, giving you a smooth glide.
- Wet snow: Softer waxes with lower melting points help prevent sticking, and high-fluoro waxes add extra water-repelling power for better acceleration.
- Icy or hard-packed snow: Harder waxes are your best bet, as they boost grip and minimize friction.
- Dry snow: A hydrocarbon-based wax reduces dry friction and keeps you gliding smoothly.
- Man-made snow: Since this snow is denser and icier than natural snow, go for a wax designed for extra grip and control. Unlike natural snow crystals, which grow larger over time, artificial snow grains freeze from the outside, requiring a slightly different approach to waxing.
Not sure about the conditions? A universal glide wax or one designed for a broad temperature range is a safe choice. It’s also helpful to check the air temperature in shaded areas along your route to fine-tune your selection.
This careful approach to waxing highlights why Snowfeet* are a breeze to maintain compared to traditional skis.
Waxing Snowfeet* vs. Traditional Skis

When it comes to waxing, Snowfeet* are all about simplicity. Unlike traditional cross-country skis from brands like Rossignol, Atomic, Elan, or Head, which require more time and effort, Snowfeet* are designed for quick and easy maintenance. Their rub-on wax compatibility means you can skip the lengthy prep process entirely.
While traditional skis might shine in competitive settings, Snowfeet* deliver reliable performance across a variety of snow conditions without the hassle. This low-maintenance approach makes them a favorite among recreational users who want to spend less time waxing and more time enjoying the snow. For anyone who values spontaneity and ease, Snowfeet* are a perfect fit.
How to Wax Your Skis or Snowfeet* Step by Step
Waxing your skis or Snowfeet* might sound tricky, but it’s actually a straightforward process once you get the hang of it. Whether you’re working with full-length cross-country skis or compact Snowfeet*, the steps are pretty similar. The bonus? Snowfeet* are smaller, making the whole process quicker and easier.
Prepping Your Skis for Waxing
Think of waxing like painting a wall - you wouldn’t paint over dirt, right? A clean base is key to getting the wax to stick properly. Brushing the base before you start removes old wax and grime, giving you a fresh surface to work with.
Start by securing your skis or Snowfeet* upside down in a stable position. Use a stiff brass or steel brush and work from the tail to the tip. This removes oxidation and exposes the base structure. If you’re worried about scratching the surface, test the brush on an older pair first.
For a deeper clean, especially after skiing in dirty snow, try the hot-scrape method. Here’s how it works: apply a soft, inexpensive wax to the base, then scrape it off while it’s still warm. Repeat this until the old wax and residue are gone. Afterward, give the base a once-over with a nylon brush to finish the job.
You’ll need a few tools to get started: a waxing iron, a plexiglass scraper, a pencil groove scraper, a brush, and glide wax. You can buy complete kits for around $100, or pick up individual items like the Swix T77 Waxing Iron for $45–$65, with brushes costing $19–$35.
Applying Wax: Hot, Cold, and Rub-On Options
Once your base is clean, it’s time to apply the wax. Hot waxing is the go-to method for long-lasting performance. Set your waxing iron to 260°F (130°C), as per the wax manufacturer’s instructions. Melt the wax on the iron and let it drip evenly along the ski. Then, move the iron from tip to tail, keeping it in motion to avoid overheating any spot. Let the wax cool for 15–30 minutes before moving on.
If you’re short on time, cold wax is a quicker option. Rub the wax directly onto the base, spread it evenly, and use a polishing felt or cork to work it in. Liquid waxes, like Swix F4 Glide Wax (around $20), are another quick fix. They’re easy to apply but won’t last as long as hot wax.
For Snowfeet*, rub-on wax is a perfect match. Thanks to their smaller size, you can apply wax in just a few minutes. Simply rub the wax onto the base and use a cork or synthetic applicator to smooth it out. While liquid waxes are super convenient, they tend to wear off faster, making them better suited for recreational use.
Finishing Touches for Peak Performance
Once the wax has cooled to room temperature, it’s time for the final steps. Scrape off the excess wax smoothly from tip to tail, then brush the base in long, continuous strokes to bring out its texture. Don’t forget to clean out the grooves with a pencil groove scraper - this ensures water drains properly as you glide.
To wrap things up, wipe the base with a microfiber cloth to remove any leftover dust.
Here’s where Snowfeet* shine. Their compact size - typically between 15 and 39 inches - makes the scraping and brushing process much quicker compared to full-length skis from brands like Head or Elan. Plus, you’ll use less wax per application, saving you money in the long run.
The base material, made of sintered p-tex, has tiny pores that soak up wax. If the base feels rough or looks dull and gray, it’s time for another waxing session. With Snowfeet*, it’s easier to spot these signs and take care of them right away, keeping your gear in top shape.
sbb-itb-17ade95
Keeping Your Wax in Good Condition
Taking care of your ski wax can be the difference between effortlessly gliding across the snow and feeling like you're dragging an anchor. The good news? Wax maintenance doesn’t have to be a daily chore. Knowing when and how to refresh your wax is key to keeping your gear in top shape. Let’s break it down.
How Often to Wax Your Skis or Snowfeet*
How often you wax depends on how much time you spend skiing and the snow conditions you’re tackling. While professional racers might wax every day, most casual skiers can stick to a schedule of waxing every two to three days.
"If you're a leisure skier, waxing your skis every two to three days is usually enough. If you notice white spots on the base of your cross-country skis, it's time for a waxing session." - INTERSPORT Rent
Another way to gauge waxing frequency is by distance. A hot wax job usually lasts 40–50 miles before it needs refreshing, especially if the snow conditions shift. Some skiers prefer to hot wax every 62 miles (100 kilometers) and supplement with liquid wax before each outing. Others might hot wax every 5–10 hours of skiing and apply liquid wax every one or two sessions.
White spots on the base of your skis are a clear sign that it’s time to reapply wax. With Snowfeet*, these spots are easier to spot because of their smaller surface area. Regular waxing not only keeps your skis or Snowfeet* performing well but also extends their lifespan.
Temperature changes are another clue that it’s time to re-wax. Warmer conditions call for wax designed for higher temperatures to maintain a smooth glide and solid grip. Thanks to their compact size, Snowfeet* make these transitions quicker and easier compared to longer skis from brands like Rossignol or Atomic.
Quick Waxing Tips for the Trail
Sometimes, you just don’t have time for a full waxing session. That’s where quick fixes come in handy. Liquid cold wax is perfect for these moments. Unlike hot wax, which seeps into the base, liquid wax sits on the surface and provides an instant performance boost.
Keeping a small bottle of liquid wax in your pack can be a lifesaver. If your glide starts to feel sluggish or your grip becomes uneven, a quick application can get you back on track. Just apply the liquid wax to the problem areas and spread it evenly with the included applicator or a small cork.
Another convenient option is paste wax. It’s easy to carry, simple to apply, and lets you control how much wax goes on. Both liquid and paste wax work especially well with Snowfeet* because their smaller surface area makes the process faster and more efficient.
This is where Snowfeet* really shine. Waxing traditional long skis can take 45–60 minutes, but with Snowfeet*, you’re looking at just 15–20 minutes. That’s more time for hitting the trails and less time spent fiddling with your gear.
Maintenance Costs: Snowfeet* vs. Traditional Skis
Waxing isn’t just about time - it’s about cost too. Snowfeet* come out ahead here as well, thanks to their smaller size, which means they use less wax per application.
| Maintenance Factor | Snowfeet* | Traditional Cross-Country Skis |
|---|---|---|
| Wax per application | 0.5–1 oz | 2–3 oz |
| Time per waxing | 15–20 minutes | 45–60 minutes |
| Annual wax cost | $40–60 | $120–180 |
| Professional service | $15–20 | $25–35 |
| Storage wax needed | Minimal | Full application |
Traditional skis, like those from brands such as Head, Elan, or Atomic, are usually 71–83 inches long and require 2–3 ounces of wax per session. Snowfeet*, which are more compact at 15–39 inches, need less than 1 ounce of wax. With wax priced around $15–25 per bar, the savings over a season can be substantial.
Professional waxing services often charge based on the length of the ski, so maintaining Snowfeet* is much easier on the wallet. Even for seasonal storage, Snowfeet* require just a light coating of wax to protect their smaller base.
Snowfeet* not only save you money and time but also make maintenance less of a hassle. That means more energy for enjoying the slopes and less time worrying about upkeep. If you’re looking for an easy, cost-effective way to stay on top of your wax game, Snowfeet* are a solid choice.
Snowfeet* vs. Traditional Ski Brands: Waxing and Performance
When it comes to waxing and performance, Snowfeet* bring some clear advantages over traditional cross-country ski brands like Rossignol, Atomic, and Head. Their compact size isn’t just a space saver - it also makes maintenance quicker and the waxing process much simpler.
Waxing: Less Time, Less Effort
One of the standout perks of Snowfeet* is how easy they are to wax. Traditional cross-country skis, often stretching over 70 inches long, require a lot of time and effort to prep. You’ve got to clean the entire base, apply wax along the full length, and then scrape and brush - a process that can feel like a workout in itself.
With Snowfeet*, the smaller surface area means you’re done waxing in a fraction of the time. The compact base is easy to access, so you can get an even wax coat without breaking a sweat. Hot waxing? No problem. The smaller size lets the iron glide over the surface quickly, with less risk of overheating. This streamlined process not only saves time but also ensures smooth, consistent performance on the slopes.
How They Handle Different Snow Conditions
Waxing is only part of the story. Performance across various snow conditions is where Snowfeet* really shine. They’re incredibly versatile, making them a great choice for beginners who might not yet know how to match wax to specific snow conditions. Thanks to their shorter length and wider stance, Snowfeet* offer stability even if your wax choice isn’t spot-on.
Take, for example, the Snowfeet POWDER (99 CM) model. It’s specifically designed for powder snow, letting you make quick turns and stay in control. Plus, the simplified waxing routine means you can often use a universal wax that works across a range of conditions - no need for those precise, temperature-specific waxes that traditional skis require.
And when the weather changes? Snowfeet* make it easy to adjust. Their smaller base lets you reapply wax quickly, so you can get back out there instead of spending all your time on maintenance.
Comparing Features: Snowfeet* vs. Traditional Skis
Here’s a quick breakdown of why Snowfeet* stand out compared to traditional ski brands:
| Feature | Snowfeet* | Traditional Brands (Rossignol, Atomic, Head) |
|---|---|---|
| Waxing Time | Quick and simple | Long and tedious |
| Wax Usage | Minimal wax needed | Requires more wax for larger surfaces |
| Portability | Compact and easy to carry | Needs ski bags or roof racks |
| Learning Curve | Beginner-friendly | Advanced waxing techniques needed |
| Versatility | Works on various terrains | Often specialized for specific conditions |
| Storage | Takes up little space | Bulky and harder to store |
| Boot Compatibility | Works with winter shoes and snowboard boots | Requires specialized ski boots |
| Price Range | Budget-friendly | Generally more expensive |
| Maintenance | Easy and cheap | More complex and costly |
One of the big wins for Snowfeet* is boot compatibility. You can use them with standard winter boots or snowboard boots - no need to shell out for specialized ski boots. And their compact size means you can store them easily and even maintain them at home, avoiding the hassle of transporting bulky skis.
For beginners, Snowfeet* also offer a gentler learning curve, especially when it comes to waxing. The smaller base is more forgiving, making it easier to practice and perfect your technique. All in all, Snowfeet* are a practical, low-maintenance option for anyone who’d rather spend their time gliding through the snow than fussing over gear.
Conclusion: Simple Waxing with Snowfeet*
Waxing your skis isn’t just about maintenance - it’s about improving your performance on the snow. With Snowfeet*, the process becomes quick and hassle-free. Their compact design skips the need for the complicated upkeep that traditional skis often demand. You’ll spend less time waxing and more time carving up the slopes.
This streamlined approach to waxing directly enhances your skiing experience. Shorter skis like Snowfeet* are naturally easier to handle, offering excellent control and agility. This makes them especially great for beginners who want to avoid the frustration of catching an edge or losing balance. Whether you’re gliding through flat trails, tackling hiking paths, or hitting snowparks, Snowfeet* give you the freedom to explore without the bulk of traditional skis. Their lightweight build means you can focus on having fun instead of wrestling with heavy gear.
Snowfeet* bring together easy maintenance and intuitive handling. If you’re new to cross-country skiing and want to skip the constant upkeep, these are a smart pick. Designed for quick moves and smooth control, they let you focus on improving your skills and enjoying the ride. With Snowfeet*, you get the efficiency, control, and simplicity that traditional skis can’t offer.
Ready to hit the snow? Snowfeet* prove that sometimes, smaller gear makes for bigger adventures.
FAQs
How is waxing Snowfeet different from waxing traditional cross-country skis?
Waxing Snowfeet is a breeze compared to waxing traditional cross-country skis. Thanks to their shorter length (usually between 15–47 inches) and lightweight materials, Snowfeet are much easier to handle and maintain. Plus, their compact design means you’ll spend less time prepping and more time carving up the slopes.
On the other hand, traditional cross-country skis - like those from well-known brands such as Rossignol or Atomic - are built for performance across a variety of snow conditions. These longer skis demand more precise waxing to strike the right balance between glide and grip, especially for advanced skiers tackling extended trails. Snowfeet, however, are an ideal choice for beginners or casual skiers who want a fun, low-maintenance option that still offers great control and easy maneuverability.
What type of wax should I use for different snow conditions and temperatures?
The kind of wax you choose depends on the snow’s condition and temperature. For cold, icy snow, hard wax is your go-to - it gives you the grip and glide you need. On the flip side, if the snow is warmer and wetter, softer wax does the trick because it handles the moisture better.
When you're picking wax, pay attention to the snow temperature, not the air temperature. Most waxes come with labeled temperature ranges, so you can easily find one that matches your needs. Taking a little time to pick the right wax can seriously improve your skiing experience and make your time on the trails way more fun.
Why are Snowfeet* a great option for beginners compared to traditional skis?
Snowfeet* are a fantastic option for beginners because they’re lightweight, compact, and way easier to manage compared to traditional skis or snowboards. Their smaller size and straightforward design make it simpler for newbies to pick up the basics, build confidence, and actually enjoy gliding down the slopes without feeling overwhelmed. Unlike the bulkier skis from brands like Rossignol or Atomic, which can be tricky to control, Snowfeet* provide a more user-friendly and less intimidating way to dive into winter sports.
What’s more, Snowfeet* are super versatile and packed with fun. They’re perfect for anyone curious about trying out winter activities without committing to heavy, complicated equipment. Easy to carry, quick to strap on, and great for casual outings, they let beginners focus on the joy of the experience rather than stressing over technique or managing gear.


Leave a comment
This site is protected by hCaptcha and the hCaptcha Privacy Policy and Terms of Service apply.