
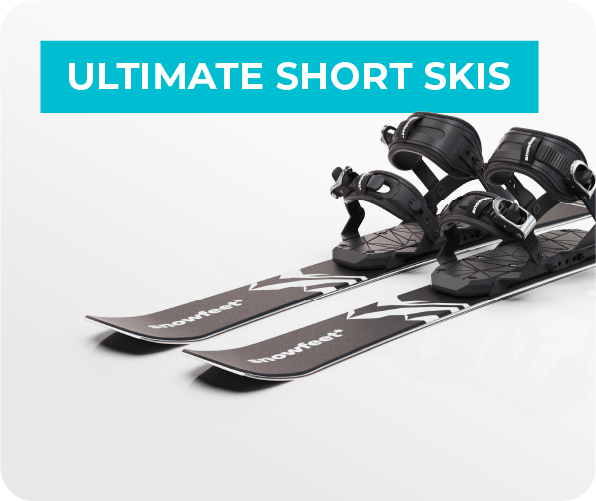
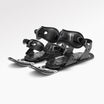
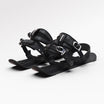
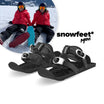
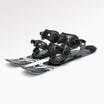
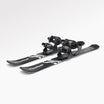
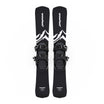
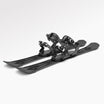
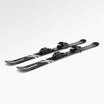
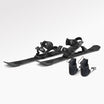
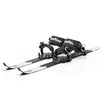
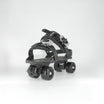
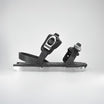
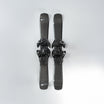
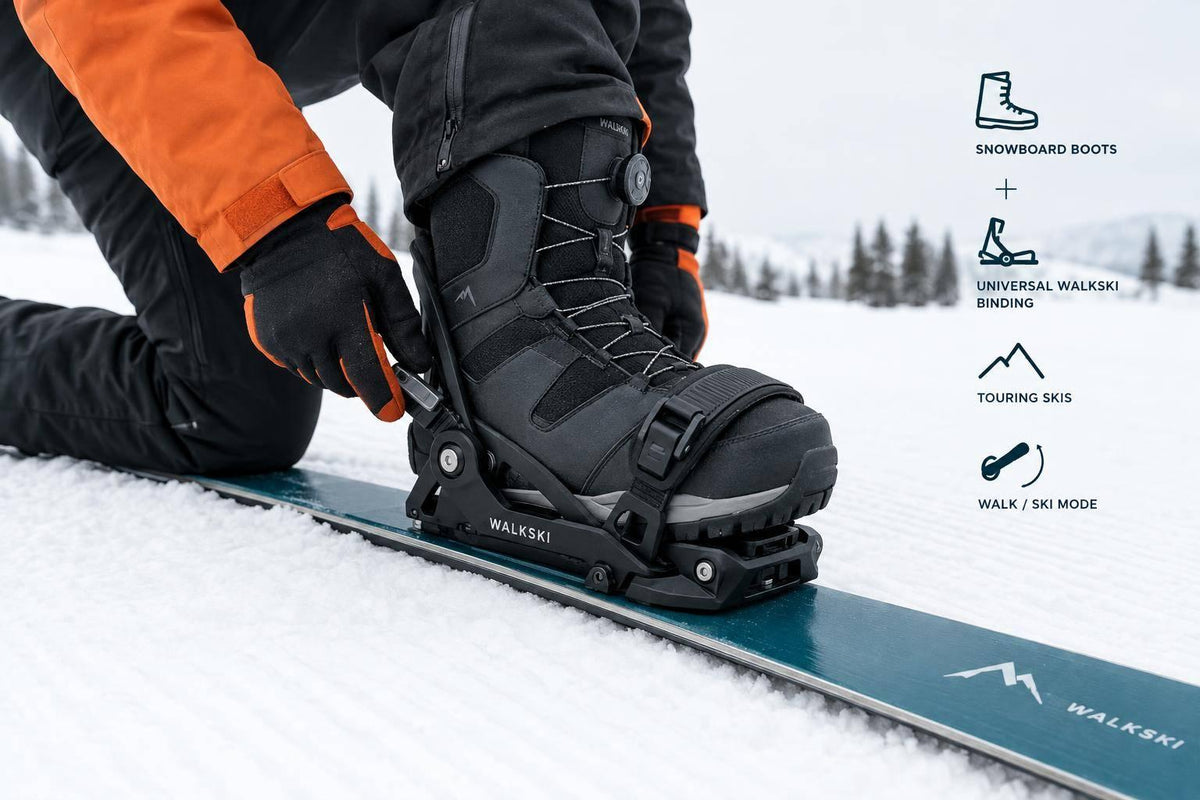
_Yes - you can use snowboard boots with Snowfeet WALKSKI 100 cm touring skis if they fit the universal free-heel binding._* The listed range is US 6–14.5, but I’d check your exact boot’s fit before buying. Size alone isn’t enough.
Here’s what I’d check before heading out:
- Fit: Your boots should stay seated without slipping or twisting. Some Burton Step-On boots may not fit.
- Binding modes: Use Walk on flats and the two climb settings for uphill travel. <u>Lock the heel in Ski mode before going downhill.</u>
- Control: Test walking, climbing, turns, and stops on gentle snow first. Snowboard boots offer a middle ground between soft winter boots and rigid ski boots.
- Route safety: Check weather, snow, and avalanche conditions. Carry the gear your trip calls for.
My take: use the boots you own only if they pass the fit and control checks. A listed size match isn’t a green light for the backcountry.
Snowfeet WALKSKI | Backcountry Skiing in Georgia
Which WALKSKI Bindings and Boot Sizes Work?
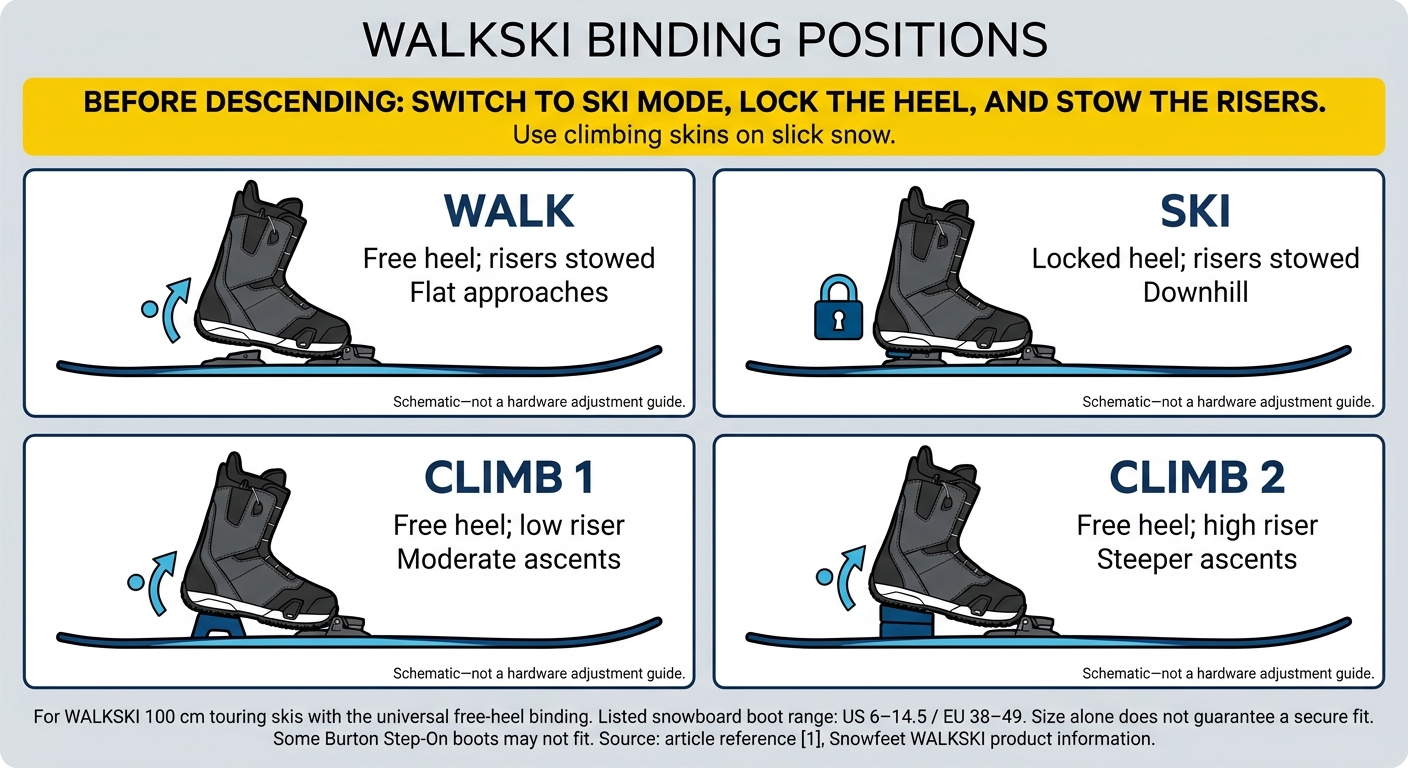
WALKSKI Binding Modes: Walk, Ski, Climb 1 and Climb 2
Choose the Universal Free-Heel Binding
Use the universal free-heel binding listed for WALKSKI. Your boot’s shape and bulk determine whether it fits securely.
Check Boot Size and Shape
Snowfeet* lists snowboard boots in US 6–14.5 / EU 38–49. Size alone doesn’t tell the whole story. Outsole length and width, boot bulk, heel shape, and binding adjustment all affect fit.
Make sure the outsole and heel sit fully in the binding, with no side-to-side play or heel lift. The retention system should close cleanly, too. For bulky boots or sizes near the limits, check the exact boot model and outsole dimensions before buying. Then check that fit in the binding positions you’ll use on snow.
Understand the 4 Binding Positions
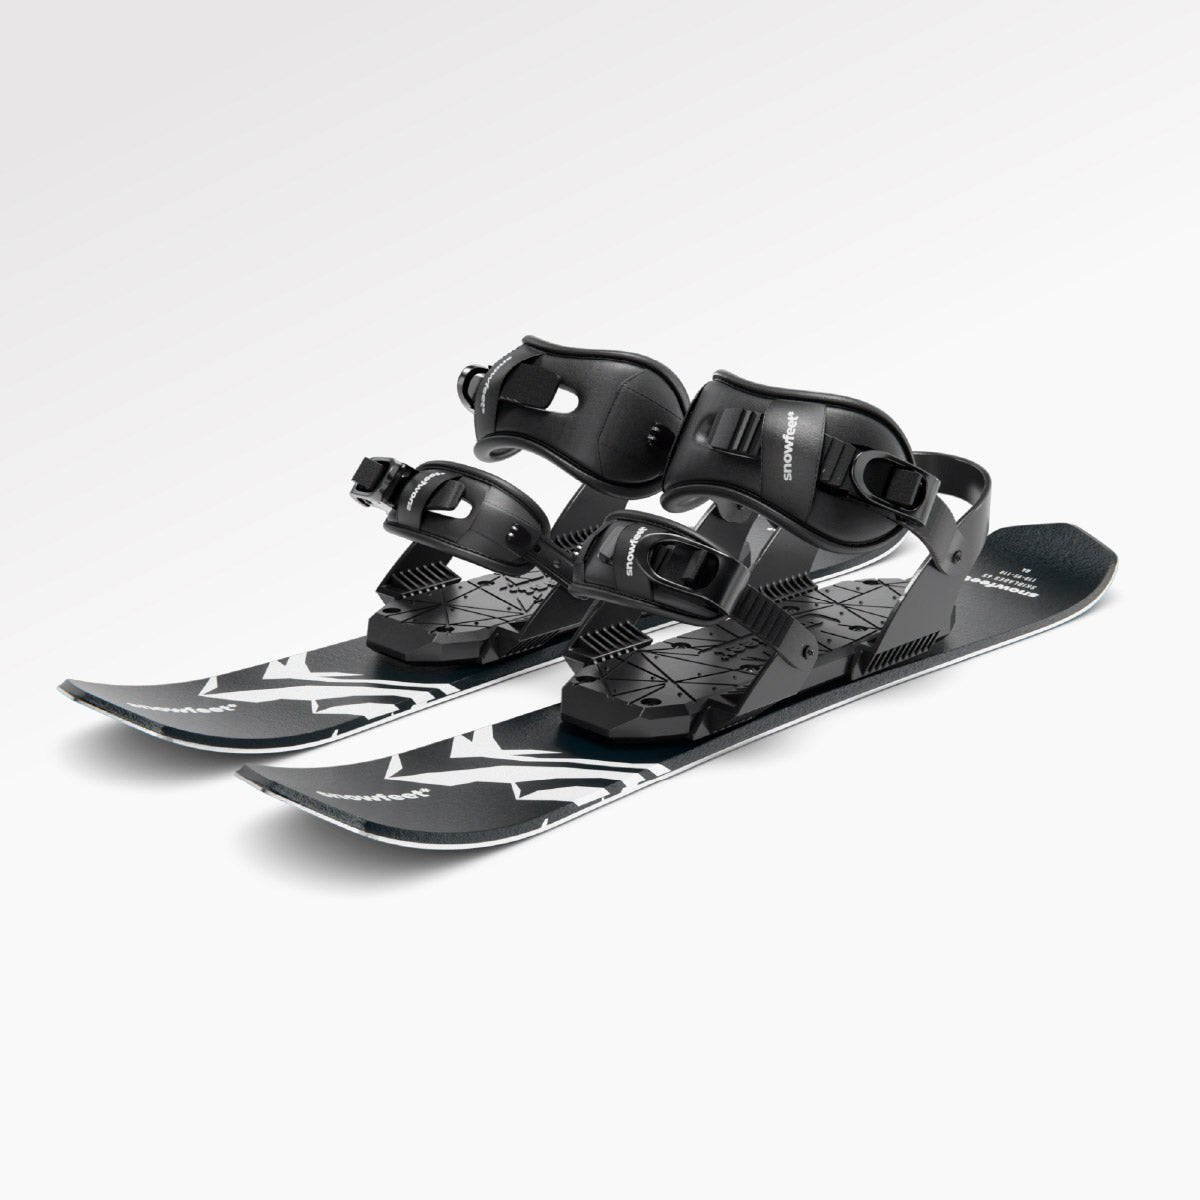
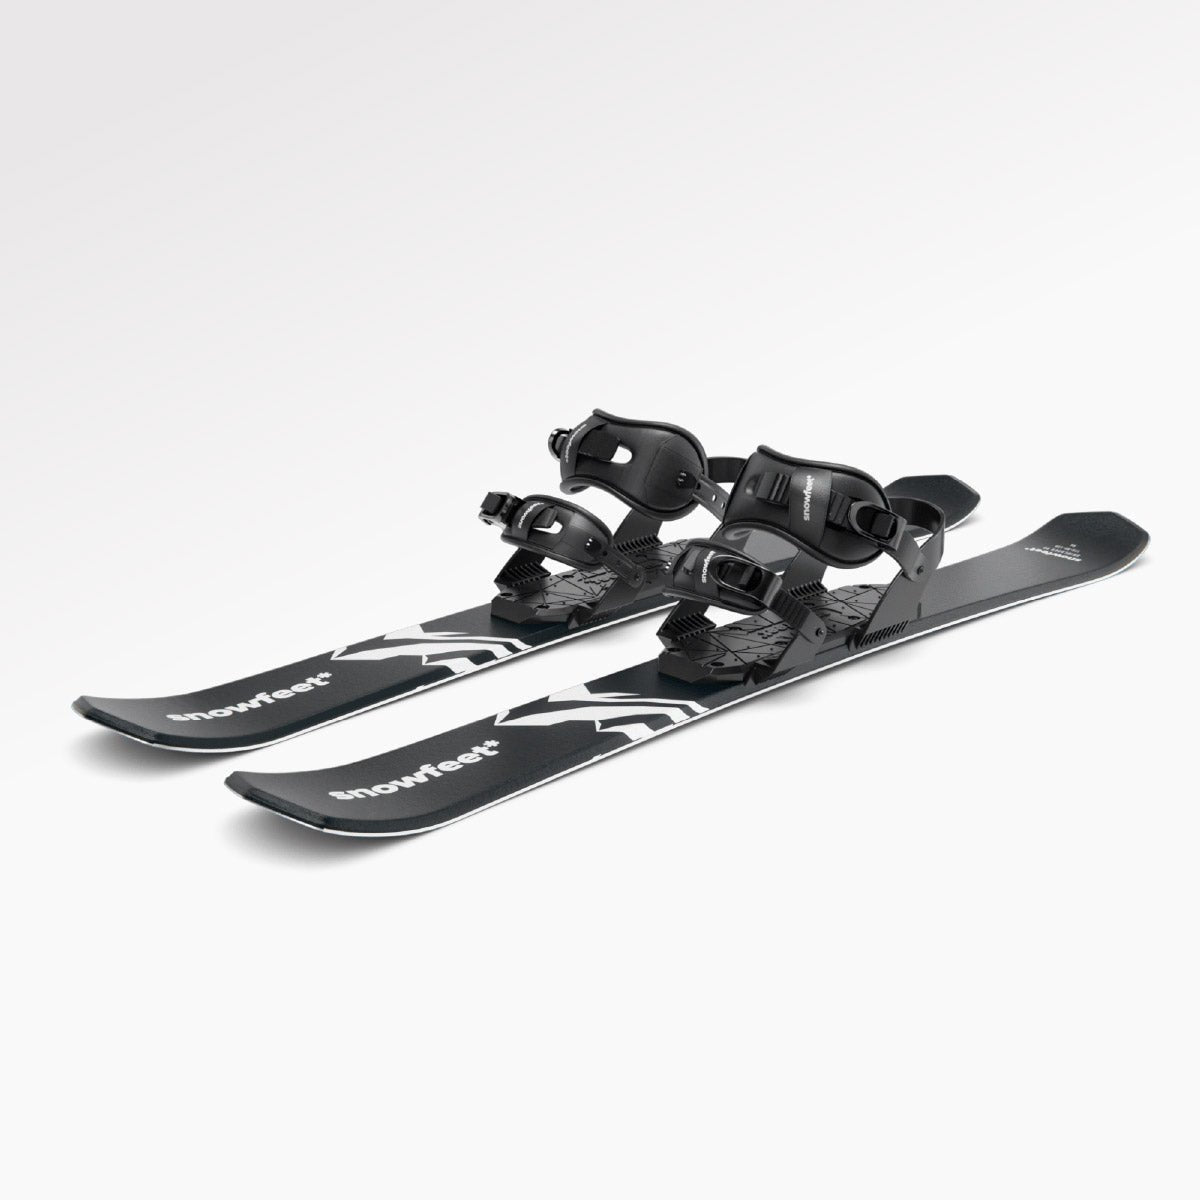
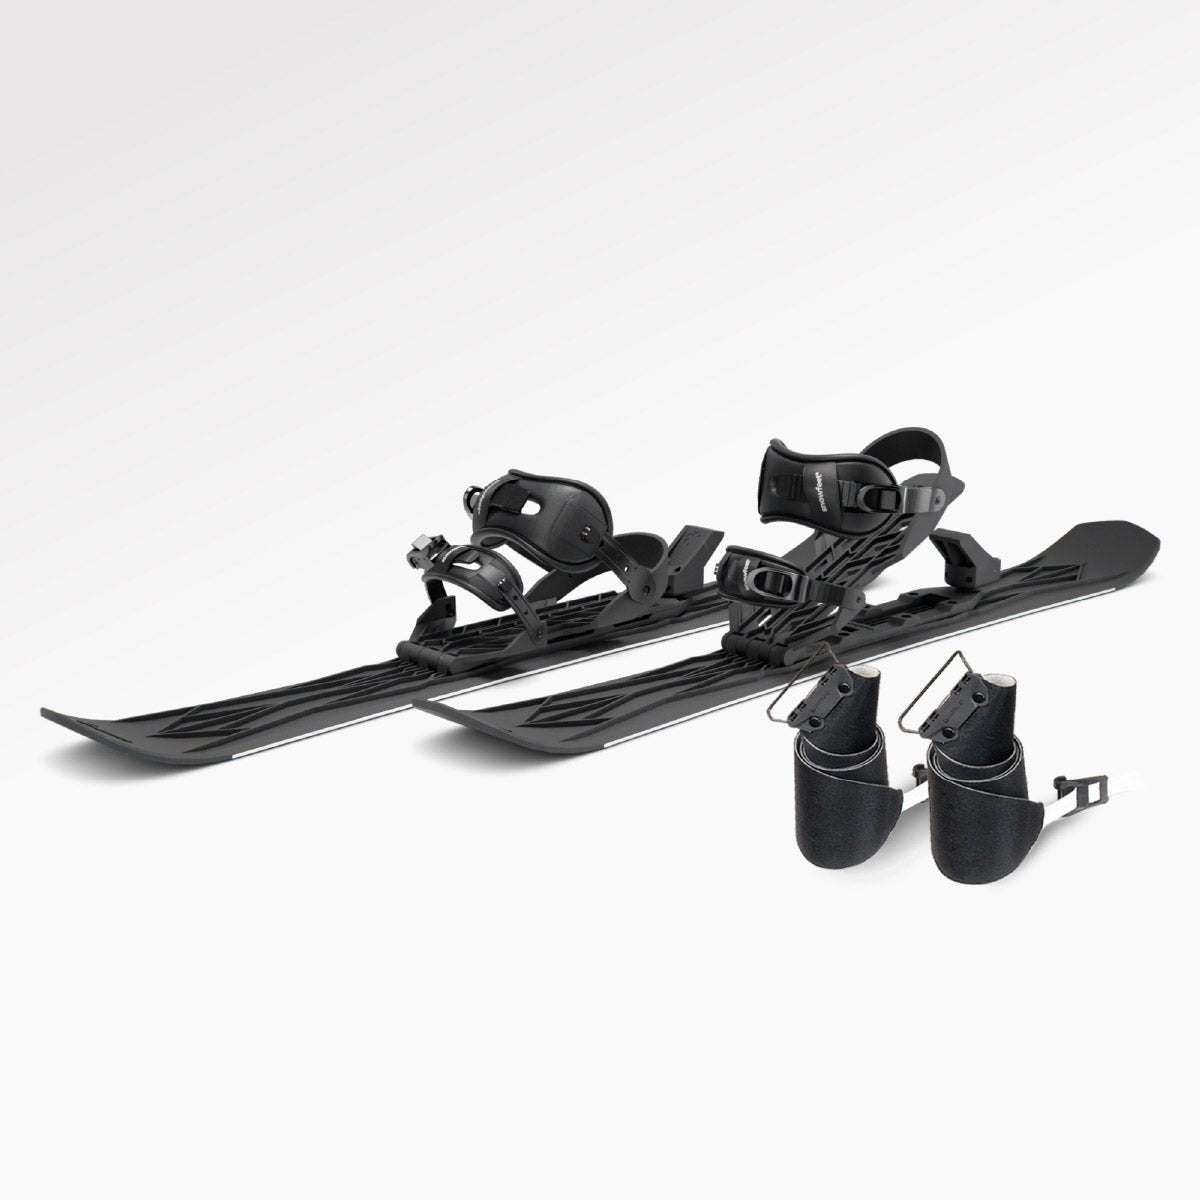
WALKSKI has a four-mode binding system.
| Position | Heel and riser setting | Intended use |
|---|---|---|
| Walk | Free heel; risers stowed | Flat approaches |
| Ski | Locked heel; risers stowed | Downhill |
| Climb 1 | Free heel; low riser | Moderate ascents |
| Climb 2 | Free heel; high riser | Steeper ascents |
Use climbing skins on slick snow, and switch to Ski mode before descending. Once you’ve checked the fit and learned the modes, test boot retention and control before riding farther.
What Should You Check Before Buying or Riding?
Confirm Binding Choice and Boot Retention
After checking size and mode settings, confirm your exact boot model will fit before you buy. Check that the listing is for the WALKSKI 100 cm Backcountry Touring model with the universal free-heel binding. Some Burton Step-On boots may not fit due to their sole shape. If you’re unsure about your boot model or size, email contact@snowfeetstore.com.
Test boot retention on snow, not just indoors. Inspect the straps, buckles, screws, and heel retention hardware. Center each boot and fasten the binding adjustments. Then twist and flex the boot to check that the heel and forefoot stay seated, with no side-to-side play or accidental release. Check again after several minutes of walking. Don’t ride with a loose fit or use tape, extra straps, drilling, or homemade parts to secure it.
Test Walking, Climbing Risers, and Traction
Start on level, packed snow. Try short steps, longer strides, turns, small uneven areas, mode changes, and both climbing risers. Stop if the sole drags, the binding twists, or repeated steps cause rubbing or limit your movement. If you tour with skins, check that they’re centered, fully attached, and clear of the binding hardware.
Test Downhill Support on Gentle Terrain
If uphill walking feels stable, check downhill control on easy terrain. Pick a gentle, open slope with a long, flat runout. Lock the heel and stow the risers, then try slow glides, controlled turns, and stops.
Softer snowboard boots may give you less rigid ankle support and less precise edging than ski boots. Stop if your ankles collapse sideways, your heels lift inside the boots, or you can’t control the skis on edge and through turns. Use a stiffer, better-fitting boot or a different setup.
Before touring, assess the terrain, weather, snow stability, avalanche conditions, route difficulty, and your rescue skills. Carry the gear your route calls for: avalanche rescue gear where needed, navigation, communication, layers, food, water, and basic repair supplies. Start on familiar terrain where a mistake is less likely to cause harm. Move to harder routes only after you’ve confirmed reliable walking, climbing, mode changes, and downhill control.
sbb-itb-17ade95
How Do Snowboard, Winter, and Ski Boots Compare?
If your boots passed the fit checks above, use this table to choose what works best for you. Walking comfort and downhill support for WALKSKI use vary by boot model.
| Boot type | Published compatibility | Walking comfort | Downhill support | Best fit for |
|---|---|---|---|---|
| Snowboard boots | US 6–14.5 / EU 38–49 | Generally comfortable for walking | Moderate; depends on boot stiffness and binding retention | Casual users who want to reuse suitable boots |
| Winter boots | US 6–14.5 / EU 38–49 | Usually easiest to walk in | Low to moderate; depends heavily on boot design | Users who put walking comfort first |
| Ski boots | US 4.5–14.5 / EU 36–49 / mondo 22.5–32.5 | Least natural to walk in | Most rigid support | Users who put edging and downhill control first |
Snowboard boots are the best starting point for most casual WALKSKI users. They balance walking comfort with downhill support.
Winter boots are the easiest to walk in, but they need to be waterproof, with firm ankle support and a stiff sole. Soft casual boots don’t make the cut just because they fit the size range.
Ski boots give you the most rigid downhill support, but they’re the hardest to walk in.
Conclusion: Are Your Snowboard Boots Right for WALKSKI?
For many snowboard boots, yes - if they pass the fit and control checks above. Snowfeet* WALKSKI 100 cm works well for easy touring when your boots sit securely in the universal free-heel binding.
If your boots slip, pinch, or twist in the binding, try a different boot or setup.
With a secure fit, walking comfort, and downhill control, WALKSKI lets you use your snowboard boots without buying dedicated touring boots.
FAQs
Which boot measurements should I send Snowfeet* to confirm WALKSKI compatibility?
You don’t need to send specific boot measurements. WALKSKI’s universal bindings fit standard snowboard, winter, and ski boots within supported size ranges. For snowboard and winter boots, that’s US men’s 6–14.5 (EU 38–49).
Not sure about sizing or your boot’s sole shape, such as with Burton Step-On boots? Email contact@snowfeetstore.com with your exact boot size to check compatibility before you buy.
How stiff should my snowboard boots be for WALKSKI touring?
Choose snowboard boots with a flat, firm sole and enough ankle flex to walk with a natural stride. Soft snowboard boots tend to feel best on the climb, but they still need to support you on the ride down.
Skip overly stiff options, like stiff race boots. They can make each uphill step feel jerky and tire you out sooner. Look for a balance of uphill comfort and downhill support.
Can snow buildup affect my WALKSKI binding fit?
Yes. Snow or ice on the base or around the binding mechanism can make your boot wobble or stop it from locking in, reducing control.
Before stepping in, clear away snow, ice, and debris. Check that nothing blocks the binding from holding your boot securely. This helps keep the fit snug and stable, with the binding working as it should in both walking and skiing modes.




Lämna en kommentar
Denna webbplats är skyddad av hCaptcha och hCaptchas integritetspolicy . Användarvillkor gäller.