
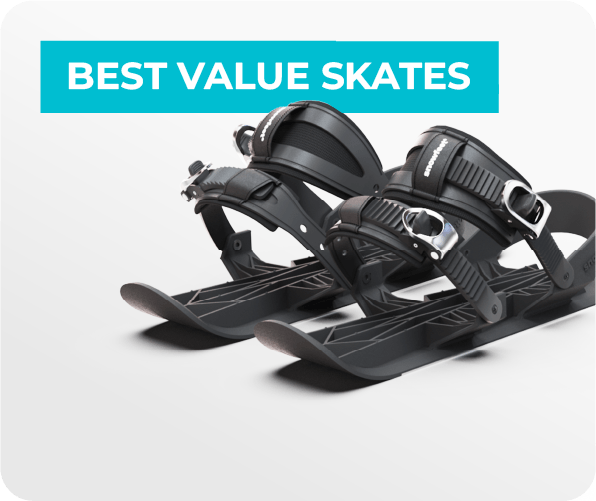
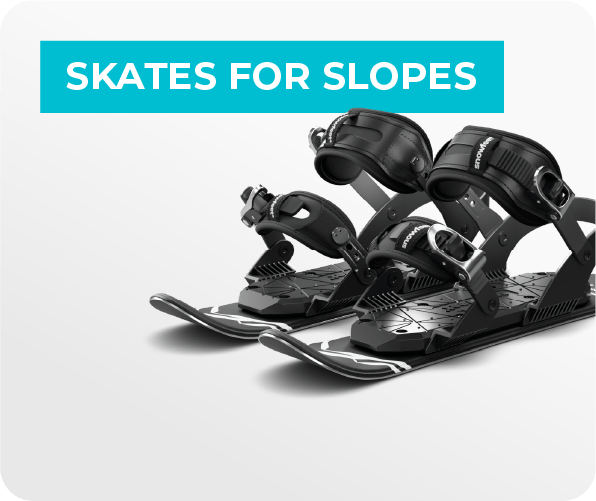
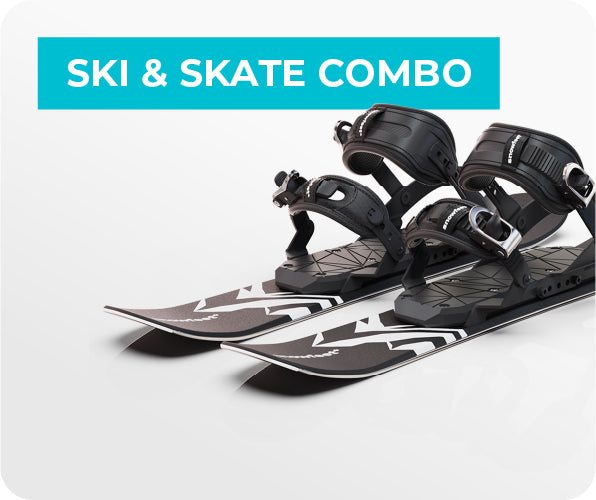
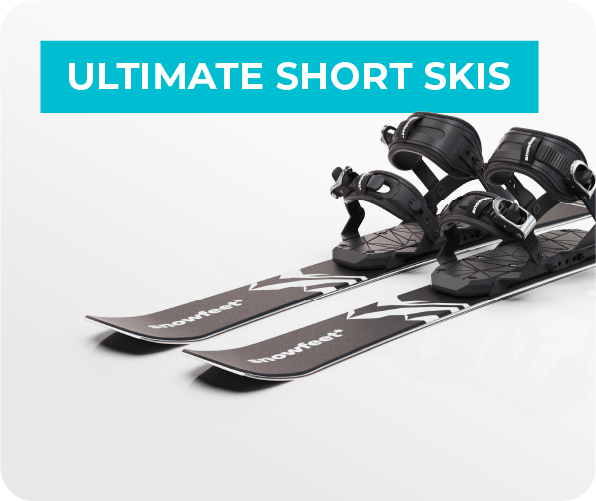
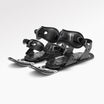
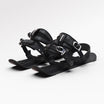
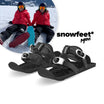
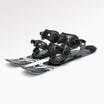
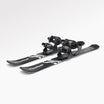
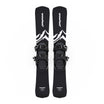
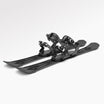
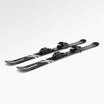
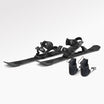
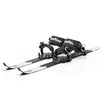
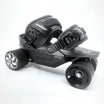
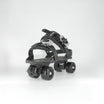
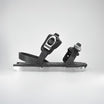
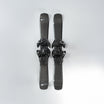

I’d start with fit, not shoe size: Snowfeet* Skiskates for snowboard boots list a US 6–14.5 range (EU 38–49), but your boot’s shape matters too. The 44 cm (17.3 in) label is the skiskate’s length - not the boot size.
Here’s my quick fit checklist:
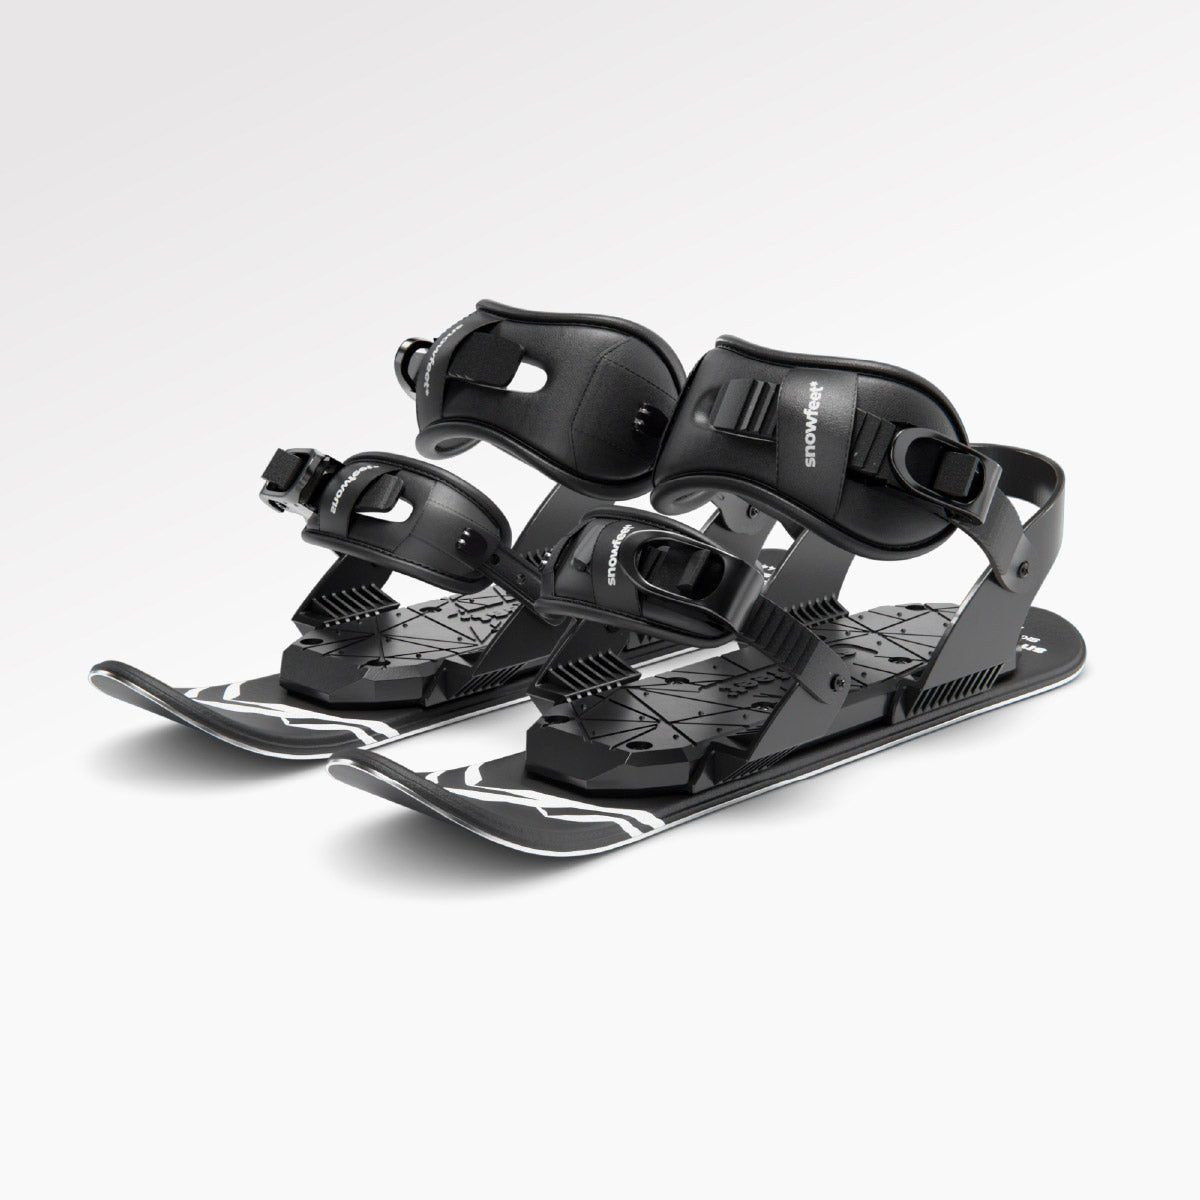
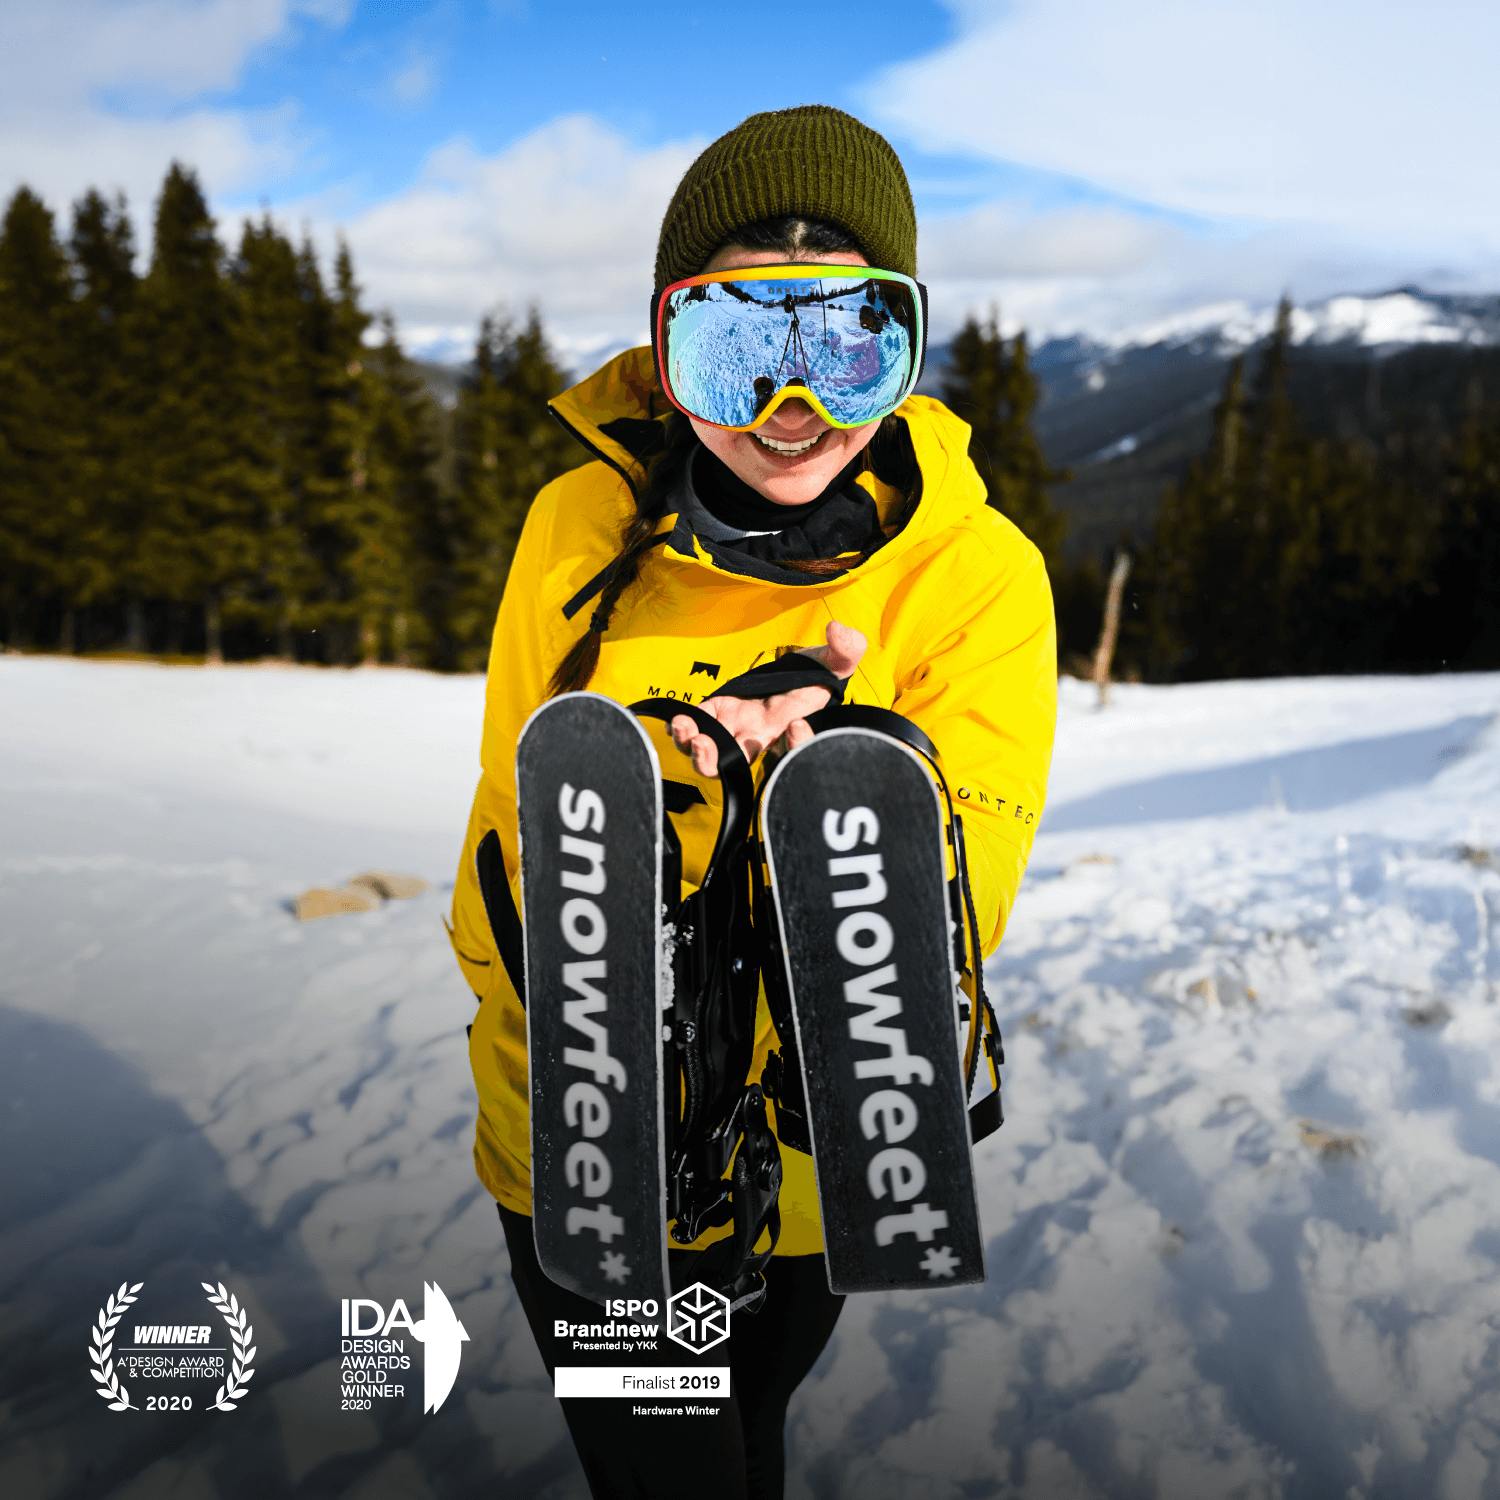
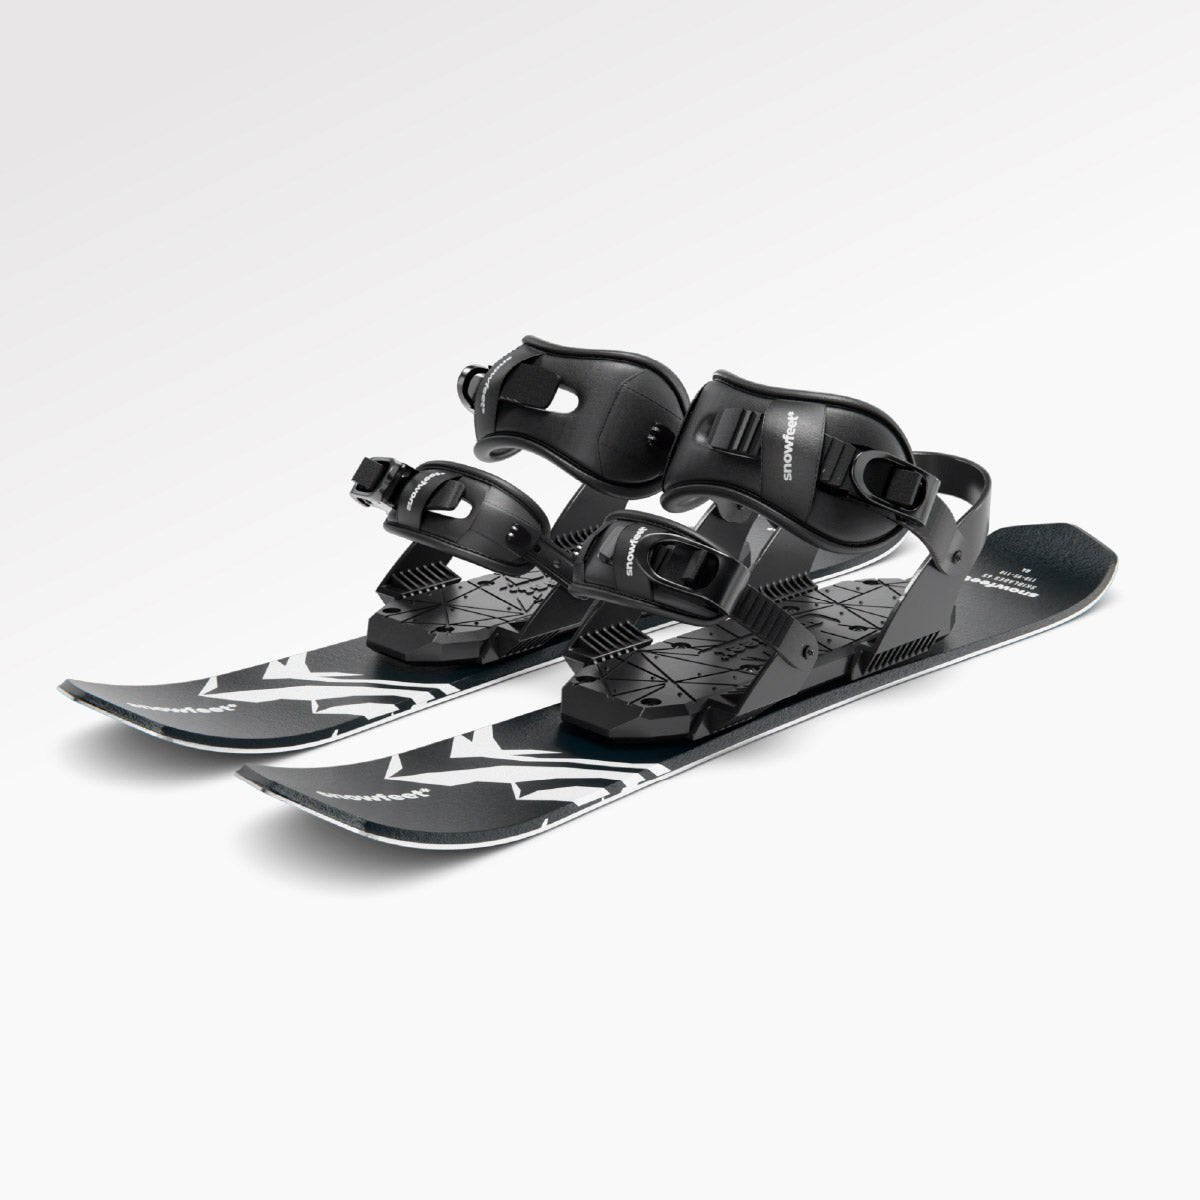
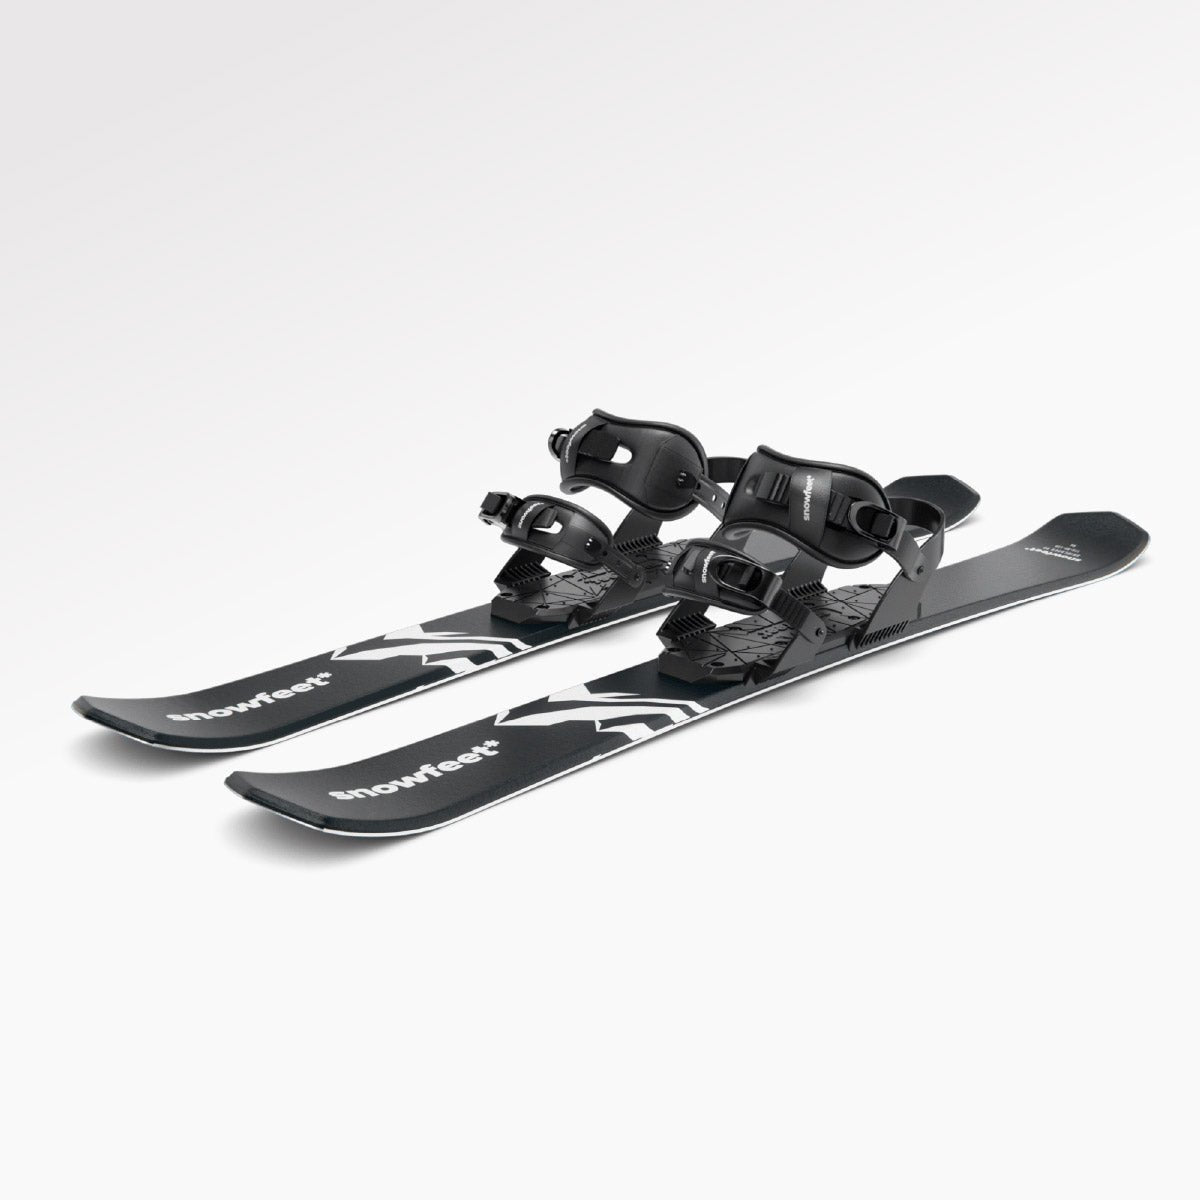
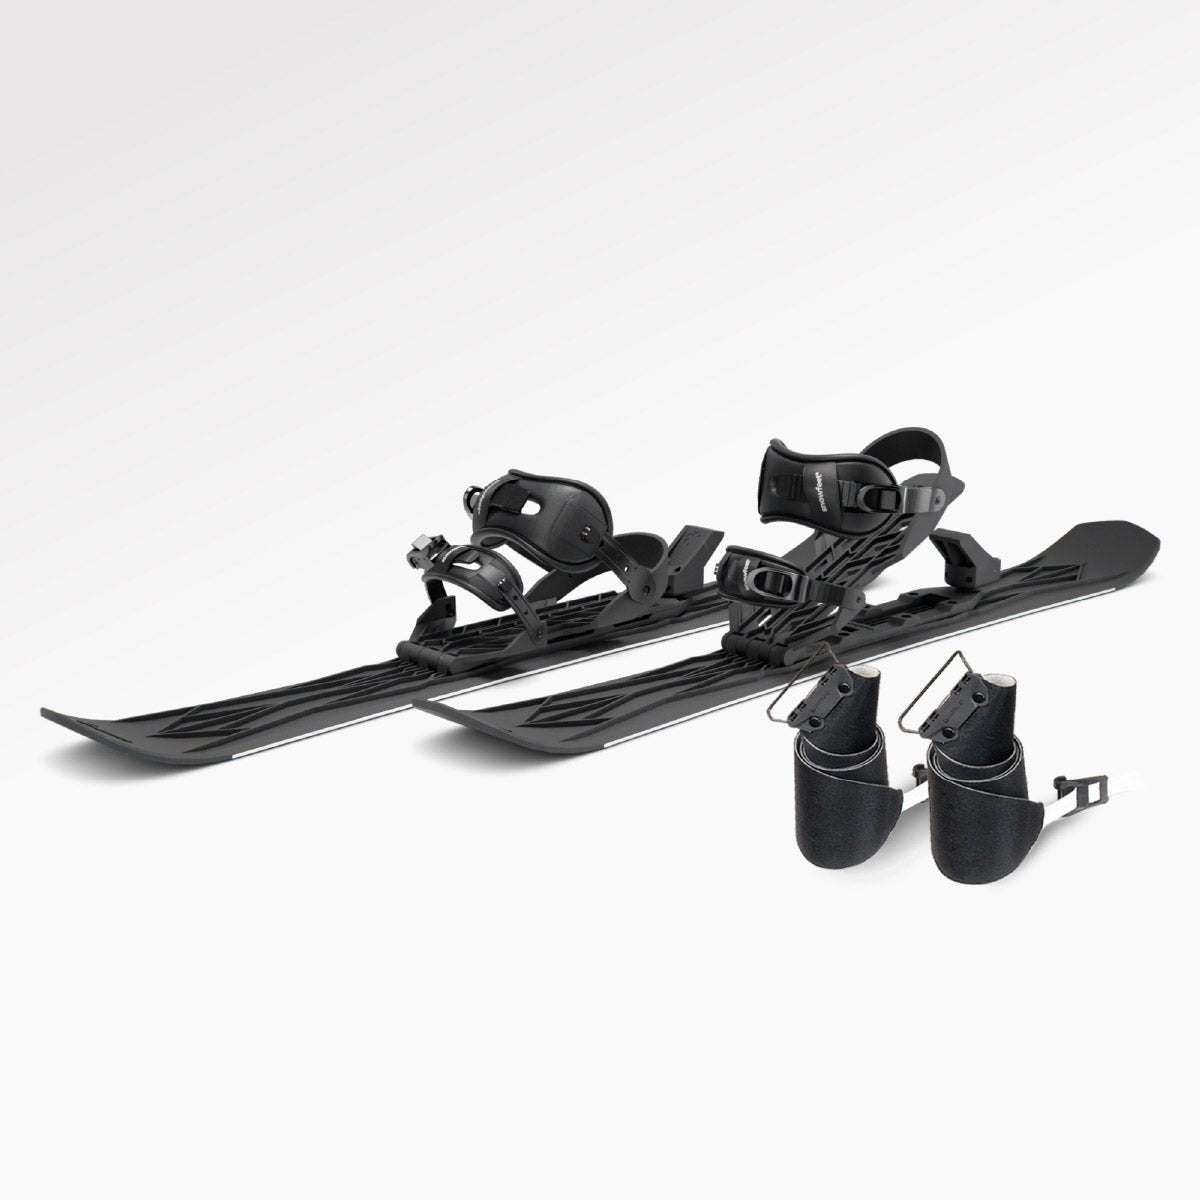
- Pick the snowboard-boot bindings. Basic, Standard, and Pro X offer different strap setups.
- Measure your boot’s sole length and width. Check bulky US 12–13+ boots and Burton Step-On models with the seller before buying.
- Check strap reach and heel hold. The sole should sit flat, with no wobble or pinching. Never force a buckle.
- Test on flat snow. Attach the safety leashes, then recheck straps, screws, and boot placement before heading downhill.
My rule: <u>a listed size isn’t a fit guarantee</u>. Get a snug, stable fit before you ride.
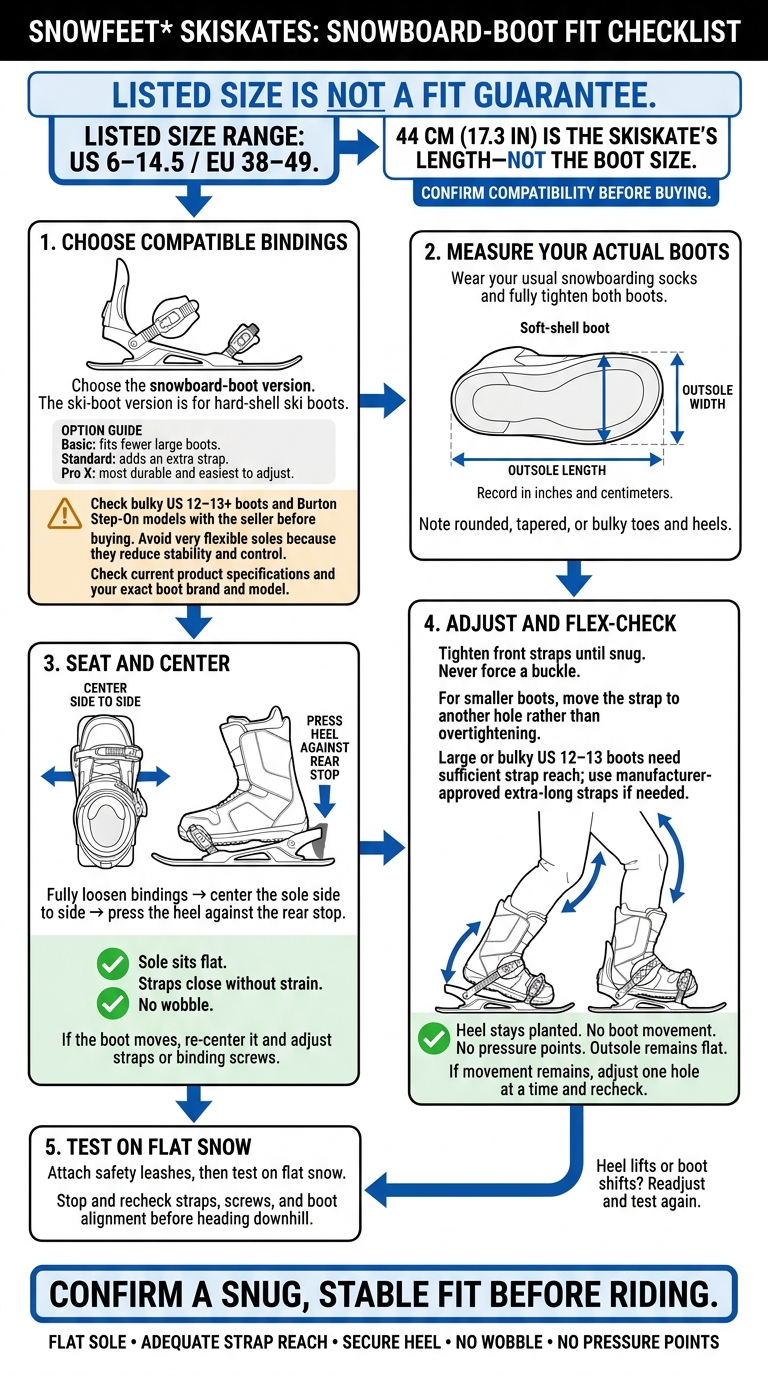
Skiskates for Snowboard Boots: Fit Checklist
All you need to know - Snowfeet* | Skiskates | Skiboards | Snowblades | Skiblades FAQ
1. Check Boot Size and Binding Compatibility
Once you’ve confirmed the size range, match your boot to the Snowboard binding option. Use US 6–14.5 / EU 38–49 as a starting point - not a fit guarantee. Check the boot shape, too.
Choose the Snowboard-Boot Version
Choose the snowboard-boot version for your snowboard boots. The ski-boot version is for hard-shell ski boots. Then pick a strap setup that suits your boot’s bulk.
Basic fits fewer large boots. Standard adds an extra strap. Pro X is the most durable and easiest to adjust.
Check Outsole Shape and Boot Bulk
Avoid boots with very flexible soles. They reduce stability and control.
For US 12–13+ boots, check the exact brand, model, and boot bulk against the product specs before you order. Once you’ve checked the boot shape, measure the sole and center it in the binding.
2. Measure and Position the Boot
Put on your usual snowboarding socks and fully tighten both boots before you measure or check their placement. Measure the boots you’ll ride in, rather than relying on the label size.
Then check how they sit in the binding.
Measure Outsole Length and Width
Measure the outsole from the back of the heel to the farthest point of the toe. Next, measure across its widest part. Record both measurements in inches and centimeters, and note any rounded, tapered, or bulky toes and heels.
Use this worksheet to track each boot’s measurements and fit.
| Boot Model | Outsole Length (in/cm) | Boot Width (in/cm) / Bulk Notes | Strap Position (Hole #) | Fit Result (Secure/Loose/Too Tight) |
|---|---|---|---|---|
Seat the Heel and Center the Sole
Measurements give you a starting point. The fit check shows how the boot sits in the binding.
Fully loosen the Snowfeet* Skiskates bindings. Center the sole side to side, then press the heel firmly against the rear stop. The sole should sit flat, and the straps should close without strain.
If the boot shifts or wobbles, adjust the straps or binding screws. Even when the measurements match, the heel may need a better seat, or the straps may need more reach. If movement remains, re-center the boot and adjust the straps or screws again.
sbb-itb-17ade95
3. Adjust the Bindings and Check the Fit
Once the measured boot is centered, fine-tune the bindings to keep the heel in place.
Adjust Heel Hold and Front Straps
Tighten the front straps until the boot feels snug, but don’t force the buckle. For smaller boots, move the strap to another hole rather than overtightening it.
Large or bulky snowboard boots, especially US sizes 12–13, need enough strap reach to hold the heel without strain. Check that the front straps reach without stretching or forcing them. If needed, swap them for manufacturer-approved extra-long straps.
Check Heel Hold and Pressure Points
Flex your ankles and knees. Your heel should stay planted, with no boot movement or pressure points. The outsole should stay flat on the binding surface.
If the boot still moves, adjust the strap one hole at a time until the heel stays secure. Once the fit is secure and there are no pressure points, move to a flat-snow test.
Test on Flat Snow and Recheck Straps
Secure the safety leashes, then test the fit on flat snow. Stop and check the straps, screws, and alignment. If your heel lifts or the boot shifts, readjust the bindings and test again.
4. Conclusion: Confirm Fit Before Buying or Riding
Before you buy, check the Snowboard Binding setup and current Snowfeet* specs: US 6–14.5 / EU 38–49. The 44 cm (about 17.3 inches) measurement is the skiskate’s length - not the binding size.
Sizing is just the starting point. Make the final fit check your buy/no-buy test: the binding should support your boot’s outsole shape, the straps should reach far enough, and your heel should stay put when you flex. Check for wobble and pressure points before you ride.
If the fit checks out, Snowfeet* is the better choice for most riders who want easy carrying and use of their existing snowboard boots for casual groomed runs and snow parks. Choose longer skis only if speed and stability matter more.
FAQs
How can I confirm boot compatibility before ordering?
Check that your Snowfeet model has snowboard-style bindings. Some models only accept ski boots. Check the official boot-size range for your model: typically US 6–14.5 for 44 cm (about 17.3 in) Skiskates or US 6–13 for 50 cm (about 19.7 in) models. Burton Step-On boots generally won’t fit because of their sole design.
If your size is near either end of the range, or you have bulky freeride boots, email contact@snowfeetstore.com with your exact boot size and model to confirm the fit.
What if my boots fit but the straps are too short?
Don’t ride unless the bindings close fully and hold your boots flat, with no side-to-side movement. Start by using a screwdriver to move the straps to a different adjustment hole.
For large or bulky boots - often US sizes 12–13 - switch to Snowfeet* Standard or Pro X, which come with extra-long straps. Or replace the front toe straps with extra straps. Check that the straps close fully before every ride.
Should I recheck binding fit during the day?
Yes - recheck your binding fit if anything feels loose or unstable. Before your first run, do a lift test: make sure your heel and toe don’t pull away from the plate.
If you feel pressure points, numb toes, or boots that shift, stop. Reset the straps or adjust the binding. Always clear snow and ice from the boot sole and binding platform before strapping in. Even a little can affect the fit.




Lämna en kommentar
Denna webbplats är skyddad av hCaptcha och hCaptchas integritetspolicy . Användarvillkor gäller.