
_Yes - if your tours are short, your budget is under _$700_, and you care more about easy uphill travel than a snowboard-style descent._* If your main goal is the ride down, a splitboard still wins.
Here’s the short version:
- I’d pick WALKSKI 100 cm for short tours, local hills, travel, and hike-and-snow days.
- I’d pick a splitboard for long approaches, deep powder, and riders who want a board feel on the descent.
- WALKSKI starts at $595, while a splitboard setup often lands around $1,000 to $1,500+.
- WALKSKI weighs 6.9 lb to 8.8 lb per pair, based on build.
- WALKSKI fits snowboard boots, winter boots, and ski boots. A splitboard setup is more tied to snowboard boots and splitboard bindings.
So, this isn’t a “which one is best?” thing.
It’s more like:
- Do you want less gear and less setup?
- Or do you want the best downhill board feel?
That’s the whole game.
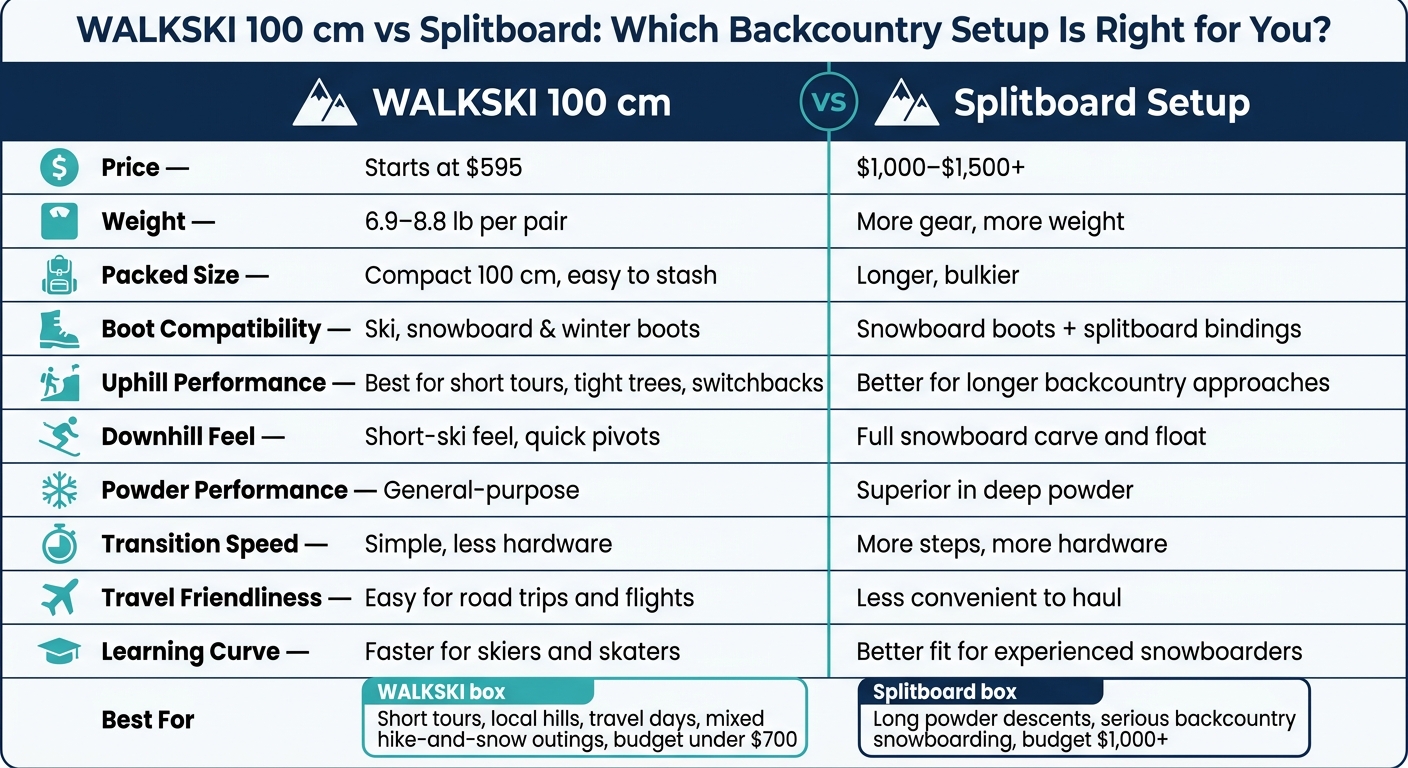
WALKSKI 100 cm vs Splitboard: Which Backcountry Setup Is Right for You?
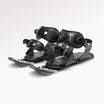
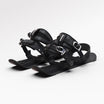
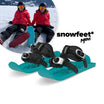
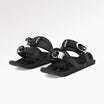
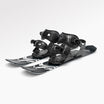
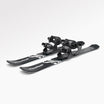
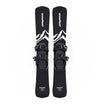
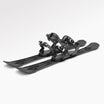
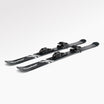
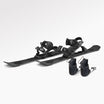
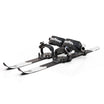
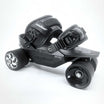
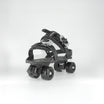
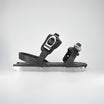
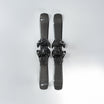
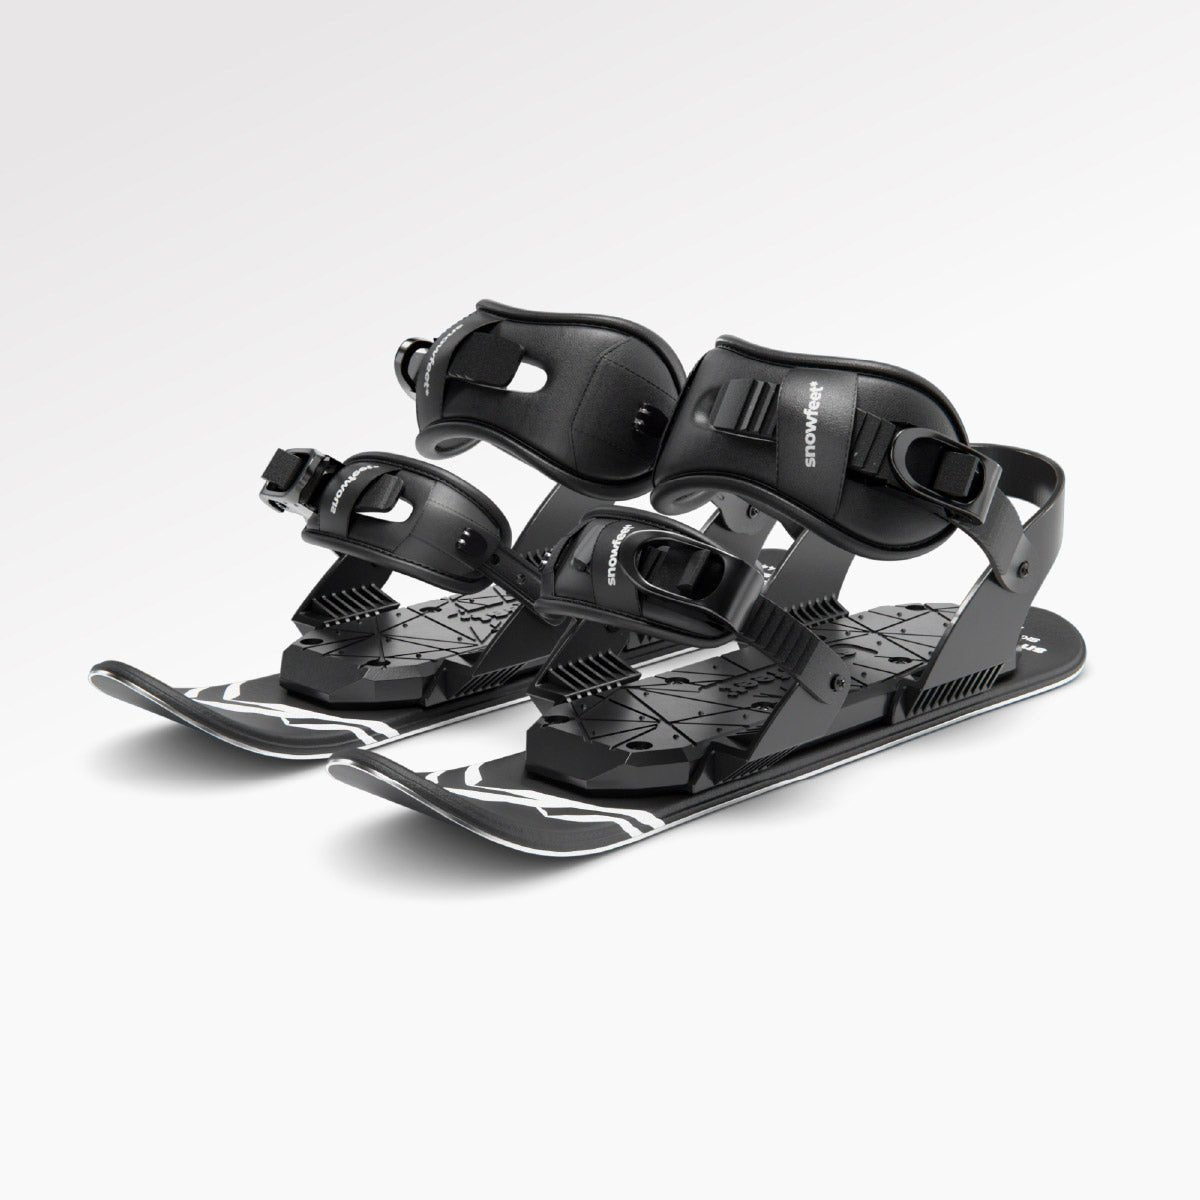
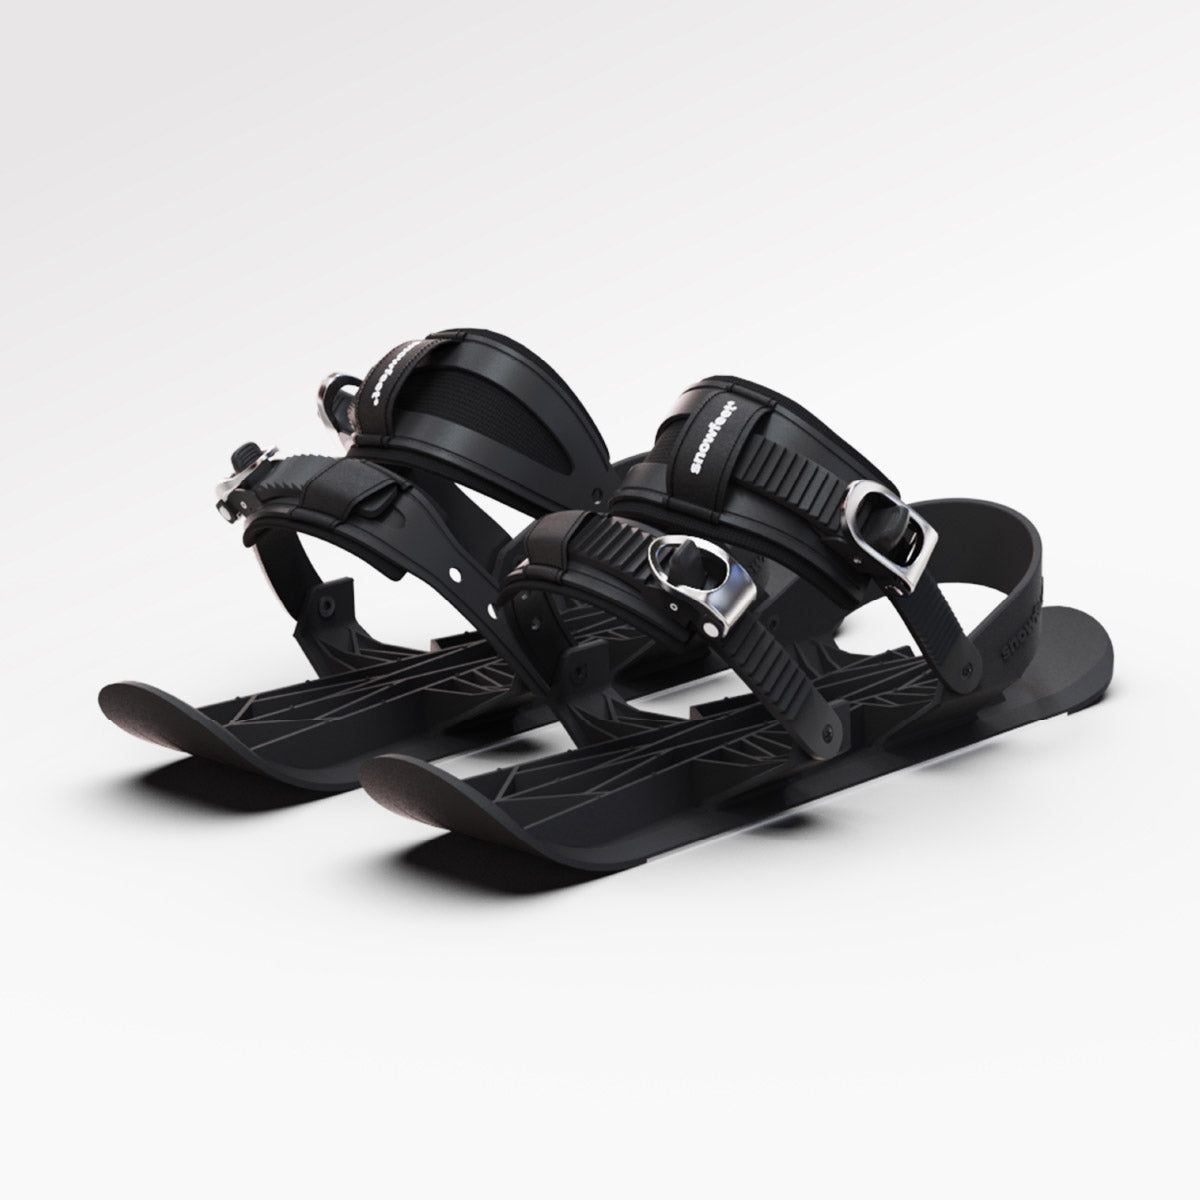
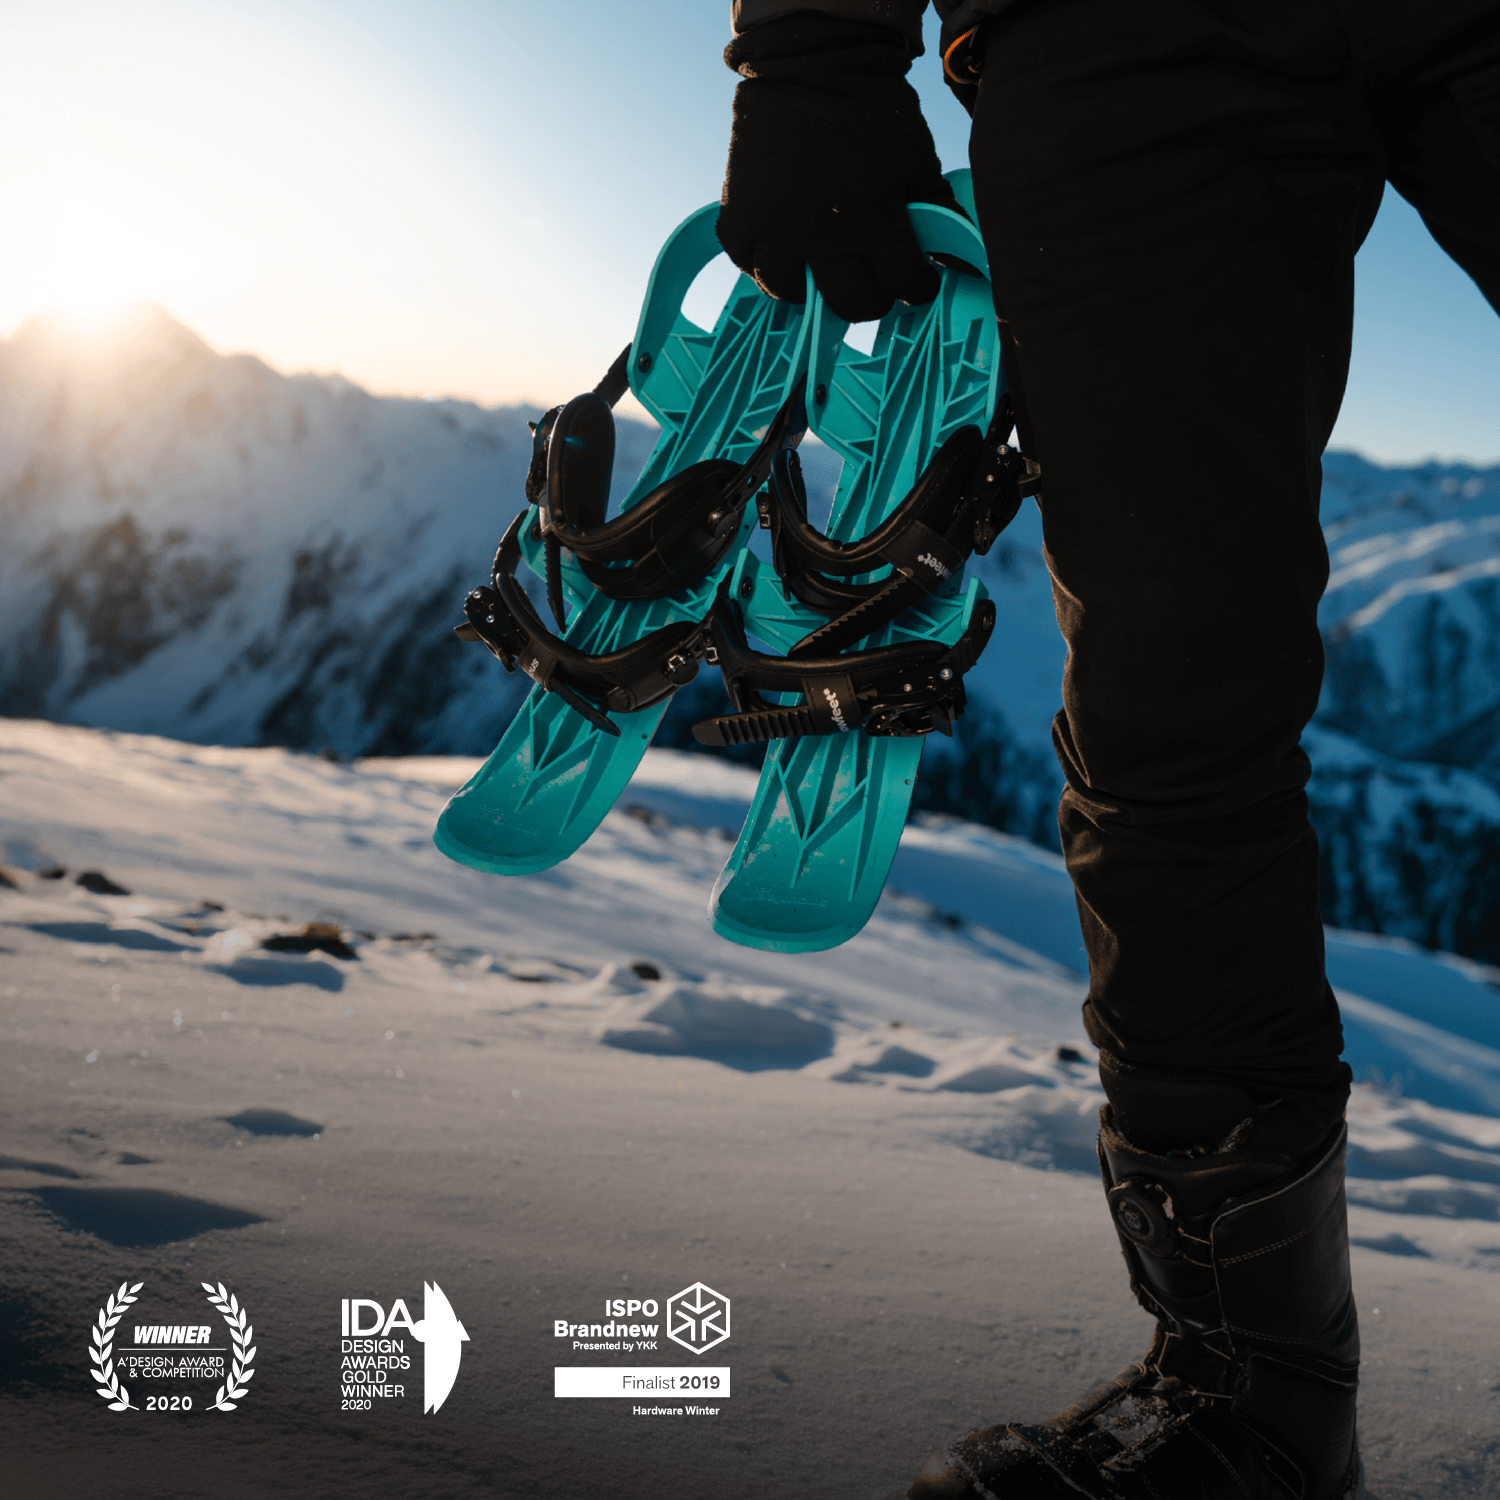
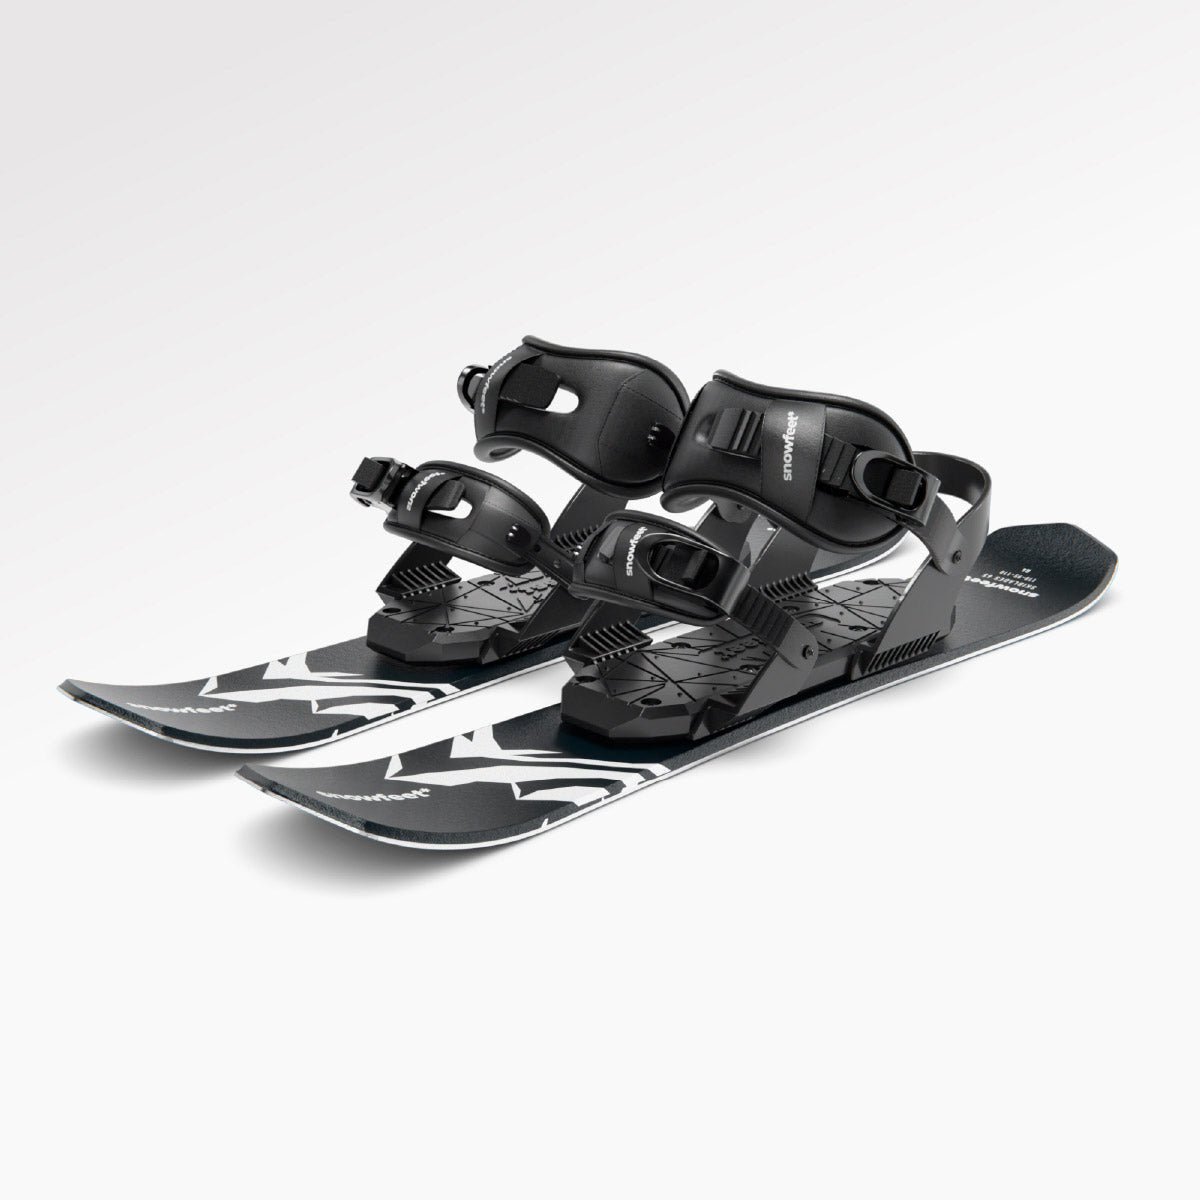
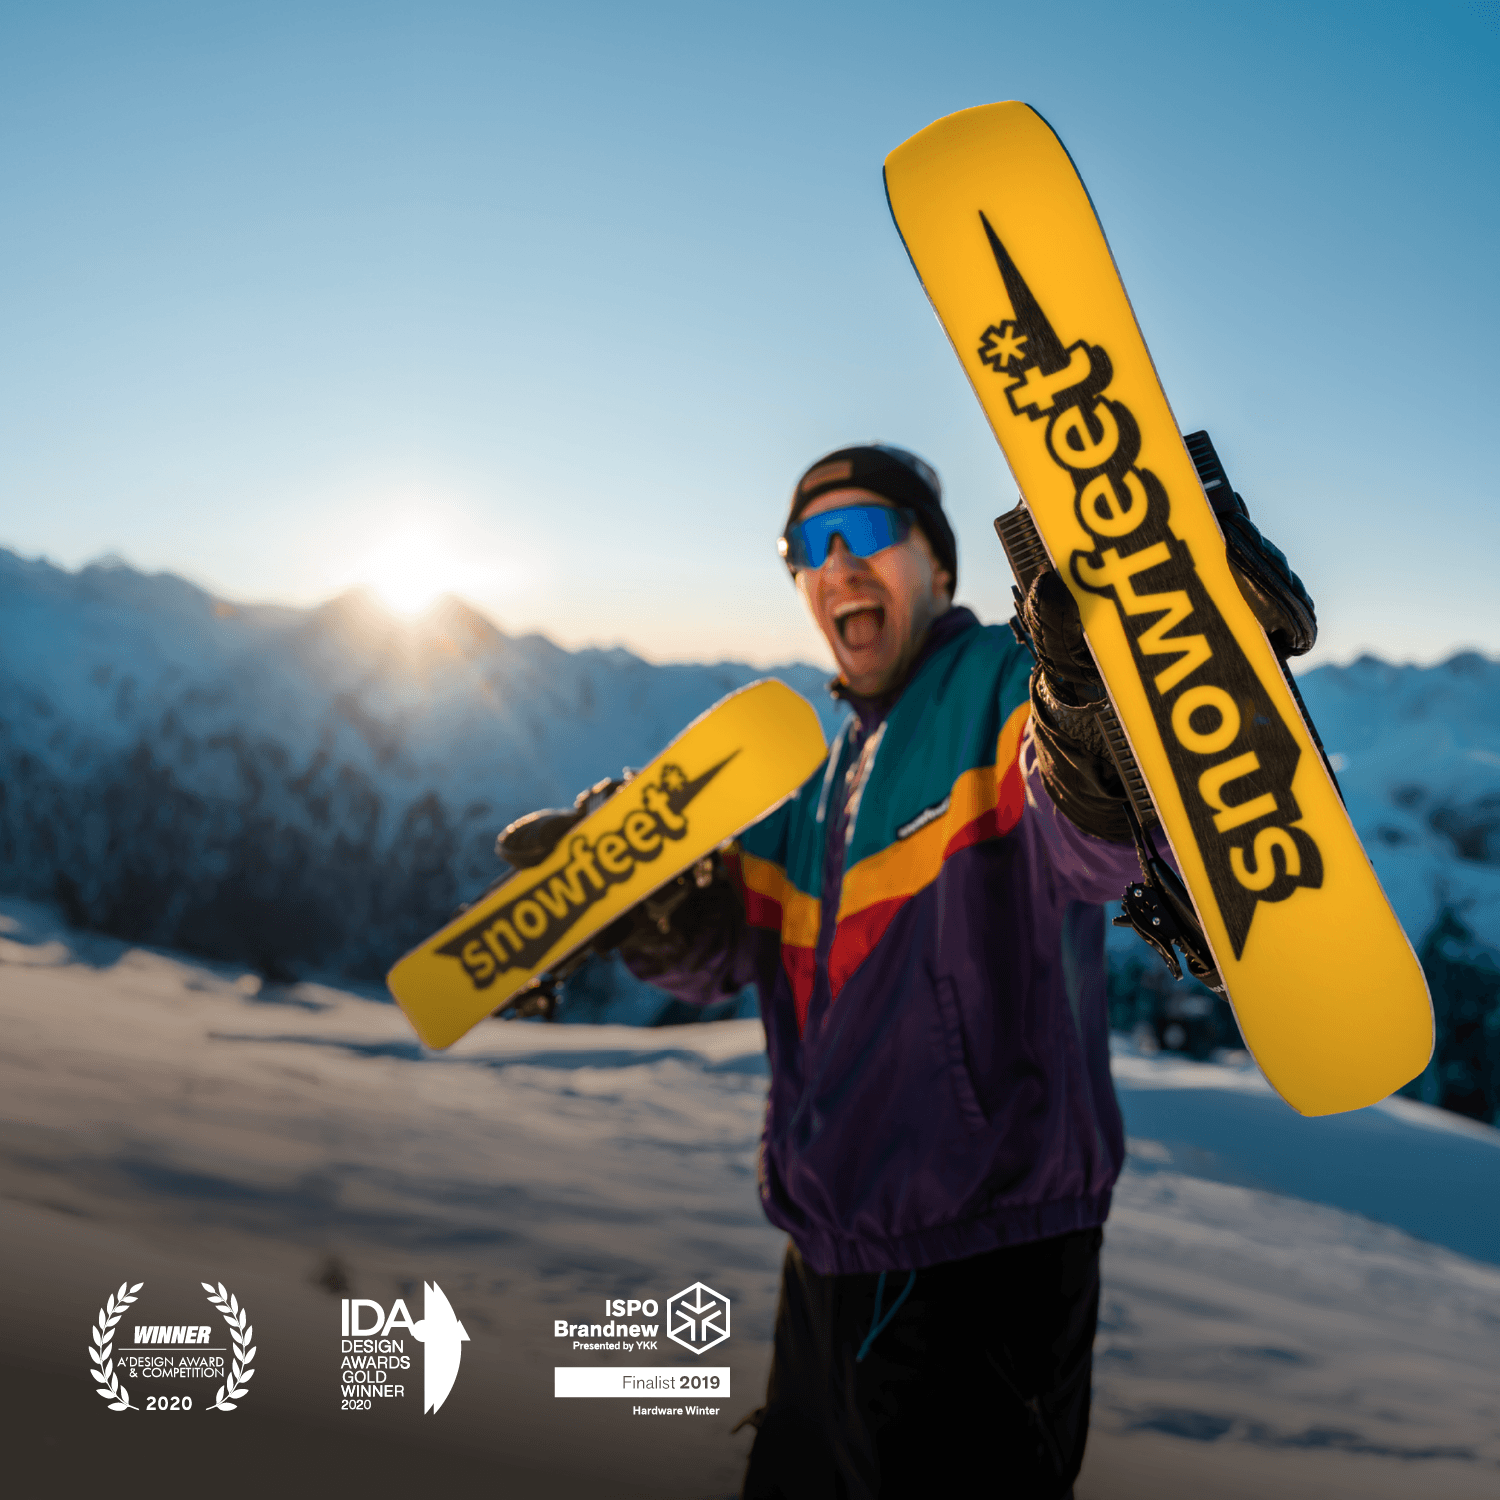
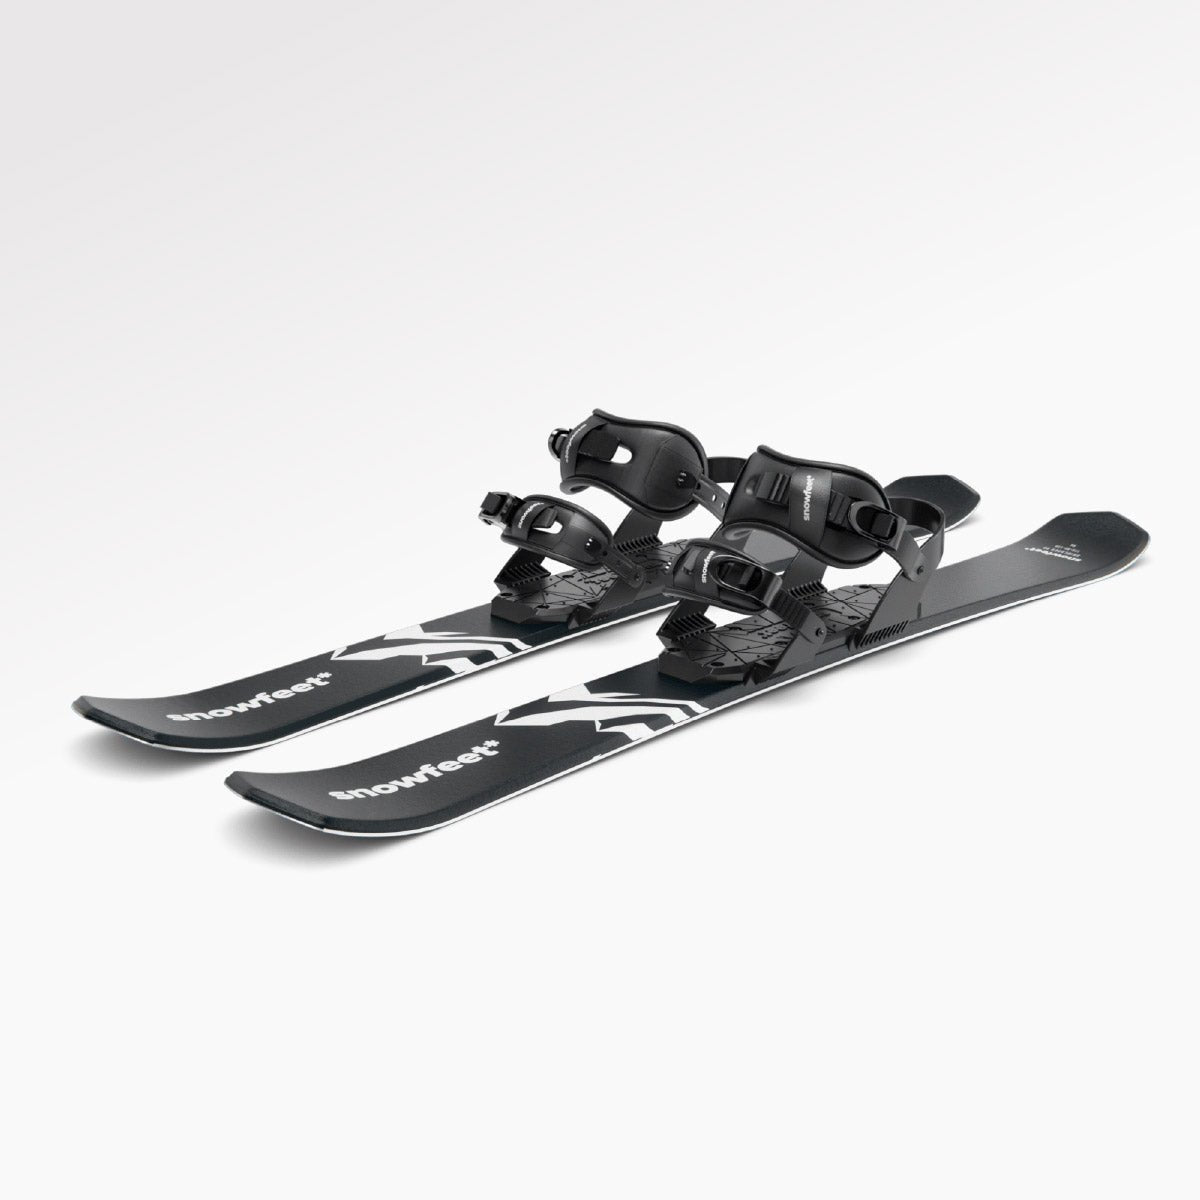
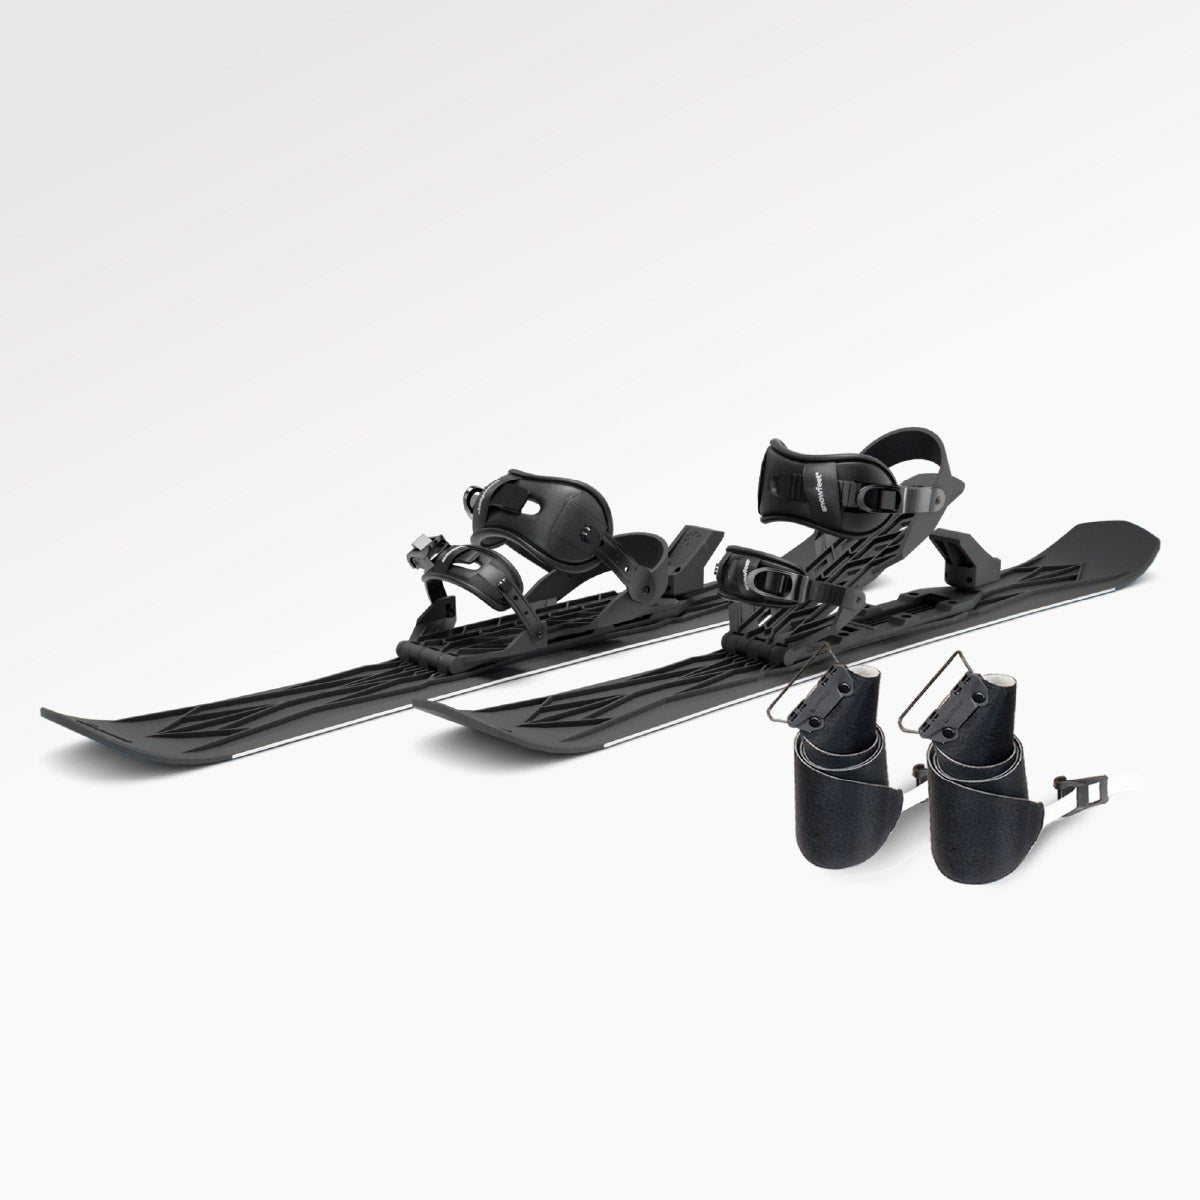
Snowfeet* WALKSKI Backcountry Touring Skis | 100 CM
Quick Comparison
| What matters | WALKSKI 100 cm | Splitboard |
|---|---|---|
| Price | $595+ | $1,000 to $1,500+ |
| Weight | 6.9 lb or 8.8 lb per pair | More gear, more weight |
| Uphill use | Better for short tours and tight spots | Better for longer approaches |
| Downhill feel | Short-ski feel | Snowboard feel |
| Boots | Ski, snowboard, winter boots | Snowboard boots |
| Travel and packing | Small, easy to stash | Longer, bulkier |
If I wanted a simple setup that I could toss in the trunk and use on mixed days, I’d go WALKSKI.
If I lived for deep days and long descents, I’d go splitboard. Pretty simple, huh? :)
How WALKSKI 100 cm and a Splitboard Compare in Day-to-Day Touring
The gap shows up fast when you’re packing, climbing, and switching modes.
| Category | WALKSKI 100 cm | Splitboard Setup |
|---|---|---|
| Packed size | Compact 100 cm format, easy to pack, carry, and stash | Longer and bulkier; requires more dedicated packing room |
| Uphill efficiency | Best for short tours, switchbacks, and tight trees | Strong on longer backcountry approaches |
| Transition speed | Simple, with less hardware to manage | More steps and more hardware between hike and ride mode |
| Mixed hiking-plus-snow days | Easier to handle on bootpacks, rocks, and frequent transitions | Slower to switch on mixed terrain |
| Travel friendliness | Easier to pack for road trips and flights | Less convenient to haul around |
Once you start moving, the main thing you notice is simple: one setup asks less from you.
Packed Size, Portability, and Travel
At 100 cm, the Snowfeet* WALKSKI Backcountry Touring is small enough to store without a bunch of hassle and pack without dealing with the size of a full splitboard. That shorter shape is easier to carry, easier to fit in the car, and easier to live with on day tours or travel days.
If you’ve ever tried stuffing long gear into a packed trunk or dragging it through an airport, you already know why this matters. WALKSKI keeps things a lot less awkward.
Uphill Efficiency and Tight-Terrain Handling
The shorter length is easier to control on narrow skin tracks, sidehills, and in trees. That’s a big plus when the route gets tight and messy.
A splitboard still has its place. If you want a more standard backcountry touring feel and expect longer approaches, it can be the better pick. But for short tours, quick laps, switchbacks, and tight trees, WALKSKI feels less like wrestling gear and more like just getting up the hill.
Transitions and Mixed Hiking-plus-Snow Days
This is where WALKSKI stands out the most. A splitboard setup comes with more hardware and more steps when you switch from hiking to riding.
On days with bootpacks, rocks, or a lot of mode changes, that extra fuss adds up. WALKSKI is simpler to deal with, which can make mixed terrain days feel smoother and less choppy. And that’s where downhill control and boot fit start to matter even more.
sbb-itb-17ade95
Downhill Ride, Boot Compatibility, and Learning Curve
Downhill is where the gap gets obvious. Once the climb is done, boots and ride feel matter most. For short tours and mixed approach days, the big call is simple: is the downhill tradeoff worth carrying extra gear?
| Aspect | Snowfeet* WALKSKI 100 cm | Splitboard setup |
|---|---|---|
| Boot compatibility | Ski, snowboard, and winter boots | Snowboard boots with splitboard-specific bindings |
| Downhill feel | Quick, short-turn control | Full snowboard feel |
| Powder performance | More general-purpose | Better for deep powder |
| Learning curve | Faster for skiers, skaters, and newer riders | Better fit for experienced snowboarders; transitions add complexity |
Boot Compatibility and Comfort
WALKSKI works with ski, snowboard, and winter boots. That means a lot of riders can use gear they already have, which is nice for both comfort and cost. No need to build a whole new setup from scratch.
A splitboard setup is more specialized. It’s built around snowboard boots and splitboard-specific bindings, so you’re more locked into that system.
Downhill Control on Packed Snow, Trees, and Powder
On the way down, WALKSKI feels like a short ski. It’s quick to redirect, easy to pivot, and handy for short turns. In tight terrain like trees or narrow lines, that can feel like a cheat code.
A splitboard has the edge in deep powder. If your main goal is float and that full snowboard ride, it’s the better pick. But if you care more about a simple setup and fast transitions, WALKSKI is easier to deal with day to day.
Who Learns Faster
Skiers and skaters usually get used to WALKSKI faster. The movement feels more familiar, so the learning curve tends to be shorter.
Splitboards make more sense for snowboarders who want to keep that same downhill feel. The catch is the touring side of the system adds extra transition steps, and that takes some practice. So the buy decision comes down to this: simpler touring with WALKSKI, or snowboard-first downhill performance with a splitboard.
Which Setup to Buy Based on How You Ride and What You Spend
This choice comes down to one simple tradeoff: easier touring or a better descent. Once you know how you want the ride to feel and which boots fit best, price becomes the last filter.
Choose Snowfeet* WALKSKI 100 cm for Lighter, Simpler Touring
Snowfeet* WALKSKI Backcountry Touring 100 cm starts at $595. A full splitboard setup often lands in the $1,000 to $1,500+ range once you add the board, bindings, and skins.
WALKSKI is the better fit for riders who don’t need the full splitboard system. It works well for short tours, local hills, car-trunk travel, and those mixed hiking-and-snow days where you want gear that’s easy to bring along. If your riding is more casual and varied, WALKSKI gives you more for the money.
Choose a Splitboard When the Downhill Snowboard Ride Is the Main Goal
If you tour a lot and care most about the ride down, a splitboard starts to earn its keep. It’s built for backcountry snowboarders who want longer climbs, deeper powder, and that full snowboard carve on the descent. Yeah, the setup takes more work. But when downhill feel is the whole point, that trade can be worth it.
Here’s the fast way to pick:
| Rider Type | Terrain | Budget | Best Pick |
|---|---|---|---|
| Casual weekend explorer | Resort-adjacent, local hills | Under $700 | WALKSKI 100 cm |
| Mixed hiker/snow rider | Groomed-to-soft, short approaches | Under $700 | WALKSKI 100 cm |
| Road tripper, travel-focused | Varied, compact gear needed | Under $700 | WALKSKI 100 cm |
| Committed backcountry snowboarder | Longer descents, deep powder | $1,000+ | Splitboard setup |
| Serious powder chaser | Steep, technical backcountry | $1,000+ | Splitboard setup |
Other Snowfeet* Options If You Want Something Lighter or More Playful
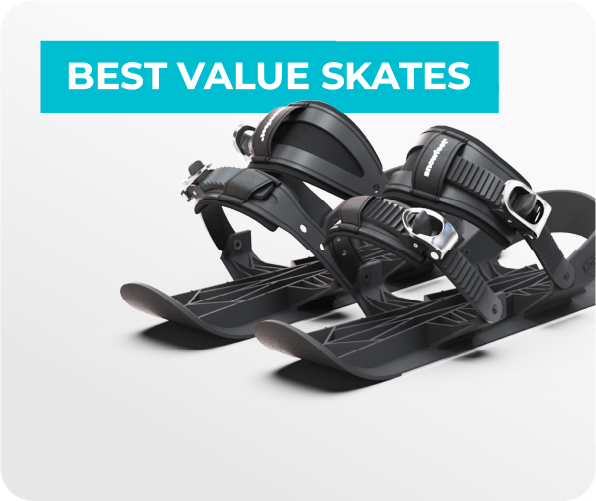
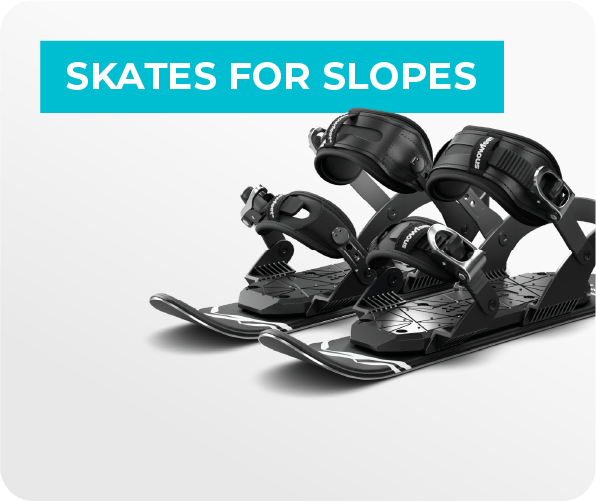
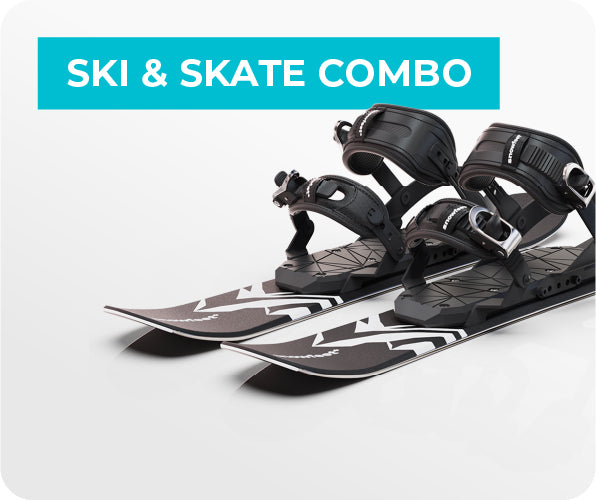
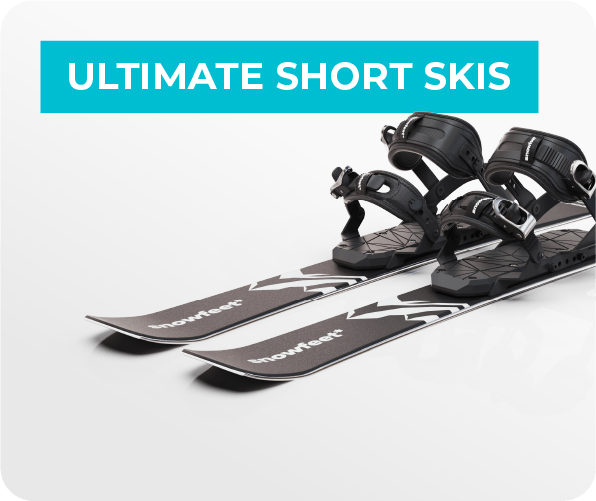
If you want to go even lighter, Snowfeet* PRO Ski Skates (50 cm) and Skiskates (44 cm) are the most compact picks. Want more stability? Take a look at Skiblades 99 cm, Snowfeet* POWDER 99 cm, or Short Skis 120 cm. In general, the longer options give you more stability and better soft-snow performance.
Conclusion: Is the Snowfeet* WALKSKI Worth It Over a Splitboard?
If your tours are short and you care most about portability, easy transitions, and lower cost, WALKSKI is the cleaner pick. For short tours, local hills, travel days, and mixed hike-and-snow outings, WALKSKI 100 cm gives you more for less. It starts at $595, while a splitboard setup will usually run about $1,050+ once you add bindings and skins.
WALKSKI also comes out ahead when it comes to faster transitions, boot fit, and packing for car trips or flights. That stuff matters a lot when touring is just how you get to the fun part, not the whole point of the day.
Go with a splitboard only if you tour a lot, want the closest thing to a snowboard on the way down, and spend your time chasing long, steep powder lines.
Each setup fits a different kind of rider. WALKSKI leans simple. Splitboards lean ride feel. Here’s the quick cheat sheet:
| Your Situation | Best Pick |
|---|---|
| Short tours, local hills, mixed days, travel | WALKSKI 100 cm ($595) |
| Long powder descents, serious backcountry snowboarding | Splitboard setup (about $1,050+) |
FAQs
Can beginners use WALKSKI for touring?
Yes. WALKSKI is beginner-friendly. Its compact, easy-to-handle design feels less intimidating than a bulky touring setup.
The WALKSKI 100 cm models give you good stability for backcountry use, ungroomed trails, and powder. And because they’re light and work with your current winter boots, you skip a big chunk of the learning curve, plus the cost of AT boots and bindings.
That makes the whole thing feel a lot more approachable. Less gear drama. More time out in the snow :)
How does WALKSKI handle icy or uneven terrain?
WALKSKI 100 cm can do well on icy or uneven terrain, but skin setup matters a lot. On firm or icy snow, trim the skins so about 5 to 7 mm of the metal edge stays exposed on each side. That gives you better edge contact and helps the ski bite when the surface gets slick.
For these conditions, nylon skins are the better pick. They give you strong grip and hold up well on steep, icy slopes. Think of them as the grippier tire option when the snow turns hard and sketchy :)
Do I need skins or extra gear with WALKSKI?
You’ll need ski skins to move uphill with WALKSKI. That part matters. But here’s the nice surprise: you do not need special touring boots or bindings.
Snowfeet* WALKSKI 100 cm works with standard ski skin sizes, so it’s easy to attach skins, trim them, and get out on the snow without a big setup headache. You can use the regular winter boots or snowboard boots you already own, which keeps the whole setup light and more affordable.
That’s a big win if you want to try uphill travel without dropping a pile of cash on extra gear. Simple, light, and ready to go :)


Zanechať komentár
Táto lokalita je chránená testom reCAPTCHA a vzťahujú sa na ňu pravidlá ochrany súkromia a podmienky poskytovania služby hCaptcha.