
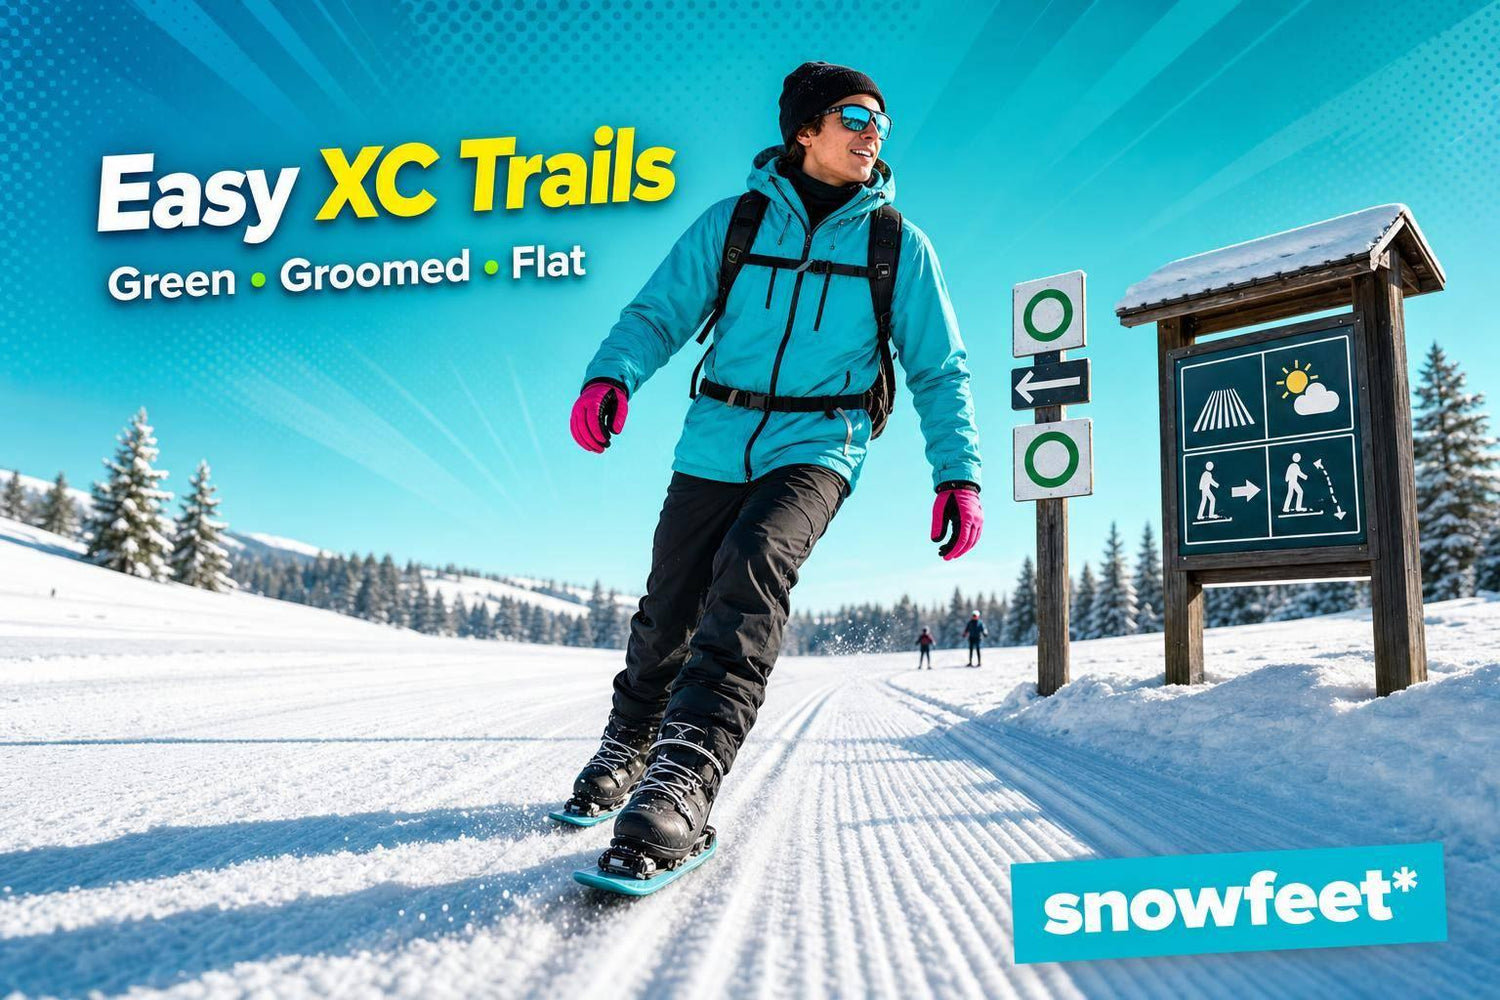
If you’re new to cross-country skiing, pick a green groomed trail, keep it short, and skip ice, deep powder, and big hills. That’s the whole game.
I’d use this simple filter before I go:
- Trail rating: Start with green
- Terrain: Look for flat or gently rolling ground
- Distance: Keep your first outing around 2–5 km
- Snow: Go when trails are groomed and packed
- Gear: Use classic skis if the trail has set tracks
- Weather: Aim for about 15°F to 30°F
- Layout: Pick routes with clear signs, short loops, and easy turn-back points
A trail can look easy on a map and still feel rough if it has sharp downhills, slick snow, or no easy exit. That’s why I’d check the map, grooming report, and weather before I leave home. A little prep saves a lot of flailing :)
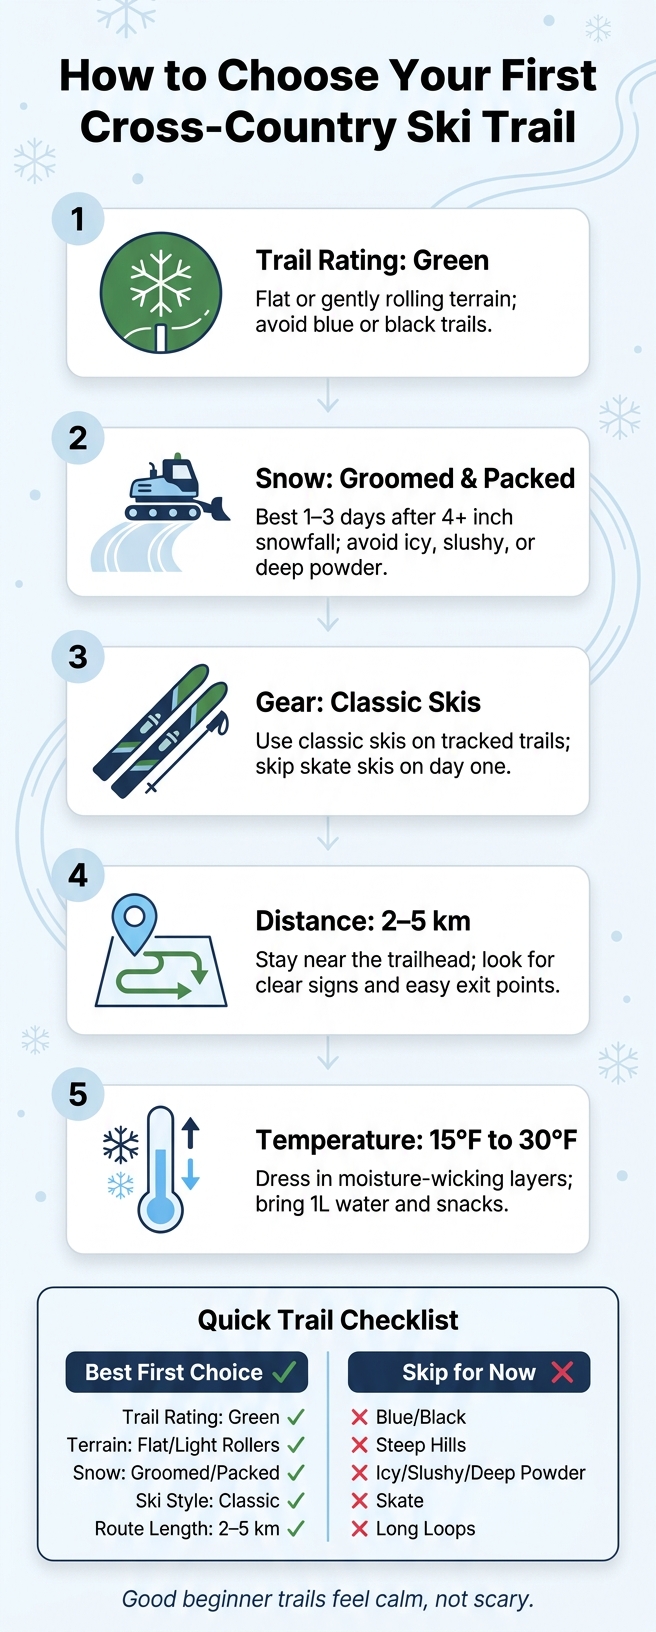
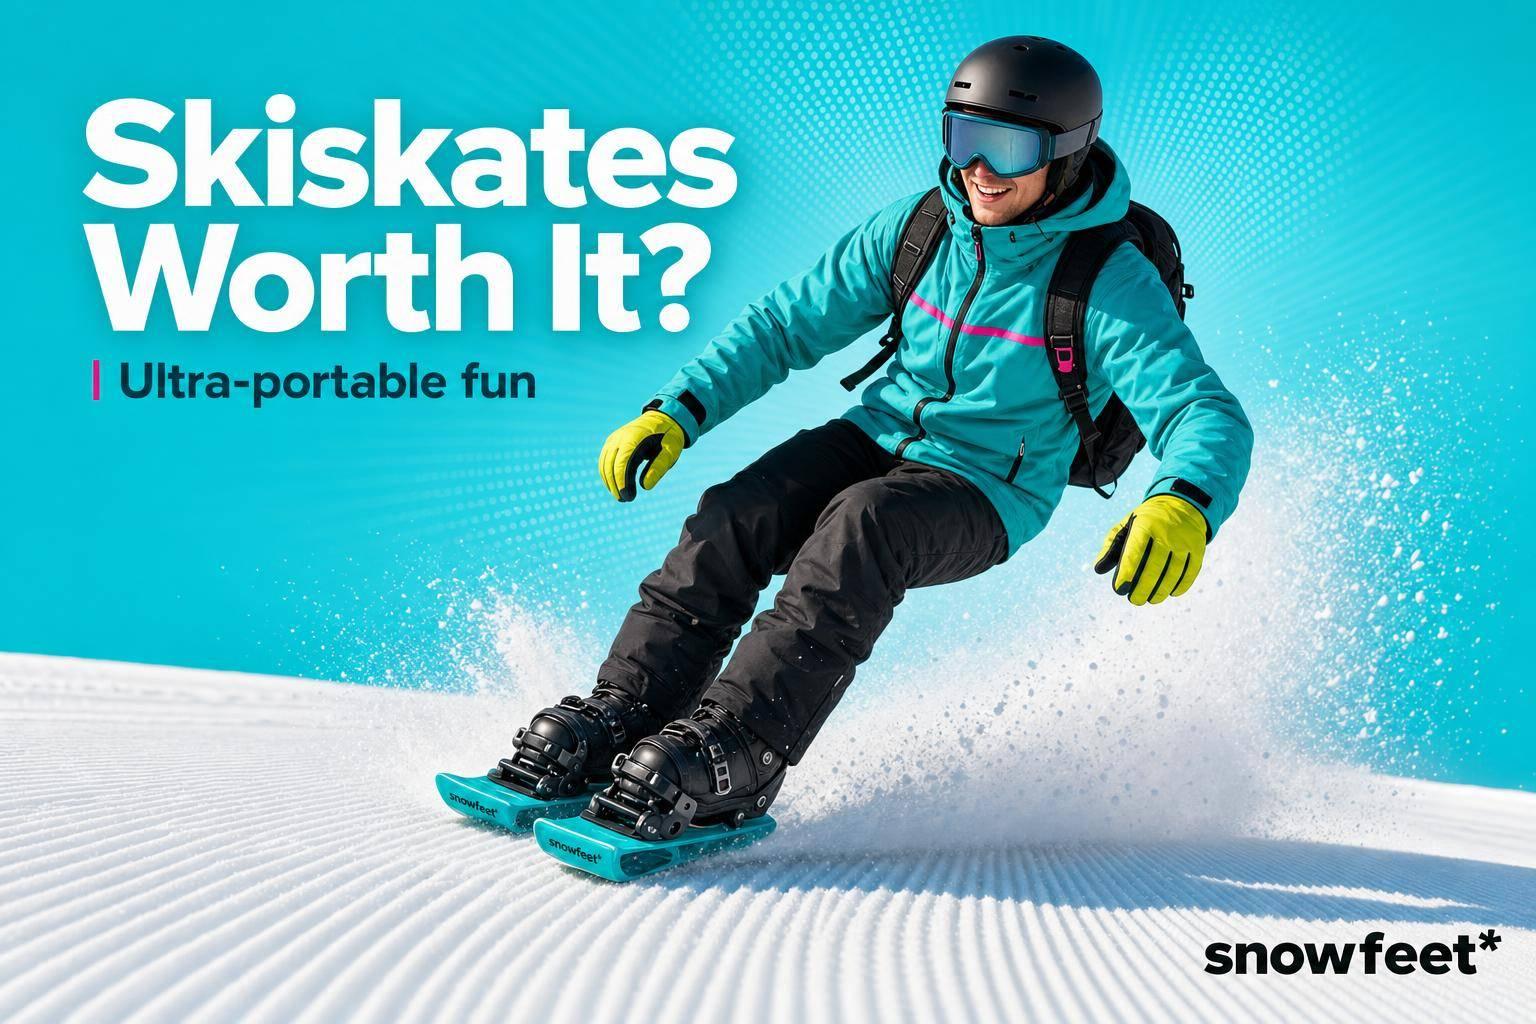
How to Choose Your First Cross-Country Ski Trail: 5-Step Beginner Checklist
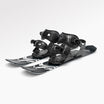
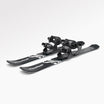
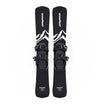
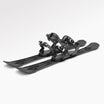
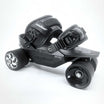
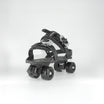
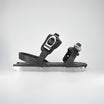
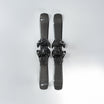
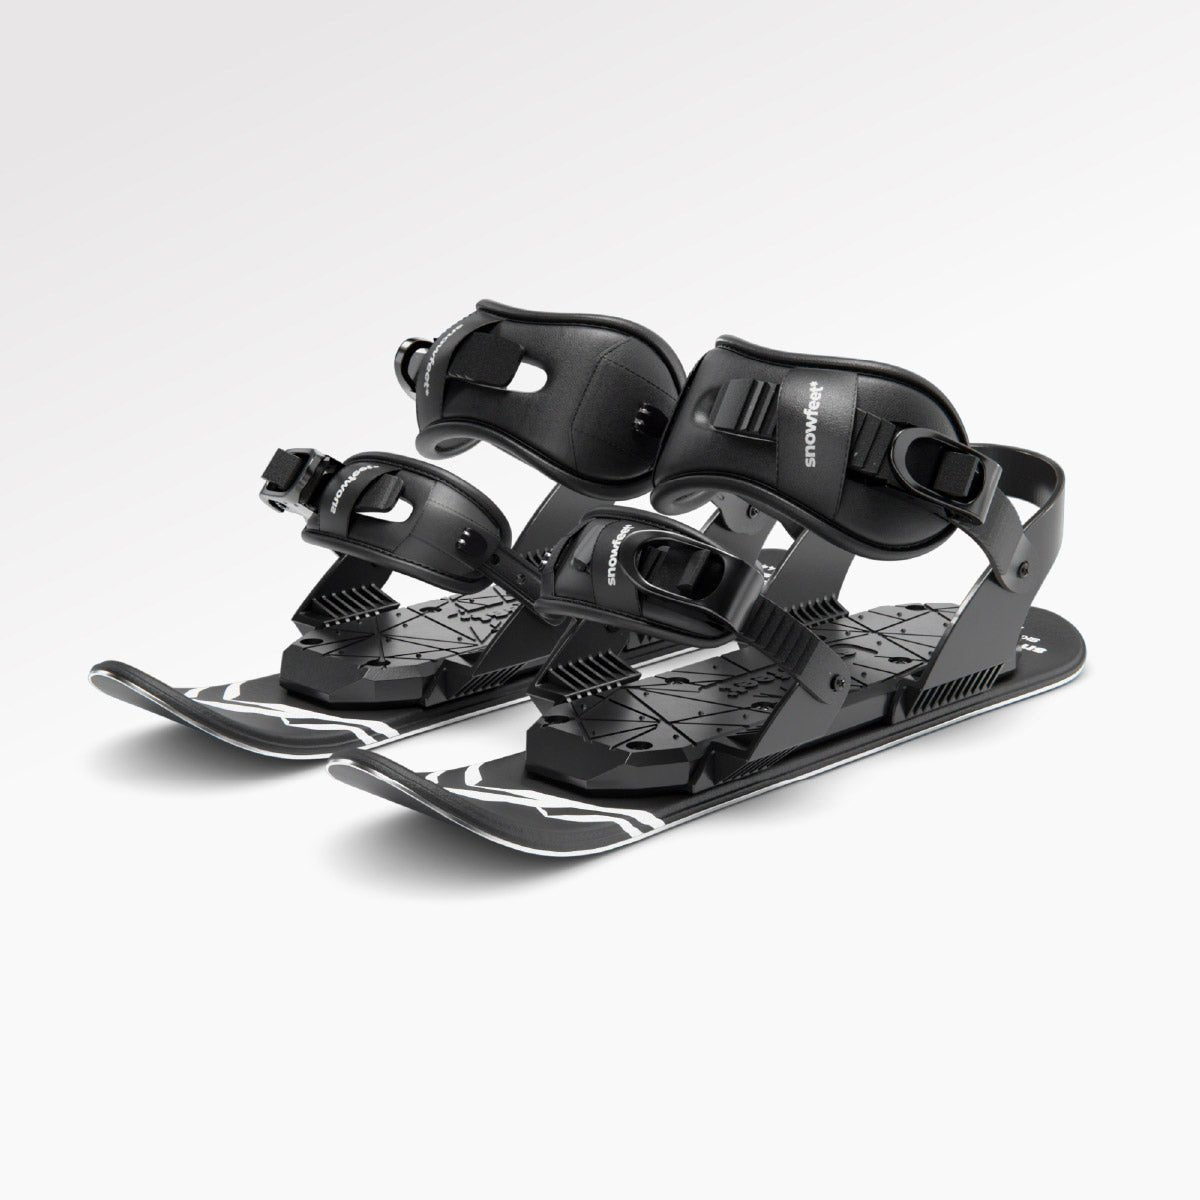
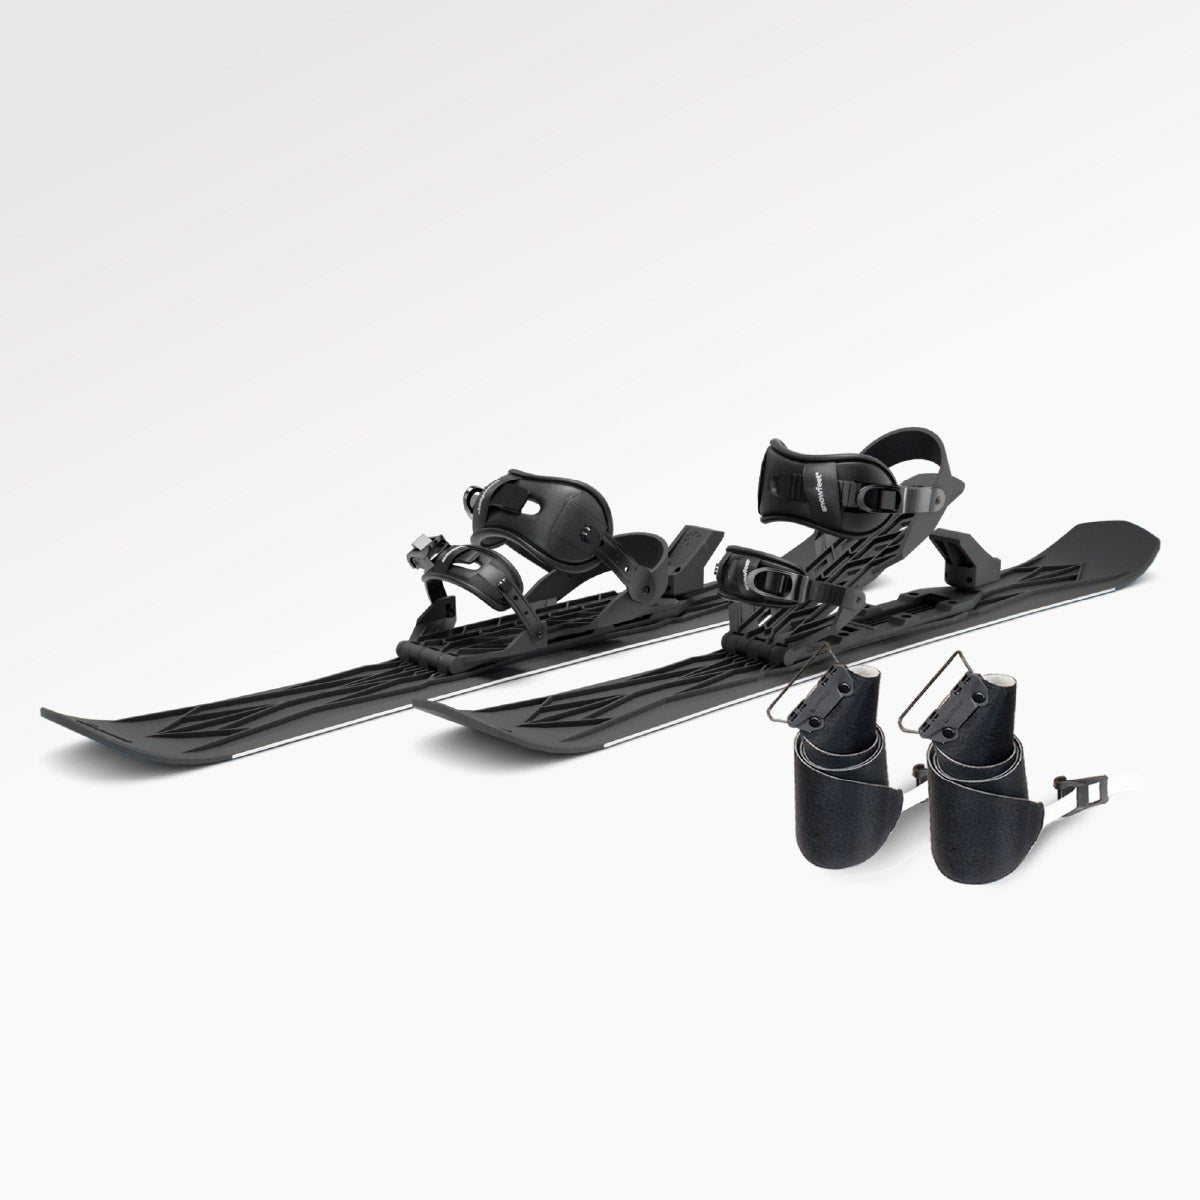
This Nordic Ski Can Be Attached to Any Winter Shoes | Snowfeet Cross-country Skate Skis | 90 cm
Quick comparison
| What to check | Best first choice | What to skip at first |
|---|---|---|
| Trail rating | Green | Blue with long climbs, black trails |
| Terrain | Flat or light rollers | Steep hills, long descents |
| Snow | Groomed, packed | Icy, slushy, deep ungroomed snow |
| Ski style | Classic | Skate on day one |
| Route length | 2–5 km | Long loops far from trailhead |
| Trail layout | Clear signs + easy exits | Confusing junctions, no bailout spots |
Here’s my short take: good beginner trails feel calm, not scary. You should be able to glide, stop, and head back without turning your first ski day into leg day gone wrong.
If you want a fast visual on classic vs skate basics, these help:
So, if I were helping a first-timer at the shop, I’d say: pick the easiest trail, in the best snow, with the simplest gear setup. That’s how you build skill and have fun on day one.
How to Read Trail Ratings, Terrain, and Layout Before You Go
Before you head out, take a minute to read the trail map and check the elevation profile. It’s one of those small steps that can save you from a long, wobbly day.
Most trail systems use green, blue, and black ratings. Green trails are usually the easiest and keep climbing light. Blue trails ask more from you. Black diamonds are for experienced skiers. After you confirm the rating, look at the shape of the trail too. A route can be marked green and still feel awkward if it has sharp turns, long descents, or tough exit options.
Start on Green Trails With Flat to Gently Rolling Terrain
Flat terrain makes learning a lot easier. You can work on balance and rhythm without gravity trying to pick a fight.
Rail-trails are often a smart pick because they stay flat, with grades usually at 3% or less. That kind of terrain gives new skiers room to settle in. You can glide, stop, and reset without much stress. Still, even a good beginner route can feel tougher when the snow is poor, which is why grooming matters next.
Look for Short Loops, Clear Signs, and Easy Exit Points
After the slope looks doable, check the layout. This part gets skipped all the time, and then people end up on a trail that feels like it never ends. Not ideal :)
A short loop is a good setup because you can stop early or ski the same section again to get more comfortable. Watch for:
- Posted maps at junctions
- Distance markers along the route
- Clear one-way direction arrows
One-way designations help prevent traffic conflicts with faster skiers on narrow sections. And if the trailhead has a lodge or warming hut, even better. That gives you an easy place to bail out, warm up, or call it a day before your legs turn to jelly.
Terrain Comparison Table: Flat, Gently Rolling, and Hilly Trails
| Terrain Type | Control Level | Effort Level | Skill Demand | Beginner Suitability |
|---|---|---|---|---|
| Flat | High - easy to coast and stop | Low | Low - best for first-timers | Excellent |
| Gently Rolling | Moderate - introduces weight transfer | Moderate | Medium - short climbs and mellow descents | Good |
| Hilly | Low - requires advanced braking | High | High - risk of falls and fatigue | Poor |
sbb-itb-17ade95
Why Groomed Trails and Good Snow Conditions Matter
Once a route looks beginner-friendly, check the snow. This part matters a lot. Snow quality can outweigh the trail rating. A green trail with icy or slushy snow can feel tougher than a well-groomed blue.
Why Groomed Trails Are Easier to Learn On
After rating and layout, snow quality is the next thing to check. Groomed snow gives beginners more control. On a groomed Nordic trail, you’ll usually see two main parts:
- Classic tracks - two parallel grooves pressed into the snow
- Skate lane - the wide, flat strip next to those tracks
Classic tracks help guide the skis forward. That cuts down on the side-to-side slip that can throw new skiers off balance. It’s a bit like bowling with bumpers. You still have to do the work, but the trail helps keep you on line.
Most Nordic skis don’t have metal edges, so they have very little grip on ice. That’s why groomed snow is such a big deal. It’s firm enough to let you use a snowplow - ski tips angled inward in a V-shape - to slow down and stop. On icy trails or trails chopped up by lots of skier traffic, that move gets much harder. Firm, packed snow is also easier to handle than deep powder, which can feel like skiing through mashed potatoes. Not the fun kind :)
How to Read a Grooming Report Before You Go
Before you head out, check the grooming report for a few key details:
- Last groomed date - Trails usually ski best 1–3 days after a 4-inch or more snowfall, once the grooming machine has packed everything down
- Classic track status - Shows whether the parallel grooves are set
- Temperature forecast - Ideal conditions are between 15°F and 30°F. Above 35°F, snow gets slushy and slow. Below 0°F, it can be dangerously cold
If the report mentions icy patches, skip that trail. No need to make your first day harder than it has to be. If the report looks good, the next step is matching your ski type to the trail.
Snow Condition Comparison Table: Groomed, Ungroomed, Packed, and Icy
Use this quick table to judge whether the snow is beginner-friendly.
| Snow Condition | What It Feels Like | Beginner Suitability |
|---|---|---|
| Groomed | Firm, smooth, with set parallel tracks | Best - stable glide, easy braking, tracks keep skis aligned |
| Packed | Compressed by previous skiers or machines; no deep powder | Good - easier to balance on than loose snow |
| Ungroomed / Deep Powder | Loose, unconsolidated snow with no set path | Avoid - exhausting to push through; very hard to balance |
| Icy / Refrozen | Hard, glassy surface with almost no grip | Avoid - nearly impossible to stop or turn without metal edges |
| Slushy (Above 35°F) | Wet, heavy, sticky snow | Avoid - uses energy fast; skis drag instead of glide |
Match Your Gear to the Trail
Once you’ve picked a trail that fits the terrain and grooming, the next step is your gear. This part matters more than people think. Good trail + bad gear can still turn into a long day.
Classic Skis vs Skate Skis vs Snowfeet* NORDIC: Where Each Works Best
On green, groomed trails, classic skis are the easiest fit. They sit in parallel groomed tracks, which helps keep the skis straight and steady. The diagonal stride feels a lot like walking, so most beginners pick it up faster.
Skate skis are a different animal. They need a wide, flat groomed lane and a V-shaped push-off that feels close to ice skating. It’s fun, but it asks for more balance and more fitness. That makes skate skis a better pick once you’ve got the basics down.
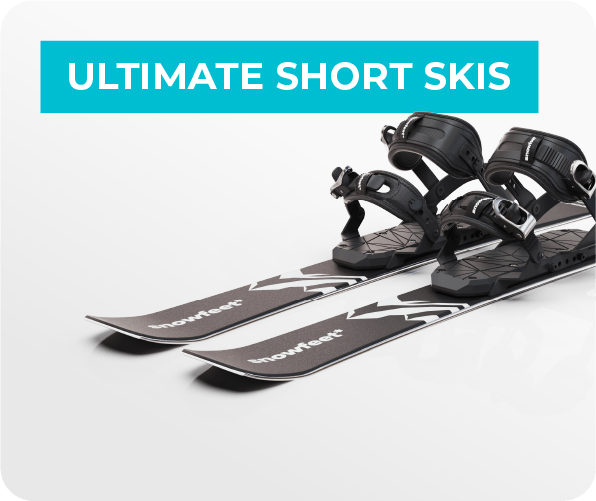
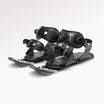
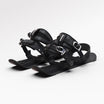
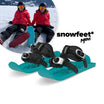
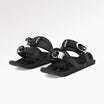
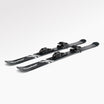
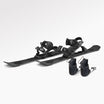
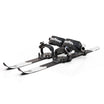
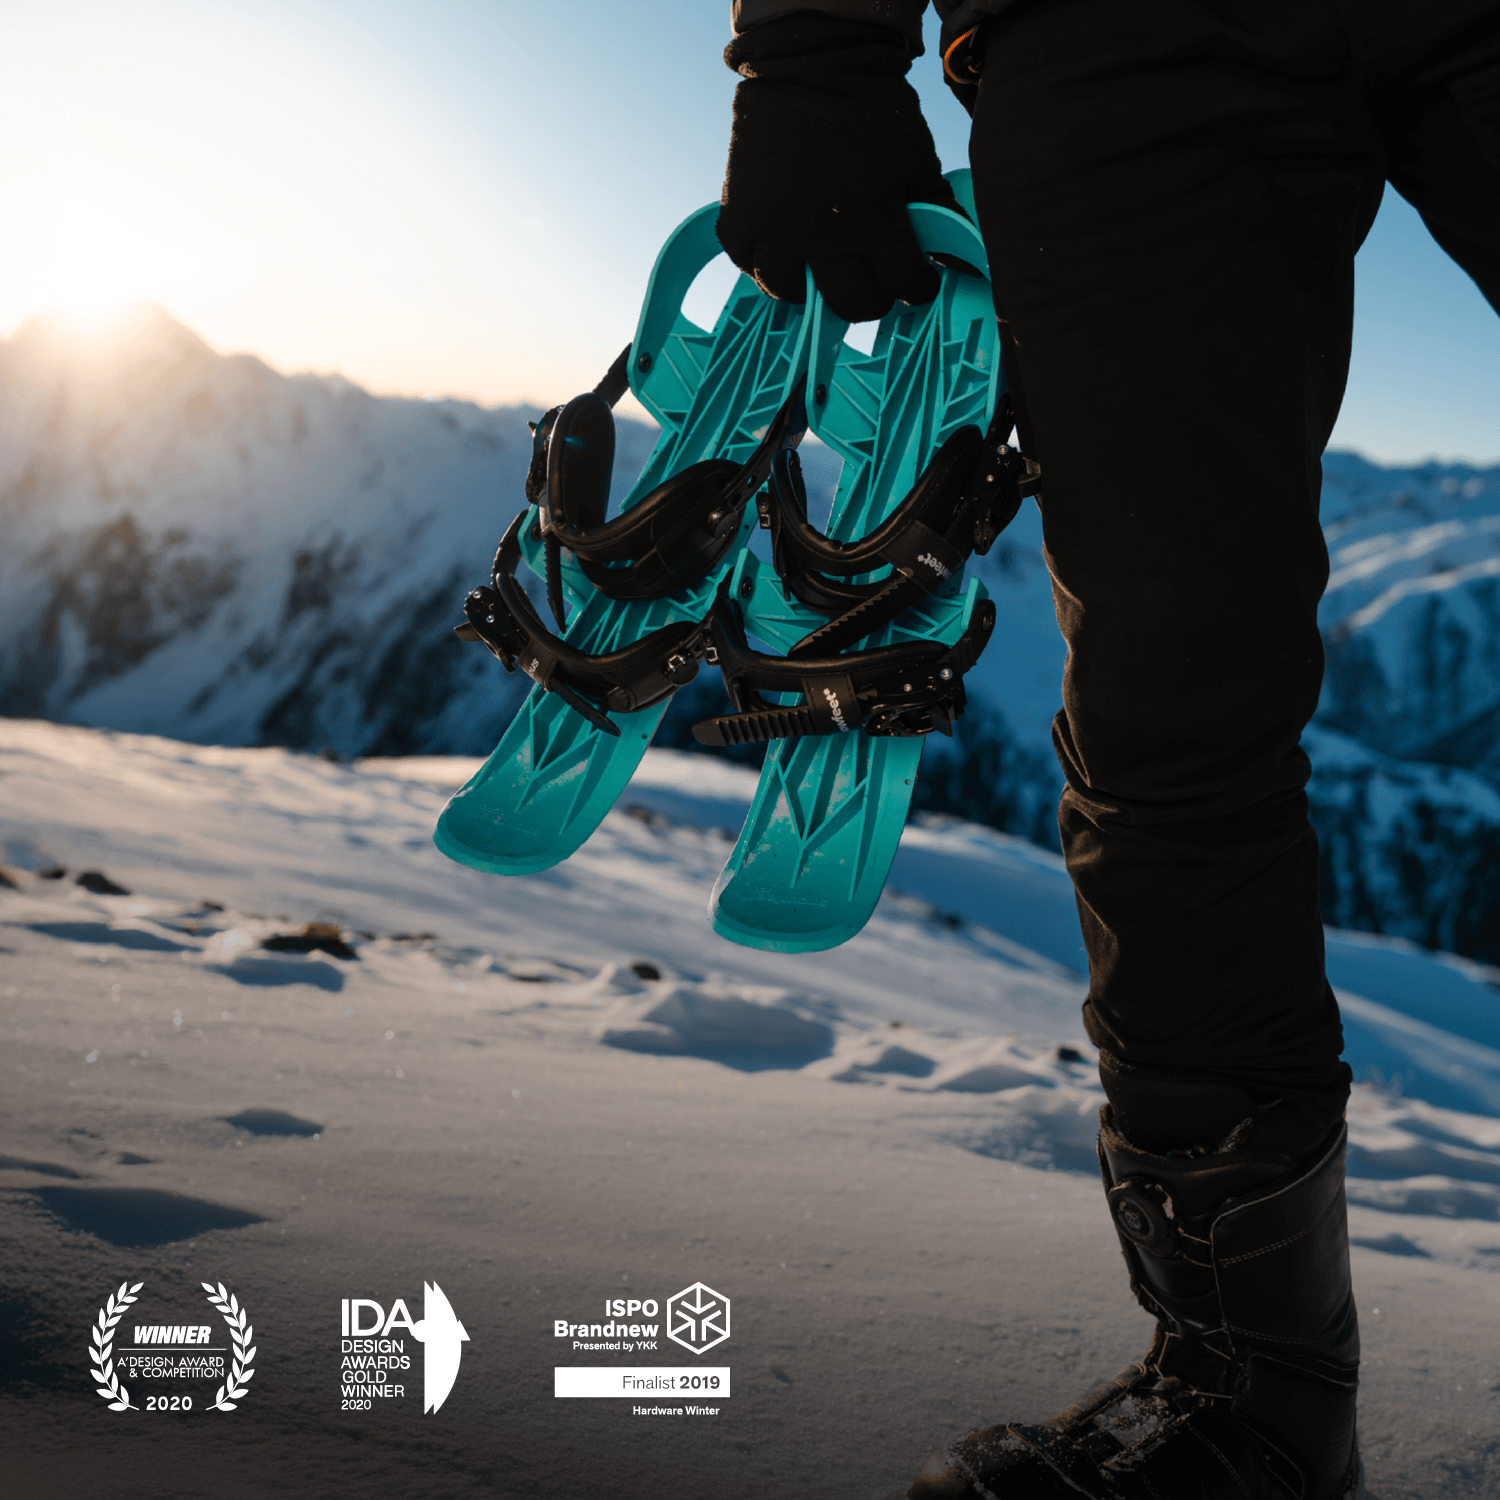
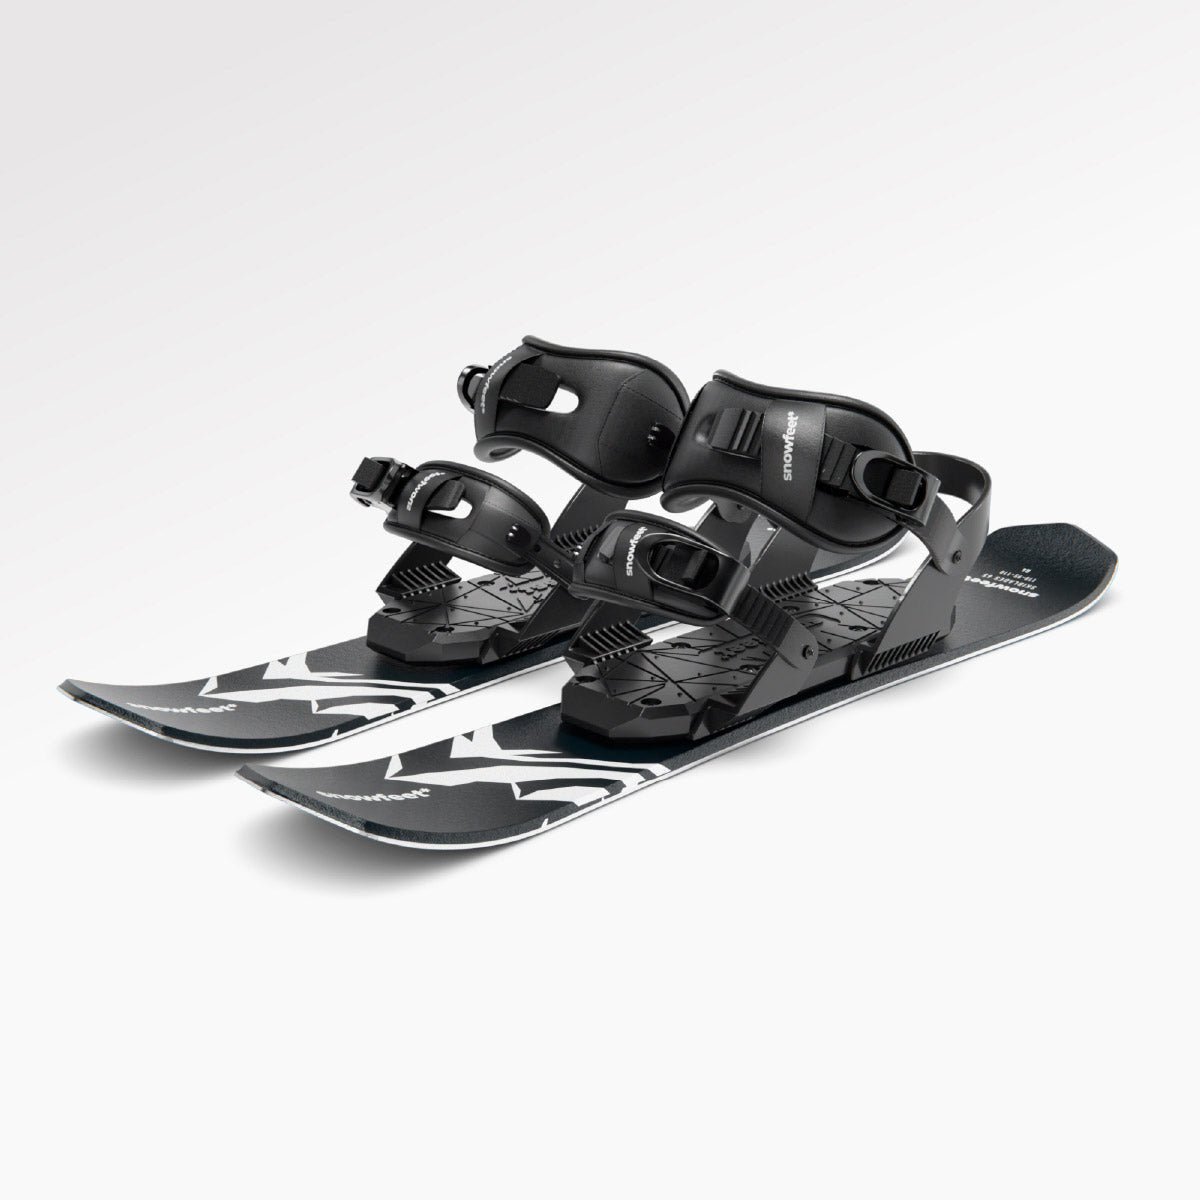
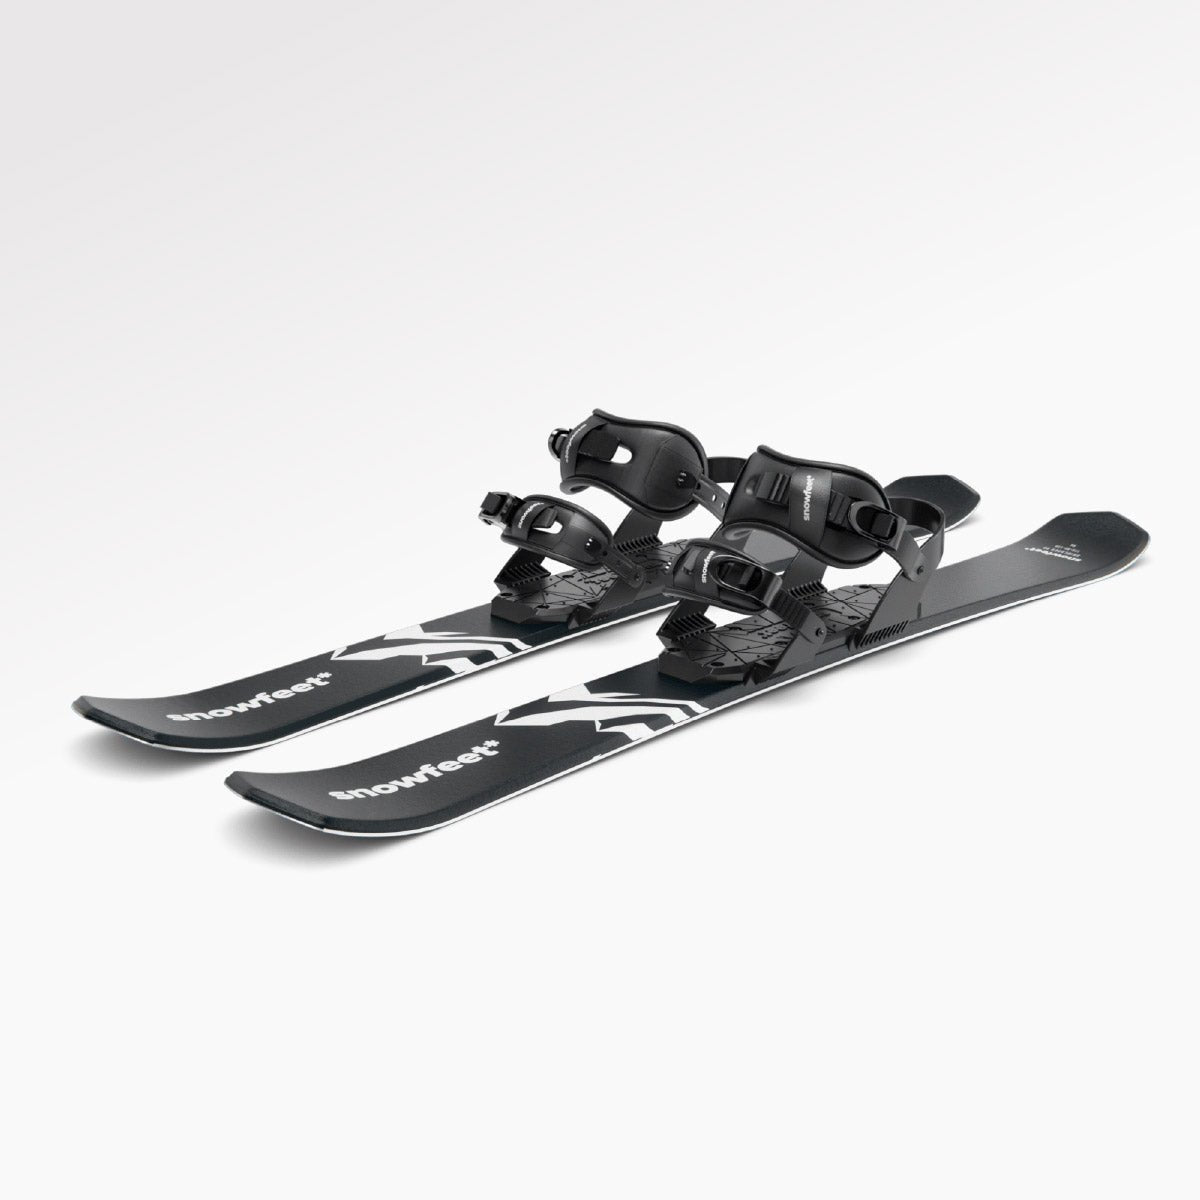
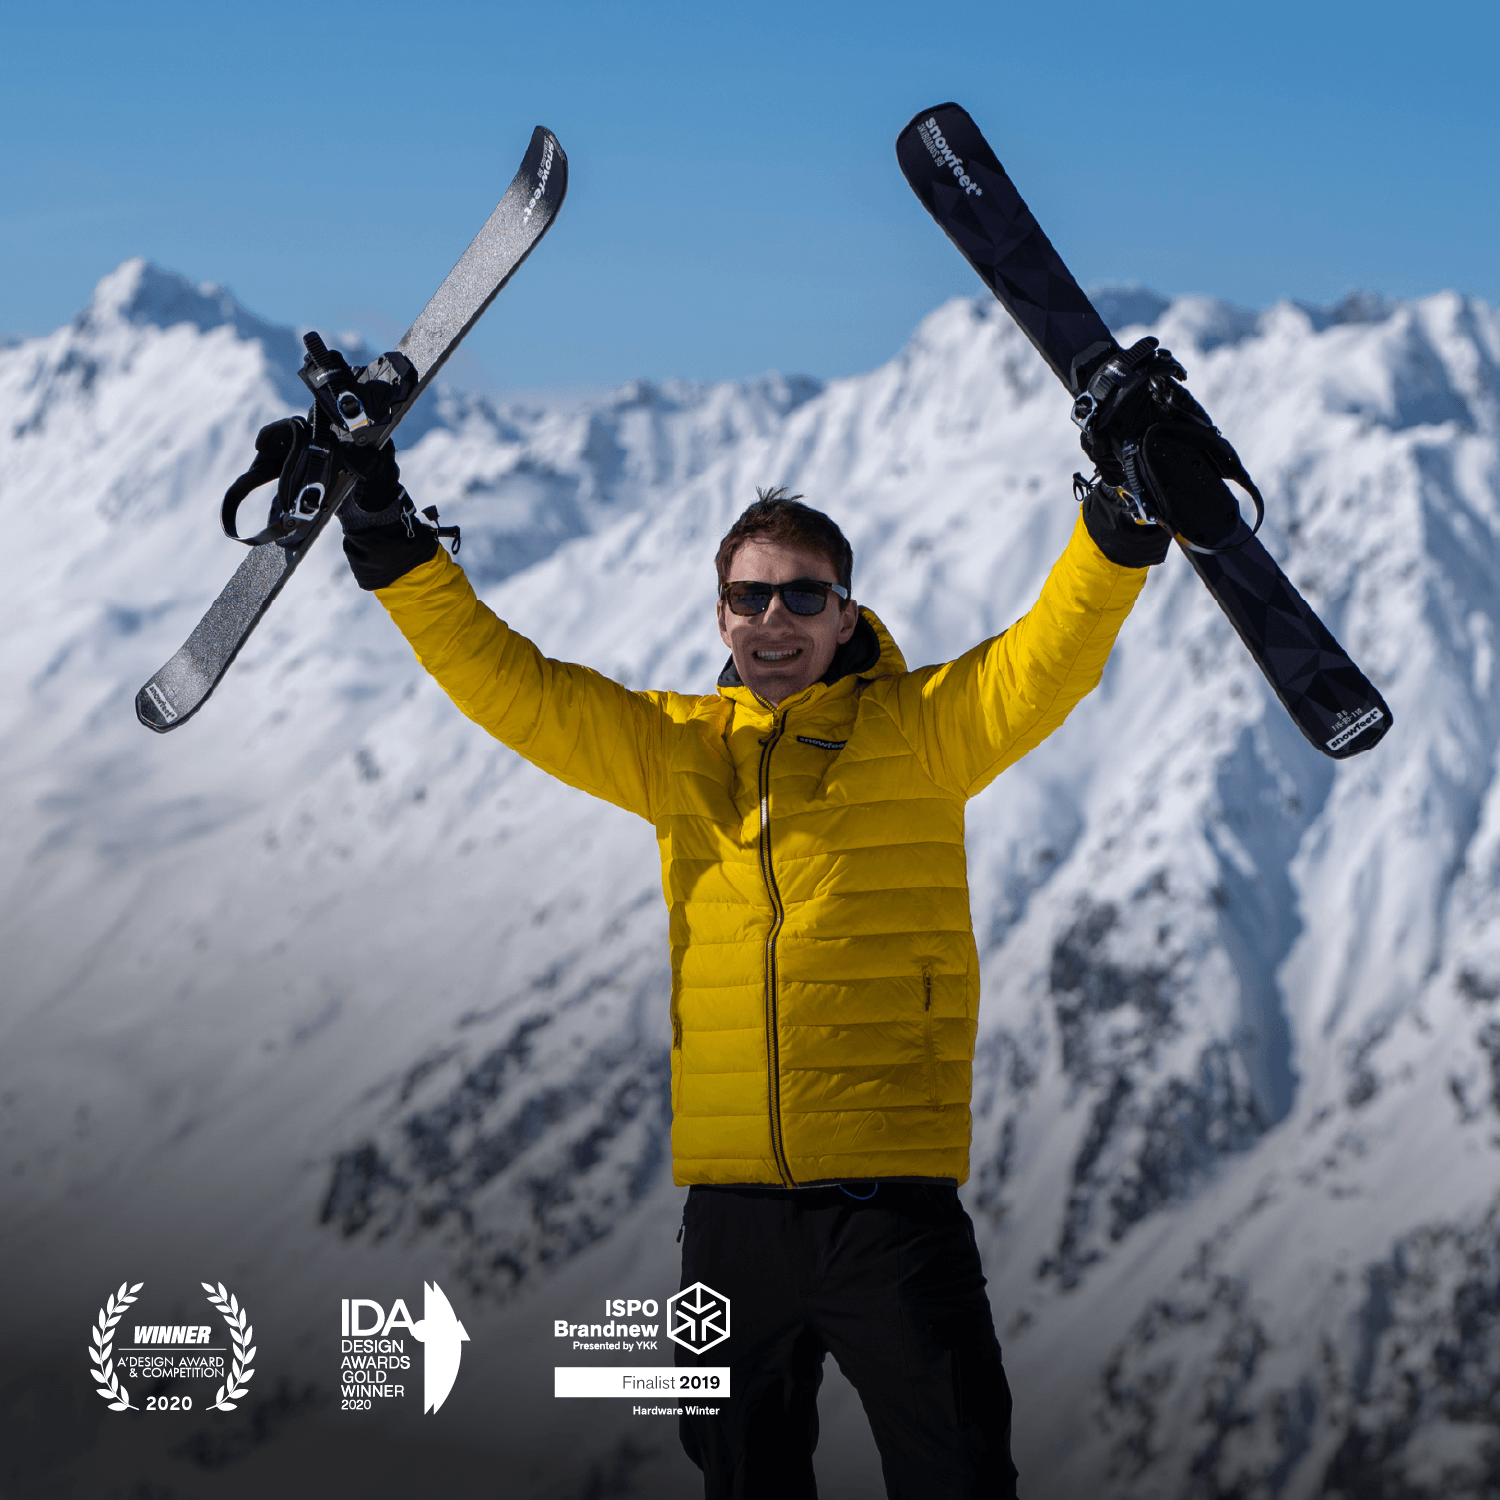
On short, groomed green loops, compact skis can make day one feel less awkward. _Snowfeet NORDIC (90 cm)_* is built for casual beginners who want easier handling on gentle groomed paths. They don’t glide as well over long distances, but they’re compact, easier to carry, and simpler to handle.
When Shorter Skis Make Sense for Casual Beginners
If you want a relaxed outing on a groomed green trail, Snowfeet* NORDIC (90 cm) can be a smart match. Shorter skis give you more maneuverability. Longer skis glide better over distance. So if you’re sticking to short, flat loops and simple trailheads, shorter skis make a lot of sense.
Gear-to-Trail Match Table for Beginners
| Gear | Best Trail Type | Learning Curve | Control | Portability | Best For |
|---|---|---|---|---|---|
| Classic Skis | Groomed parallel tracks | Low - intuitive stride | High (locked in tracks) | Low (long, bulky) | Traditional trail skiing |
| Skate Skis | Wide, flat groomed lanes | High - needs balance and fitness | Moderate (active balance) | Low (long, stiff) | Fitness-focused skating |
| _Snowfeet NORDIC (90 cm)_* | Gentle groomed paths | Low - maneuverable and casual | High (easy to step and turn) | High (compact, lightweight) | Casual beginner trail use |
Safety, Trail Etiquette, and Picking Your First Trail
Safety Steps to Take Before You Start
Once the trail rating, terrain, and grooming look right, do one last safety check.
Check the weather forecast for temperature, wind, and incoming snow or rain. Dress in moisture-wicking layers. Bring at least 1 liter of water and some high-energy snacks. On cold days, an insulated bottle with a warm drink can feel like a small miracle.
Tell someone your exact route and when you plan to return. Cell service can be spotty in many Nordic areas, and cold weather drains phone batteries fast. Bring a physical map and compass as backup. Keep your first outing short and simple. Before you head out, warm up your arms and legs.
After that, follow local trail rules so the route stays smooth and safe for everyone.
Nordic Trail Etiquette on Groomed Routes
On beginner-friendly groomed trails, a few simple habits go a long way.
- Stay out of classic tracks unless you're using them. If you're skating, use the open lane.
- If a faster skier calls out on your left, move over and let them pass.
- On two-way trails, yield to downhill skiers. They have less control and more speed.
- If you stop, move all the way to the edge of the trail. Don’t stop in the middle.
- Fill any hole you make in the snow before you leave.
- Many groomed Nordic centers don’t allow dogs because they can damage the trail surface, so check the rules before bringing a pet.
It’s a bit like not parking your cart sideways in the grocery aisle. Small thing, big help :)
A 5-Step Method for Choosing Your First Trail
Picking your first trail doesn’t need to be a whole production. Use this quick checklist:
- Choose a green trail with flat or gently rolling terrain.
- Check the grooming report for fresh, packed tracks.
- Use classic skis on tracked trails.
- Plan a short loop of about 2–5 km near the trailhead, so fatigue or cold weather doesn’t leave you far from your start point.
The best beginner trail should feel controlled, manageable, and easy to enjoy.
FAQs
How do I know if a trail is beginner-friendly?
Look for trails marked green. Those are usually flat and groomed, which makes them a great fit for classic skiing. They also help you avoid tricky turns and steep drops. Skip blue and black trails, since those tend to have steeper slopes and tougher terrain.
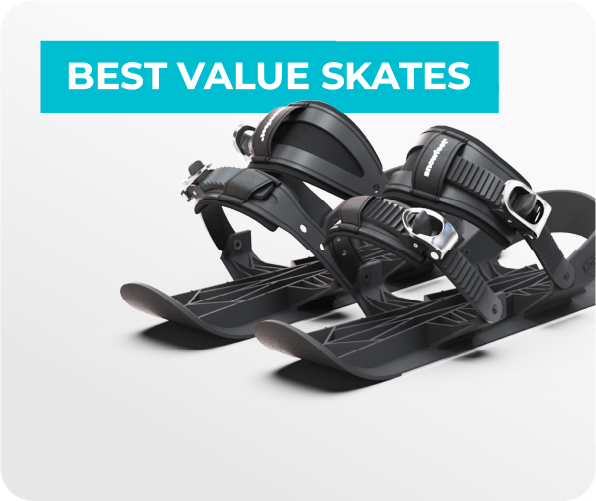
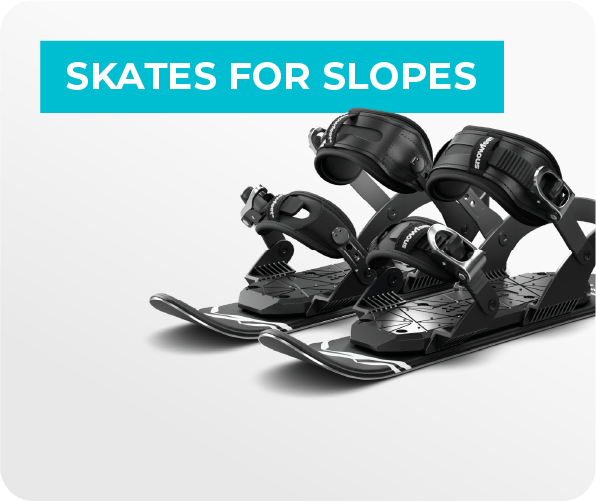
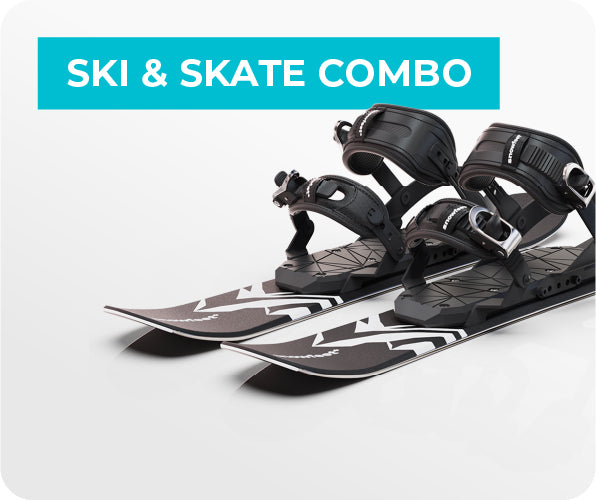
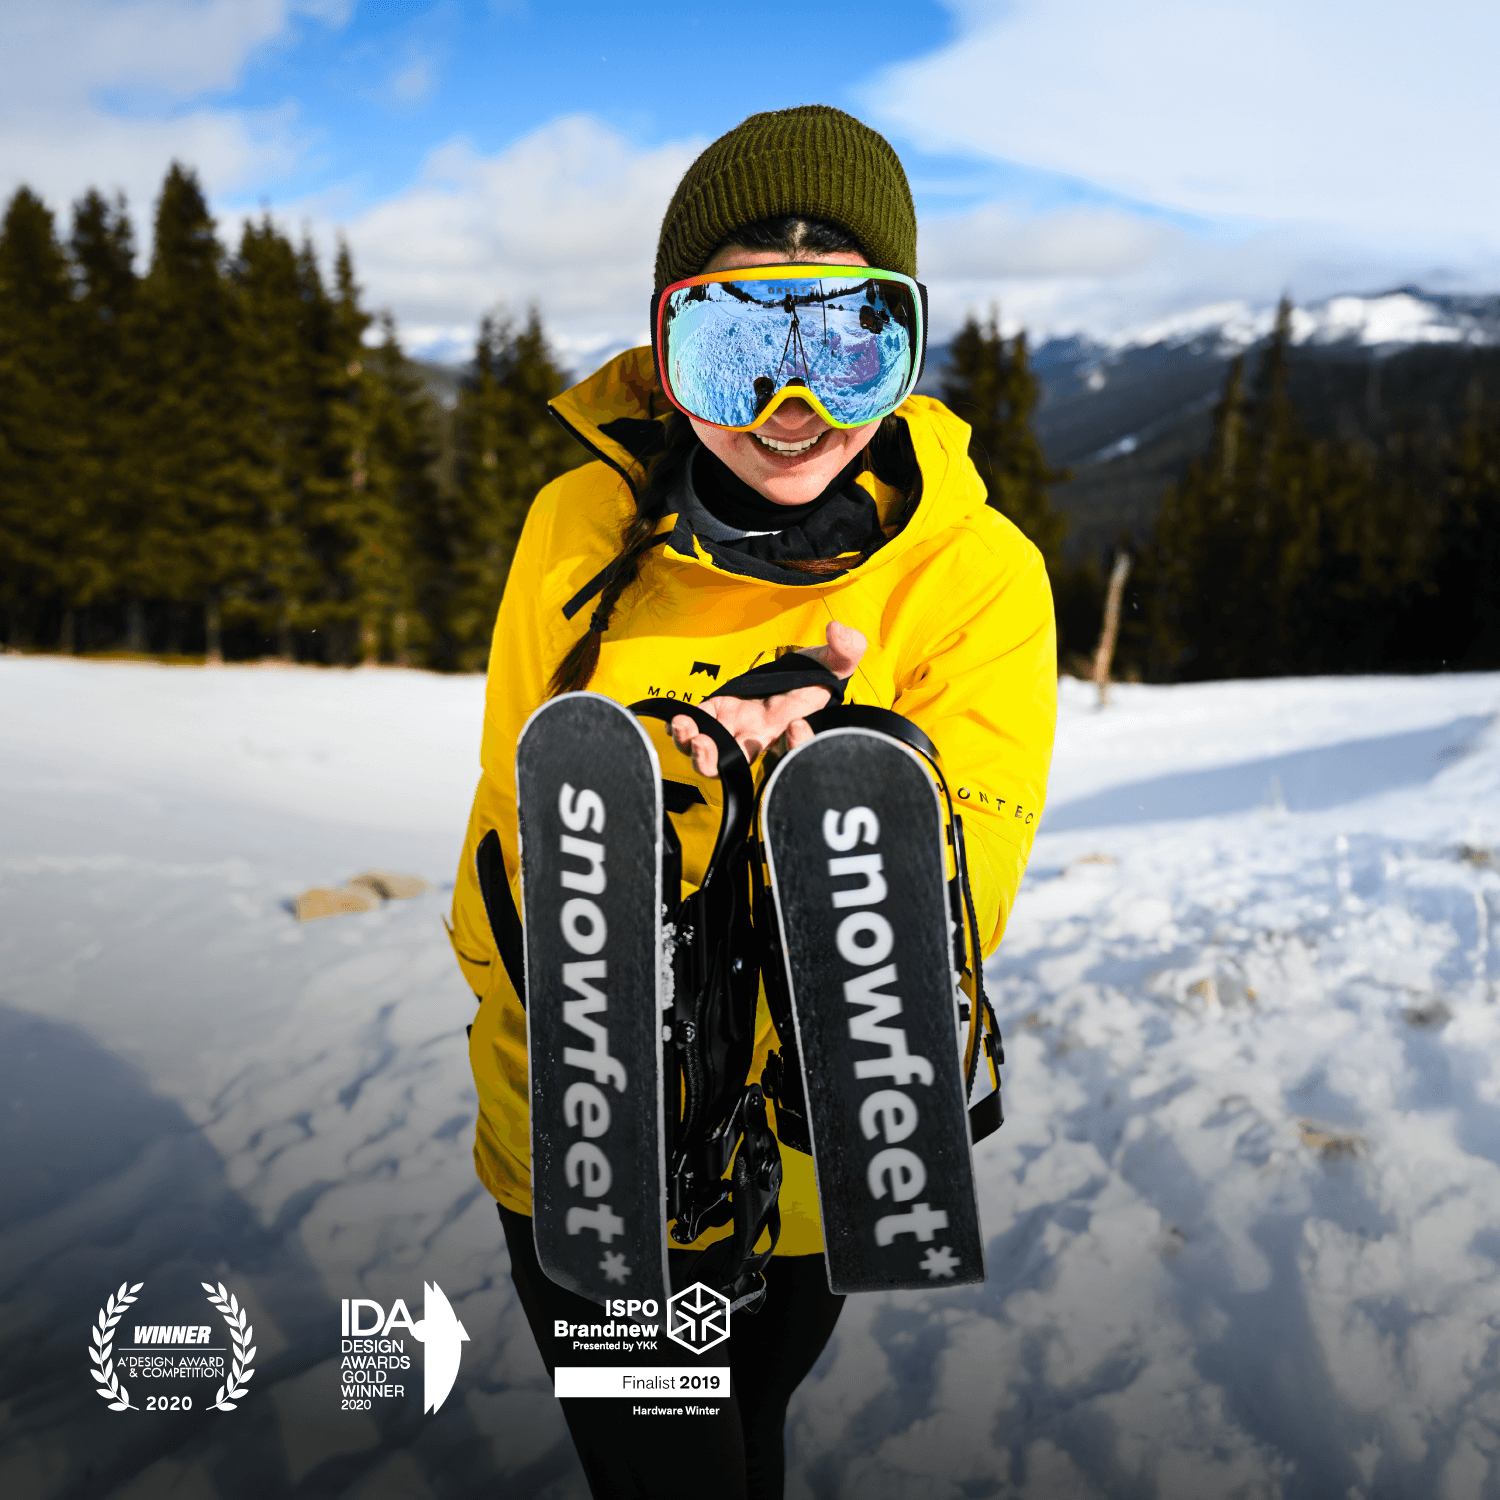
If you want something that feels more intuitive on snow, Snowfeet* mini ski skates or skiblades can be a compact, lightweight option instead of long skis.
What should I do if trail conditions change after I arrive?
Check the trail and be honest with yourself about how it feels. Is it still safe? Does it still match your skill level? If the answer is no, that’s fine. You can slow down, walk, or switch plans. That’s not giving up. That’s being smart.
Snow can change fast, and a fun run can turn into a sketchy one in a hurry. No medal for forcing it :) If you want more wiggle room, Snowfeet* mini ski skates and skiblades are often easier to handle and carry than long skis when snow conditions are mixed.
Can I use shorter skis on beginner cross-country trails?
Cross-country skiing usually means long skis built for classic or skate skiing. They work best on groomed tracks and are made for smooth glide over distance.
If you want something more casual, Snowfeet* products take a different route. They’re shorter, easier to carry, and a lot less fussy.
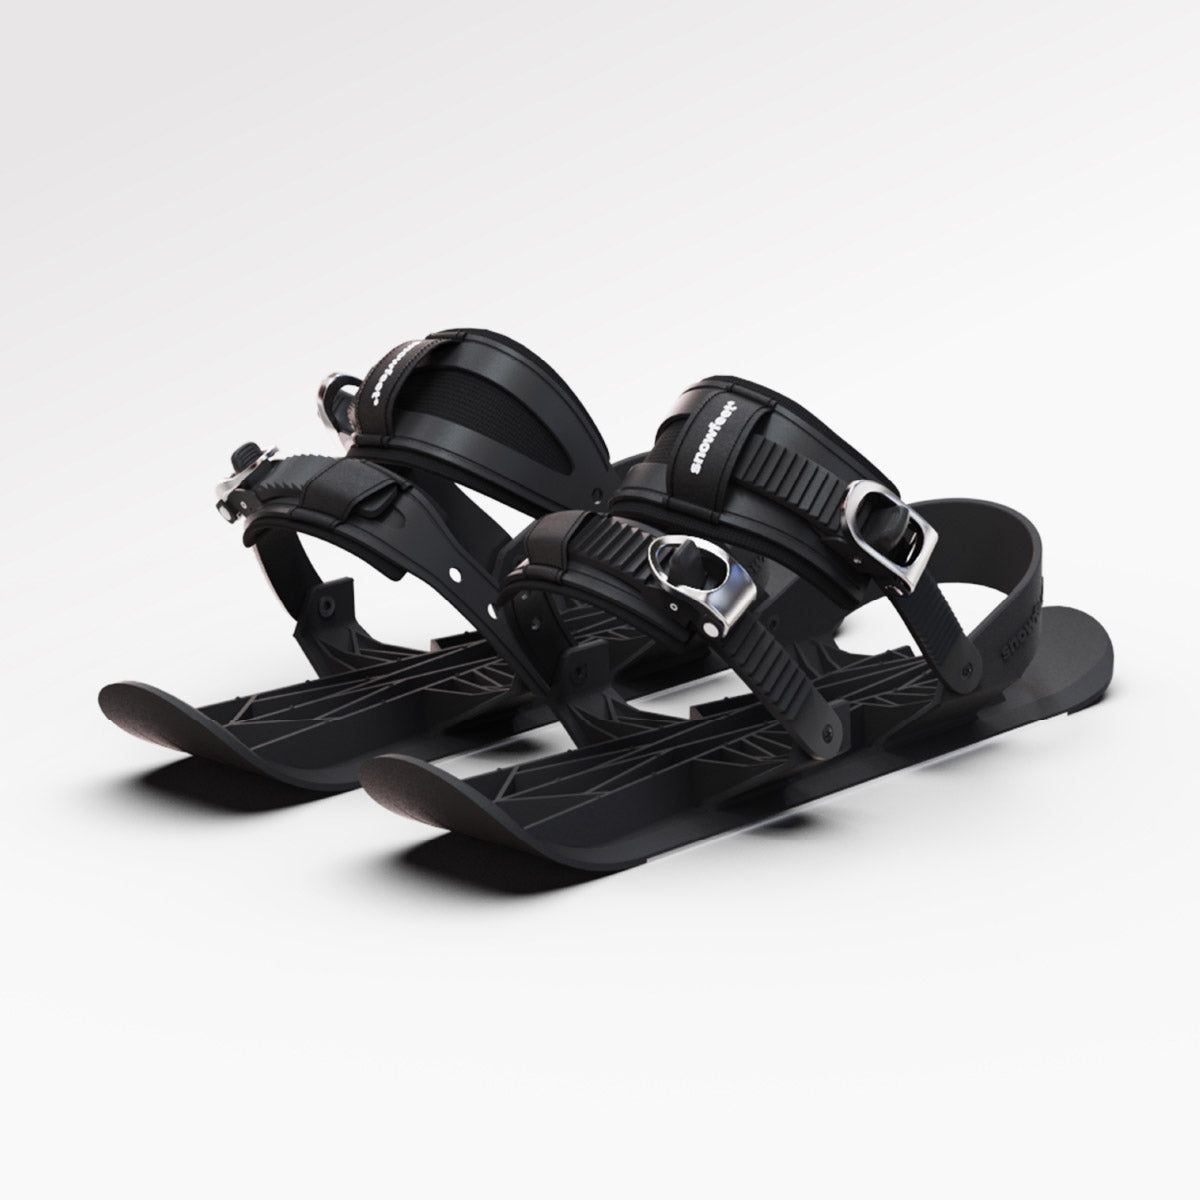
Long cross-country skis are built for glide and track use. Snowfeet mini ski skates and skiblades focus more on portability, easy learning, and plain old fun. You can also use them with regular winter shoes or boots, which makes the whole setup feel a lot more approachable for casual riders :)


Zanechať komentár
Táto lokalita je chránená testom reCAPTCHA a vzťahujú sa na ňu pravidlá ochrany súkromia a podmienky poskytovania služby hCaptcha.