
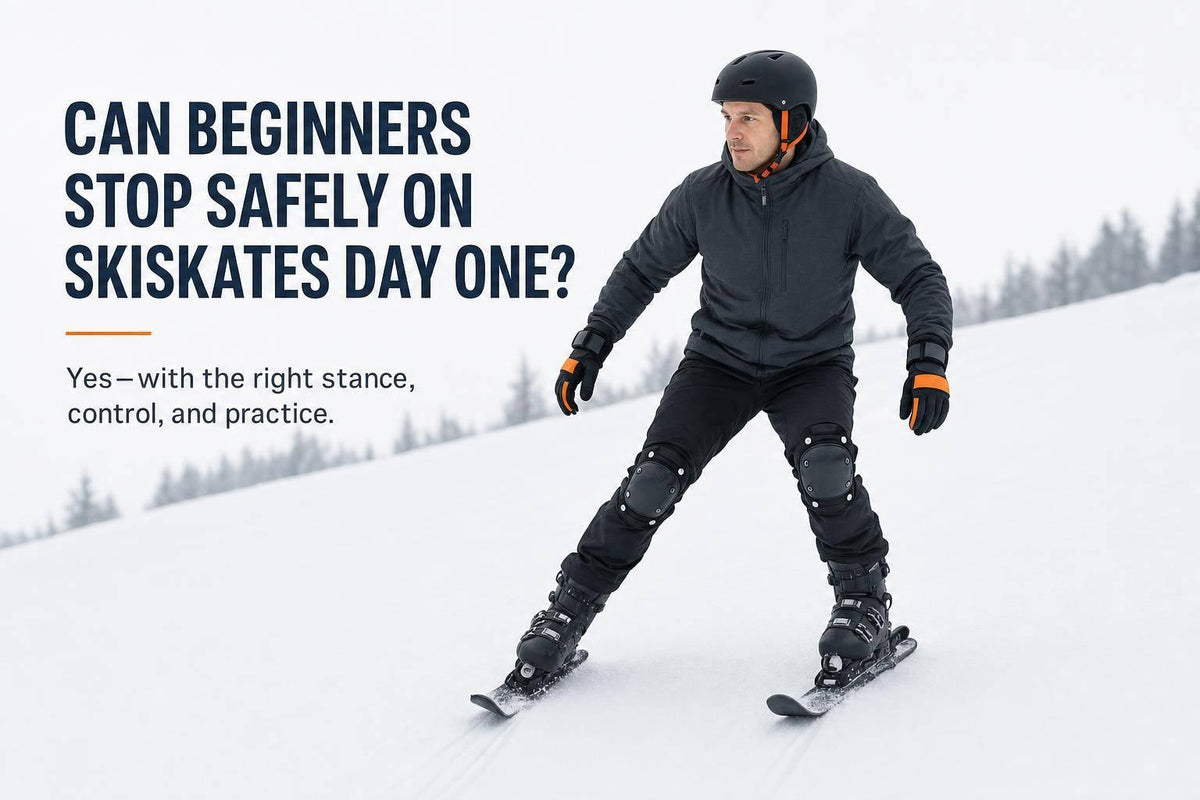
Yes - you can learn a basic stop on skiskates on day one, but only at low speed on a very easy slope. If you keep your glide short, use a gentle wedge, and give yourself a long flat area to slow down, day one can stay safe and fun.
Here’s the short version:
- Start on mellow terrain only
- Practice short glides of about 10–16 feet
- Use a wedge first
- Add light heel pressure to slow down
- Try side-slipping before any fast stop
- Pick a controlled fall over fighting for balance
- For most beginners, 50 cm skiskates feel easier than 44 cm ones
What matters most isn’t guts. It’s setup. A first-day stop can work on firm groomed snow, in a wide open area, with low traffic and a clear runout. On steep, icy, narrow, or crowded runs? Nope. That’s where things get ugly fast.
A few numbers stand out:
- Helmet use is linked with lower head-injury odds: 0.65 odds ratio
- Wrist guards can cut wrist-injury risk by about 77%
- The Snowfeet* PRO 50 cm starts at $299
- The 44 cm Skiskates start at $460
Quick Comparison
| Item | Better for day one? | Why |
|---|---|---|
| Gentle beginner slope | Yes | Low speed, more room, less stress |
| Steep or icy run | No | Hard to slow down and stay balanced |
| Wedge stop | Yes | Easiest first stop for most people |
| Hockey-style stop | No | Too much for most first-day riders |
| Snowfeet* PRO 50 cm | Yes | More stable front to back |
| Snowfeet* 44 cm | Maybe later | Feels more skate-like, less forgiving |
So, if I were helping a friend on day one, I’d keep it simple: short glide, small wedge, full stop, reset, repeat. That’s the whole playbook. No hero laps. No “one more run” nonsense :)
If you want a visual on wedge stops and side-slipping, these can help:
Snowfeet* & Skiskates Tutorial - How to Become a PRO Skiskater
What Makes Stopping Easier or Harder for a First-Time Rider
Technique matters. But on day one, the slope and snow do most of the talking.
A new rider can have a decent wedge and still struggle on steep, icy, or crowded terrain. That’s the part people often miss. A safe first-day stop is realistic only when the terrain stays easy and your speed stays low. Because skiskates respond fast, bad terrain turns into a problem fast too.
On the right slope, though, the basics work much better. That sets you up for the wedge brake and heel-pressure control covered next.
The Best First-Day Conditions in the US
Use a designated beginner or nursery slope. You want it wide, open, and very gentle, with a clear runout. Think of it like a big empty parking lot for practice, not a skinny side street.
Firm, groomed snow gives you the most predictable control on day one. Avoid ice, powder, and slush. Each one makes balance and braking less predictable in its own annoying way. Also stay away from lift exits and merge points. Those spots get messy fast.
Your stance matters too:
- Keep your knees bent
- Keep your hands forward
- Keep your weight centered over your feet
If you lean back, you give up control and let the skiskates run. That’s a rough trade.
| Condition | Easier to stop | Harder to stop |
|---|---|---|
| Slope angle | Gentle pitch, flat runout | Steep pitch, narrow end |
| Snow surface | Firm, groomed snow | Ice, powder, or slush |
| Space | Wide, open practice area | Narrow trail or obstacles |
| Traffic | Low traffic, clear sight lines | Crowded merge points |
| Speed | Slow enough to stop on command | Too fast to widen your wedge |
With the right terrain, beginners can spend time practicing stops instead of fighting the hill.
When to Step Back and Not Push Your First Run
Sometimes the smart move is to back off. No shame in that. In fact, that’s how you keep a first run from turning into a yard sale.
Skip the run and move to flatter ground if any of this shows up:
- The slope feels fast as soon as you point downhill
- You see icy patches, exposed rocks, ruts, or a sudden change in pitch
- The trail is narrow
- The runout is blocked by people or obstacles
- You can’t see the full stopping area from the top
- Bumps are making your skiskates unstable
- You feel tense, lean backward, or can’t slow down even at low speed
If a run starts to feel like you need a last-second turn, a fall, outside help, or plain luck to miss an obstacle, it’s too hard. Move to flatter ground.
If the slope is steeper than expected, side-step down with your skiskates on when conditions allow. Call ski patrol if you need help.
Once the slope feels manageable, move to the stopping methods below.
Stopping Methods Beginners Can Use on Day One
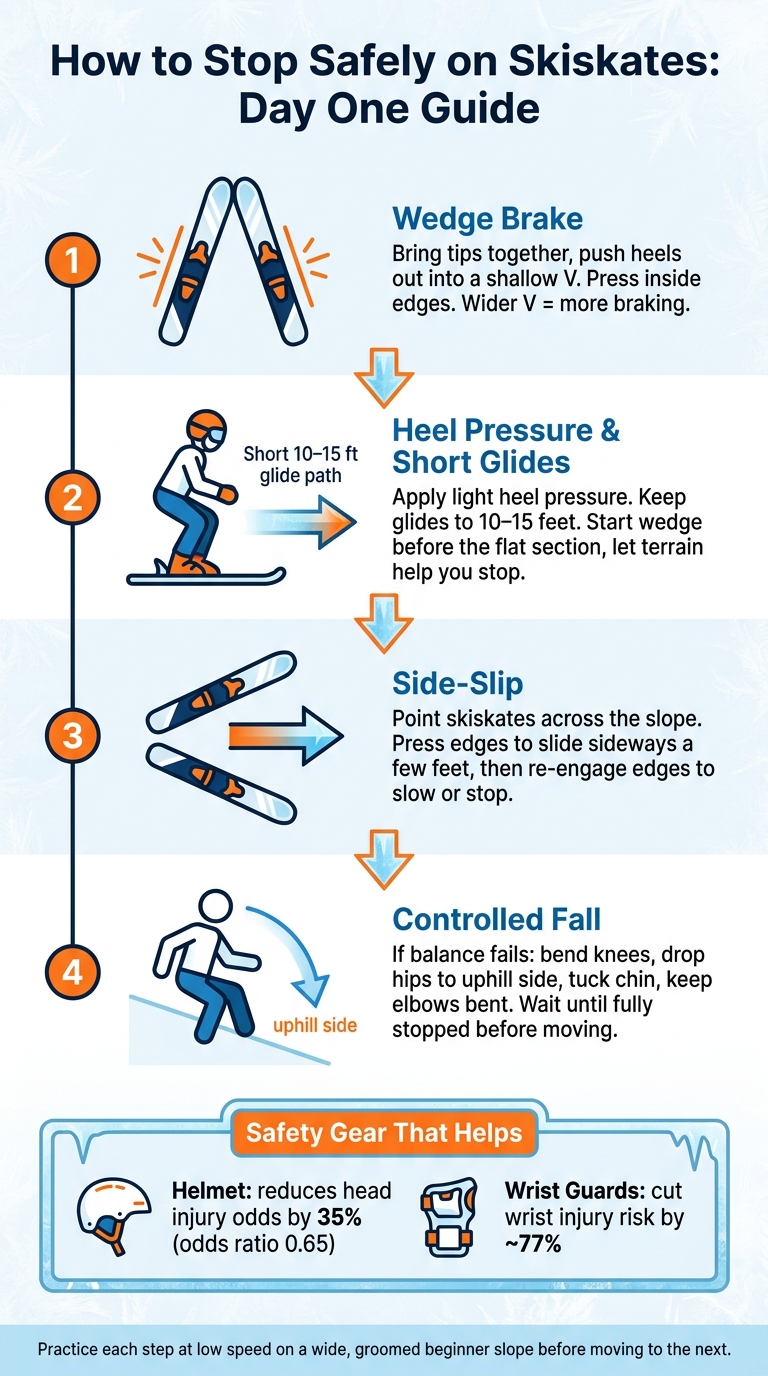
How to Stop Safely on Skiskates: Day One Step-by-Step Guide
Start with these in this order: wedge first, then speed control, then side-slip.
The Wedge Brake: Your Main First Stop
The wedge, or snowplow, is the easiest first stop for most beginners. Bring your tips together and push your heels out to make a shallow V. Bend your knees, stay centered, and press the inside edges of both skiskates. That edge pressure helps scrub off speed. Make the wedge little by little. A wider V slows you more, but it also takes more control.
Once that position starts to feel steady, add a bit of heel pressure so your speed doesn’t build too fast.
Use Heel Pressure and a Flat Runout to Manage Speed
Use light heel pressure while staying centered with bent knees. Match that with short glides, about 10–15 feet, and finish on flat ground. Start your wedge before you reach the flat section, then let the level terrain help you come to a stop.
That combo works well on day one because you’re not asking your body to do too much at once. You slow down with your stance, then let the terrain do part of the job. Nice and simple.
When you can manage speed on flat ground, side-slipping is the next move.
Try Side-Slipping Before Attempting a Hockey-Style Stop
Point both skiskates across the slope, not straight downhill. Keep your knees bent and your torso centered. Press the edges, slide a few feet sideways, then engage the edges again to slow down or stop.
Hold off on the hockey-style stop for now. On day one, a fast pivot can catch an edge and put you on the snow in a hurry.
If your balance starts to go, a controlled fall is safer than trying to force one more stop.
sbb-itb-17ade95
How to Fall Safely and Pick the Right Snowfeet* Gear
A Controlled Fall Beats Fighting for Balance at High Speed
If your wedge or side-slip starts to fall apart, the next safe move is simple: take a controlled fall.
When your speed starts to run away from you, or you're running out of slope, don't fight to stay upright at all costs. That usually ends badly. If you can, turn across the hill first. If you can't, bend your knees, drop your hips, and fall to the uphill side. Keep your chin tucked, elbows bent, and hands close to your body.
Then wait. Stay still until the skiskates stop. Check for pain and look uphill for traffic. After that, move to the side of the trail before you stand up.
A properly fitted ski helmet matters. Helmet use is linked with a lower chance of head injury, with an odds ratio of 0.65 compared with skiing without one. Backward falls cause a lot of wrist injuries, so wrist guards are a smart add-on. Studies show they cut wrist-injury risk by about 77% compared with unprotected falls. Knee pads and tailbone pads can help too.
Practice the motion on flat snow: bend your knees, sit gently to one side, keep your hands in, then stand only when the slope is clear.
Snowfeet* Skiskates 44 cm vs Snowfeet PRO 50 cm: Which Is Easier for Beginners?
Once you've got the fall plan sorted, the next step is picking gear that won't make day one harder than it needs to be.
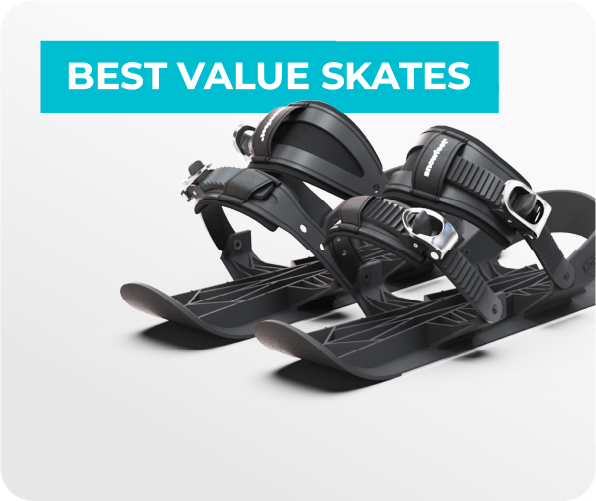
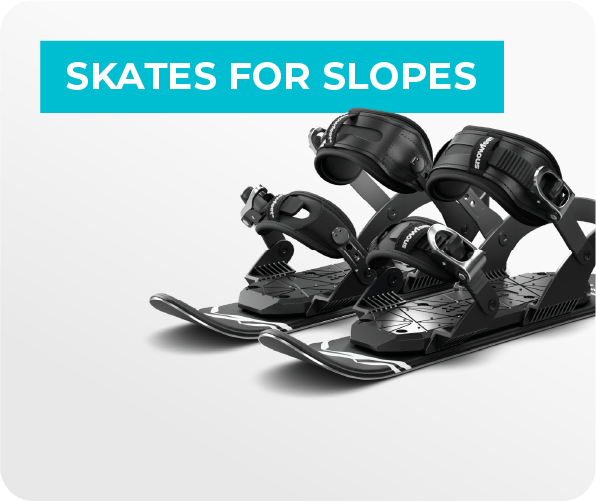
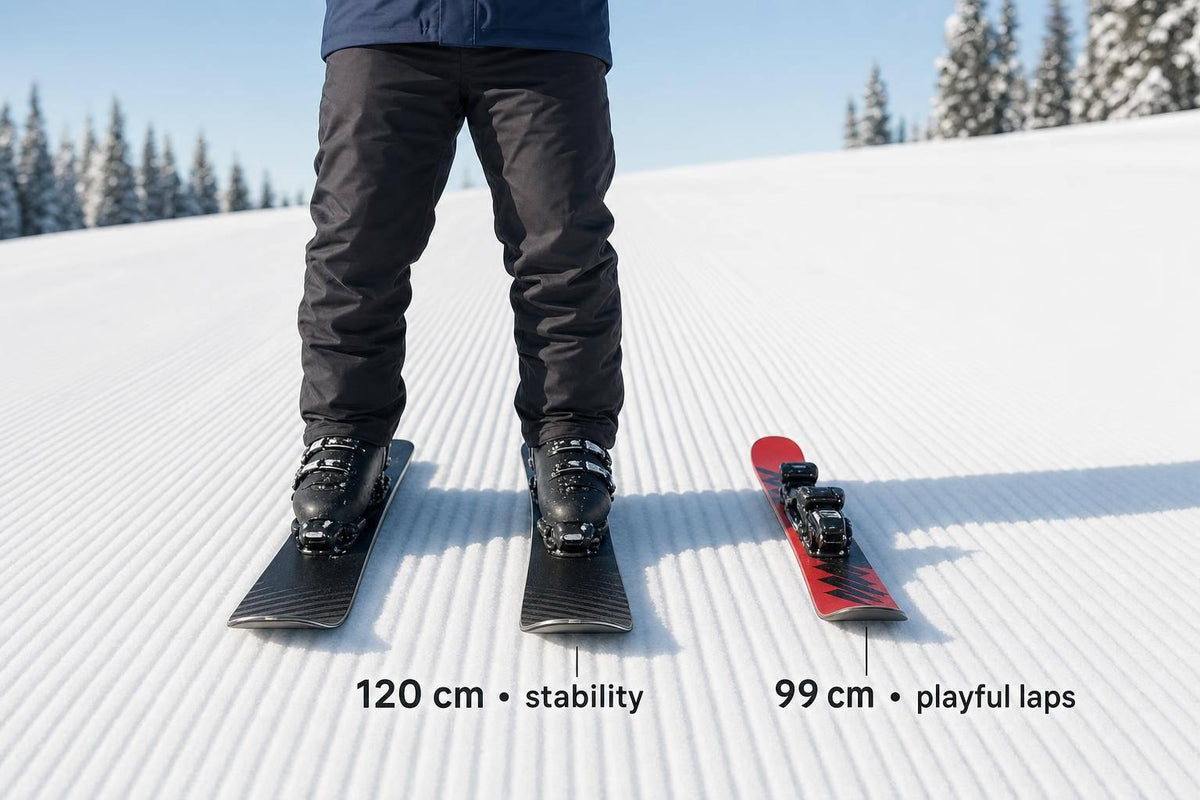
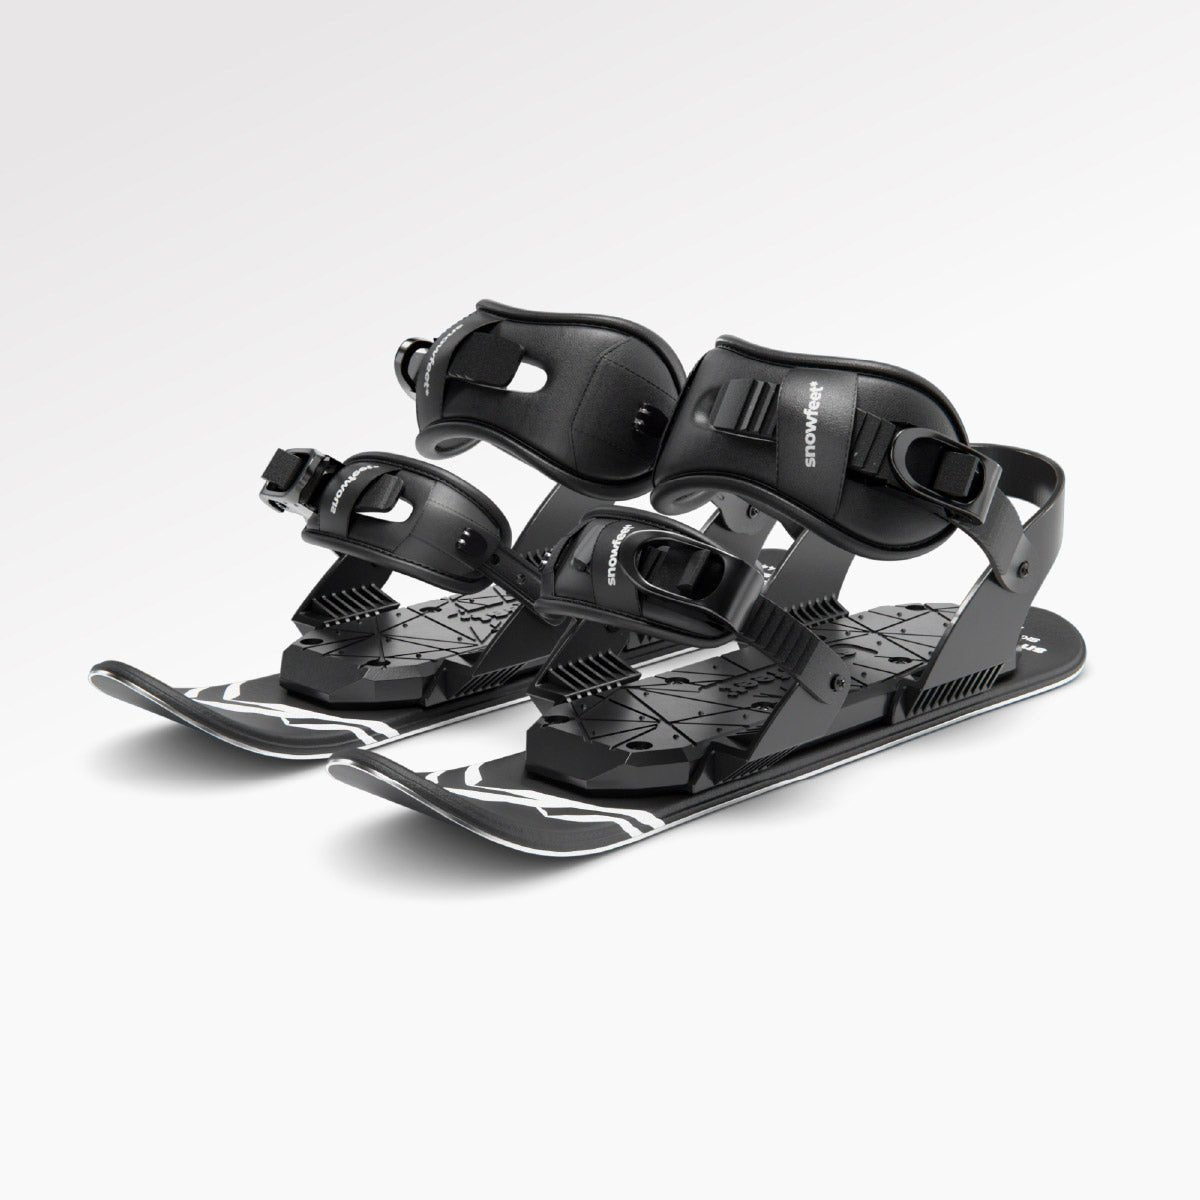
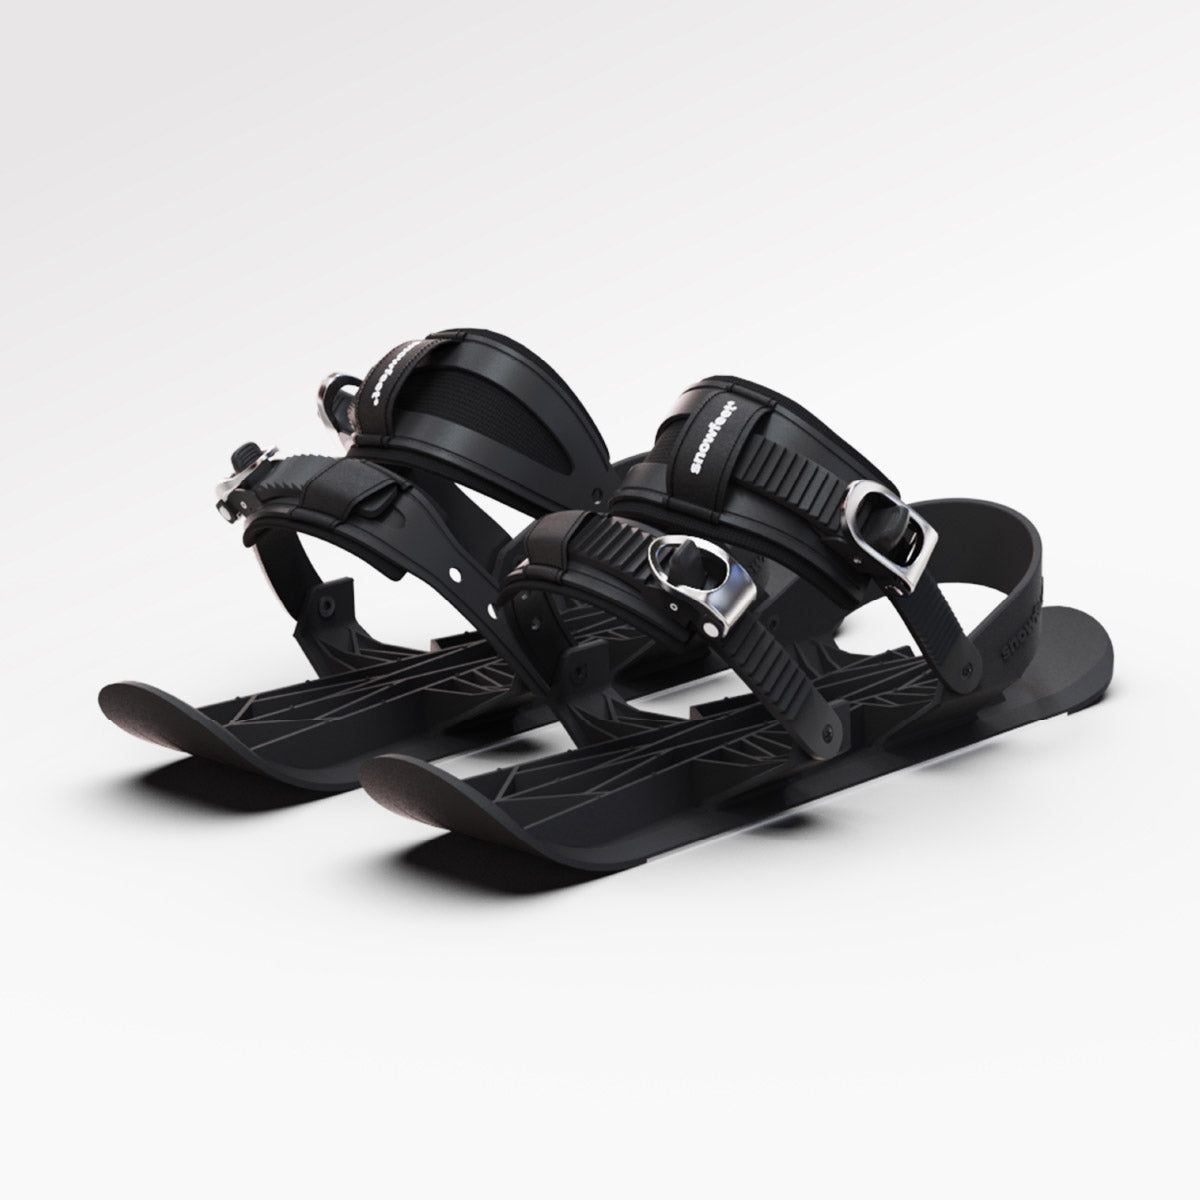
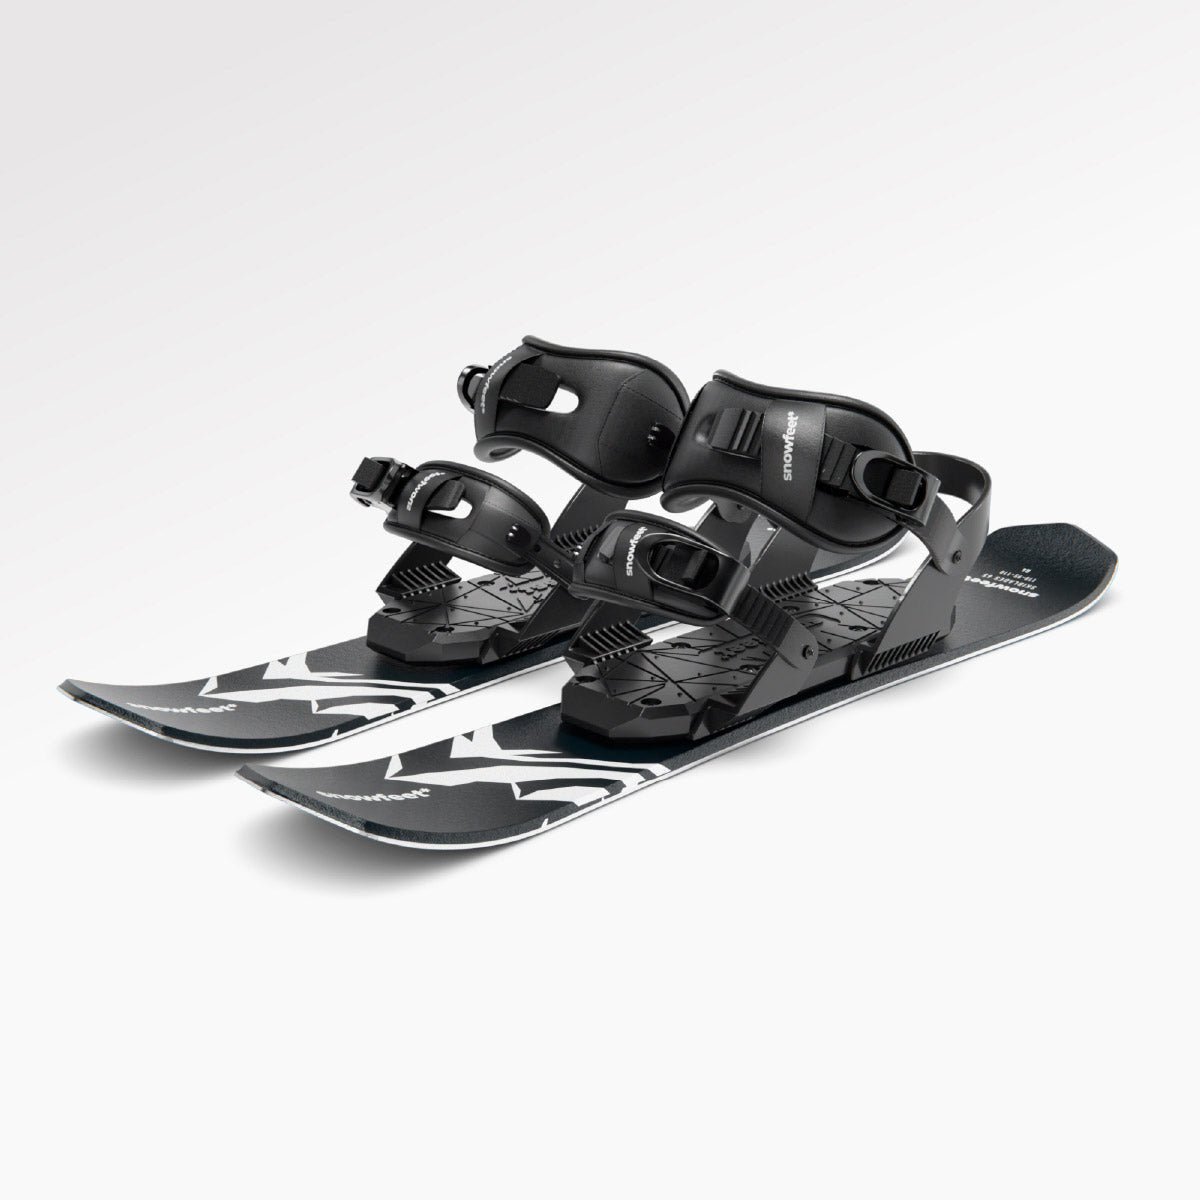
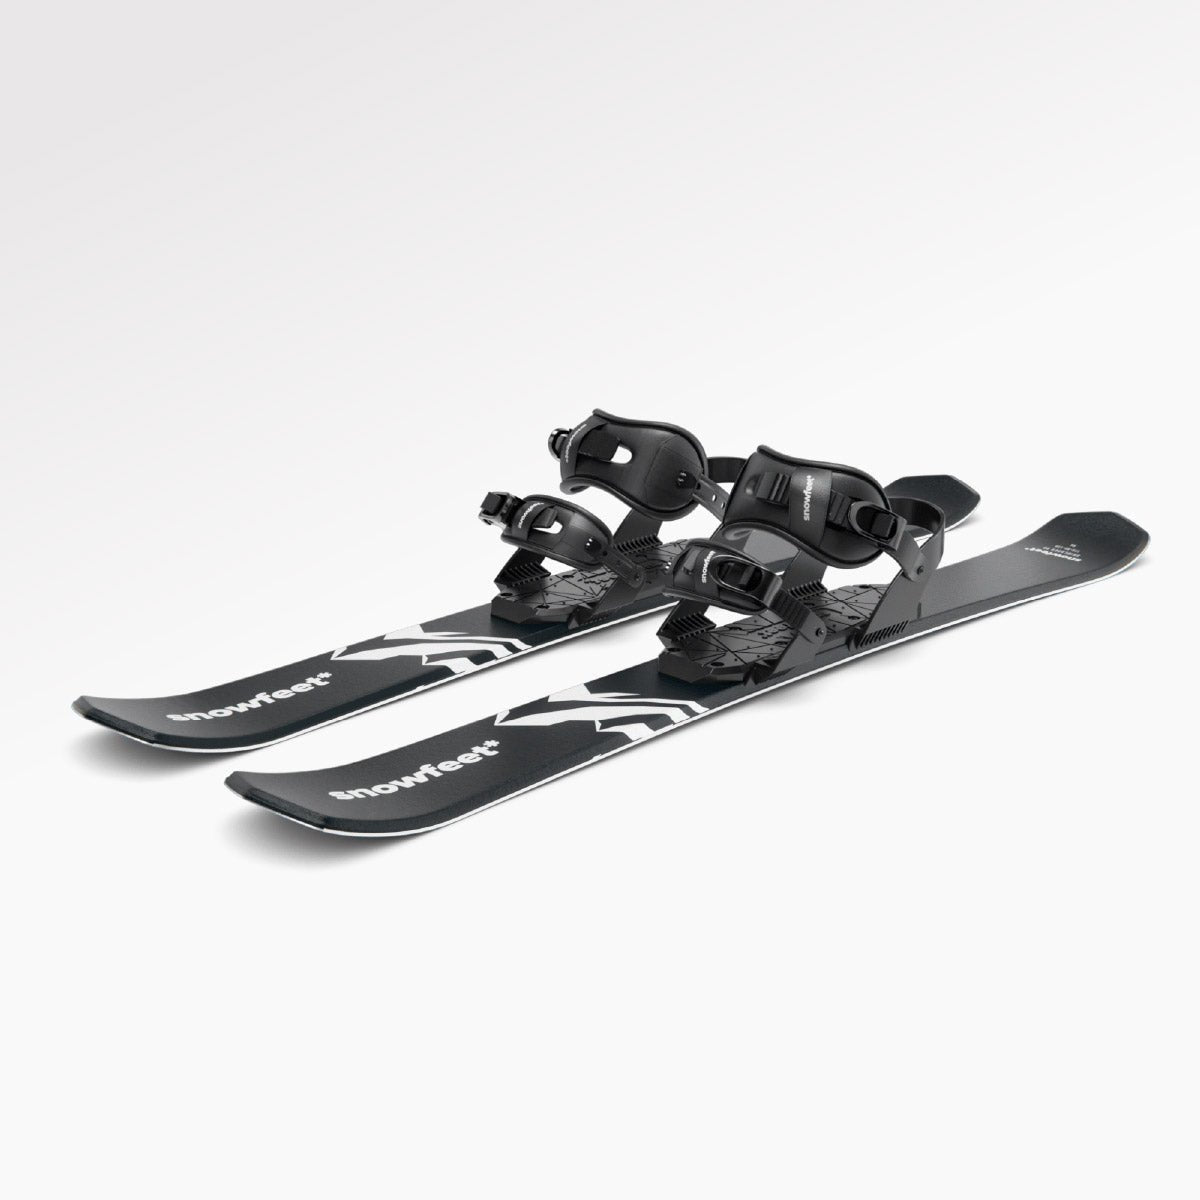
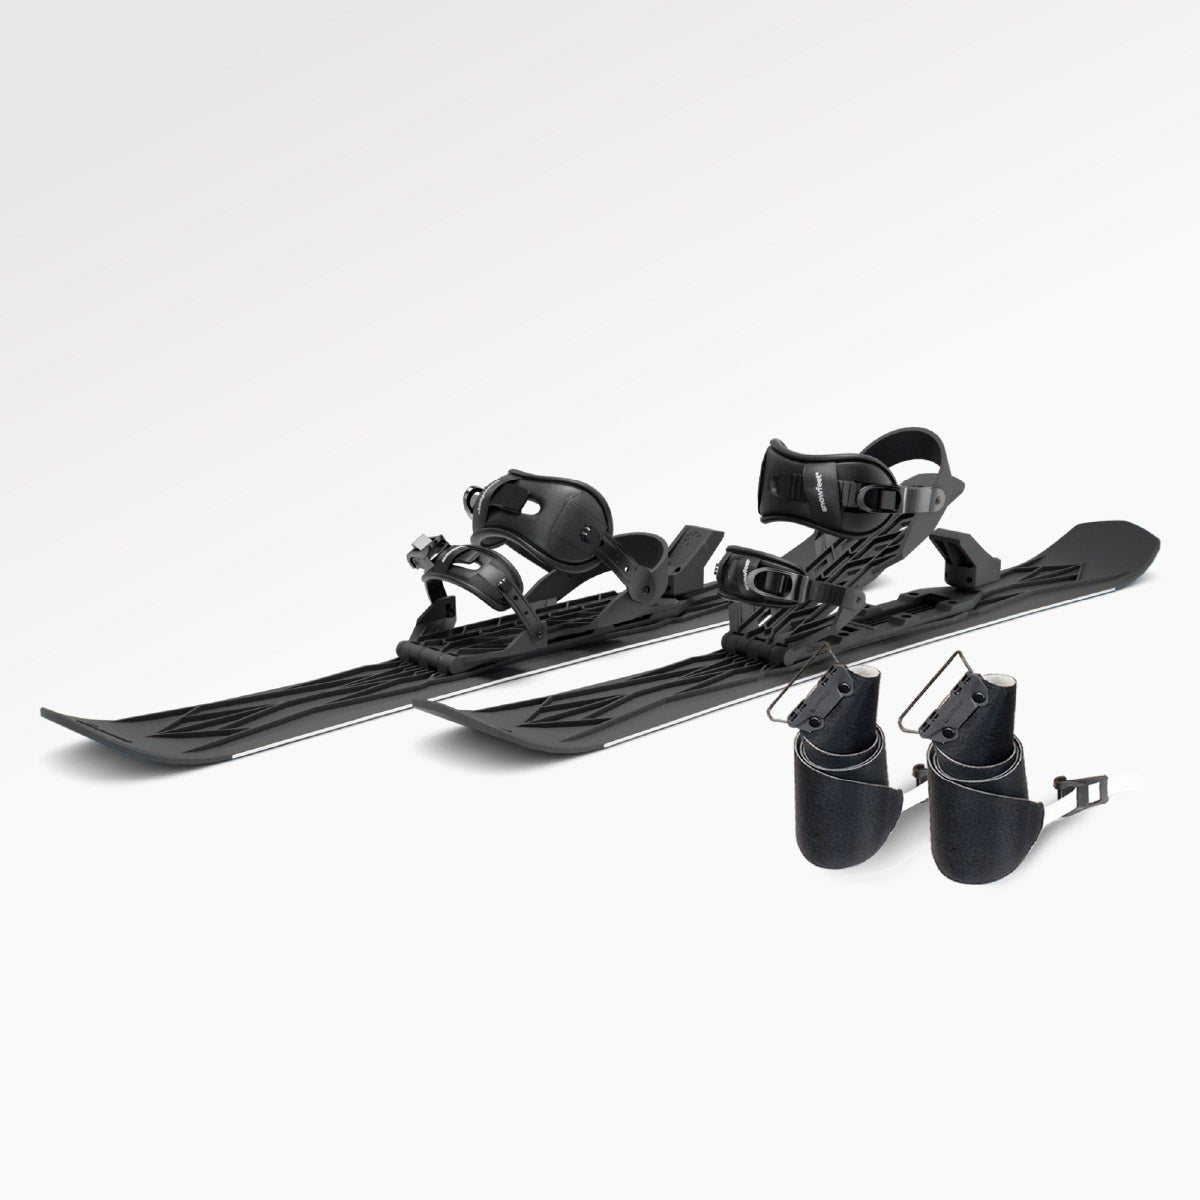
The Snowfeet* PRO 50 cm is about 20 inches long. That extra length gives you more platform underfoot and more front-to-back stability, while still being small enough to toss in a backpack. The Snowfeet* Skiskates 44 cm are about 17.3 inches long. They feel shorter, quicker, and more skate-like. Fun? Sure. Easier for a new rider? Not so much.
| Feature | Snowfeet* PRO 50 cm | Snowfeet* Skiskates 44 cm |
|---|---|---|
| Length | ~20 in (50 cm) | ~17.3 in (44 cm) |
| Starting price | From $299 | From $460 |
| Platform stability | More stable | More skate-like, less forgiving |
| Best for | Complete beginners | Riders with better balance |
| US boot size range | ~6–13 | ~4.5–14.5 (ski-boot version) |
For most first-time riders, the 50 cm PRO is the less intimidating starting point. It also costs less. The 44 cm model fits riders who already have solid balance and want that tight, skate-style feel, but it isn't the easier tool for learning.
Before you buy either one, check a few basics:
- Boot fit
- Binding type
- Whether a leash is included
- The return policy
How Snowfeet* Stacks Up Against Long Skis for Stopping Practice
This is where Snowfeet* make a lot of sense for casual riders on day one, even if long skis still do better in bigger mountain terrain.
Long skis still come out ahead for speed, deep snow, and steep runs. But for a beginner working on stopping on a mellow groomed slope, shorter gear is often easier to manage. Snowfeet* skiskates keep the practice loop small and clear: short glide, wedge, stop, reset, go again. Nice and clean.
That said, short skiskates have their own quirks. They're less stable at speed, and they react fast to bumps or uneven snow. So no, they don't let you skip technique. Use them on wide beginner terrain with lots of runout. And if fatigue, fear, ice, crowds, or poor visibility start to make the next run feel sketchy, call it for the day. No hero points needed :)
Conclusion: Start Slow, Pick Easy Terrain, and Build to Controlled Stops
A lot of beginners can learn a basic stop on skiskates on day one, but that only works on easy terrain and at low speed. So yes, it's possible - but only when the setup is controlled.
For the first session, keep the order simple:
- Start with the wedge
- Add heel pressure
- Move to side-slipping
- Use controlled falls if needed
Repeat each one at low speed until it starts to feel automatic. No rush. That’s the whole game.
If you want the easiest first-day setup, the Snowfeet PRO 50 cm is the simpler starting point for most beginners. It tends to feel more stable than the 44 cm Skiskates, while still staying compact and easy to handle.
Short skiskates are often easier to handle than long skis for casual beginners, but they still ask for active balance and speed control. That’s why Snowfeet* work better as a first-day option for most casual riders than long skis.
End the session when you can’t stop with consistency - not when you’re tempted to take one more run. Control first. Speed later.
FAQs
Do I need a lesson on day one?
No. Many beginners can learn basic turning and stopping in a single session. And Snowfeet’s shorter, lighter design often feels easier to control than standard skis.
For safety, start on a gentle groomed green slope or a packed-snow hill. Then practice:
- Straight glides
- Wedge-style braking
- Side-slipping
Keep your weight centered, stay in a slight knee bend, and wear a certified snow sports helmet.
How long does it take to learn a reliable stop?
Most complete beginners can learn a reliable stop on skiskates within a few hours. In many cases, it happens during the very first session.
The easiest place to learn is on gentle, groomed green runs. That kind of terrain gives you room to slow down and practice simple snowplow or wedge-style speed-control drills without feeling rushed.
Things get tougher when the snow or slope fights back. Steep terrain, icy patches, or deep snow can make stopping harder and take more time to learn.
Snowfeet says many beginners can pick up a basic snowplow stop in 30–60 minutes. After that, confidence tends to build over a few hours on snow, or over a handful of outings.
What boots and safety gear should I wear?
Wear a certified snow sports helmet on every run. It’s the one piece of gear you don’t want to skip. For more protection, add wrist guards, knee pads, and elbow pads. Waterproof gloves and layered, moisture-wicking clothing will help you stay dry and comfortable instead of cold and cranky.
For boots, snowboard boots are the best all-around pick for beginners. Regular insulated winter shoes can work for slow practice if they’re stiff enough. Traditional ski boots can also work if they match your binding type. Whatever you wear, the fit matters a lot. Your boots should feel snug, with no side-to-side movement.


Laat een reactie achter
Deze site wordt beschermd door hCaptcha en het privacybeleid en de servicevoorwaarden van hCaptcha zijn van toepassing.