
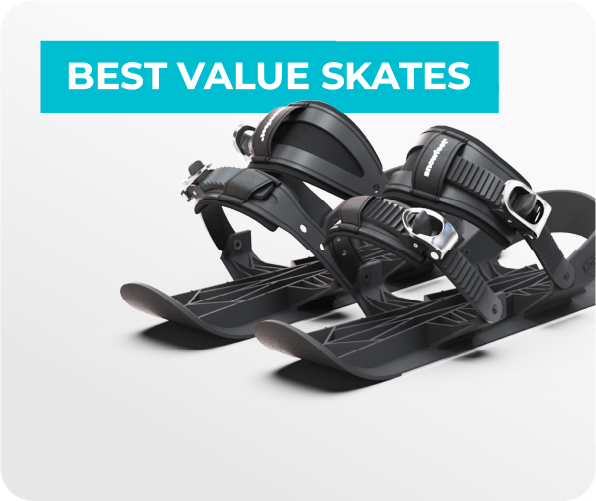
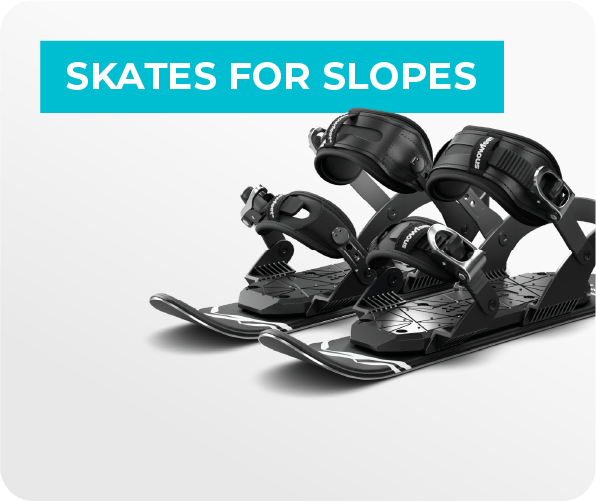
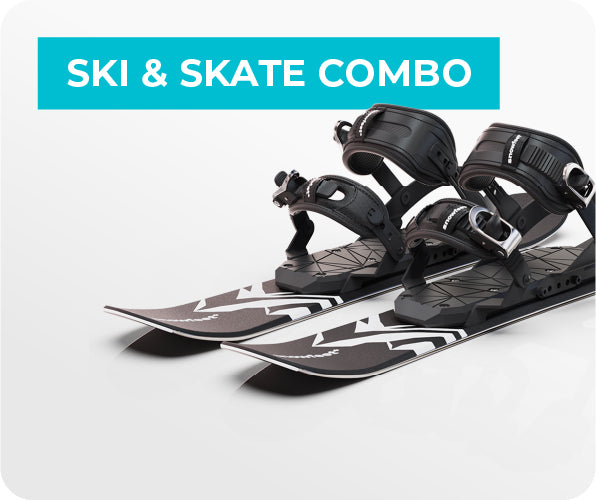
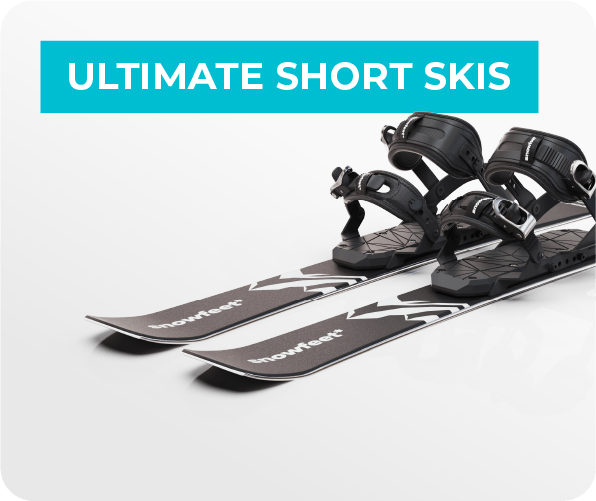
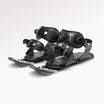
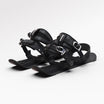
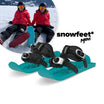
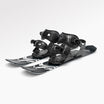
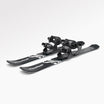
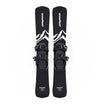
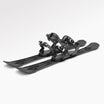
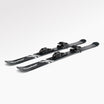
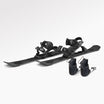
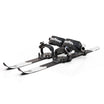
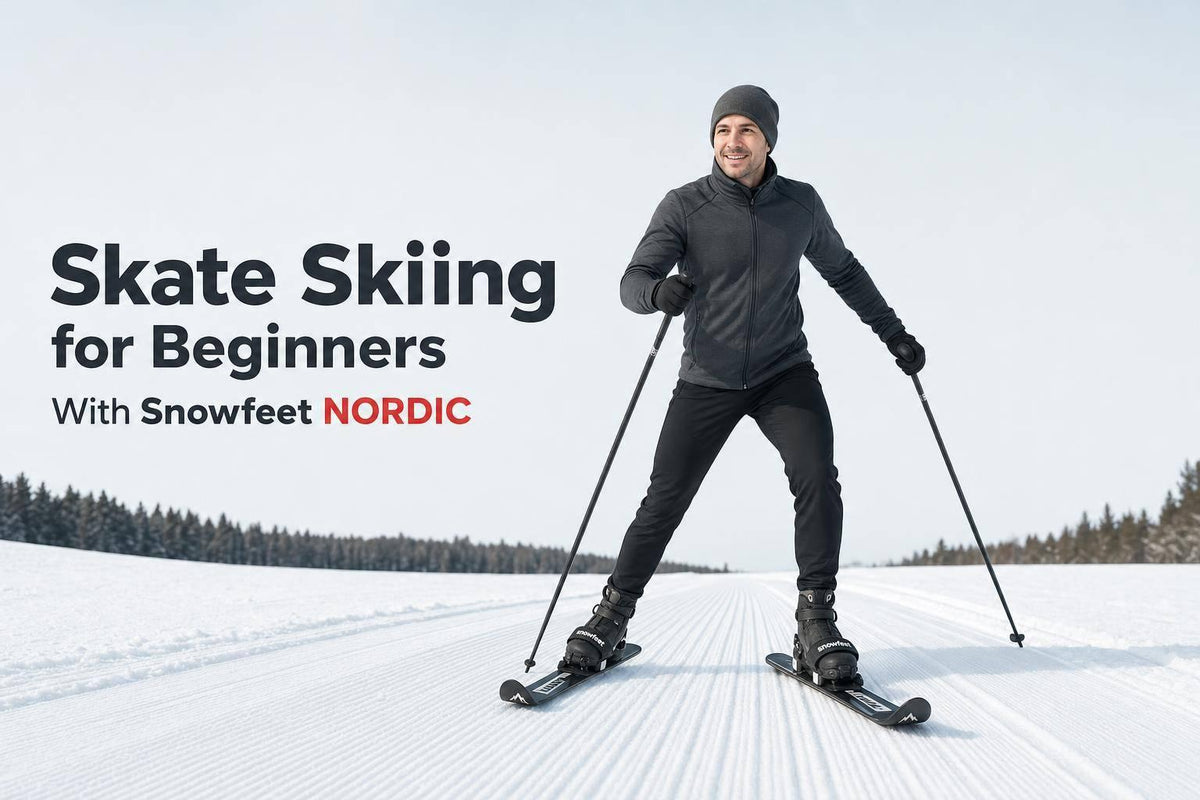
If long skate skis feel like too much, Snowfeet* NORDIC offer a simpler start. I’d sum it up like this: shorter skis, simpler boot options, and an easier first day on groomed snow.
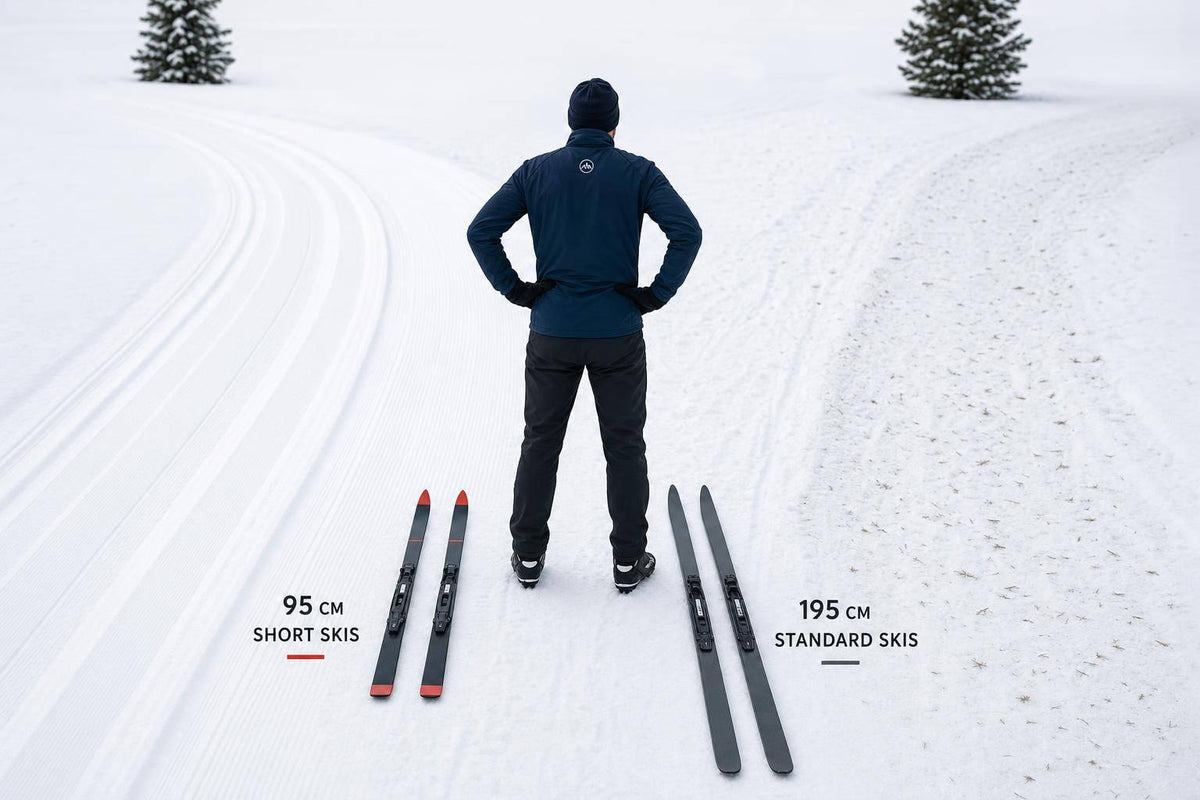
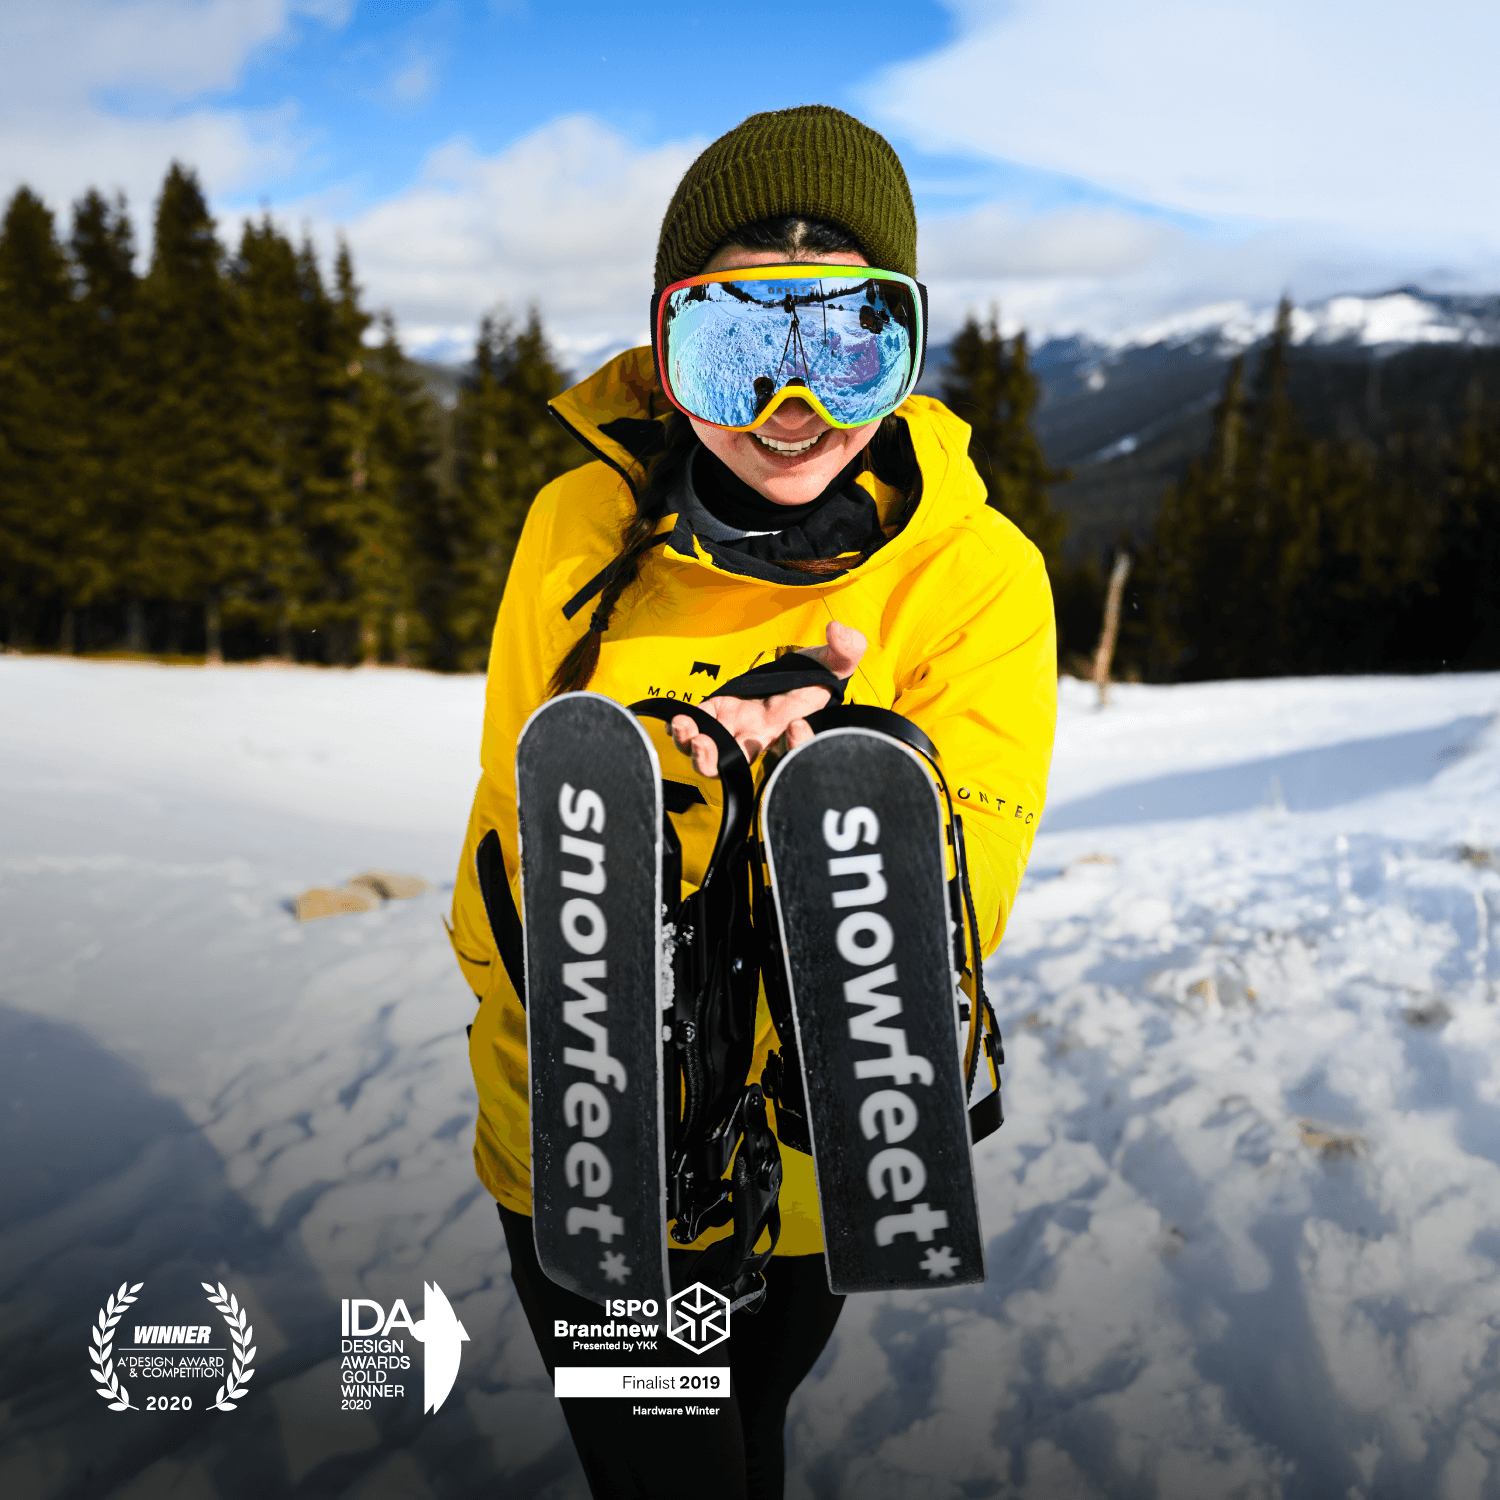
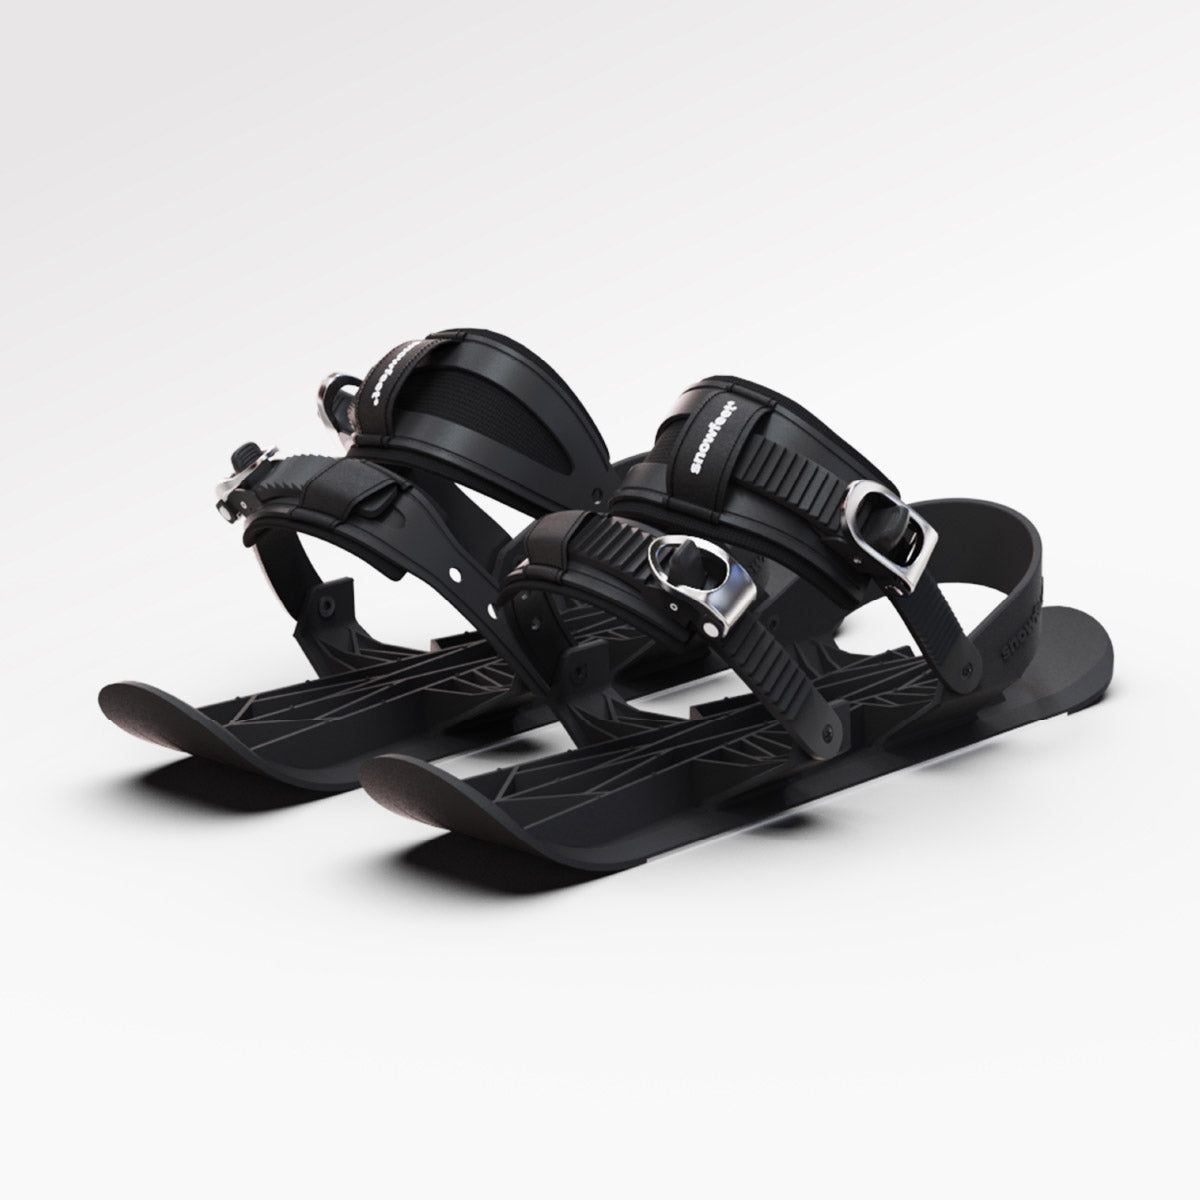
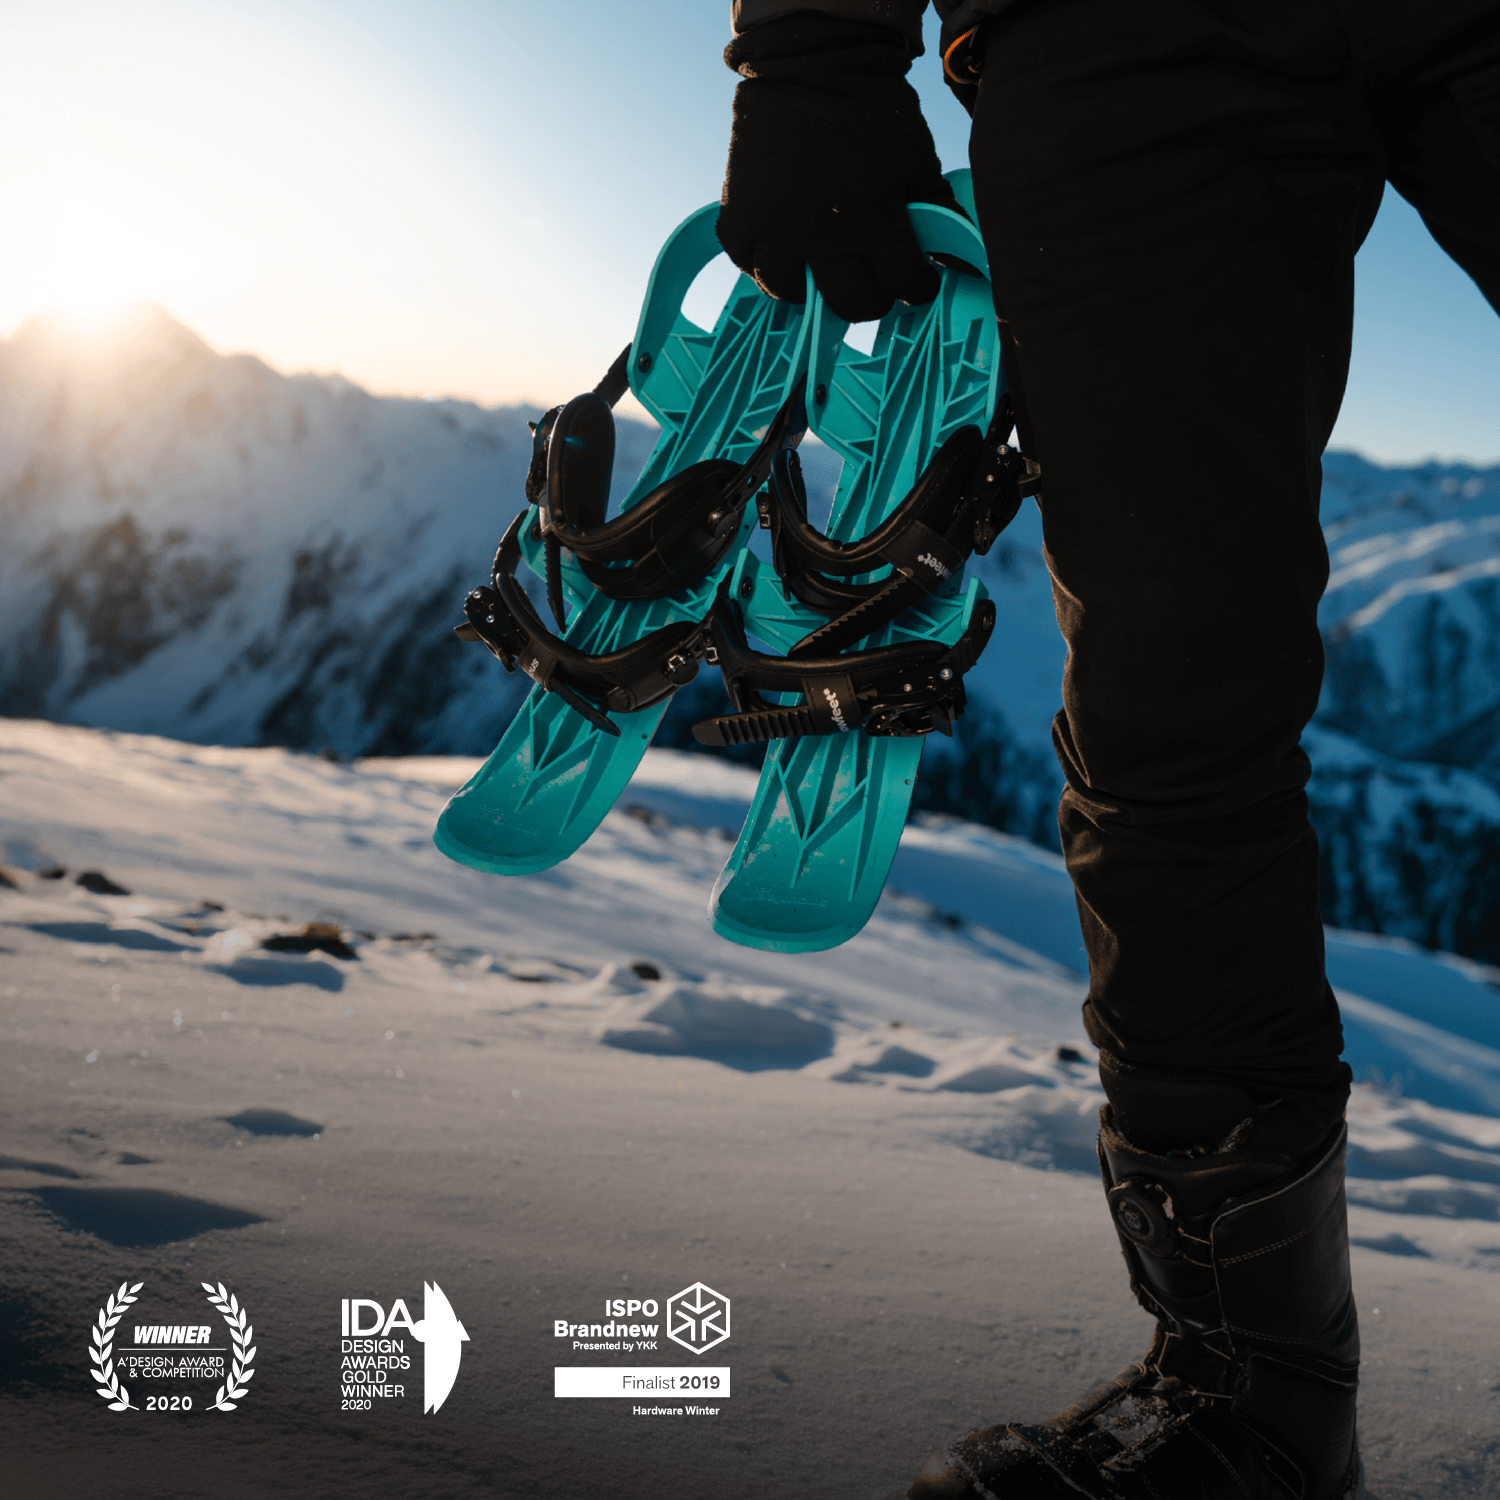
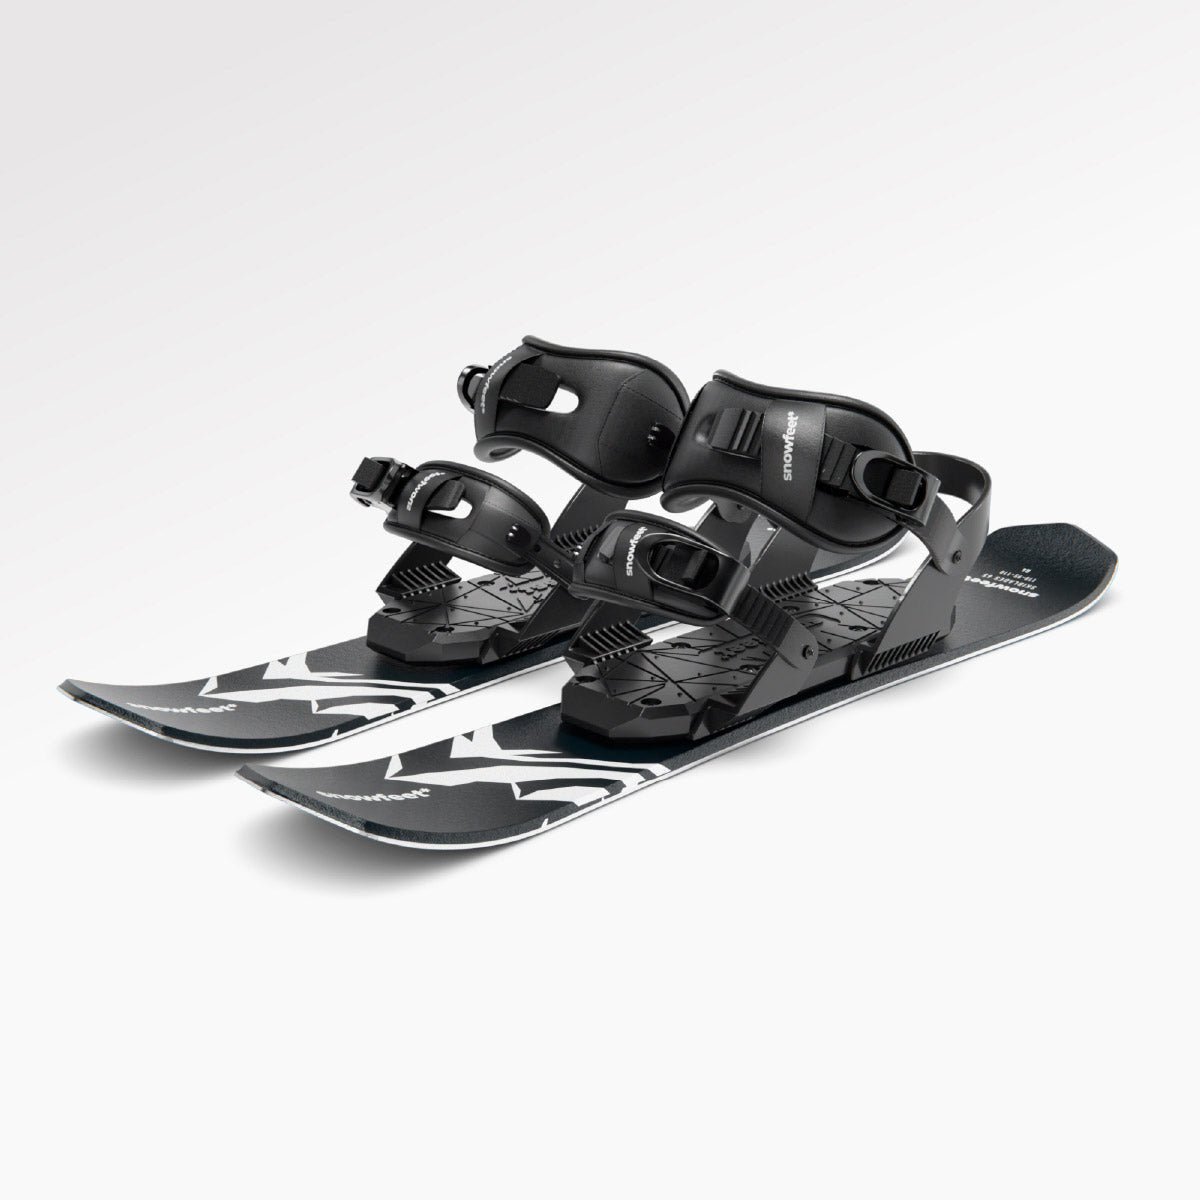
Snowfeet* NORDIC are 90 cm / 35 in. long, not the usual 180–195 cm / 71–77 in. range many skate skis use. They also weigh 3.84 lb per pair. That means less ski in front of you, less fuss when turning, and less chance of crossing tips while you learn. On top of that, many setups let you use winter boots you already own, which cuts out one more gear problem.
Here’s the short version:
- Best for: groomed skate lanes, flat Nordic trails, beginner practice areas
- Not for: steep hills or deep soft snow
- Main skills to learn first: stance, side-to-side weight shift, short glides, wedge stop, step turns
- Boot fit matters: loose straps can make control sloppy; straps that are too tight can make your feet numb
- Good beginner goal: glide on one ski for a few seconds before adding poles
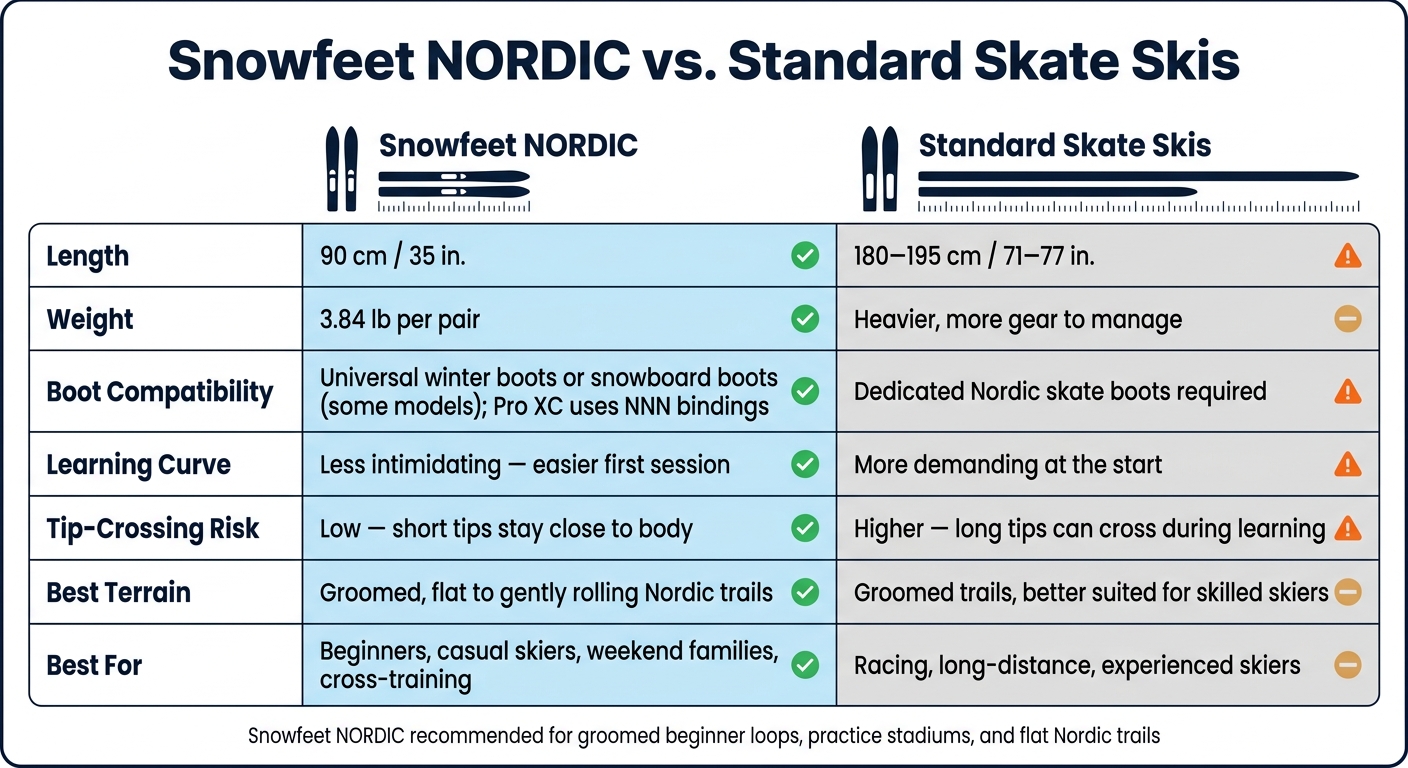
Snowfeet NORDIC vs. Standard Skate Skis: Beginner Comparison
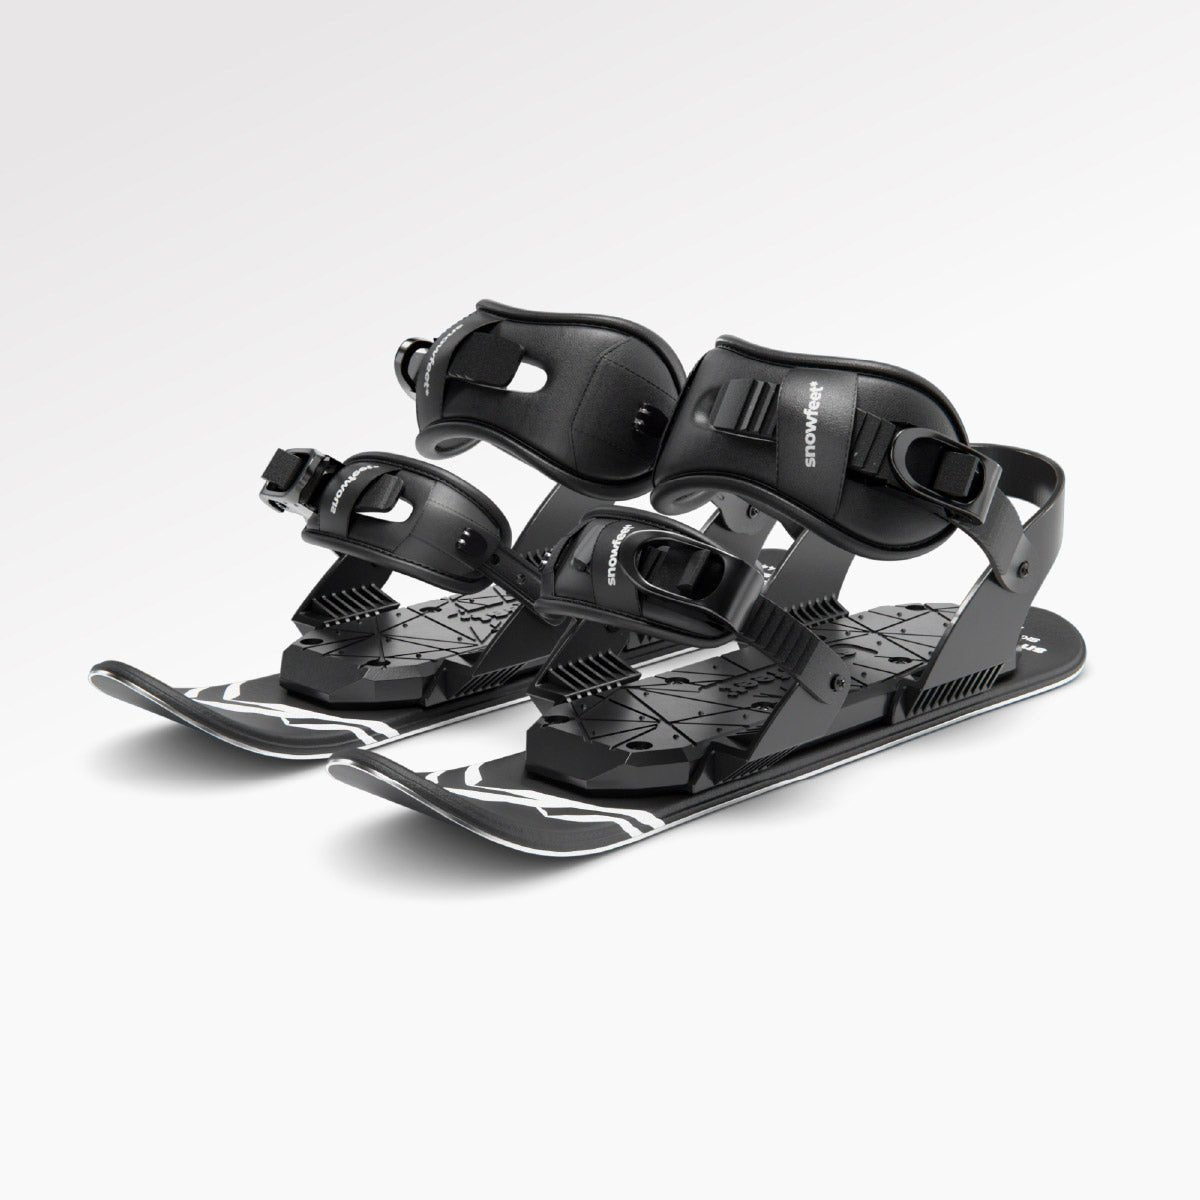
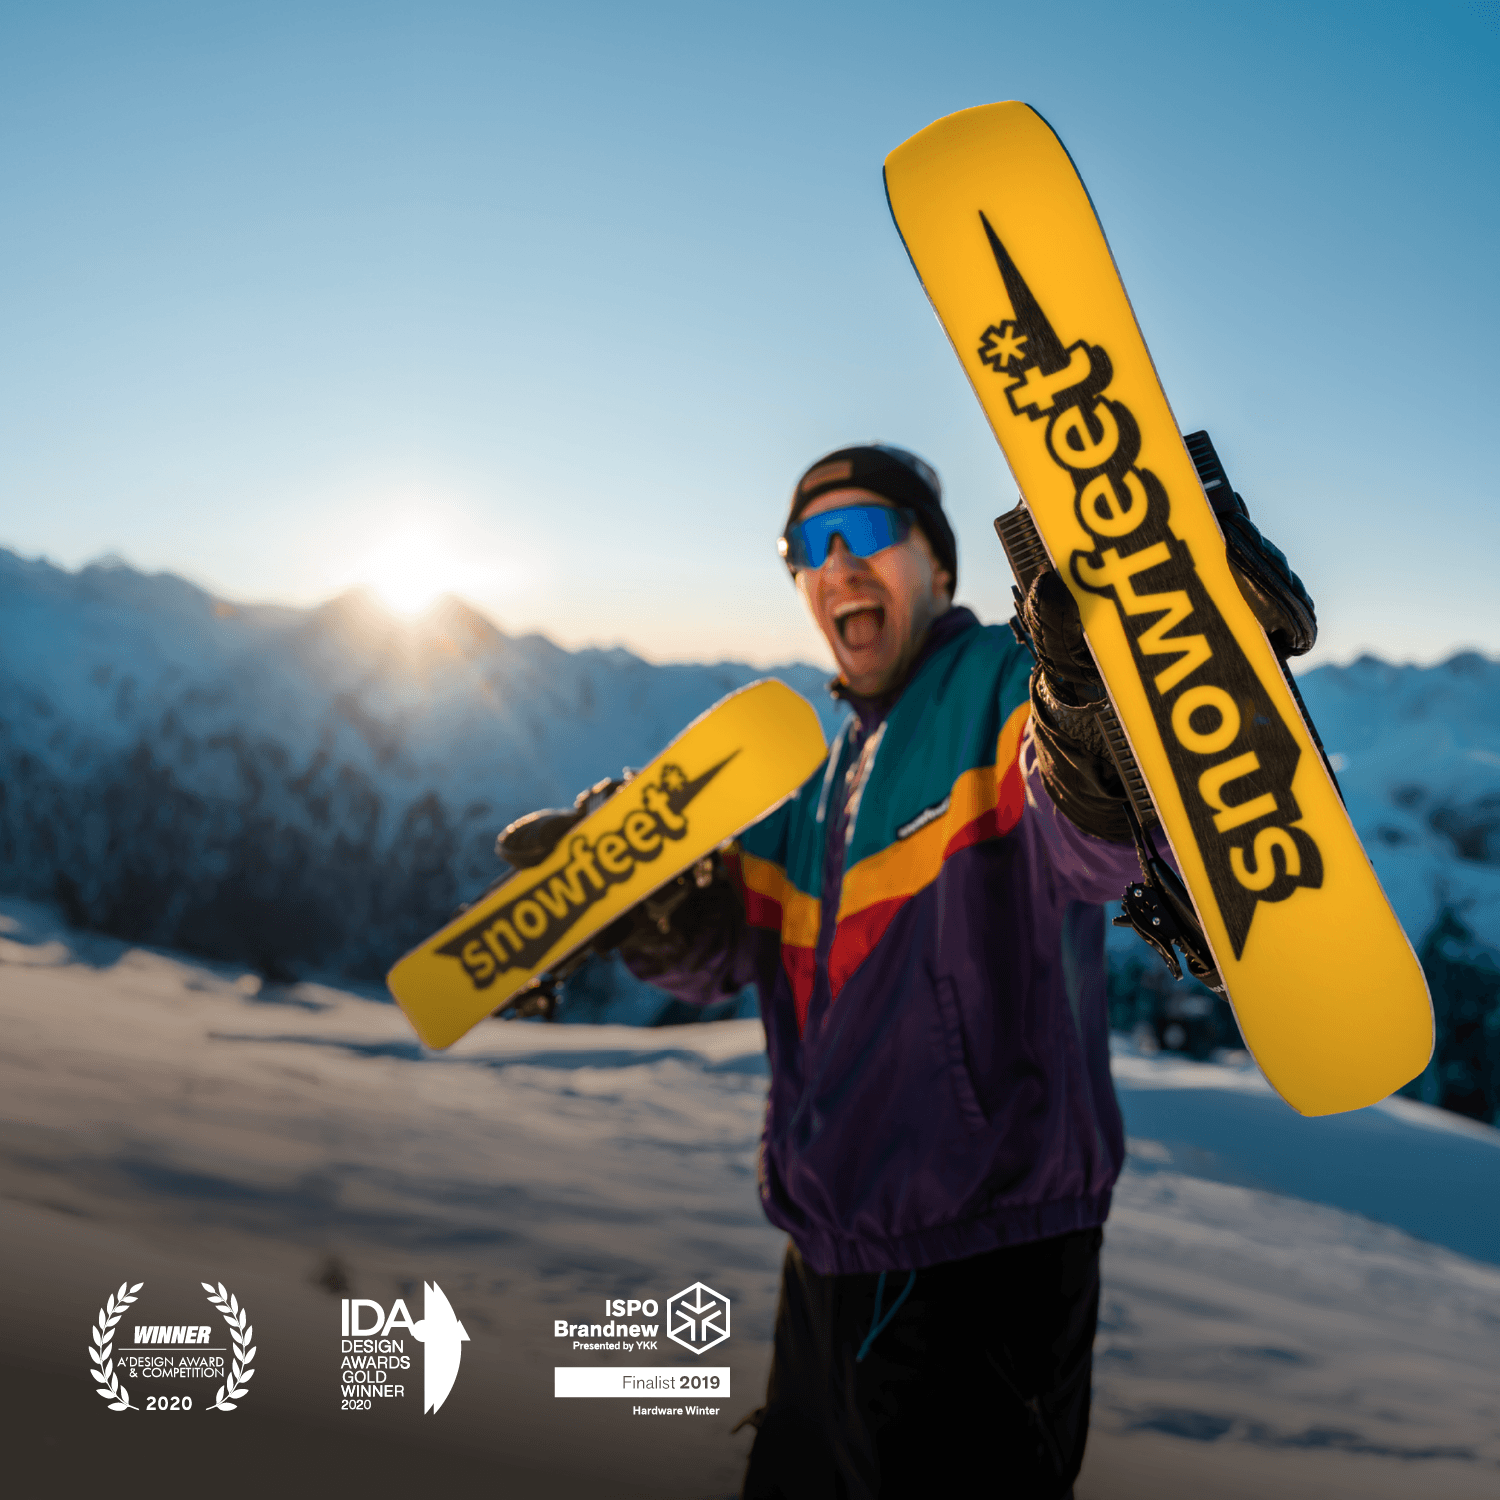
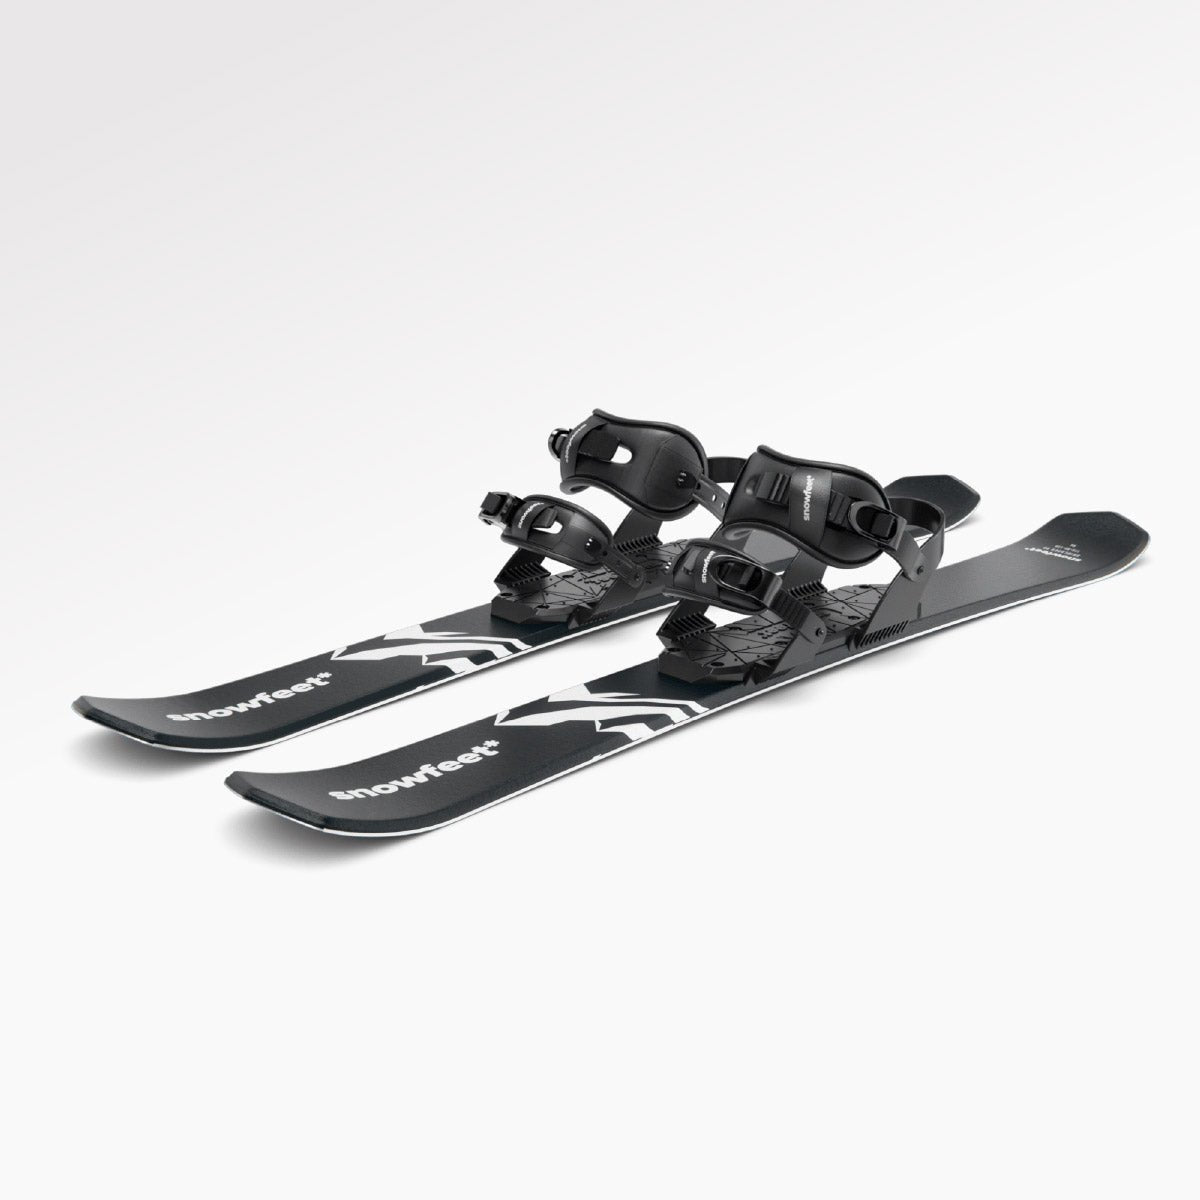
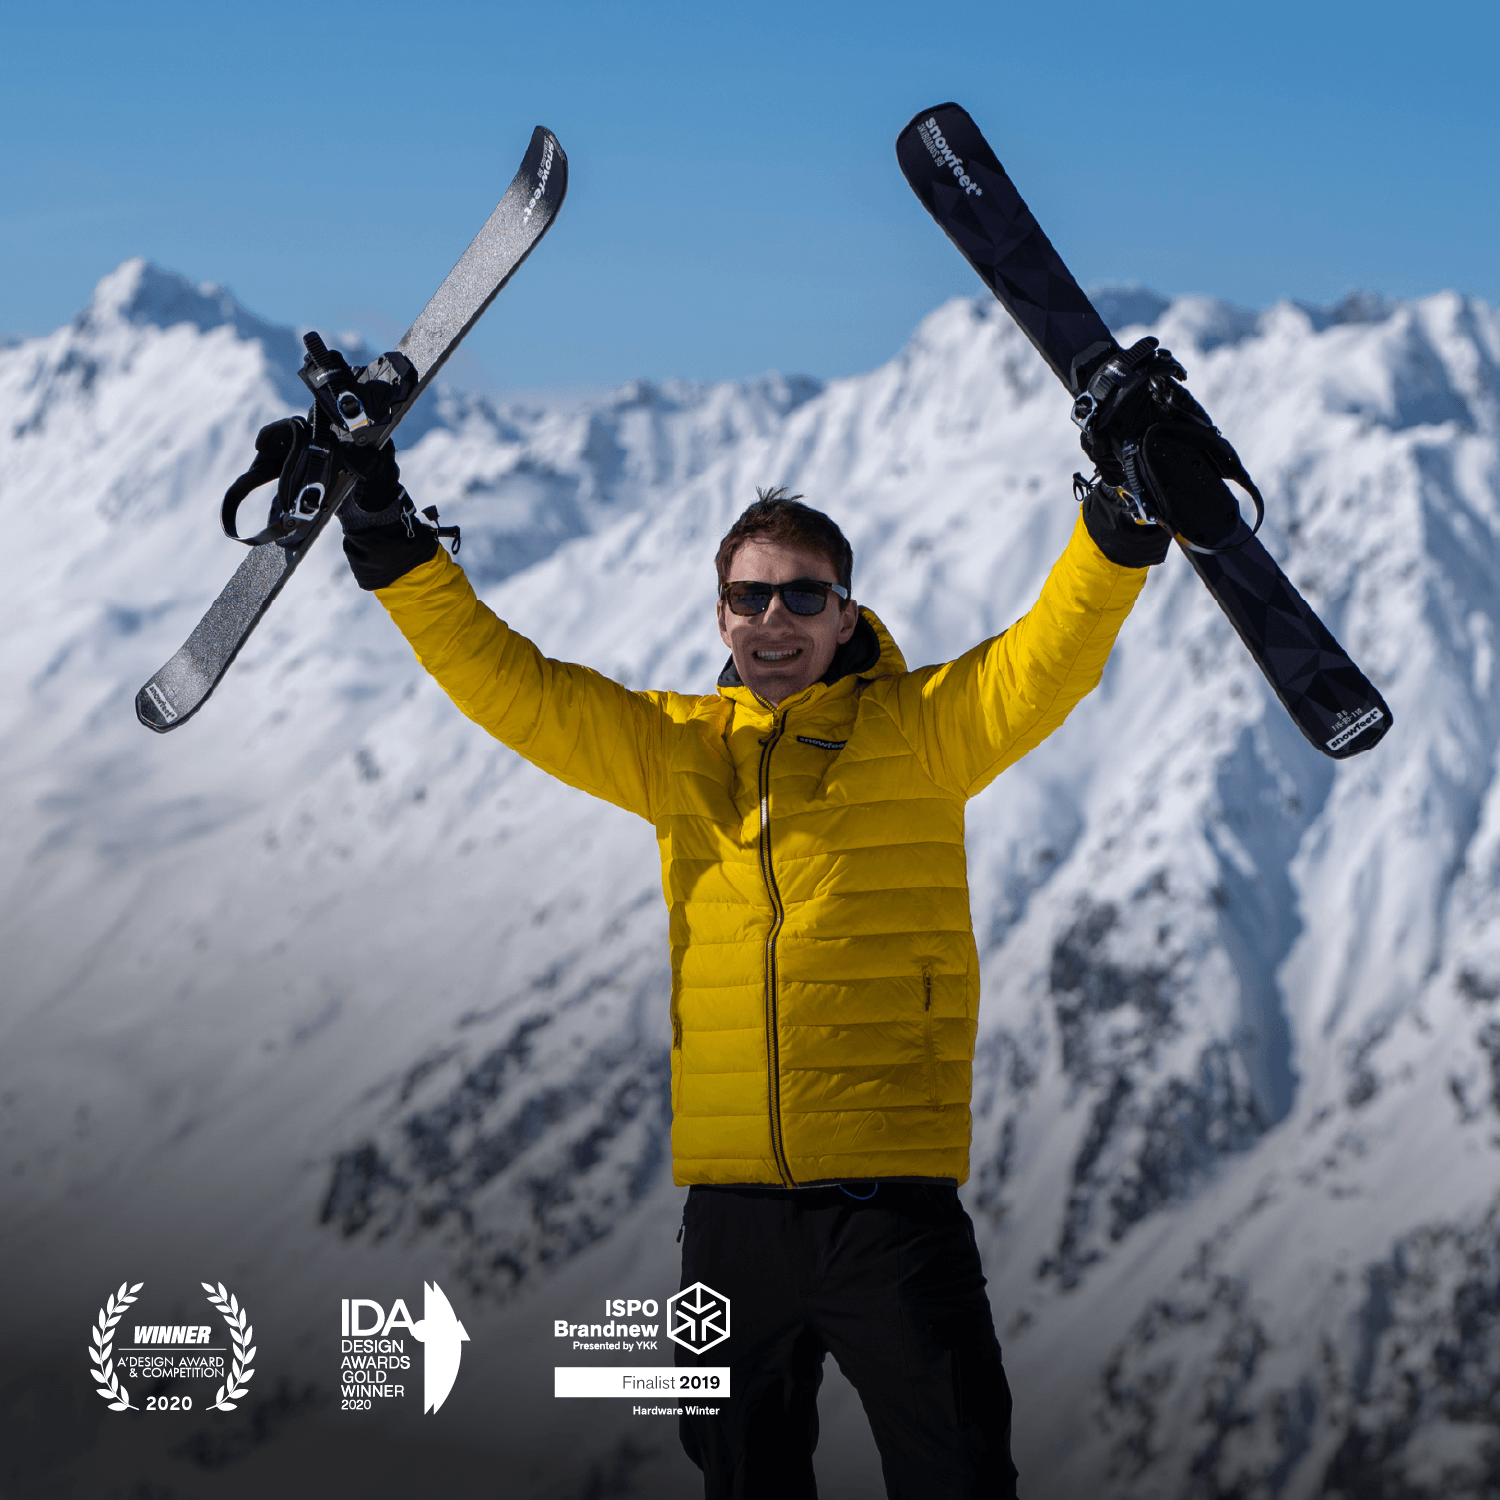
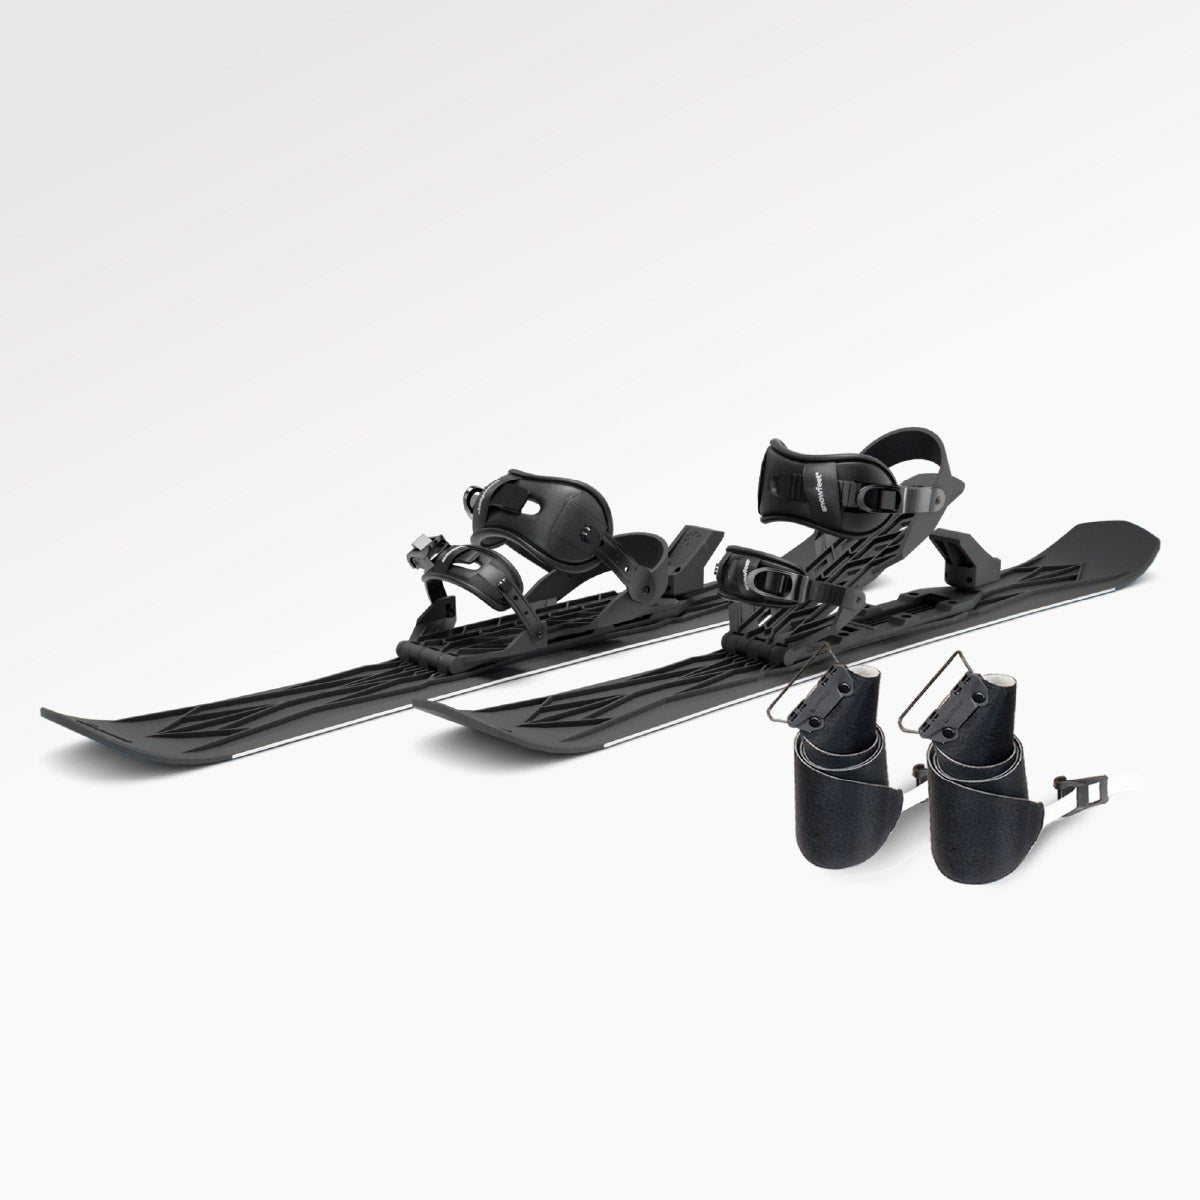
This Nordic Ski Can Be Attached to Any Winter Shoes | Snowfeet Cross-country Skate Skis | 90 cm
Quick comparison
| Feature | Snowfeet* NORDIC | Standard skate skis |
|---|---|---|
| Length | 90 cm / 35 in. | 180–195 cm / 71–77 in. |
| Weight | 3.84 lb/pair | More gear to handle |
| Boots | Universal binding options on some models; Pro XC uses NNN | Nordic skate boots |
| Learning feel | Less intimidating for first sessions | More demanding at first |
| Best terrain | Groomed, flat to gently rolling | Groomed trails, often for more skilled skiers |
So, if you want the plain truth: these skis make the first step into skate skiing less awkward. I’d focus on a snug boot setup, a calm V-skate rhythm, and flat groomed trails. That’s where new skiers tend to have the most fun - and the fewest “well, that got weird fast” moments :)
1. Why Snowfeet* NORDIC 90 cm Are Easier to Learn On
Snowfeet* NORDIC are 90 cm (35 inches) long and weigh just 3.84 lb per pair. That makes them much shorter than standard long skate skis.
And that short length changes a lot.
For a beginner, shorter skis usually feel less awkward right away. They’re easier to steer, easier to manage, and less likely to fight you when your form gets messy. And, yeah, it will get messy at first. That’s normal. The good news is that with shorter skis, you can fix a small mistake fast, get your balance back, and keep moving. That quicker reset can make early sessions feel a lot less frustrating. They’re also simple to carry and stash, which is a nice little bonus.
Long skate skis do have a place. They glide better at higher speeds and make sense for trained skiers covering long distances. But if you’re still learning how to shift your weight cleanly from one ski to the other, all that glide can turn into extra speed before you feel ready for it.
What the 90 cm length does for control
One of the most common beginner issues on long skate skis is one ski crossing over the other when your feet drift too close together. It happens fast. With Snowfeet* NORDIC, the short tips stay closer to your body, so there’s much less ski sticking out in front to overlap by accident. That alone can make things feel calmer. The integrated metal edges also help with stopping and edge control.
Quick step turns, those small pivoting arcs you use to change direction, feel a lot more like turning in hiking boots or skates than trying to muscle long boards around. On a narrow groomed lane, that matters. If you need to avoid an icy patch or stay from drifting into someone else’s lane, shorter skis are just easier to handle.
Where Snowfeet* NORDIC work best
This kind of control matters most on groomed beginner terrain. Snowfeet* NORDIC are made for groomed skate lanes, flat or gently rolling Nordic trails, and open beginner practice spots. They need that firm, groomed surface to work the way they should.
They’re not built for steep descents or deep ungroomed snow. On steep terrain, beginners need downhill gear made for that kind of slope, plus the right safety setup. And in soft, deep snow, longer and wider skis give you the flotation that 90 cm skis just can’t match.
So for your first several sessions, stick to groomed beginner loops and practice stadiums. That’s the sweet spot for these skis. Once the skis feel easier to manage, the next piece is getting the boots and bindings dialed in.
2. Boots, Bindings, and Setup Before You Hit the Snow
Before your first glide, get the boot and binding match right. A simple, secure setup makes Snowfeet* NORDIC easier to control right away. If the straps are loose, control drops fast. If they’re too tight, your feet can go numb. Not fun.
How to pick boots for comfort, warmth, and control
Snowfeet* NORDIC 90 cm come with two binding options: a universal binding for regular winter shoes and snowboard boots, and a Pro XC version that uses Rottefella's NNN (New Nordic Norm) bindings for dedicated cross-country ski boots. So, first things first: check which binding you have. Boot soles aren’t all the same, and the boot needs to match the binding.
For most beginners, insulated winter boots are the easiest place to start. They’re warm, simple, and easy to use. If you want more ankle support and a better feel on the edges, go with snowboard boots. XC skate boots make sense only if you want tighter control from the start and already have the Pro XC binding.
No matter which boot you pick, put warmth, comfort, and support at the top of the list. Very soft, low-cut footwear gives you less control and makes your legs work harder than they should. That’s a rough trade.
Once you’ve picked your boots, make sure the fit is dialed in before you step onto the snow.
How to adjust bindings before your first session
Center the boot on the platform so the sole edges run parallel to the ski, with no twist. Then tighten the straps bit by bit. The boot shouldn’t slide inside the binding when you twist your leg.
A few simple checks help a lot:
- Try to tiptoe to test heel lift. If the heel comes up, tighten the ankle strap or use a thicker sock.
- Shift your weight from edge to edge to test side-to-side movement. If the boot moves before the edge does, re-center the boot and tighten the mid-foot strap.
When the fit is right, the short skis feel stable and easy to read. That’s a big reason they’re beginner-friendly. Then you can focus on stance and weight transfer instead of wrestling with your gear.
sbb-itb-17ade95
3. How to Start Moving: Stance, Weight Transfer, and First Steps
With your boots and bindings set, start on flat, groomed snow and skip the poles for now. That may feel odd at first, but it helps. If you grab poles too soon, it’s easy to lean on them and miss the key skill here: weight transfer.
Start in an athletic stance. Keep your feet about hip-width apart, bend your knees a bit, stack your hips over your feet, and keep your weight centered. Let your hands rest in front of you. Don’t stand tall and stiff, and don’t lean back. That’s the fast lane to feeling wobbly.
Balance drills to do before adding speed
Before you push off, spend a few minutes on flat snow with a couple of simple drills. They’re not flashy, but they work.
- Shift your weight slowly from left foot to right foot. Keep your knees soft and your hips over the foot that’s holding your weight.
- Lift one foot about half an inch off the snow for a second or two, then switch sides. Stay upright and calm.
These drills help your ankles and core get used to trusting the ski edges before you start moving.
Once that feels steady, try a short one-ski glide. Give a gentle push with one ski, then slide on the other for a second or two. Let the free ski skim the snow beside you. Keep your weight over the ski that’s gliding. Since the movement is short, it’s easier to fix your balance if things feel off.
When that glide starts to feel under control, add the skate motion. Put your skis in a shallow V-shape, with the tips pointed a little outward. Push off the inside edge of one ski, move your full weight onto the other ski, glide for a moment, then switch sides. Keep the pushes small and the glides short.
Aim for a calm rhythm: "push, glide, push, glide." Not tiny, rushed steps. Smooth is the goal. Also, keep your eyes forward. Looking down at your feet tends to throw everything out of whack.
When and how to add poles
Add poles only when you can skate on flat terrain without those little panic steps. A few good signs:
- You can glide on one ski for a few seconds
- Your hips move over the glide ski in a clear way
- The side-to-side rhythm feels steady and easy to read
When you do start using poles, keep it light. Plant them just in front of and beside your toe area, not way behind you. Keep your elbows bent and your arms loose. Think of the poles as a metronome. They help with rhythm and timing, while your legs do most of the job.
A simple way to begin is to plant the poles every second or third stride, not on every push.
Once that rhythm feels steady, you're ready to practice stopping and turning.
4. How to Stop, Turn, and Stay in Control on Groomed Trails
Once you can glide and shift your weight, it’s time to learn the two moves that help most beginners relax: stopping and turning. They both come straight from the stance and weight transfer work in Section 3.
The easiest stop is a shallow wedge, also called a snowplow. Start from a straight stance with your feet about hip-width apart. Then push both heels out a bit, keep the ski tips a little closer together, and press lightly on the inside edges. That edge pressure helps the skis slow down. If the move feels shaky, don’t fight it. Head to flatter snow or the side of the groomed trail and try again there.
For gentle direction changes, use short step turns. Lift one ski a little, place it toward the new direction, then bring the other ski over. On curves, use a slightly wider stance and a light wedge to scrub a bit of speed while you turn. When the turn is done, go back to your normal stance.
And yep, falling happens. Everyone does it. The smart move is knowing how to fall with less risk. If you feel yourself going down, fall to one side instead of backward. Keep your knees bent and your arms in close. Reaching back with straight arms is a common cause of wrist strain. After you’re down, place one hand or a pole on the uphill side, push yourself up, and step to the edge of the trail before you start moving again.
Start on wide, empty groomed lanes. Then, when these moves feel steady, take them onto busier trails.
Good places in the U.S. to practice for the first time
Groomed Nordic centers are usually the easiest places to work on stops and turns. They give you room, smoother snow, and beginner-friendly terrain. Here are a few good options across the country:
- Methow Trails (WA) - roughly 125 miles of groomed trails, including easy beginner loops near Sun Mountain
- Aspen–Snowmass Nordic (CO) - about 60 miles of free groomed Nordic trails with gentle beginner sections
- Trapp Family Lodge (Stowe, VT) - around 37 miles of trails suited to all abilities
- Sun Valley Nordic (ID) - approximately 25 miles of trails with gentle loops for beginners and families
- Park City area (UT) - roughly 28–43 miles of trails, including wide, easy sections for novices
Many U.S. Nordic centers let guests use their own compatible gear with a trail pass. It’s smart to call ahead and ask if short skis like Snowfeet* NORDIC are allowed on the skate lane, since rules can change from one place to another.
Common beginner mistakes and how to fix them
The most common problem is leaning too far back. When your weight drops onto your heels, the edges don’t grip as well, and stopping gets much tougher. Keep your knees soft and your hips a bit forward, with most of your weight over the balls of your feet. A simple drill helps here: stand still and rock gently forward and back until you feel where the skis grip best. That sweet spot is where you want to stay.
Another common issue is keeping your skis too close together. A narrow stance makes you less stable and can make wedge stops feel clumsy. Practice gliding with a hip-width base. You’ll feel how a slightly wider stance gives you more control.
Going too fast too soon is another classic beginner move. It’s tempting. Fresh snow, smooth trail, little burst of confidence... and then, well, things get sporty. Stay on flat practice areas until your wedge and step turns feel steady. After that, move on to gently rolling terrain.
Once these basics start to feel automatic, it mostly comes down to repetition on easy groomed trails.
Conclusion: A Straightforward Way Into Skate Skiing
After you’ve got the boot fit, balance, and stopping basics down, the big takeaway is pretty simple: Snowfeet* NORDIC make skate skiing easier to start with.
At 90 cm and 3.84 lb per pair, they’re light, short, and easy to handle. That shorter length helps cut down on tip-crossing and gives you better control at low speeds. And for beginners, that matters a lot.
Once the fit is right, things get easier fast. A snug boot and secure bindings can save you a ton of hassle before you even hit a groomed trail. It lets you focus on skiing instead of fighting your gear. From there, the main movements are pretty clear: athletic stance, soft knees, hips forward, and patient weight transfer from ski to ski. Most beginners can build basic glide and stopping skills in a few short, flat sessions.
So, for new skiers, the choice is pretty clear. Long skate skis still make sense for racing and long-distance glide. But for most casual skiers - weekend families at Nordic centers, runners who want winter cross-training, or adults trying snow sports for the first time - Snowfeet* NORDIC 90 cm are the easier and more fun place to begin. You get real skate technique without race-level gear or a punishing learning curve.
Start on a flat beginner loop, fine-tune your setup, and give yourself a few easy sessions to get the feel for it.
FAQs
How long does it take to learn on Snowfeet* NORDIC?
Snowfeet* NORDIC 90 cm are much easier to learn than old-school cross-country skis. Most beginners start to feel at ease gliding and turning within 1 hour. And the basics, like stopping and turning, often click in about 5 minutes.
That’s a big deal. Instead of spending half the day just trying to stay upright, you can get into the fun part fast :)
Most users build a solid level of confidence within 1 day. After that, they keep getting better over the next few sessions as their balance improves and weight shifting starts to feel more natural.
Can I use Snowfeet* NORDIC without poles at first?
Yes - it’s a good call for your first session.
Starting without poles keeps things simple. You can put your full focus on balance, shifting your weight, and learning the basic skate motion. That matters a lot in the beginning, because poles can turn into one more thing to think about.
Once you feel good gliding and staying steady, add poles later. They’ll help with rhythm and forward drive.
Are Snowfeet* NORDIC good for adults with no ski experience?
Yes. Snowfeet NORDIC 90 cm* are a great pick for adults with zero ski experience.
At 90 cm - about 35 inches - they’re much easier to balance on, steer, and control at low speeds than long cross-country skis. That means you can spend less time fighting the gear and more time learning the basic skate-ski movement.
For a lot of beginners, that’s a big win. Many learn how to turn and stop on their first day.


Lascia un commento
Questo sito è protetto da hCaptcha e applica le Norme sulla privacy e i Termini di servizio di hCaptcha.