


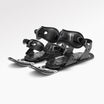
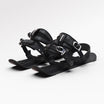
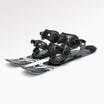
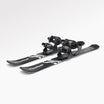
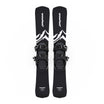
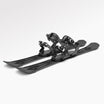
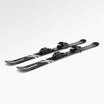
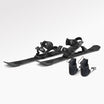
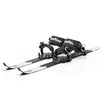
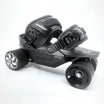
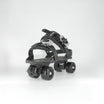
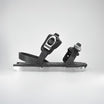
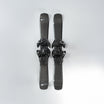

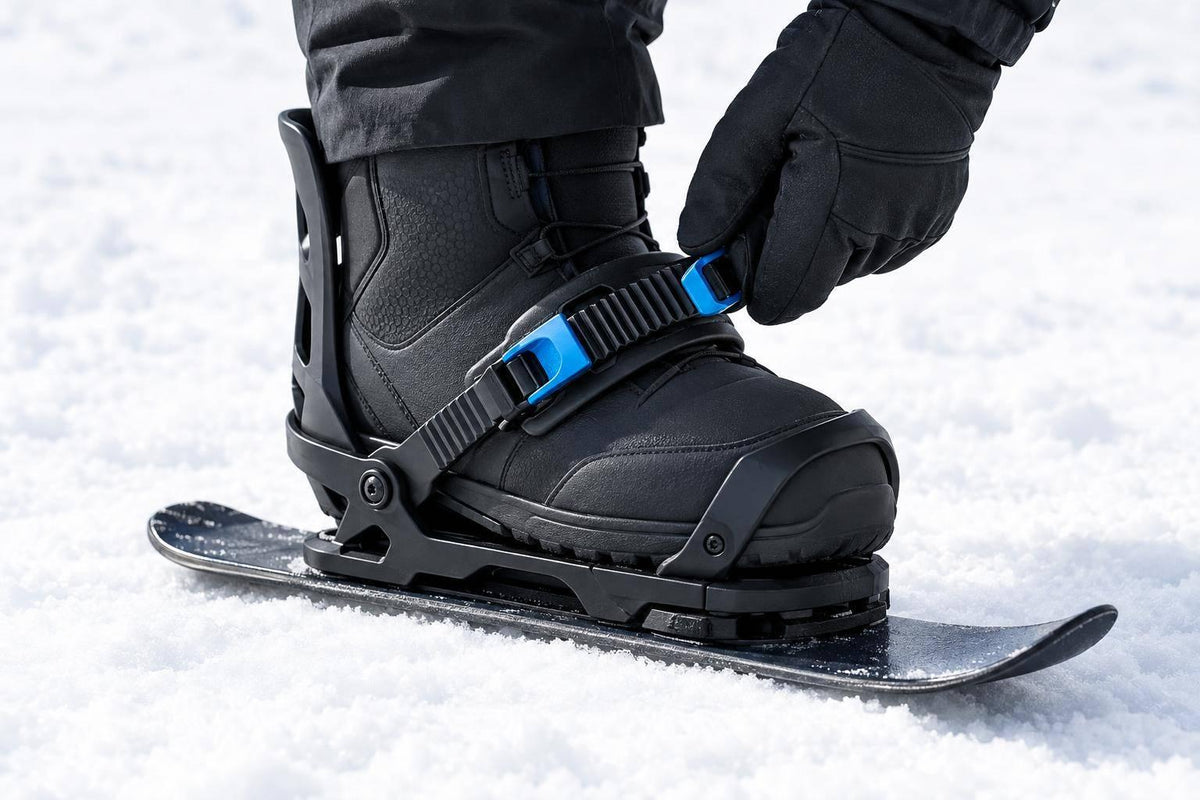
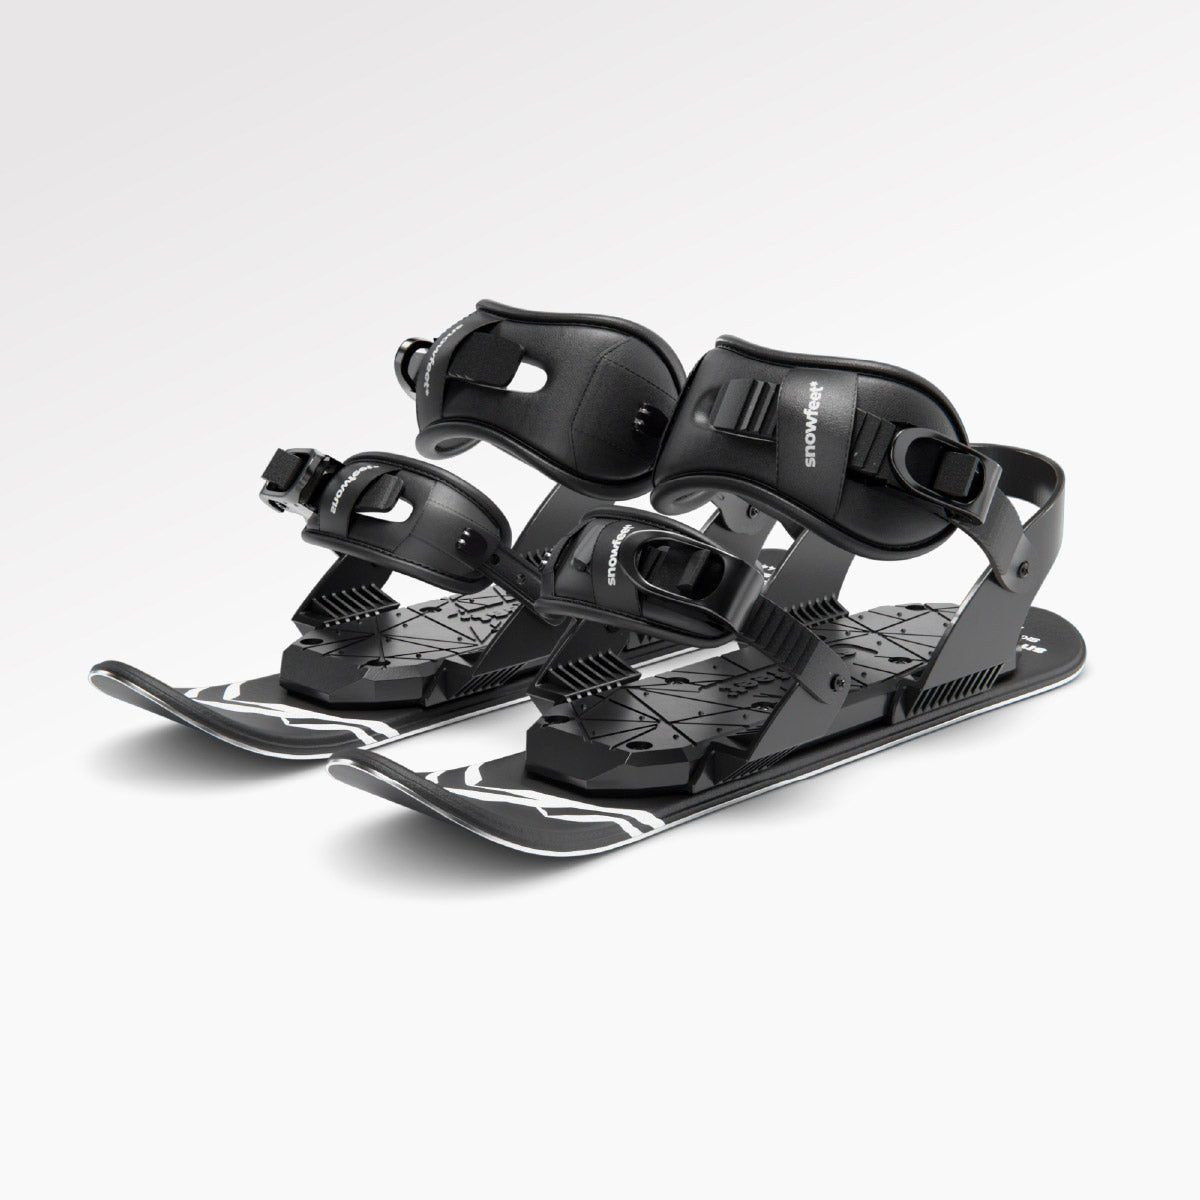
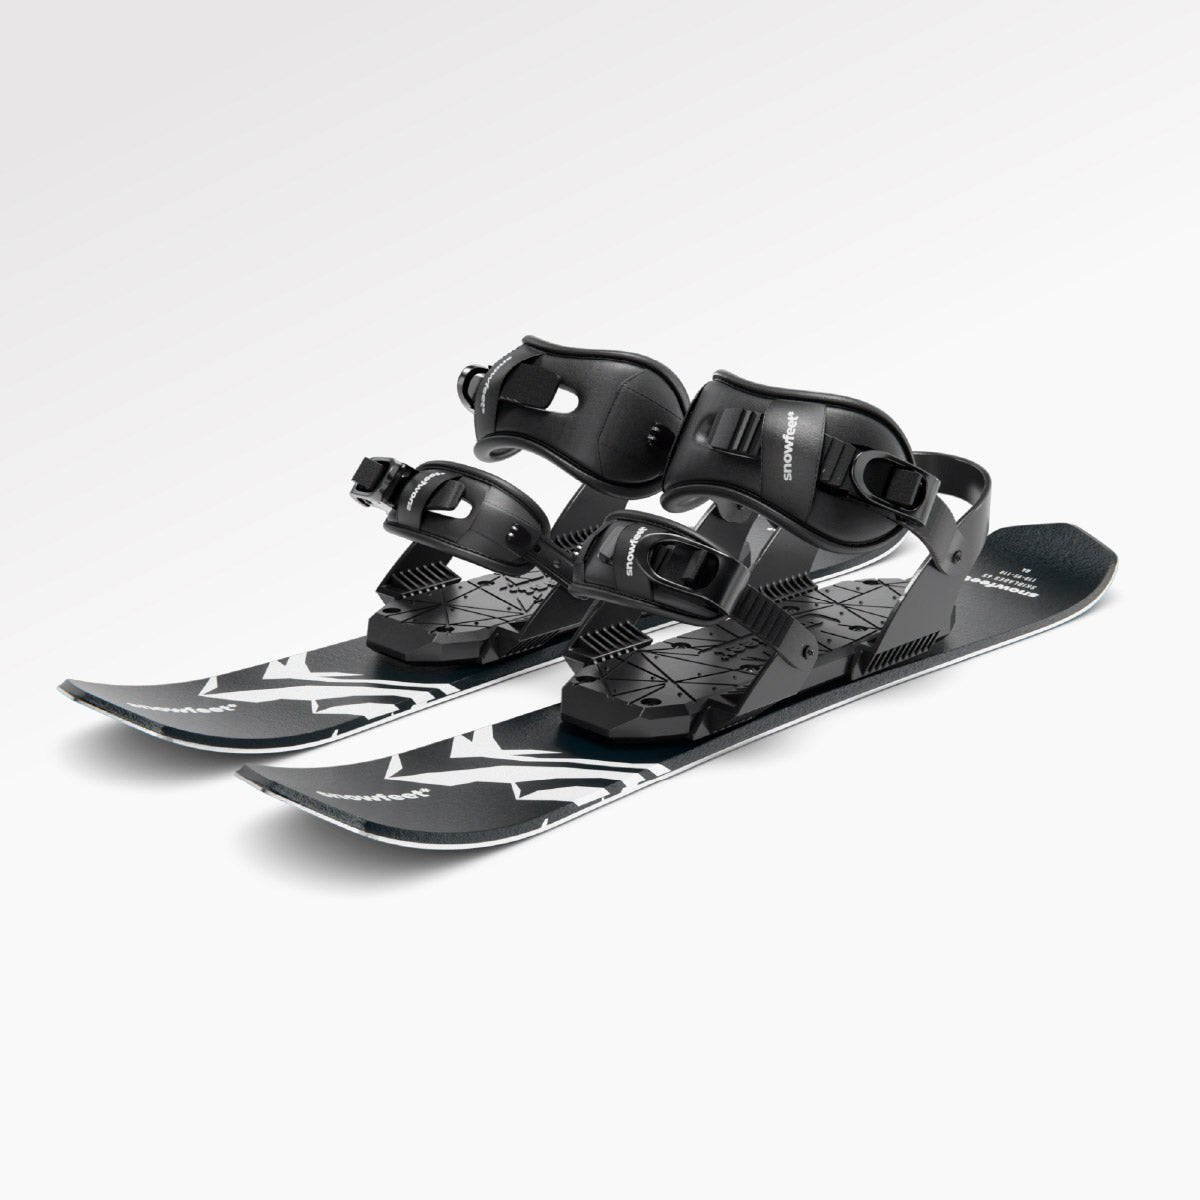
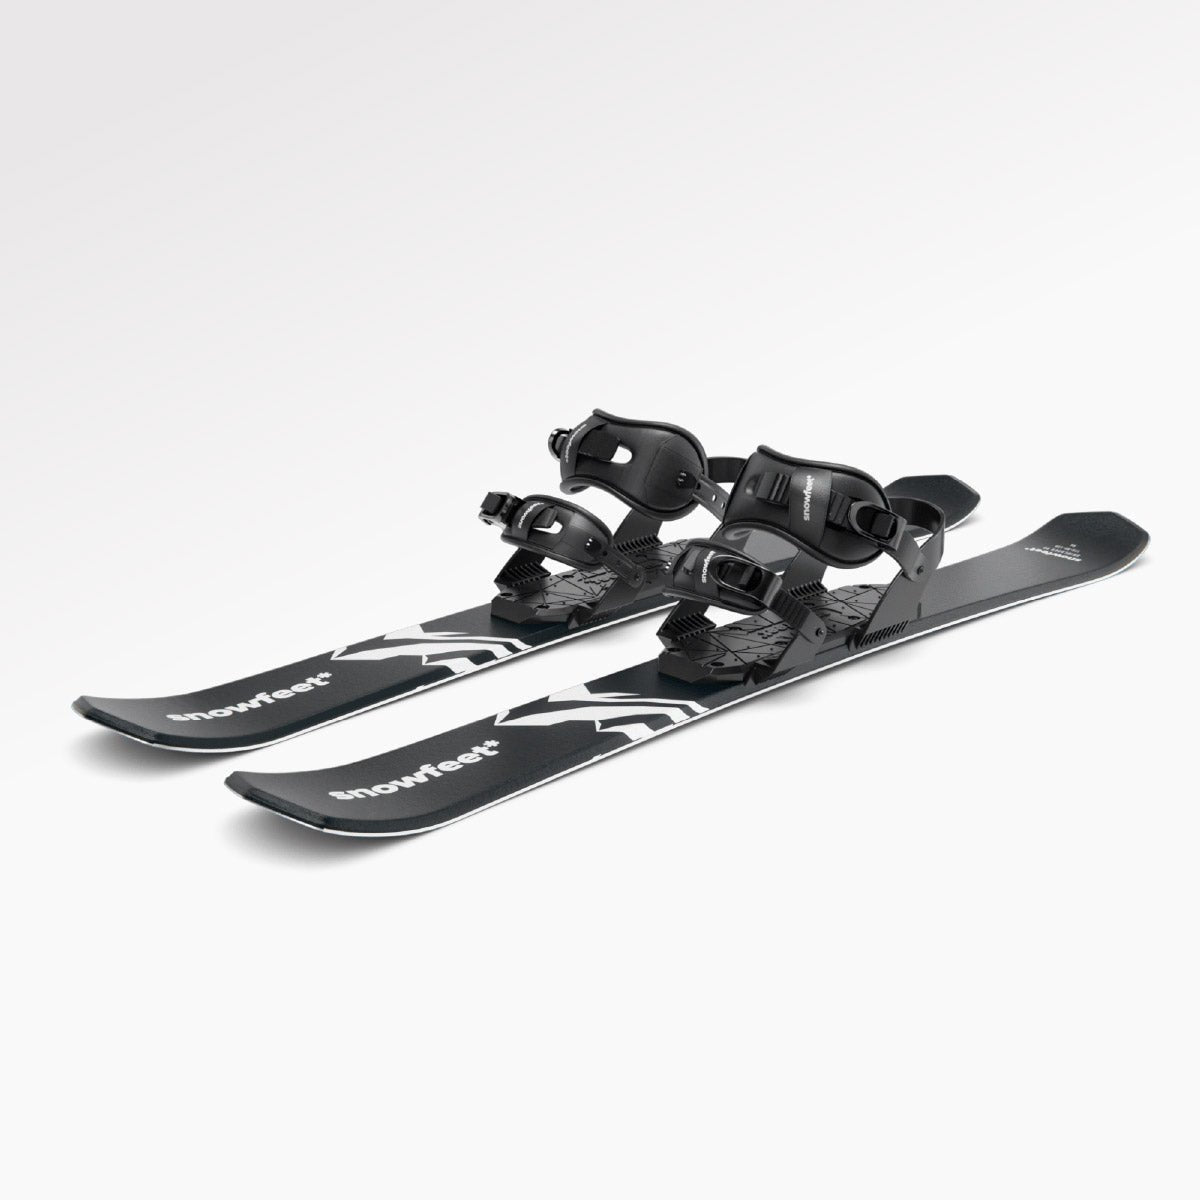
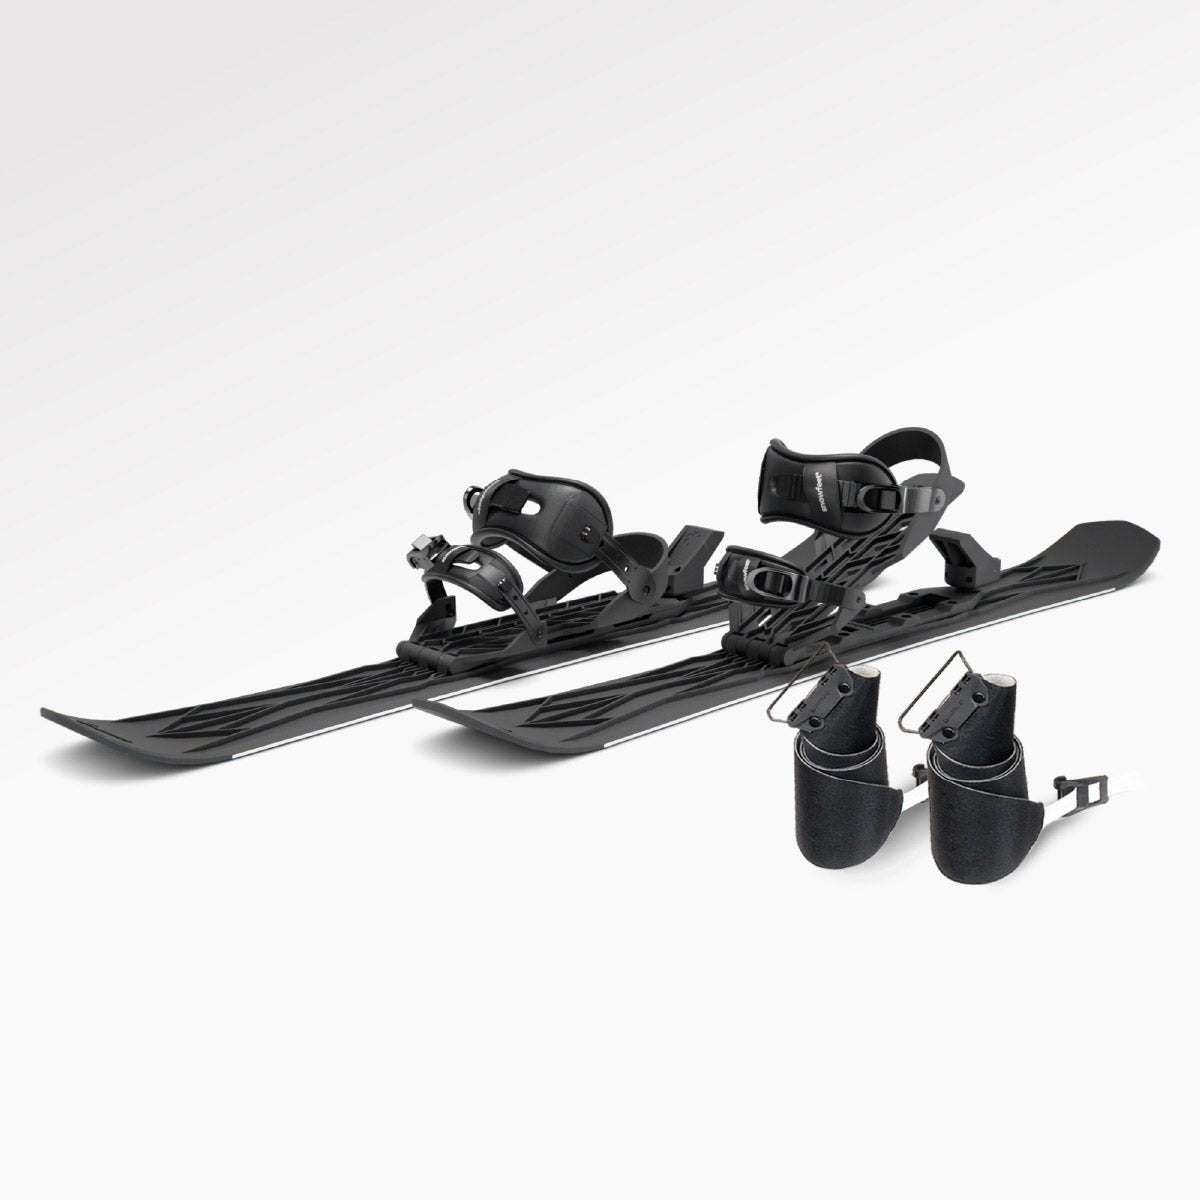
For 99 cm (about 39-inch) skiblades, I’d start with Snowfeet’s snowboard-boot bindings - not alpine ski bindings. Check your exact model and boot size against the maker’s guide before adjusting anything.
Here’s my pre-ride checklist:
- Check the gear: Inspect boots, straps, buckles, and hardware. Don’t use damaged parts.
- Set the fit: Center each boot and adjust only as the maker directs. Aim for snug, not painful, with no sliding, heel lift, or twisting.
- Test before riding: Check comfort and edge clearance on a safe, non-slip surface. Stop if movement or pain persists.
- Plan for non-release bindings: <u>These bindings don’t release in a fall.</u> Wear a helmet, attach leashes, and start on gentle terrain.
I’d recheck the fit after the first run and throughout the day. If your boots won’t stay secure, don’t force the fit - check Snowfeet’s setup instructions or email contact@snowfeetstore.com before riding.
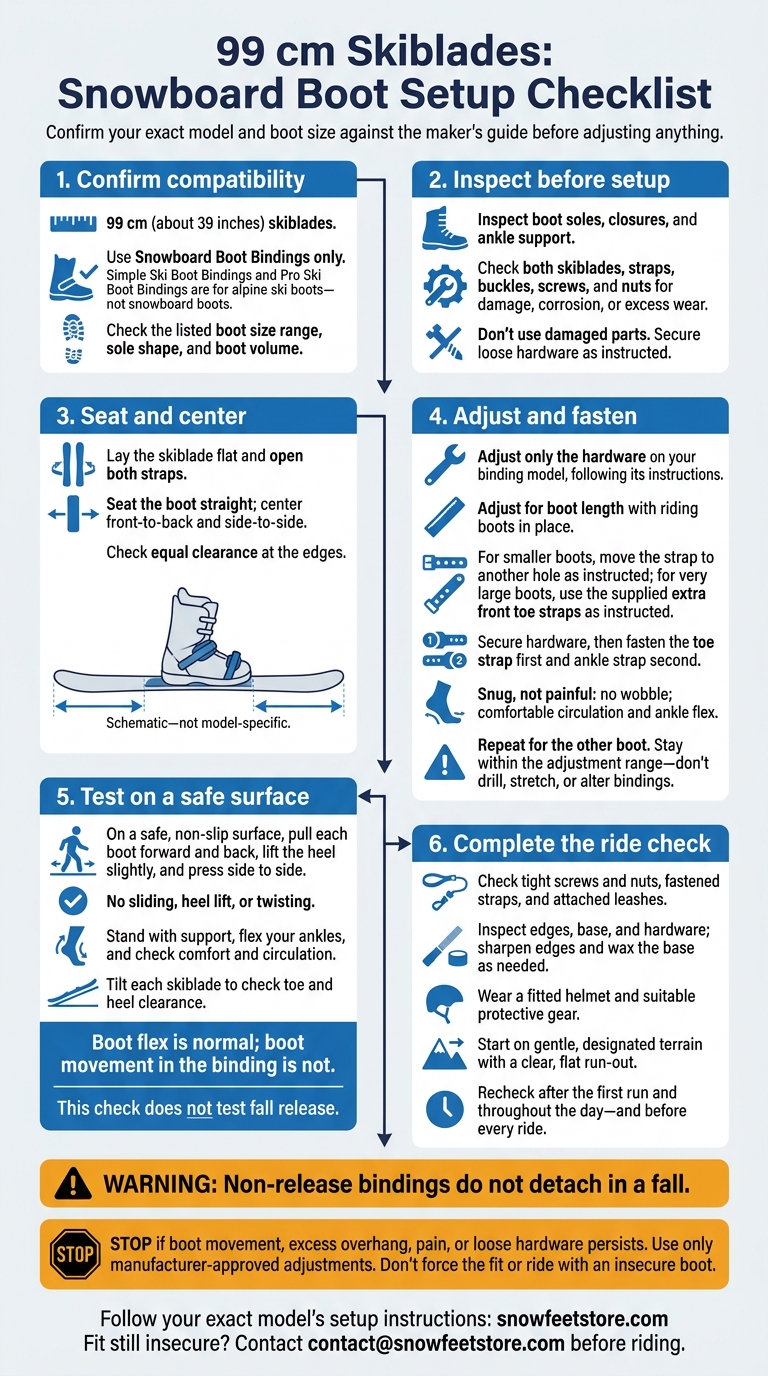
99 cm Skiblades: Snowboard Boot Setup Checklist
Ultimate Short Skis 🎿 Snowfeet* Skiblades 99 CM
Check Your Model, Bindings, and Boots
Make sure your skiblades are the 99 cm model (about 39 inches). Before adjusting any hardware, open the matching product page and setup instructions at snowfeetstore.com.
Choose Snowboard Boot Bindings
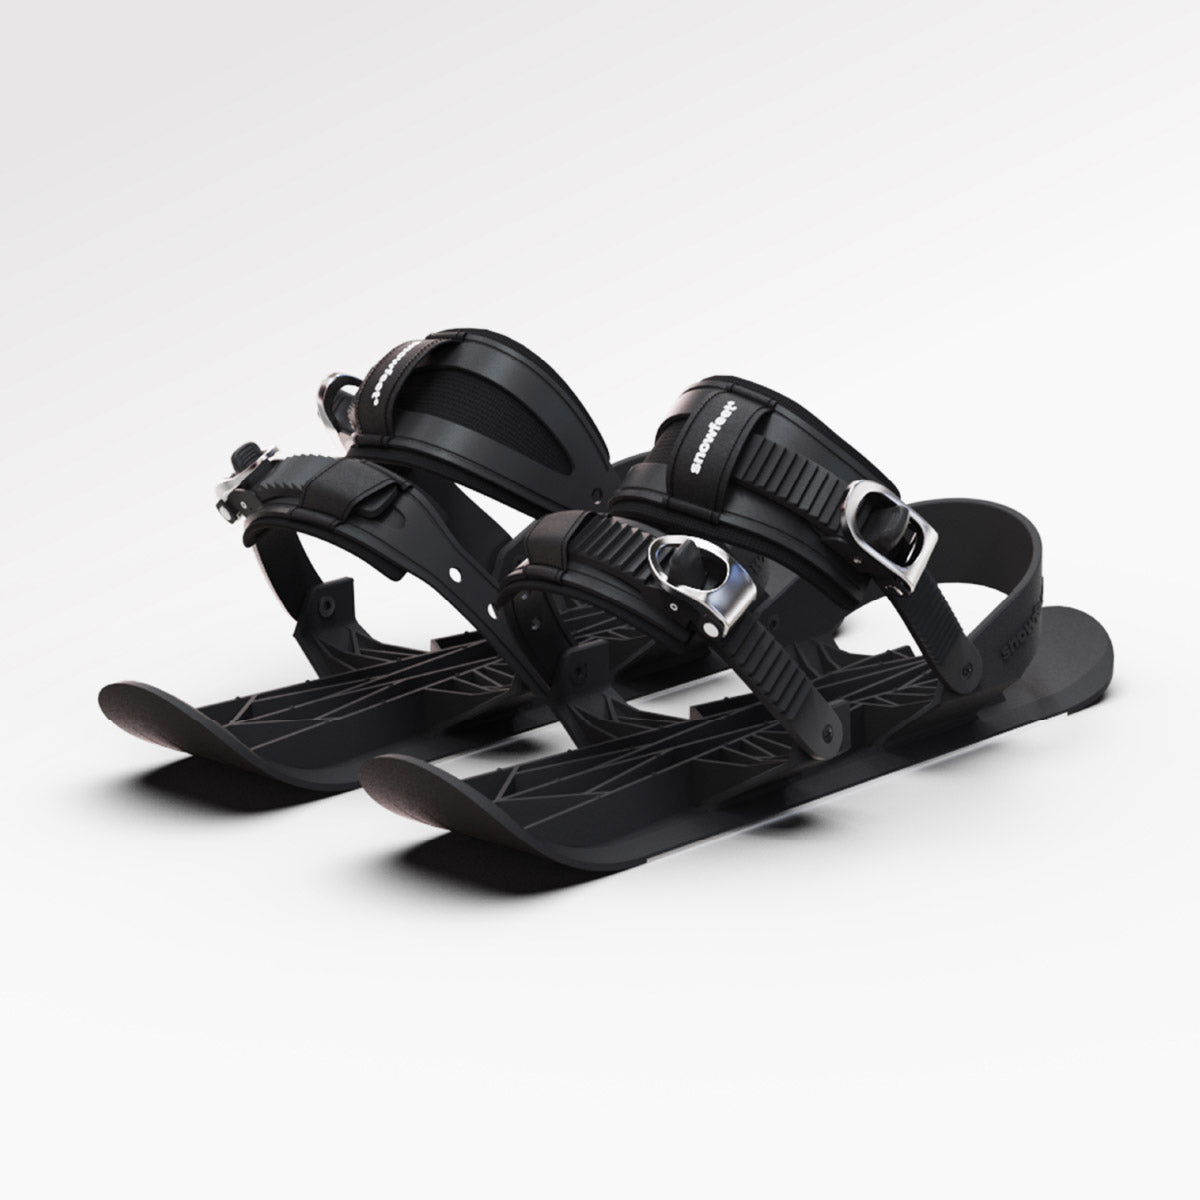
Use Snowboard Boot Bindings only. Simple Ski Boot Bindings and Pro Ski Boot Bindings are made for alpine ski boots, not snowboard boots.
Check Boot Size and Equipment Condition
Check that your snowboard boots fall within the listed size range. Then check how the sole shape and boot volume fit the bindings. Size alone doesn’t tell the whole story.
Inspect the boot soles, closures, and ankle support. Check both skiblades, plus all straps, buckles, screws, and nuts, for damage, corrosion, or excess wear. Don’t use damaged parts. Tighten loose screws and nuts before use.
Once the model, boots, and bindings match and pass inspection, move on to centering and strap adjustment.
Position the Boots and Set the Binding Fit
Once you’ve confirmed you have the correct Snowfeet* snowboard-boot bindings, seat and center each boot before tightening.
Seat and Center Each Boot
Lay the skiblade flat and open both straps. Set the boot straight into the binding.
Center the boot front-to-back and side-to-side, then check that there’s equal clearance at the edges.
Adjust the Bindings and Fasten the Straps
- Adjust only the hardware on your binding model. With your riding boots in place, use a screwdriver to adjust the hardware to fit the boot length. For smaller boots, move the strap to another hole. For very large boots, use the extra front toe straps supplied in the kit.
- Secure the hardware, then fasten the straps. Follow the manufacturer’s instructions when tightening the hardware, and don’t crush the boot. Fasten the toe strap first, then the ankle strap. Tighten both until the boot stops wobbling, while keeping circulation and ankle flex comfortable.
- Repeat for the other boot. Stay within the binding’s adjustment range. Don’t drill, stretch, or alter the bindings. If either boot still won’t fit securely, email contact@snowfeetstore.com.
With both boots centered and strapped down, move to the floor test to check for movement and pressure points.
sbb-itb-17ade95
Test the Fit and Prepare to Ride
Once the straps are tight, check the fit on the floor before you ride.
Check Boot Movement and Comfort
Pull each boot forward and back, then lift the heel slightly and press side to side. The boot should stay locked in place. Any lift or twist means the fit is too loose.
Next, stand with support on a safe, non-slip surface and flex your ankles. Make sure the straps feel comfortable and don’t restrict circulation. Tilt each skiblade to check toe and heel clearance.
Boot flex is normal; boot movement in the binding is not. This check does not test fall release.
Fix Sliding, Twisting, and Pressure Points
Use only the adjustments listed in your binding instructions.
| Symptom | Check | Corrective action |
|---|---|---|
| Sliding or heel lift | Strap tension and ankle strap position | Recenter the boot and adjust the straps. |
| Twisting | Boot position and strap alignment | Correct the alignment and check that the hardware is secure. |
| Strap pressure | Strap position and tightness | Adjust the strap length or choose a different hole to ease pressure. |
| Overhang | Centering and tilt clearance | Recenter the boot within the allowed adjustment range. |
| Loose hardware | Screws and nuts | Secure the hardware as instructed. Stop if it slips or keeps loosening. |
Stop if boot movement, excess overhang, pain, or loose hardware persists. If the boot still moves after the allowed adjustments, stop and reset the fit. Contact Snowfeet* if you can’t secure the bindings.
Once the boot stays locked in place, make one last safety check.
Complete the Pre-Ride Safety Checklist
Before every ride:
- Check that screws and nuts are tight, straps are fastened, and leashes are attached.
- Inspect the edges, base, and hardware for damage. Sharpen the edges and wax the base as needed.
- Wear a fitted helmet and suitable protective gear.
- Start on gentle, designated terrain with a clear, flat run-out.
Non-release bindings do not detach in a fall. Recheck the fit after your first run and throughout the day. Stop if boot movement or loosening continues.
Conclusion: Confirm the Fit Before Every Ride
Use Snowfeet* Skiblades 99 cm with snowboard-boot-compatible bindings. Check the fit with the boots you’ll ride in. Center each boot, then tighten all adjustments and straps as the manufacturer directs. Recheck the fit before every ride.
For help with the final setup, use the included brochure and Snowfeet* YouTube tutorials. Not sure your boots will work? Check Snowfeet*’s setup guide or email contact@snowfeetstore.com with your exact boot size before riding.
FAQs
Will my snowboard boots fit even if they’re the right size?
Not always. Even within the recommended U.S. size range of 6–14.5, rockered soles or oversized treads can leave gaps in the bindings and reduce edge control. Burton Step-On boots are generally incompatible.
For Snowfeet* 99 cm Skiblades (about 39 inches), choose resort-style snowboard boots with flat, firm rubber outsoles. Test the boots in compatible bindings before riding. Check for gaps and too much toe or heel overhang, which could catch in the snow.
How can I tell normal boot flex from a loose binding?
Center your boot in the binding. Tighten the toe/instep strap first, then the ankle strap. Stand with your knees slightly bent and flex forward. Your heel and boot should stay in place during normal flex.
Feel wobble, heel lift, or looseness? Re-center the boot, then tighten the straps one click at a time. Aim for a snug fit, not pain.
Use snowboard boots only with snowboard-compatible bindings - not alpine ski bindings.
What do non-release bindings mean for fall safety?
Non-release bindings stay attached to your boots during a fall. They give you a direct, responsive feel for park laps and playful moves. But they also increase injury risk: they won’t release to ease twisting forces on your legs.
Always use a safety leash to keep the blades from sliding down the slope. Release bindings offer more protection when riding at high speeds.



Lascia un commento
Questo sito è protetto da hCaptcha e applica le Norme sulla privacy e i Termini di servizio di hCaptcha.