


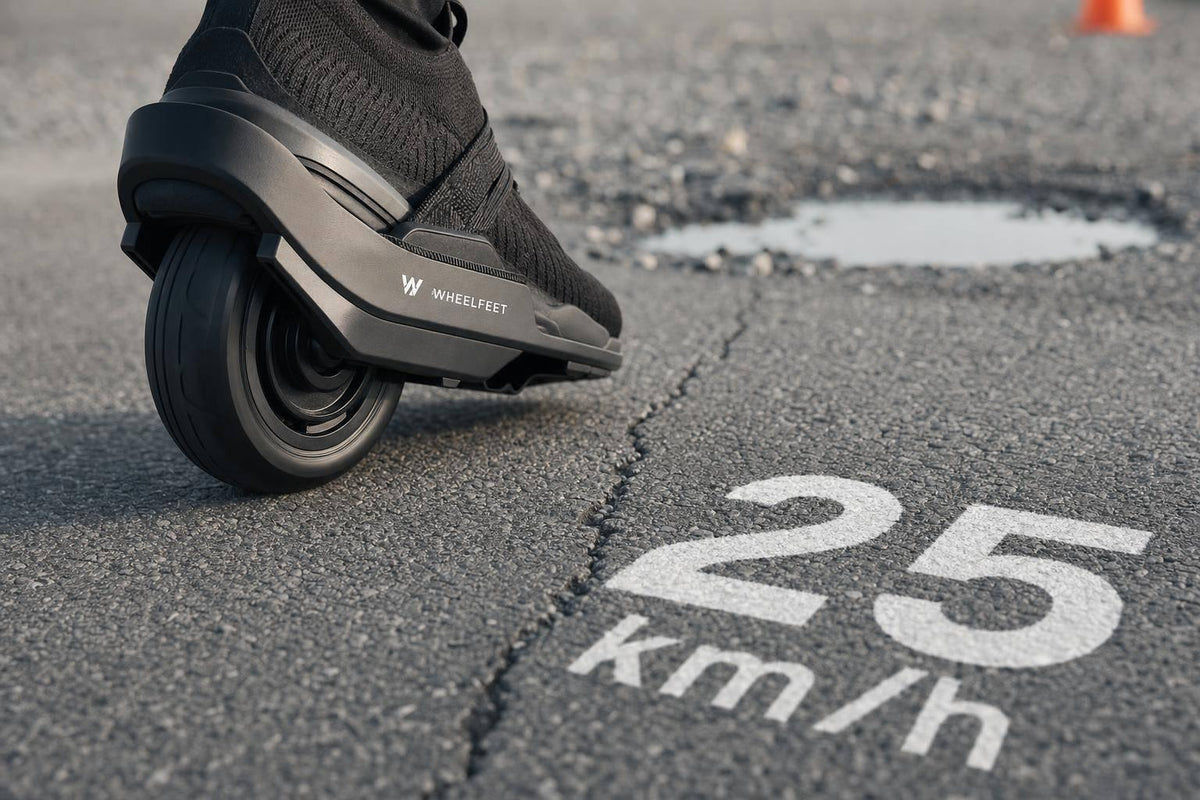
Yes - but only on dry pavement that’s just a little rough. If the surface has loose gravel, wet patches, potholes, raised slabs, or steep downhills, I’d skip it and walk.
Here’s the short version:
- Best surface: smooth bike paths and even pavement
- Okay with care: coarse asphalt, small cracks, short seams
- Bad idea: wet pavement, off-road ground, loose gravel, broken sidewalks
- Top speed limit: 25 km/h (16 mph)
- Simple test: if the wheels chatter, slip, or bounce, don’t ride it
I’d use one rule more than any other: if the wheels can’t stay planted, the surface isn’t worth it. Small wheels feel every crack, so a path that looks “fine” can still ride rough fast.
A few numbers help frame it. The article points to a 16 mph max speed, and on rough ground, I’d stay well under that. Even a short low-speed test can tell you more than a long guess-and-hope run. That’s the move.
My quick take: Wheelfeet are for smooth, dry pavement first. They can handle a bit of rough texture, but they’re not made for trail use, rain, or chunky street damage. Think careful rolling, not “let’s see what happens” energy :)
If you want the safest path:
- scout the route on foot
- tighten the bindings
- wear shoes with firm ankle support
- use slow thumb control for speed and braking
- switch to walking the second traction gets weird
For rougher ground, I’d just pick a smoother route or use larger outdoor skates. Sometimes the smartest ride is the one you don’t force.
Wearable Skates | Roller Blades | Skate on Shoes | Wheelfeet | Non-electric
How Different Pavement Conditions Affect Your Ride
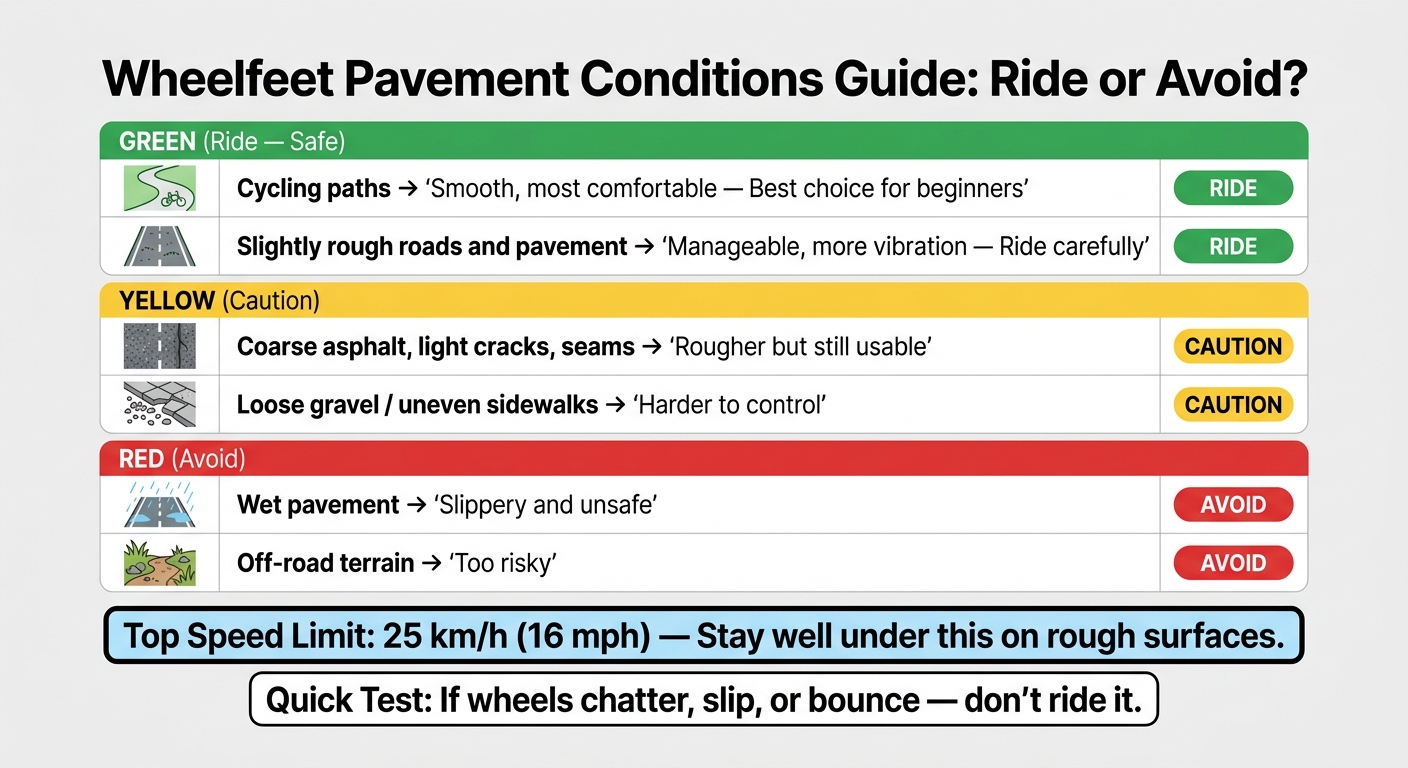
Wheelfeet on Different Pavement Types: Ride or Avoid?
The big thing to watch is simple: do the wheels stay planted? That’s what tells you if the surface is working with you or fighting you.
Not all rough pavement feels the same. Wheelfeet are made for roads and pavement, including slightly rough roads and pavement. But as the ground gets rougher or wetter, comfort drops and control starts to fade.
Coarse Asphalt, Light Cracks, and Pavement Seams
Coarse asphalt and light cracks can add a lot of vibration, but they’re still manageable when the pavement is only a little rough. Pavement seams fall into that same bucket. If the surface is mostly even, you can keep rolling with care.
Once the ride starts to feel bouncy or the wheels begin to slip, take that as a warning sign. That’s your cue to back off, not push harder.
Loose Gravel, Uneven Sidewalks, and Raised Slabs
Loose gravel, uneven sidewalk sections, and raised slab edges are a different story. These surfaces make the ride much harder to control.
If you have to cross them:
- Slow down
- Stay relaxed
- Keep the bindings tight
And if it feels sketchy, well, trust that feeling and walk it.
Wet Patches and Off-Road Sections
Wet pavement and off-road terrain are no-go conditions.
| Surface Type | Ride Quality | Ride / Avoid |
|---|---|---|
| Cycling paths | Smooth, most comfortable | Ride - best choice for beginners |
| Slightly rough roads and pavement | Manageable, more vibration | Ride - ride carefully |
| Coarse asphalt, light cracks, seams | Rougher but still usable | Caution |
| Loose gravel / uneven sidewalks | Harder to control | Caution |
| Wet pavement | Slippery and unsafe | Avoid |
| Off-road terrain | Too risky | Avoid |
When Rough Pavement Is Too Risky to Ride
When pavement gets broken, loose, or steep, walk it. Simple rule. It’s a lot better to lose a minute than to hit a bad patch and lose control.
Visible Signs to Walk Instead
Do a quick visual scan before you clip in. If you see any of these, don’t ride. Walk instead.
Hard stops:
- Wide or branching cracks that cut across your travel line
- Potholes
- Broken pavement edges or chunks of asphalt that have shifted or heaved
- Raised utility covers or storm drains sitting above the surrounding surface
- Loose stones or debris in the travel line
- Steep downhill sections that can outrun your brake control
"We don't recommend using them in heavy rain or off-road."
If you don’t see any of those, don’t assume it’s all good. Do a slow roll test first.
The Low-Speed Roll Test
When a section looks fine at first glance but still feels a little sketchy, test it before you commit. Try a short, flat stretch at very low speed, well below the 25 km/h (16 mph) max.
Pay attention to what the wheels tell you. If they chatter, catch, or wobble, that surface isn’t safe for riding. If the scooter slows all at once or feels like it’s grabbing, that’s a warning sign too.
If the test roll feels smooth and controlled, you can usually keep going with caution. If anything feels off, trust that feeling and walk the section instead.
sbb-itb-17ade95
How to Ride More Safely on Rough But Usable Pavement
If the surface passes a slow test roll, you can ride it with care. The goal is simple: stay smooth, stay in control, and don’t push your luck on coarse asphalt, seams, or light cracks. Even then, cycling paths are still the safest choice.
Route Check, Speed Control, and Equipment Setup
Start with a walk. Scout the route on foot before you ride so you can spot rough patches, seams, and spots that may throw you off balance. Then keep your first run slow - below 25 km/h (16 mph).
A few habits matter here:
- Use the thumb control for speed and braking.
- Tighten the bindings fully so the skates fit snugly and move with your feet.
- Wear supportive shoes with firm ankle support.
This isn’t the time to go full send :) A calm first pass tells you a lot about how the surface will feel under your wheels.
When to Walk Instead
The moment traction starts to break up, switch to walking. No debate, no “maybe I can make it.”
At dirt, grass, or heavy gravel, stop and walk.
Keep the Skates Dry and Clean
After riding on rough pavement, clean and dry the skates. Grit, dust, and moisture can build up fast, and that’s bad news for moving parts.
What to Use Instead When the Pavement Is Too Rough
Better Places to Practice with Wheelfeet
If your low-speed test feels loose, bumpy, or slippery, head to a smoother cycling path. For beginners, that’s usually the best place to start. It’s also the most dependable surface for Wheelfeet.
Once the ground gets loose, uneven, or slick, the ride just isn’t practical anymore. And if the path still feels rough after you move, stop there and pick another route. No hero points for fighting bad pavement :)
For rougher ground, your best move is simple:
- Switch to a smoother route
- Use larger outdoor skates instead
When Rough Pavement Is Too Rough
Wheelfeet work best on smooth, dry pavement. When the surface gets rough, switch to a smoother route instead of forcing the ride.
FAQs
How rough is too rough for Wheelfeet?
Wheelfeet work best on smooth, well-kept surfaces like bike paths, quiet neighborhood streets, and paved park trails. Small cracks or minor surface flaws are usually fine. But rough pavement? That’s where things can get sketchy fast.
Stay away from:
- Gravel
- Loose debris
- Potholes
- Cobblestones
If a surface looks uneven, messy, or just plain iffy, play it safe: dismount and walk.
Can beginners ride Wheelfeet on cracked pavement?
If you're new to Wheelfeet, skip cracked pavement.
They work best on smooth, flat ground like clean asphalt, tennis courts, and park paths. Cracked asphalt and uneven sidewalks can make riding a lot harder. They also make falls more likely.
If you roll into a rough patch, slow down, bend your knees, and shift your weight toward your heels. And if the surface looks sketchy, hop off and walk. Better to play it safe than eat pavement :)
What should I do if the wheels feel unstable?
If your Wheelfeet feel unstable, the issue is often your shoes or the way everything fits, not your skill level. That’s good news, because it means the fix is usually pretty simple.
Wear flat, supportive shoes with firm soles, like skate shoes or athletic sneakers. Soft or squishy shoes can let your foot shift around inside the frame, and that can make the ride feel wobbly fast.
Make sure you tighten the straps from bottom to top. Pull them snug until the shoe can’t twist inside the frame. You want a secure fit, not a loose “hope for the best” setup :)
If you’re using an electric model, give the screws and axle nuts a regular check too. Rough pavement and uneven ground can shake parts loose over time, so it’s smart to tighten them when needed.






Lascia un commento
Questo sito è protetto da hCaptcha e applica le Norme sulla privacy e i Termini di servizio di hCaptcha.