
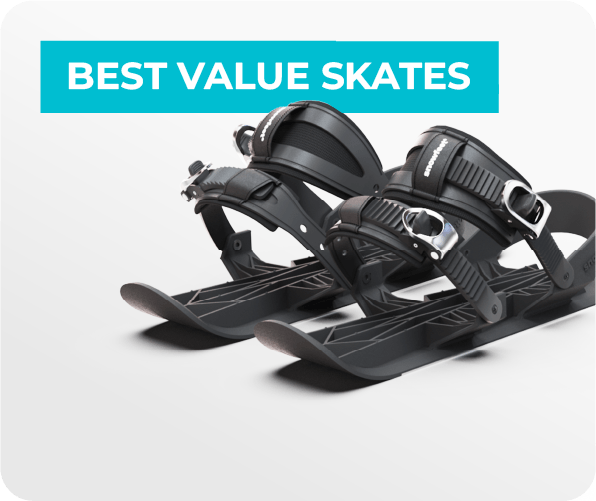
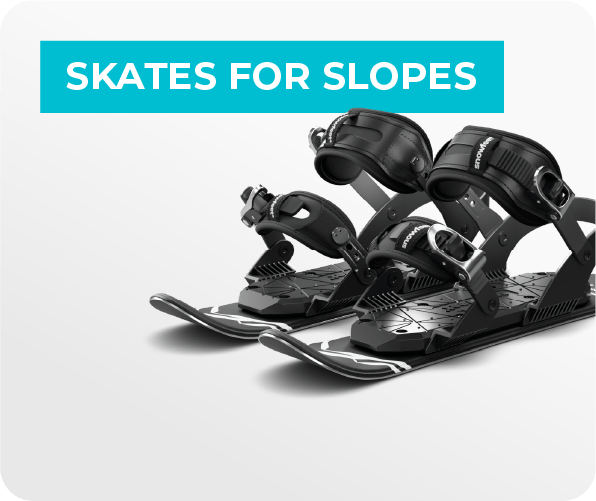
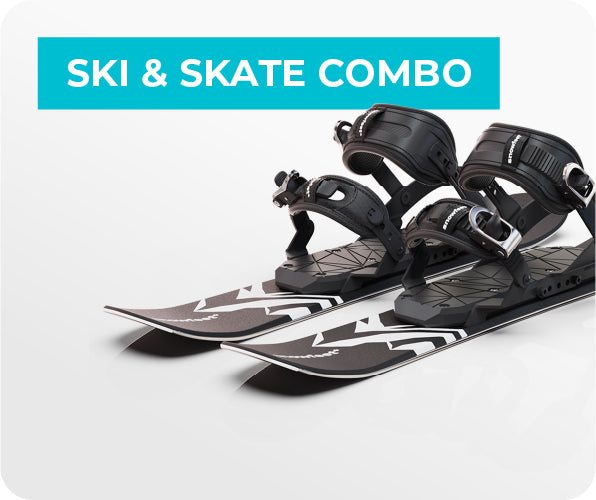
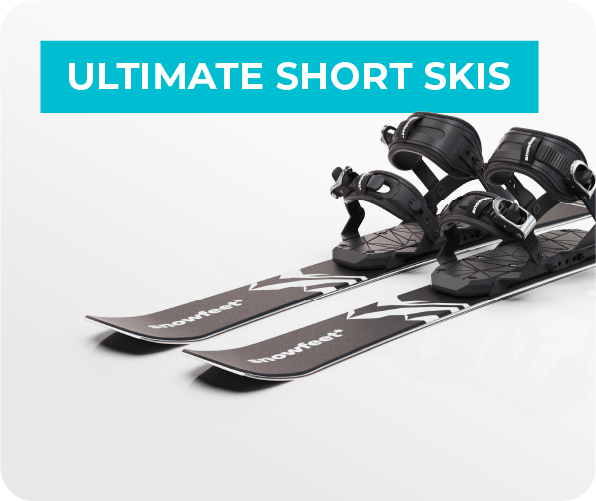
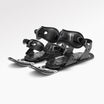
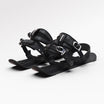
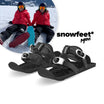
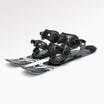
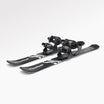
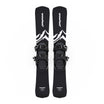
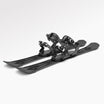
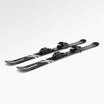
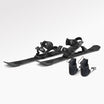
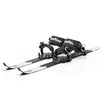
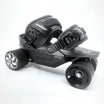
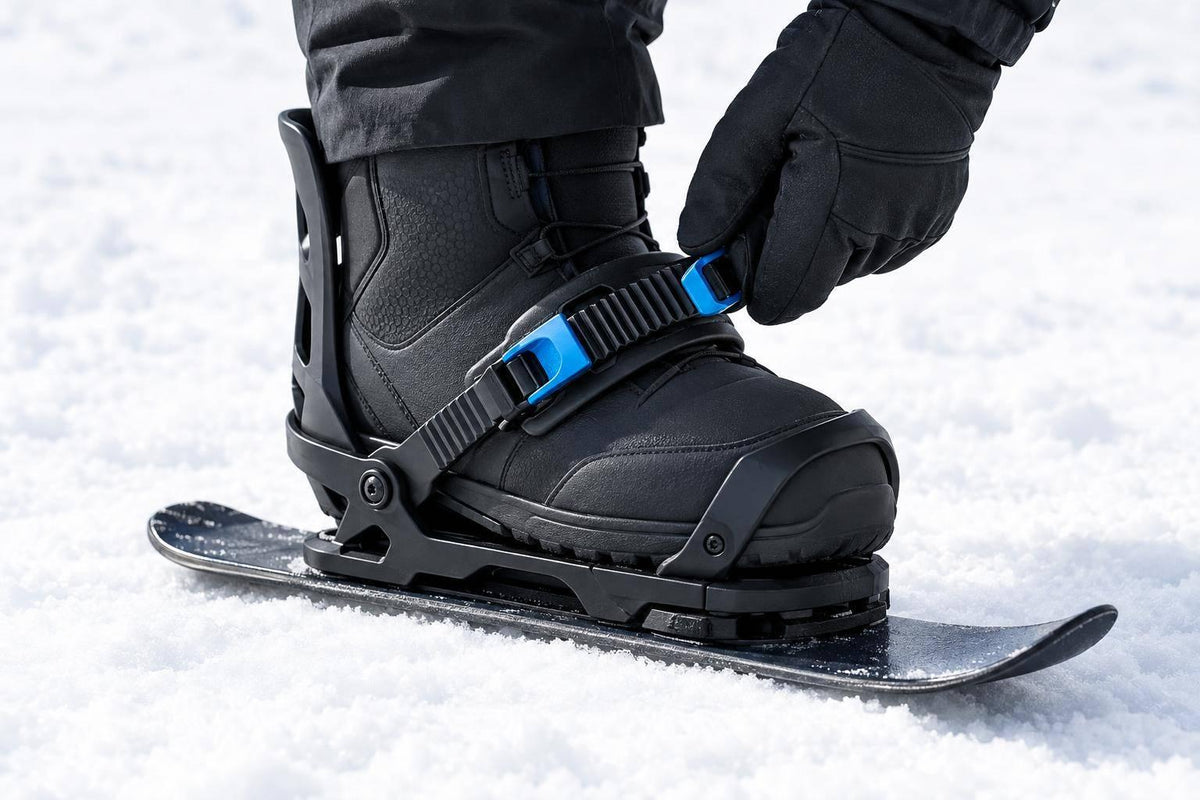
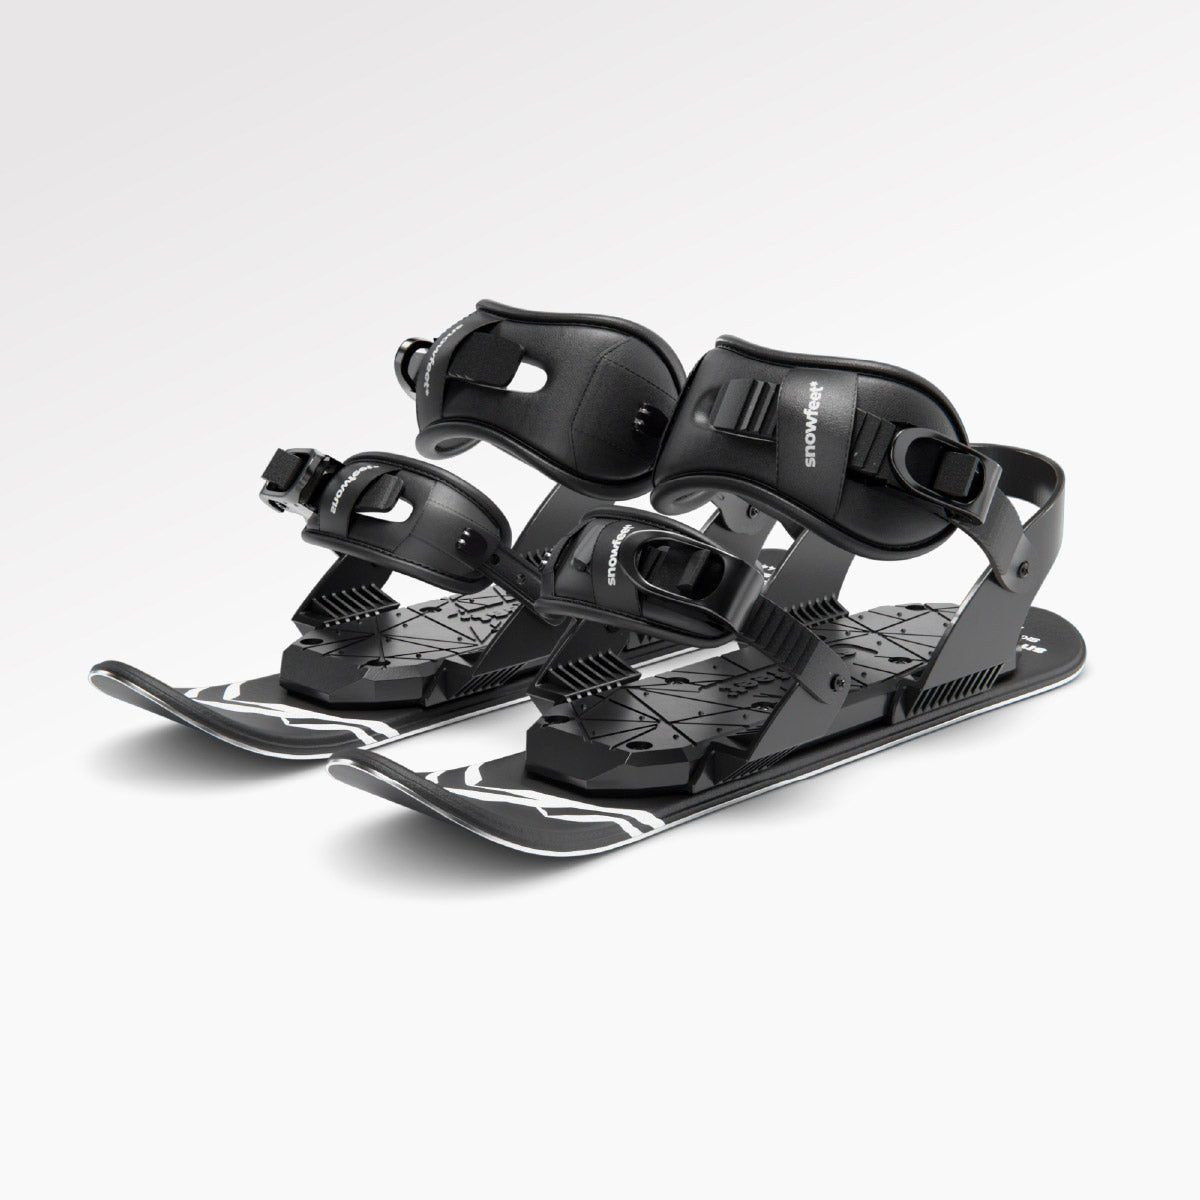
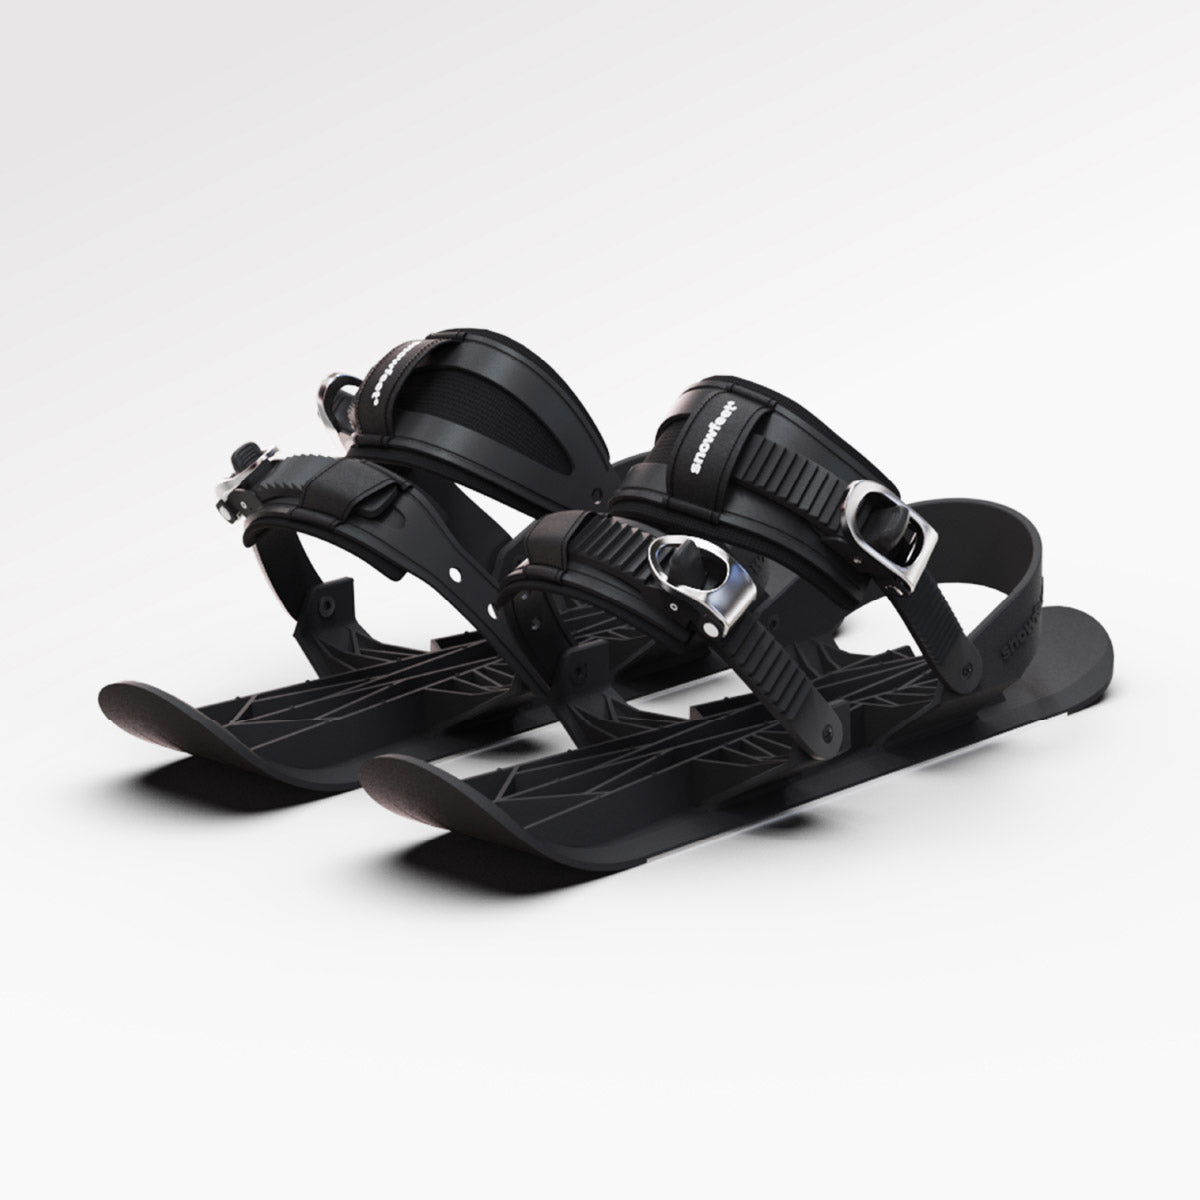
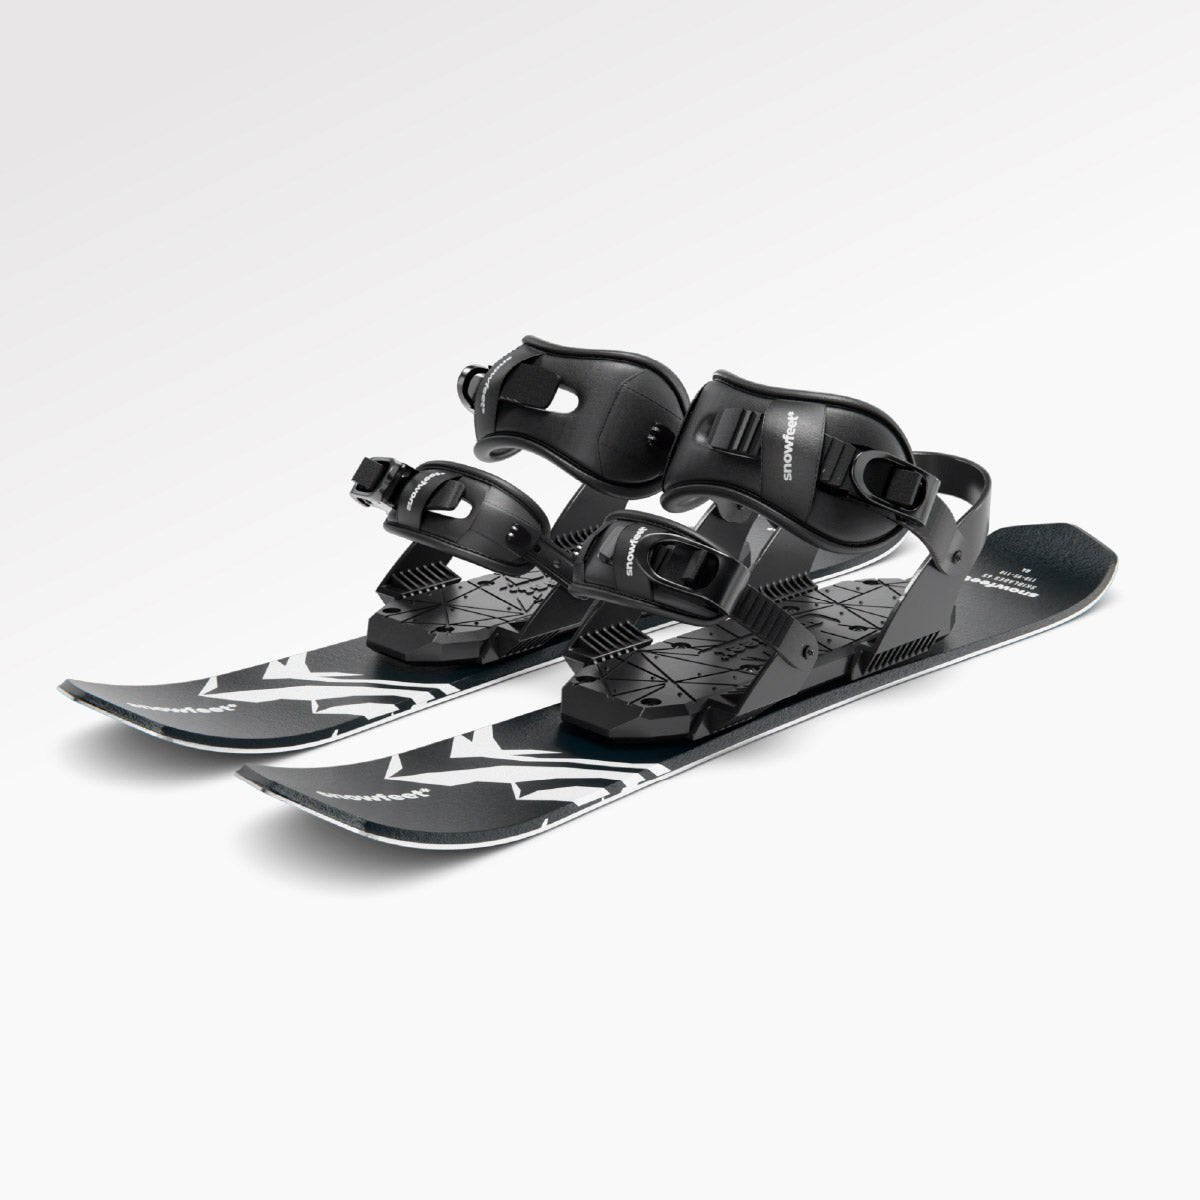
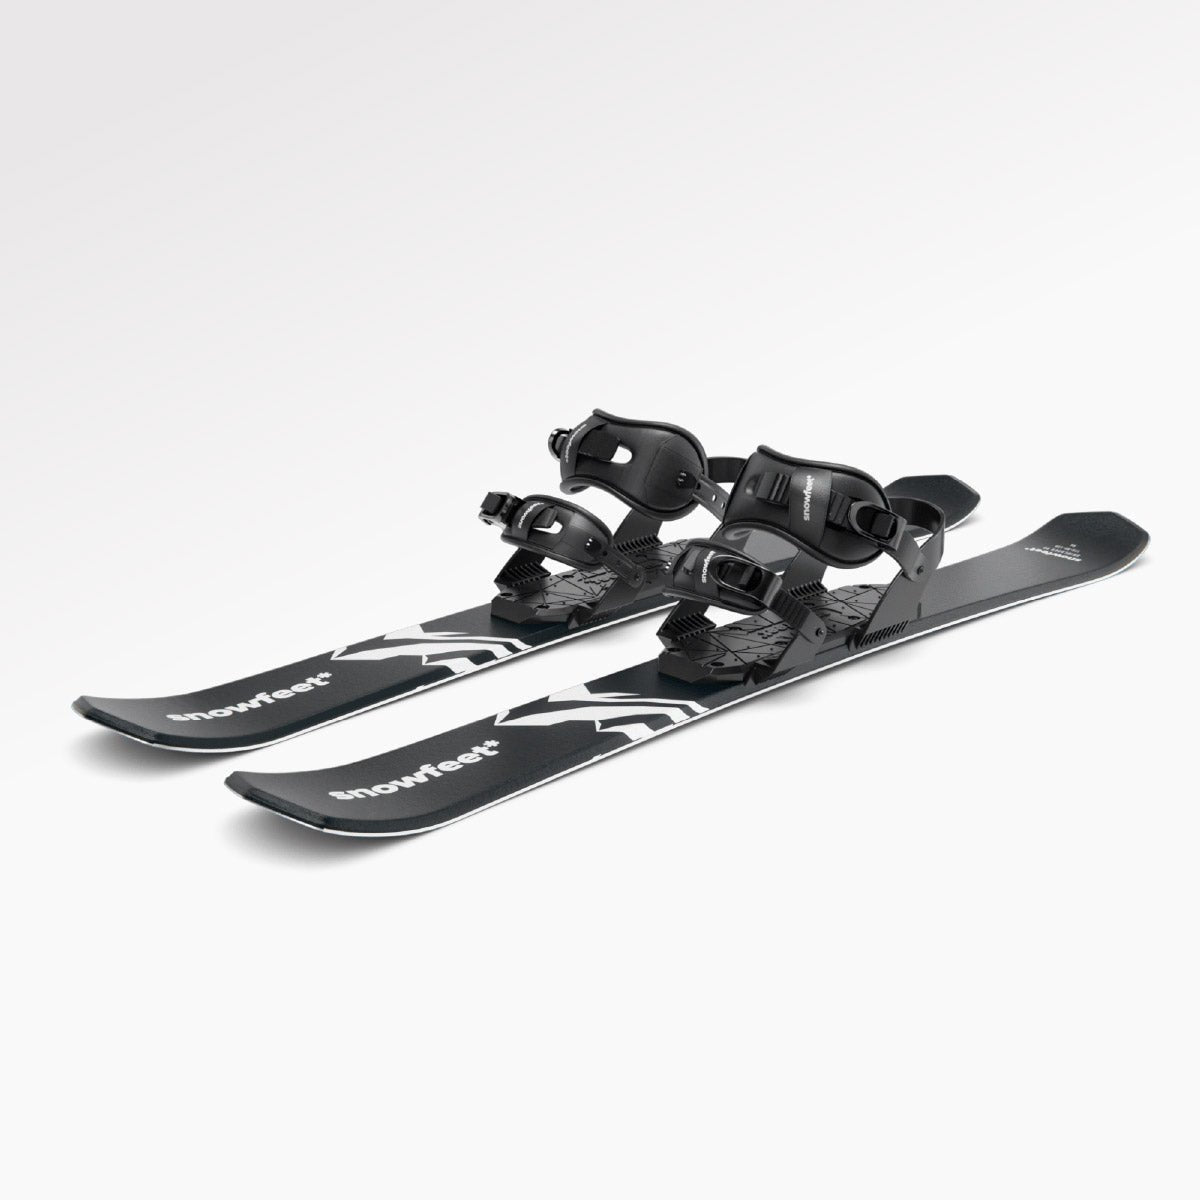
_Snowboard boots can fit Snowfeet Skiskates 44 cm - but only with the snowboard-binding model._* I’d start by checking the boot shape, not just the size. The listed range is US 6–14.5, but Burton Step-On boots won’t fit this binding style.
Here’s my pre-ride checklist:
- Fit: Adjust the bindings to your boots, seat each heel, and center each sole.
- Straps: Follow the supplied instructions. Keep straps snug without pain, numbness, or boot movement.
- Hold: Flex your knees and check for heel lift or sliding. If either persists, don’t ride.
- Safety: Tighten the hardware, clear trapped snow, and attach both safety leashes.
<u>These bindings don’t auto-release in a fall.</u> Once the fit checks out, I’d put on a helmet and test slow stops on a gentle slope with a long, flat run-out. Think fit first, speed later.
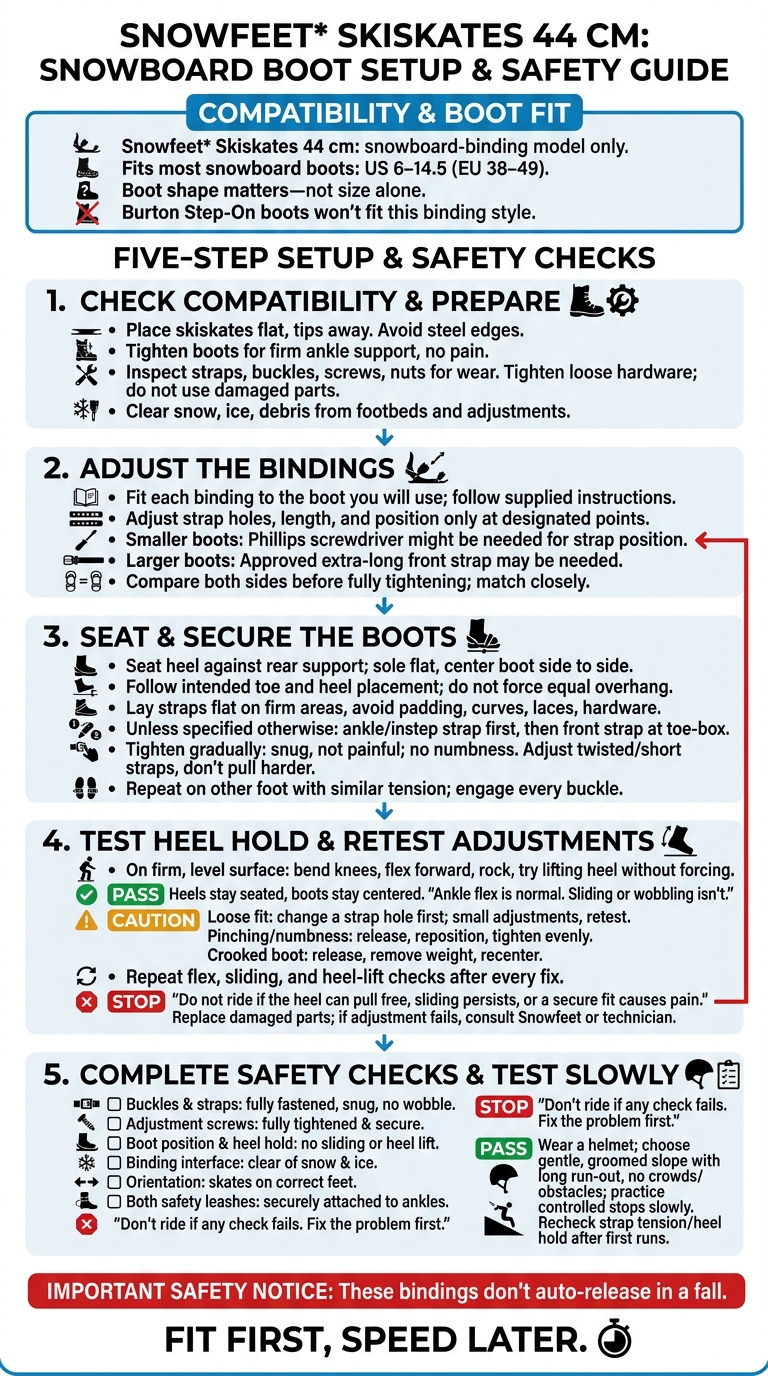
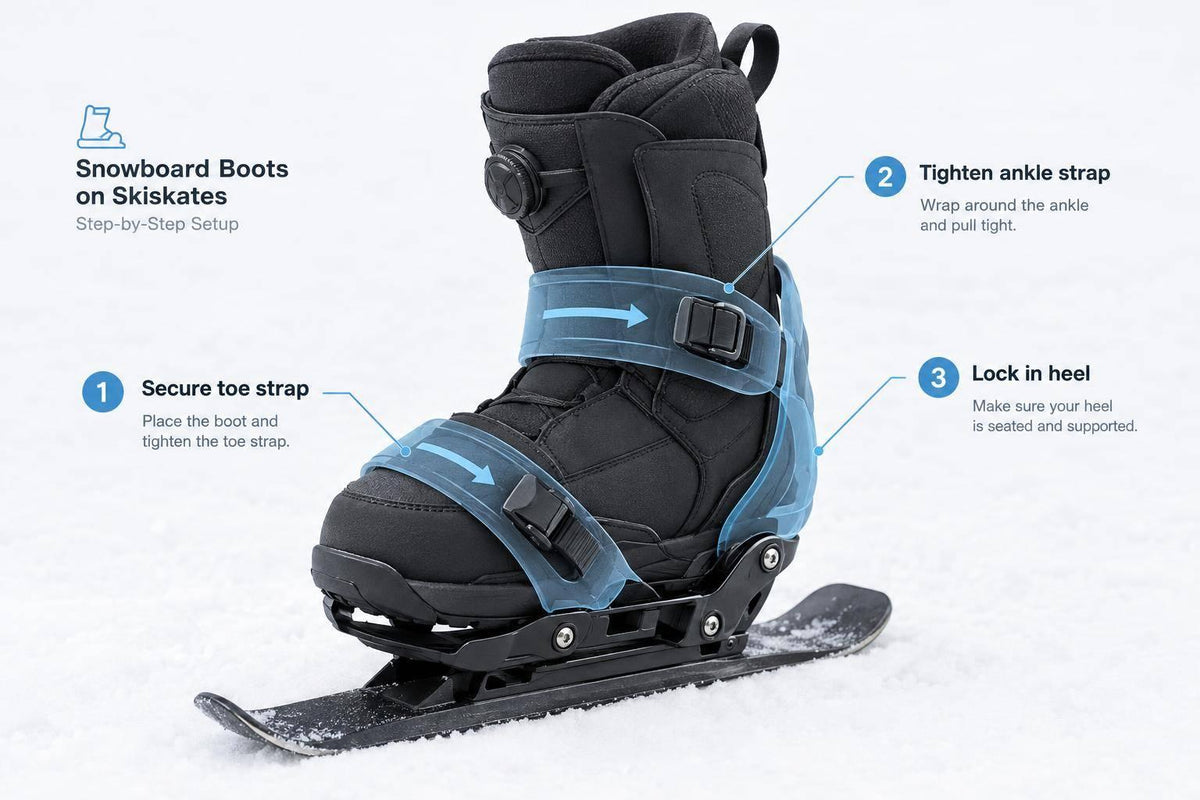
Snowboard Boots on Skiskates: 5-Step Setup
All you need to know - Snowfeet* | Skiskates | Skiboards | Snowblades | Skiblades FAQ
Step 1: Check Compatibility and Prepare Your Gear
Place both skiskates on a flat surface with the tips pointed away from people and gear. Leave enough room to handle your boots without touching the steel edges. Once the skiskates are stable, check that the bindings fit your boots.
Check Boot Size and Binding Type
Use the snowboard-binding model only. It fits most snowboard boots in US sizes 6–14.5 (EU 38–49), but the sole shape matters, too.
For smaller boots, use a Phillips screwdriver to move the strap to another hole. Larger boots may need extra-long front straps. Once you’ve checked the fit, adjust the strap position and length.
Tighten Your Boots and Inspect Your Gear
Choose snowboard boots with firm ankle support. Tighten them so your heels and ankles feel secure, with no pain or numbness. This lets you check heel hold when fitting your boots into Snowfeet* Skiskates 44 cm.
Check the straps, buckles, screws, and nuts for wear or corrosion. Tighten loose mounting hardware, and don’t use damaged parts. Clear snow, ice, and debris from the footbeds and adjustment areas before placing your boots in the bindings.
Steps 2–3: Adjust the Bindings and Secure the Boots
Adjust Binding Position and Strap Length
Once you’ve confirmed compatibility, fit each binding to the boot you’ll use. Place the boot in each Snowfeet* Skiskates binding before choosing strap holes or changing the binding position.
Follow the supplied instructions. Then compare both sides before fully tightening the adjustment hardware. Match the bindings as closely as the boot shape allows.
Let boot shape - not size alone - guide your strap holes and binding position.
Seat the Heel and Center the Boot
Push the heel all the way against the rear support. Keep the sole flat and stable, and center the boot from side to side.
Follow the binding’s intended toe and heel placement. Don’t force equal overhang at both ends.
Lay both straps flat against firm parts of the boot. Avoid soft padding, sharp curves, exposed laces, and hardware. Once the boot sits flat and centered, tighten the straps.
Fasten the Ankle Strap, Then the Front Strap
Follow the supplied instructions if they call for a different order. Otherwise, tighten the ankle/instep strap first to hold the heel down. Then fasten the front strap across its intended spot on the toe box.
Tighten a little at a time. The straps should hold the boot without crushing its upper, pinching your foot, or cutting off circulation.
If a strap twists or won’t reach its intended spot, adjust the fit instead of pulling harder.
Repeat on the other foot with similar strap tension. Check that every buckle is fully engaged.
sbb-itb-17ade95
Step 4: Test Heel Hold and Fix Fit Problems
Check for Heel Lift and Boot Movement
With both boots strapped in, test heel hold on a firm, level surface before you ride. Bend your knees, flex forward, then rock each boot side to side and front to back. Try lifting each heel without forcing it free. Each boot should stay centered, with its heel seated against the rear support.
Ankle flex is normal. Sliding or wobbling isn’t.
Fix Looseness, Pressure, or Poor Alignment
If the fit feels loose, adjust the strap hole first. Make one small change at a time, then retest each side. If needed, move the binding only at its designated adjustment points. Larger boots may need an approved longer front strap for your binding.
If you feel pinching or numbness, release the strap. Move it to a part of the boot that provides support, then tighten it evenly. If the boot sits crooked, release the straps, take your weight off it, and recenter it. Don’t try to straighten it by tightening one side harder. After each fix, repeat the flex, sliding, and heel-lift checks.
Do not ride if the heel can pull free, sliding persists, or a secure fit causes pain. Replace cracked straps, faulty buckles, worn strap ladders, or damaged supports before use. If adjustments don’t solve the problem, stop and have Snowfeet or a qualified technician check the fit.
Once the fit holds, move to the final safety check.
Step 5: Complete the Safety Check and Test Slowly
Run a Final Safety Check
Before you ride, check for loose hardware, poor alignment, and trapped snow.
| Inspection point | Pass | Fix |
|---|---|---|
| Buckles and straps | Fastened, snug, and no wobble | Tighten again or use a different strap hole |
| Adjustment screws | Fully tightened and secure | Tighten with a screwdriver |
| Boot position and heel hold | No sliding or heel lift | Reseat the heel and center the boot |
| Snow and ice | Binding interface is clear | Remove trapped snow or ice before fastening |
| Orientation | Skates are on the correct feet | Swap the skates to the correct feet |
| Safety leash | Securely attached to your ankle | Attach the safety leash to your ankle |
Don’t ride if any check fails. Fix the problem first.
Test Stopping on Gentle Terrain
Once every check passes, start with a slow test on gentle snow.
Wear a helmet. Choose a gentle, groomed slope with a long, flat run-out, away from crowds and obstacles. Practice controlled stops at low speed. After the first few runs, recheck strap tension and heel hold.
FAQs
How can I check boot compatibility before buying?
Check the boot size range for your Snowfeet* model before you buy. The 44 cm (about 17.3-inch) Skiskates fit US snowboard boot sizes 6–14.5.
Most standard snowboard boots work. But Burton Step-On boots typically don’t fit because their soles are made for Step-On bindings.
If your boots are near either end of the size range - or you’re not sure they’ll fit - contact Snowfeet* support with your exact boot size to confirm.
How can I tell if heel lift comes from my boot or binding?
First, snug up your snowboard boots with the laces or BOA. If your foot shifts inside, the boot itself may cause heel lift.
Once you’re strapped in, lift your heel and toe. If the boot pulls away from the plate, the binding connection is loose. Re-center the boot, then tighten the ankle strap so your heel sits against the back plate. Secure the toe strap last.
What does a non-release binding mean for fall safety?
A non-release binding keeps your boots attached through many minor falls. That means less risk of losing a skate, creating a trip hazard, or getting tangled up.
But your boot won’t pop free as it can with release bindings, so a secure fit matters. Boots that shift or straps that sit loose reduce control and make falls more likely. Snowfeet stresses snug straps and a pre-ride lift test.



Hagyj egy hozzászólást
Ezt a webhelyet a hCaptcha rendszer védi, és a hCaptcha adatvédelmi szabályzata, valamint szolgáltatási feltételei vonatkoznak rá.