
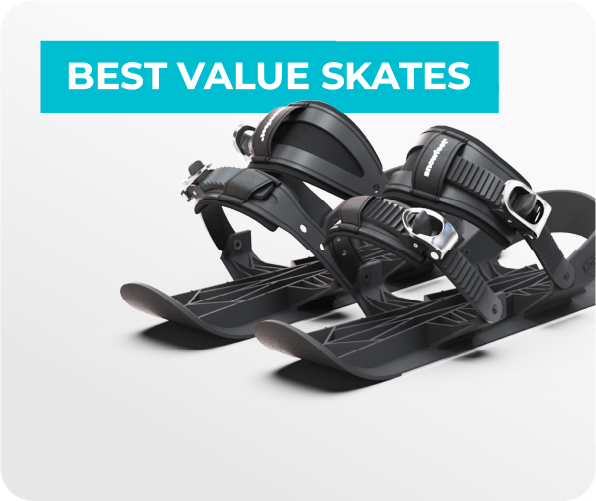
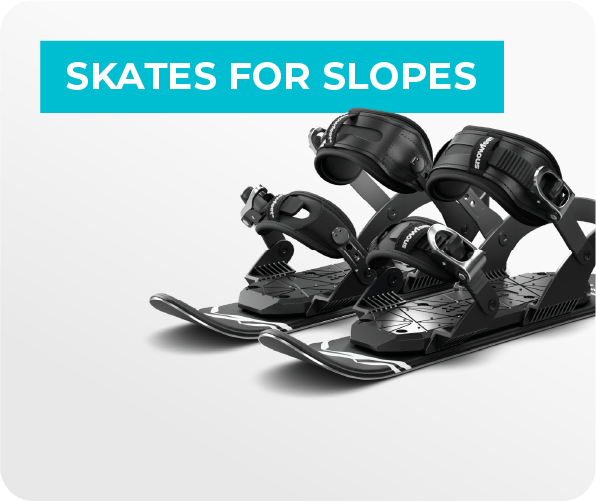
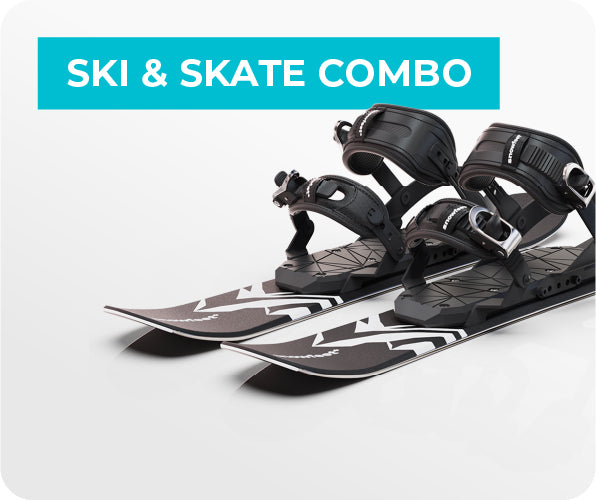
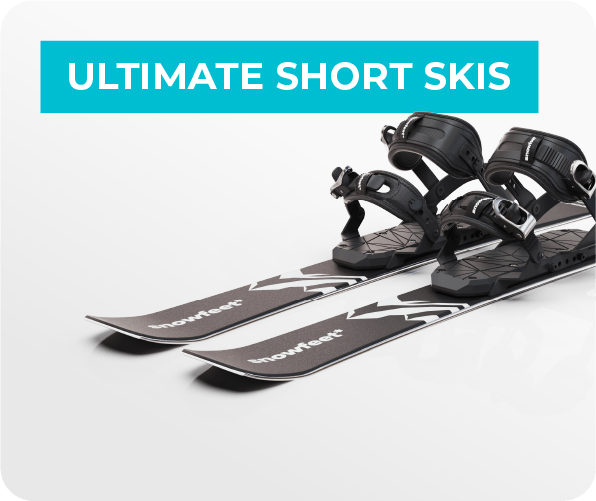
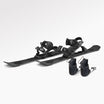
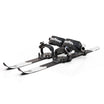
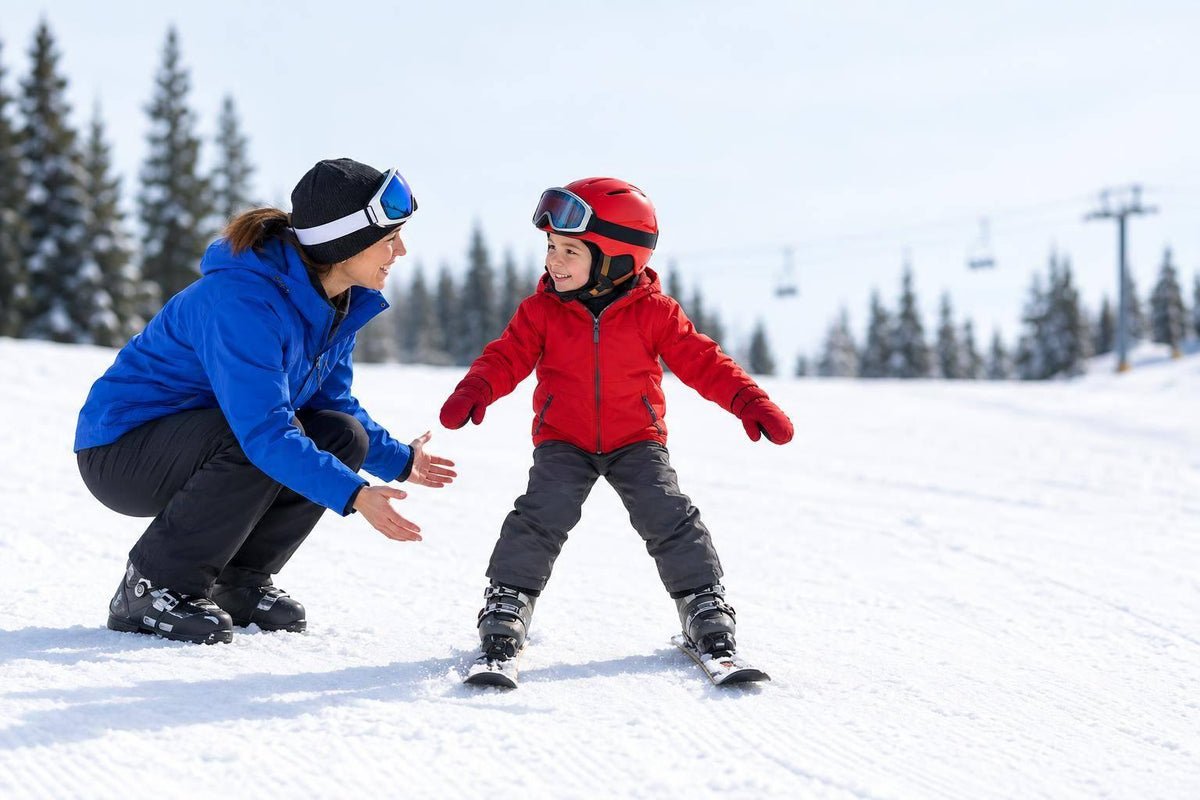
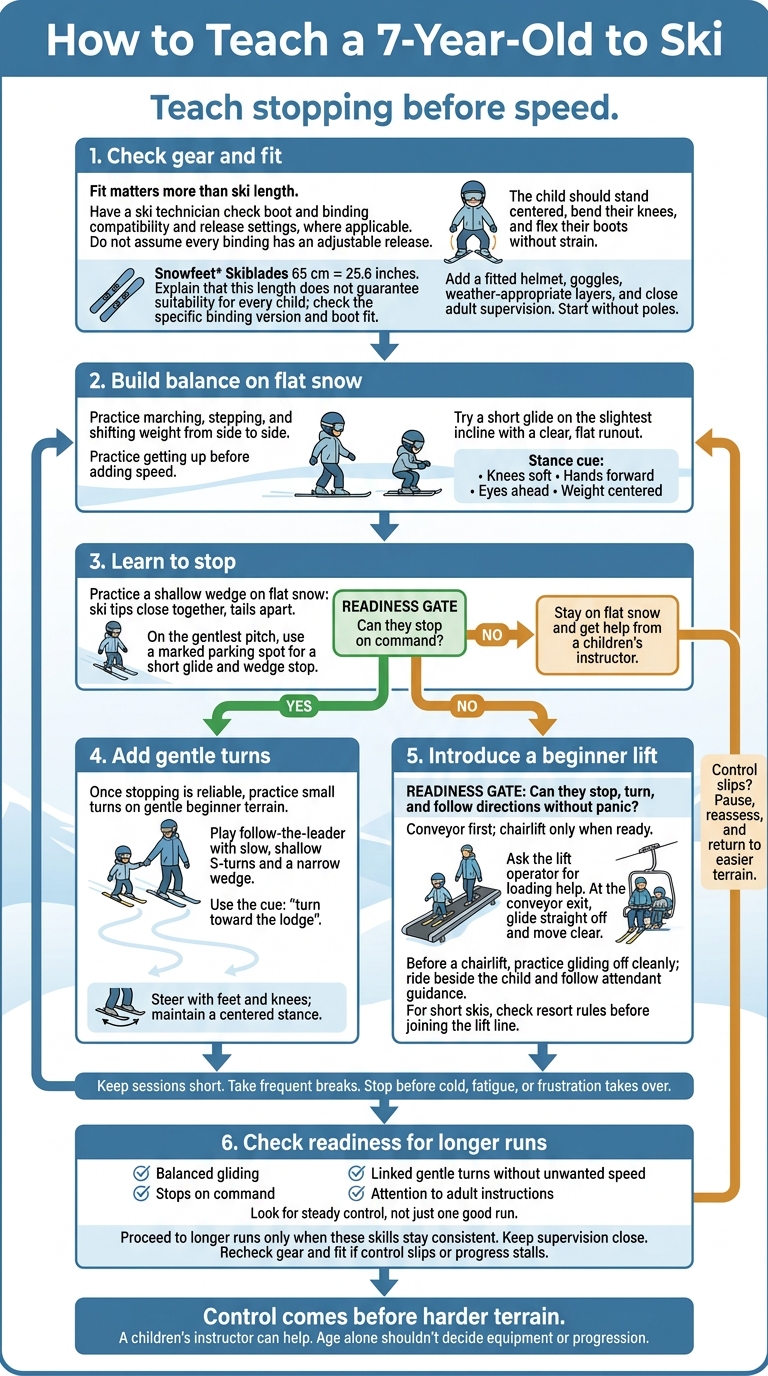
My first rule for teaching a 7-year-old to ski: teach stopping before speed. Start on flat snow, use a gentle pitch with a long, flat runout, and keep each session short.
Here’s the plan I’d follow:
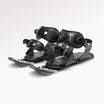
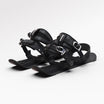
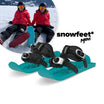
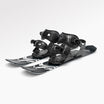
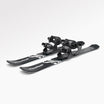
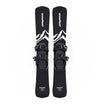
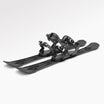
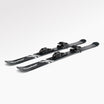
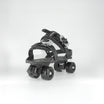
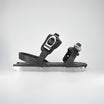
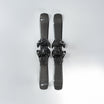
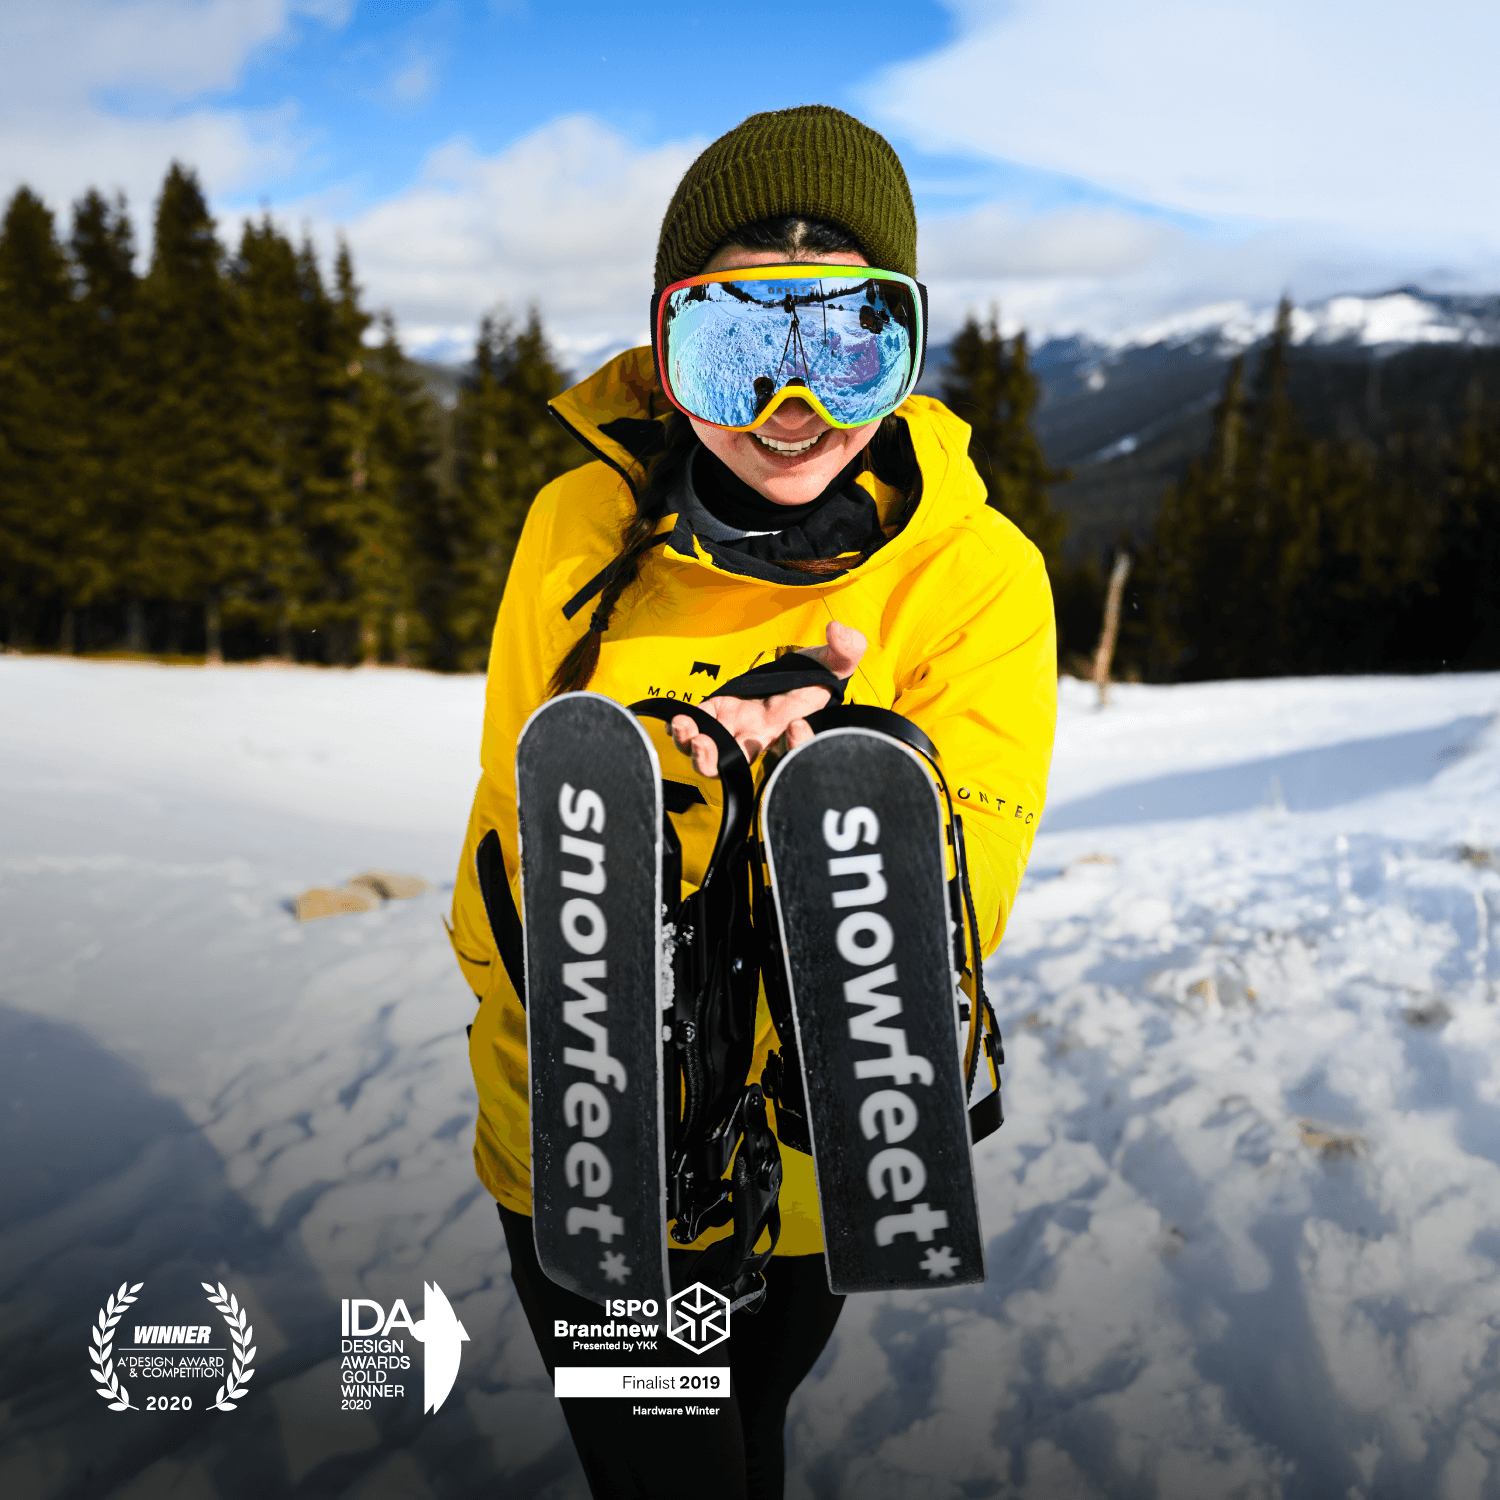
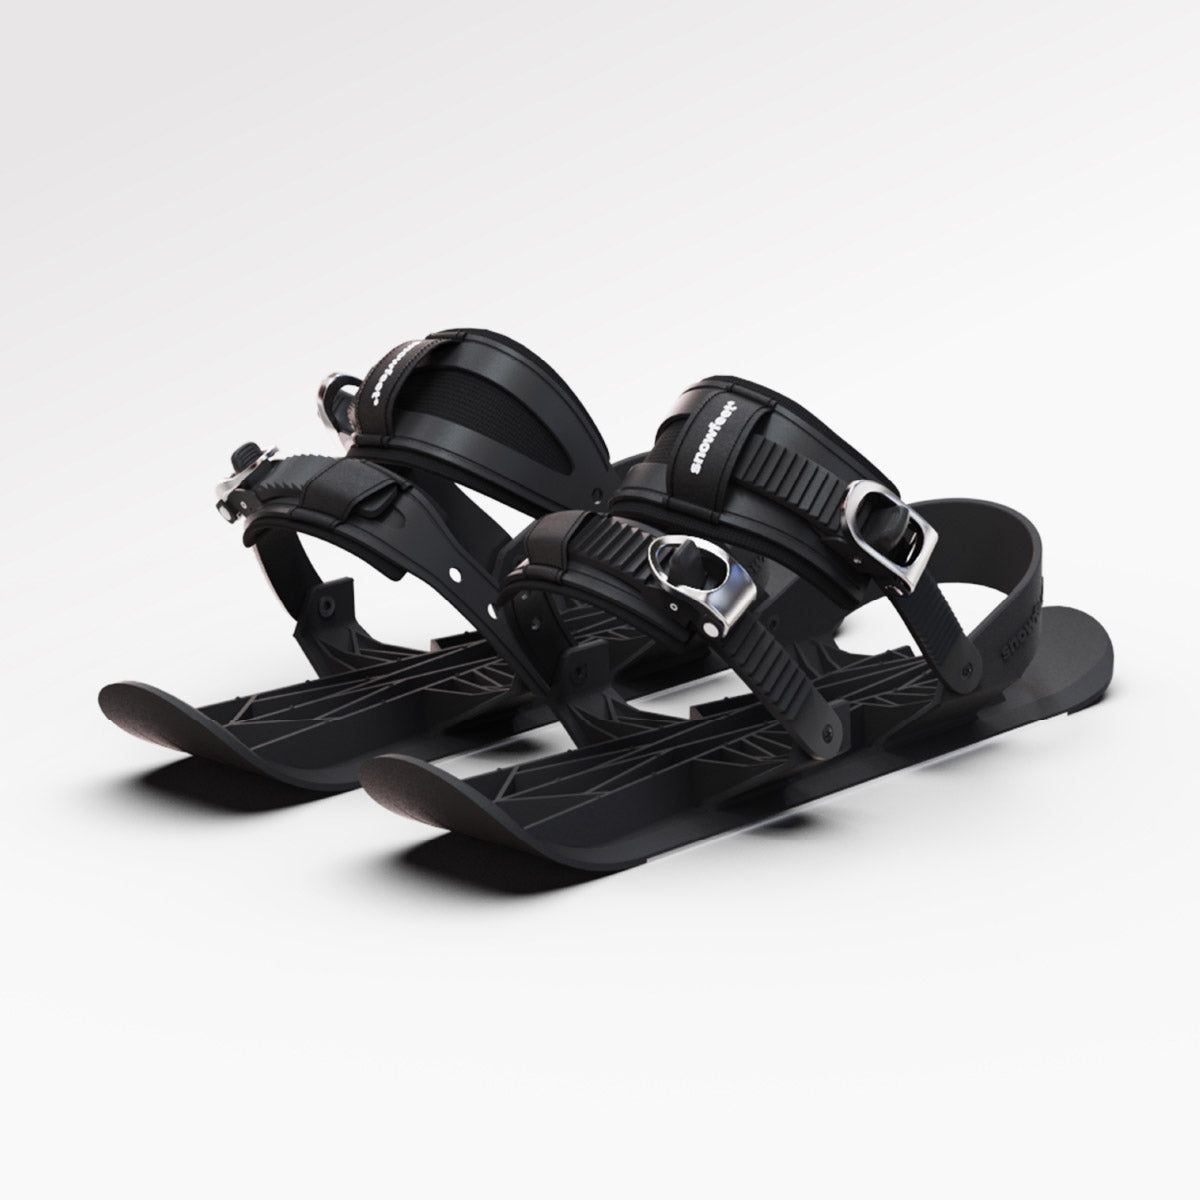
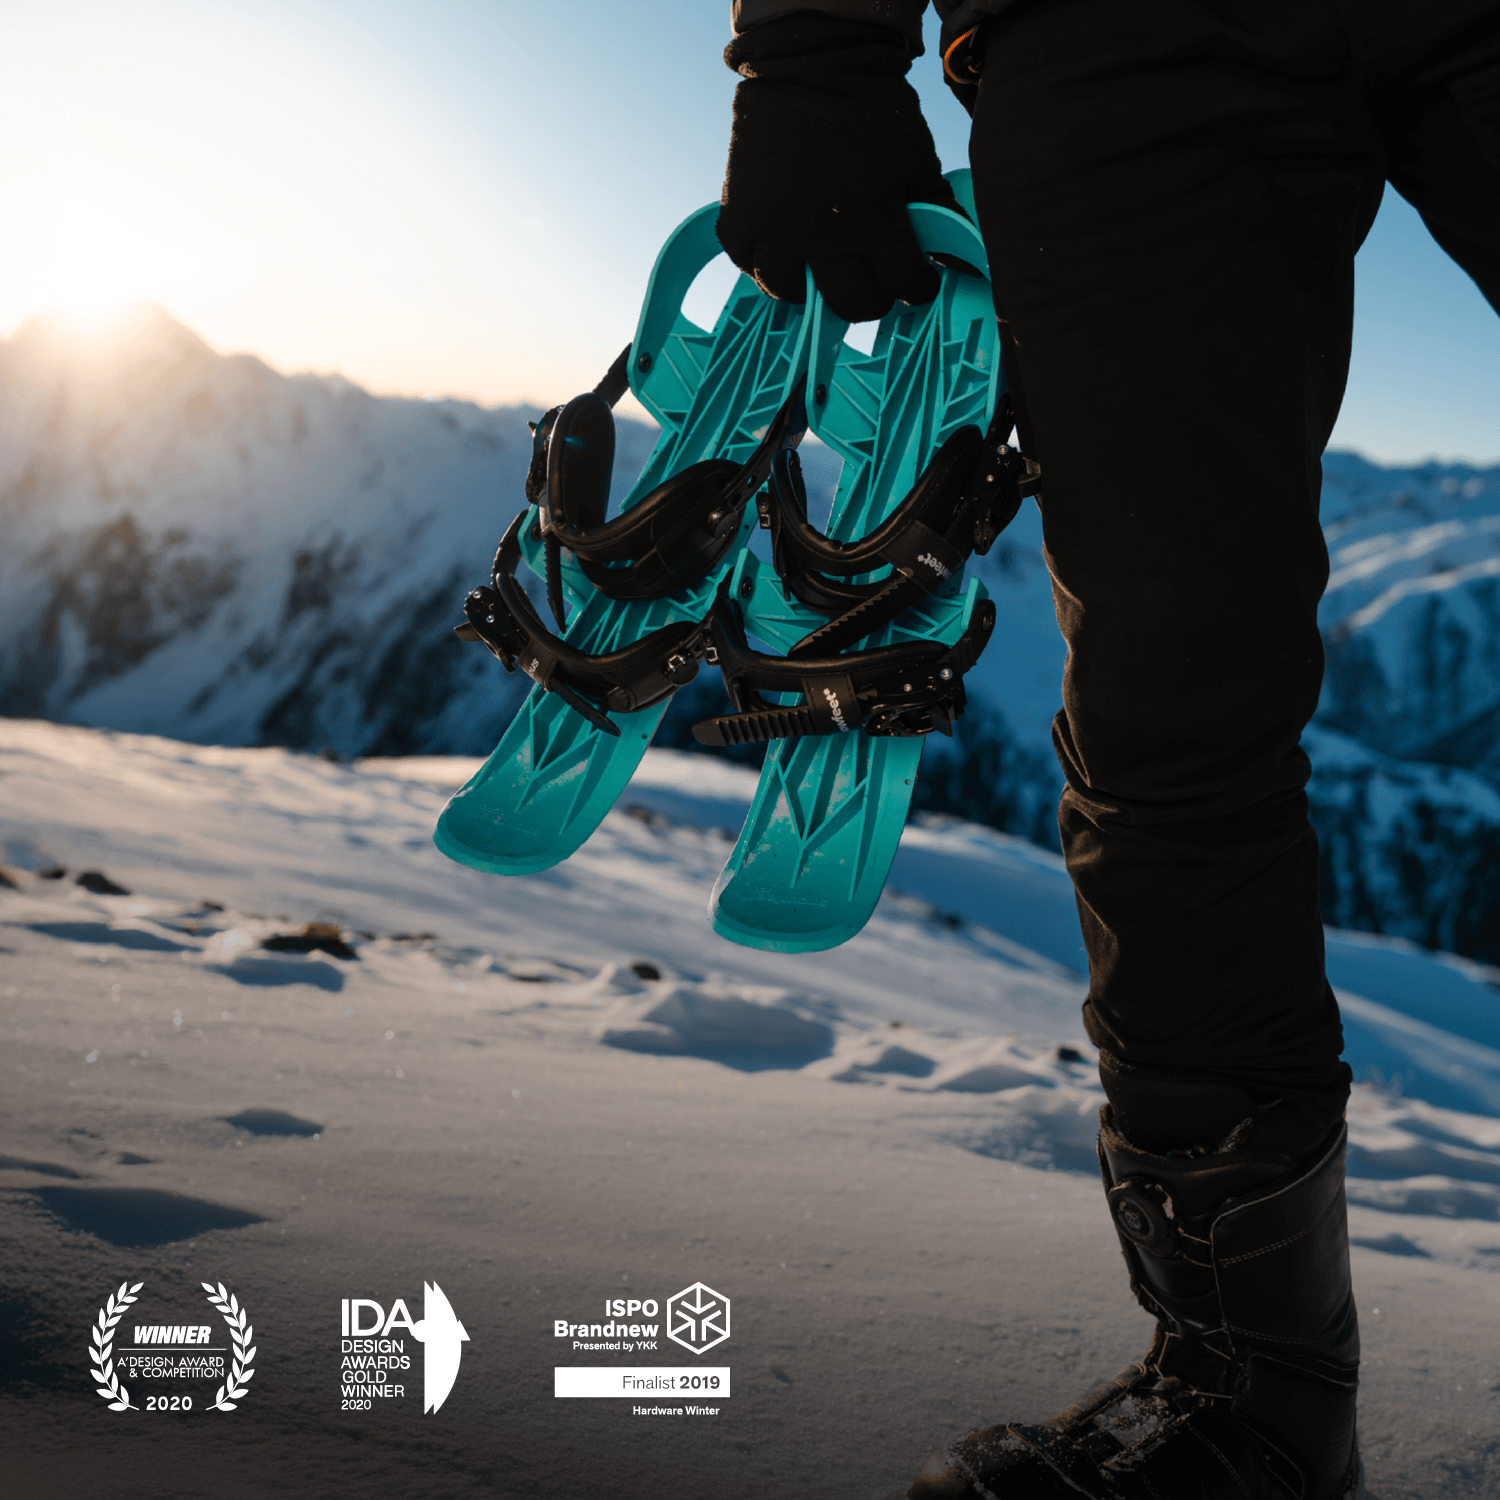
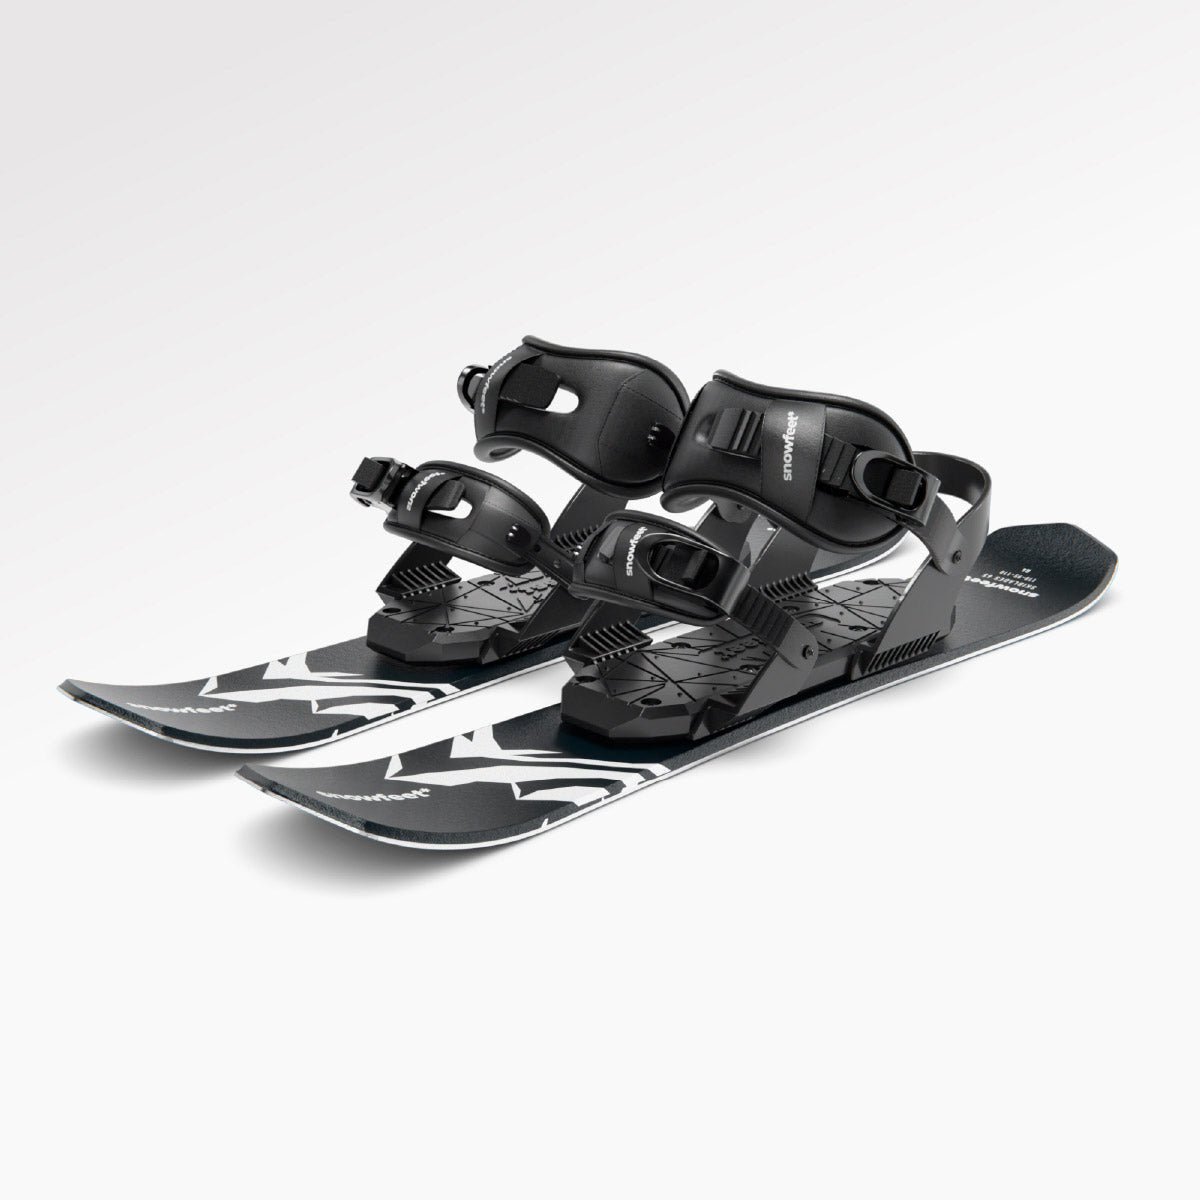
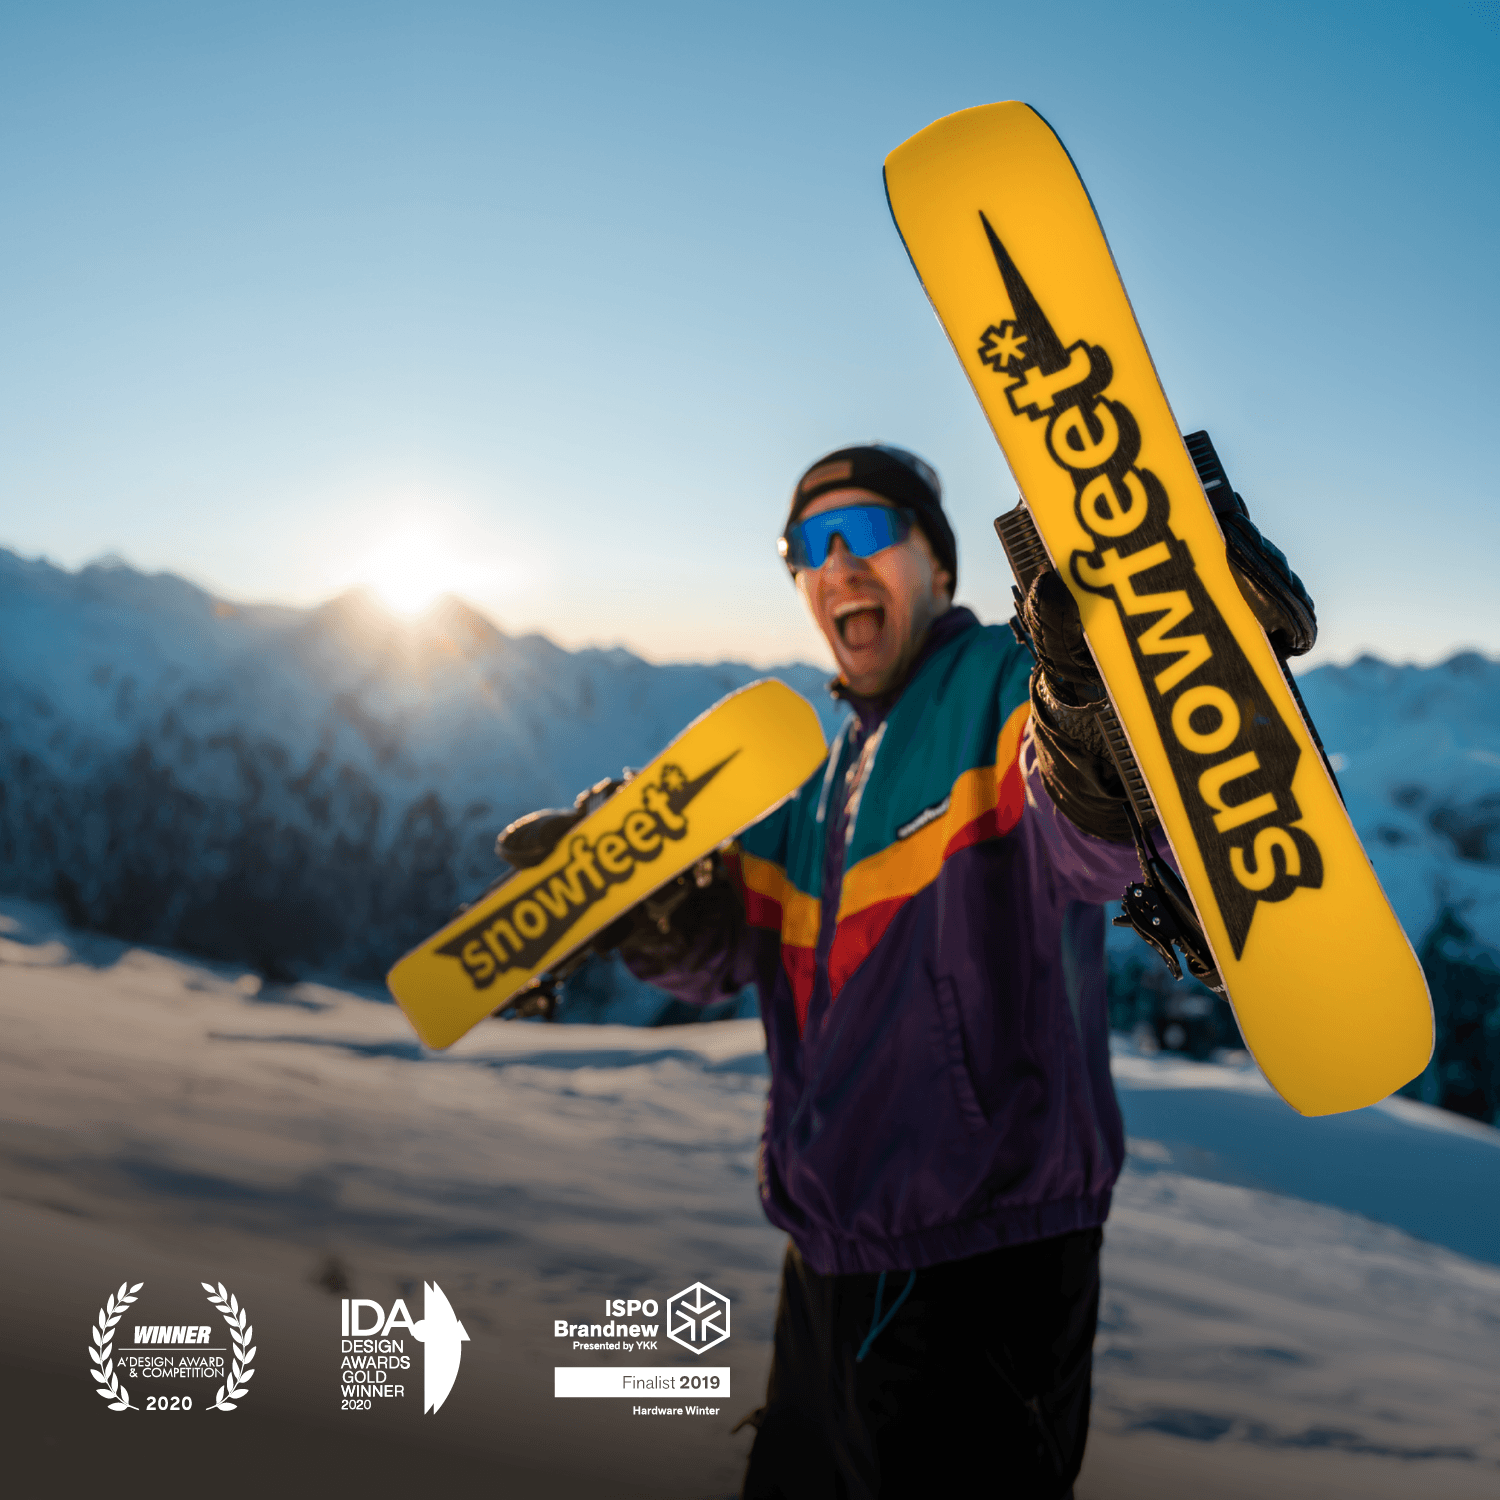
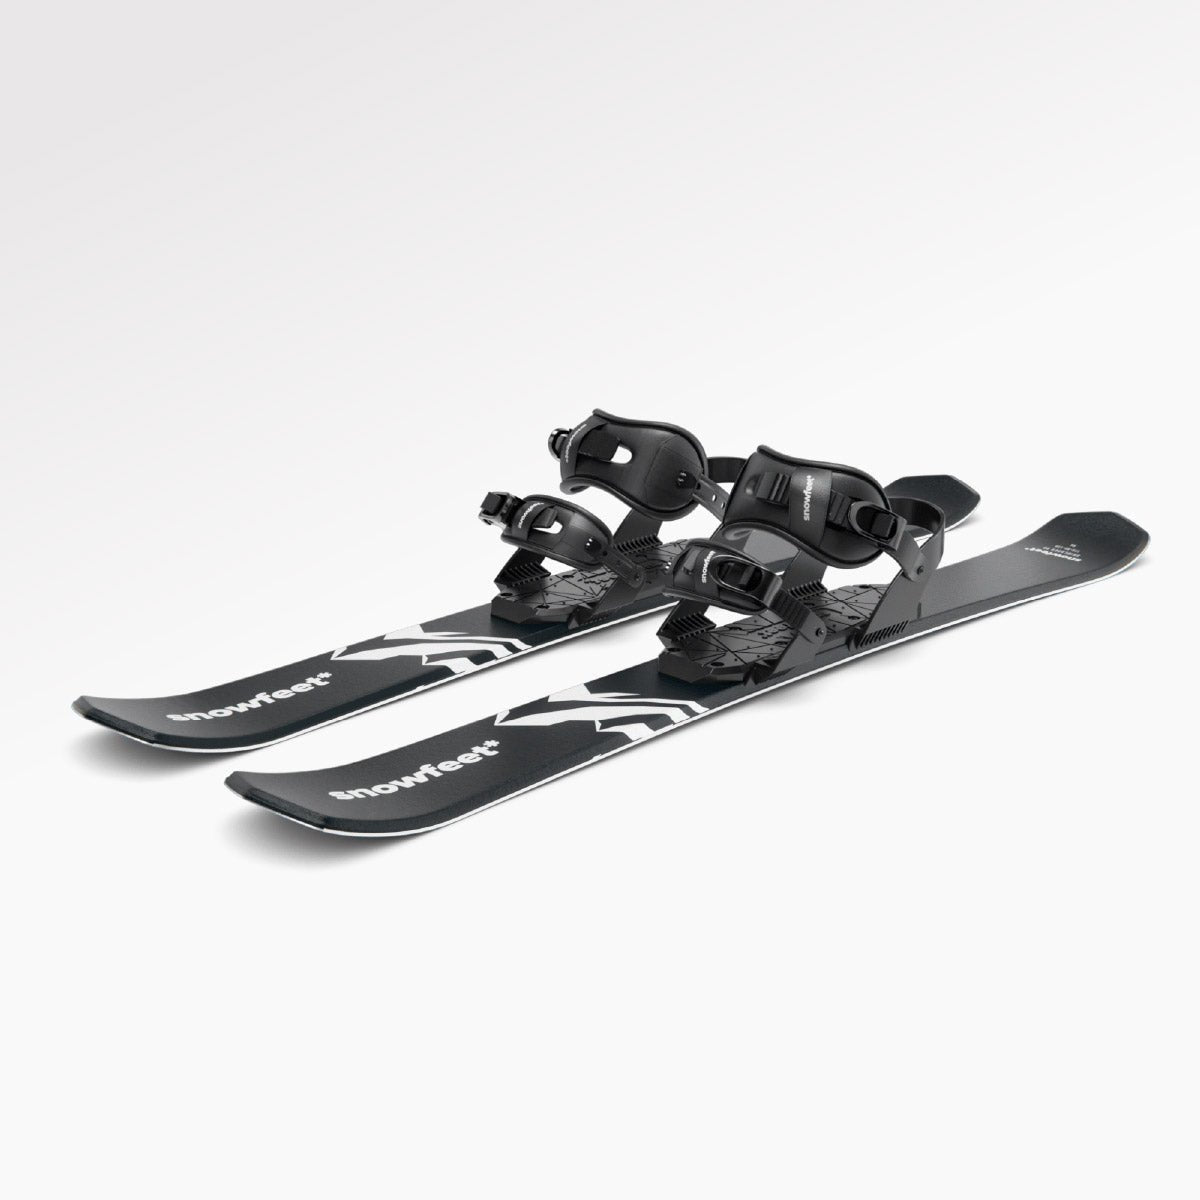
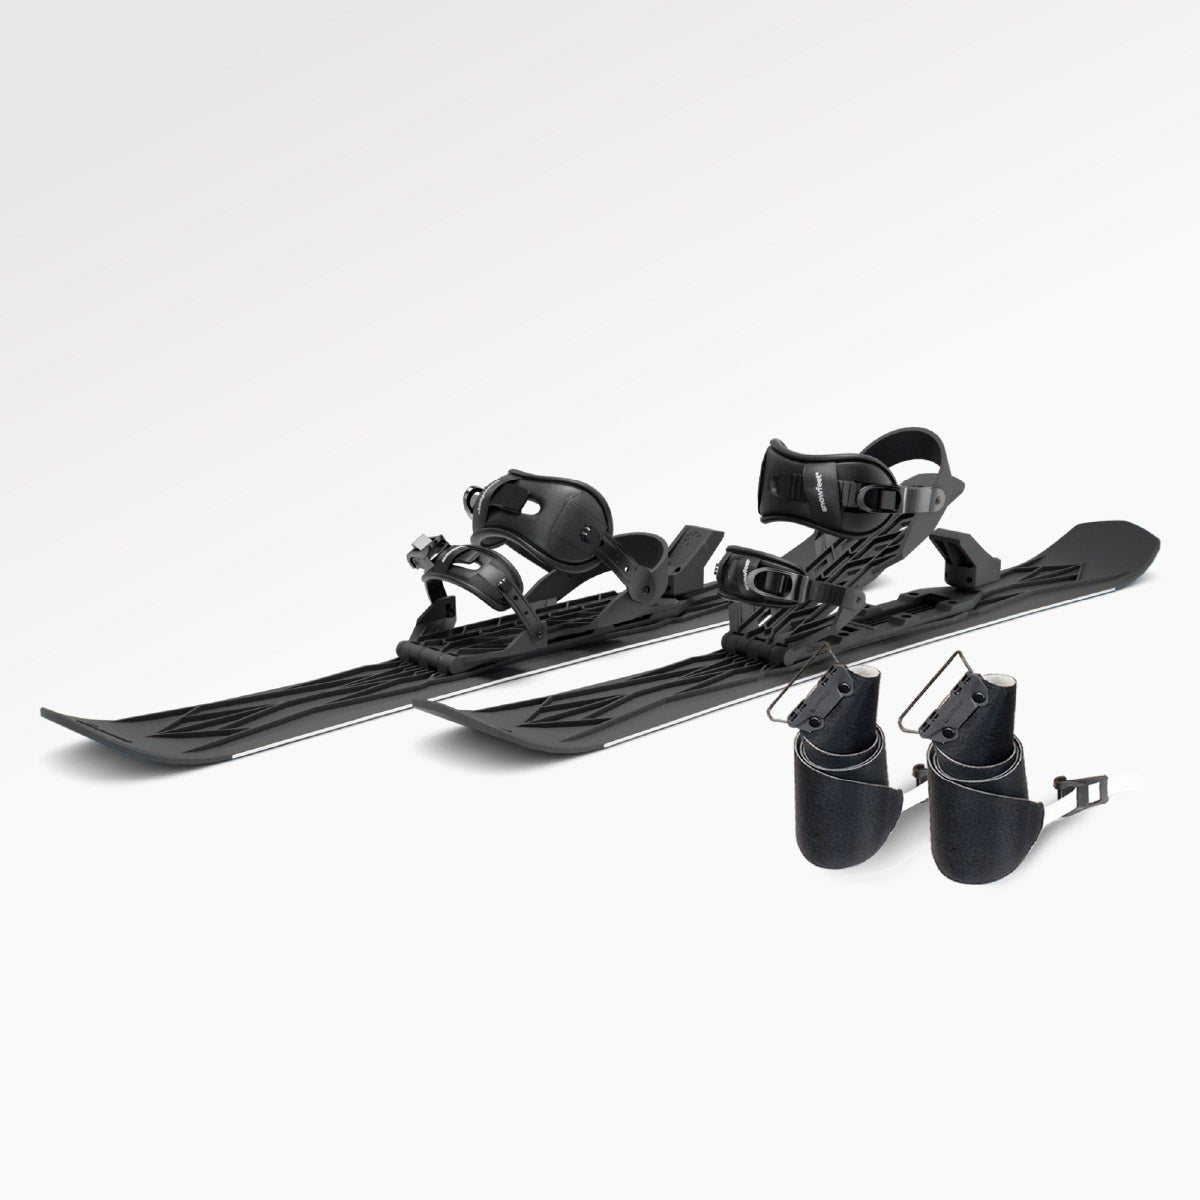
- Check the gear. Snowfeet* Skiblades 65 cm measure 25.6 inches, but short doesn’t mean they’ll fit every child. Have a ski technician check boot and binding fit, plus release settings where available.
- Build control first. Practice stepping, gliding, getting up, and wedge stops before adding gentle turns.
- Take lifts in steps. Start with a conveyor lift once your child can stop, turn, and follow directions. Save chairlifts for when they’re ready.
- Let skill set the pace. Try longer runs only when stops and turns stay under control. Take breaks before cold or fatigue takes over.
I’d choose well-fitting gear over a set ski length every time. Add a fitted helmet, close supervision, and help from a children’s instructor - and keep the goal simple: a child who wants to ski again. <u>Control comes before harder terrain.</u>
How to Teach a 7-Year-Old to Ski: Control First
How to Choose the Best Skis for Kids
1. Choose Short Skis That Fit Your Child
Measure your child’s height and weight, and bring their boots when choosing skis. Pick the shortest skis they can control without forcing the boots forward. A good fit lets a 7-year-old stand centered, bend their knees, and steer without fighting the gear.
Compare Snowfeet* Skiblades 65 cm With Children's Skis
Short doesn’t always mean a good fit. Snowfeet* Skiblades 65 cm can work well if your child has the balance and boot fit to control them.
| Feature | Snowfeet* Skiblades 65 cm | Conventional junior skis |
|---|---|---|
| Length | 25.6 inches (65 cm) | Commonly 31.5–55 inches (80–140 cm) |
| Boots | Ski-boot or snowboard-boot binding versions | Compatible junior ski boots |
| Handling | Quick to steer; requires balance | Depends on length and flex |
| Stability | Less front-to-back support | More support from added length |
The roughly 13-foot (4-meter) turn radius helps these skiblades turn fast. That response can help with turn practice, but your child needs to stay balanced and flex their boots without strain.
Check Boot Fit and Get a Professional Binding Check
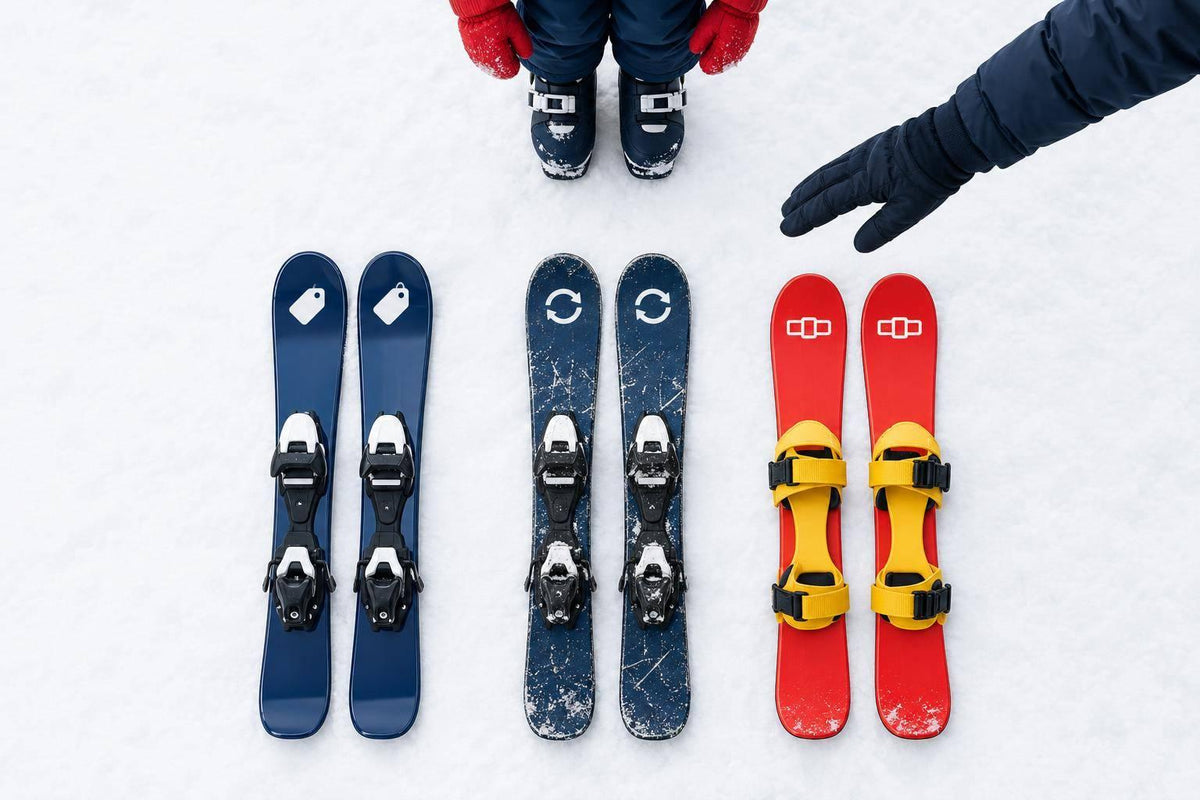
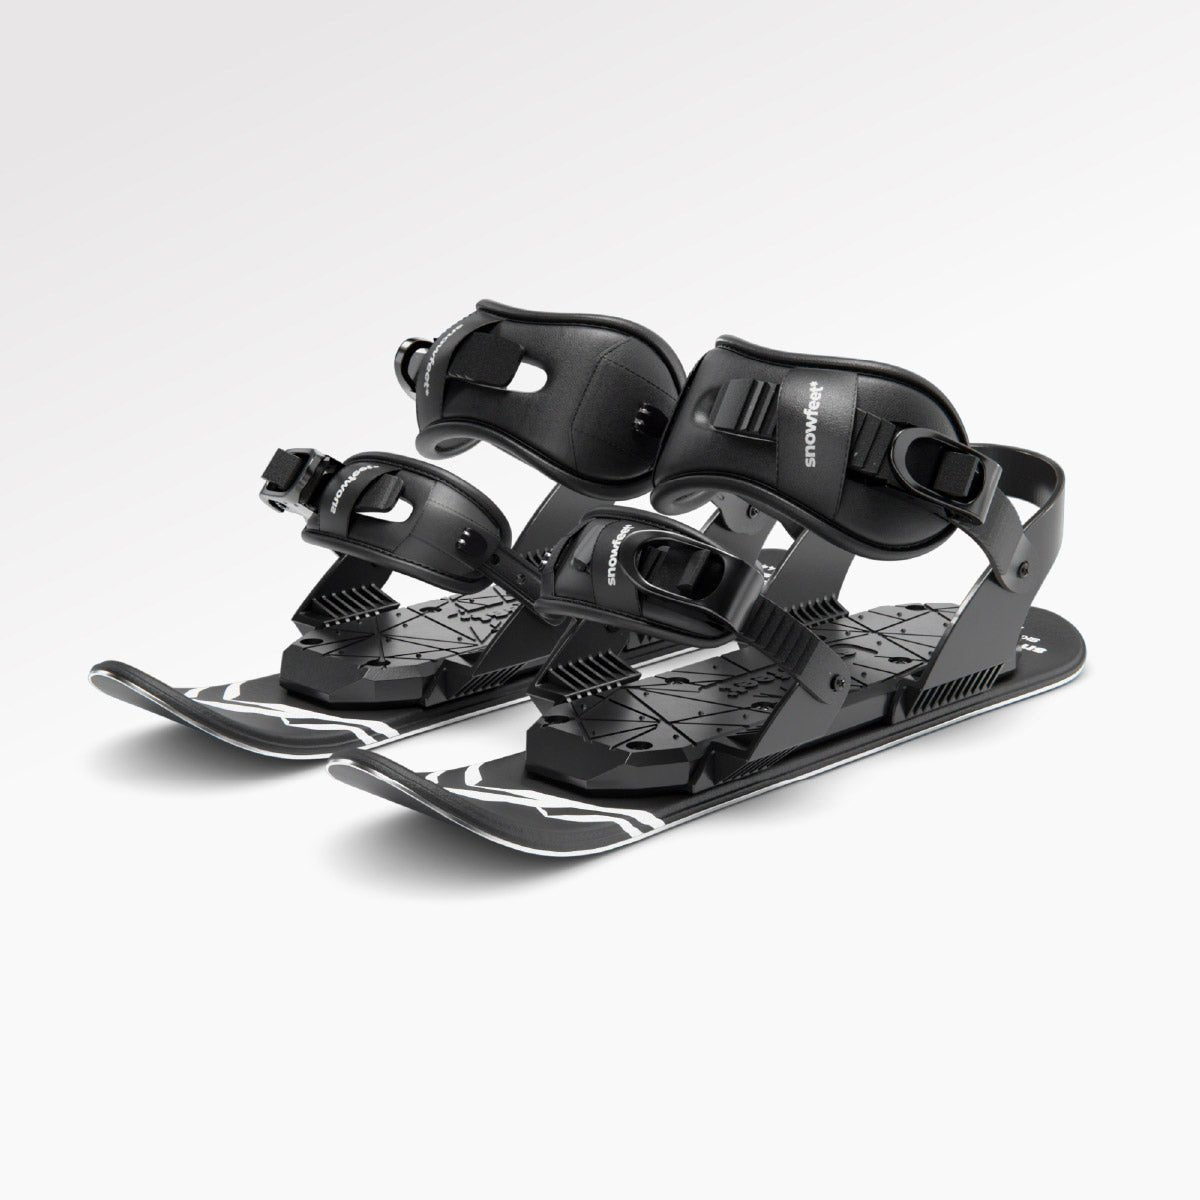
Check the binding version first. One setup uses ski boots; the other uses snowboard boots. Have a ski shop check boot sole compatibility and, where applicable, set release values for your child’s size and skill level. Don’t assume every binding has an adjustable release.
Have your child try on boots with the ski socks they’ll wear. Check that they can bend their knees and flex the boots forward without strain. Start without poles. If the 25.6-inch (65 cm) setup doesn’t fit well, consider Snowfeet* MINI KIDS or junior skis with compatible bindings. Check the fit of those options, too.
Once the skis and boots fit, move to balance and stopping drills on flat snow.
2. Practice Balance, Gliding, and Stopping
Start on flat, smooth snow with a clear runout before trying a gentle slope. Once the fit is set, head onto the snow and teach control first. Properly fitted short skis can help young beginners balance and control wedge stops.
Fit Safety Gear and Keep Sessions Short
Choose a well-fitted ski helmet with an adjustment dial, plus goggles. Dress your child in synthetic or wool base layers, a waterproof jacket and pants, and one pair of ski socks. Skip cotton layers.
Keep sessions short, take frequent breaks, and stop before your child gets tired or frustrated. A children’s instructor can help with those first drills.
Practice Stepping, Gliding, and Getting Up
On flat snow, have your child practice marching and shifting their weight from side to side. Then try a short glide on the slightest incline. Keep knees soft, hands forward, eyes ahead, and weight centered over the skis. Ask your child to hold this stance until they stop.
Practice getting up before adding speed. Have your child sit down gently on flat ground, then work on standing back up. Once that feels easy, try it on a very slight slope with a clear runout. Learning to get back up makes stopping drills safer and less frustrating.
Teach Wedge Stops With a Parking Game
Practice the wedge on flat snow first, with ski tips close together and tails apart. Ask your child to brush both skis outward at the same time. Aim for a shallow wedge, not a forced wide stance.
On the gentlest pitch, mark a parking spot with a line in the snow, then have your child glide briefly and wedge to stop at the marker.
Stay close, but keep out of their path. Repeat until your child can stop on command. If they can’t stop reliably, stay on flat snow and get help from an instructor before moving on. Once they can stop on cue, try gentle turns.
sbb-itb-17ade95
3. Learn Turns and Use a Beginner Lift
Link Gentle Turns With Follow-the-Leader
Once your child can stop reliably, move from flat-ground drills to a gentle green run. Start with small turns toward a clear landmark. Then play follow-the-leader with slow, shallow S-turns. Keep the wedge narrow.
Use a clear cue like:
“turn toward the lodge”
This gives your child a target instead of relying on left and right. Stick with the same centered, ready stance from stopping practice. Encourage them to steer with their feet and knees - not twist their shoulders or put all their weight on one ski.
Introduce lift loading once they can stop and turn with control.
Start With a Conveyor Before a Chairlift
Choose a lift that suits your child’s skill level. Use lifts only when they can stop, turn, and follow directions without panic.
Conveyor lifts, often called magic carpets, are the standard first lift for beginners. Tell the operator your child is new and ask for help with loading. Have your child shuffle onto the belt, keep their skis parallel, and stand balanced. If they fall, tell them to stay still and wait for help. At the top, they should glide straight off and move clear of the ramp.
Before the first chairlift ride, practice keeping skis straight and gliding off cleanly. Ride beside your child, tell the attendant you have a beginner, and ask if they can slow the chair. Help your child sit all the way back and lower the safety bar right away.
If you use Snowfeet* Skiblades 65 cm, check the resort’s rules for short skis before joining the lift line.
4. Check Readiness Before Moving On
Check Skills Before Longer Runs
Once your child can stop, turn, and ride a beginner lift calmly, check their skills before trying longer runs. Look for steady control, not just one good run: balanced gliding, stops on command, linked gentle turns without unwanted speed, and attention to adult instructions.
Start with flat practice, then move to gentle beginner runs. Try longer runs only when those skills stay consistent, and keep supervision close. If your child gets cold, distracted, tired, or unsteady, stop and return to easier terrain.
Recheck Fit, Comfort, and Learning Goals
If progress stalls or control slips, check the gear before trying harder terrain. Before longer runs, have a qualified ski technician recheck boot security, binding compatibility, and release settings, where applicable. Check helmet fit, too, and replace the helmet after any hard impact. If the boots fall outside the binding’s stated range or your child struggles to control the skis, reassess before continuing.
Reassess ski length only when control has clearly improved. Snowfeet* Skiblades 65 cm remain a strong option for a child who fits the bindings and can control the skis. Age alone shouldn’t decide the choice.
FAQs
How can I tell if Snowfeet* Skiblades 65 cm fit my child?
Look beyond age. These skiblades are made for children who weigh 55–88 lbs, stand 51–61 inches tall, and can link turns and control their speed on groomed green runs.
Boot size should sit near the middle of the EU 32–40 binding range. Choose supportive ski or snowboard boots with ¼–½ inch of toe room. Don’t size up for growth, and check that the bindings are securely tightened before every ride.
What if my child is afraid to glide downhill?
Head back to flat ground right away and keep practice pressure-free. Use cones or poles to mark short distances, then play games that let your child shuffle, glide, and stop.
Compact Snowfeet products can feel less scary because kids can see their feet. If your child seems nervous or stiff, take a snack break. Keep things fun, and let them build confidence on flat ground before trying a gentle slope.
How long should my child's first ski session last?
For a 7-year-old’s first session on short skis, aim for 30–45 minutes on snow, including breaks. Keep it under 60 minutes, even if you’re sticking to the basics.
Start with a 10–20-minute warm-up on flat snow. Then practice gentle gliding, stopping, and turning. Wrap up while they still want “one more run,” before fatigue or fear sets in.


Hagyj egy hozzászólást
Ezt a webhelyet a hCaptcha rendszer védi, és a hCaptcha adatvédelmi szabályzata, valamint szolgáltatási feltételei vonatkoznak rá.