


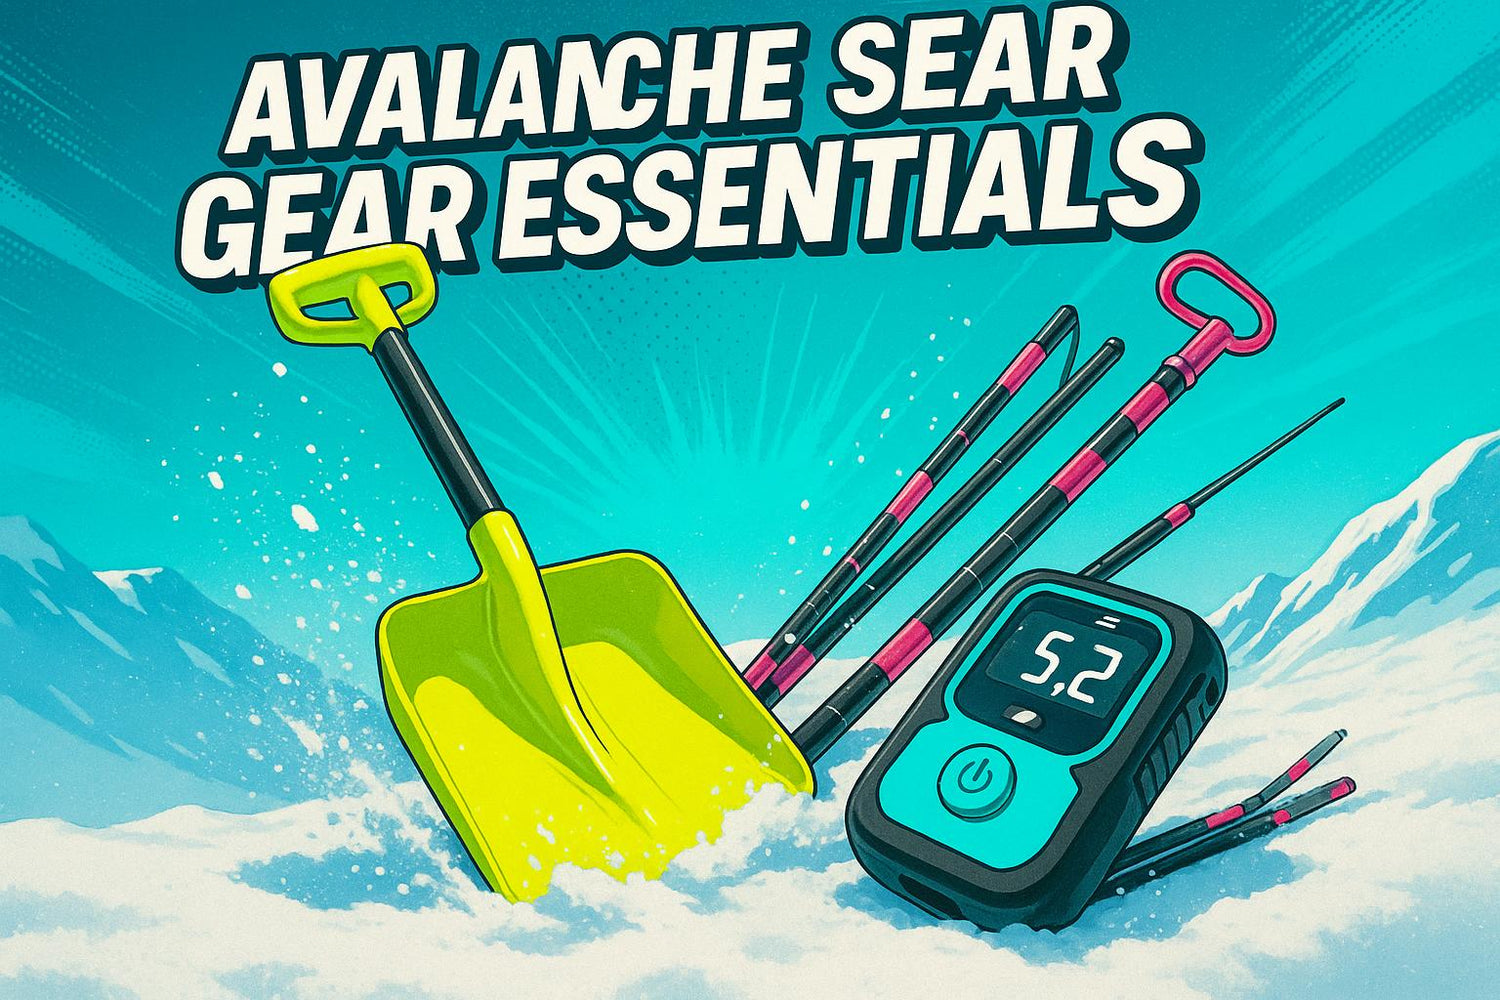
When you're heading into avalanche terrain, having the right gear can save lives. The three must-haves? Avalanche beacon, probe, and shovel. Together, they help locate, pinpoint, and rescue buried victims within the critical time window. Here’s the quick breakdown:
- Beacon: Sends and receives signals to locate buried individuals. Modern models use the 457 kHz frequency for precision.
- Probe: Pinpoints the exact burial spot after the beacon narrows down the search.
- Shovel: Digs through dense, compacted snow quickly and efficiently.
Without these tools, rescue times can stretch dangerously long. For example, using a probe can reduce recovery time from 25 minutes to 11 minutes. And since survival rates drop sharply after 15 minutes of burial, every second counts.
Additionally, lightweight snow gear like Snowfeet* can improve mobility and reduce fatigue compared to heavier skis or snowboards. They’re compact, easy to carry, and compatible with regular winter boots, making them a smart choice for backcountry adventurers.
To stay safe, always carry these essentials, practice using them, and ensure everyone in your group is equipped and trained. Preparation and teamwork are your best defense in avalanche terrain.
Avalanche Rescue: How to Use Your Beacon, Probe & Shovel
Avalanche Beacon: How It Works and Why You Need It
When it comes to avalanche safety, understanding how your beacon works is non-negotiable. This small device could mean the difference between life and death in the backcountry. In Colorado - where avalanche fatalities outnumber those in any other state - wearing a beacon significantly increases your chances of survival, giving you better than a 50% chance of making it through an avalanche burial.
Scott Benge, who survived an avalanche, couldn’t be clearer about its importance:
"There's no doubt in my mind that I wouldn't be here if I wasn't wearing a beacon, if Kane wasn't wearing a beacon, if Kane didn't know how to utilize a beacon and perform a beacon search."
How Avalanche Beacons Work
Avalanche beacons operate using radio signals to transmit and receive. Since 1986, all modern transceivers have used the international frequency of 457 kHz.
Here’s how it works: When you’re traveling, your beacon stays in send mode, continuously transmitting a signal. If you’re buried in an avalanche, this signal creates an electronic trail that rescuers can follow.
Searchers switch their beacons to receive mode (or search mode), which detects transmitted signals and provides location data. Digital transceivers make this process faster and more precise by displaying both distance and direction on a screen. Unlike older analog models that relied on sound alone, digital beacons typically use three antennas to pinpoint exact locations. Some advanced models even include a secondary frequency, called W-Link, which can transmit additional details, such as potential vital signs.
However, a beacon’s performance isn’t foolproof. Factors like battery life, device age, and interference from nearby electronics can affect its accuracy. To minimize issues, keep other electronic devices away from your beacon.
Best Practices for Beacon Use
Knowing how an avalanche beacon works is just the start - you also need to know how to use it effectively. And that takes practice. Drew Nylen, a Field Technician and Youth Instructor, puts it perfectly:
"Practice makes perfect. Better yet, practice makes progress. Practicing companion rescue is an ongoing part of being an active backcountry user. It builds muscle memory we can tap into when it gets real, and it can always be worked on to refresh and recalibrate."
Start before you even hit the trail. Everyone in your group should turn their beacons to send mode before leaving the parking lot - it’s a simple step that could save someone’s life.
When it comes to searching, follow these steps:
- Signal search: Move quickly until you’re within 10 meters of the buried beacon (this is the "run" phase).
- Coarse search: Slow down to a walking pace as you get closer (the "walk" phase).
- Fine search: Crawl and carefully pinpoint the lowest reading on your beacon (the "crawl" phase).
Keep your beacon level and close to the snow’s surface during the search. If the numbers start going up, you’ve overshot the location - stop, turn 180 degrees, and head back. Don’t let fluctuating signals throw you off; focus on the overall trend of decreasing numbers.
During a search, clear communication is key. Share your readings with your group and ensure only one person handles the fine search to avoid interference. Once you’ve identified the lowest reading, use your probe to locate the exact burial spot.
Finally, practice regularly. Work on switching between modes, searching on uneven terrain, and handling complex scenarios like multiple burials. Time yourself to build the speed and confidence you’ll need if the worst happens.
Avalanche Probe: Finding the Exact Location
Once you've narrowed down the burial area using your beacon, it's time to bring out your probe. This tool bridges the gap between your beacon's general location and the exact spot where you need to dig. It's this step - moving from estimation to pinpoint accuracy - where solid probing technique really matters.
According to avyrescue.com:
"Compared to using a digital avalanche transceiver, finding a buried person by pushing a stick into the snow is caveman-style searching. However, probing is reliable. Yes, you may mistakenly think you hit the victim when you haven't (a false positive), but your probe will never pass through the victim (a false negative)."
The process itself is simple but requires precision. Start by probing in a 12-inch grid, either in rows or a spiral pattern. Push the probe straight down into the snow, aiming for a depth 1.5 times the closest beacon reading.
When you feel a "hit", pay attention to the texture. A human body feels soft and buoyant, while a rock is hard and makes a distinct clack. If you're unsure, probe a few more times around the area to confirm the object's size and consistency.
Your probe also tells you how deep the victim is buried. With the average avalanche burial depth around 4.3 feet, having this information lets you dig more effectively and save precious time.
Key Features of Avalanche Probes
The right gear can make a big difference when every second counts. Modern avalanche probes are designed to be fast and reliable, and their features are tailored to support efficient rescues.
- Collapsible Design: Probes fold down for easy storage but can be deployed quickly. Most use a cable system for rapid assembly, even with gloves on.
- Material Choices: Aluminum probes strike a good balance between durability and cost. Carbon fiber models are lighter but come with a higher price tag. For most backcountry adventurers, aluminum is a practical choice.
- Length and Markings: Probes typically range from 8 to 12 feet long. For serious backcountry use, many experts recommend at least 10 feet. Depth markings every 12 inches make it easy to measure burial depth at a glance.
- Deployment Technique: To deploy, grab the cable, toss the probe downhill to align it, and pull the cable until it locks into place with a click.
Why Every Backcountry Traveler Needs a Probe
A probe isn't just a tool - it's a critical part of the rescue process. It confirms the victim's exact location, saving valuable time and effort when shoveling. Once you've located the person, leaving the probe in place serves as a clear visual marker. This helps rescuers avoid accidentally standing on the victim and ensures everyone knows where to focus their efforts.
Regular practice is key to using your probe effectively. Keep it in your pack without its protective pouch for quicker access, and practice deploying it in all kinds of conditions. Whether you're in deep powder or icy terrain, getting comfortable with your probe will make you faster and more confident in an emergency.
sbb-itb-17ade95
Avalanche Shovel: Digging for Survival
Once you've pinpointed the victim's location with your probe, the next step - shoveling - becomes the most physically demanding and time-sensitive part of the rescue. Alongside your beacon and probe, the shovel completes your essential avalanche rescue gear. This is where every second counts. Statistics show that survival rates drop sharply after 15 minutes of burial.
The average burial depth might only be around 1.6 feet, but don’t let that fool you. Rescuers often need to move up to 1,500 liters (about 400 gallons) of snow, which can harden like concrete under pressure.
To dig efficiently, start downhill of the probe strike at a distance about 1.5 times the burial depth. This technique helps keep the victim’s airway clear and gives you enough space to work effectively. Push the snow downhill and to the sides, creating a flat platform for first aid. Instead of lifting the snow, scoop it down a ramp to conserve energy.
If you have multiple rescuers, the conveyor belt method is your best bet. Line up team members downhill from the burial site, passing snow further down the slope with each person. Rotate shovelers frequently to avoid exhaustion - fresh arms always dig faster than tired ones.
Choosing the Right Avalanche Shovel
Even with solid digging techniques, having the right shovel can make a huge difference. Avalanche debris is no joke - it can pack as hard as cement. That’s why a durable metal blade is non-negotiable. Leave the plastic shovels and lightweight camping gear at home; they just won’t cut through the dense, compacted snow and ice you’ll face.
Look for shovels with heat-treated metal alloy blades and reinforced corners. These features help break through tough snow and handle any embedded ice or rocks.
The handle design also matters. Detachable handles make it easier to pack your shovel in your backpack, while secure locking mechanisms ensure it stays sturdy when you need it most. And don’t forget - you’ll likely be assembling this shovel while wearing gloves, so choose one that’s quick and easy to put together in cold conditions.
When it comes to blade size, it’s all about balance. Larger blades can move more snow with each scoop but can be more tiring to use. Most backcountry travelers find medium-sized blades to be the sweet spot, offering a mix of efficiency and ease of use.
Every Group Member Must Carry a Shovel
In avalanche terrain, individual responsibility is crucial. Every person in your group needs to carry their own shovel. This simple practice significantly cuts down rescue times. Between 1977 and 2000, the average rescue time for recreationists was 29 minutes. From 2000 to 2006, that time dropped to 18 minutes, thanks to better techniques and improved equipment.
It’s also smart to practice assembling your shovel before you’re in an emergency situation. Try putting it together with gloves on in cold conditions to mimic real-life scenarios. Knowing exactly where your shovel is packed and how quickly you can deploy it can save precious minutes.
Finally, the small weight of a quality avalanche shovel is a minor trade-off for the safety it provides. When everyone in your group has a shovel, you’ll dig faster, rescue quicker, and improve survival odds for everyone involved.
Lightweight Mobility and Safety: Snowfeet* vs. Traditional Ski and Snowboard Brands

When you're venturing into avalanche terrain, carrying essential safety gear like a beacon, probe, and shovel is non-negotiable. But here's the thing: every ounce in your pack matters. The weight and portability of your equipment can literally make or break your ability to move quickly and respond effectively in an emergency. That’s where lightweight gear like Snowfeet* steps in to make a big difference.
Why Snowfeet* Shine in Avalanche Terrain
Traditional skis and snowboards can be a burden. They’re bulky, heavy, and often require specialized boots and carrying systems that aren’t exactly designed for agility in high-stakes situations.
Snowfeet*, on the other hand, strip away the bulk. They’re compact, ultra-light, and easy to toss into a backpack, which means less fatigue during those long backcountry treks. Plus, they work with your regular winter or snowboard boots, so there’s no need to lug around extra footwear. This compatibility makes them a seamless addition to your avalanche safety gear.
"These skiblades are so much fun and easy to control. Never going back to regular skis." - Andrew B.
What really sets Snowfeet* apart is their short and responsive design, which gives you incredible maneuverability. On unstable terrain, where quick direction changes could be the difference between safety and disaster, this kind of agility is a game-changer.
Snowfeet* vs. Traditional Skis and Snowboards: A Quick Comparison
Here’s a side-by-side look at how Snowfeet* stack up against traditional gear:
| Feature | Snowfeet* | Traditional Skis | Traditional Snowboards |
|---|---|---|---|
| Weight | Ultra-light, compact design | Much heavier | Much heavier |
| Portability | Fits easily in a backpack | Requires a dedicated carrying system | Requires a dedicated carrying system |
| Boot Compatibility | Works with regular winter and snowboard boots | Needs specialized ski boots | Needs specialized snowboard boots |
| Pack Integration | Blends seamlessly with avalanche gear | Takes up extra pack space | Takes up extra pack space |
| Emergency Mobility | Quick to deploy, highly agile | Bulkier setup slows response time | Bulkier setup slows response time |
| Terrain Versatility | Great for slopes, trails, and local hills | Best for groomed slopes | Best for groomed slopes |
With over 50,000 riders and more than 5,500 verified reviews, Snowfeet* have earned their spot as a favorite for winter adventurers. These ski skates don’t just keep things light - they turn every slope into your personal playground while keeping your pack manageable.
"Absolute game-changer! They're light, fast, and incredibly fun to ride." - Nathan F.
In avalanche terrain, every second matters. Having lightweight, portable gear like Snowfeet* means you stay agile, ready to react, and focused on safety - all without sacrificing the fun factor.
Conclusion: Basic Tools for Avalanche Safety
When it comes to avalanche safety, your beacon, probe, and shovel are non-negotiable. These three tools work together as a system: the beacon helps locate a buried person, the probe pinpoints their exact position, and the shovel is essential for digging them out. In an avalanche rescue, time is everything, and having all three tools can make the difference between life and death.
Everyone in your group needs to carry all three pieces of equipment. Skipping even one compromises not only your safety but also the group’s ability to perform a successful rescue.
Speaking of efficiency, traditional skis and snowboards can weigh you down when every ounce matters. That’s where Snowfeet* shine. These lightweight alternatives reduce fatigue and offer excellent maneuverability. Plus, they’re compatible with regular winter boots, simplifying your gear without sacrificing performance.
Of course, having the right gear is only half the equation. A successful rescue also depends on practiced technique. Regular drills help you get faster and more coordinated with your equipment, which can save crucial seconds during an emergency.
"The best way to stay safe is to make good decisions, but if something goes wrong, avalanche safety gear is critically important to a successful rescue." - Avalanche.ca
To keep your gear in top shape, follow these tips: keep all electronic devices at least 8 inches away from your beacon in transmit mode and 20 inches away in search mode. Check your probe’s deployment cable regularly and let it dry completely after each use. Store your shovel in a spot that’s easy to reach, and always practice using your gear before heading into the backcountry.
With regular practice and lightweight, streamlined gear like Snowfeet*, you’ll be better prepared for avalanche terrain. The right preparation turns backcountry challenges into adventures you can handle.
FAQs
What’s the best way to practice using avalanche safety gear before heading into the backcountry?
The best way to get ready for avalanche situations is by practicing with your gear in safe, controlled settings. Sign up for hands-on avalanche safety courses where you’ll learn how to properly use your beacon, probe, and shovel. Regular practice with friends or participating in simulation drills can sharpen your skills and boost your confidence for emergencies.
Don’t forget to check and test your gear before every outing. Making sure everything works as it should - and knowing your equipment inside and out - can be a game-changer in a real-life avalanche scenario.
How do Snowfeet* compare to traditional skis or snowboards in avalanche-prone areas?
Snowfeet* bring a fresh twist to winter sports gear, setting themselves apart from traditional skis and snowboards by brands like Rossignol, Atomic, Elan, and Head. Their lightweight and compact design makes them a breeze to carry, especially when you're navigating avalanche-prone terrain. Plus, their exceptional maneuverability means less effort and more fun during backcountry adventures.
Unlike the bulkier, full-length skis or snowboards, Snowfeet* are much easier to handle on steep or narrow trails. This added control can be a game-changer in tricky conditions. They’re also a great pick for beginners, offering a simpler way to get into backcountry sports without feeling overwhelmed. At the same time, their versatility ensures that even seasoned adventurers can enjoy them. Whether you’re prioritizing safety, ease, or just a more convenient option, Snowfeet* check all the boxes for unpredictable backcountry outings.
Why should everyone in a backcountry group carry their own avalanche safety gear?
When heading into the backcountry, it’s absolutely critical that every member of the group carries their own avalanche safety gear. Why? Because in an avalanche, every second matters. Having your own beacon, shovel, and probe means you can jump into action during a rescue - whether you’re helping save someone else or need rescuing yourself.
If only one or two people in the group are carrying gear, it puts everyone at greater risk. But when everyone is equipped, you’re not just improving individual safety - you’re boosting the survival odds for the entire team. Plus, it cuts down response time, which can make all the difference. It’s a straightforward yet vital way to ensure you can enjoy the backcountry responsibly and safely.
Related Blog Posts
- Intro to Light Backcountry: Essential Gear for Exploring Beyond the Groomed Trails (Without the Pro Setup)
- How to Choose Skis for Backcountry Beginners (Safety First!) - 2025
- How to Choose Skis for Heli-Skiing or Cat-Skiing Adventures (Powder Focus)
- Should I Take an Avalanche Safety Course Before Going Backcountry Skiing?


Leave a comment
This site is protected by hCaptcha and the hCaptcha Privacy Policy and Terms of Service apply.