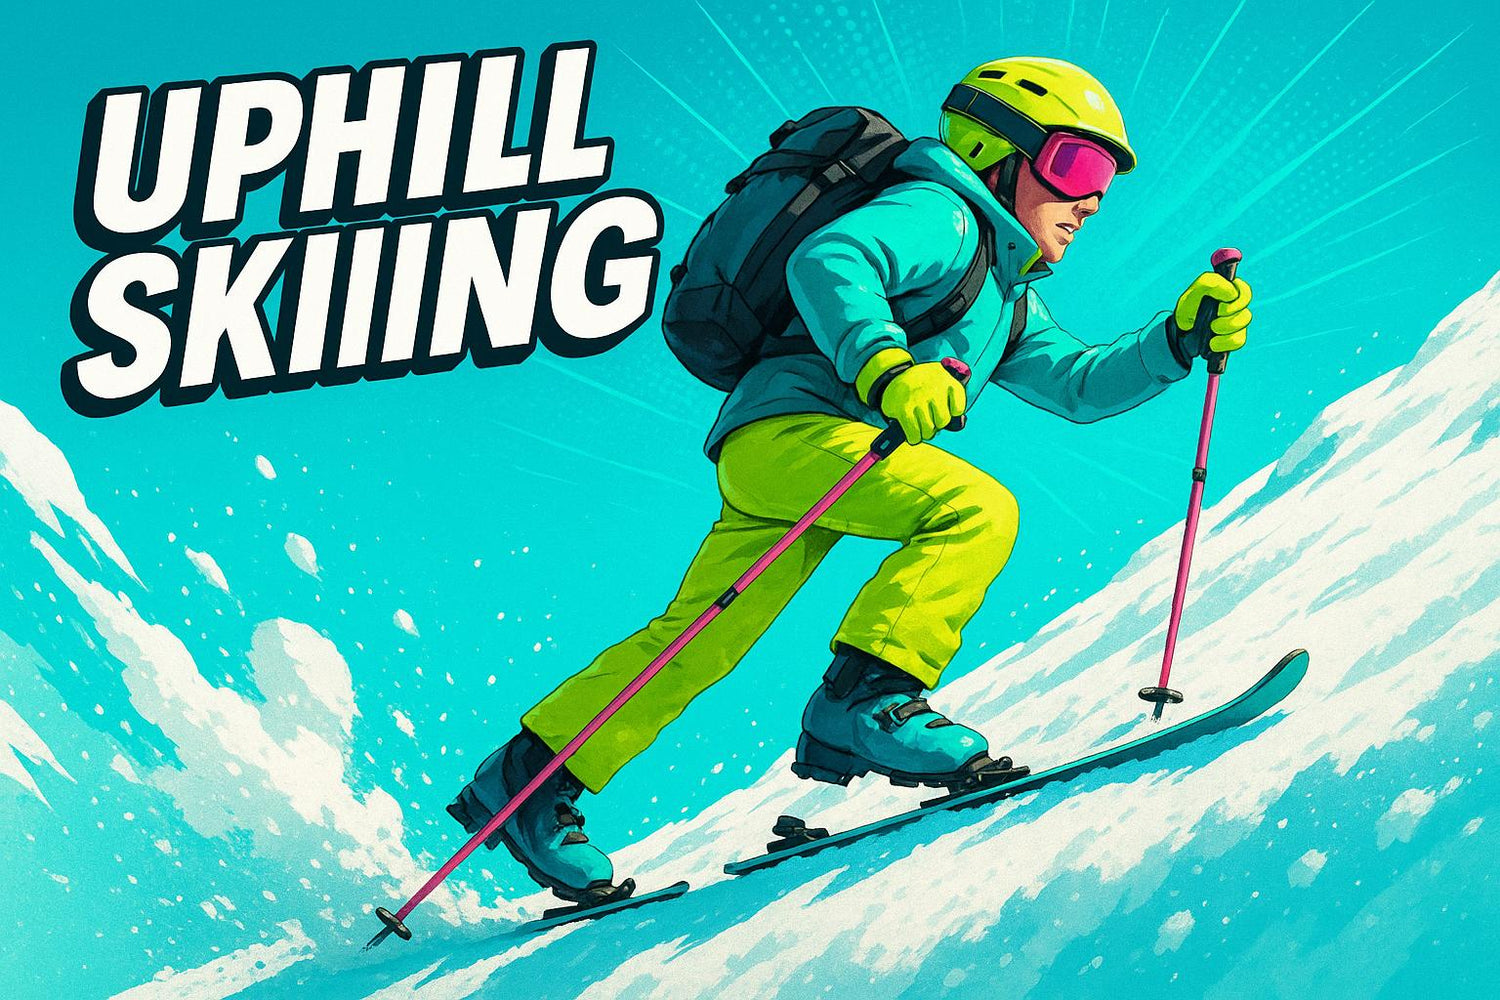
Uphill skiing (or skinning) combines fitness, adventure, and the thrill of skiing untouched snow. Instead of relying on ski lifts, you climb slopes using skis equipped with climbing skins for traction. Once at the top, you remove the skins and ski down. It's a workout and a way to escape crowded resorts.
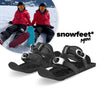
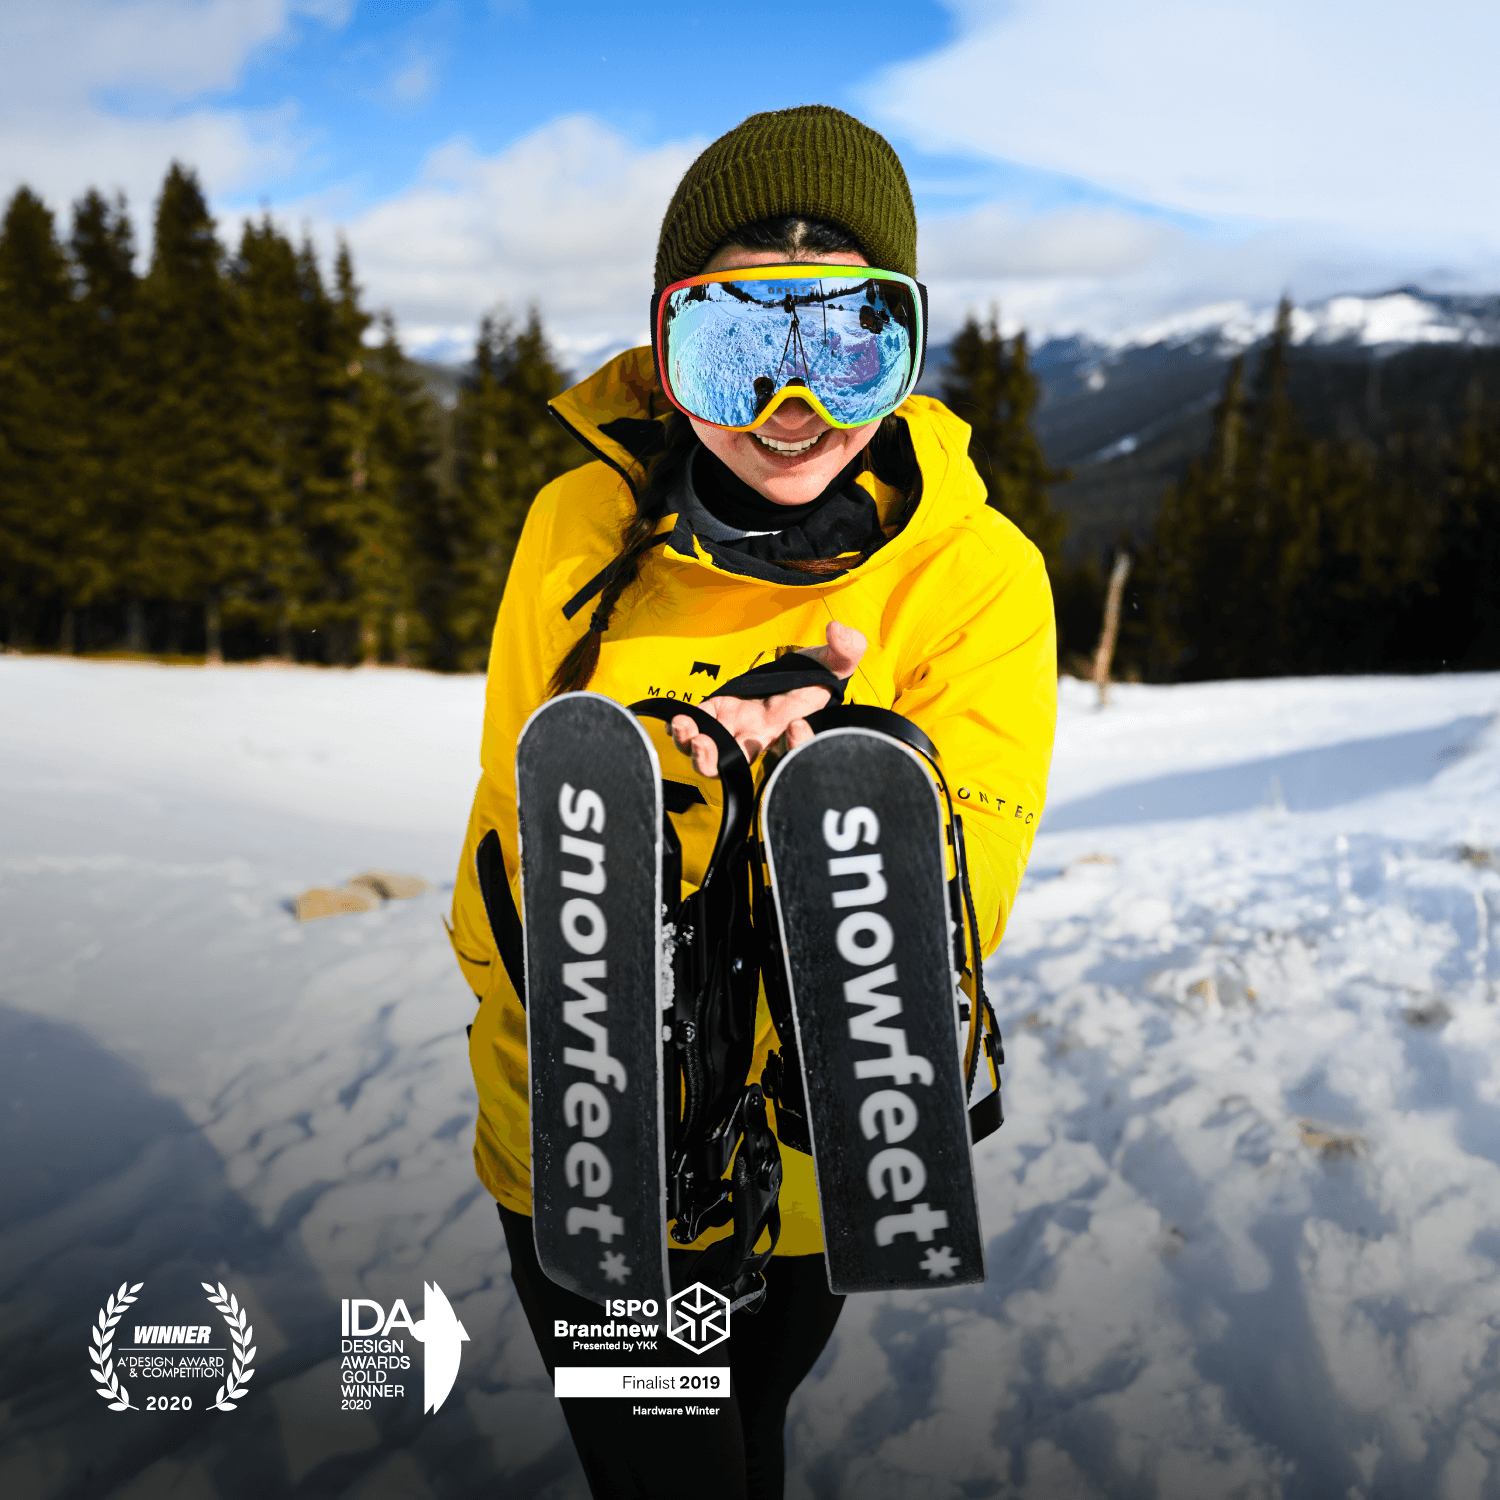
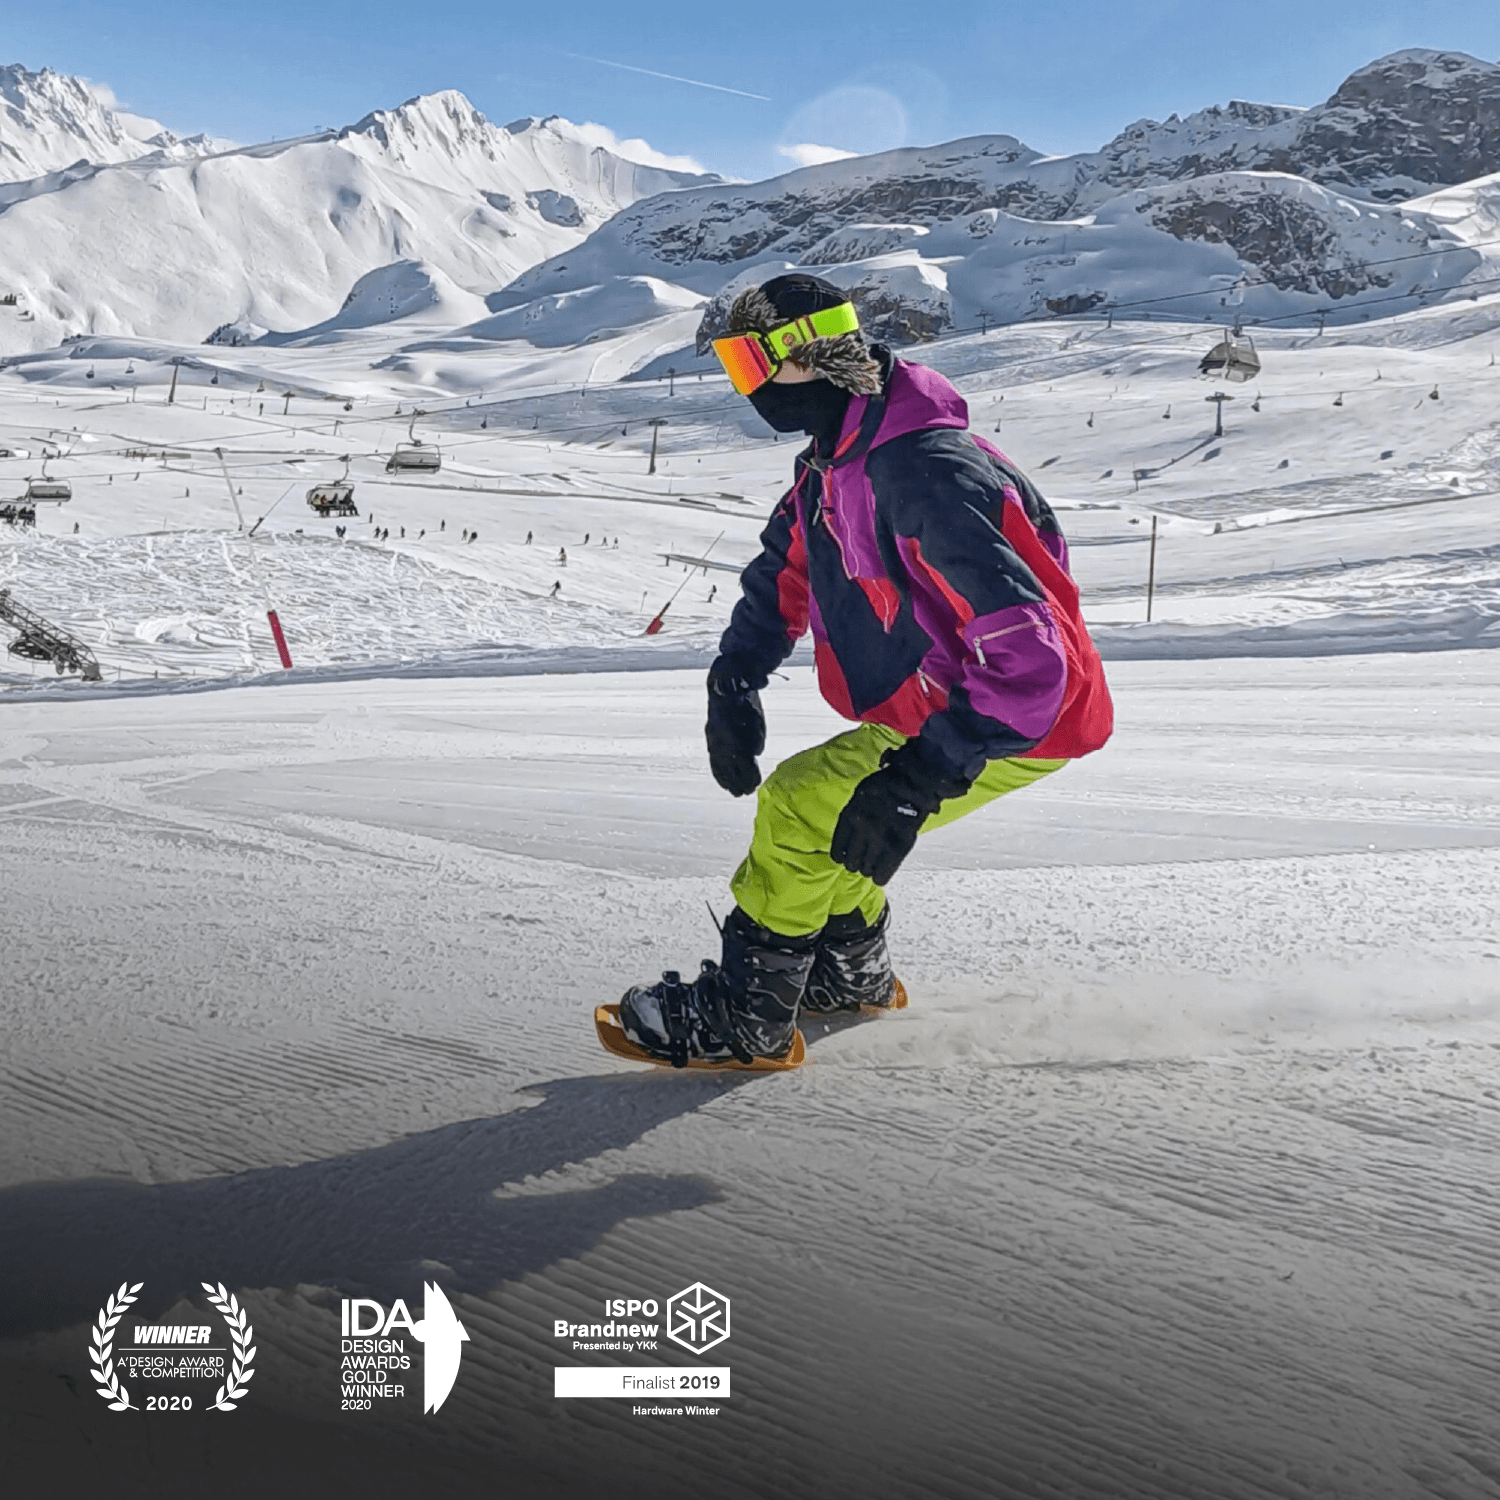
For beginners or budget-conscious skiers, Snowfeet* WALKSKI Backcountry Touring Skis offer a compact, affordable option compared to traditional setups. At just $490, these 39-inch skis work with most winter boots - no need for pricey specialized gear. They're lightweight, easy to carry, and handle well on various terrains, from powder to packed trails.
Key tips for getting started:
- Gear up: Basic safety equipment (beacon, probe, shovel) is non-negotiable.
- Learn techniques: Practice skinning uphill and turning on steeper slopes.
- Stay safe: Check avalanche forecasts, carry navigation tools, and plan your route carefully.
Whether you're new to backcountry skiing or looking for an easier way to explore, Snowfeet* makes it possible to enjoy the slopes without breaking the bank.
Skiing and Splitboarding: 8 Tips for Skinning Uphill
Gear You Need for Backcountry Skinning
Getting into backcountry adventures doesn’t have to break the bank or involve overly complicated gear. While traditional setups from brands like Rossignol, Atomic, and Head can start at a hefty $2,200, Snowfeet* offers a game-changing alternative. Their gear is designed to make backcountry skinning accessible to everyone - from curious first-timers to seasoned explorers looking for something lighter and simpler.
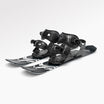
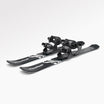
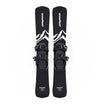
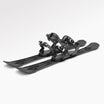
Snowfeet* WALKSKI Backcountry Touring Skis (100 cm)
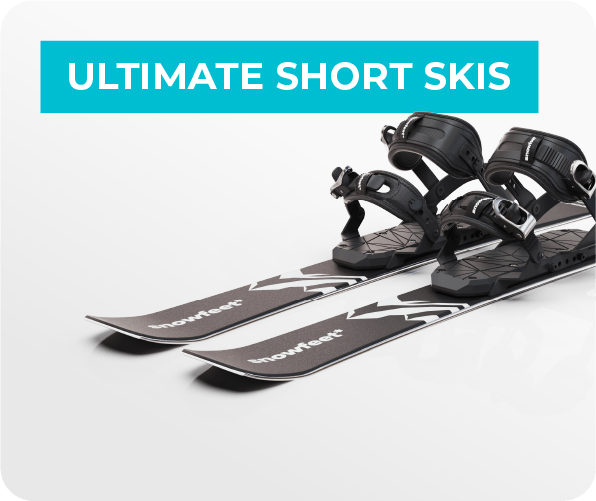
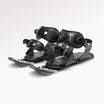
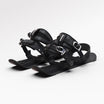
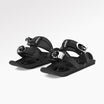
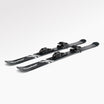
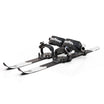
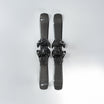
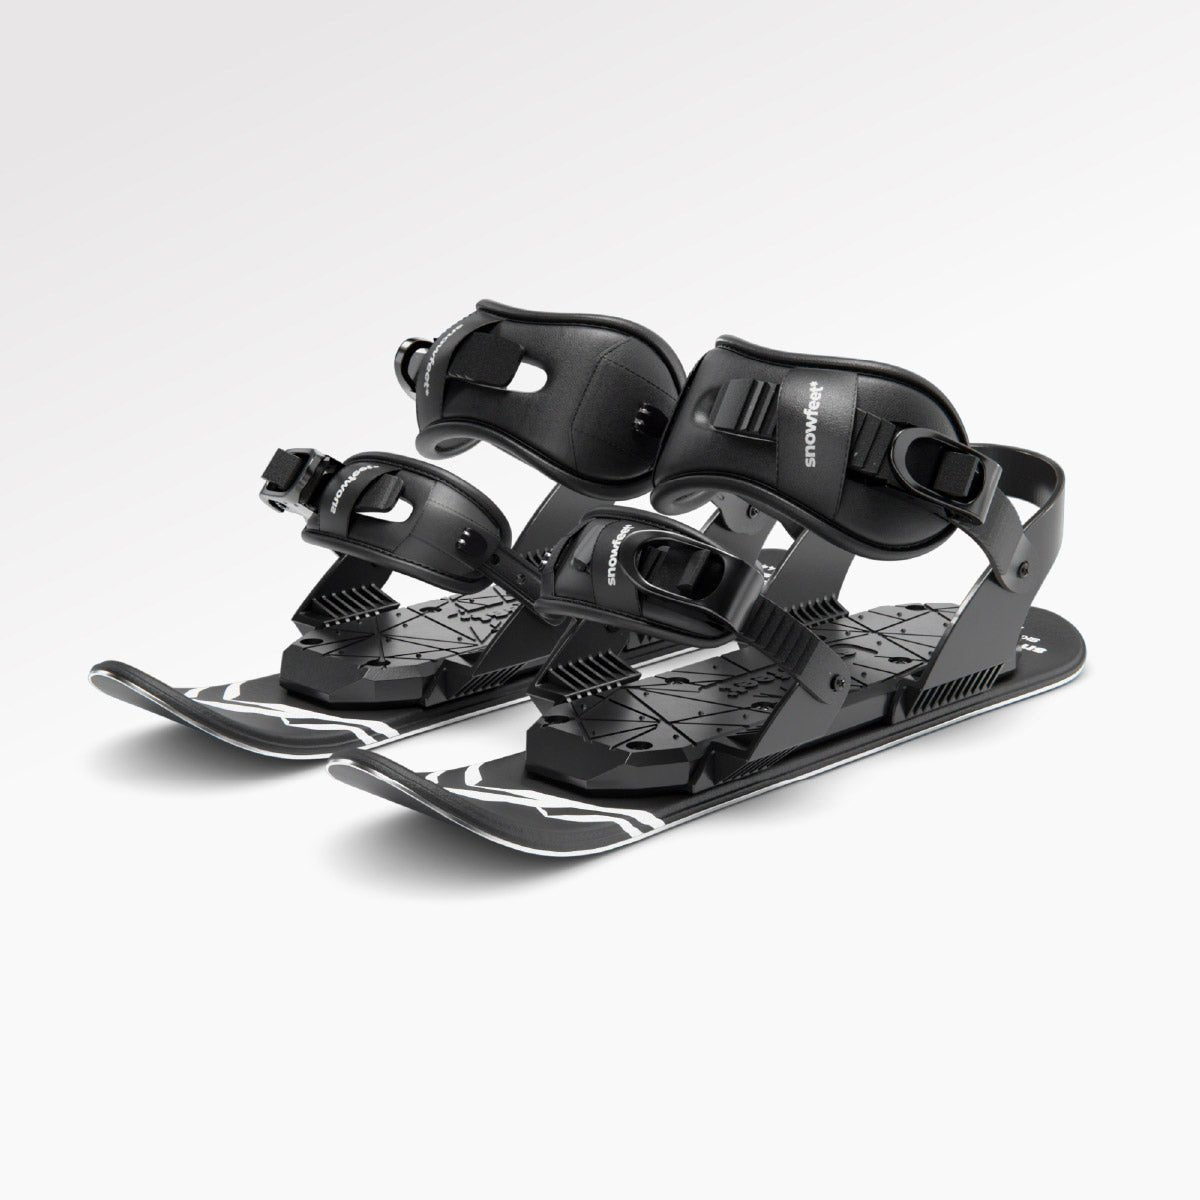
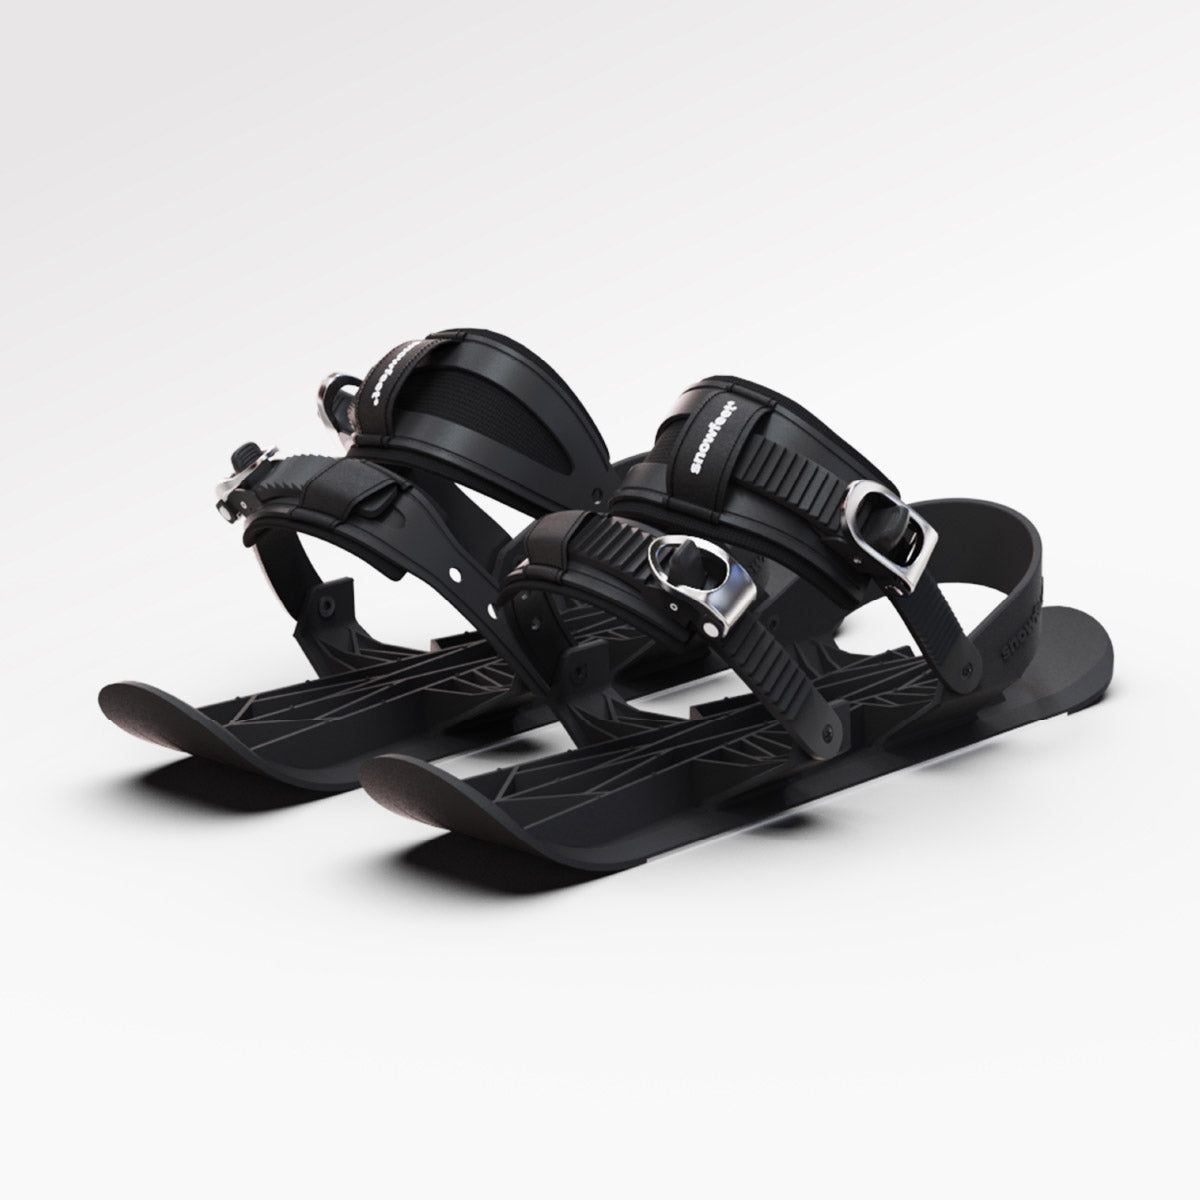
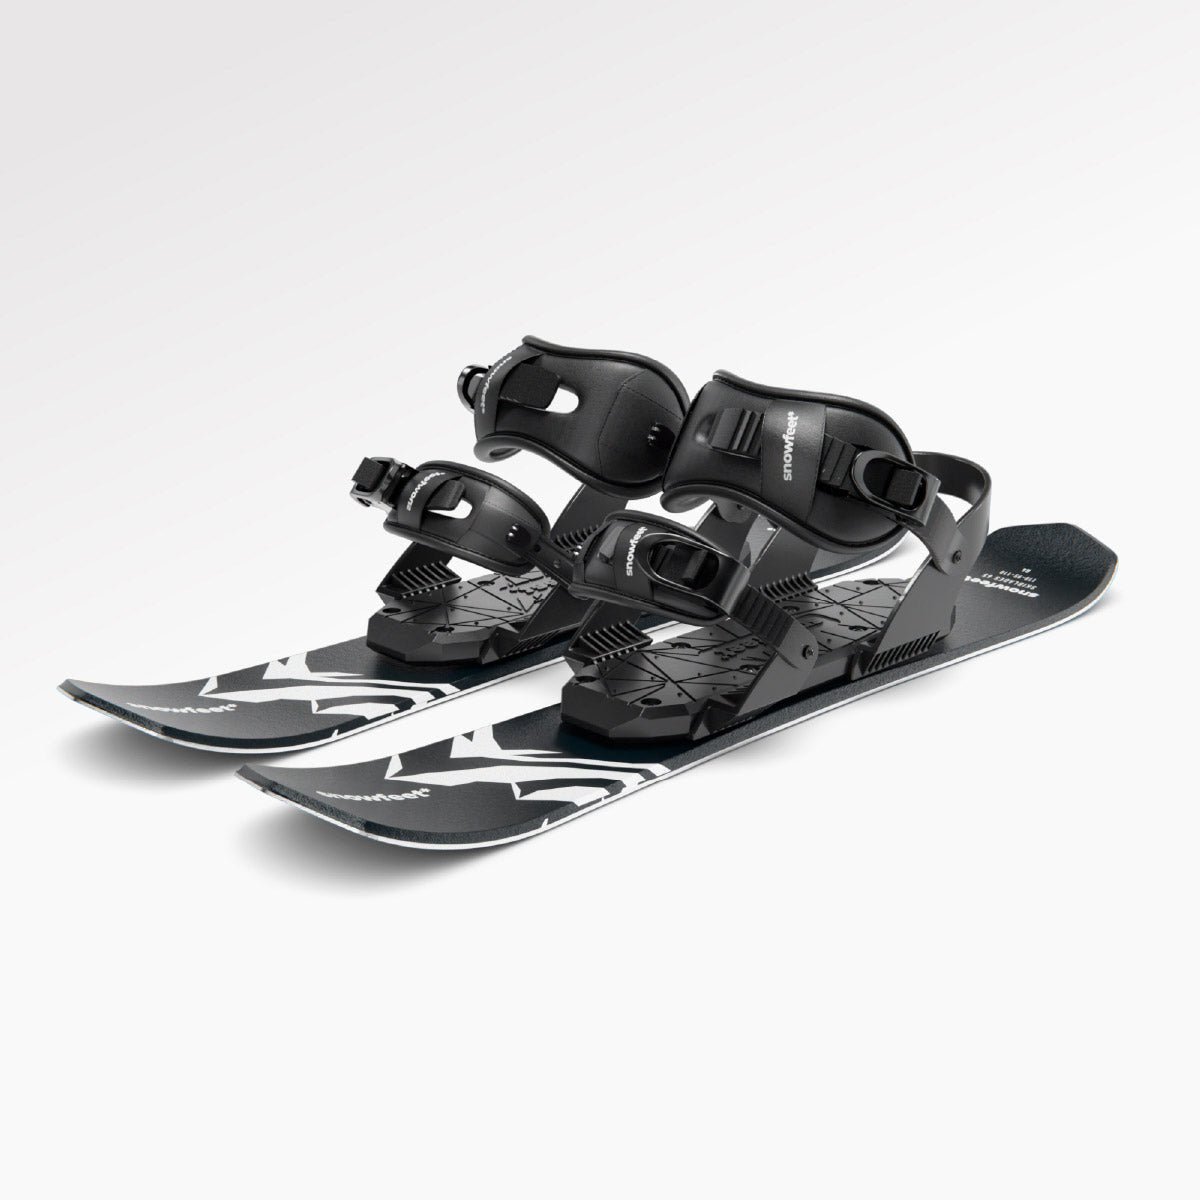
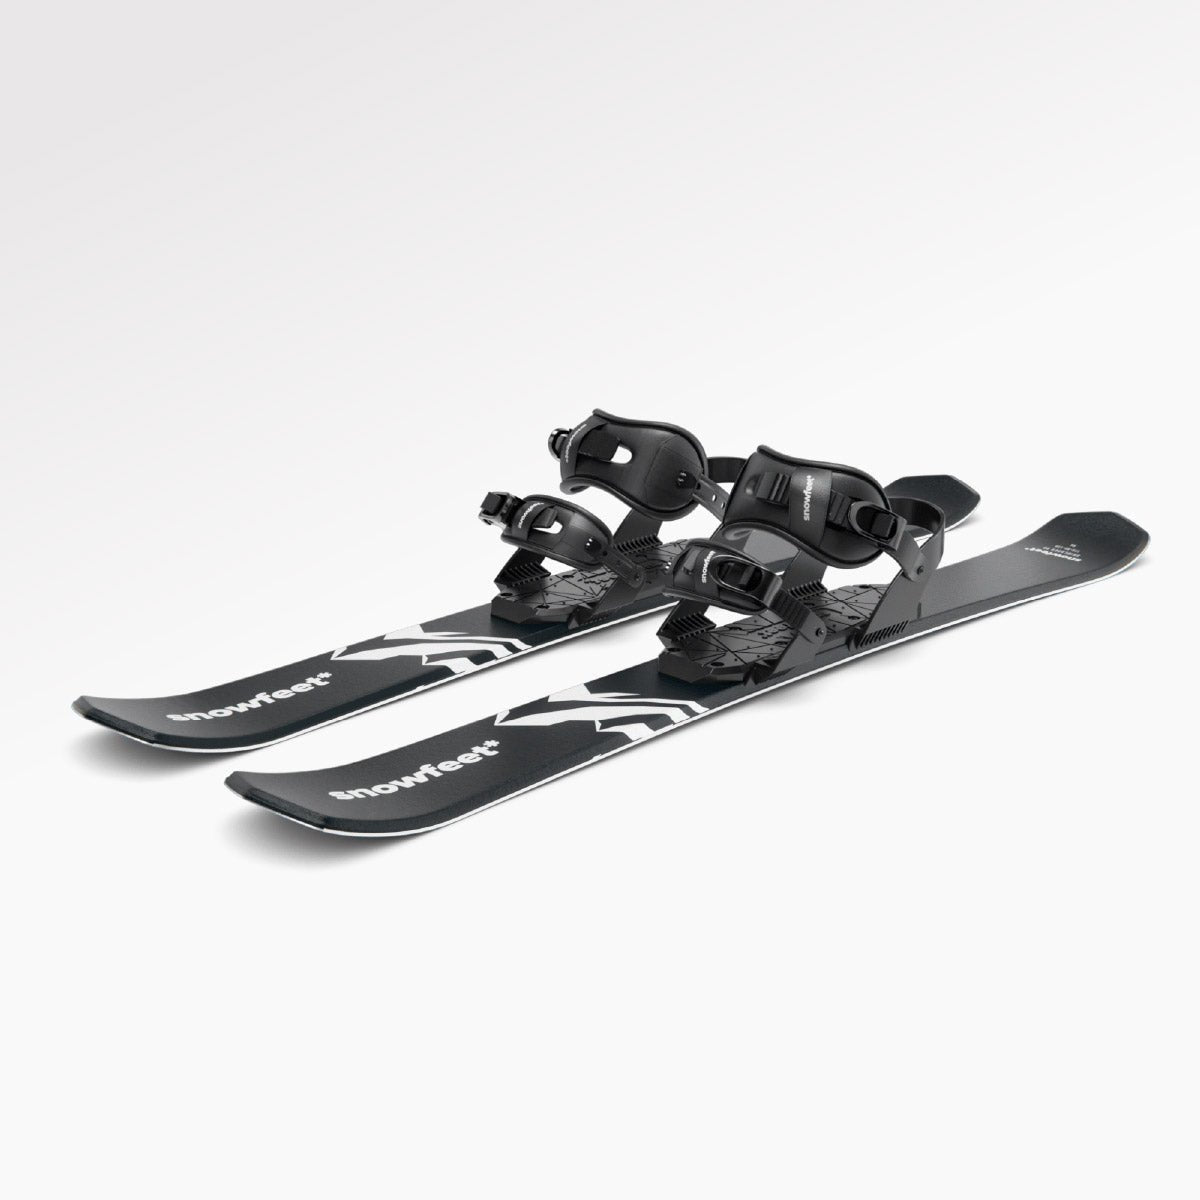
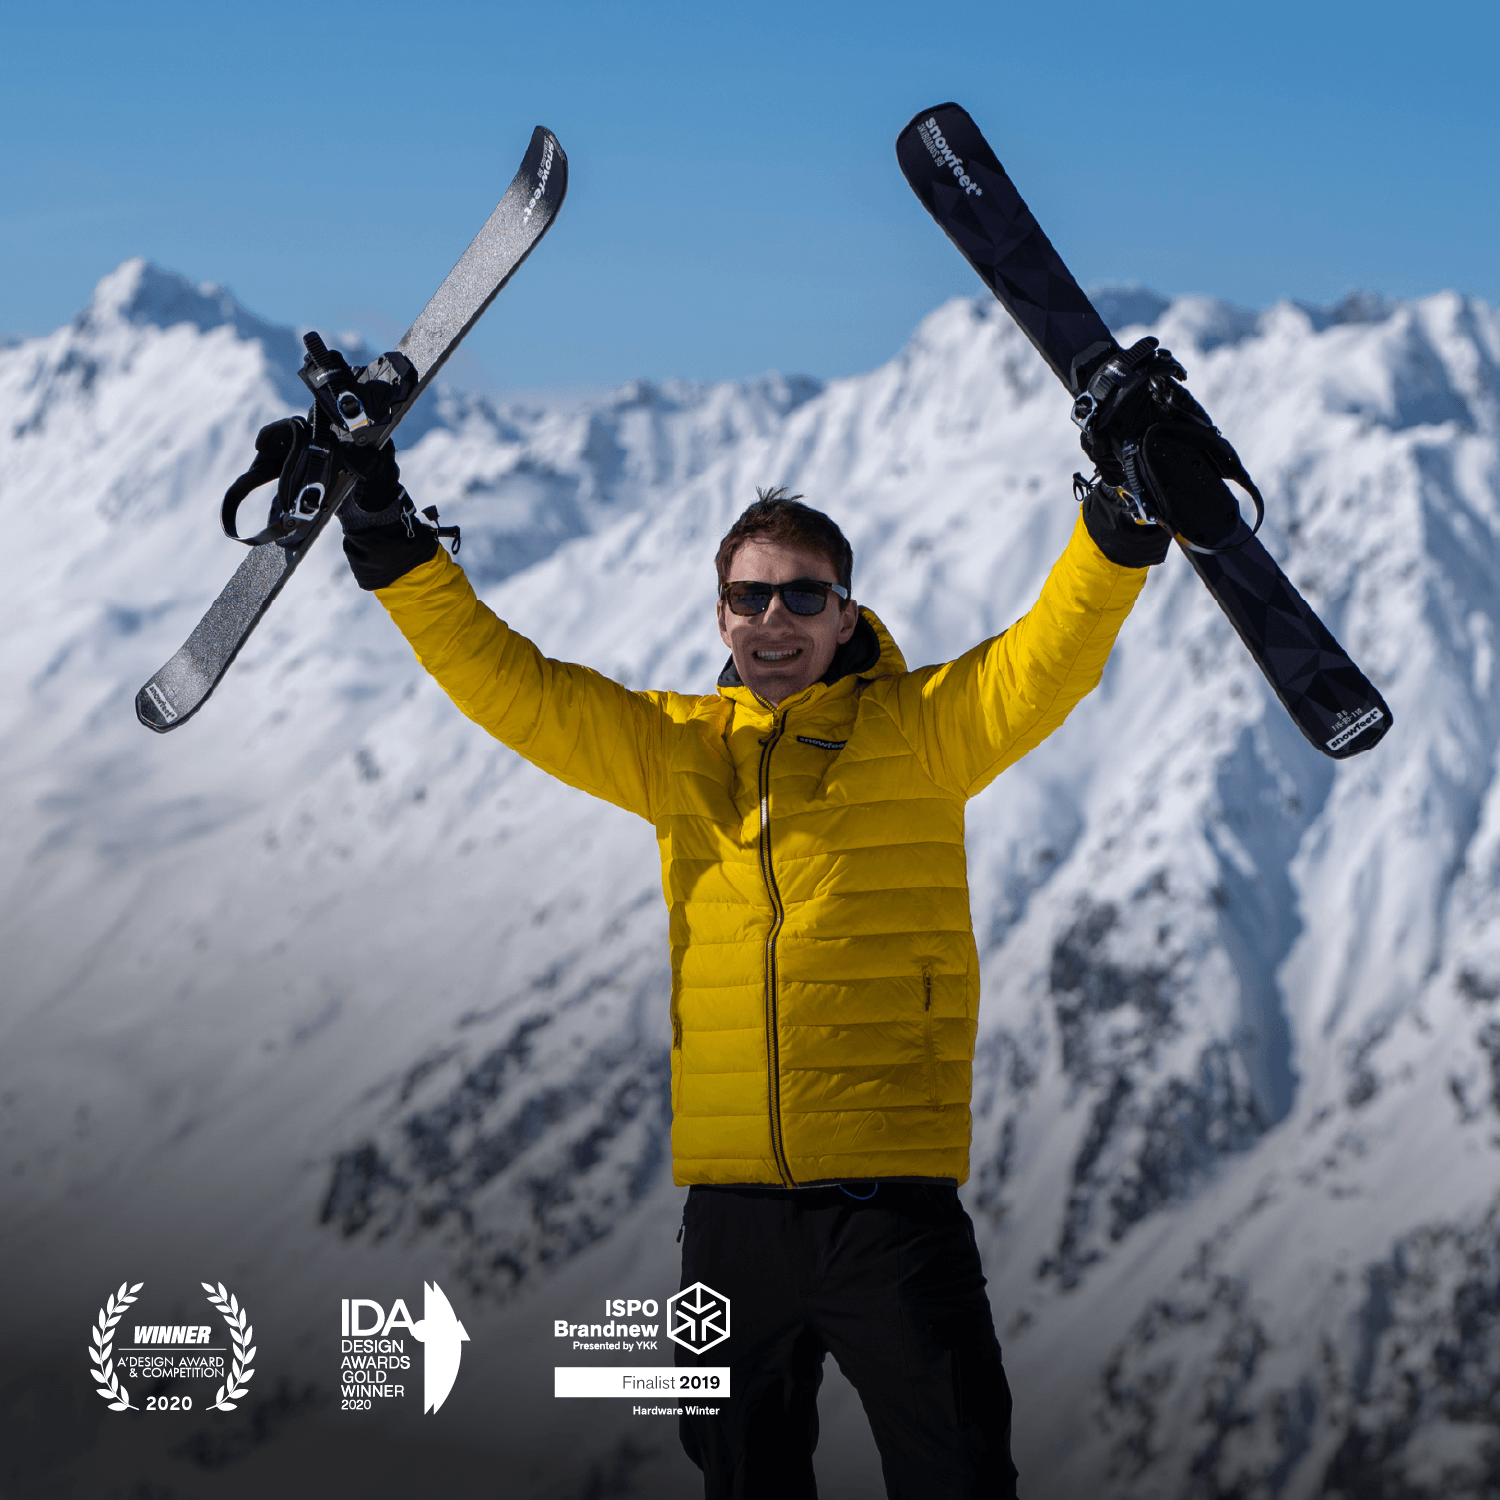
The WALKSKI Backcountry Touring Skis are a fresh take on backcountry equipment. At just 39 inches long and weighing only 2.79 lbs per ski (bindings included), these skis pack a serious punch in a small package.
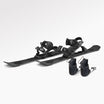
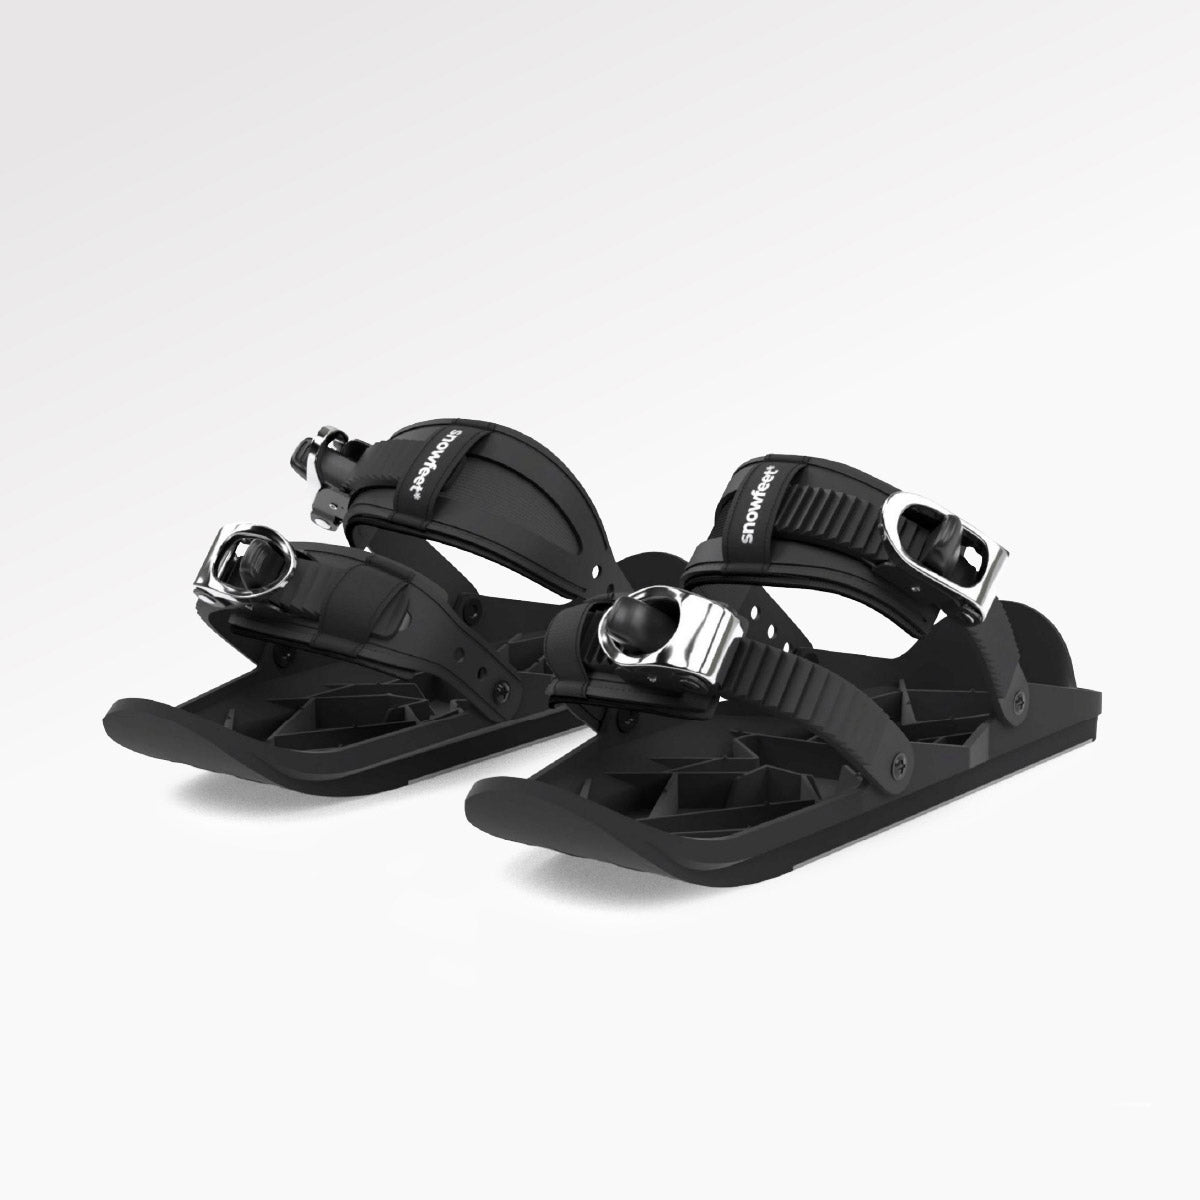
What really makes WALKSKI stand out is its universal compatibility. Thanks to a free-heel binding system, you can use them with almost any type of winter footwear - hiking boots, winter boots, ski boots, even snowboard boots. They fit sole lengths between 9.5 inches and 15 inches (24 cm to 38 cm), meaning you don’t need to shell out $400–600 on specialized touring boots.
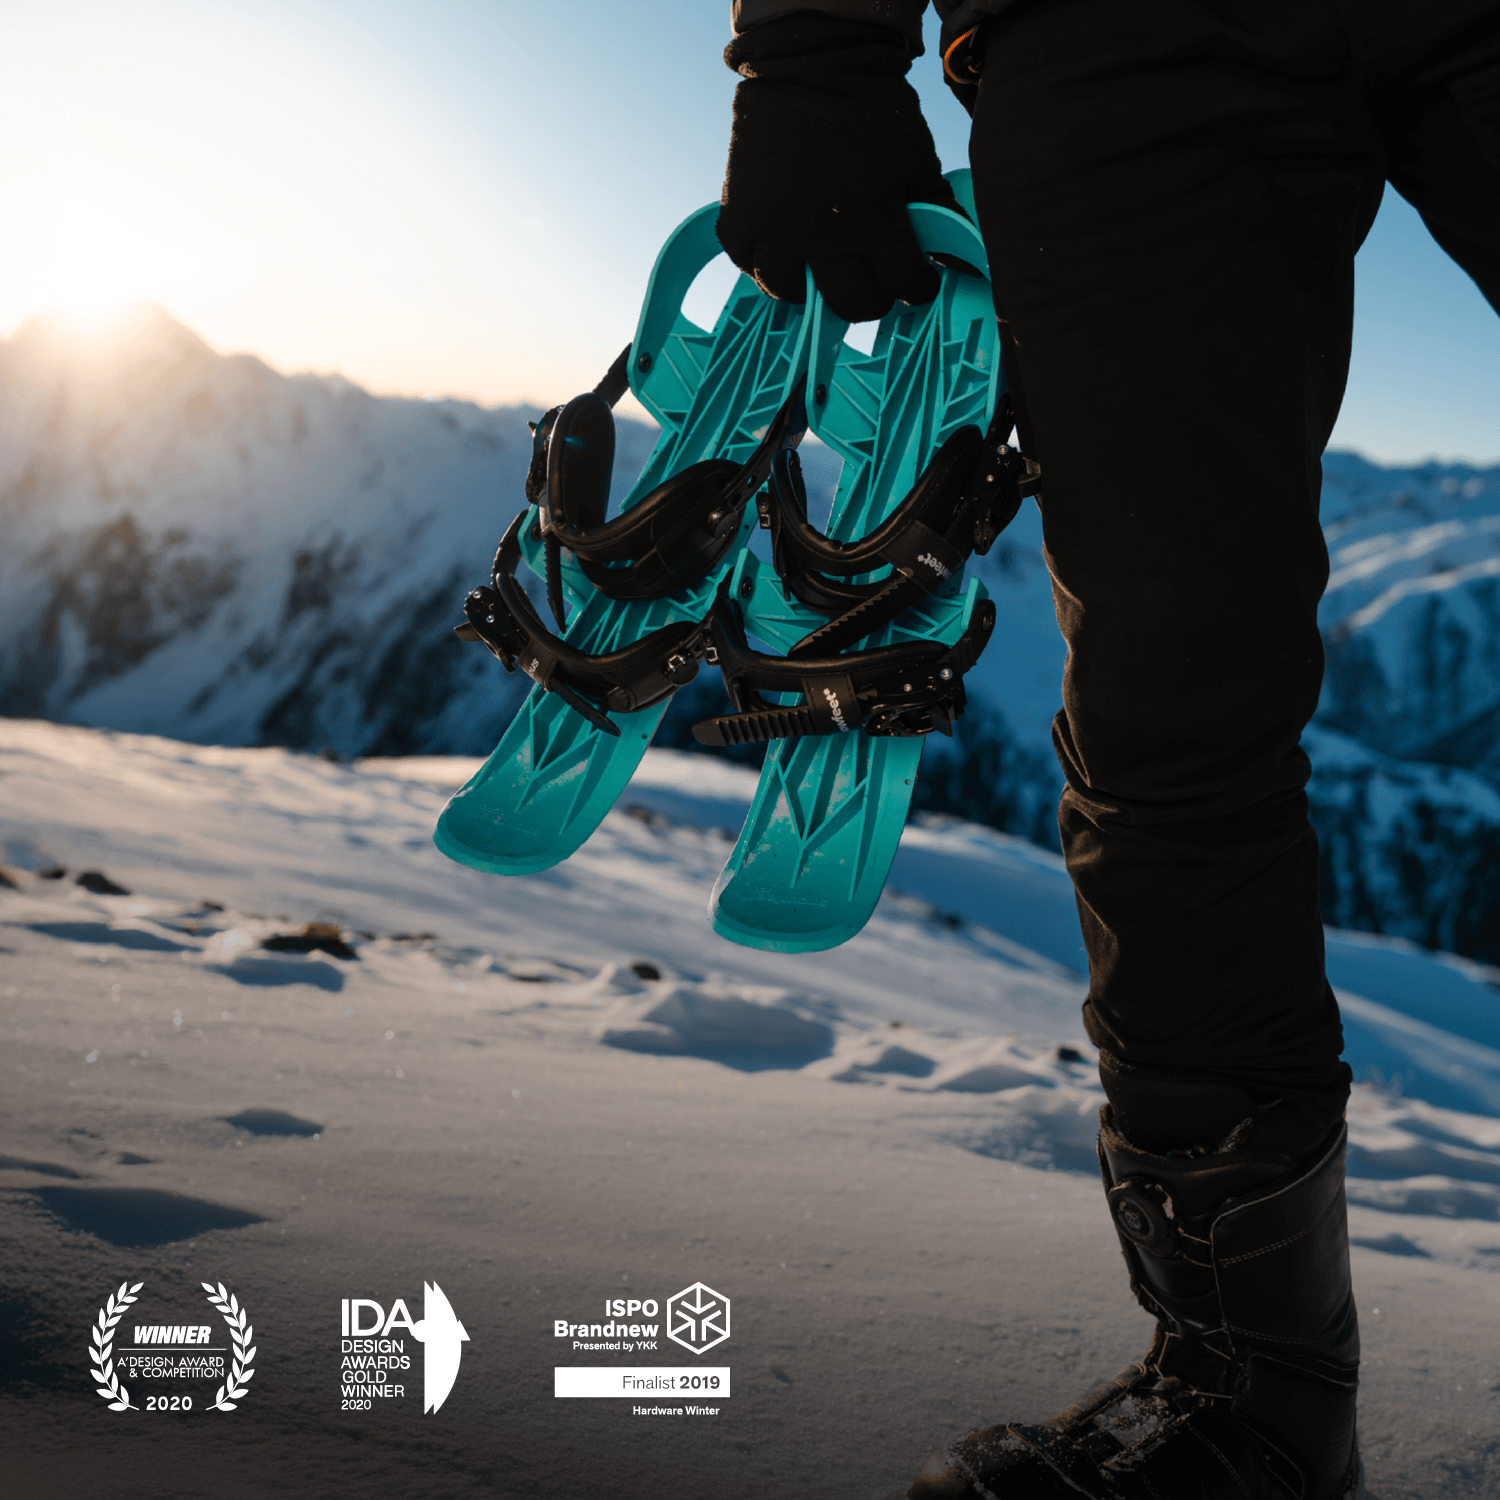
Transporting these skis is also a breeze. Unlike traditional touring skis that require roof racks or special carriers, WALKSKI fits into a large backpack or can easily strap onto your gear. This portability allows you to access remote trailheads and switch seamlessly to skis when it’s time to ascend.
Despite their compact size, these skis perform well across diverse snow conditions. Whether you’re tackling powder, packed trails, or groomed slopes, WALKSKI delivers. They’re versatile enough for both resort uphill routes and off-the-beaten-path backcountry adventures. Want to see how they stack up against standard touring skis? Check out the side-by-side comparison below.
Comparison: Snowfeet* vs. Standard Touring Skis
Here’s how WALKSKI measures up against traditional touring setups:
| Feature | Snowfeet* WALKSKI | Standard Touring Skis (Rossignol, Head, Atomic) |
|---|---|---|
| Length | 39 inches (99 cm) | 63–75 inches (160–190 cm) |
| Weight (per ski) | 2.79 lbs with binding | 3.3–4.4 lbs without binding |
| Boot Compatibility | Any winter boot, ski boot, or snowboard boot | Specialized touring boots only |
| Total Setup Cost | $399–$490 | $2,200+ average |
| Learning Curve | Short – easy to pick up | Longer – requires more practice |
| Portability | Fits in a backpack | Needs a roof rack or special carrier |
The shorter length and lighter weight of WALKSKI make uphill travel easier. They reduce the energy needed for steep climbs and make tight switchbacks far less intimidating.
Other Snowfeet* Models and Their Uses
Snowfeet* doesn’t stop with the WALKSKI - they’ve got options for all kinds of winter adventures:
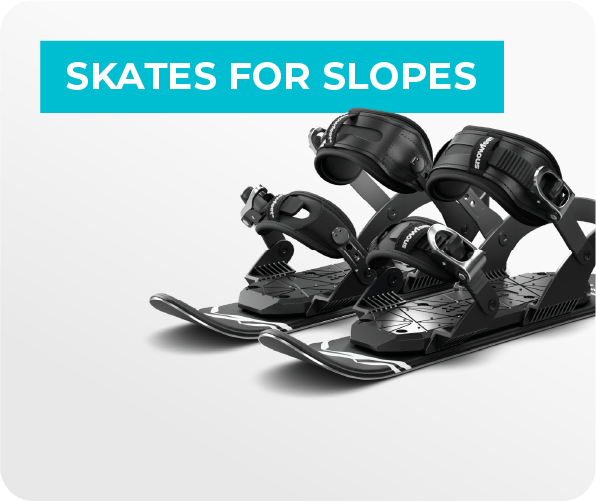
- Skiskates (44 cm): A super compact choice for shorter tours or resort uphill routes. These cost around $390 and feature a wood core that’s great for groomed trails and packed snow.
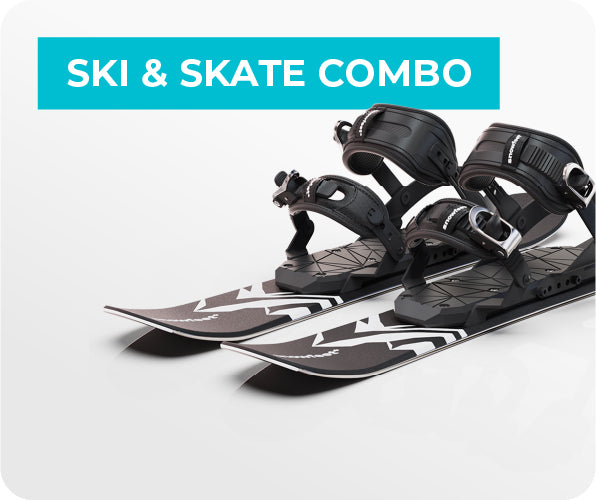
- Skiblades (65 cm): Starting at $450, these provide extra stability on mixed terrain while still being portable enough for backcountry trips.
- POWDER (99 cm): Designed for deep snow, this model (priced from $490) is perfect for powder hunters who want portability without sacrificing performance.
Each model sticks to Snowfeet*’s mission: making winter sports easy, portable, and fun. Whether you’re testing the waters with quick day trips or gearing up for multi-day backcountry treks, there’s a Snowfeet* option to fit your plans - and your wallet. Ready to hit the trails? Up next, let’s dive into some essential skinning techniques to make your adventures even smoother.
Basic Skinning Techniques
Getting the hang of skinning uphill with Snowfeet* WALKSKI is easier than you might think. Thanks to their shorter 39-inch length, these skis are forgiving and beginner-friendly. Let’s break down the basics to help you move uphill efficiently and safely. First, we’ll cover how to attach climbing skins - a key step before tackling uphill movement.
Attaching Climbing Skins to Snowfeet* WALKSKI
Properly attaching your climbing skins is essential for a smooth uphill experience, and WALKSKI’s compact design makes this process a breeze.
Start by centering the skin on the ski base, ensuring the metal edges are left exposed. These edges are crucial for grip on icy or hard-packed snow. Secure the tip of the skin as an anchor, then pull the tail tight and fasten it firmly with the provided strap or clip. Make sure the adhesive bonds well to the ski base, and press from tip to tail to smooth out any air bubbles that could reduce grip.
The shorter length of WALKSKI is a big plus here - it’s easy to reach both ends while standing, so you won’t need to constantly bend or kneel like you would with longer skis.
Basic Uphill Movement Techniques
Once your skins are attached, you’re ready to start moving uphill. The motion is similar to hiking with poles, but the skins’ grip and glide properties add a unique twist.
- Keep your skis in contact with the snow and use the skins’ glide: Push and pull your skis forward in a smooth sliding motion. This is the key to efficient skinning.
- Look ahead, not down: Keeping your gaze upward helps you avoid leaning too far forward, which can break the skin’s contact and cause you to slip backward.
- Adjust your stride length based on the slope: WALKSKI’s maneuverability makes it easy to adapt as the terrain changes.
For steeper inclines, lean back slightly into your heels so your weight presses down the middle of the ski. This improves skin contact and prevents slipping. Use your poles for balance and to assist with each step. The uphill motion involves sliding one ski forward while shifting your weight onto the uphill foot.
Once you’ve got the hang of uphill movement, it’s time to tackle turning techniques for steeper terrain.
Turning Techniques for Steeper Slopes
When the slope gets steeper or you need to change direction, WALKSKI’s compact size really shines, making tight maneuvers far easier.
Two key techniques to master are sideslipping and kick-turns:
- Sideslipping allows for controlled lateral movement when the uphill route becomes too challenging.
- Kick-turns let you change direction without losing elevation. To perform one, lift a ski, rotate it 180 degrees, and then align the other ski to match. WALKSKI’s lightweight design makes both moves less tiring and more precise.
To stay in control, focus on separating your upper and lower body movements. Let your legs rotate naturally while keeping your upper body stable. Use your poles strategically - reach downhill and plant them deliberately to guide your movement. A helpful tip is the “window drill,” where you keep your hands in front of you as if looking through an imaginary window. This can improve coordination during tight turns.
With these techniques, navigating steep and tricky terrain becomes much more manageable. WALKSKI’s maneuverability makes even challenging turns feel smoother and less intimidating.
sbb-itb-17ade95
Safety and Navigation in the Backcountry
Backcountry skiing is as thrilling as it is unpredictable. While Snowfeet* WALKSKI makes it easier to move around, no gear can replace proper safety preparation and awareness.
Safety Gear for Backcountry Skiing
When it comes to backcountry safety, the essentials boil down to three critical tools: beacon, probe, and shovel. These aren’t optional. They’re your lifeline in an avalanche situation, and having all three is non-negotiable.
- Avalanche beacons are your primary tool for locating someone buried in snow. For instance, the BCA Tracker 4 Avalanche Beacon is priced at $399.99, while the ARVA Neo BT Pro Beacon, with advanced features, is currently $314.96 (down from $449.95). Everyone in your group needs one - and just as importantly, everyone needs to know how to use it.
- Avalanche probes help pinpoint the exact location of a buried victim once the beacon leads you to the area. You can choose between durable aluminum probes or lighter carbon fiber models. Popular options include the BCA Stealth Avalanche Probe starting at $64.95 and the ARVA Rescue 300 Probe for $66.46 (previously $94.95).
- Avalanche shovels are the final piece of the rescue puzzle, allowing you to dig someone out efficiently. The BCA Dozer 2T Shovel, available for $79.95, is a solid choice for its digging power and reliability.
On top of this core gear, pack essentials like a first aid kit, extra food and water, additional layers, and reliable communication tools. Radios can keep your group connected in poor visibility, and satellite communicators like InReach or Spot are lifesavers when cell service is nonexistent.
The best safety strategy? Avoid avalanche terrain altogether. Communicate clearly, evaluate the snowpack thoroughly, and plan your route with care. With your safety gear ready, the next step is mastering navigation.
Navigation Tips for Backcountry Terrain
Navigating the backcountry combines cutting-edge tech with old-school skills. Snowfeet* WALKSKI’s compact design makes it easier to adjust your route when conditions shift suddenly due to weather or avalanche risks.
- Digital tools like onX Backcountry provide slope angle layers, avalanche forecasts, and SNOTEL data, all of which are invaluable for safe travel. Users rave about its functionality:
"As essential as any piece of gear I take into the backcountry. Nuff said, highly recommended."
– Zeppski, onX Backcountry Member
"While in the backcountry, you need a good mapping and information app. This one does it all, extremely well. You have all you need right at your fingertips."
– Connor31, onX Backcountry Member
Trailforks is another great app, offering avalanche risk layers and winter trail recordings from other users. When terrain changes require quick adjustments, Snowfeet* gear’s shorter, more agile design gives you a real edge over traditional long skis.
- Traditional navigation skills are just as important. Always carry USGS topographic maps and a compass as backups in case your GPS fails or batteries die. Regularly check your location and ensure you’re sticking to your planned route.
When planning, analyze slope angles carefully to avoid avalanche-prone areas. Avalanches are most likely on slopes steeper than 30°, especially between 35° and 50°. Tools like the BCA Slope Meter ($26.95) and BCA Polycarbonate Crystal Card ($12.95) can help you assess slope angles in the field. Share your route plan with someone who isn’t joining you, including details about your path, timing, and emergency contacts. With Snowfeet*’s nimble design, navigating around risky slopes becomes a bit easier, but constant vigilance is key.
Checking Snow and Weather Conditions
Snow stability is everything in the backcountry. Mountain weather changes fast, and so can the snowpack. Avalanche.org provides daily forecasts with hazard ratings and detailed snowpack info - always check these before heading out.
Take Jackson Hole, Wyoming, for example. Teton Pass sees nearly 250,000 backcountry runs every year, making it crucial to stay alert in avalanche-prone zones.
Field tools like the BCA Snow Study Kit ($129.95) can help you observe snow conditions firsthand. Look for red flags like recent avalanches, wind-loaded slopes, or sudden changes in the snow’s surface. But don’t rely solely on tools - your observations matter just as much.
Morning forecasts are helpful, but they’re not the whole story. Weather can shift dramatically by afternoon, bringing unexpected storms. Keep tabs on wind, temperature, and precipitation throughout the day. Snowfeet* gear’s lightweight, compact design lets you adapt quickly if conditions take a turn, making it easier to retreat safely compared to bulkier traditional skis. In unpredictable terrain, that flexibility can make all the difference.
Snowfeet* vs. Long Skis and Snowboards
Let’s dive into how Snowfeet* stack up against traditional long skis and snowboards. When gearing up for backcountry adventures, deciding between Snowfeet* and classic equipment from brands like Rossignol, Atomic, or Head can make a big difference in your experience. While traditional ski manufacturers have ruled the slopes for years, Snowfeet* bring an entirely new way to enjoy winter sports.
What Makes Snowfeet* Stand Out?
One of the first things you’ll notice is the size and weight difference. Snowfeet* WALKSKI measure just 39–40 inches (99–100 cm) compared to the much longer 65–75 inches (165–190 cm) of typical backcountry skis. This smaller size makes them easier to carry, simpler to control, and perfect for navigating narrow trails or climbing steep slopes.
"Walkski are much shorter and lighter than traditional backcountry skis, making them easier to carry and control. Their compact size allows you to navigate narrow trails and climb steep slopes with less effort, while still offering smooth downhill performance."
Another big plus? Snowfeet* work with your existing winter boots, unlike traditional setups that require specialized (and pricey) touring boots. This flexibility means you can skip the hassle of buying purpose-built gear.
For beginners, the learning curve is also much shorter. Snowfeet* are easier to maneuver, which makes them less intimidating for first-timers. Plus, their compact design takes up less room in your car or on the trail, making them great for multi-day trips.
Quick Comparison: Snowfeet* vs. Traditional Skis
| Feature | Snowfeet* WALKSKI | Traditional Touring Skis |
|---|---|---|
| Length | 39–40 inches (99–100 cm) | 65–75 inches (165–190 cm) |
| Weight | Lightweight | Heavier |
| Boot Compatibility | Works with winter, ski, or snowboard boots | Requires specialized touring boots |
| Average Setup Cost | $499 | $2,200 |
| Terrain Suitability | Powder, packed trails, groomed slopes | Ideal for deep powder and rugged terrain |
| Maneuverability | Highly agile, easy to stop | Less nimble in tight spaces |
| Learning Curve | Beginner-friendly | Requires advanced skills |
And let’s not ignore the cost. At $499, Snowfeet* are a fraction of the price of traditional setups, which can easily soar past $2,000. This affordability makes them an attractive option for anyone looking to try backcountry skiing without breaking the bank.
Why Snowfeet* Could Redefine Winter Sports
Traditional brands like Kästle and DPS have long promoted long skis as the ultimate choice for extreme terrain. These high-end skis are perfect for deep powder, steep slopes, and long treks, but they also create barriers for anyone who’s not an expert skier - or willing to spend thousands on gear.
Snowfeet* strip away those barriers. They offer a way to enjoy backcountry skiing without needing years of experience, specialized boots, or a massive budget. Their compact design blends elements of skiing, snowboarding, and even skating, creating a fresh take on winter sports.
While brands like Volkl cater to aggressive, expert-level skiers, Snowfeet* are all about making skiing accessible and fun. Even as newer brands like Coalition Snow embrace inclusivity, most still stick to the traditional long-ski model. Snowfeet* take a completely different approach: they’re portable, affordable, and designed for how most people want to enjoy the slopes.
The reality is, many backcountry enthusiasts aren’t tackling extreme terrain every weekend. They’re looking for something enjoyable and easy to pick up - something that doesn’t require a professional-level commitment. Snowfeet* fit that need perfectly, offering a practical and exciting way to experience winter sports.
Getting Started with Uphill Skiing and Snowfeet*
Key Takeaways
Uphill skiing doesn’t have to be complicated or expensive, especially with Snowfeet*. Take the WALKSKI Backcountry Touring Skis, for example. At $490, they’re a much more budget-friendly option compared to traditional setups that can cost over $2,200.
What sets Snowfeet* apart is their simplicity and flexibility. The WALKSKI features universal bindings that work with almost any winter, ski, or snowboard boots. This means you can skip the pricey, specialized gear required by brands like Rossignol or Atomic.
If you’re completely new to this, the Snowfeet* Basic is a great way to ease in, priced at just $150. Scott Dooiey, a 69-year-old from North Las Vegas, said they were "very easy to ski on" and described his experience as "a lot of fun." Ally from Indianapolis also loved them, calling them "awesome!" after trying them out at Keystone.
Another big plus? Their compact size. Snowfeet* products are easy to pack into any backpack, making it simple to reach spots that would be tricky with bulky equipment.
That said, don’t forget to prepare physically. Cardio workouts, leg strength exercises, and core stability training will help you feel more confident on the slopes. Start with gentle runs to get the hang of the basics.
With these features and tips, you’re all set to dive into backcountry skiing.
Start Your Backcountry Adventure with Snowfeet*
Ready to take your skiing to the next level? Snowfeet* opens up a world of possibilities. Trek skiing - combining hiking and skiing - lets you leave the crowded trails behind, climb uphill, and glide down untouched slopes. The Snowfeet* WALKSKI is lightweight and versatile, making it perfect for both uphill climbs and downhill fun.
The best part? Snowfeet* has a much shorter learning curve compared to traditional skis. Get comfortable with uphill techniques like the herringbone climb, and practice downhill control using the snowplow.
Safety is key when venturing off the beaten path. Take a basic avalanche safety course, never go alone (especially if you’re just starting out), and always check the weather before heading out. Stick to routes with gentle slopes, clear trails, and minimal avalanche risk.
Whether you’re a beginner or a seasoned skier, Snowfeet* makes backcountry skiing more accessible. With their affordability, portability, and ease of use, they’re a game-changer for anyone looking to explore the freedom of uphill skiing. Your next adventure starts here, and Snowfeet* makes it easier than ever to get going.
FAQs
What makes Snowfeet* WALKSKI a better choice than traditional touring skis for backcountry adventures?
Snowfeet* WALKSKI is shaking things up in the world of backcountry skiing, offering a fresh alternative to traditional touring skis. Thanks to its lightweight and compact design, it’s much easier to carry and handle. This makes it a perfect choice for beginners or anyone who wants a more portable option. Plus, its shorter length gives you better maneuverability and control, which comes in handy when you’re tackling tight trails, steep slopes, or tricky terrain.
What sets Snowfeet* WALKSKI apart from big-name brands like Rossignol or Atomic is its built-in sealskin. This feature provides excellent traction, making uphill climbs less of a workout and more of a breeze. Whether you’re a first-timer exploring uphill skiing or just looking for a simpler, no-fuss option, Snowfeet* combines ease of use with versatility to make backcountry adventures more enjoyable for everyone.
What safety tips should beginners follow when using Snowfeet* gear for uphill skiing in the backcountry?
When heading into the backcountry with your Snowfeet* gear, safety should always come first - especially if you're just starting out. Begin with the basics: wear a helmet and double-check that all your gear is in tip-top shape. Stick to slopes that match your skill level and keep your speed manageable to stay in control. To make sure you're visible, opt for bright clothing or reflective gear - it’s a simple way to stand out. And here’s a pro tip: never venture out alone. Team up with experienced friends who can guide you and lend a hand if things go sideways. Thanks to Snowfeet’s lightweight and easy-to-carry design, you’ll have a safer, more enjoyable time exploring the great outdoors.
What are the best techniques for moving uphill and turning on steep slopes with Snowfeet* WALKSKI?
To climb uphill using Snowfeet* WALKSKI, start with a forward-leaning stance and keep your knees slightly bent. This position helps you stay steady and adjust to uneven terrain. Take smooth, steady strides and let your poles assist with balance and give you an extra push.
For steeper slopes, try kick turns to change direction more easily. Keep your weight centered over the skis for better control, and use the edges deliberately to make precise turns. With a bit of practice, the lightweight, portable design of Snowfeet* WALKSKI will make uphill travel and sharp turns feel much easier - and even fun!
Related Blog Posts
- Skinbased Skis Explained: OAC, Altai Hok & Trekking Skis Guide
- Intro to Light Backcountry: Essential Gear for Exploring Beyond the Groomed Trails (Without the Pro Setup)
- How to Choose Skis for Backcountry Beginners (Safety First!) - 2025
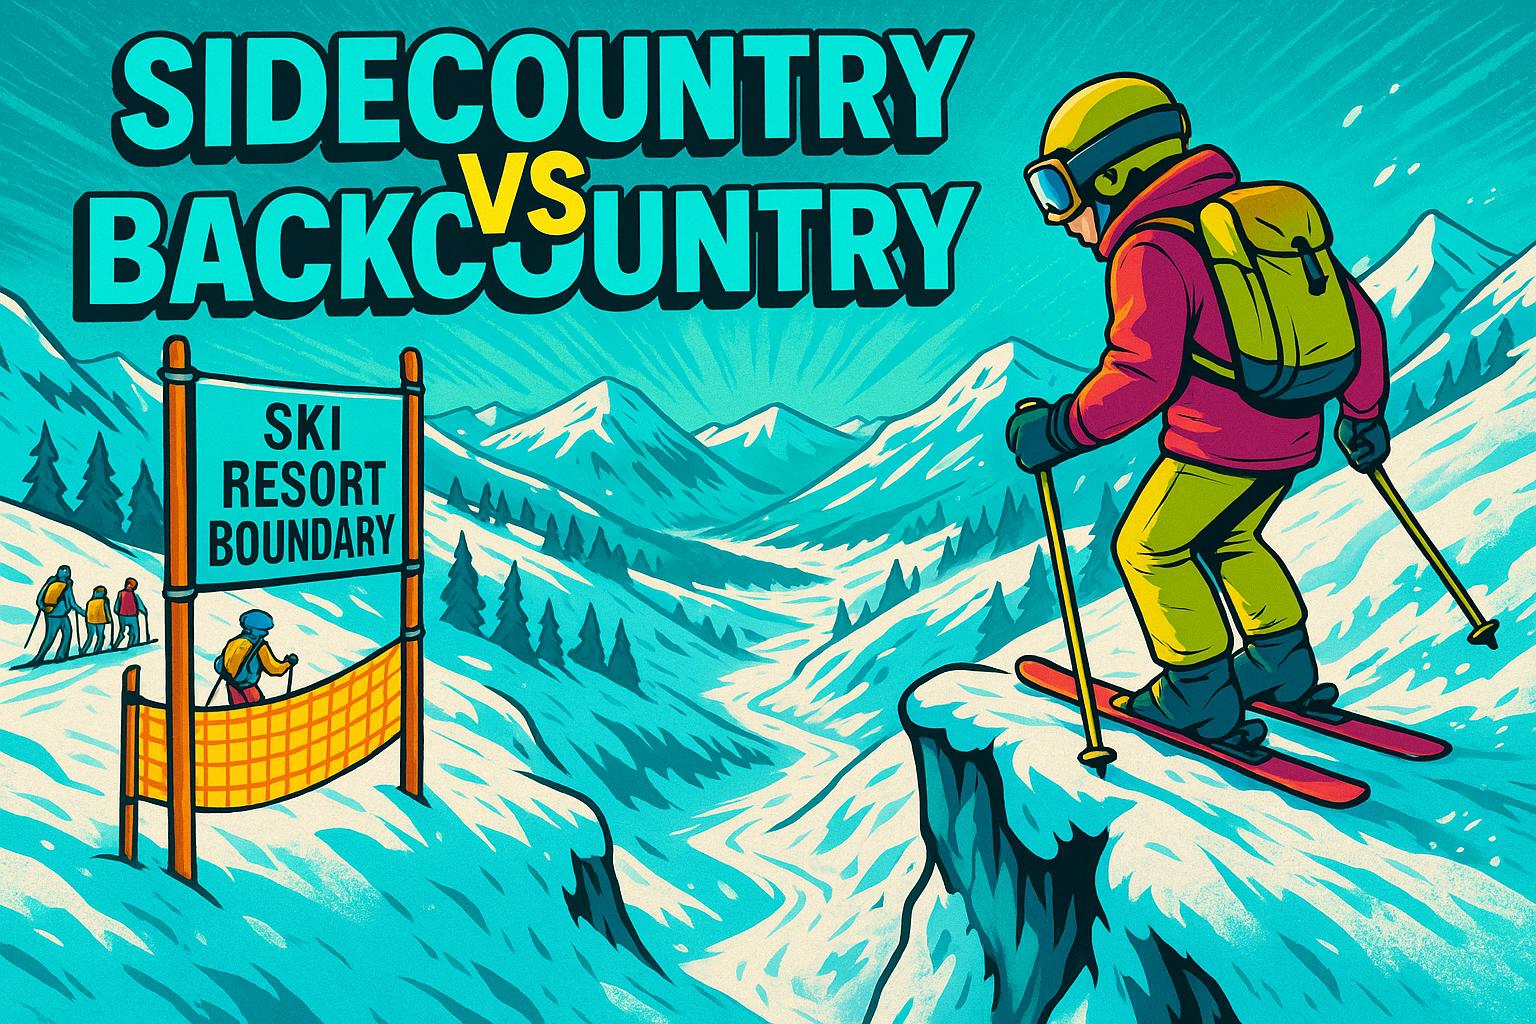
- The Difference Between Sidecountry and Backcountry Skiing (Access & Risk)


Leave a comment
This site is protected by hCaptcha and the hCaptcha Privacy Policy and Terms of Service apply.