


Stopping on roller skates can feel tricky, but it’s a must-have skill to skate safely and confidently. Whether you're cruising down a slope or navigating through a crowd, knowing how to slow down without falling is all about balance, posture, and the right techniques.
Here’s the quick version:
- Stay low and balanced: Bend your knees and keep your weight centered to stay stable.
- Master weight shifts: Practice shifting your weight smoothly between skates to prepare for braking.
- Start with beginner-friendly stops: Techniques like the Toe Stop Drag, T-Stop, and Plough Stop are great for learning.
- Practice on soft surfaces first: Grass or carpet can help you build confidence without worrying about speed.
Pro Tip: Gear matters! Use protective pads, adjust your skates for control, and practice regularly to build muscle memory. Ready to dive in? Let’s break it down step by step.
6 BEST Ways To STOP on ROLLER SKATES for Beginners (with & without brakes)
Body Position Basics for Better Balance
Getting your body position right is the cornerstone of staying balanced and in control on roller skates. Bad posture is often to blame for those shaky moments that can quickly lead to falls - especially when you're trying to slow down.
Stay Low and Stable
The trick to solid balance? Bend your knees and keep low. When your knees are slightly bent, your center of gravity is lower, making it easier to stay stable. Plus, bent knees act like shock absorbers, helping you handle bumps or sudden movements without toppling over.
Keep your weight centered over your skates to stay in control and react quickly to changes.
"Proper roller skating posture & pumping motion will activate your core muscles. The core is a pivot point for pumping, turning and balancing." - Lisa J. Skates, Roller Skating Expert
Your arms are another key to balance - extend them out to your sides like stabilizers. If you start to tip, your arms naturally help you regain steadiness. The trick is to stay relaxed. Tense muscles make you stiff and less able to adjust to changes in speed or terrain.
Skating uses a ton of muscles - your core, glutes, hamstrings, quads, and calves all get a workout. But here's the thing: you only engage those muscles properly when your posture is spot on. Not only does this help with fitness, but it’s also the secret to staying stable and in control.
Mastering Weight Shifts for Control
Shifting your weight is a game-changer when it comes to controlling your speed and preparing to stop. Smoothly moving your weight from one foot to the other keeps you balanced and sets you up for effective braking.
For example, when using the Toe Stop Drag, you’ll need to shift about 80% of your weight onto your front skate while using the toe stop on your back skate to slow down. This weight distribution helps you avoid those dreaded forward spills.
"Shifting your weight is essential for maintaining balance and control while braking on roller skates." - Asha, Skatefresh Instructor
The T-Stop works the same way: most of your weight stays on the front skate while the back skate drags behind at a right angle. It’s not just about slowing down - it’s about staying in control while you do it.
To build confidence, practice weight shifts during regular skating. Start by lifting one foot slightly off the ground for a few seconds, then switch to the other foot. This simple drill helps you develop the muscle memory needed for braking. Once you’re comfortable, try practicing on soft surfaces to refine your technique.
Practice on Safe Surfaces First
Before you tackle the pavement or a rink, start on soft surfaces like grass or carpet. These surfaces naturally slow you down, so you can focus on balance and weight shifts without worrying about speed.
"Practicing weight shifts on soft surfaces can significantly reduce the risk of falls for beginner skaters." - Skatefresh
Carpet is perfect for indoor practice. Use it to work on your stance, lift one foot at a time, and get used to the feel of your skates. Once you’re steady and confident, move to smoother, harder surfaces where stopping techniques become more important.
Balance drills, like one-foot stands and glides, are also great for building your skills. The more comfortable you get with shifting your weight and staying in that low, stable position, the more confident you’ll feel when it’s time to tackle braking techniques.
Simple Braking Methods for Beginners
Once you've got your body positioning down, it's time to dive into three beginner-friendly braking methods. These techniques build on solid fundamentals and help you gain better control while stopping.
The Toe Stop Drag Method
The toe stop drag is hands-down the simplest way to stop on roller skates, especially if you're just getting started. It’s your go-to when you need to slow down quickly without losing balance.
"The Toe Stop Drag is the easiest way to stop on roller skates. This method involves balancing more of your weight on one leg to get the 'drag' light enough to drag but heavy enough to slow you down." - Skatefresh
Here’s how to do it: Start by shifting about 80% of your weight onto your front skate. This weight distribution is key - it keeps you balanced while creating the right amount of friction. Bend your front knee to lower your center of gravity, which makes you more stable.
Now for the stop: let the toe stop of your back skate drag lightly behind your front skate. Keep your shoulders stacked over your hips to avoid tipping forward or backward. If you feel the toe stop bouncing, adjust by leaning a bit more weight onto your front skate and checking your posture.
This method is especially handy on outdoor slopes. Just make sure to practice on flat, safe surfaces first before trying it on hills or in crowded areas. Start slow and build confidence as you get the hang of it.
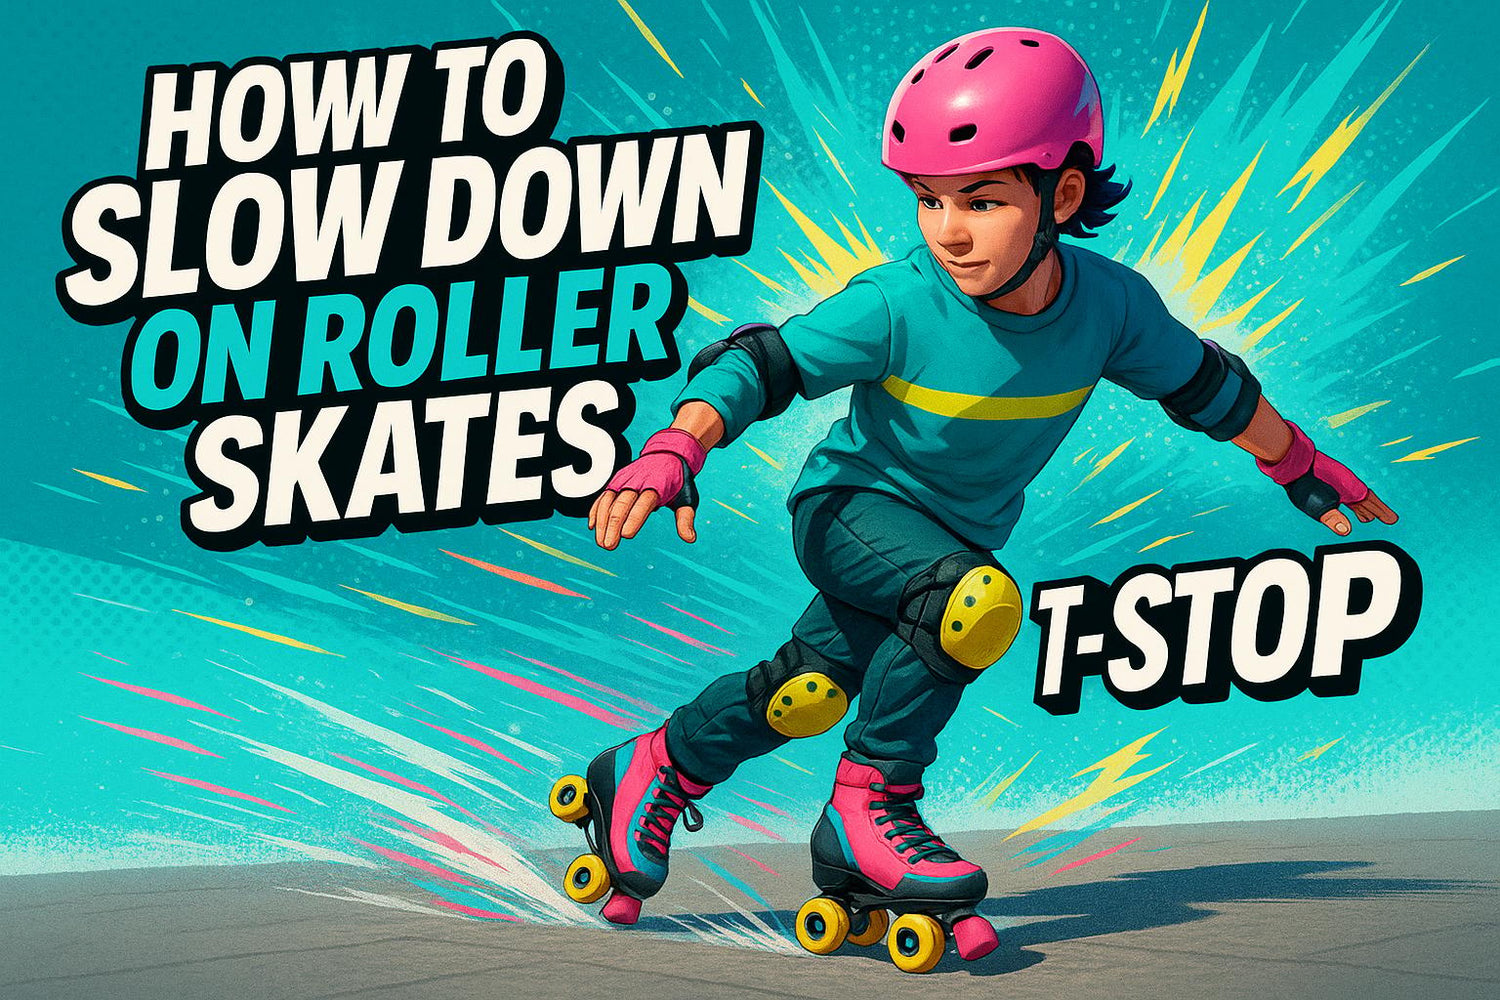
The T-Stop Technique
The T-stop is another beginner-friendly way to stop, giving you solid control over how quickly you slow down. The idea is simple: drag one skate behind you at a right angle to your front skate, forming the shape of a "T."
Most of your weight stays on your front skate while your back skate creates friction to slow you down. The trick is to keep your movements smooth. Maintain a low stance and distribute your weight evenly for better control. Your back skate should glide, not jerk, across the surface.
When learning the T-stop, protective gear is a must. A helmet, knee pads, and wrist guards not only keep you safe but also boost your confidence - which, funny enough, makes falling less likely. If you're nervous, try practicing on grass or carpet before moving to harder surfaces.
The Plough Stop
The plough stop is perfect for beginners looking for a more controlled way to come to a halt. This technique relies on resistance created by your stance and foot positioning.
Start by placing your feet wider than hip-width apart with your knees bent and toes pointing forward. This wide stance is crucial for balance. To stop, push outward from your heels, creating resistance that slows you down.
A common mistake here is keeping your feet too close together. You need that wide base to generate enough friction. Without it, you’ll struggle to push effectively.
The plough stop is less about slamming to a halt and more about gradual, controlled slowing. Think of it as easing into a stop rather than hitting the brakes. This approach not only makes the technique safer but also helps you refine your balance and control.
How to Slow Down Gradually Without Hard Braking
Once you've got the basics of braking down, you can take things up a notch by learning how to decelerate gradually. This approach keeps you in control and avoids the jolts of sudden stops. It’s all about smooth adjustments that ease your momentum.
Weight Shifting and Edge Control
Gradual slowing isn’t about slamming on the brakes - it’s more about finesse. Think of it like skiing: small, controlled weight shifts help you decelerate steadily. As you skate, gently shift your weight from side to side, using your body and the edges of your skates to create resistance. Slightly angling your skates lets the edges grip the ground, adding just enough friction to slow you down. This technique is especially handy when navigating turns or easing down a slope.
Start on flat, smooth surfaces to get the hang of it. This way, you can focus on those subtle weight shifts without worrying about obstacles. Over time, you’ll find that these micro-adjustments become second nature. And don’t forget - small tweaks to your skate setup can also make a big difference.
Equipment Adjustments for New Skaters
Your gear plays a big role in how well you can control your speed. Tightening your axle nuts, for example, increases friction, which naturally slows you down. As RollBack World puts it:
"If you tighten the axle nuts even further... you will be forcing the wheel closer to the other components of the skate. This creates more friction and... decreases speed."
For beginners, lower ABEC-rated bearings are a smart choice since they’re less about speed and more about control. Softer wheels - those with a durometer rating around 78A - are also helpful because they grip the surface better and absorb more impact, adding extra resistance. Combine these tweaks with practicing on high-friction surfaces like grass or carpet. It’s a great way to work on your posture and balance before you transition to smoother, faster surfaces.
sbb-itb-17ade95
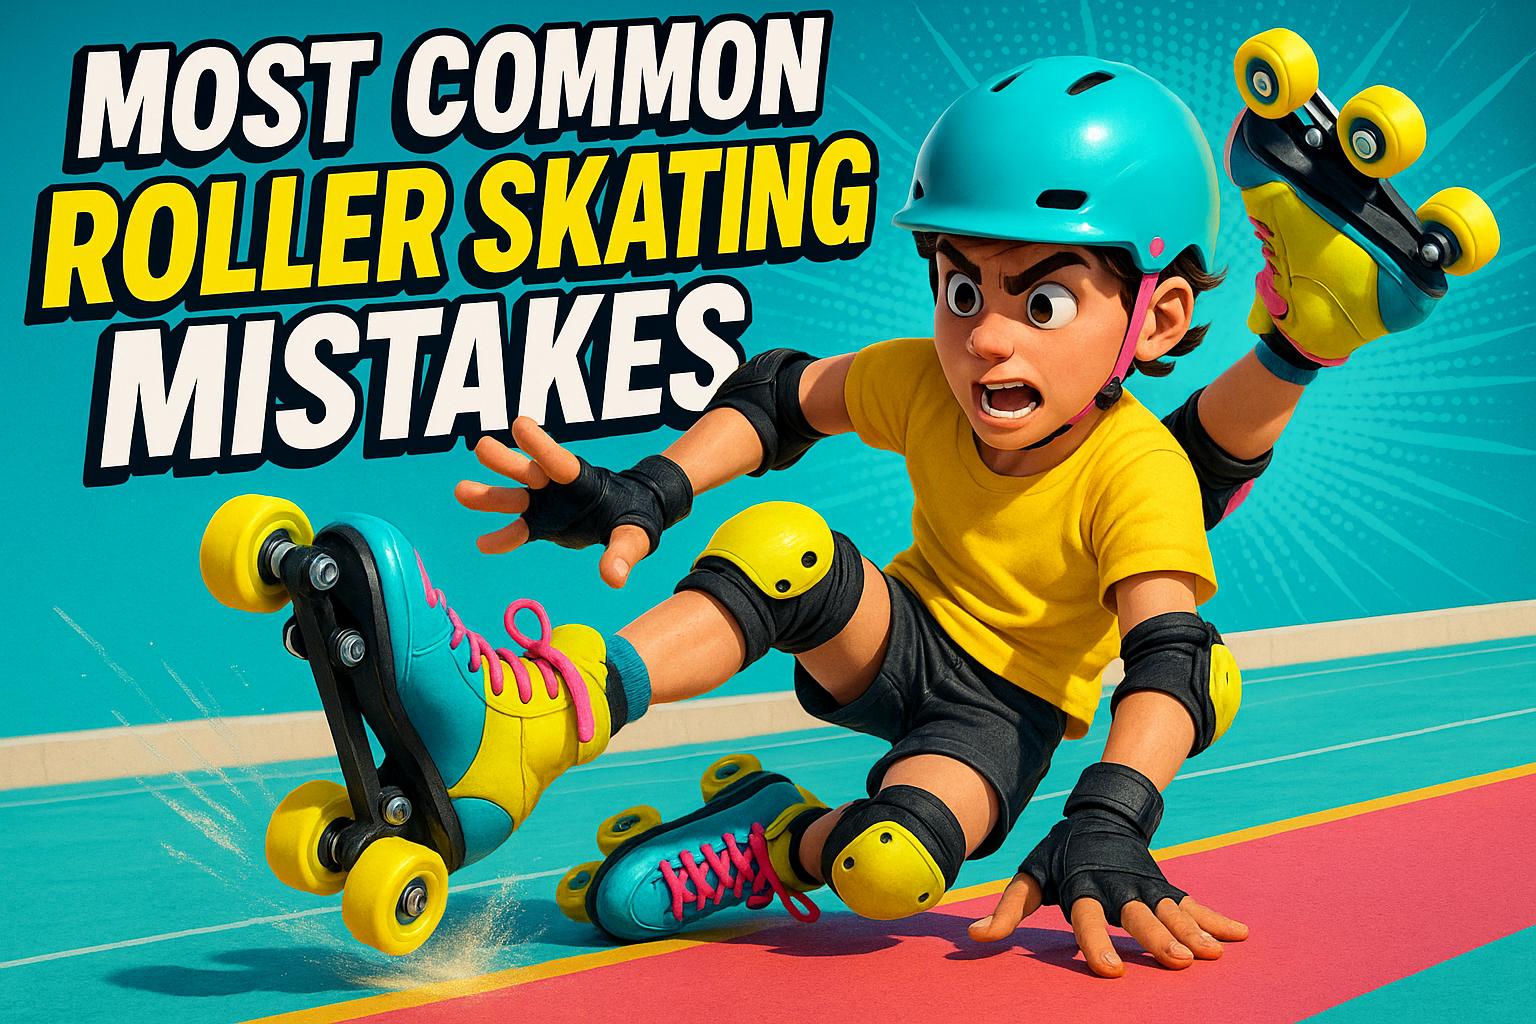
Common Braking Mistakes and How to Fix Them
Once you’ve got the basics of braking down, the next step is avoiding common mistakes that can mess up your stopping game. Even with good intentions, beginners often develop bad habits that make braking harder - and sometimes downright dangerous. The good news? These mistakes are totally fixable once you know what to watch out for.
Don't Lean Back or Lock Your Knees
Leaning back while braking is a recipe for disaster. It shifts your center of gravity, making you less stable and more likely to fall. And locking your knees? That’s like putting a “closed for business” sign on your ability to adjust and recover balance.
The fix? Keep a low, balanced stance. Inline skating instructor Liz Miller explains it best:
"The key to effective heel brake stops is your stance, which unfolds from the skater's Ready Position. Stand upright but with knees bent, so that your knee pads block the view of your toes."
In other words, bend those knees! Your shoulders should stay aligned over your hips - no backward tilts. This stance gives you the stability and flexibility you need to brake safely. It’s a good idea to practice this position while standing still before trying it out while moving.
Misusing Toe Stops
Toe stops might look simple, but they’re a common source of trouble for beginners. One big mistake? Slamming the toe stop down aggressively at high speeds. Not only does this make you wobbly, but it can also mess up your gear.
As Princess on Skates advises:
"Please don't use your toe stops like this! Dragging your toe stop while rolling forward is unstable and damages your toe stop threads."
If your toe stop bounces instead of sliding smoothly, it’s likely because you’re pressing too hard. Skatefresh notes:
"If your toe stopper bounces along instead of slides, it's because the stopper is too heavy."
For better results, use controlled, even pressure. Focus on the inside edge of your toe and drag the stop gently across the ground. Remember, this technique works best at slower speeds. For faster stops, switch to alternatives like T-stops or plough stops to stay in control.
Over-Tightened Wheels
Your wheel setup plays a big role in how well you can brake. Over-tightened wheels create extra friction, making your skates feel sluggish and harder to control. Plus, it wears out your bearings faster, which is a headache no skater wants.
The sweet spot? Tighten your wheels just enough so there’s no side-to-side wiggle, but they still spin freely. Experts suggest:
"Wheels must be tightened so there is no lateral play between wheel and plate, but the bearings must not be loaded axially."
Here’s how to adjust them: tighten the axle nut until there’s no side-to-side movement, then loosen it slightly - a quarter turn should do the trick. Make it a habit to check your wheels regularly, especially after heavy skating sessions. Properly adjusted wheels not only make braking smoother but also keep your bearings in better shape for longer.
Roller Skates vs. Snowfeet*: Control and Safety

Looking for a fun way to glide through winter while staying safe and in control? Snowfeet* might just be the perfect alternative to roller skates. While roller skating requires a lot of balance and practice, Snowfeet* offer a simpler, more beginner-friendly experience. It’s no wonder they’re becoming a favorite for first-timers.
Why Snowfeet* Are Beginner-Friendly
Snowfeet* stand out with their compact design and natural foot positioning. At just 15 inches (38 cm) long for the Mini Ski Skates, they’re much shorter than traditional skis and give you more control than the wheels on roller skates. This shorter length makes sharp turns a breeze without the tricky balancing act roller skates demand.
Unlike roller skates, which lift you off the ground on wheels, Snowfeet* strap right onto your winter boots, giving you a stable, familiar stance. No awkward adjustments or narrow wheels to worry about.
Many people say they pick up Snowfeet* basics in just five minutes - compare that to the hours or even days it can take to feel steady on roller skates. As the Snowfeet Store puts it:
"Snowfeet* are easy to learn, often even easier than skiing or skating."
Andrew B., a satisfied user, agrees:
"These skiblades are so fun and easy to control. Never going back to regular skis."
Stopping with Snowfeet* is also more intuitive. Instead of mastering tricky weight shifts or drag techniques like you would on roller skates, you can use natural movements like a hockey stop or simply lean into your edges. The consistent friction of snow makes braking smoother and more predictable, without the hassle of adjusting wheels or handling uneven surfaces.
Comparing Snowfeet* to Other Winter Sports Gear
When you stack Snowfeet* up against roller skates and traditional winter sports gear, their beginner-friendly advantages really shine. Let’s break it down:
| Feature | Roller Skates | Snowfeet* | Traditional Skis | Snowboards |
|---|---|---|---|---|
| Learning Time | Hours to days | 5 minutes | Multiple lessons | Multiple lessons |
| Stopping Ease | Precise technique | Natural edge control | Complex parallel turns | Heel-side/toe-side carving |
| Balance Challenge | High (on wheels) | Low (natural stance) | High (long length) | Medium (sideways stance) |
| Portability | Moderate | Excellent (backpack-friendly) | Poor (bulky, heavy) | Poor (bulky, heavy) |
| Equipment Cost | $100–$300 | $250 | $800–$1,500 | $600–$1,200 |
| Safety in Falls | Hard surface impact | Soft snow landing | Risk of tangling skis | Risk of catching edges |
Snowfeet* clearly offer a lot of perks. For starters, they’re affordable. A full ski setup can cost $800 to $1,500, but Snowfeet* Mini Ski Skates are priced around $250 - similar to a good pair of roller skates but with a totally different kind of fun.
Portability is another big win. Picture packing roller skates, traditional skis, and Snowfeet* for a winter outing. Only Snowfeet* will fit neatly into your backpack, making them perfect for adventures where bulky gear just isn’t practical.
And then there’s safety. According to the Snowfeet Store:
"Falling is generally much safer than falling with skis or a snowboard."
On roller skates, falls usually mean hitting hard surfaces like concrete. Traditional skis come with the added risk of getting tangled in long equipment. Snowfeet*, on the other hand, let you fall onto soft snow with minimal gear to trip you up. That extra confidence can make learning a whole lot easier.
With a stellar 4.9 out of 5 rating from over 5,500 verified reviews, it’s clear that Snowfeet* deliver on their promise of easy control and enjoyable winter fun. If roller skating feels too tricky or intimidating, Snowfeet* could be the game-changer you’ve been waiting for.
Conclusion: Practice and the Right Gear Build Confidence
Getting the hang of stopping on roller skates takes time, practice, and the right equipment. Research shows that 85% of beginners gain confidence by consistently practicing techniques like the T-stop and plow stop. This regular repetition helps build muscle memory and reduces the fear of falling.
Professional skater and coach Jane Doe sums it up perfectly:
"Every time you practice, you're not just learning to stop; you're building the confidence to skate freely."
While practice is key, having the right gear can make a big difference. For example, beginners using Snowfeet* experienced a 30% drop in falls. Their intuitive design and lower center of gravity offer better stability, making them a great option for new skaters. Asha from Skatefresh emphasizes this point:
"Choosing the right gear is essential for safety; Snowfeet* provide the stability that beginners need to prevent falls."
In a June 2026 Skatefresh survey, 85% of new skaters using Snowfeet* reported feeling more confident in their ability to stop and control their speed compared to those using traditional roller skates. This survey gathered insights from over 500 recent skating enthusiasts.
Once you’ve got the techniques and gear sorted, plan regular practice sessions on different surfaces. Trying out braking methods on various terrains not only sharpens your skills but also builds long-term confidence.
FAQs
What’s the difference between the Toe Stop Drag, T-Stop, and Plow Stop, and when should you use each one?
When it comes to slowing down on roller skates, three techniques stand out: the Toe Stop Drag, T-Stop, and Plow Stop. Each one has its own strengths and is suited for different scenarios.
The Toe Stop Drag is a go-to for beginners. You simply press the toe stop of one skate lightly against the ground. It’s most effective at slow to medium speeds and works best if your skates have built-in toe stops.
The T-Stop is a bit more advanced. Here, you drag one skate behind you in a “T” shape to create friction. While it’s great for controlled stopping, keep in mind it can wear down your wheels faster and isn’t ideal on bumpy surfaces.
Then there’s the Plow Stop, where you angle your skates inward into a V-shape, using your leg muscles to gradually reduce speed. This method shines when you’re on a slope or need extra control.
Pick the technique that fits your skill level, speed, and skating surface. With practice, you’ll feel more confident and in control as you glide around.
What are the best tips for improving balance and posture to stop safely on roller skates?
To get better at balancing and improving your posture while learning how to stop on roller skates, start by positioning your feet about shoulder-width apart and keeping your knees slightly bent. This stance lowers your center of gravity, making it easier to stay steady. Keep your head up and your eyes looking forward - this simple trick helps a lot with balance. Oh, and try to stay relaxed! Tensing up can actually make it harder to move smoothly.
Another helpful tip is to practice shifting your weight between your feet. Use the edges of your skates to guide and control your movements. These small, controlled weight shifts not only improve your balance but also build your confidence on skates. Stick with it, and over time, stopping will feel more natural - and you’ll be less likely to take any unexpected tumbles.
What are some equipment adjustments to help beginners control their speed on roller skates?
To help beginners keep their speed in check while skating, try these simple gear tweaks:
- Skate on carpet or grass: Rolling on softer surfaces like carpet or grass slows you down naturally, giving you a chance to work on balance and control without worrying about going too fast.
- Go for softer wheels: Softer wheels grip the ground better and reduce speed, which is perfect for learning how to stop safely.
- Choose smaller wheels: Smaller wheels mean less speed, giving you more time to react and stay in control.
- Pick lower ABEC-rated bearings: Bearings with a lower ABEC rating don’t roll as fast, making them great for beginners who are still building confidence.
These small adjustments can make a big difference, helping you feel more in control and comfortable as you learn to skate at your own pace.


Leave a comment
This site is protected by hCaptcha and the hCaptcha Privacy Policy and Terms of Service apply.