When summer rolls around, properly storing your skis isn’t just about putting them away - it’s about protecting your investment. Skis can cost hundreds (even thousands) of dollars, so keeping them in good shape saves you money and ensures they’re ready to perform next winter. Here’s the deal: moisture, heat, and sunlight are your skis’ worst enemies. They can cause rust, warping, or other damage. But with a few simple steps, you can store your skis safely and extend their life.
Quick Steps to Off-Season Ski Storage:
- Clean thoroughly: Wipe down your skis or skates with a damp cloth to remove dirt and salt. Dry completely to avoid rust.
- Inspect for damage: Check the base for scratches or gouges and repair if needed. Look at edges for rust or burrs.
- Wax generously: Apply a thick layer of storage wax to protect the base and edges.
- Store smart: Find a cool, dry, dark spot with stable temperatures. Avoid garages or damp basements.
- Position properly: Don’t strap skis too tightly or put pressure on the camber. Let them rest naturally.
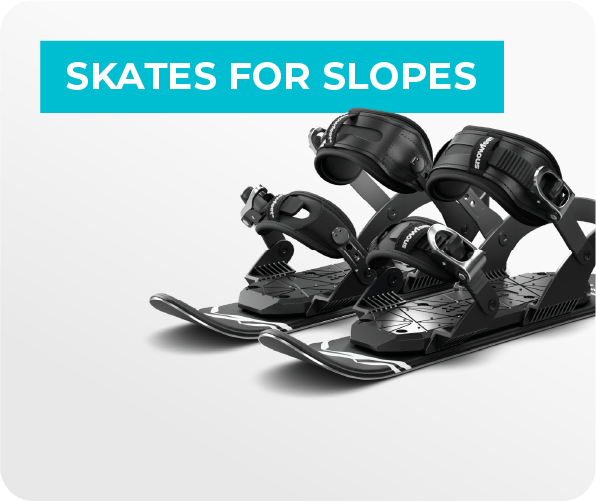
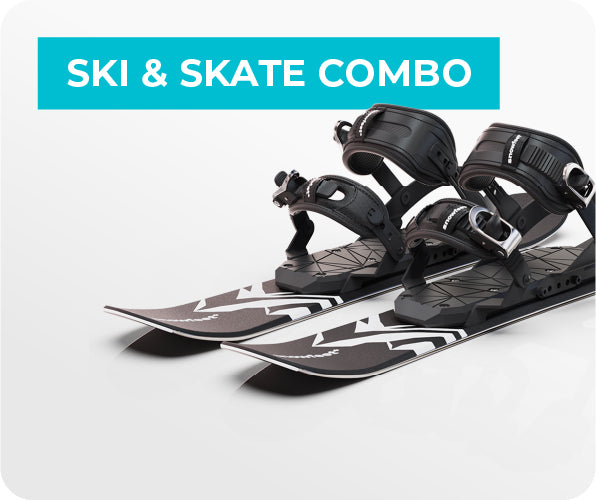
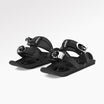
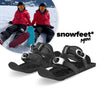
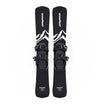
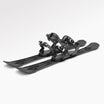
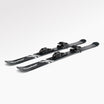
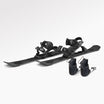
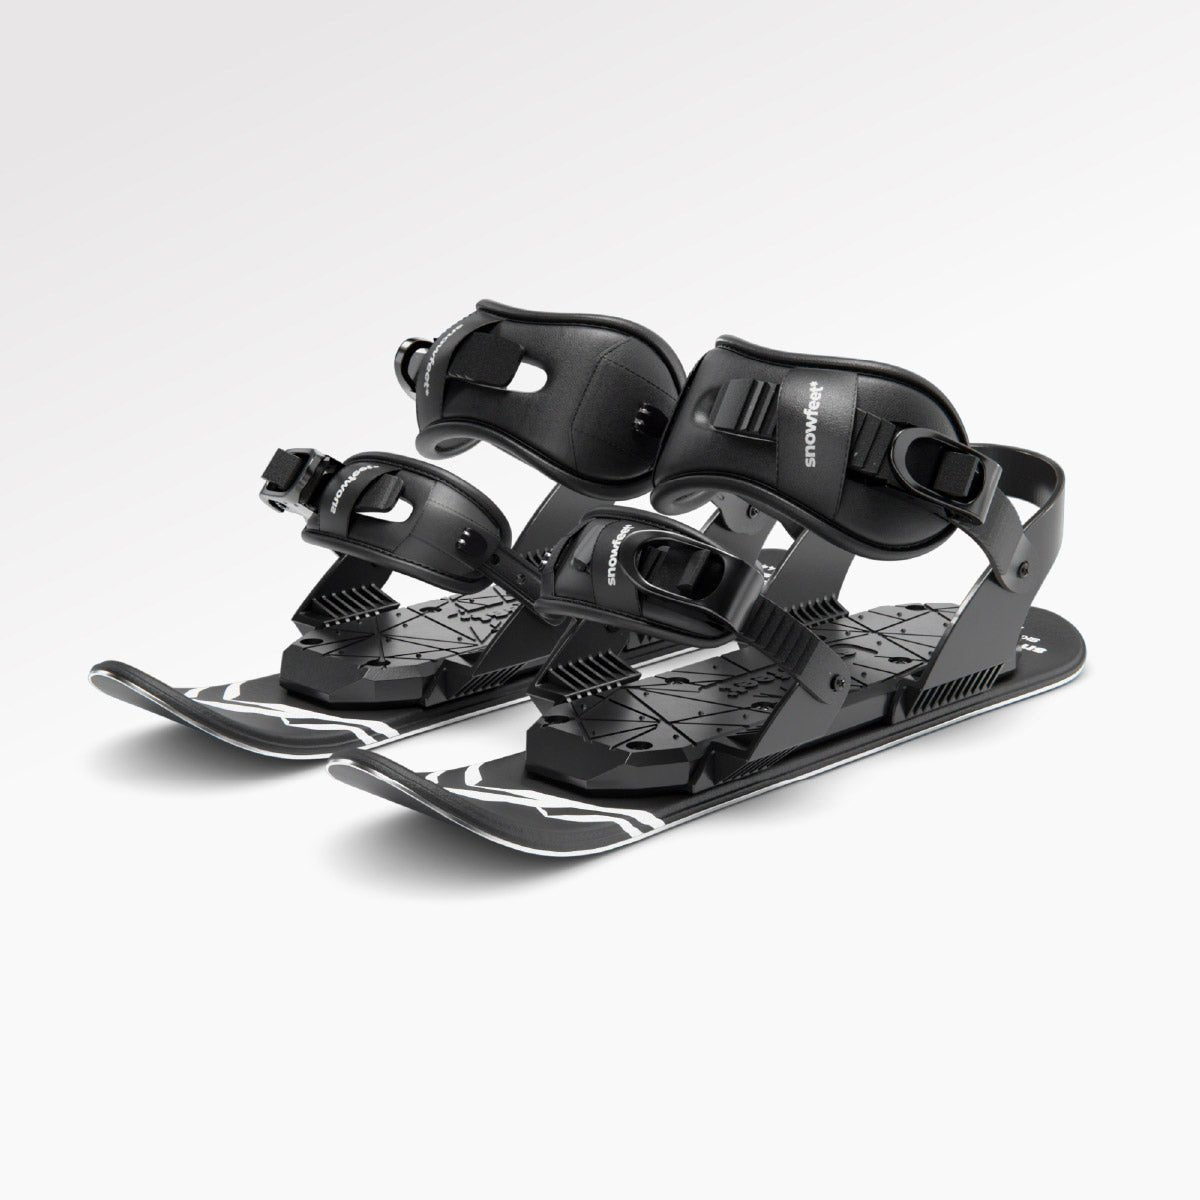
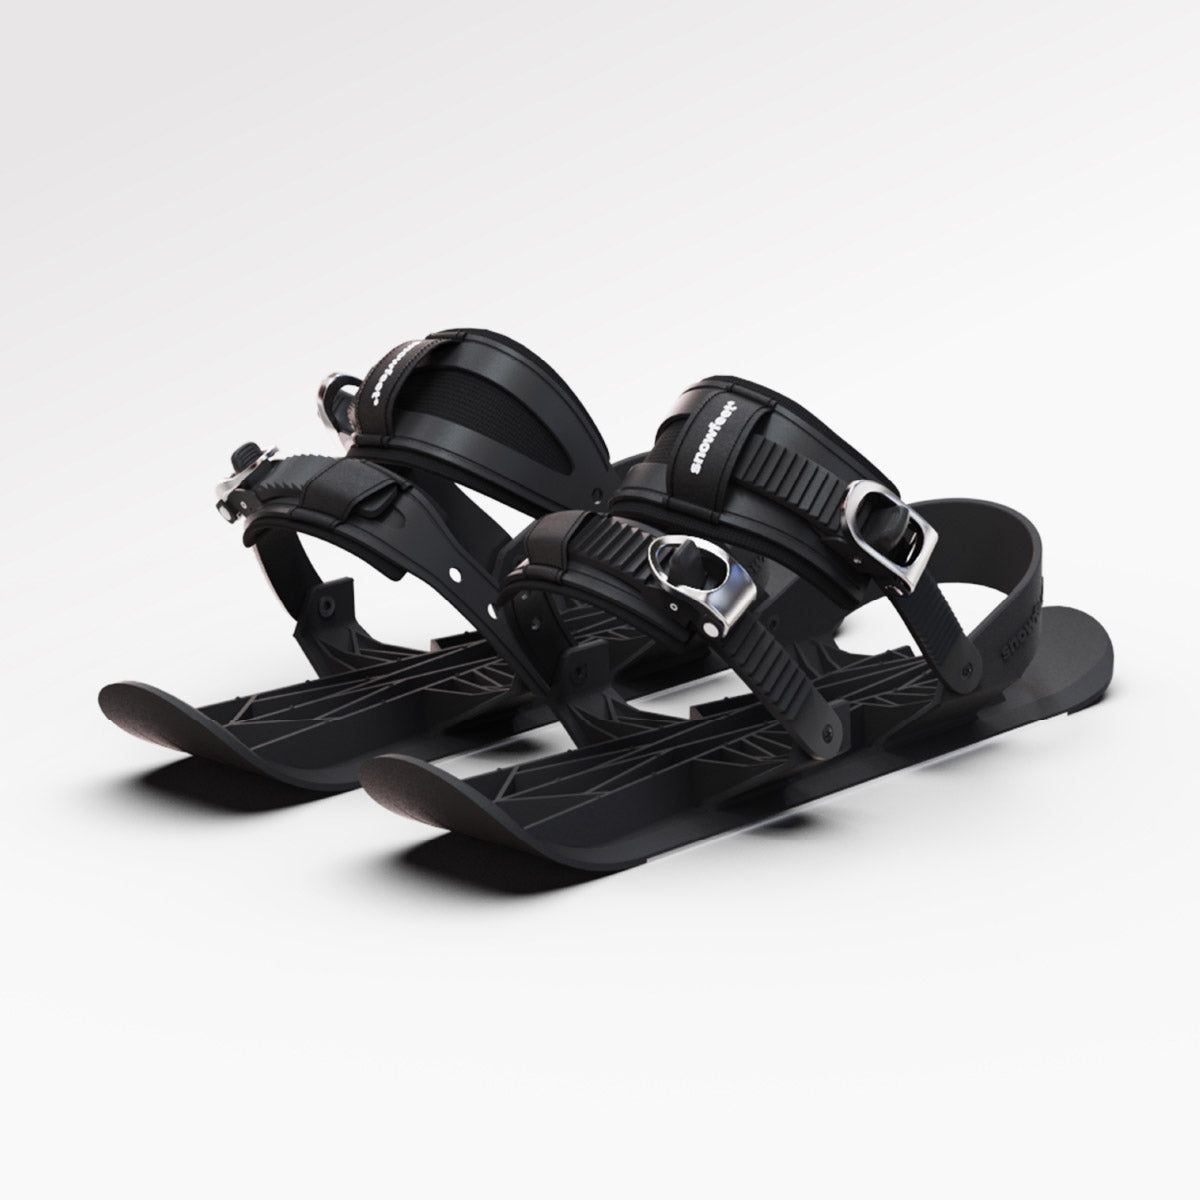
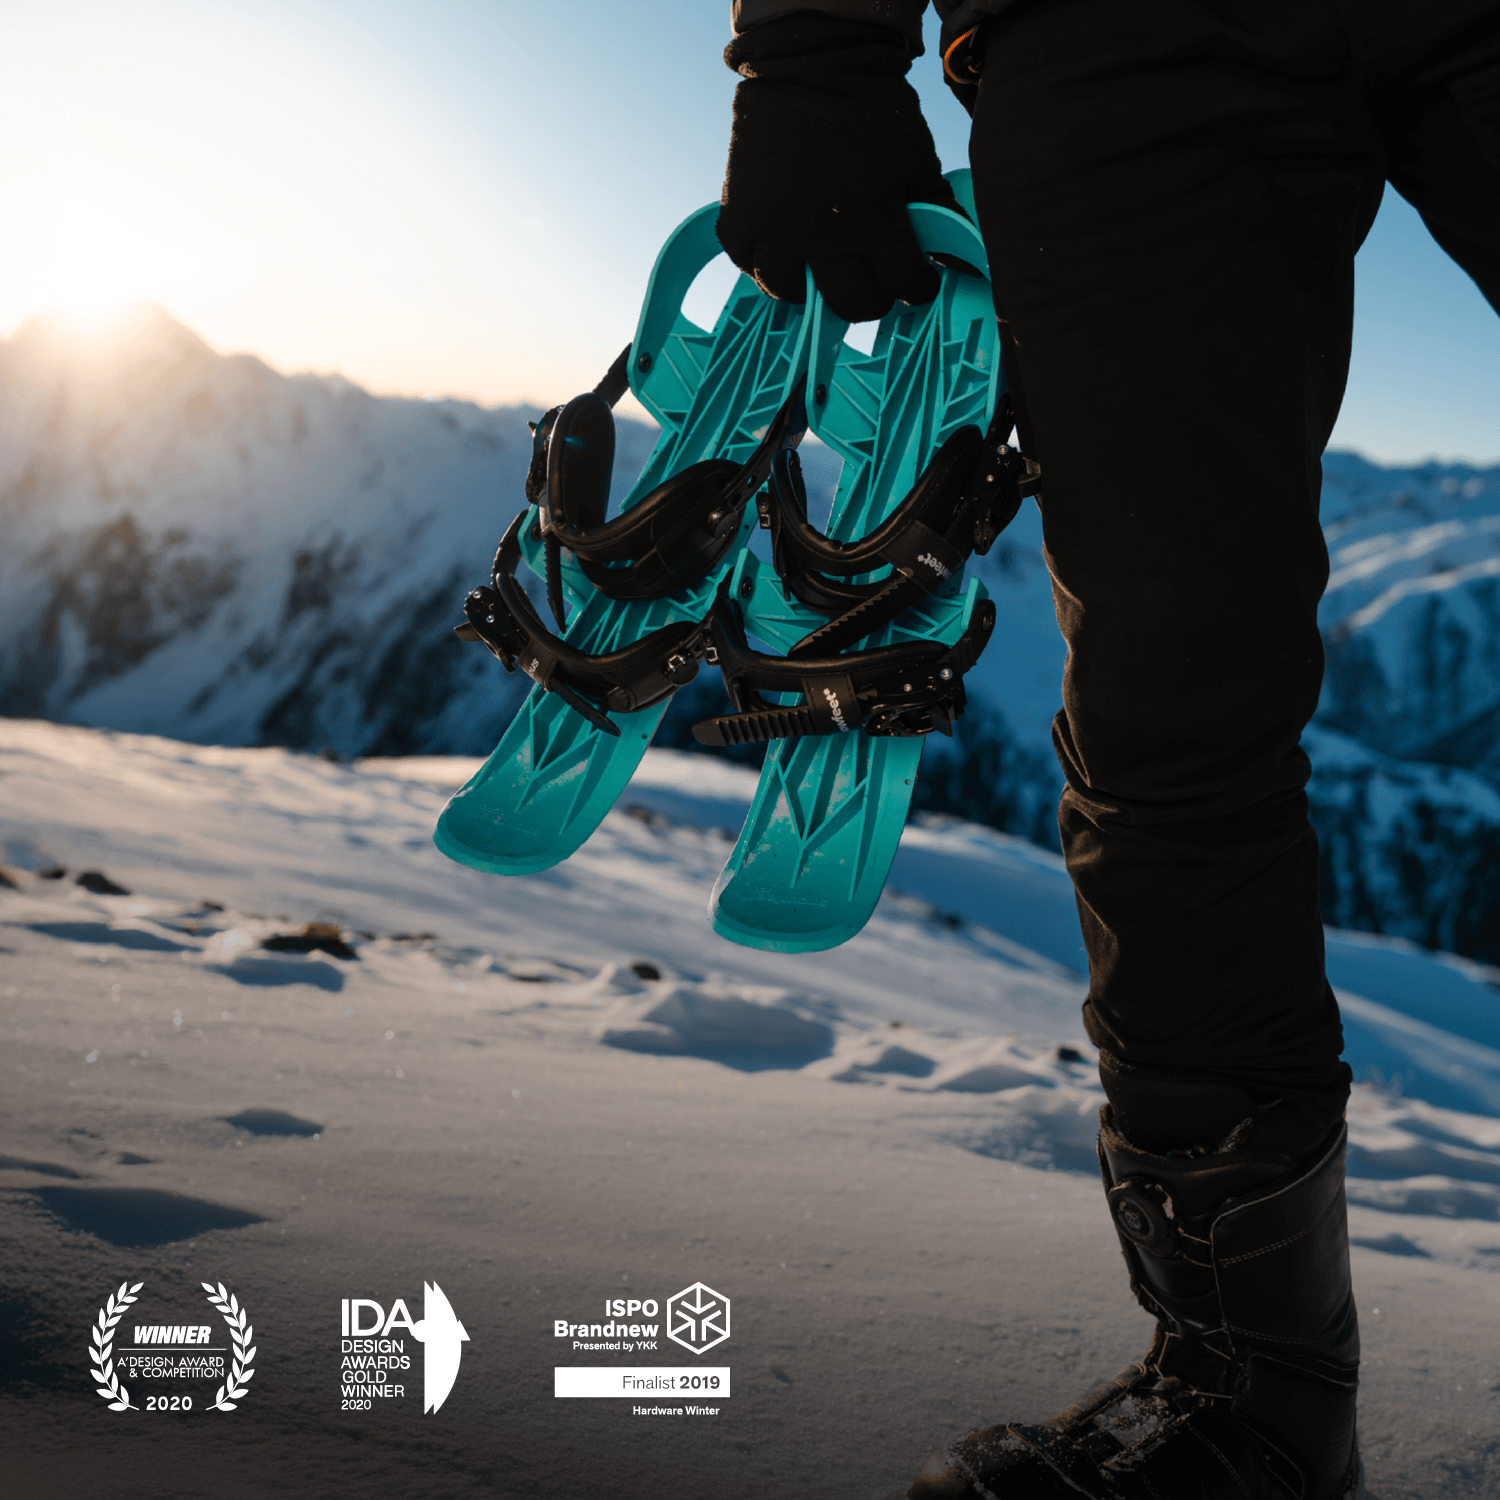
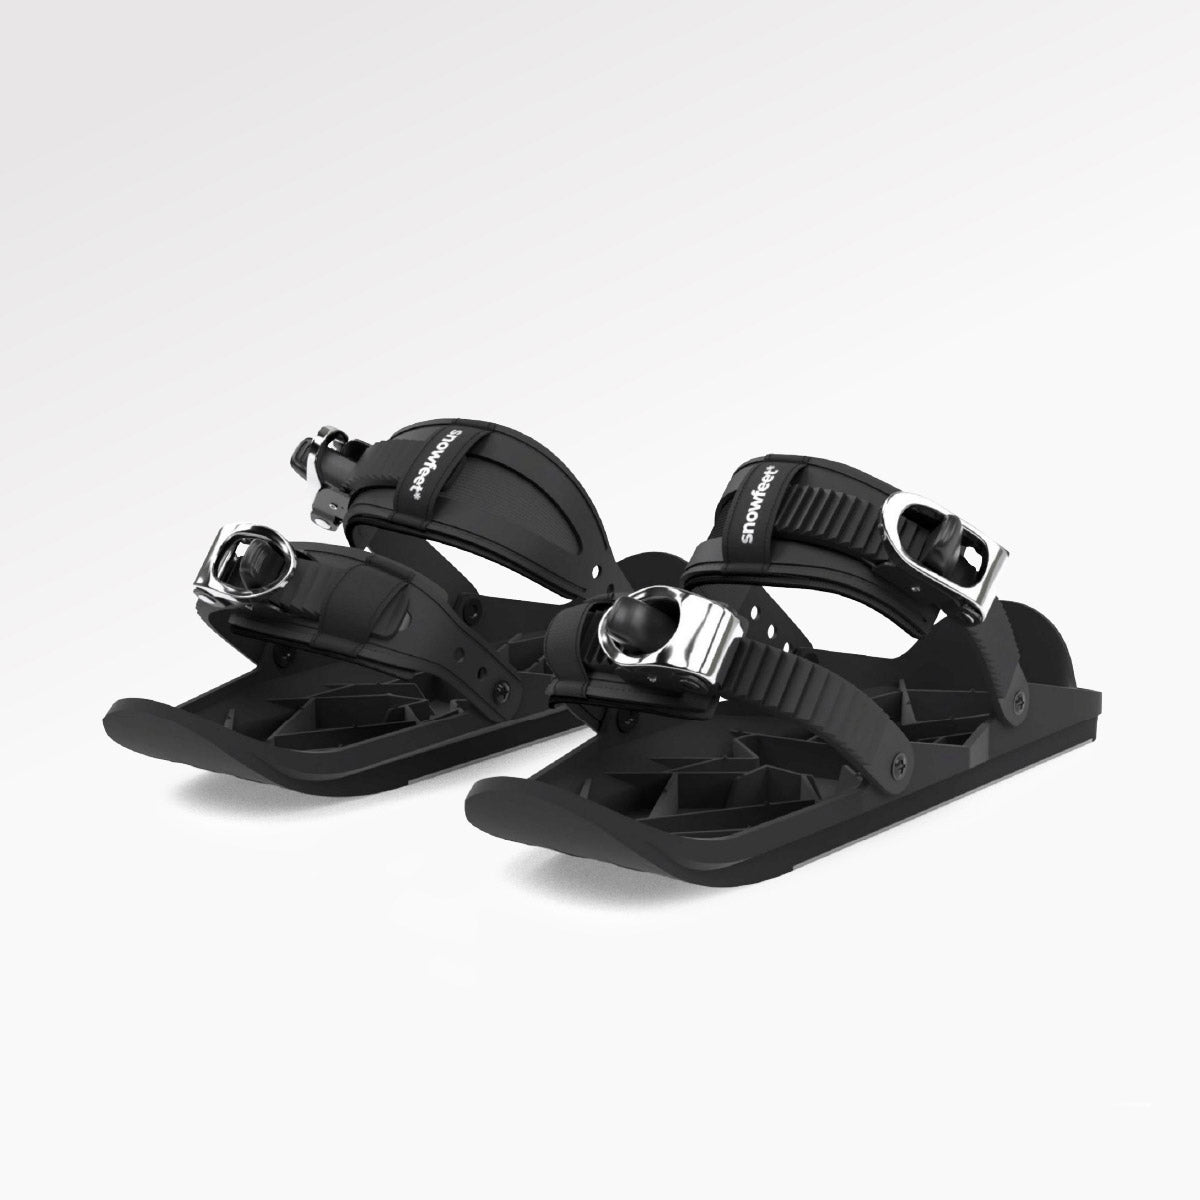
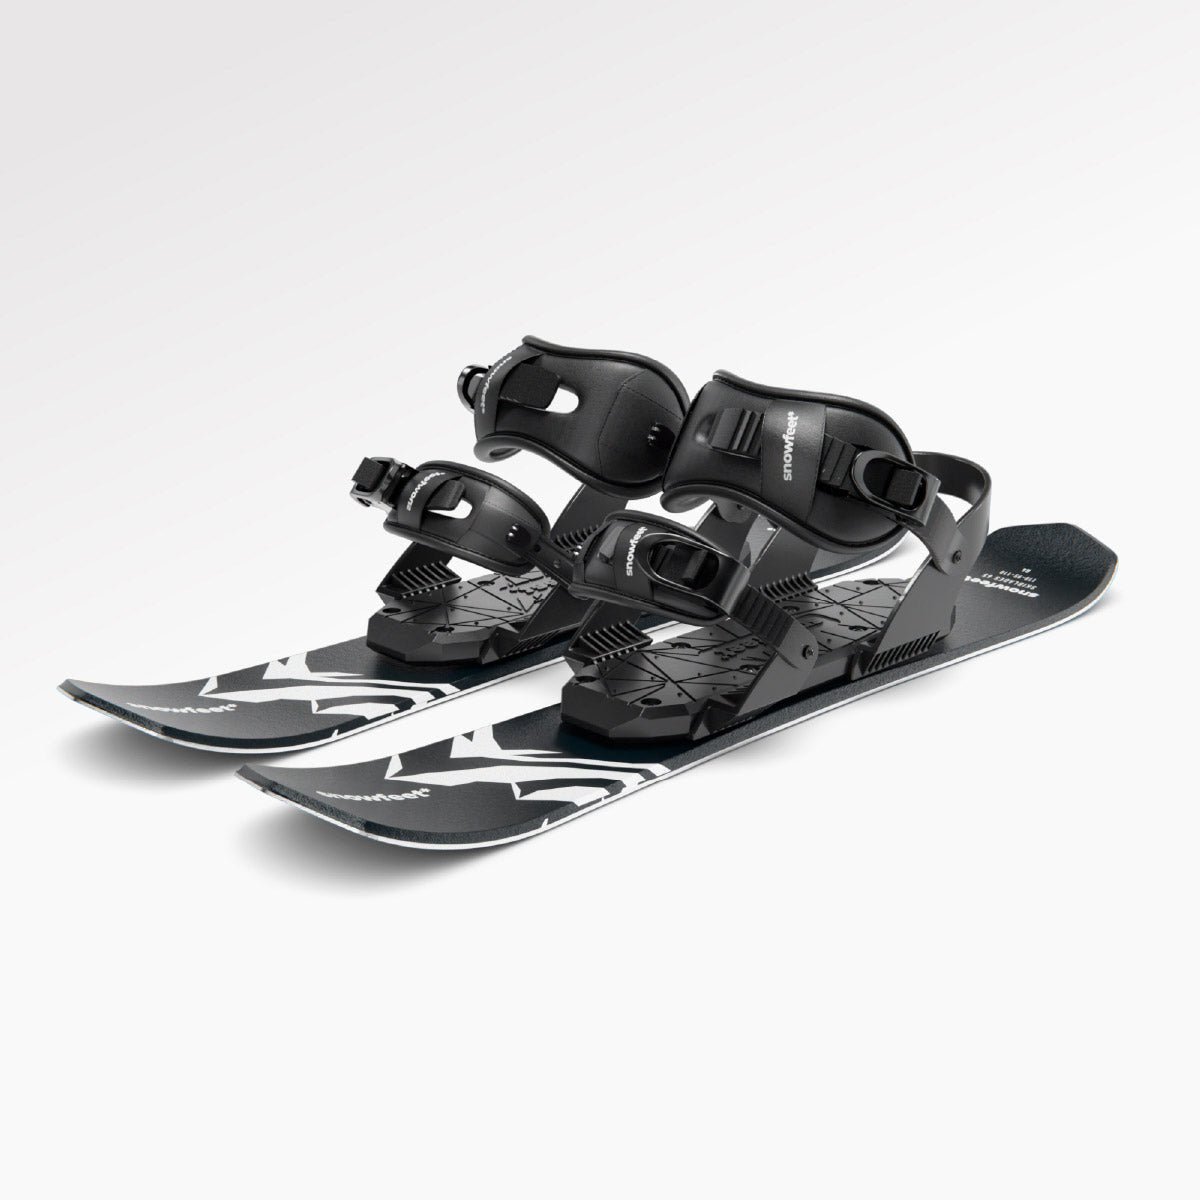
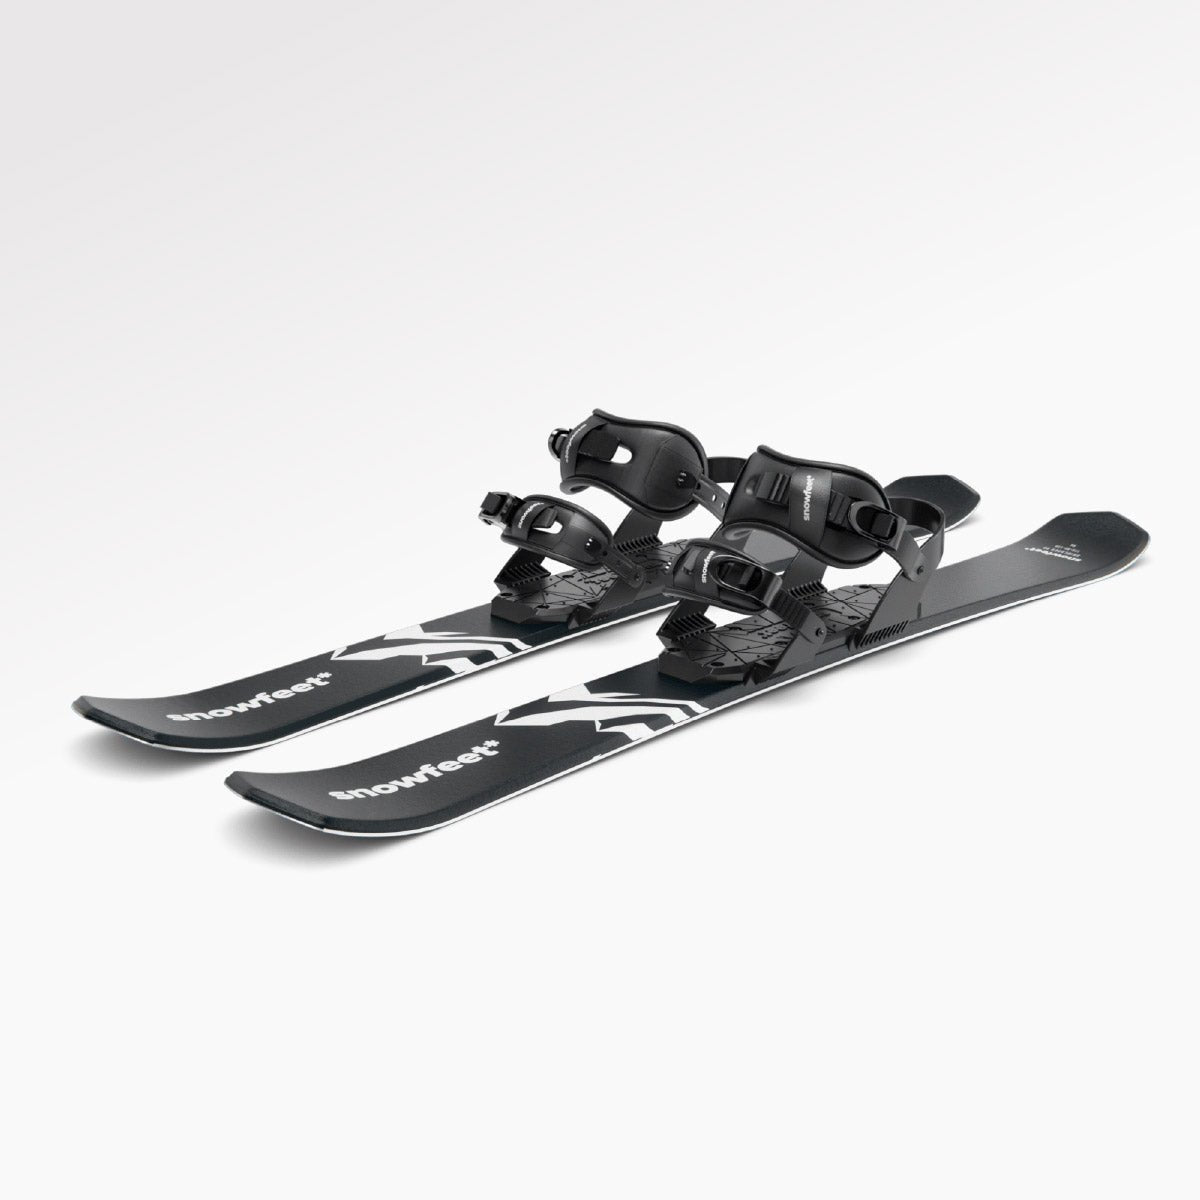
If you’re using Snowfeet gear (like Skiblades or Skiskates), good news - it’s much easier to clean, wax, and store thanks to their compact size. They can even fit in a backpack, making them perfect for small spaces. Just remember to loosen bindings and keep everything dry.
Taking a little time now to prep your skis means they’ll be ready to hit the slopes when winter comes back around. :)
How to Store Your Ski Gear during the Offseason
Cleaning and Preparing Your Skis for Storage
Getting your skis ready for summer storage isn’t just about tucking them away in the garage. A proper cleaning and inspection are key to keeping them in top shape. Dirt, salt, or moisture left behind can cause damage over time, so a little effort now can save you headaches later. If you’re using Snowfeet* products, you’re in luck - they’re much easier to clean compared to traditional skis from brands like Rossignol or Head.
How to Clean Your Skis and Skates
Start by giving your skis or skates a good wipe-down with a damp cloth. Focus on the base and edges, removing any grime, salt, or debris from your last adventure. These areas are particularly prone to buildup.
Snowfeet* products make this process a breeze. Their compact size means you can clean them without wrestling with bulky equipment. In fact, you can easily clean them in a sink or bathtub - no need for a spacious workspace. For the bindings, grab a soft brush or cloth to get into those tight spots where dirt loves to hide.
Once you’ve cleaned every surface, dry them off with a clean cloth and let them air dry for at least 30 minutes in a well-ventilated area. This step is crucial - moisture is the enemy when it comes to rust and corrosion. After everything is clean and dry, take a few minutes to inspect your skis for any signs of wear or damage.
Checking and Fixing Damage
Inspect the base of your skis carefully. Scratches, dings, or gouges are common, but they shouldn’t be ignored. A smooth, shiny base is what you’re aiming for. If you spot gray patches on black bases, it’s a clear sign your skis need waxing.
Next, check the edges. Run your fingers along them to feel for any rough spots or burrs that need attention. Pay close attention to the seam where the edge meets the sidewall - this area can let in moisture if there are any gaps.
For minor scrapes and gouges on the base, you can use a P-tex candle or repair stick, which are easy to find at most ski shops. But if the damage is more serious - like deep gouges - you might want to take your skis to a professional for repairs. Snowfeet* products, with their ski-like materials, deserve the same level of care as traditional skis to keep them performing their best.
Binding Care for Snowfeet* Products

Snowfeet* bindings are designed to be straightforward and low-maintenance, but they still need a little TLC before storage. Here’s how to keep them in great shape:
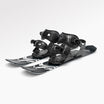
Snowfeet* offers three binding options - Basic, Standard, and Pro X. Each has its own care needs. The Basic is budget-friendly, the Standard is the go-to for durability, and the Pro X offers top-notch adjustability and strength.
- Loosen the binding screws before storing your gear. This helps prevent unnecessary stress on the mounting points, extending the life of your bindings.
- Clean the bindings thoroughly, paying extra attention to bolts and adjustment mechanisms where dirt can hide.
- Inspect all parts of the bindings, including screws and straps. If your model uses straps, check for any signs of wear or fraying. Snowfeet* bindings work with regular winter boots, snowboard boots, or ski boots, so they see a lot of action - this makes regular checks even more important.
If you have access to compressed air, use it to blow out any moisture from hard-to-reach areas in the binding mechanism. Once everything is completely dry, you’re ready to move on to waxing. Skipping this step could leave trapped moisture behind, which might cause issues during storage. A little extra effort now goes a long way in keeping your gear ready for the next season!
Waxing and Edge Protection
Waxing does more than just make your skis glide smoothly - it also shields them from damage. A good coat of wax creates a barrier that keeps oxygen at bay, preventing the ski base from drying out or oxidizing. This is where storage wax comes in handy. By covering the polyethylene base, it limits exposure to oxygen and helps maintain the base's condition over time.
For the metal edges, it's all about avoiding rust. After thoroughly drying the edges, apply a light coat of oil to keep moisture from creeping in. Now, let’s break down how to apply storage wax the right way.
Applying Storage Wax
When prepping your skis for storage, the goal isn’t to create a polished, slope-ready finish. Instead, focus on laying down a thick, protective layer. Start by picking a soft, pure wax without any additives - it’s affordable and works great for storage.
Here’s how to do it:
- Heat your waxing iron according to the manufacturer’s directions.
- Drip the wax along the base, then spread it evenly with smooth strokes to cover the entire surface.
- Let the wax cool and harden. When you’re ready to use your skis again, simply scrape it off, and you’re good to go.
This straightforward process is one reason Snowfeet* gear stands out in terms of maintenance.
Why Snowfeet* Skis Are Easier to Wax
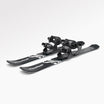
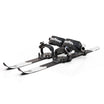
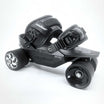
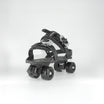
One of the perks of Snowfeet* products is how simple they are to maintain. Their compact size makes waxing quick and hassle-free compared to traditional skis. With Snowfeet* Skiblades measuring between 65 and 120 cm (about 26 to 47 inches) and Skiskates at just 44 cm (roughly 17 inches), the smaller surface area means you’ll need less wax, and you can work on them almost anywhere.
Regular waxing is key for Snowfeet* gear, especially since they’re designed to handle a variety of snow conditions - whether you’re cruising groomed runs or tackling backcountry trails. Thanks to their European-engineered bases, these products deliver consistent performance season after season. Proper care ensures they’re ready to perform whenever winter calls.
sbb-itb-17ade95
Choosing the Best Storage Location
Once your skis are cleaned and waxed, the final step in off-season care is proper storage. This step is essential to keep your gear in top condition and avoid expensive repairs down the line. The goal? Protect your skis from their biggest threats: heat, moisture, and sunlight.
Best Storage Conditions
Your skis need a cool, dry, and dark spot with stable temperatures. Why? Temperature swings can wreak havoc on metal components, leading to damage over time. Snowfeet* gear, thanks to its compact design, makes storage in tight spaces a breeze.
The best storage spaces maintain consistent humidity and temperature throughout the year. Steer clear of garages, unfinished attics, and basements - they're often too damp, too dry, or too hot. Heat can dry out plastics and fabrics, while moisture accelerates rust on metal edges. Instead, consider places like closets, spare rooms, or even under your bed. To manage moisture, toss in some silica gel packs or use a dehumidifier.
Here’s where Snowfeet* gear stands out. Unlike traditional long skis from brands like Rossignol or Atomic, Snowfeet* Skiblades (65–120 cm or roughly 26–47 inches) and Skiskates (just 44 cm or about 17 inches) are far easier to store. While a pair of 170 cm Rossignol skis might barely squeeze into a closet, Snowfeet* gear can slide into smaller spaces without hogging valuable room.
If you’re storing skis in a space with concrete floors, like a garage, remember that concrete can trap moisture. Keep your skis off the ground by using a rack or shelf.
Avoiding Pressure on Camber
Storage isn’t just about location - it’s also about positioning. Your skis’ camber, the gentle upward curve in the middle, plays a huge role in how they perform on the slopes. To keep that camber intact, avoid stacking or strapping skis too tightly, as excessive pressure can flatten it.
Let your skis rest naturally without forcing them into awkward angles. If you use ski straps, keep them loose enough to allow the skis to maintain their shape. And while Snowfeet* products are built to last, they still need proper care to preserve their performance.
The compact size of Snowfeet* gear makes this much easier. Instead of awkwardly leaning long skis against a wall, you can lay Snowfeet* products flat on a shelf or store them in a protective bag without worrying about space. This simplicity encourages better storage habits, which means your gear will be ready to perform when winter rolls around again.
One more tip: if you’re using a ski bag, go for one that’s breathable rather than completely waterproof. A little ventilation goes a long way in preventing moisture buildup.
Comparison: Snowfeet* Short Skis vs. Long Skis for Off-Season Storage
When it comes to storing your skis during the off-season, Snowfeet* short skis have some clear advantages over traditional long skis from brands like Rossignol, Atomic, or Head. Thanks to their compact size and smart design, they’re easier to clean, store, and transport - perfect for those with limited space. Let’s break it down.
Why Snowfeet* Are Easier to Store
Snowfeet* short skis are under 160 cm long, while most traditional skis are over 170 cm. That difference might not seem huge at first, but it makes a world of difference when it comes to storage. Snowfeet* skis are lightweight and compact, meaning you can tuck them into tight spaces like shelves, bins, or even under your bed. No need for fancy storage racks or extra room in the garage - they even fit in a backpack!
On top of that, their durable, fiberglass-reinforced build and slim design mean they’re less likely to get damaged while in storage. Unlike longer skis, which can warp or bend if stored improperly, Snowfeet* short skis are easier to handle and maintain during the off-season.
Key Differences at a Glance
Here’s a quick side-by-side comparison to make things even clearer:
| Feature | Snowfeet* Short Skis | Traditional Long Skis |
|---|---|---|
| Length | Under 160 cm | Over 170 cm |
| Weight | Lightweight | Heavier |
| Maneuverability | Highly agile | Less agile |
| Storage Needs | Minimal space required | Needs more room |
| Portability | Fits in a backpack | Requires dedicated storage solutions |
| Durability in Storage | Less prone to damage | Higher risk of warping or bending |
For anyone living in a small apartment or a college dorm, this compact gear is a game-changer. You won’t have to sacrifice precious space to keep your skis ready for the next winter season.
Conclusion: Keep Your Snowfeet* Gear Ready for Winter
Taking care of your Snowfeet* short skis and skiskates is easier than you might think. Just follow three simple steps: clean, wax, and store. Start by cleaning them with soap, water, and a sponge or nylon brush. Next, apply storage wax to the base to shield it from oxidation. Finally, store your gear in a cool, dry spot, away from heat or heavy pressure. This hassle-free process is one of the reasons Snowfeet* gear stands out - it’s so much easier to maintain and store compared to traditional long skis.
Designed in Europe, Snowfeet* products combine high-quality metal ski edges with a compact build. Whether you’ve got the 38 cm Mini Ski Skates, 44 cm Skiskates, or 99 cm Skiblades, their small size means they take up less space and are a breeze to maintain during the off-season.
Sticking to regular maintenance, like waxing, doesn’t just protect your gear - it keeps it performing at its best. A well-waxed base ensures your Snowfeet* gear glides smoothly and stays responsive when winter rolls around again. Whether you’re hitting the slopes or exploring city streets, Snowfeet* is all about delivering performance with minimal fuss.
FAQs
How do I protect my skis from rust and moisture during summer storage?
To keep your skis in great shape during the off-season, start by giving them a good wipe-down with a soft cloth to make sure they’re completely dry - no moisture allowed! Next, apply a layer of wax to the edges. This simple step helps keep rust at bay. When it comes to storage, find a cool, dry, and dark spot for them. Want to go the extra mile? Toss in some silica gel packs nearby to soak up any sneaky moisture.
One thing to avoid: storing your skis in places like garages or basements where heat and humidity can wreak havoc, causing rust or even warping. These tips work for all kinds of gear, including compact Snowfeet* favorites like Skiblades and Skiskates. Follow these steps, and your gear will be ready to hit the slopes next winter!
Why should I use storage wax on my skis, and how do I apply it properly?
Using storage wax on your skis during the off-season is like giving them a protective shield. It keeps them safe from oxidation, moisture, and base damage, so they’re ready to hit the slopes in top condition next winter. The wax acts as a barrier, preventing the bases from drying out or breaking down over time.
Here’s how to do it: Start by giving your skis a good cleaning to get rid of any dirt or grime. Next, use a waxing iron to melt the wax onto the ski base, spreading it evenly. Let the wax cool for at least 30 minutes. And here’s the key - don’t scrape it off before storing! Leaving the wax intact seals the base and offers the best protection. When snow season rolls around, all you need to do is scrape off the wax, and you’re ready to go.
This process is especially handy for Snowfeet* Skiblades and Skiskates. Their smaller size makes maintenance a breeze compared to regular skis. Plus, with Snowfeet* gear built for portability and durability, a little off-season care ensures they’ll keep performing like champs year after year.
Why are Snowfeet products more convenient to store and maintain than traditional skis?
Snowfeet gear is all about being compact, lightweight, and easy to carry, which makes life a lot simpler compared to dealing with traditional skis. Thanks to their shorter length and lighter build, they’re a breeze to store and maintain. Whether it’s cleaning them up or tucking them away for the off-season, they won’t take over your space - or your time.
If you’ve ever wrestled with bulky skis from brands like Rossignol, Atomic, or Head, you know they can be heavy and often need special storage setups. Snowfeet skips all that hassle. Their sleek design means quicker drying and cleaning, so you can spend less time fussing over maintenance and more time gearing up for your next winter adventure.









Leave a comment
This site is protected by hCaptcha and the hCaptcha Privacy Policy and Terms of Service apply.