Breaking in new ice skates can be uncomfortable, but it doesn’t have to be. The key is taking it slow and following a few simple steps to avoid blisters and soreness while improving performance. Here’s a quick rundown:
- Get the right size first: Your toes should touch the end of the boot without feeling cramped, and your heel should stay secure.
- Wear thin, moisture-wicking socks: Avoid cotton or thick socks that trap moisture and cause friction.
- Lace properly: Keep laces snug but not too tight, starting at the forefoot and working up evenly.
- Start with short sessions: Stick to 20–30 minutes on the ice for the first few skates.
- Break in at home: Wear your skates with blade guards and walk around for 10–15 minutes to help them mold to your feet.
- Use heat molding: Visit a professional shop to soften the skates for a faster fit.
- Protect pressure points: Use gel pads, moleskin, or blister tape to cushion sensitive areas.
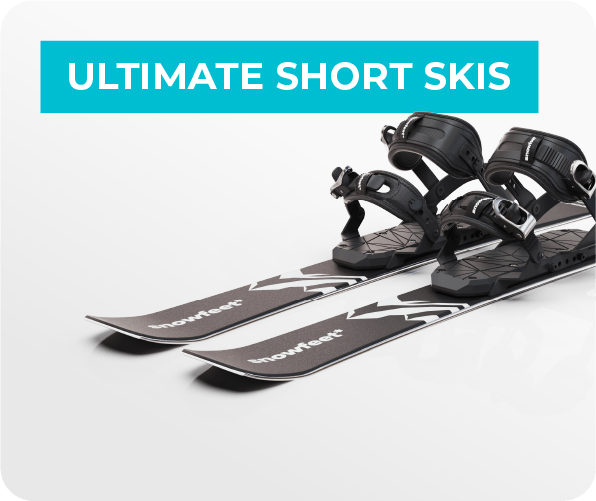
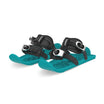
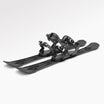
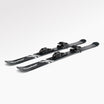
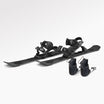
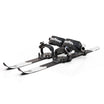
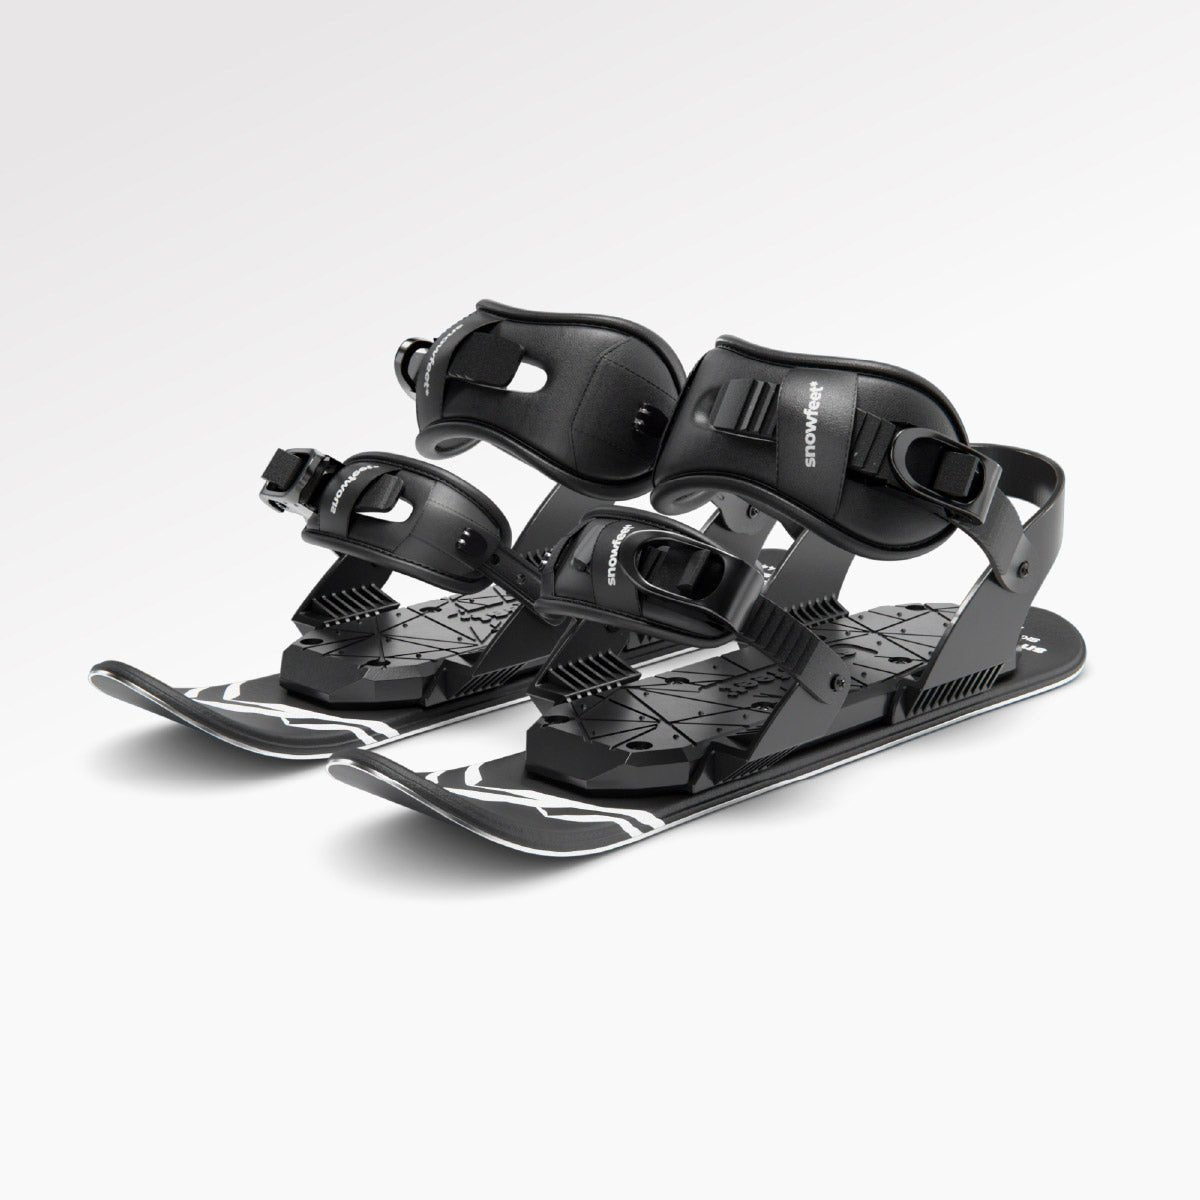
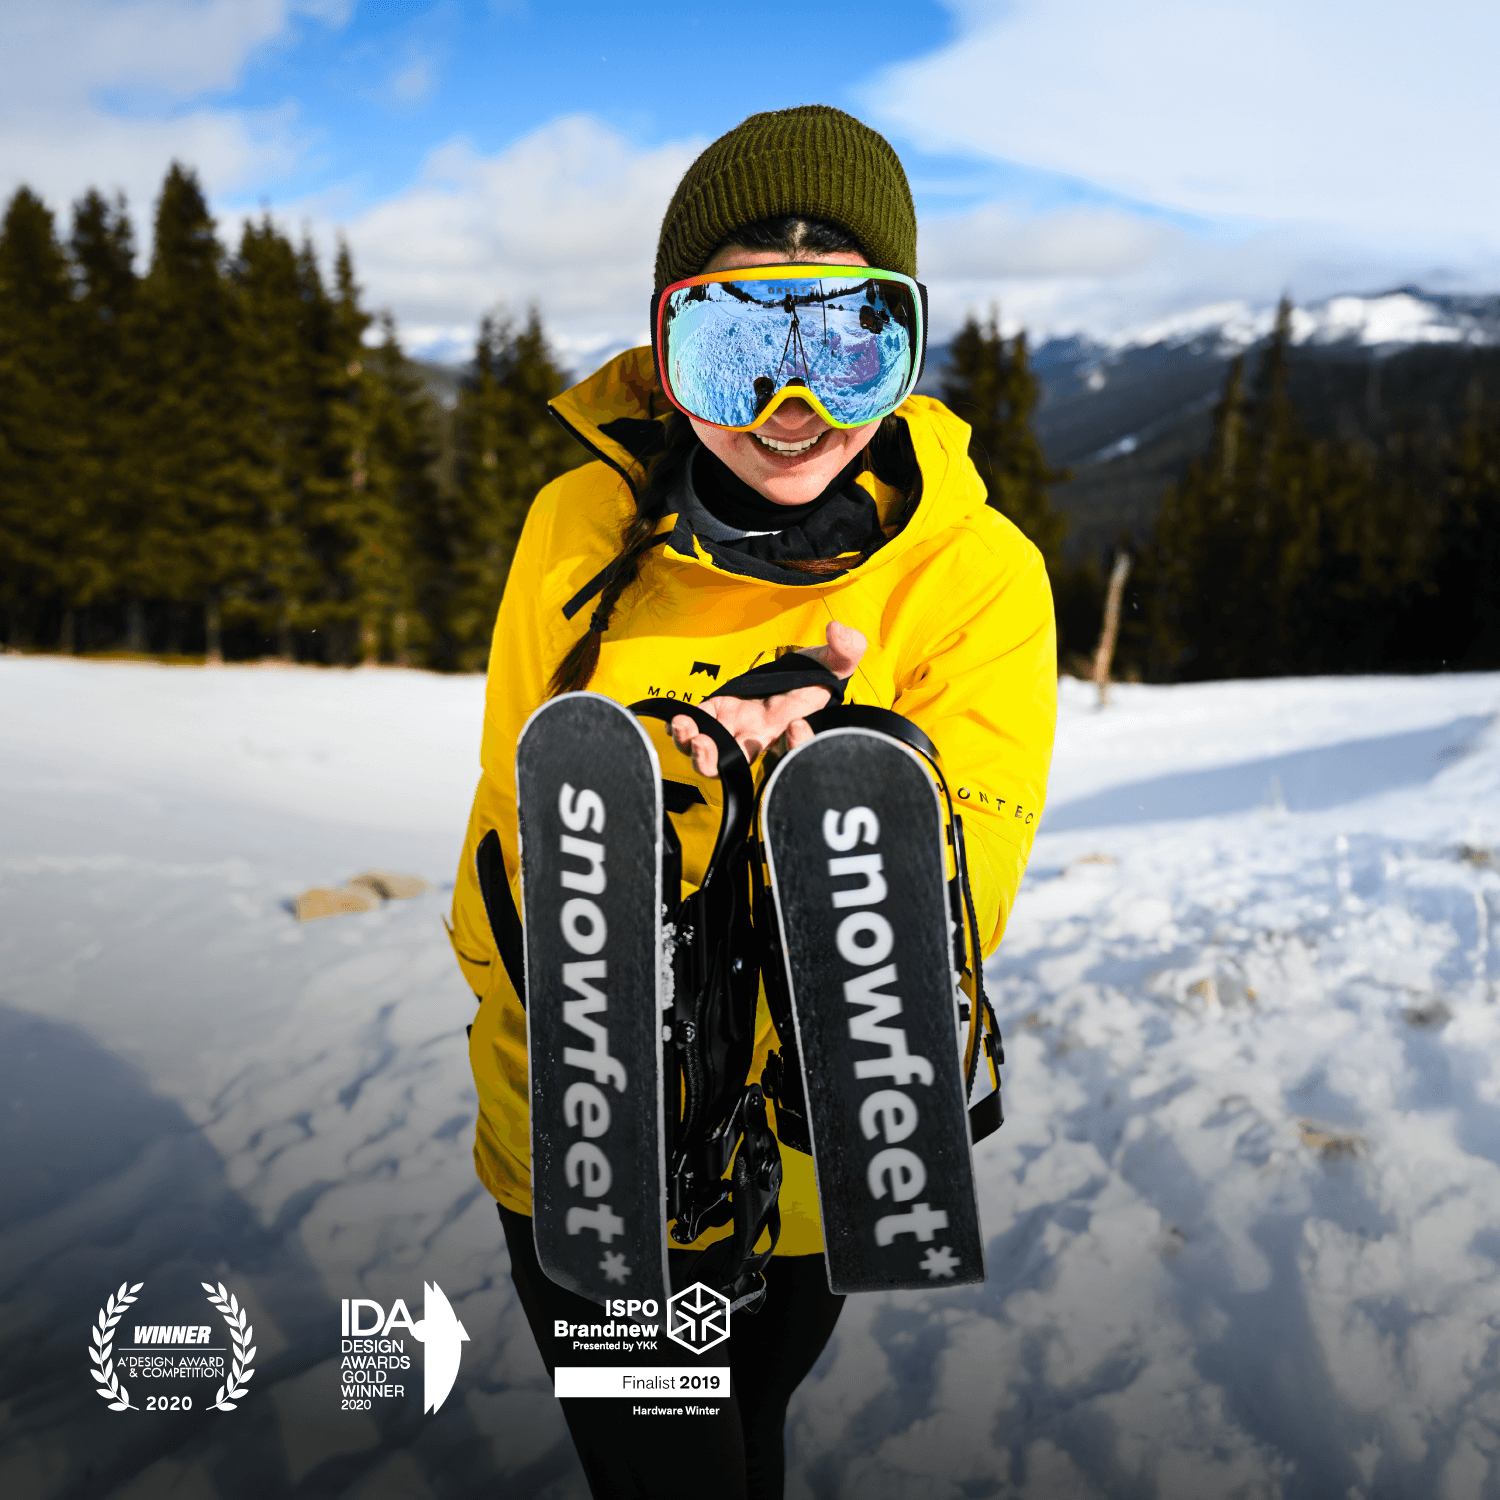
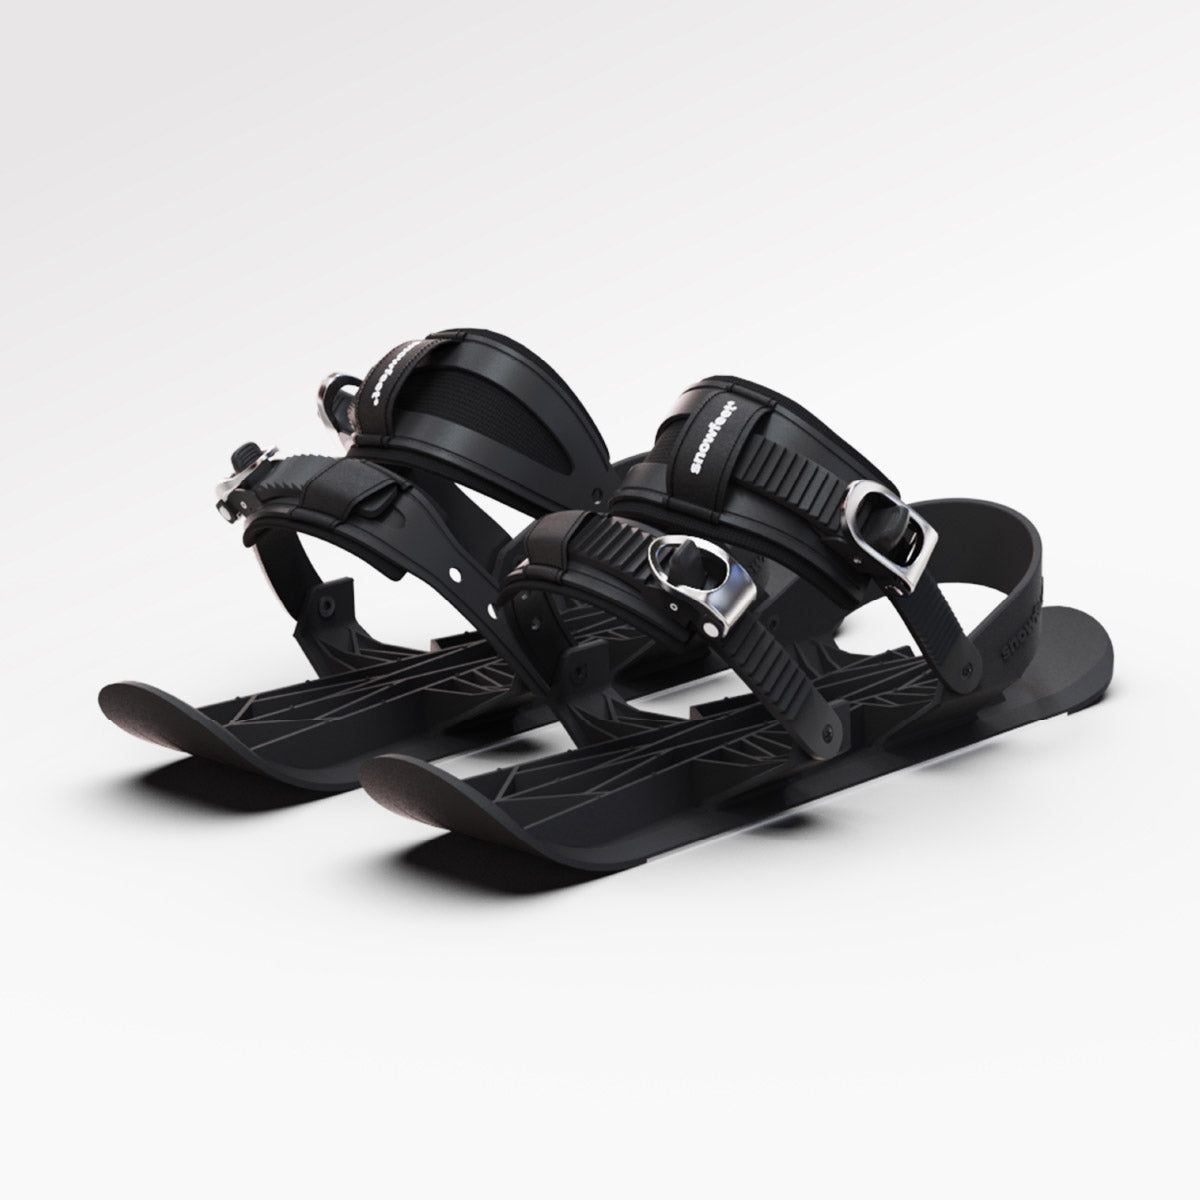
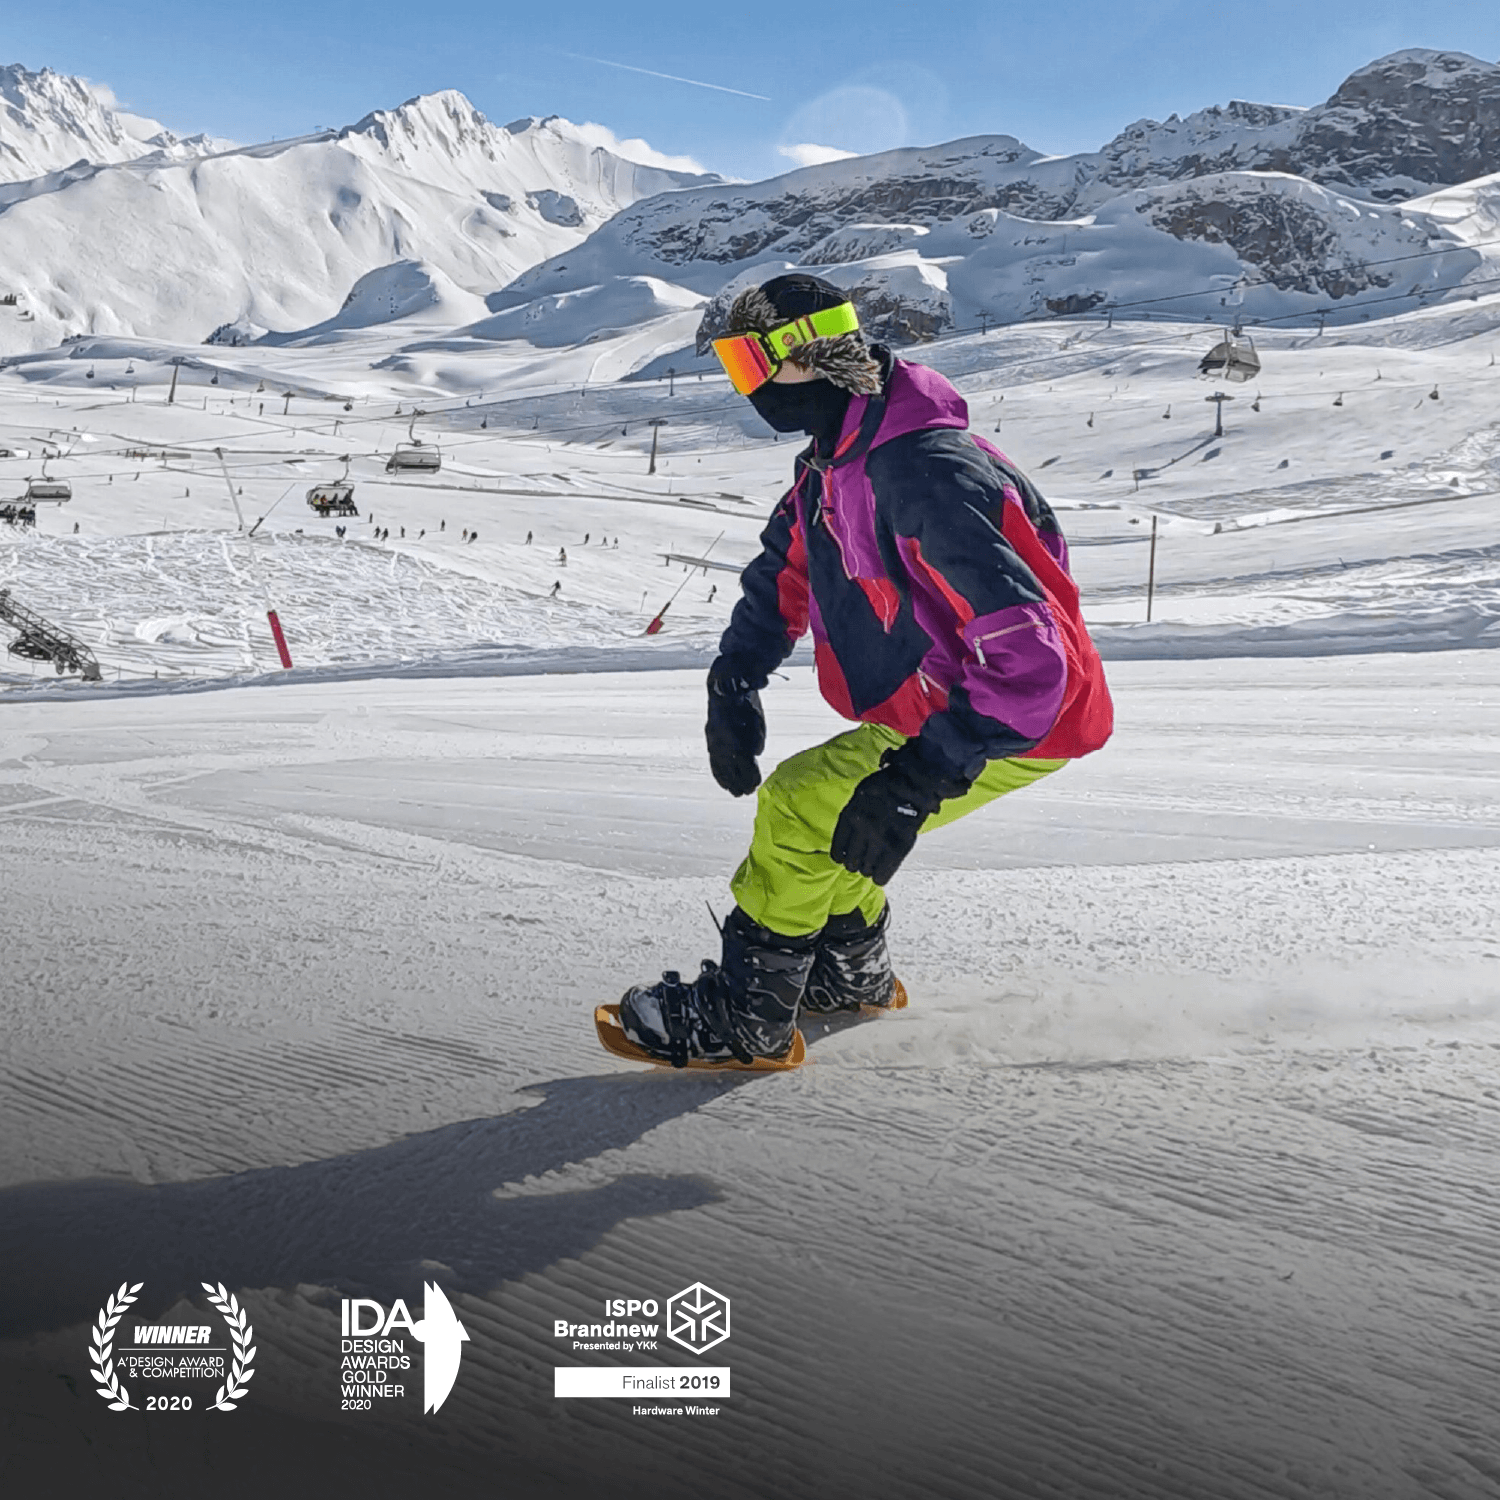
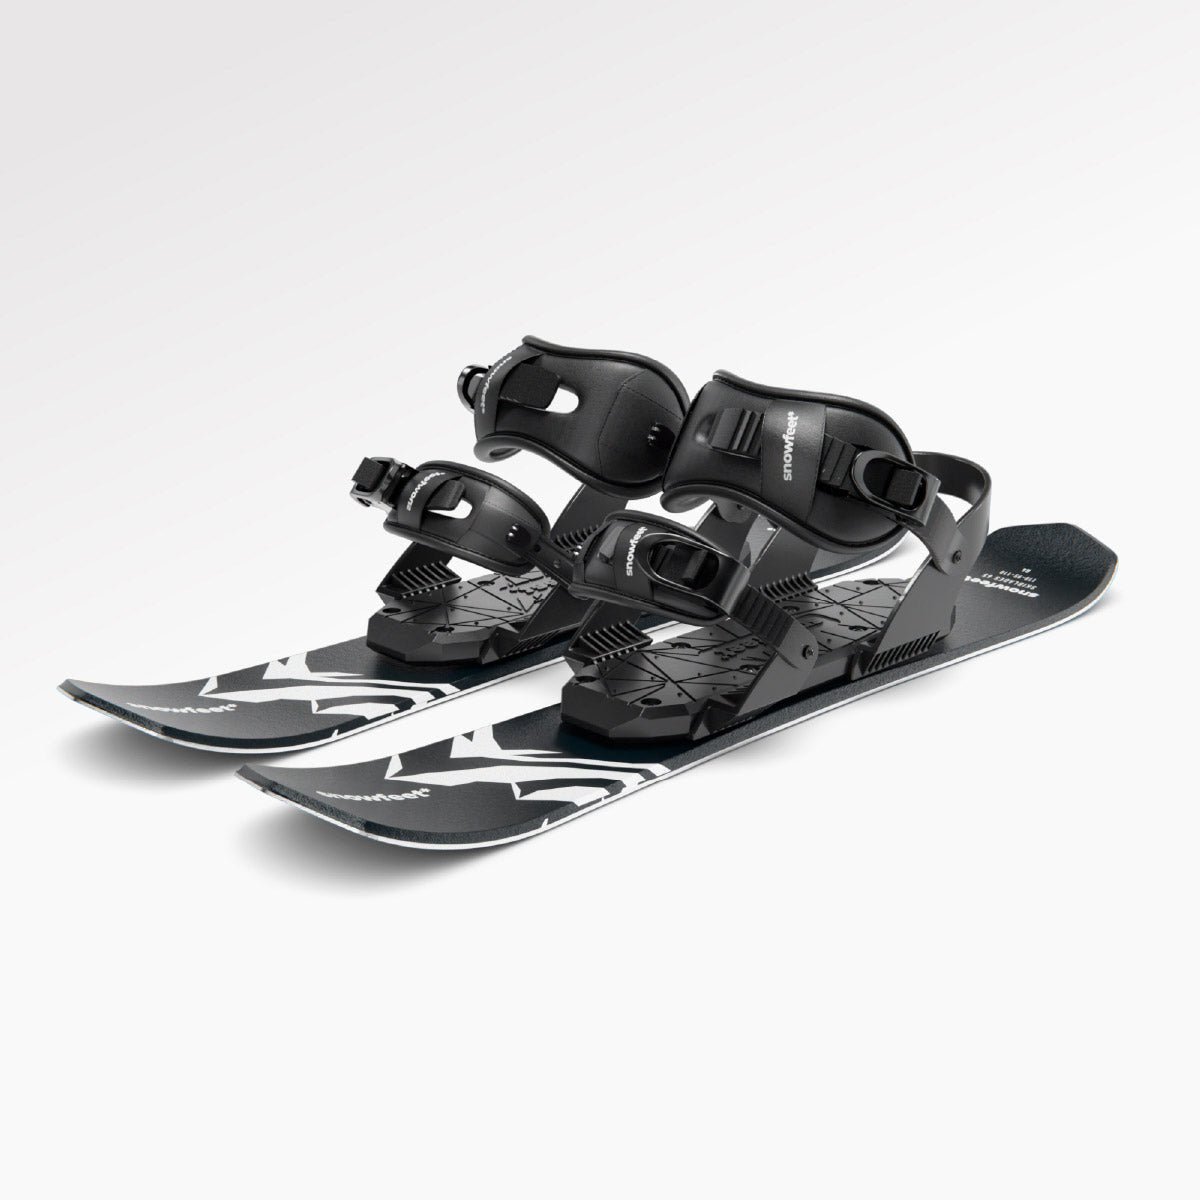
For those who want to skip the hassle altogether, consider Snowfeet*: mini ski skates that fit over regular winter shoes, offering instant comfort and versatility for snowy terrains.
How to Break in New Figure Skates TOP TIPS!
Getting Ready Before You Skate
Once you've nailed the right skate size, your off-ice prep becomes the key to a smooth break-in. Believe it or not, the socks you choose and how you lace up can make or break your comfort and performance on the ice.
Pick the Right Socks
After sizing your skates, the next step is figuring out what to wear inside them. Go for thin, moisture-wicking socks made from materials like polyester, nylon, or spandex blends. These fabrics help pull sweat away from your feet and cut down on friction - two things that can save you from blisters and discomfort.
Skip cotton or thick socks. They trap moisture and can create extra friction, which is the last thing you want when breaking in new skates. And here's a pro tip: stick with the same type of sock throughout the break-in period and beyond. Switching it up can mess with the fit of your skates and cause unexpected pressure points.
How to Lace Your Skates Correctly
Getting your laces just right is a game-changer for both comfort and control. A common mistake is pulling the laces as tight as possible, thinking it’ll give you better support. But overdoing it can lead to pressure points, cut off circulation, and even cause numbness or pain.
Start by keeping the laces snug - not overly tight - around the forefoot. This allows the boot to mold naturally to your foot. As you move up the boot, keep the tension even to avoid creating tight or loose spots.
Pay special attention to the top hooks and eyelets. Your ankles should feel secure but still have enough flexibility for natural movement as the boot softens over time. For your first few sessions, you might want to lace only up to the third hook. This gives your ankles more room to move and reduces pressure while breaking in the skates.
If you’re dealing with pressure points, try a lock-lacing technique. This can secure your heel without tightening the entire boot, helping the skates work with your foot shape instead of against it. And if you feel numbness or sharp pain, loosen the laces right away - comfort is key.
The goal here is a snug, supportive fit that doesn’t feel crushing. This balanced approach makes breaking in your skates easier and sets you up for better performance down the road.
For extra comfort, consider adding gel pads, moleskin, or thin blister pads to areas prone to rubbing. Applying these before you even hit the ice can help you avoid problems before they start.
Once your socks and lacing are dialed in, you’re ready to ease into those first on-ice sessions.
Step-by-Step Break-In Methods
Breaking in your skates takes time, but starting slow can save you from unnecessary pain or injury. With your socks snug and laces tied just right, let’s ease into the process.
Start with Short Skating Sessions
For your first few times on the ice, keep it simple. Stick to 20–30 minute sessions, focusing on light skating and basic drills[8]. Pay attention to how your feet feel - if something’s uncomfortable, stop and make adjustments. Over the next few weeks, gradually extend your sessions. This gives the boot material time to mold to your feet without causing blisters or soreness[7]. Think of it as breaking in a new pair of shoes - slow and steady wins the race.
Breaking In Skates at Home
Not ready to hit the ice yet? No problem. You can start breaking in your skates right at home. Slip them on with blade guards and walk around your house for 10–15 minutes at a time. This helps the boot material begin to shape to your feet in a safe, controlled setting. While you’re at it, flex your ankles to get used to the feel of the skates without worrying about staying balanced on the ice.
Once you’re comfortable with these steps, you can move on to advanced techniques to fine-tune the fit even more.
Advanced Methods for Faster Break-In
Once you've got the basics down, it's time to step up your game with some advanced techniques. These methods can help you fine-tune the fit of your skates and make them more comfortable in less time.
Heat Molding for a Perfect Fit
Heat molding is a fantastic way to get your skates to fit like a glove - quickly. By applying controlled heat, the boot material softens and molds to the unique shape of your foot.
"Most modern hockey skates are made from materials that can be heat molded. Heat molding helps the boot form to the shape of your foot much faster."
- 14 Sunshine Hockey [8]
Here’s how it works: The skates are placed in a specialized oven for a few minutes to heat them up. Afterward, you put them on, lace them up snugly, and remain still for about 10–15 minutes as they cool and conform to your feet [8]. The whole process takes roughly 30 minutes and can save you weeks of breaking them in the traditional way.
Important: Don’t try this at home. Head to a professional hockey shop or pro shop to have it done. They’ve got the right equipment and know-how to handle the process safely. While heat molding can make a big difference, you might still need a few short sessions to fully break them in.
Pairing heat molding with other protective measures can make the transition even smoother.
Tools to Keep Pain at Bay
Take your break-in routine to the next level by using specialized tools designed to ease discomfort. These items can protect pressure points and stop blisters before they start, making the whole experience far more enjoyable.
- Gel pads, donut pads, moleskin, or blister tape: These work wonders for cushioning areas like your ankle bones and heels, where irritation tends to happen most often [8].
- Ankle sleeves or neoprene accessories: These provide broader protection by reducing friction across multiple areas, giving your feet a much-needed break.
"Yes, good insoles improve arch support, lockdown, and overall comfort."
- SkatePro [9][11]
Another game-changer? High-quality insoles. They improve arch support, keep your feet locked in place, and make your skates feel more comfortable overall - especially if your feet tend to slide around.
For a quick DIY fix, try applying a thin layer of petroleum jelly to your heels and ankles before putting on your skates. This creates a slick barrier that reduces rubbing and helps prevent blisters [10]. Just don’t overdo it - you want to avoid making your feet slip too much inside the boots.
When combined with the right socks and proper lacing techniques, these tools can make the break-in period a lot easier. That way, you can focus on enjoying your time on the ice instead of worrying about sore feet.
sbb-itb-17ade95
Snowfeet*: A New Take on Winter Fun
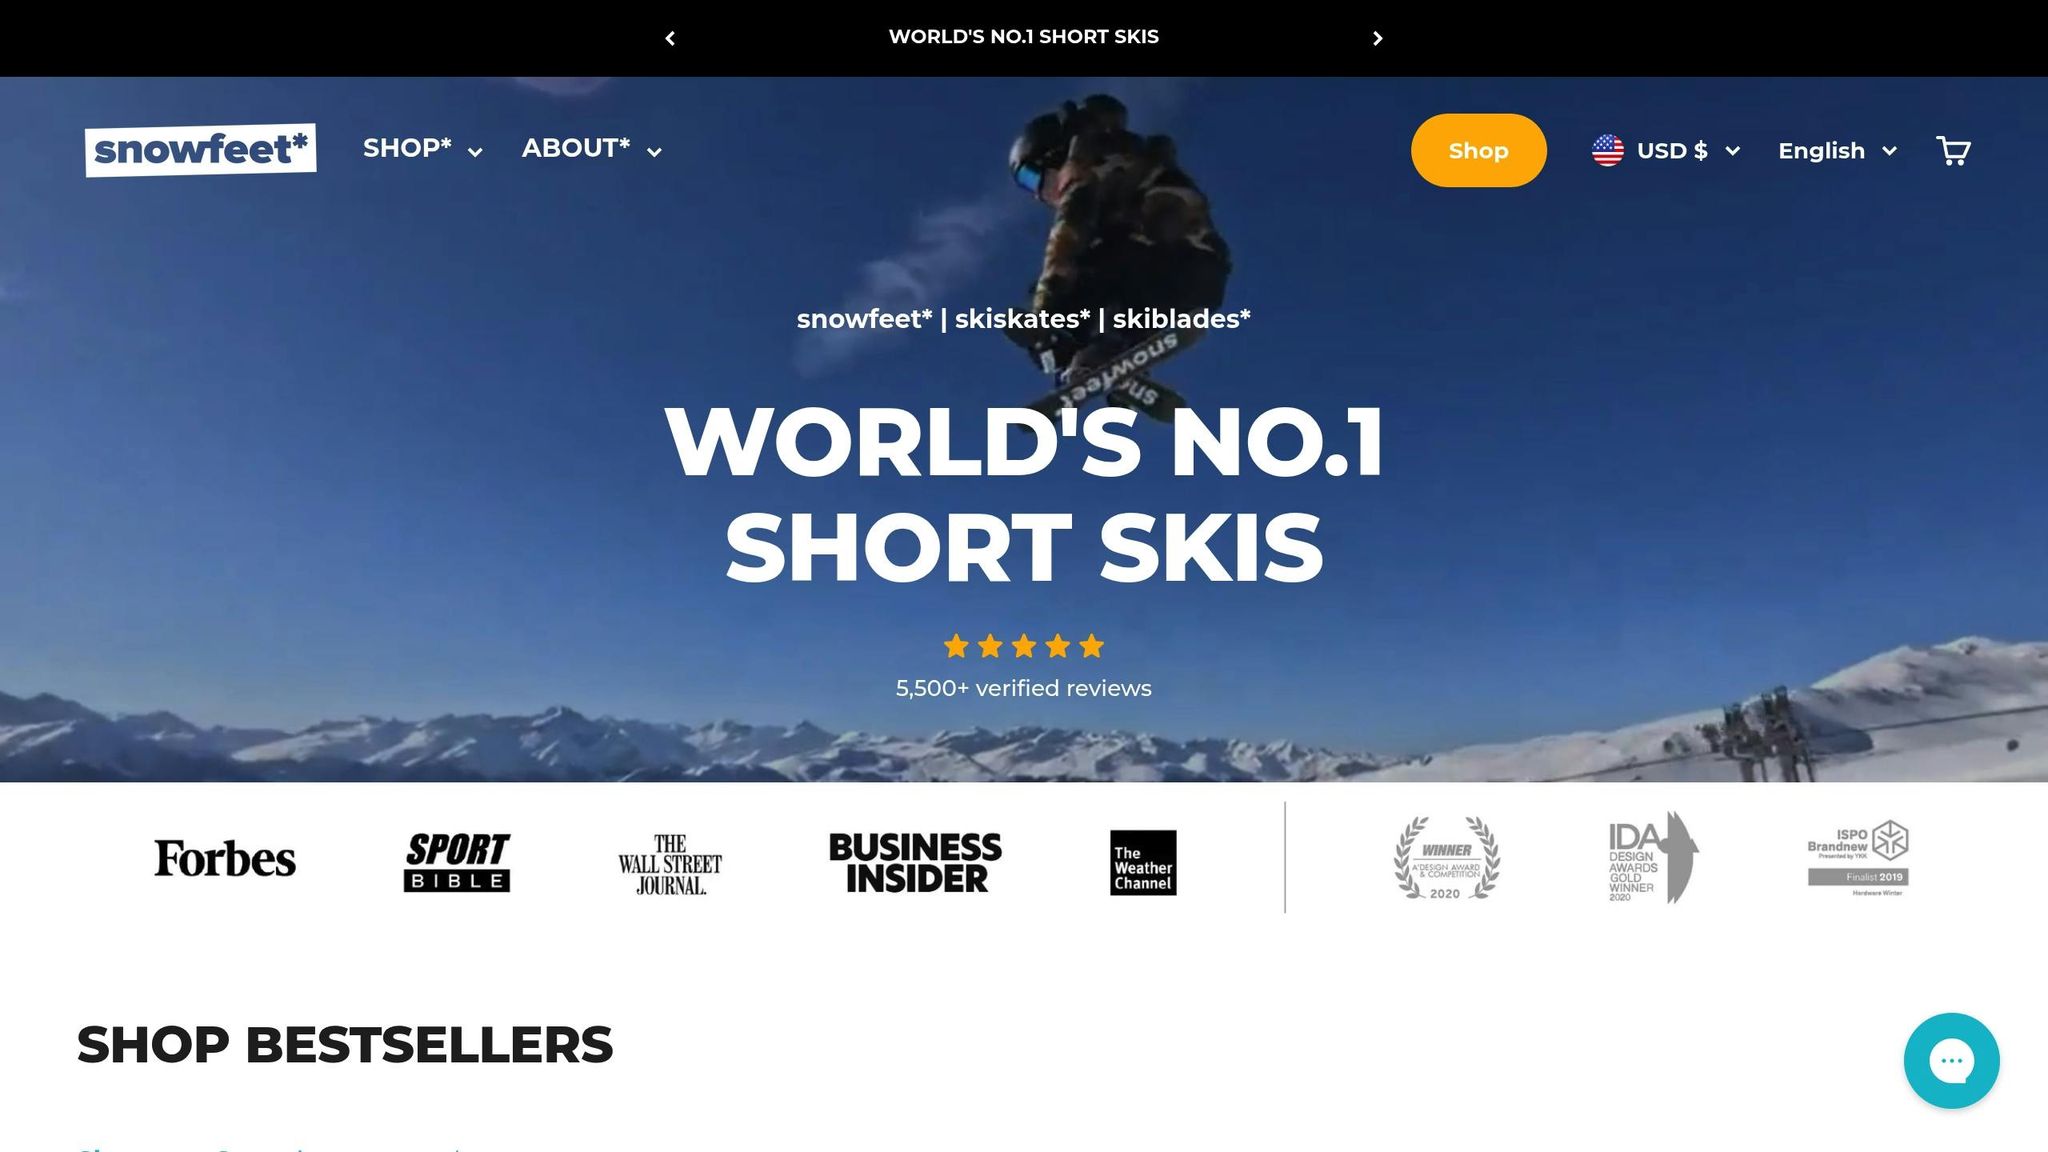
If breaking in stiff ice skates and dealing with sore feet doesn't sound like your idea of fun, there's a much easier option. Say hello to Snowfeet*! These nifty mini ski skates work with your regular winter shoes or snowboard boots, giving you instant comfort and skipping the whole "painful break-in" process.
Why Snowfeet* Are a Game-Changer
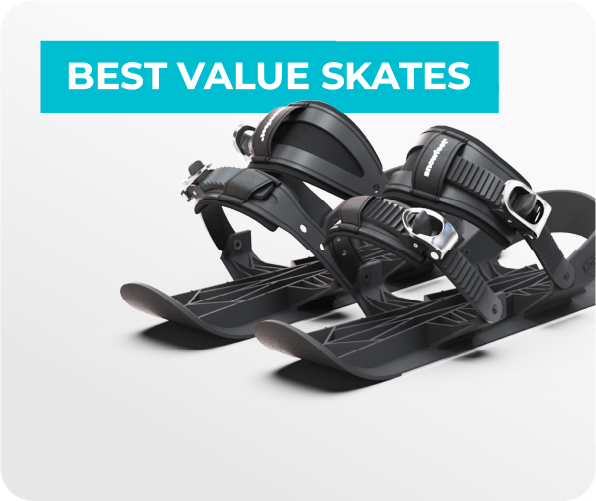
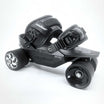
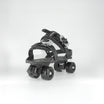
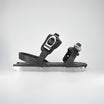
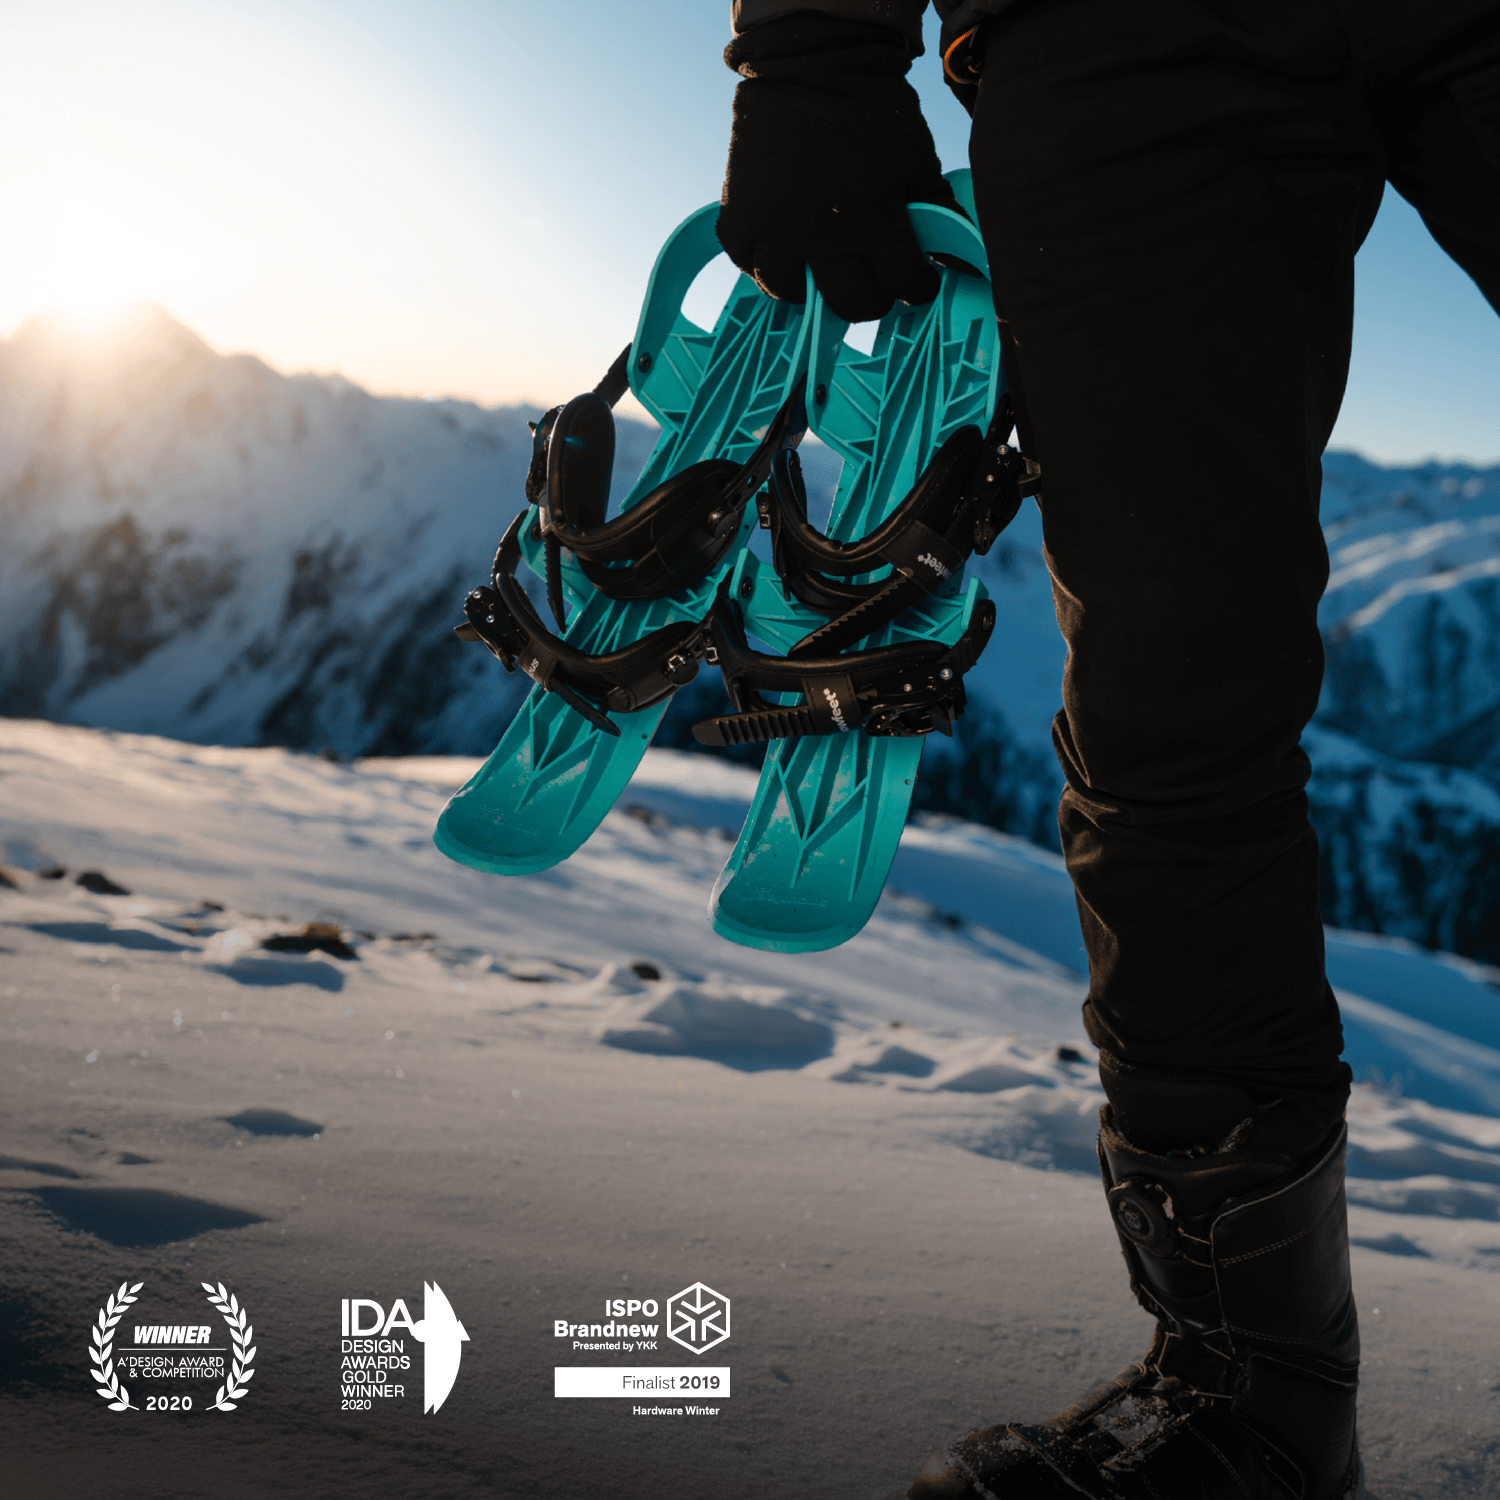
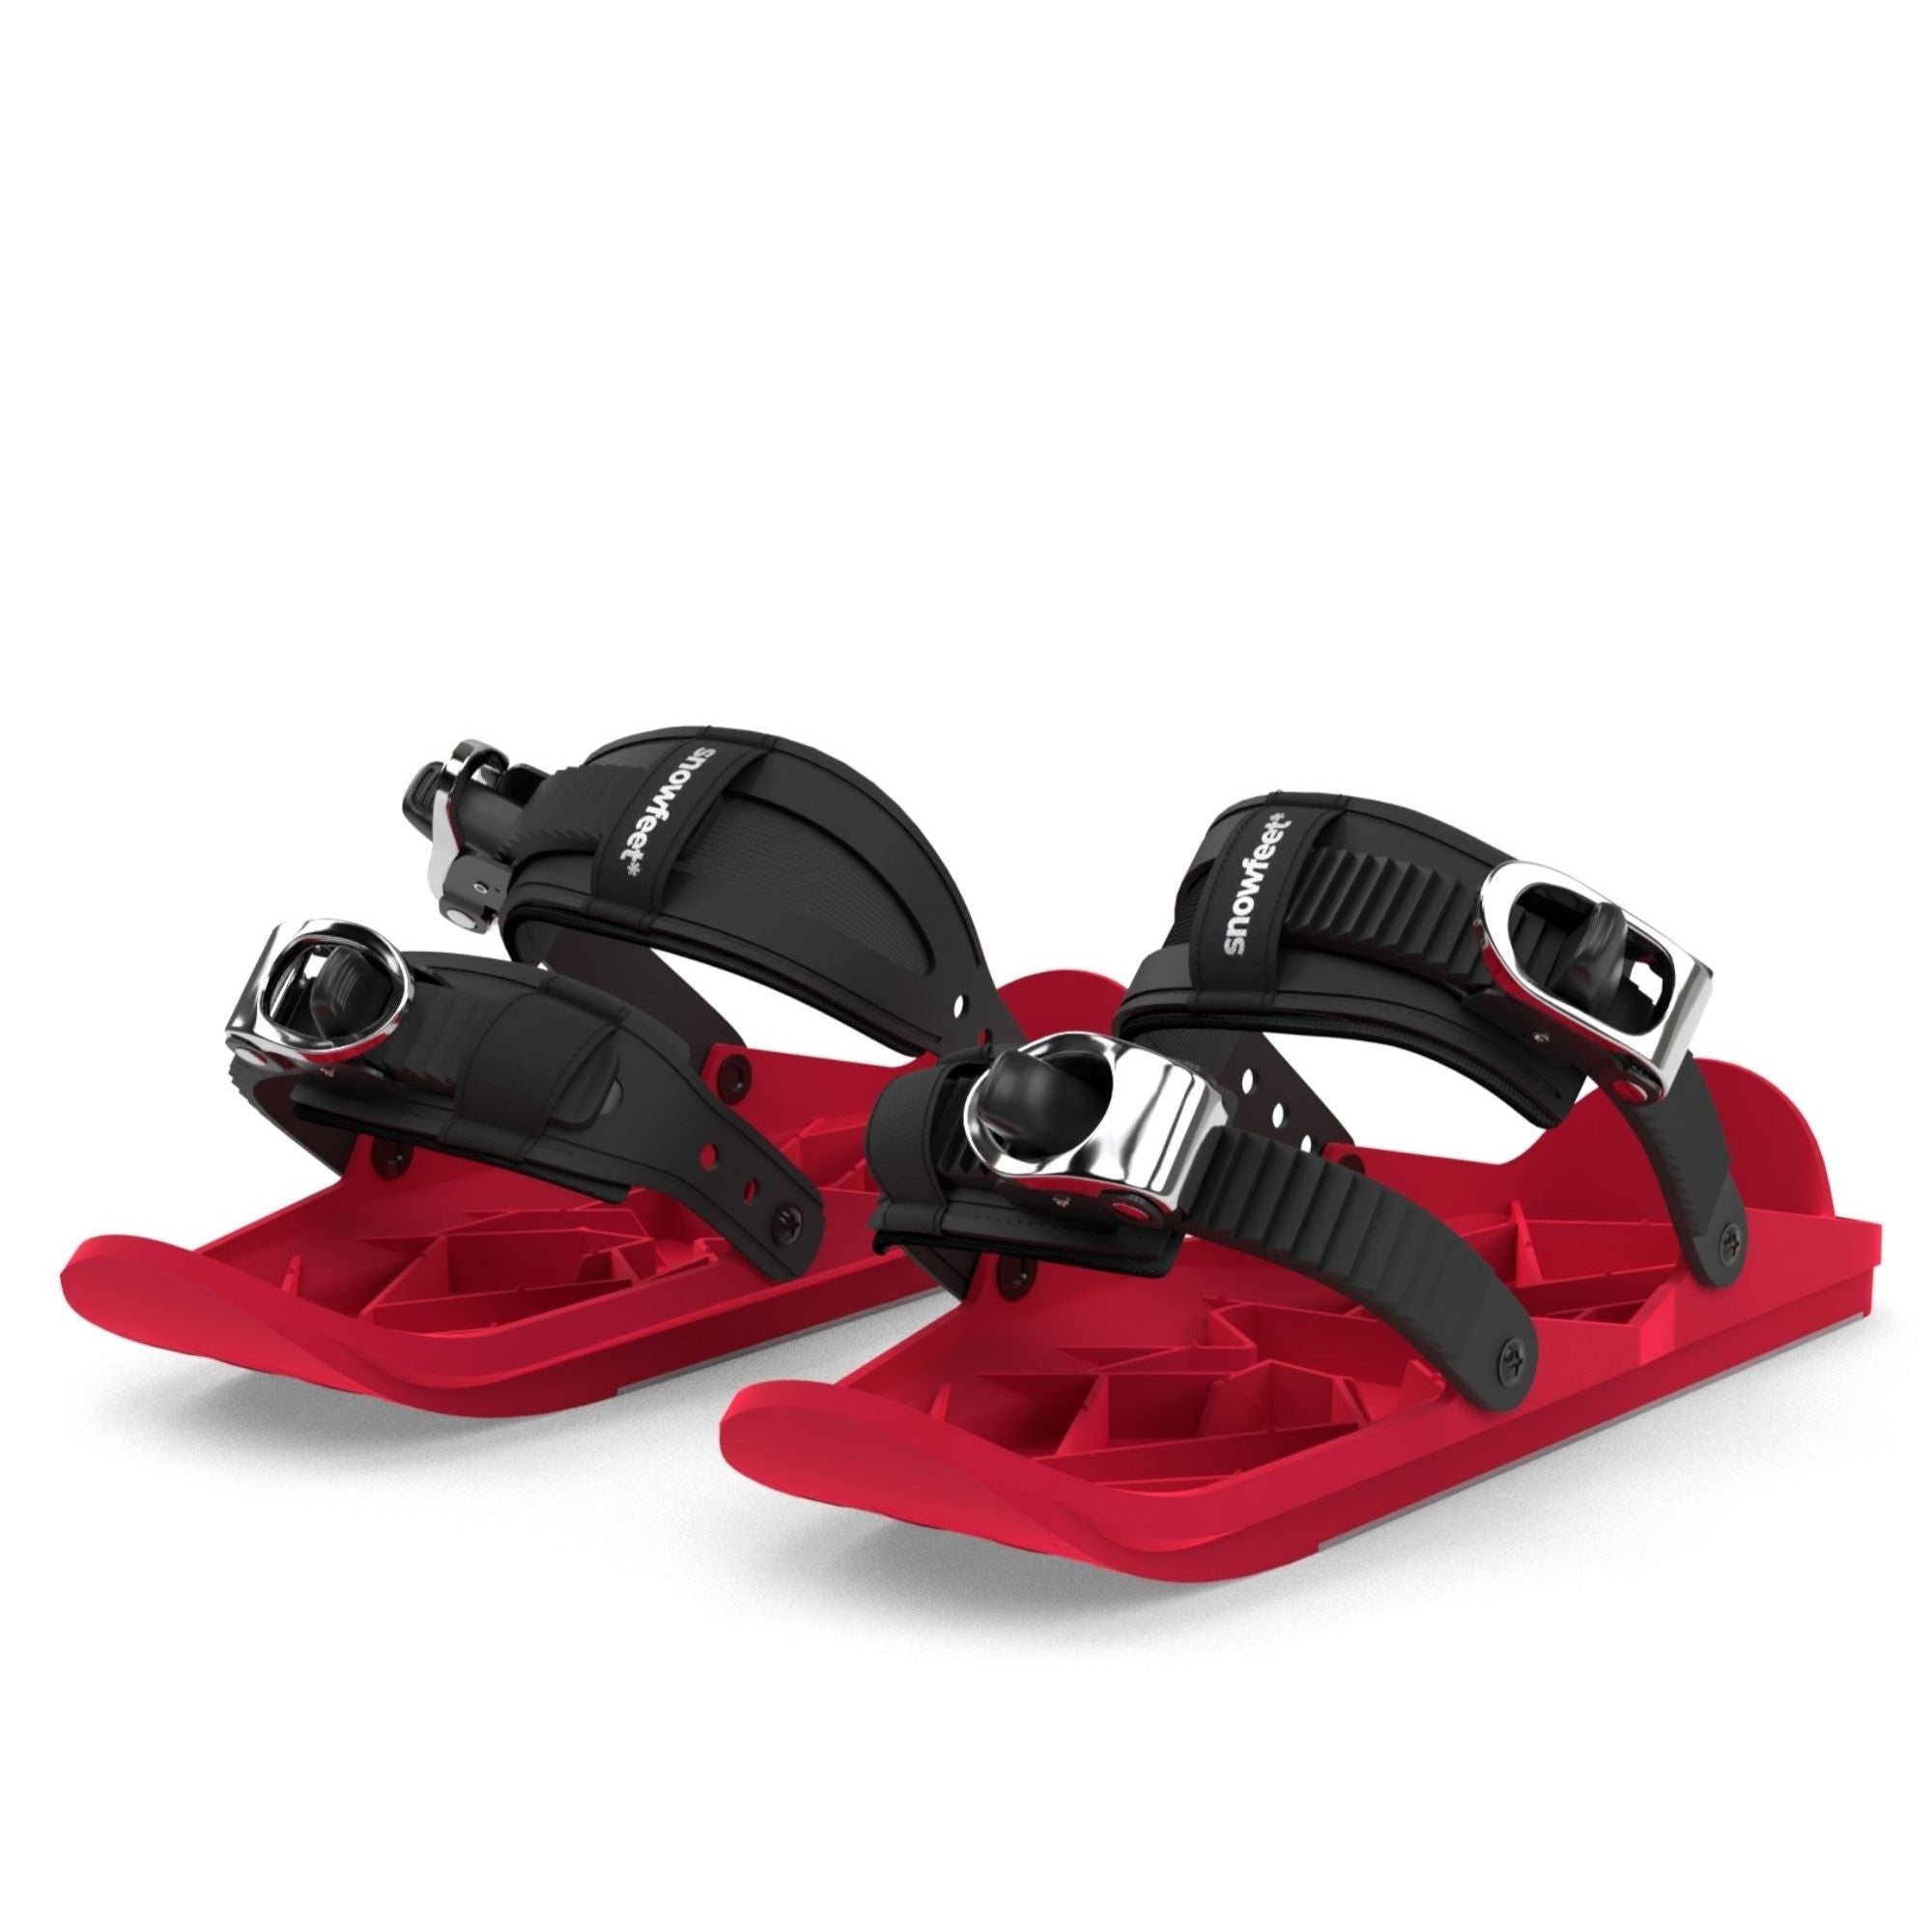
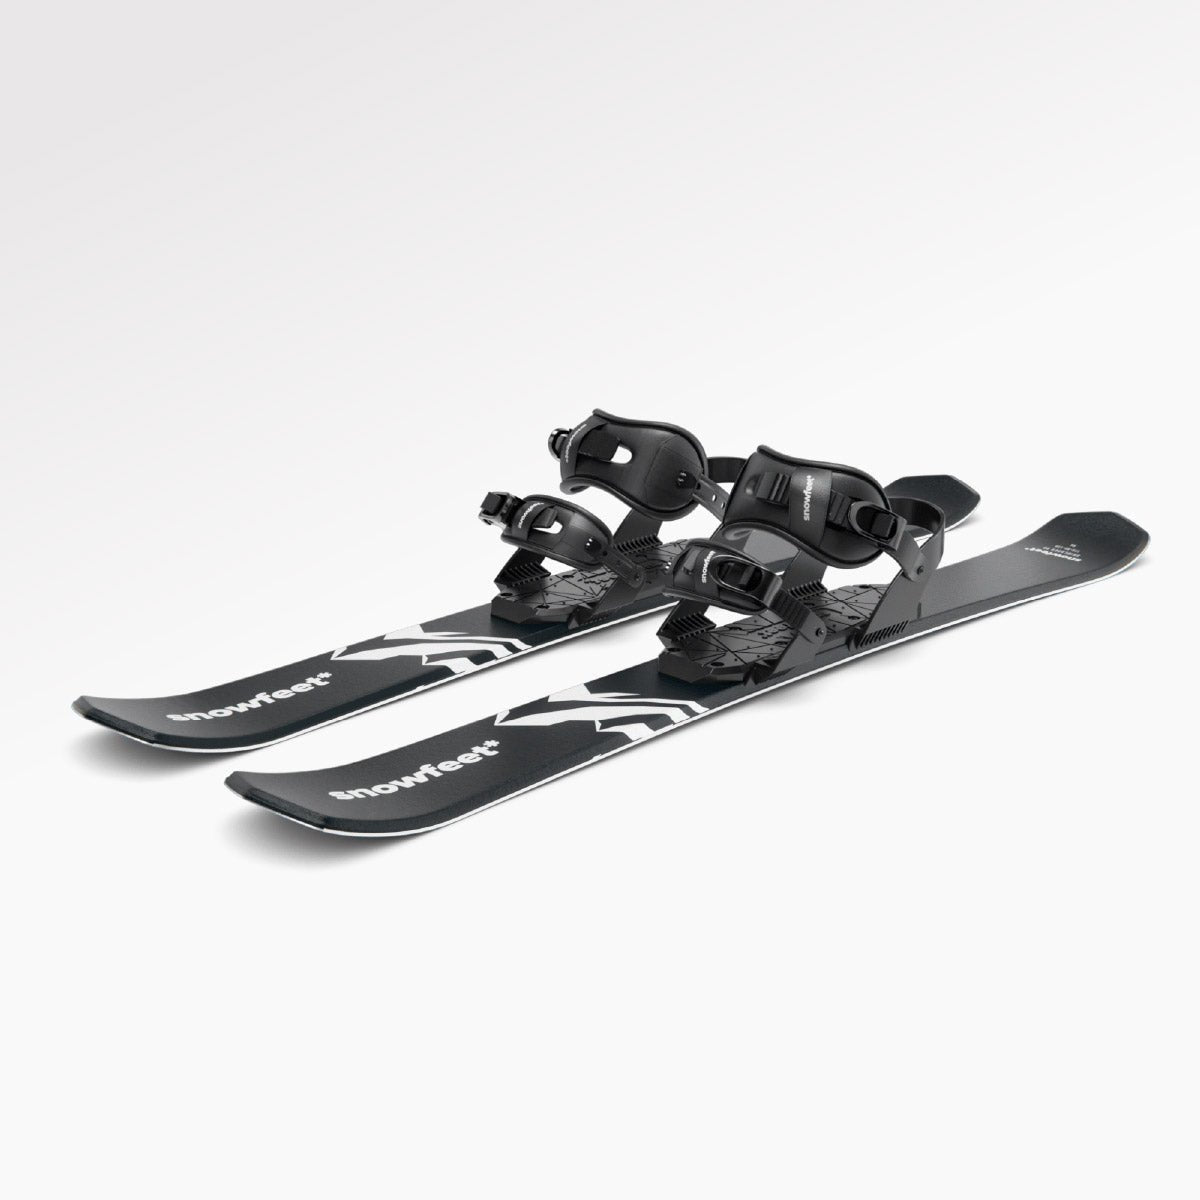
Forget about lugging around specialized boots. Snowfeet* Mini Ski Skates, at just 15 inches (38 cm) long, are lightweight and designed to fit over your everyday footwear. That means you can jump right into the action - no waiting, no discomfort.
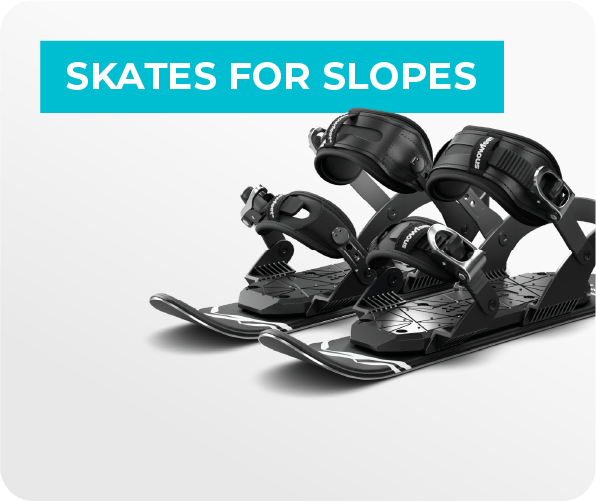
And here's the kicker: while traditional ice skates are stuck on ice rinks, Snowfeet* can handle all kinds of snowy terrains. Whether you're cruising down ski slopes, playing in snow parks, trekking on hiking trails, or just having fun in your backyard, Snowfeet* give you the freedom to explore without the hassle of bulky gear.
How Snowfeet* Stack Up Against Traditional Gear
Traditional skis and snowboards come with a lot of baggage - literally. Between the boots, bindings, and time spent adjusting everything, it can feel like a chore. Snowfeet* skip all that. Just strap them onto your existing shoes, and you're ready to glide. Less fuss, more fun.
Add-Ons to Elevate Your Snowfeet* Experience
Want to take your Snowfeet* adventures to the next level? Check out these handy accessories:
- Replacement straps for a snug, secure fit.
- Snowfeet* wax to keep your ride smooth and fast.
- Gel pads for extra comfort in your boots.
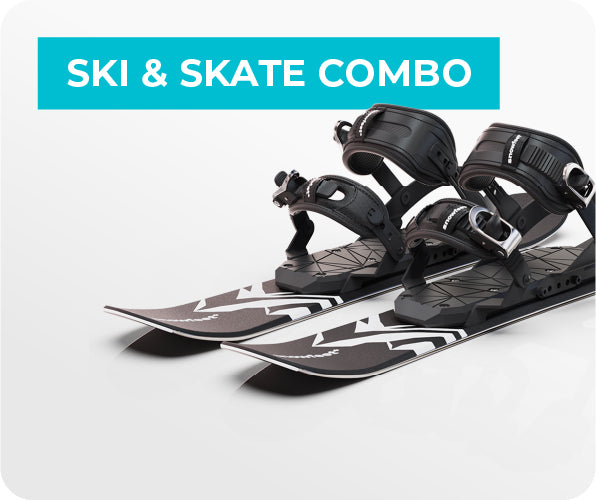
For those looking to up their game, the Snowfeet* PRO models (priced at $275) feature adjustable bindings and extra durability. And if you're after something a bit different, the Skiblades series (ranging from 65–99 cm) offers options for all skill levels and snow conditions.
Fixing Common Break-In Problems
Breaking in new ice skates can be a pain - literally. But don’t worry, most of the common issues you might face have simple solutions. Let’s tackle some of the discomforts that can pop up and how to deal with them.
Dealing with Foot Pain and Blisters
Foot pain and blisters are often caused by pressure points. If you’re feeling discomfort around your ankles, the top of your foot, or your heel, there are a few tricks to make things more bearable.
- Protective gear is your friend: Products like the PediFix Visco-GEL Skate & Boot Protection Sleeve ($39.95) can cushion sensitive areas like the top of your foot and ankle. For ankle-specific issues, the Elite Hockey Ankle Skate Gel Pad 2-Pack ($16.40) works wonders by reducing friction and preventing chafing and blisters.
- Adjust your laces: Sometimes, pain on the top of your foot can be eased by skipping a couple of eyelets or loosening the laces in that area. For ankle pain, try tightening the lower part of the skate while leaving the ankle section a bit looser.
- Be proactive with blisters: At the first sign of tenderness, take a break and apply a blister pad or medical tape. For areas prone to blistering, moleskin can add a layer of protection. If a blister has already formed, avoid popping it. Instead, cover it with a specialized blister bandage and give your foot a day or two to recover.
If these steps don’t ease the discomfort, it might be time to call in the pros.
When to Get Professional Help
Sometimes, DIY fixes just don’t cut it. If you’re still in pain after trying these methods, it’s a good idea to seek professional assistance.
- Visit a skate fitter: A professional skate technician can pinpoint the exact cause of your discomfort. They might heat mold your skates or "punch out" tight spots to create more room, giving you a fit that’s tailored to your feet.
- Consider orthotics: If you have alignment issues, like a pronating foot, a podiatrist can help. They may suggest custom orthotics to improve alignment and reduce pain while skating.
- Exchange or adjust: If your skates feel too tight or your foot keeps sliding, it’s worth heading back to the store for an exchange or adjustment.
And if the pain seems more intense than the usual break-in discomfort - or you suspect a sports injury - don’t wait. Get medical advice right away to prevent further issues. Taking care of your feet now can save you from bigger problems down the line.
Conclusion: Your Path to Pain-Free Skating
Breaking in new ice skates doesn’t have to be a painful ordeal. By sticking to the basics - like starting with short 10–15 minute sessions - you can ease your feet into the skates and avoid blisters.
If you do feel discomfort, there are plenty of fixes. Gel pads can cushion sore spots, adjusting your laces can relieve pressure, and taking breaks gives your feet a chance to recover. For a more tailored fit, heat molding is a great option, and if all else fails, a professional can help fine-tune your skates.
Or, you could skip the break-in process altogether with Snowfeet*. Designed with comfort as a priority, Snowfeet* products are ready to wear right out of the box. You can pair them with your regular winter shoes or snowboard boots, avoiding the tight, restrictive feel of traditional skates.
Unlike traditional ski and snowboard gear that often requires lengthy adjustments, Snowfeet* offers a shorter, more agile design that prioritizes instant comfort and ease of use. It’s all about maximizing your time on the ice - no long break-in period, no pain, just fun and enjoyment.
FAQs
What are the advantages of heat molding for breaking in new ice skates, and how does it compare to traditional methods?
Heat molding is a game-changer when it comes to breaking in new ice skates. By softening the materials and shaping them to match the contours of your feet, it creates a fit that feels like it was made just for you. The result? Less pressure, fewer friction points, and a lower chance of ending up with painful blisters. Plus, it makes the whole break-in process almost effortless.
Unlike the old-school method of breaking in skates by simply wearing them for hours (and dealing with all the discomfort that comes with it), heat molding speeds things up dramatically. It’s perfect for skaters who want to skip the growing pains and get on the ice feeling comfortable and ready to perform their best right from the start.
What’s the best way to break in new ice skates without pain or discomfort?
Breaking in new ice skates doesn’t have to be a painful ordeal if you approach it the right way. First off, make sure your skates fit just right - not too snug or loose - and ease into wearing them with shorter sessions to give your feet time to adjust.
Lacing matters, too. Tighten your skates so they’re secure but don’t overdo it - nobody wants painful pressure points. For extra comfort, wear thin, moisture-wicking socks to cut down on friction and prevent blisters. You can also use gel pads or moleskin on spots that tend to rub.
If your skates are heat-moldable, take advantage of that feature. It can help shape the skates to your feet, speeding up the break-in process. And don’t forget to protect your blades with skate guards when you’re off the ice. Keep sessions short until your skates start to feel like a natural extension of your feet.
Why are Snowfeet* Mini Ski Skates a more comfortable alternative to traditional ice skates, especially for avoiding the break-in process?
Snowfeet* Mini Ski Skates are all about instant fun and comfort. Forget the usual break-in struggles that come with traditional ice skates. These little wonders strap right onto your regular winter boots - no extra hassle, no aching feet. Just strap them on, and you're ready to glide.
By ditching the need for special footwear, Snowfeet* make life easier for everyone, whether you're just starting out or already a pro. They’re a great choice for anyone who wants to hit the ice or snow quickly, comfortably, and without the fuss.




Leave a comment
This site is protected by hCaptcha and the hCaptcha Privacy Policy and Terms of Service apply.