
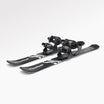
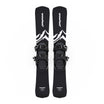
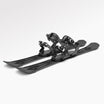
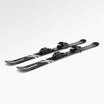
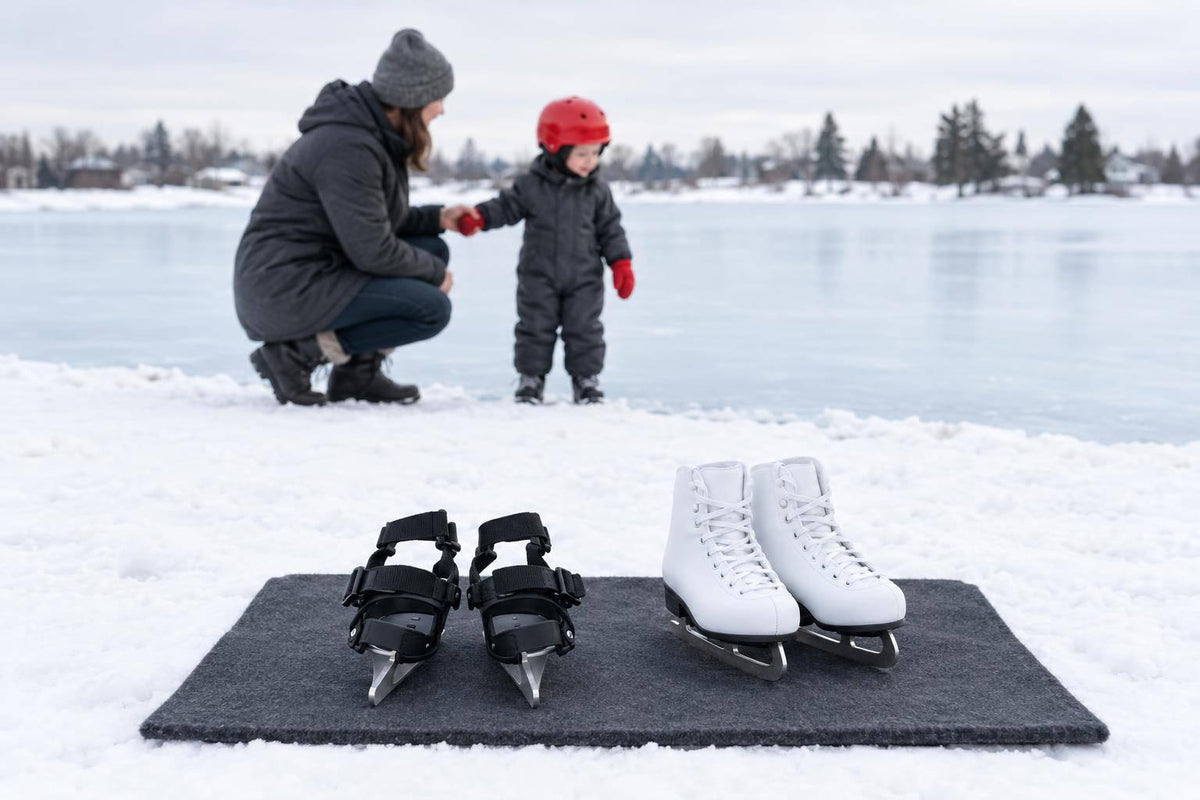
My first pick for a toddler’s pond outing? Gear that fits - not gear they’ll grow into. I’d use fitted toddler skates for lessons, or consider strap-on skates for short outings only if the model meets your child’s age, size, and boot needs.
Here’s how I’d compare the options:
Quick Comparison
| Skate type | Best use | Fit and support | Warmth and carrying |
|---|---|---|---|
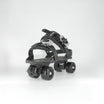
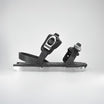
| Snowfeet* Icefeet | Casual use on smooth, maintained ice | Check toddler eligibility; ankle support comes from the boots | Keeps winter boots on; compact to carry |
| Fitted toddler skates | Lessons and regular practice | Snug fit, built-in ankle support, and more blade control | Requires a boot change and room for both pairs |
| Other double-blade or strap-on skates | Short outings, if rated for ice | Boot fit, straps, and support vary by model | Warmth comes from the boots; bulk varies |
I’d pair any option with a properly fitted helmet approved for skating, flexible waterproof layers, waterproof mittens, and 1 thin pair of socks. Snow-only traction gear stays off my skate list.
My go/no-go rule: <u>use a designated pond area only when local officials confirm it’s open for skating</u>. Otherwise, choose an approved rink. Stay within arm’s reach, pack dry backups, and keep the first visit short. Warm and happy beats one more lap.
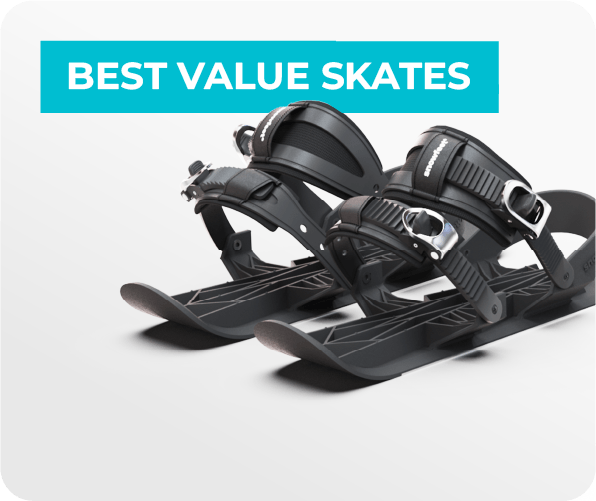
1. Snowfeet* Icefeet Double-Blade Ice Skates
Ice and Activity Compatibility
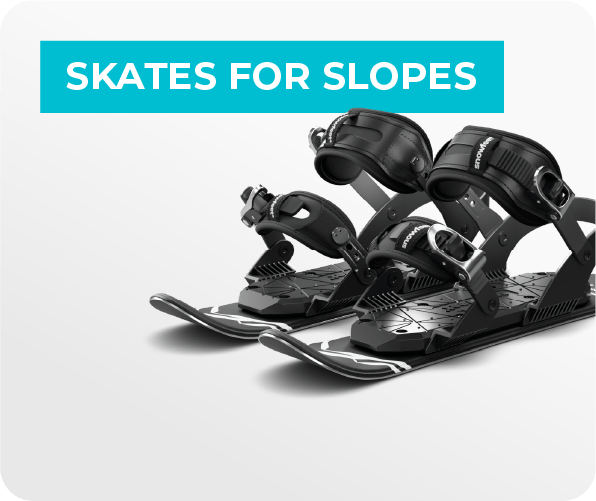
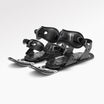
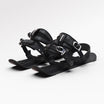
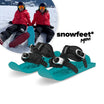
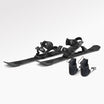
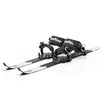
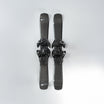
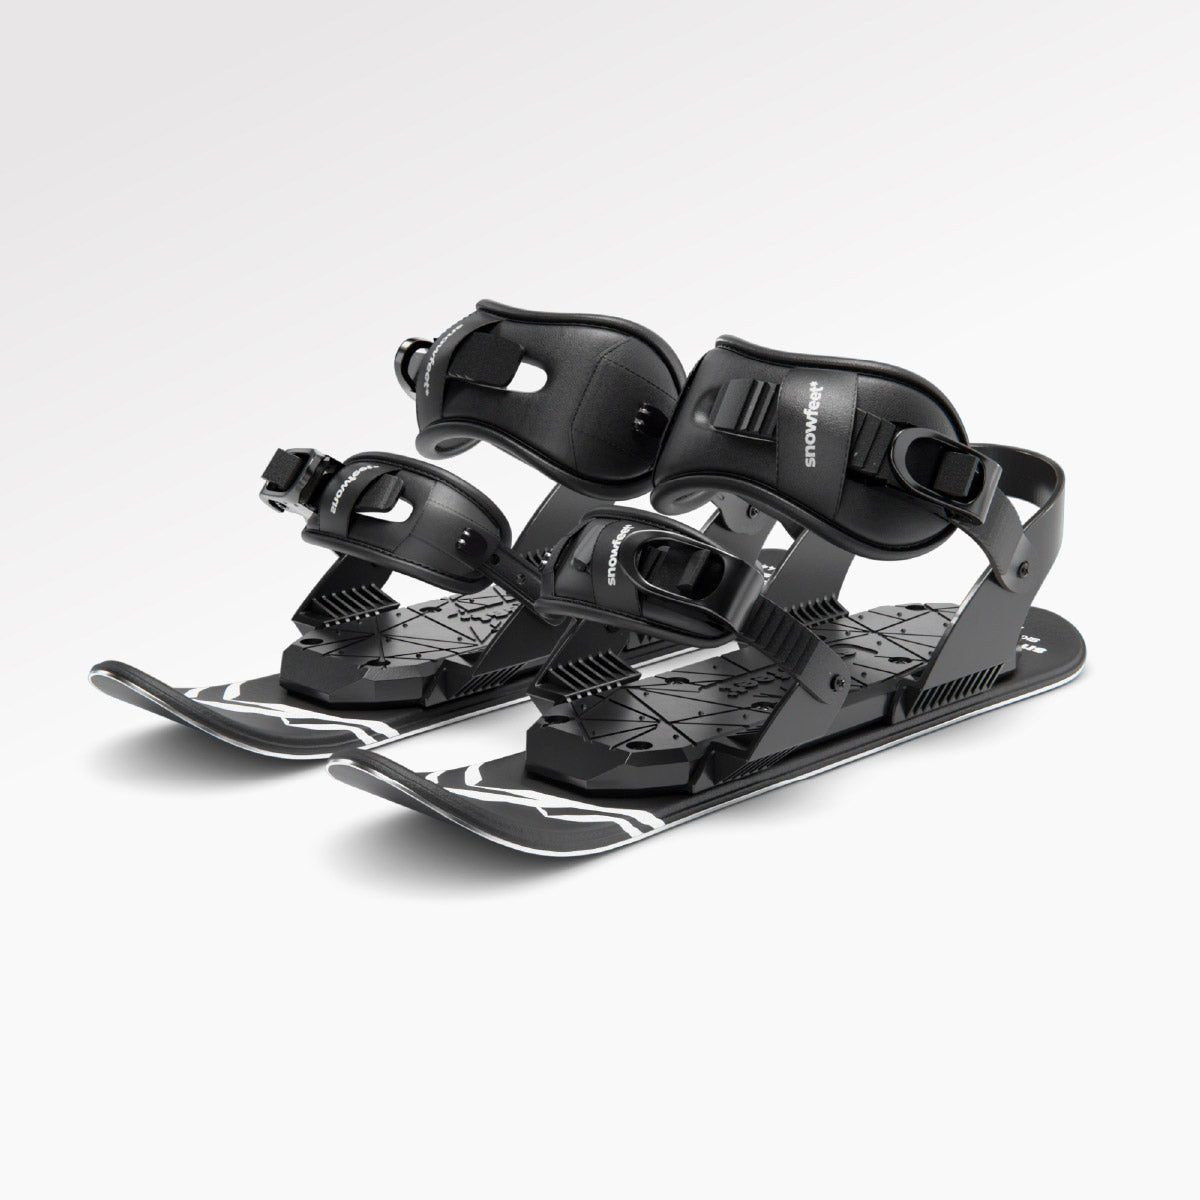
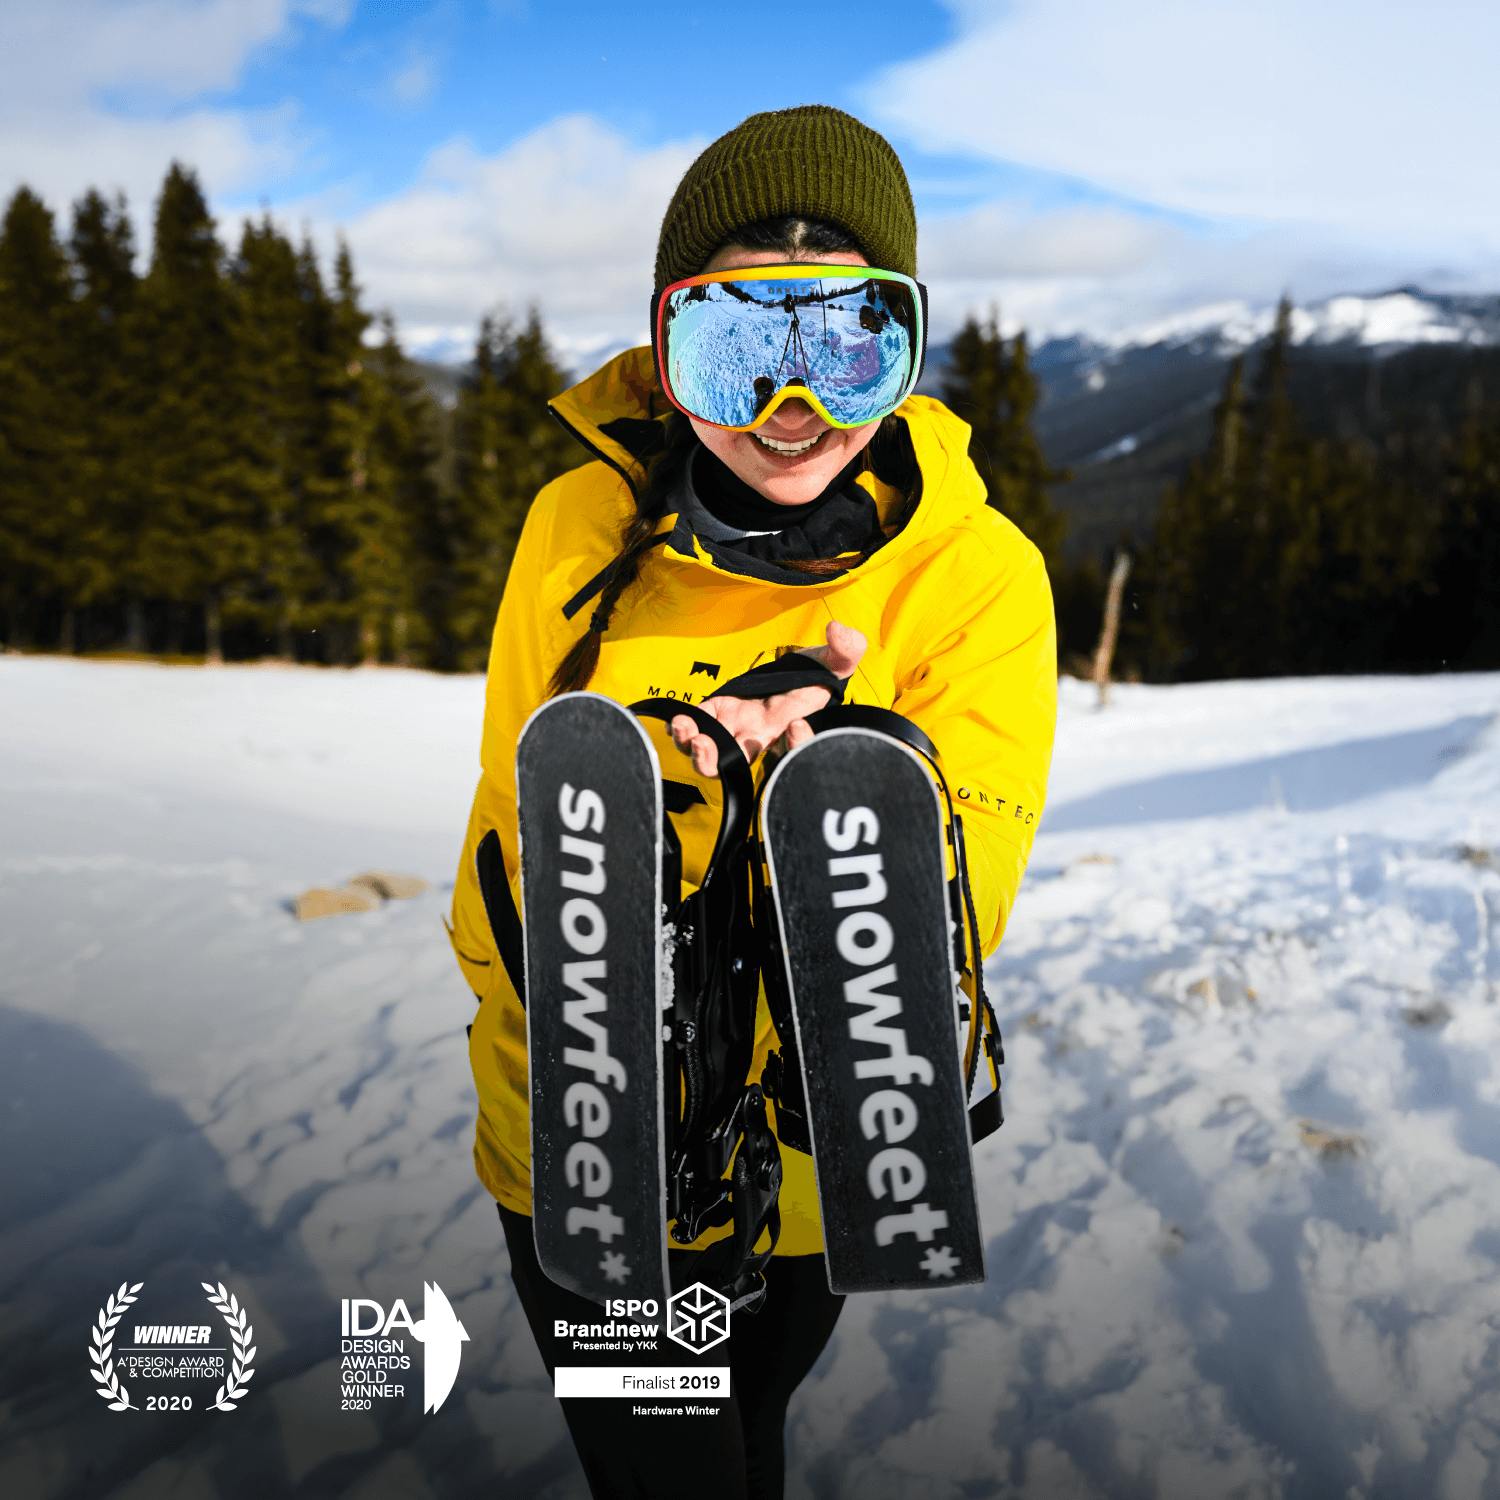
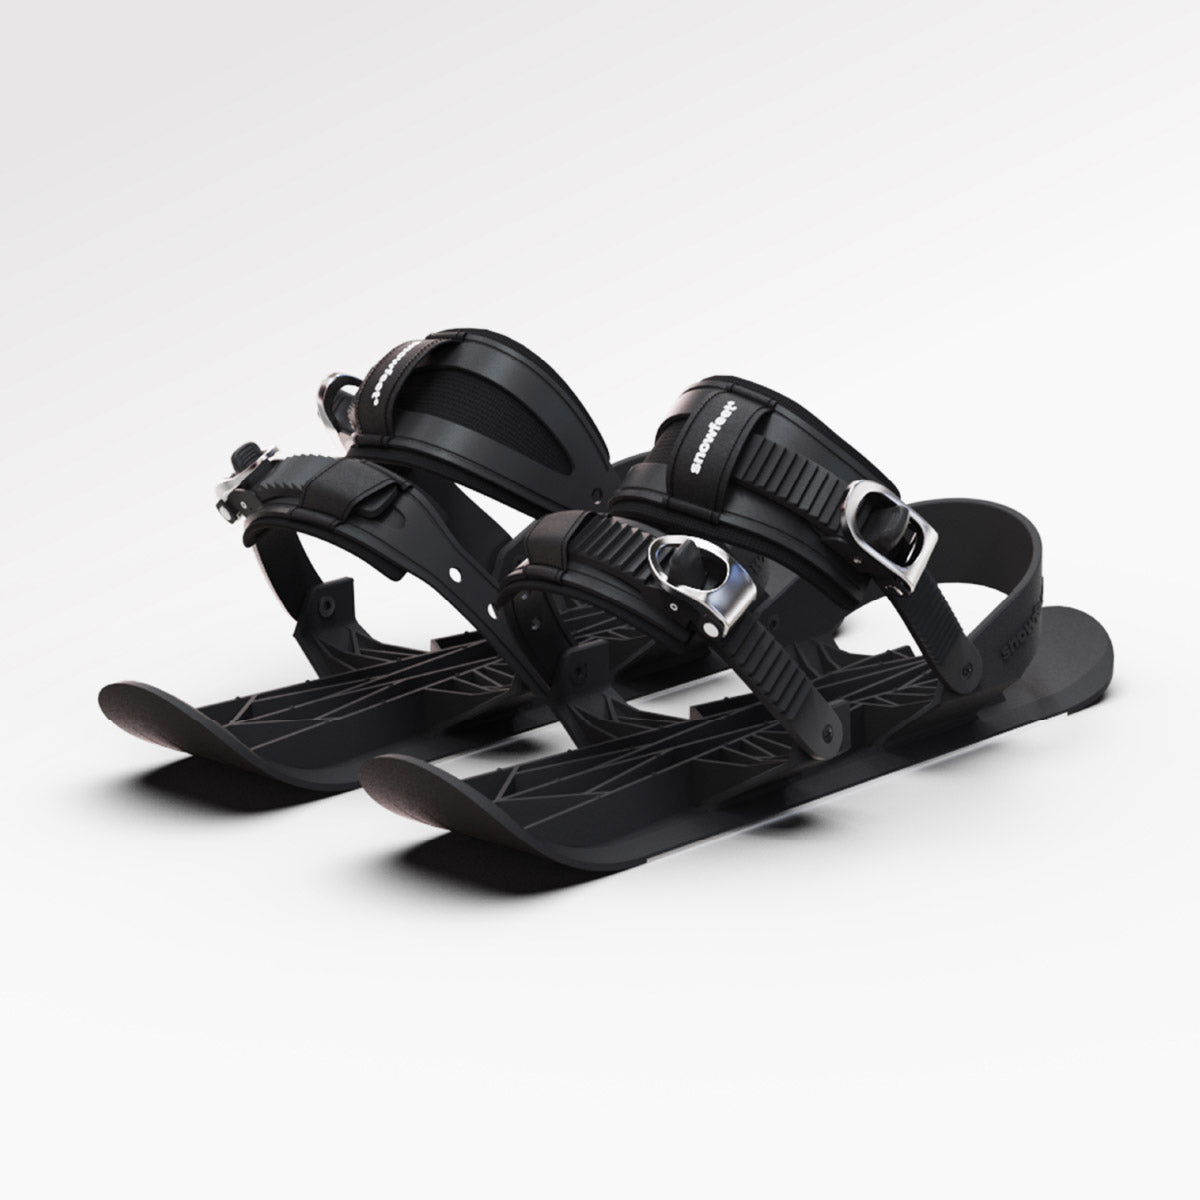
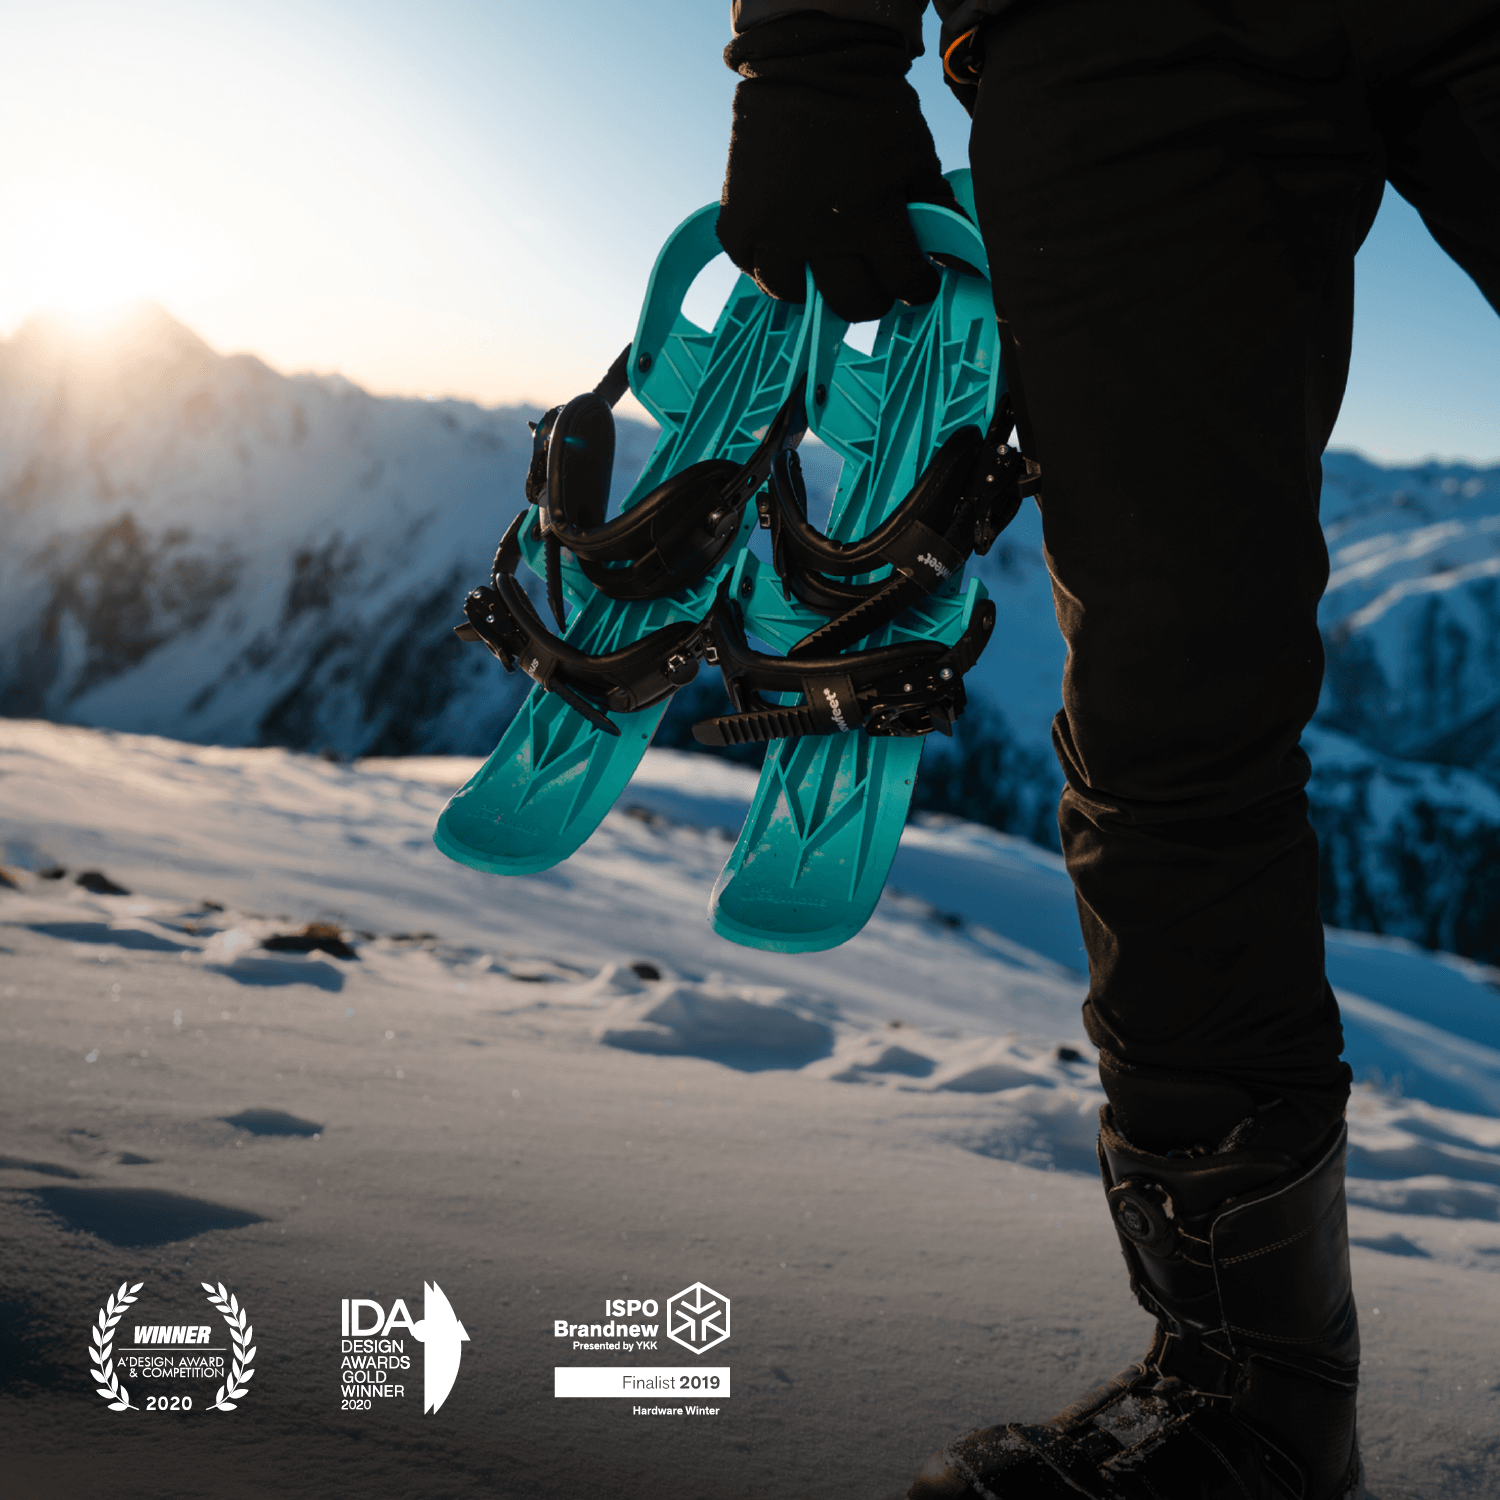
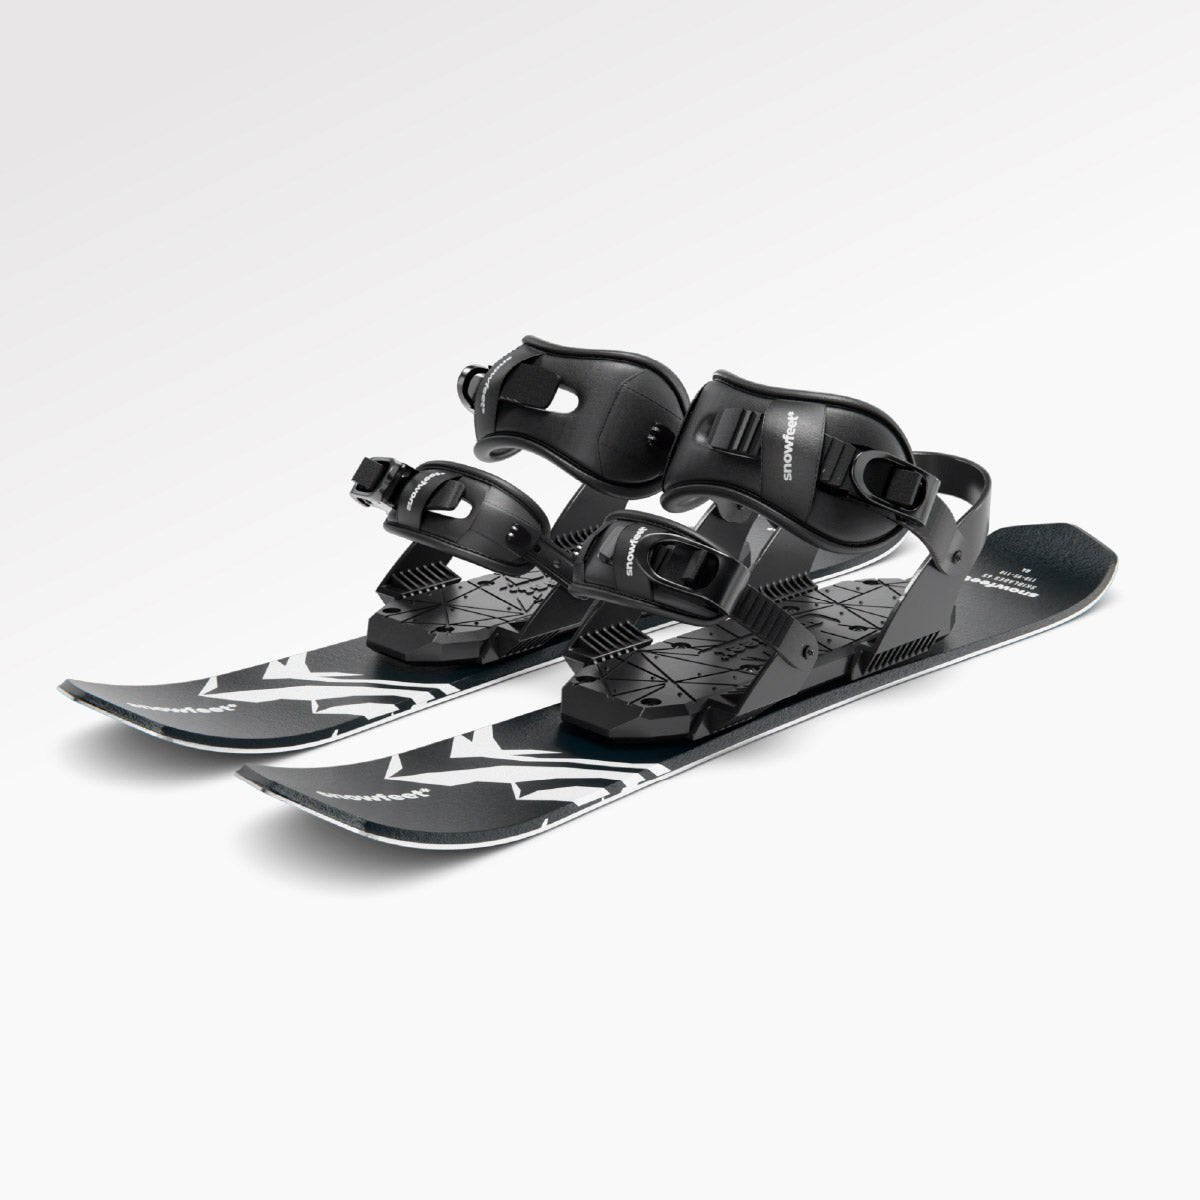
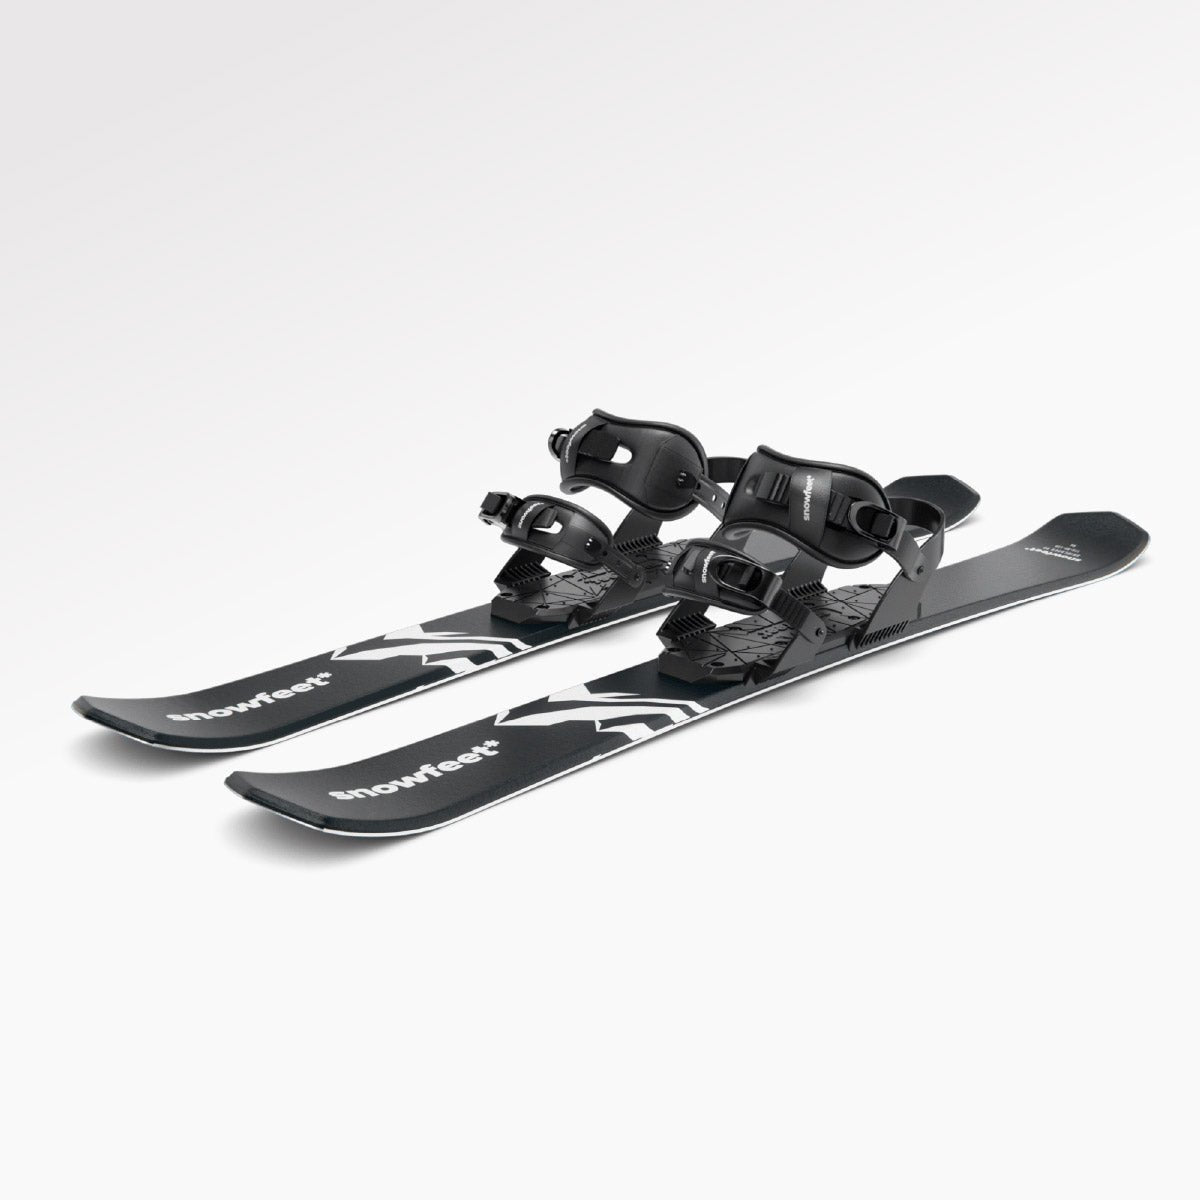
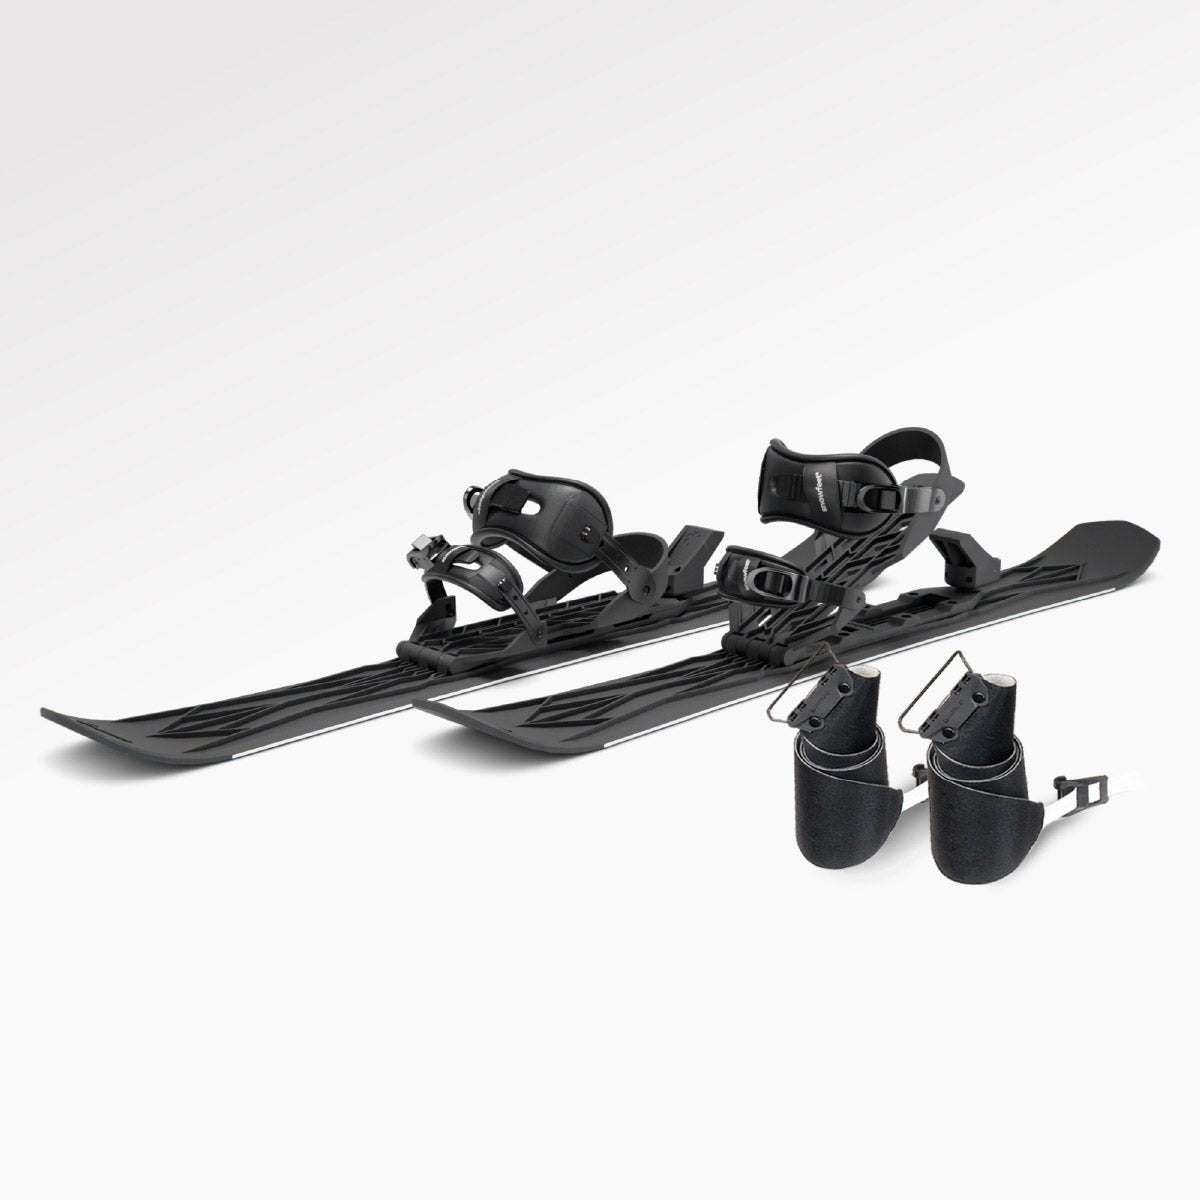
Before buying for a toddler, check the manufacturer’s minimum age, shoe-size range, weight limit, and ice-use rating. Snowfeet* Icefeet are portable double-blade skates that strap onto winter shoes. Use them only on smooth, maintained ice.
Footwear Fit and Ankle Support
Double blades help with balance, but they offer less ankle control than fitted toddler skates. The boot should fit snugly, with no heel lift inside the frame.
Soft, floppy snow boots may not give enough side-to-side support. If your child’s ankle rolls inward or the boot shifts, switch to properly fitted skates with ankle support.
Warmth and Movement
Icefeet’s main perk is warmth: your child keeps their insulated, waterproof boots on. Feet may stay warmer than in basic rental skates, and there’s no need to change shoes.
Tighten the straps just enough to hold the boot in place. Tighter straps won’t fix a poor fit and may limit blood flow.
Putting On, Removing, and Carrying
Warm the boots and straps before you head out. Remove the blades before your child walks off the ice. They can walk back in familiar boots, and you’ll have less to carry than a second pair of shoes.
2. Supportive Toddler Ice Skates
Ice and Activity Compatibility
Choose well-maintained single-blade skates for lessons or regular practice. They teach turning, gliding, and stopping better than double blades. They also give toddlers more control than Snowfeet* Icefeet as they learn these skills.
Have the blades checked and sharpened before the season starts. Dull blades catch more easily on rough ice.
Footwear Fit and Ankle Support
Skip the extra growing room. Skates should fit snugly around the ankle without pinching the toes. Before heading onto the ice, let your toddler practice falling and getting back up on solid ground.
Warmth and Movement
Use one thin pair of socks and flexible layers that let your toddler bend their knees. Stop as soon as they feel cold or tired.
Putting On, Removing, and Carrying
Supportive skates take longer to lace, especially with cold hands. Thin glove liners and warming the skates indoors can make getting ready easier. For faster on-and-off setup, the next options trade some support for convenience.
Finally… Ice Skates Anyone Can Use!
3. Other Double-Blade or Strap-On Ice Skates
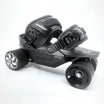
These options may take less time to put on than supportive toddler skates, but there’s a trade-off. They offer a different fit or setup than Snowfeet* Icefeet, though you’ll usually give up some support or ease of use.
Ice and Activity Compatibility
Check the model’s age, size, boot, and ice-use limits before buying. Choose only models rated for ice. Gear made just for snow isn’t ice gear.
These strap-on options put convenience ahead of the precise fit of lesson skates.
Footwear Fit and Ankle Support
Strap-on skates rely on the boots for support, so soft winter boots aren’t a good match. Tight straps won’t make up for that lack of support.
As with Snowfeet* Icefeet, the boot must sit securely in the frame. Other models don’t automatically give you better ankle control.
Warmth and Movement
The boots provide warmth - not the skates. Choose clothing that lets your child move freely, and keep cuffs, hems, and loose straps clear of the blades.
Putting On, Removing, and Carrying
Look for a setup that’s easy to take off. When the skates aren’t in use, carry them in a gear bag to keep loose blades and straps out of the way.
Once you’ve chosen the skate type, pair it with a helmet, warm layers, and mittens.
sbb-itb-17ade95
Helmets and Clothing: Fit, Warmth, and Movement
Once you’ve picked the skates, give your toddler’s outfit just as much care. Choose a helmet labeled for skating that fits your toddler’s head. Looks alone don’t tell you it’s safe.
| Gear | Preferred option | Alternative and trade-off |
|---|---|---|
| Helmet | Safety-approved hockey-style helmet | Use a multisport, snow-sports, or bicycle helmet only if its label says it’s approved for skating. |
| Clothing | Light layers under a waterproof outer layer | A waterproof insulated one-piece suit or snow pants can keep toddlers drier when they sit or fall often, but make it harder to adjust warmth. |
| Handwear | Waterproof insulated mittens | Gloves are harder to put on and don’t keep fingers together as well for warmth. |
| Socks | One thin, moisture-wicking pair that reaches above the ankle | Cotton, bulky socks, or multiple pairs can affect skate fit and cause blisters. |
Set the helmet low on your child’s forehead. They should see its front edge when they look up, and it should barely rock. Fasten the chin strap as the instructions direct. Use only liners the helmet maker allows, and replace a helmet if it’s damaged or has taken a hard impact.
Do a quick movement check: have your toddler squat, reach overhead, and walk in their boots. Their knees should bend freely, sleeves should cover their wrists, and feet shouldn’t feel squeezed. Pick a neck warmer or gaiter instead of a loose scarf. Snow gear adds warmth and a little padding, but it isn’t skating protection.
Secure mittens at the wrists without making them tight. Your child should still be able to hold your hand. Keep socks smooth, with no bunching or pressure on the feet. Bunched socks can cause blisters and restrict blood flow.
Pack dry socks, spare mittens, and dry clothes. Change wet items right away, and end the outing if your toddler feels cold or uncomfortable. Next up: a simple first-outing check.
Footwear Pros and Cons: Carrying, Fit, and Support
Skipping a boot change saves hassle, but it doesn’t guarantee ankle support or blade control. For a short, closely supervised pond outing, use Snowfeet* Icefeet’s portability as your benchmark. Then compare fit, warmth, and how easy each option is to put on and take off.
| Footwear | On/off | Carrying | Fit | Support |
|---|---|---|---|---|
| Snowfeet* Icefeet | Straps onto compatible winter shoes; no separate skate boots. | Compact frame. | Shoes must meet the listed size and boot requirements. | Ankle support depends on the winter shoe. |
| Fitted toddler skates | Requires a boot change. | Carry both skates and walking boots. | A snug fit is key. | Built-in ankle support and more blade control. |
| Other double-blade or strap-on skates | Fastening varies by model. | Bulk depends on the frame. | Check size range, boot compatibility, and strap security. | Support varies by product. |
Choose Icefeet to skip the boot change if compatible winter shoes keep feet warm and fit securely. Check that the venue allows strap-on skates before you go.
Choose fitted toddler skates when ankle support and blade control matter most. Ask rental staff or an instructor to check the fit before skating. With other strap-on models, ease of use depends on the model.
Next comes a simple first-outing checklist covering helmet fit, warm layers, mittens, socks, and mobility.
First-Outing Checklist and Gear Choice
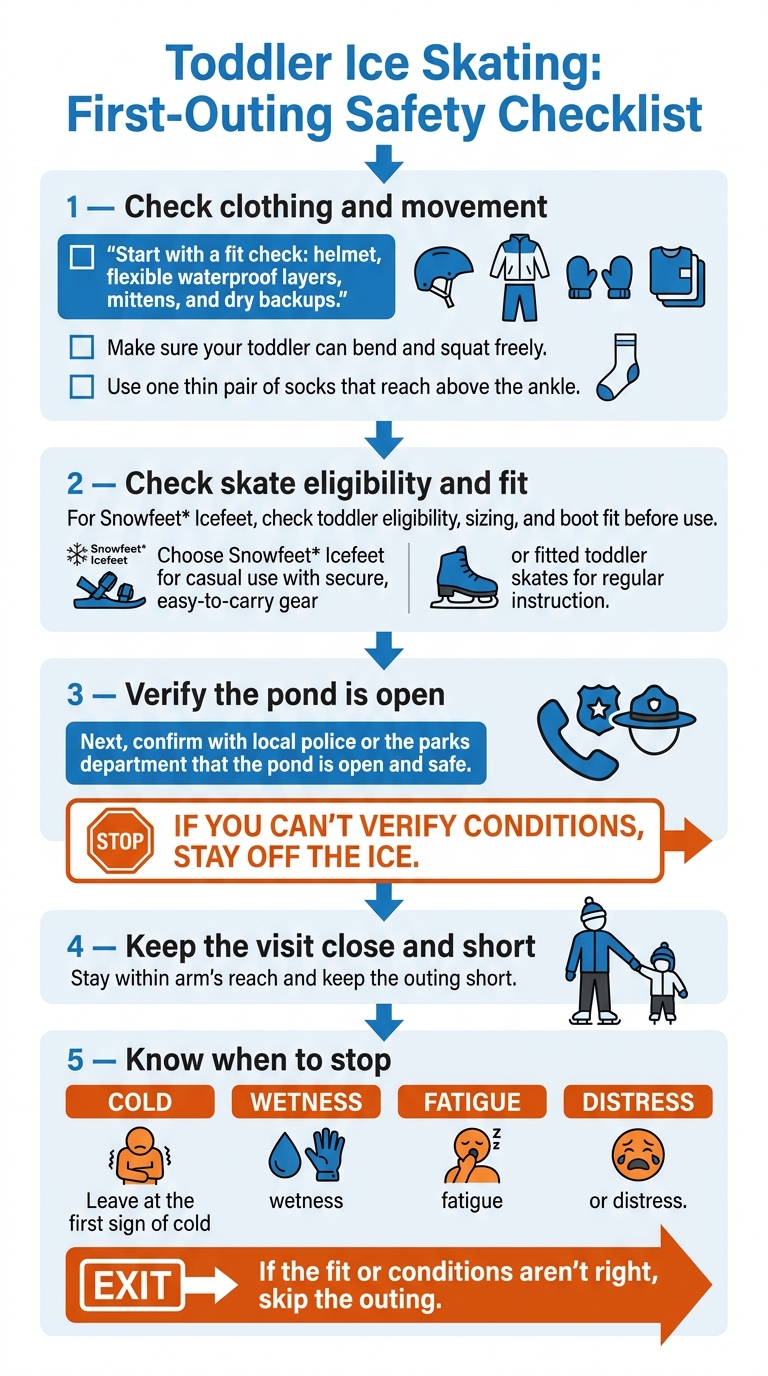
Toddler Ice Skating: First-Outing Safety Checklist
Start with a fit check: helmet, flexible waterproof layers, mittens, and dry backups. Make sure your toddler can bend and squat freely.
Use one thin pair of socks that reach above the ankle. For Snowfeet* Icefeet, check toddler eligibility, sizing, and boot fit before use.
Next, confirm with local police or the parks department that the pond is open and safe. If you can’t verify conditions, stay off the ice.
Stay within arm’s reach and keep the outing short. Leave at the first sign of cold, wetness, fatigue, or distress. Use the gear guide below to help decide whether to go.
Choose Snowfeet* Icefeet for casual use with secure, easy-to-carry gear, or fitted toddler skates for regular instruction. If the fit or conditions aren’t right, skip the outing.
FAQs
How can I tell if my toddler is ready to skate?
Your toddler’s readiness depends more on following safety rules than on age or skating skill. They need a properly fitted, certified helmet and an adult who stays close and watches them at all times.
Choose a designated skating area where local authorities have confirmed at least 4 inches of clear, solid ice. Make sure emergency help can reach the area. If ice conditions are unclear or your toddler can’t follow safety rules, opt for a maintained, supervised indoor rink instead.
How do I check whether Icefeet fit my toddler’s boots?
Fit Icefeet with the exact winter boots your toddler will wear on the ice. Have your child stand and take a few steps on a flat surface. Check for heel lift, loose straps, pressure points, or shifting. Check again after a few minutes.
Follow the Icefeet manual for boot compatibility and adjustments - not the guidance for other models. If your child feels pain or the fit shifts, adjust only as the manual instructs. Don’t use Icefeet if the fit still isn’t secure.
How long should my toddler’s first skating outing last?
Keep the first outing short and comfortable. Children lose body heat faster than adults, which puts them at greater risk of frostbite and hypothermia. They may not notice when they’re too cold.
Set a time limit for outdoor play and choose an indoor spot for regular warm-up breaks. If your child shows signs of distress from the cold, bring them inside right away to warm up safely.


留下評論
此網站已受到 hCaptcha 保護,且適用 hCaptcha 隱私政策以及服務條款。