


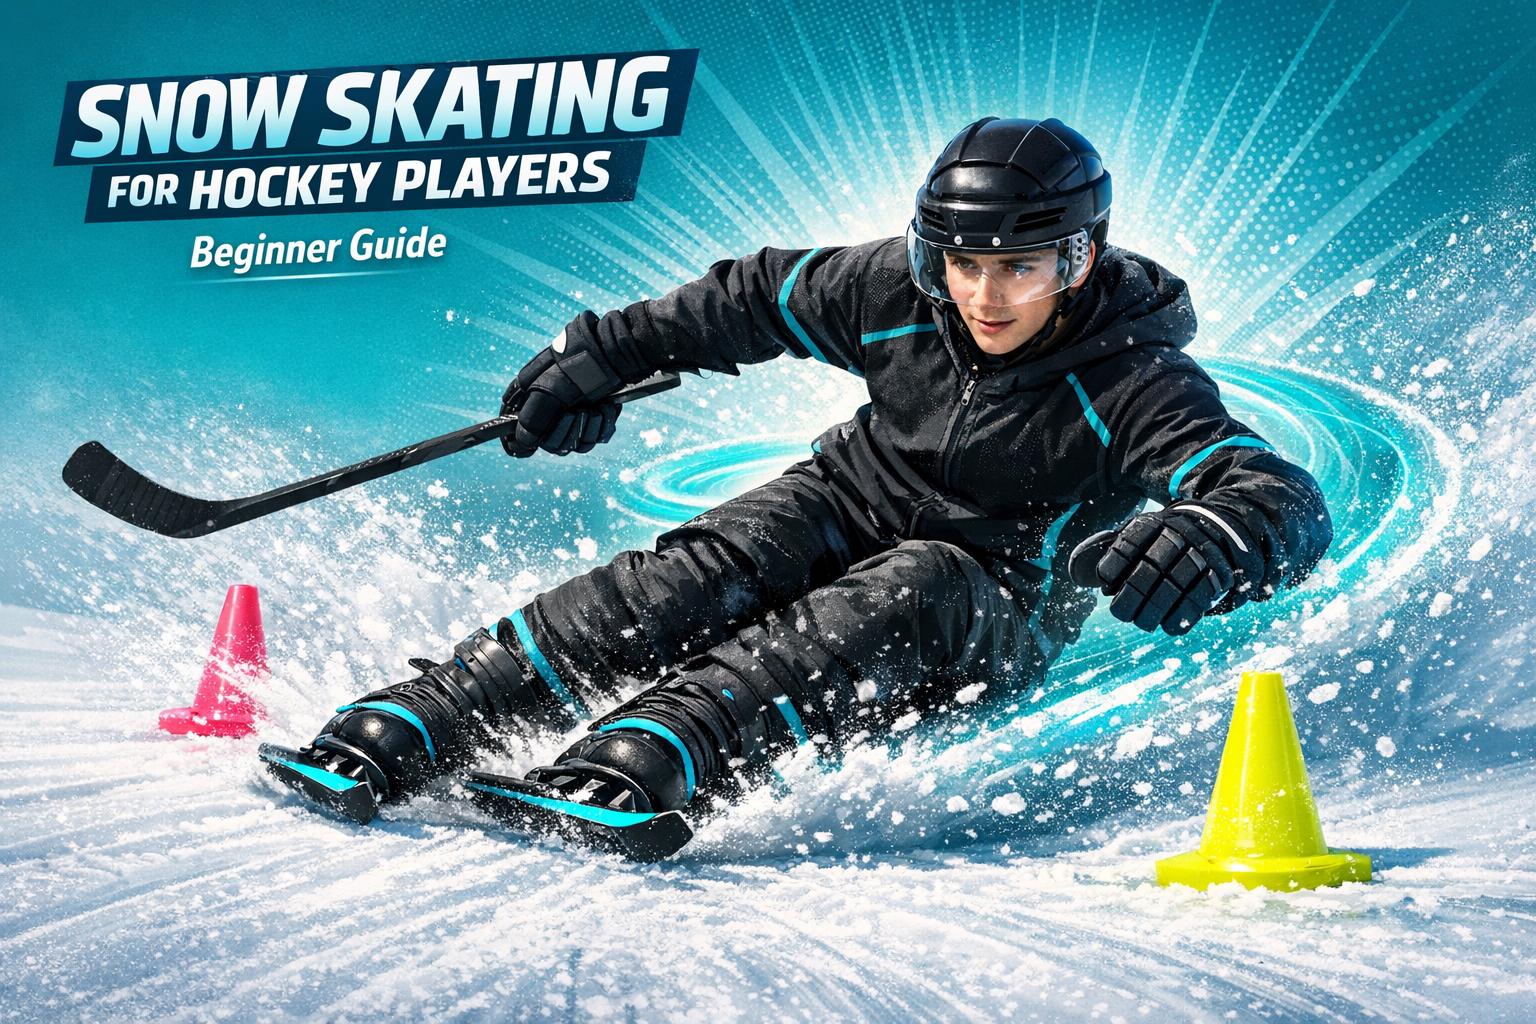
If you’re wondering whether Snowfeet Skiskates can help sharpen your hockey footwork, the answer is yes. These compact, ski-like tools mimic the mechanics of ice skating, making them a solid option for off-ice training. Here’s why they work:
- Edge Control: Their short 44 cm design forces precise weight shifts, improving edge engagement and balance.
- Agility & Stability: Skiskates challenge your balance and strengthen key muscles used in hockey.
- Directional Changes: Metal edges allow for quick stops and pivots, similar to hockey stops on ice.
While they’re not a replacement for rink time, Skiskates are a practical way to maintain and build hockey skills when ice isn’t available. Pair them with proper boots (like snowboard boots) and stick to packed snow for the best results. At around $575, they’re a budget-friendly training tool compared to full ski setups.
Want to see improvements in edge control, quick transitions, and stability? Give Skiskates a try!
Snowfeet* & Skiskates Tutorial - How to Become a PRO Skiskater
Benefits of Using Skiskates for Hockey Movement Training
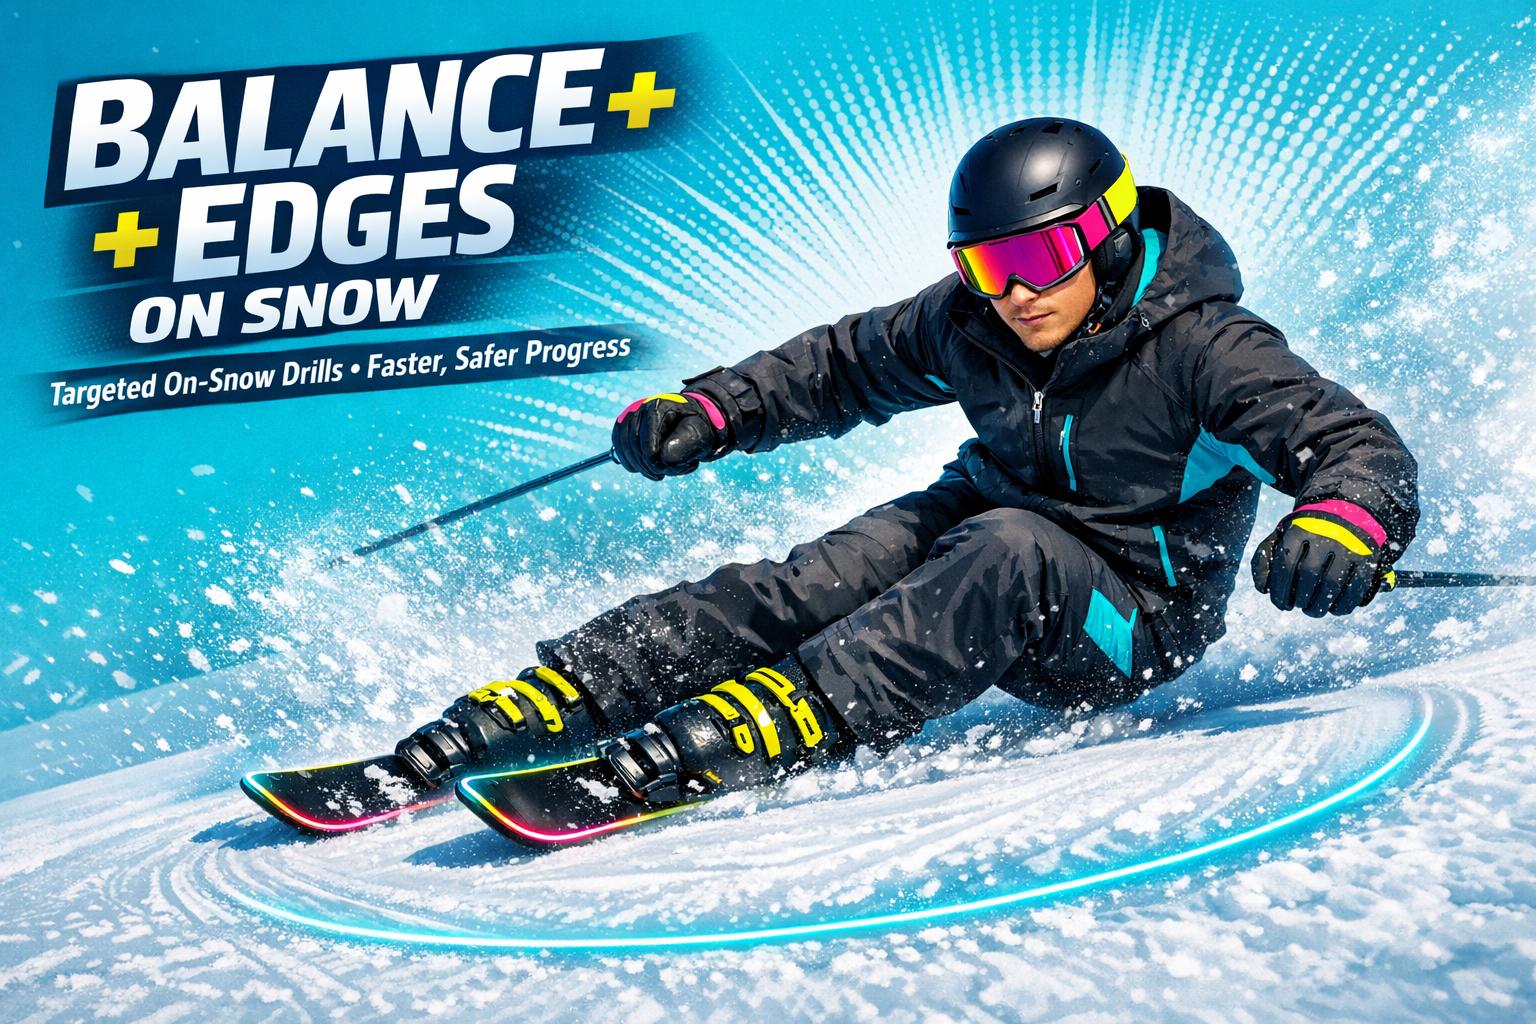
Snowfeet* Skiskates, with their compact 44-cm design, naturally encourage a low, engaged stance. This stance requires constant micro-adjustments in your ankles and knees, closely mimicking the mechanics of hockey skating. These adjustments help improve edge control and weight transfer - two essential skills for hockey players.
Edge Control and Weight Transfer
Snowfeet* Skiskates demand precision. The short length means every movement directly impacts your edges. Lean too far, and the edge digs in; lean too little, and you’ll slide. Unlike traditional skis, which are much longer (150–180 cm or about 60–70 inches) and can sometimes hide small technique flaws, Skiskates offer no room for error. This forces you to focus on proper weight transfer and edge engagement, just like on the ice.
Drills like slow C-cuts or one-foot glides on gentle slopes are particularly effective. These exercises help you develop a strong feel for inside and outside edges, a crucial skill for efficient skating.
Agility, Balance, and Stability
Hockey demands agility, and Skiskates are built to push those limits. Their responsiveness on packed snow amplifies even the smallest surface changes, creating constant challenges for your balance. This instability trains your ankle, knee, and hip stability, improving neuromuscular control in ways that smooth surfaces can’t.
Research backs this up: structured balance and neuromuscular training programs have been shown to improve on-ice skating sprint times by 3–5% over several weeks. Additionally, off-ice agility tests show a strong correlation (coefficients between 0.60–0.80) with on-ice performance. Drills like figure-8s and box patterns - featuring lateral, forward, and backward movements - are great for reinforcing these skills. The short length of Skiskates also forces you to stay in a low, athletic stance, which is key for executing sharp turns and smooth transitions during gameplay.
Directional Changes and Stops
One of the standout features of Snowfeet* Skiskates is their metal edges, which allow for precise directional changes and stops. You can set a firm edge to create lateral friction, closely replicating a hockey stop. This makes them excellent for practicing quick transitions like 90° or 180° pivots, which are common in hockey for defensive adjustments, puck retrievals, or forward-to-backward shifts.
For a great training drill, try 20–30-foot runs that include a controlled stop, quick reset, and reacceleration. Repeat this sequence 6–10 times. This stop-and-go routine mirrors the sprint-stop-restart patterns that are critical for effective hockey footwork.
How to Choose the Right Snowfeet* Skiskates for Training
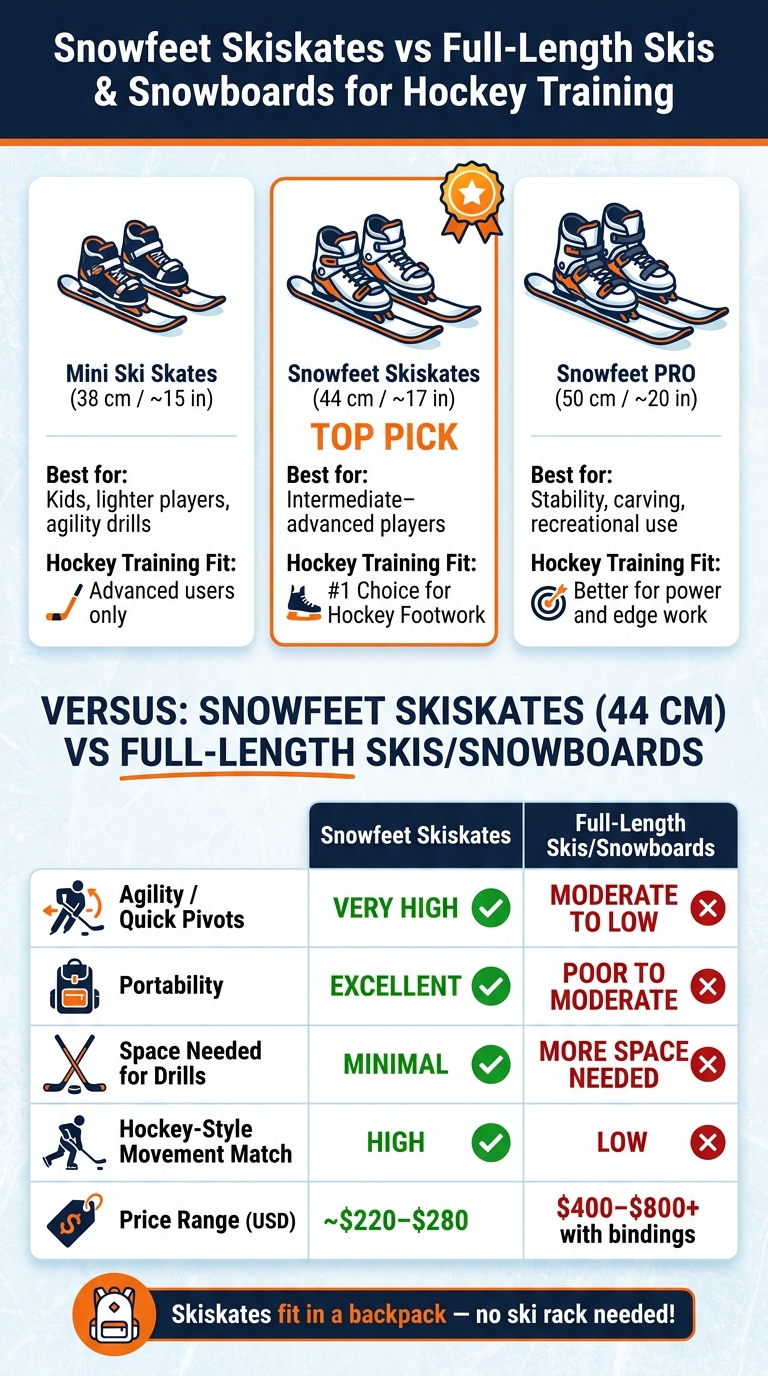
Snowfeet Skiskates vs Full-Length Skis vs Snowboards for Hockey Training
Picking the right Snowfeet* model depends on your skill level, training goals, and the boots you plan to use. Let’s break it down.
Comparing Snowfeet* Models
Each Snowfeet* model offers unique benefits depending on your needs:
- The 44 cm Snowfeet* is perfect for hockey training. Its length provides excellent agility and control, making it ideal for tight pivots and quick stops.
- The 38 cm Mini Ski Skates are the shortest option, offering top-notch maneuverability. These are great for younger players or advanced skaters with solid balance, but they can feel a bit unstable for beginners working on footwork drills.
- The 50 cm Snowfeet PRO prioritizes stability and confidence at higher speeds. It’s also versatile enough for recreational skiing. However, its longer length sacrifices some of the sharp responsiveness that makes the 44 cm model so effective for hockey-style movements.
Here’s a quick comparison to help you decide:
| Model | Length | Best For | Hockey Training Fit |
|---|---|---|---|
| Mini Ski Skates | ~15 in / 38 cm | Kids, lighter players, agility drills | Best for advanced users |
| Snowfeet* Skiskates | ~17 in / 44 cm | Intermediate–advanced players | Top choice for hockey footwork |
| Snowfeet PRO | ~20 in / 50 cm | Stability, carving, recreational use | Better for power and edge work |
Snowfeet* vs Full-Length Skis and Snowboards
Full-length skis and snowboards (typically 59–71 inches or 150–180 cm) are built for speed and long, sweeping turns. While they’re great for downhill runs, they don’t match the quick, lateral movements required for hockey footwork training. Snowfeet* Skiskates, on the other hand, are designed for sharp transitions and rapid stops, making them perfect for hockey-focused drills.
Here’s how they stack up:
| Feature | Snowfeet* Skiskates (44 cm) | Full-Length Skis / Snowboards |
|---|---|---|
| Agility / Quick Pivots | Very high | Moderate to low |
| Portability | Excellent | Poor to moderate |
| Space Needed for Drills | Minimal | More space needed |
| Hockey-Style Movement Match | High | Low |
| Price Range (USD) | ~$220–$280 | $400–$800+ (with bindings) |
Snowfeet* Skiskates allow you to practice on smaller, groomed areas, making them a practical choice for repetitive drills.
Fit and Footwear Requirements
Once you’ve picked the right model, your footwear choice will make or break your training experience. For the best results, snowboard boots are highly recommended. They provide the lateral support, heel lock, and ankle height needed for quick direction changes and precise movements.
If you don’t have snowboard boots, stiff and snug winter boots can work, but avoid anything too loose or unsupportive. Poorly fitting boots reduce edge control and make stopping and turning harder. Think of it like wearing hiking boots - your foot should feel secure with no side-to-side movement.
Pro Tip: Don’t size up for comfort. Extra room leads to foot movement inside the binding, which kills your edge control. Tighten the straps firmly to lock your foot in place, but make sure your toes still have enough wiggle room to stay comfortable.
sbb-itb-17ade95
How to Structure Hockey Footwork Training Sessions with Skiskates
Planning a Training Session
Stick to 45–60 minutes per session, aiming for 2–3 sessions a week. Break your training into four parts: warm-up, technical edge and stance work, agility drills, and a balance-focused finisher.
Start with 8–10 minutes of easy gliding, gentle turns, and dynamic mobility exercises to loosen up your hips, knees, and ankles. Then, spend 15–20 minutes working on edge control and stance technique. Follow that with another 15–20 minutes focusing on agility drills and quick changes in direction. Wrap things up with 5–10 minutes of single-leg balance holds and controlled stops.
For rest, take 20–30 seconds after technical drills and 10–20 seconds after high-intensity agility bursts. Allow 40–60 seconds for full recovery. This mirrors the quick bursts of effort you’d experience in a real hockey game.
This layout helps you hone your skills systematically while building up to more challenging drills.
Key Techniques and Progressions
Start with a solid hockey stance: feet shoulder-width apart, knees bent, hips pushed back, and chest up. This position gives you better edge control and makes quick direction changes easier. The 44 cm Snowfeet* design is perfect for sharpening those skills, especially edge control and pivoting - both crucial for hockey.
Here’s how to progress:
- Beginners: Practice slow weight transfers and static edge holds to get comfortable with inside and outside edges.
- Intermediate players: Move on to S-curves, crossover circles, and forward-to-backward pivot transitions within a 20–30 foot lane.
- Advanced athletes: Add reaction drills. Set up cones in a T or Y shape and have a partner call out directions to challenge your edge control and recovery speed.
According to USA Hockey and other coaching organizations, edge control and body position often limit skating development more than raw strength.
Try lateral shuffles between markers spaced 10–15 feet apart. Stay low, keep your feet under your hips, and maintain edge contact. This mimics the lateral push-offs used in defensive skating on the ice.
Tracking Progress
Tracking your progress is key to seeing how your training translates to on-ice performance. Every 2–4 weeks, time yourself on a 10-yard shuttle or figure-8 drill and count controlled edge transitions. Even small improvements in time signal better edge efficiency and foot speed.
Research on youth hockey players found that a 10-week program focused on edges, crossovers, and starts led to noticeable gains in skating speed and agility tests - all without extra conditioning work.
You can also use a simple self-rating system. After each session, rate your stability and quickness on a scale from 1 to 10. Compare your scores over time and with your performance during on-ice practices. Over 6–8 weeks, many players see clear improvements, especially in balance under pressure and the sharpness of their transitions.
Overcoming Challenges and Getting the Most Out of Skiskates
Snow vs. Ice: What Stays the Same and What Changes
When you're on snow, the increased friction changes the game - glides are shorter, and stops happen faster. This extra resistance helps build leg strength and improves your edge awareness. But here's the catch: your timing will need some tweaking when you switch back to ice. The fundamentals, like bending your knees and hips, keeping your weight centered over your feet, and controlling edge pressure, carry over seamlessly. However, things like top speed and those long, smooth glides? Those don’t quite translate. Think of Skiskate sessions as a chance to fine-tune your technique and control, while ice sessions are where you focus on speed and game-level intensity. Mastering the basics on snow sets you up for smoother transitions to ice.
Fixing Common Technique Mistakes
- Leaning on your heels: If you’re leaning back on your heels, you’ll lose both precision and stability. A great tip? Think "shins on your tongues." Gently press your shins against the front of your boots and keep your shoulders slightly forward. This athletic stance keeps your form solid.
- Twisting your shoulders: Over-twisting your shoulders can throw you off balance. Instead, let your hips guide your turns. A handy drill? Hold a hockey stick across your chest during turns to stabilize your upper body while your hips and knees take the lead.
- Stepping instead of gliding: Short, choppy steps break the flow you need for effective training. Focus on "push, then glide." Practice single-leg glides down a gentle slope, switching legs, until you can maintain smooth, continuous motion.
Fixing these habits can make a huge difference, turning Skiskate sessions into a powerful tool for sharpening your hockey skills.
Pros and Cons of Skiskates for Hockey Training
Once you’ve nailed the technique, it’s worth weighing the ups and downs of using Snowfeet* Skiskates for hockey training. Designed for precision and portability, they’re a great alternative to bulkier ski or snowboard setups, especially for hockey-specific footwork. Here’s a quick breakdown:
| Factor | Details |
|---|---|
| Portability | At just 44 cm, they’re small enough to fit in a backpack - no need for a ski rack or roof box. |
| Cost | Starting at around $575 USD, they’re a budget-friendly option compared to full ski setups. |
| Edge and Balance Training | Their short length highlights balance issues, helping you build ankle strength and edge control quickly. |
| Surface Dependency | Best on groomed, packed snow. Deep powder can make edge work less effective. |
| Speed Limitation | Snow’s friction means you won’t hit the same speeds or enjoy the long glides you get on ice. |
| No Puck Integration | These focus on lower-body mechanics and edge work - you’ll need separate sessions for stickhandling and puck skills. |
The biggest challenge? Surface conditions. Soft or uneven snow can make complex drills tricky - or even unsafe. On hard-packed snow, go for quick edge and pivot drills. If the snow’s softer, shift to balance exercises, weight transfers, or lateral shuffles. Always have a backup plan for less-than-ideal conditions to keep your training safe and productive.
Conclusion: Why Snowfeet* Skiskates Work for Hockey Training
Snowfeet* Skiskates bring a new level of precision to hockey training by focusing on edge control, weight transfer, and quick direction changes. At just 44 cm long, they engage the hips, knees, and ankles in a way that mimics the explosive pivots and tight transitions needed on the ice - something full-length skis or snowboards just can’t replicate.
These skiskates work for a variety of players. For example, a young defenseman could easily add two 20–30 minute sessions of drills like C-cuts and pivot turns into their weekly routine to boost edge control. Recreational players can use them to stay sharp when they’re between rink sessions. Even coaches can include them in weekend workouts when ice time isn’t available.
The real magic happens when Skiskates are paired with regular ice training. They’re not meant to replace time on the rink but to complement it. Over a 6–8 week training cycle, players often see noticeable improvements in edge efficiency, transitions, and overall skating mechanics. Combining off-ice Skiskate sessions with on-ice practice builds better balance and sharper footwork.
Want to take your training to the next level? The Snowfeet* Skiskates (44 cm, starting at $575) are compact enough to toss in a backpack and work with winter boots, making them a practical and effective tool for hockey players looking to refine their game.
FAQs
Will Skiskates mess up my on-ice skating timing?
No, Skiskates won’t mess with your on-ice timing - they’re actually made to improve it. Snowfeet* Skiskates (measuring 44 cm) are designed to mimic the natural mechanics of hockey skating by keeping your feet directly under your center of gravity. Unlike traditional skis that demand wide turns and a forward-leaning stance, Skiskates allow for precise edge control, quick lateral moves, and powerful push-offs. This makes them a great way to keep your skating skills sharp during the off-season.
What boots and sizing work best with Skiskates?
Snowfeet Skiskates are compatible with a variety of boots, including winter, snowboard, and hockey boots. If you're focusing on hockey drills, go for stiff, waterproof boots that offer solid ankle support. For a more flexible option suited to tricks, snowboard boots are a great choice. On the other hand, ski boots deliver excellent stability, making them ideal for sharp, fast turns. The adjustable bindings fit U.S. sizes 6–13, with some models even accommodating sizes 4.5–14.5.
What’s the safest place and snow condition to train on?
The best surface for training with Snowfeet* Skiskates is flat, well-packed, and groomed snow. Ideal spots include parks, backyards, or sledding hills. These skiskates shine on smooth, predictable terrain, offering an edge over traditional skis, which can feel clunky.
It's smart to steer clear of deep powder (anything over 4 inches), steep icy slopes, or uneven ground. Starting out on packed, level snow allows you to concentrate on perfecting hockey-style footwork while staying in control.


Lämna en kommentar
Denna webbplats är skyddad av hCaptcha och hCaptchas integritetspolicy . Användarvillkor gäller.