
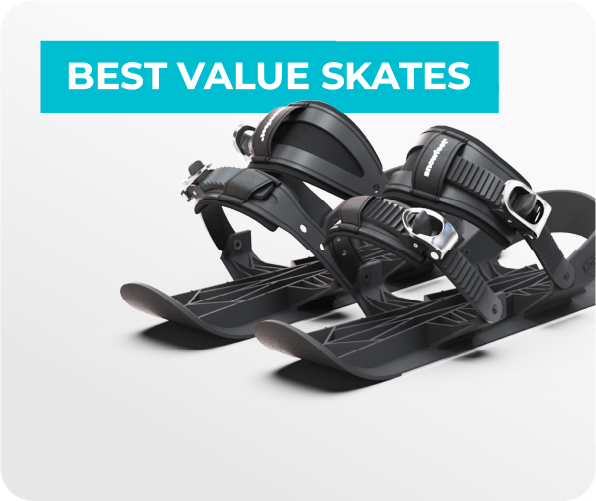
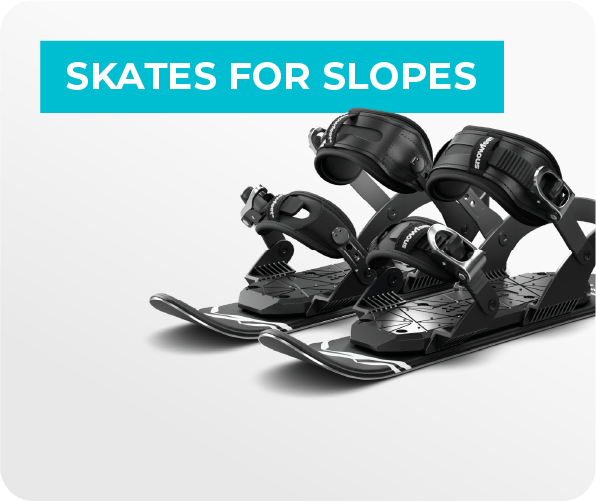
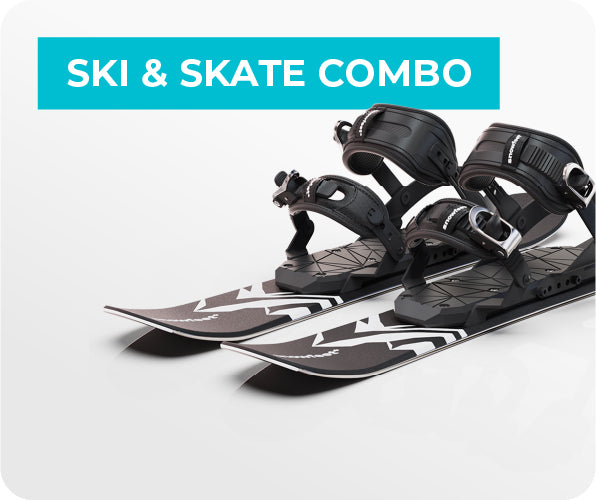
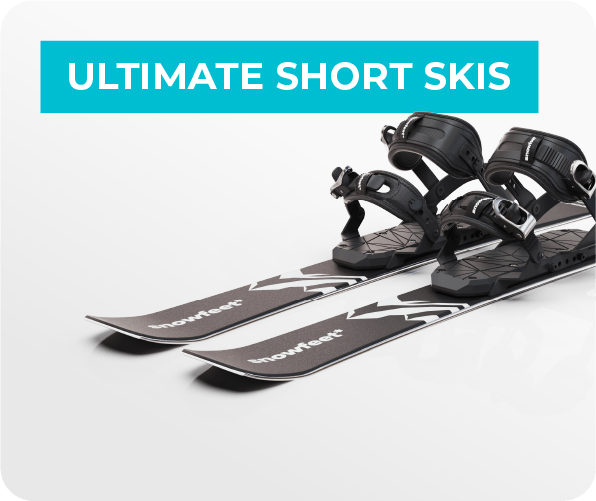
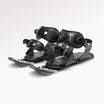
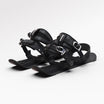
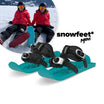
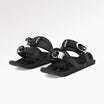
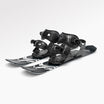
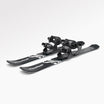
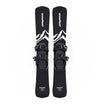
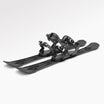
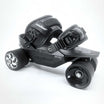
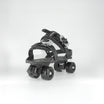
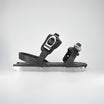
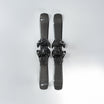
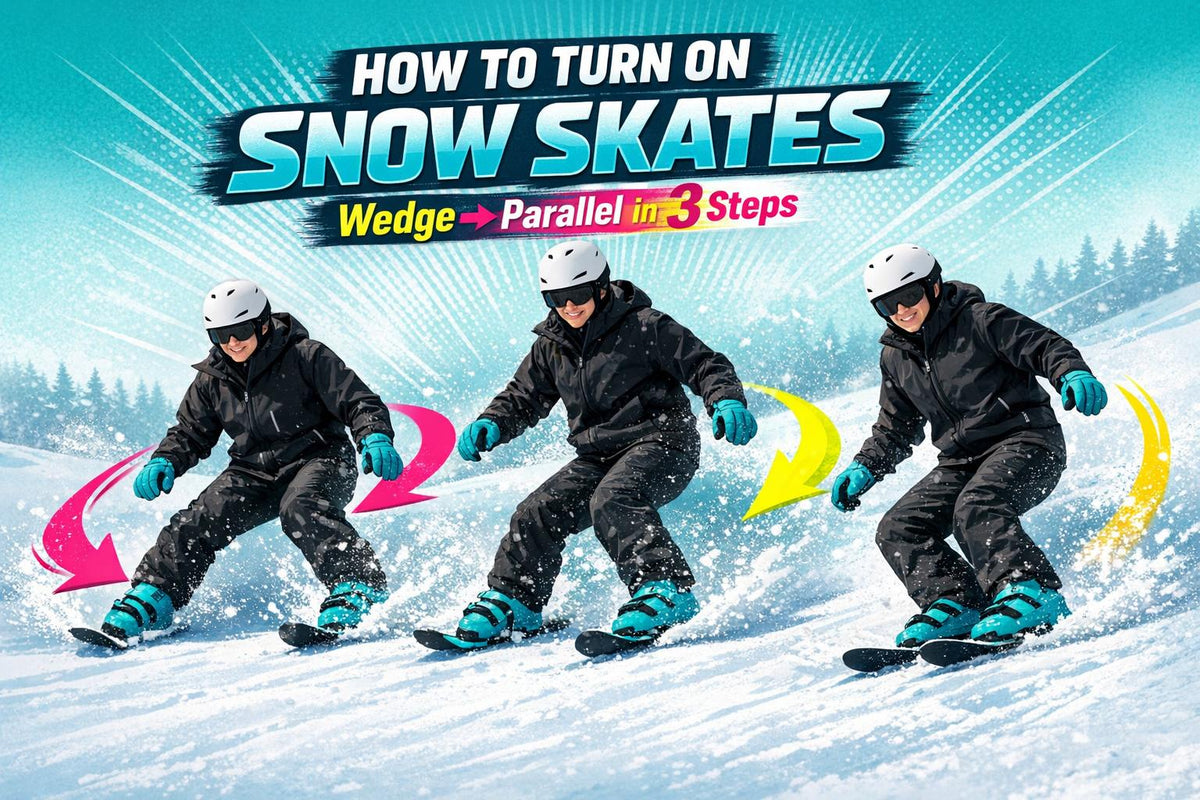
Learning to turn on snow doesn’t have to be complicated, even if you’ve never skied before. Snowfeet* Skiskates - compact, skate-like snow gear - make it simpler and less intimidating. Here’s the quick breakdown:
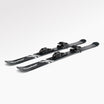
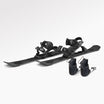
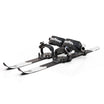
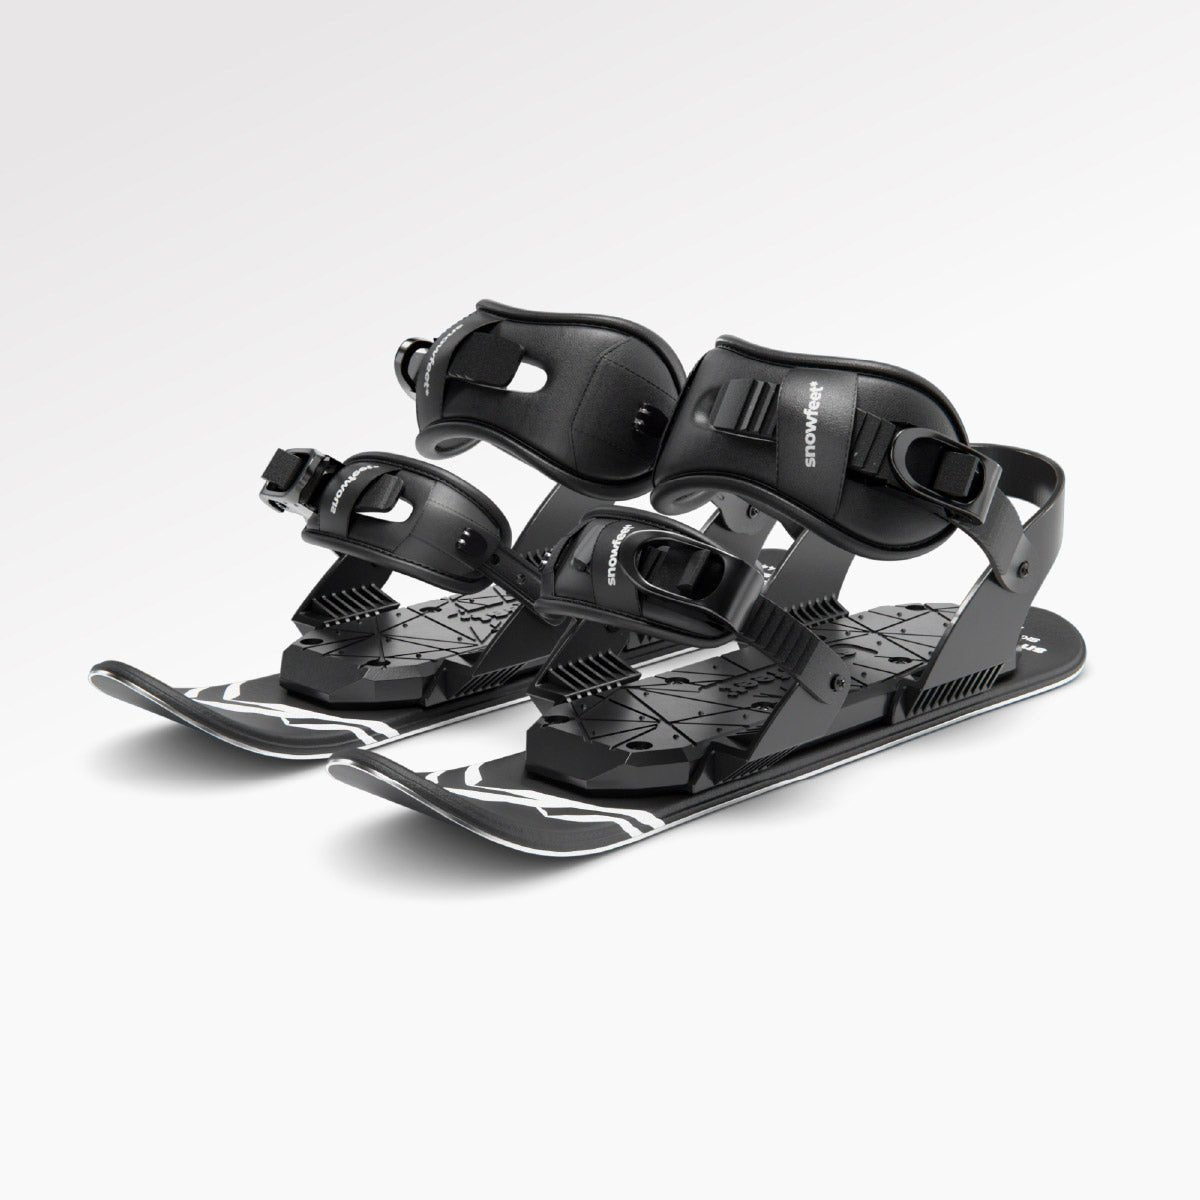
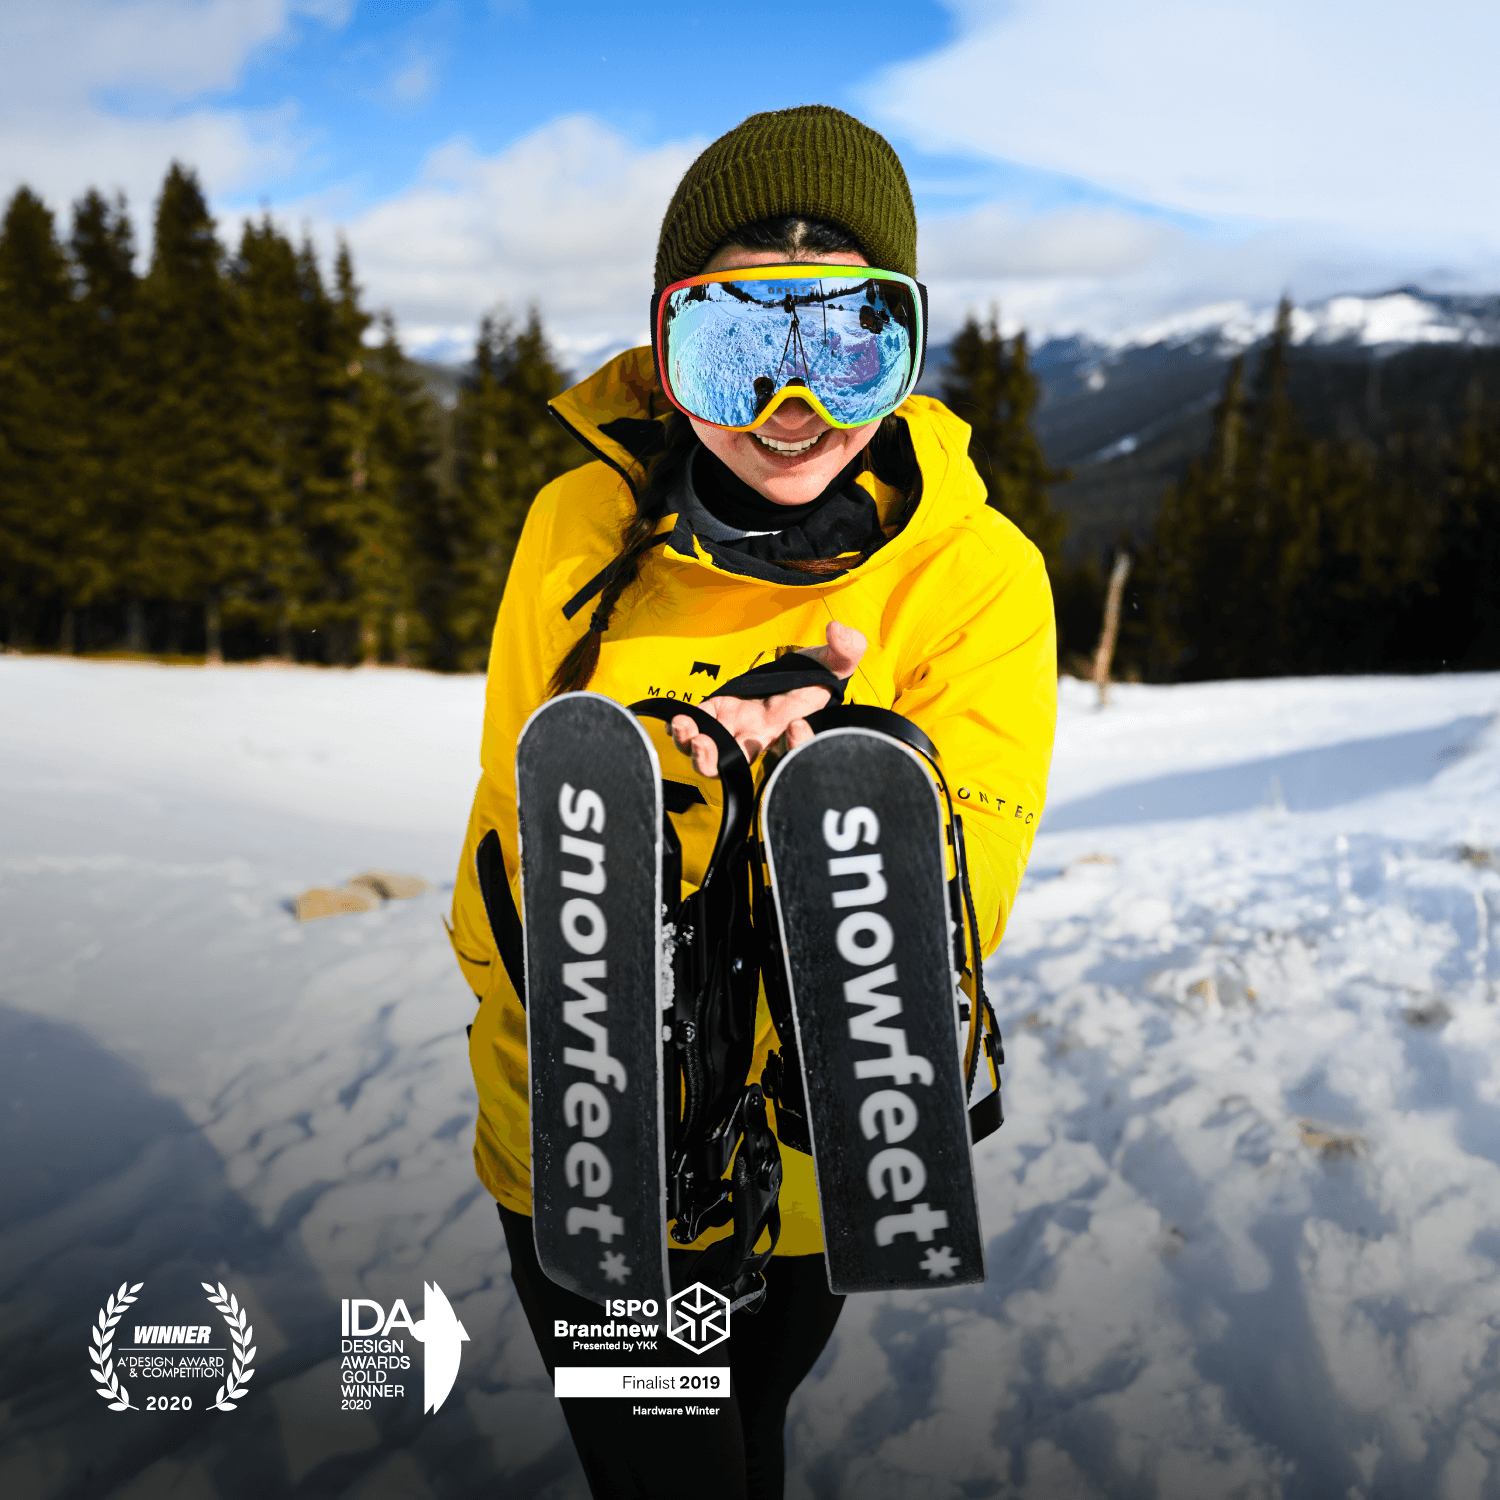
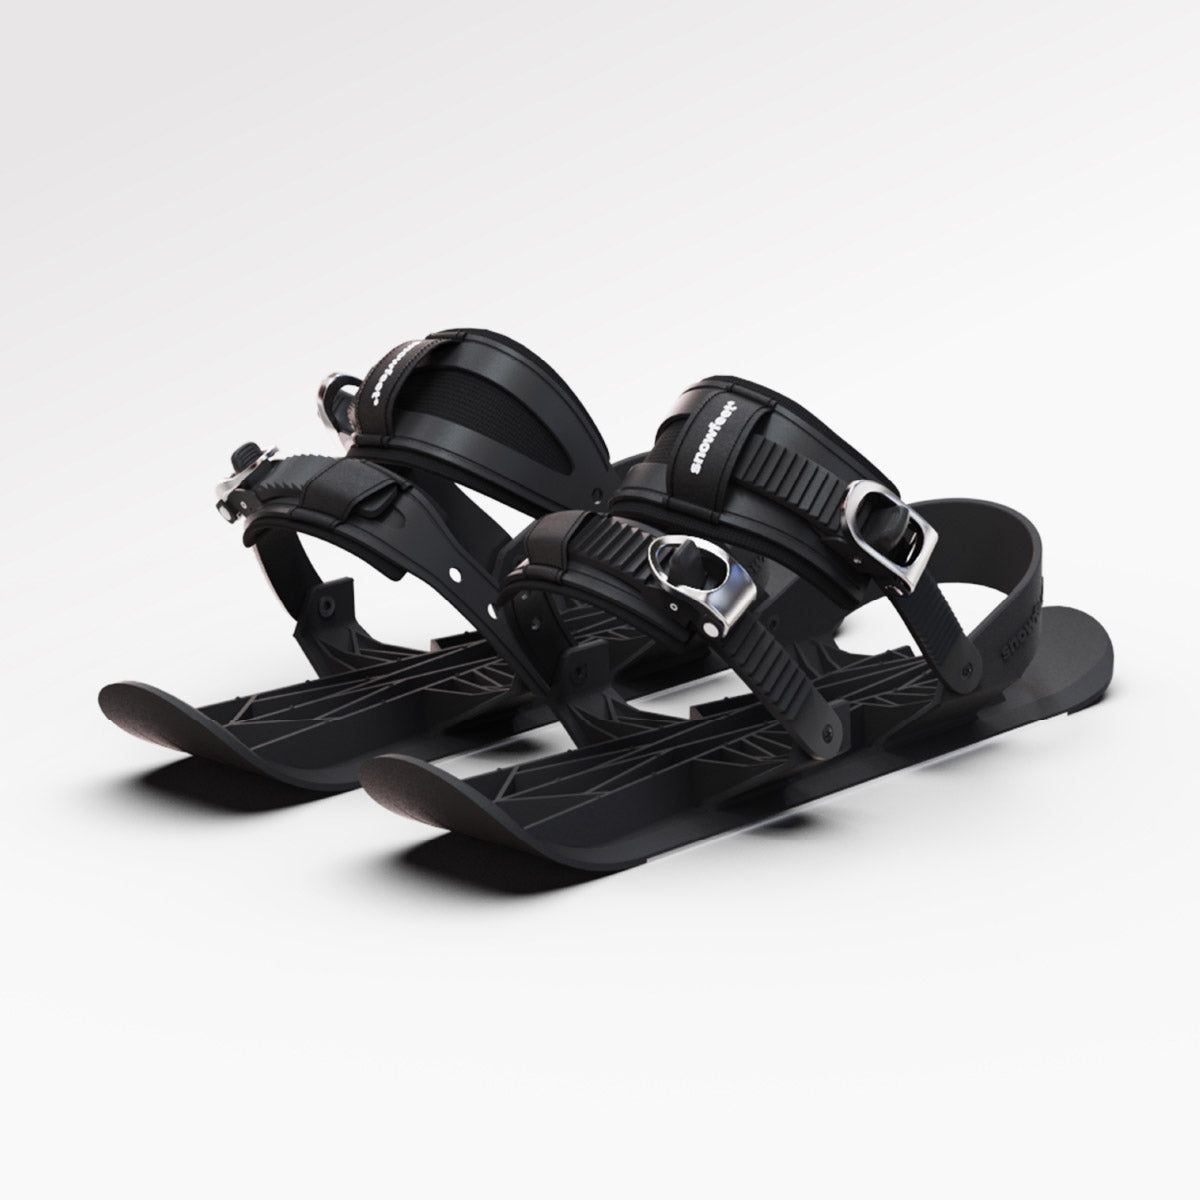
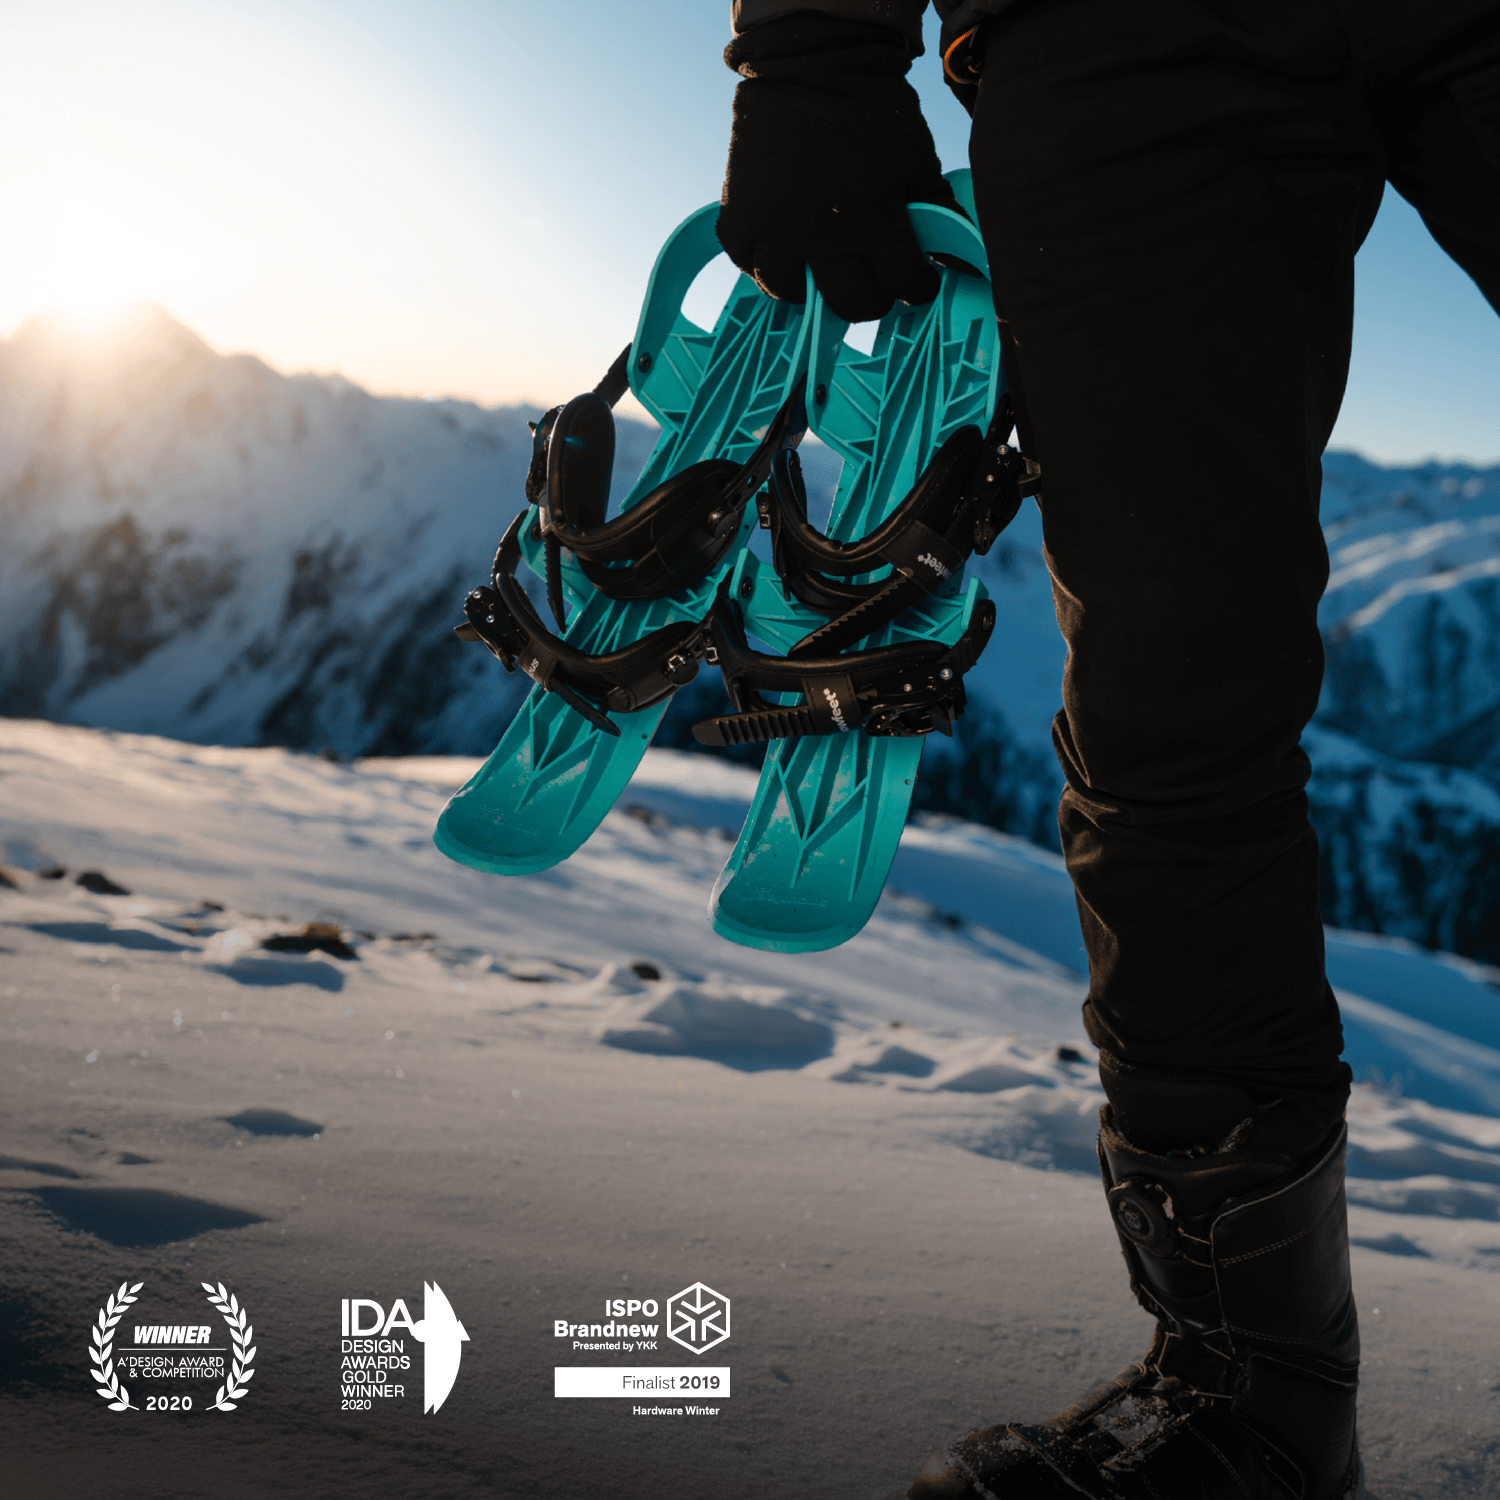
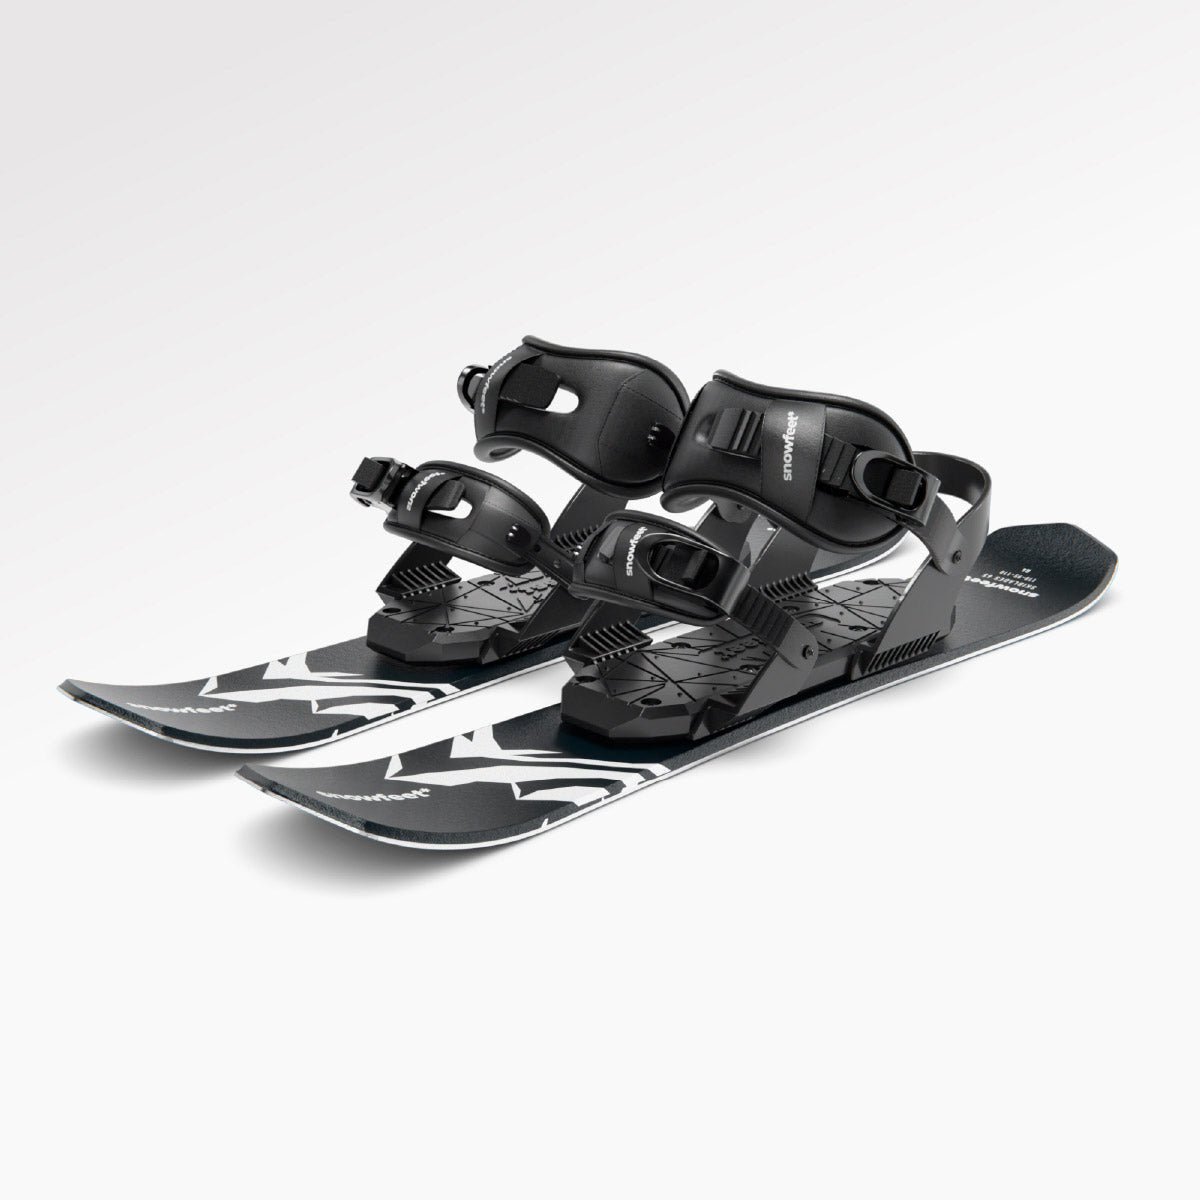
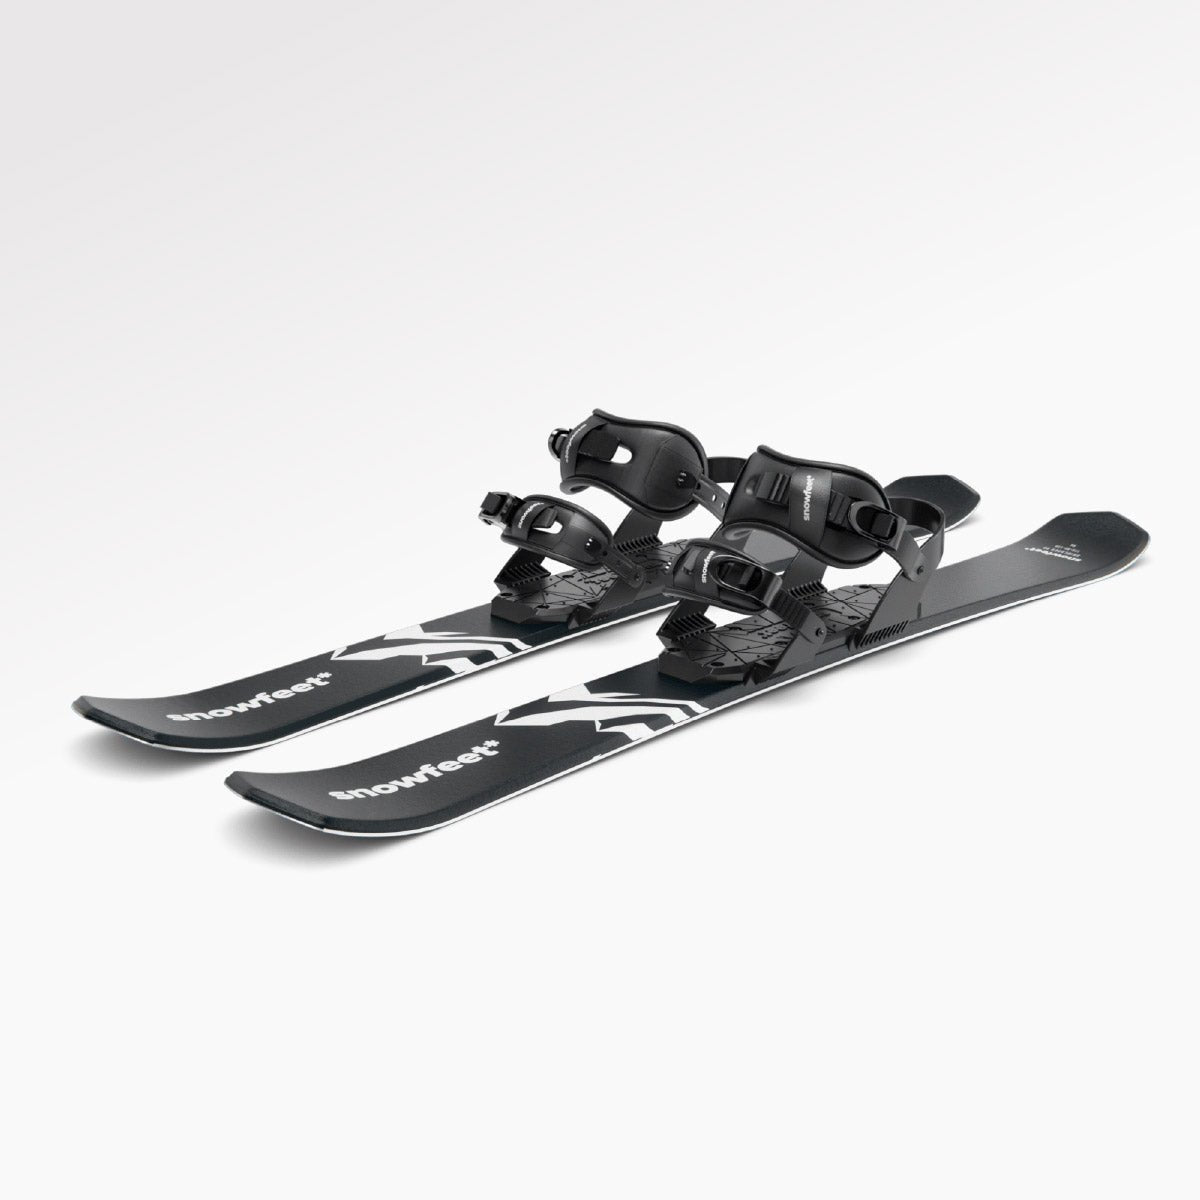
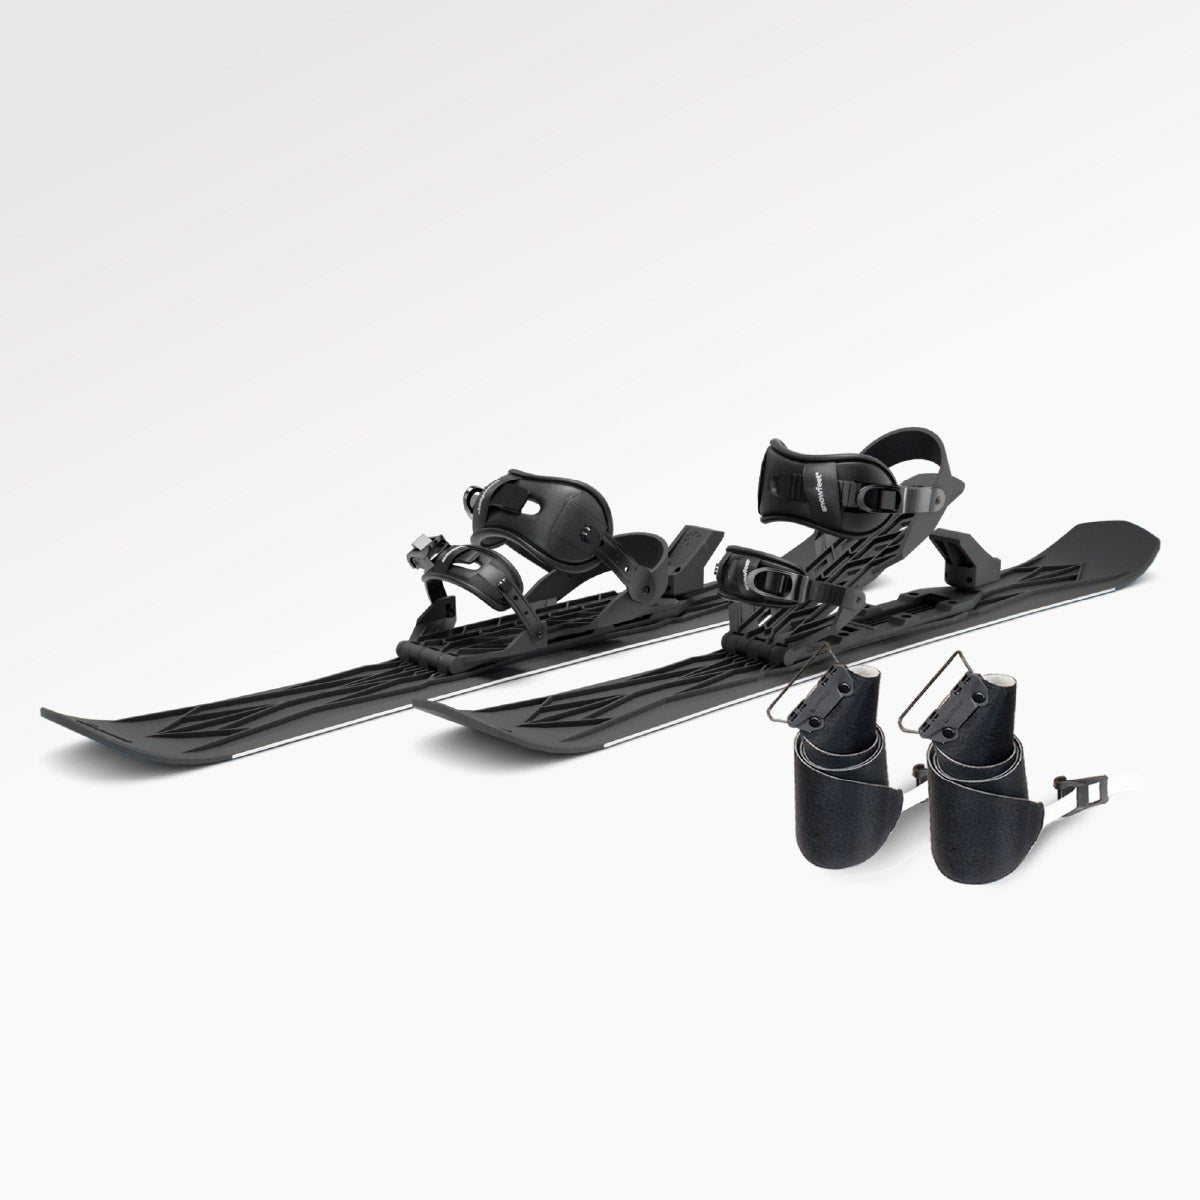
- _What are Snowfeet Skiskates?_* These are short (17-inch) snow-riding tools that strap onto your winter or snowboard boots. They feel more like skates than skis, making them beginner-friendly.
- Why are they easy to use? Their small size means they respond to subtle movements. If you’ve ice skated or rollerbladed, you’re already halfway there.
- How to get started? Find a gentle slope, focus on balance, and practice gliding before moving into turns.
This guide covers everything from setting up your gear to mastering smooth turns. Ready to hit the snow? Let’s dive in!
Getting Started: Gear and Terrain Setup
Choosing the Right Snowfeet* Skiskates

If you're new to Snowfeet*, the 44 cm Skiskates are a great place to start. At 17 inches long, they strike a balance between stability and ease of use. Their size makes it easier to stay steady while giving you enough control to turn naturally without much effort.
Shorter models in the Snowfeet* range are more nimble, but they require sharper balancing skills. On the other hand, longer models like the Skiblades (65 cm and up) are better for speed and glide but demand a more refined technique for clean turns. The 44 cm Skiskates let you focus on learning the basics rather than wrestling with tricky gear. Once you've chosen the right size, make sure your boots are securely fastened to get the most out of your skiskates.
Boot and Binding Setup
Snowboard boots are your top choice when learning to turn. They provide solid ankle support and lateral stiffness, which is key for engaging edges by rolling your knees. Ski boots are another good option, offering direct power transfer, but they can be stiff and awkward to walk in. Avoid casual winter boots unless your specific Snowfeet* bindings are designed for them. Soft boots tend to collapse at the ankle, making it harder to turn and putting extra strain on your joints.
Here’s how to set up your bindings step by step:
- Start by clearing the binding surfaces and positioning your boot so the ball of your foot is centered for a balanced stance.
- Secure the toe first, then the heel. Tighten the toe strap over a sturdy part of your boot sole, then lock down the heel piece to eliminate any front-to-back movement.
- Stand up and test the fit. Make sure there’s no wobbling in any direction.
- Inspect before every run. Double-check that all straps and buckles are fully secured, there are no loose parts near the bindings, and everything is free of cracks or damage.
Symmetry is key! Adjust both bindings to the same settings so turning left and right feels consistent. These small tweaks make each turn feel smooth and natural, showcasing the thoughtful Snowfeet* design.
Picking a Good Practice Slope
Now that your gear is ready, it’s time to find the perfect slope to practice on. Look for groomed, wide-open slopes with a gentle gradient of 8–15°. This type of terrain is ideal for building your turning skills, as it pairs well with the responsive nature of Snowfeet* Skiskates. Aim for slopes around 150–200 feet wide to give yourself plenty of room to maneuver.
Steer clear of runs with icy patches, moguls, or anything marked blue or black until you’ve mastered the basics of turning. Consistent, predictable terrain is your best friend while you're learning.
Core Skills: Stance, Balance, and Gliding
How to Stand on Snowfeet* Skiskates
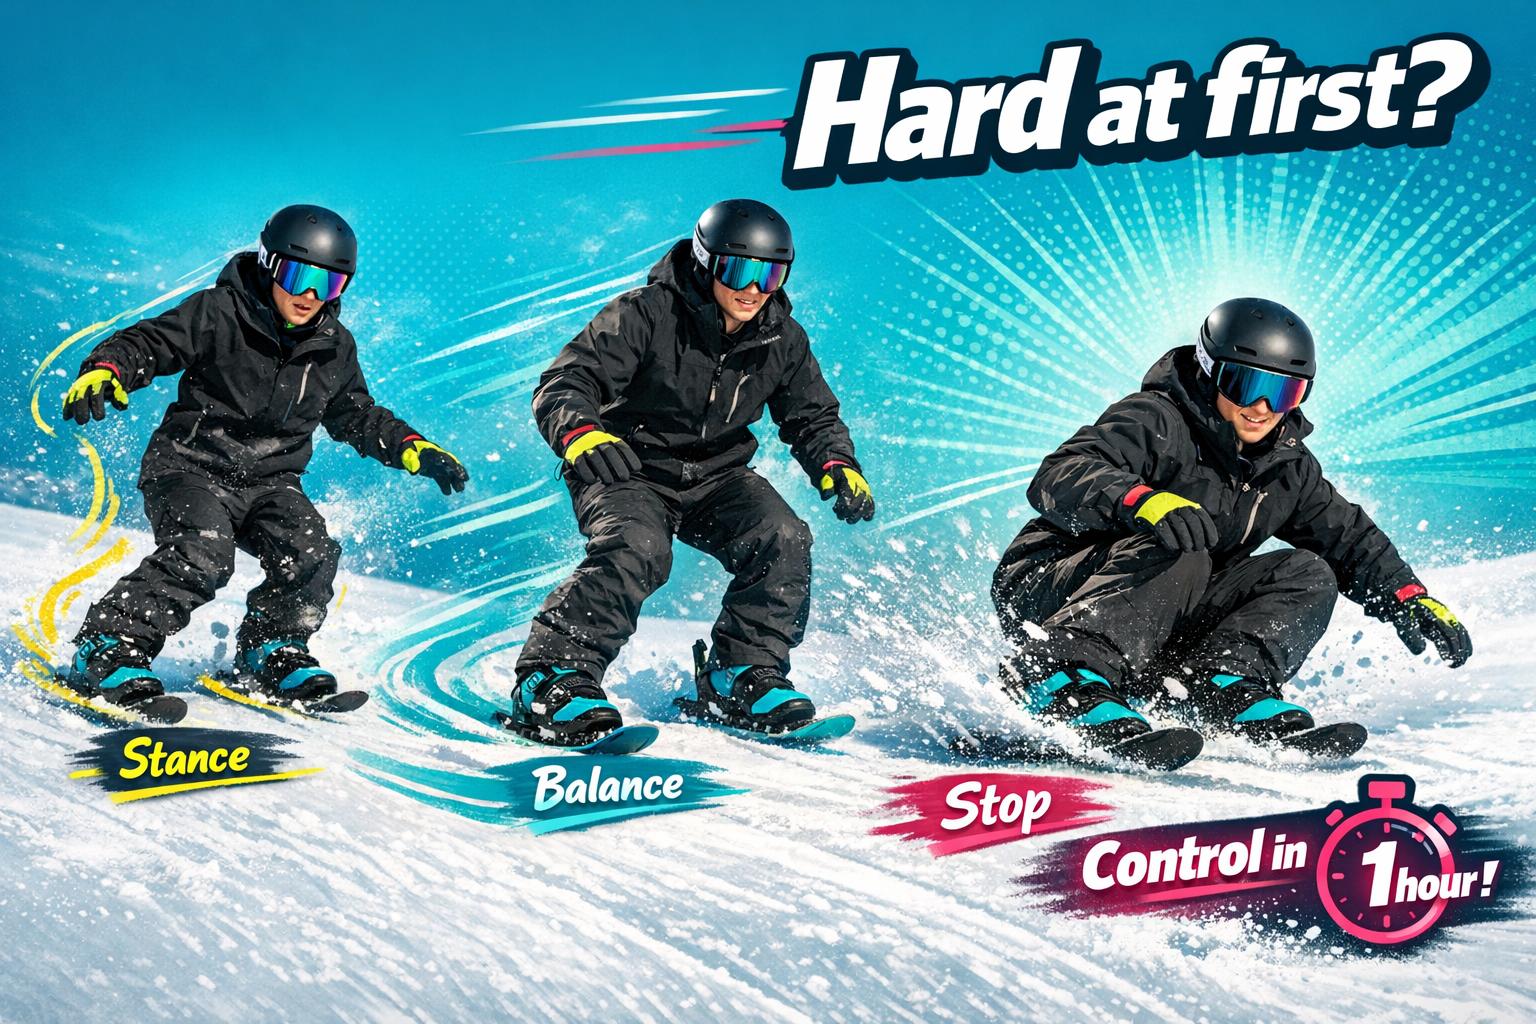
Once your gear is ready and you've picked your slope, it's time to get your stance right. Think of it more like the ready position in hockey or inline skating than traditional skiing - a low, athletic crouch that keeps you agile.
Start by positioning your feet about hip-width apart, with your toes pointing straight downhill or slightly outward. Keep a soft bend in your knees, staying relaxed and upright. Your hips should stay centered over your feet. Here's a quick tip: if you feel light pressure along your shins, you're in the right spot. And don’t forget to check if you can wiggle your toes inside your boots - if not, you're probably too tense.
Your hands should be slightly forward, as if you're holding a small box at belly height. This helps prevent a common mistake: leaning back. Keep your eyes focused down the slope, not on your skiskates. Looking ahead improves both your balance and reaction time.
Balance Drills to Build Confidence
Once you've nailed your stance, it's time to work on balance. Short practice sessions - around 10 to 20 minutes - focusing on stance and balance can do wonders for your confidence and control. Here’s a simple progression to try:
- Forward/back weight shifts: Slowly rock your weight toward the balls of your feet (you should feel your shins press forward), then shift back to your heels. Do this 10 times at a slow pace. This helps you learn what "centered" really feels like.
- Side-to-side shifts: Shift your weight from your left foot to your right while keeping both skiskates flat on the snow. Notice how the edges feel under your feet.
- One-foot balance: Lift one skiskate just an inch off the snow and hold it for five seconds. Repeat three times per leg. Keep a slight bend in your knees.
If you feel unsteady, use a stable surface for light support. Over time, aim to balance without needing any extra help.
How to Glide Straight Down a Slope
Once you’ve built up your balance, the next step is learning to glide. Start on the gentlest part of a beginner slope - think of a hill where walking up feels easy, and a sled would only move slowly. Begin just a few yards up, not from the top.
Get into your athletic stance and face directly downhill. Let gravity take over - don’t push off hard. As you start to slide, keep your knees bent, your weight centered, and your eyes fixed on a spot at the bottom of the slope. Your legs should act like springs, absorbing small bumps instead of locking up.
To slow down, gently push your heels outward and toes slightly inward to create a wedge shape. This engages the inside edges of the skiskates and adds friction, helping you control your speed without making sudden movements. Once you feel comfortable with this short glide, walk back up and repeat. Each run helps build the muscle memory you'll need for turning later on.
These steps will set you up for smooth, controlled glides and pave the way for learning turns.
Snowfeet* & Skiskates Tutorial - How to Become a PRO Skiskater
sbb-itb-17ade95
Step-by-Step Turning Techniques
Once you've got the hang of balancing and gliding, it's time to dive into turning. Snowfeet* Skiskates are designed to respond to even slight movements, making turning approachable for beginners.
Making Your First Direction Changes
If you've mastered gliding straight, steering is your next step. With Snowfeet* Skiskates, subtle weight shifts and gentle leg rotation are all it takes to turn. Their compact 44 cm design reacts quickly, a feature that sets them apart from traditional skis.
Start by traversing across a gentle slope. To turn left, shift more weight onto your right skiskate, tilt your ankles and knees slightly to the left, and rotate your legs until your knees and toes point in the direction you want to go. Keep your upper body mostly facing downhill - your skiskates will naturally follow your lower body's lead. To create smooth "S" turns, simply repeat the process in the opposite direction. Use deliberate, controlled movements, and let the skiskates do the work for you.
"Turning is similar to turning with skis. Tilt your skiskates to their edges and move your body and legs in the direction where you want to go." - Snowfeet Team
Once you've got the basics down, move on to learning wedge turns, which help you control your speed before advancing to parallel turns.
How to Do a Wedge Turn
The wedge turn - often called the "pizza" - is a great way to manage your speed while you're still learning. Snowfeet* Skiskates make this technique even easier since their compact design doesn't require a wide stance.
To create a wedge, push your heels outward so the tips of your skiskates come together, putting them on their inside edges. This creates friction with the snow, helping you slow down naturally.
To turn left from this position, apply more weight to your right skiskate, allowing its edge to grip the snow more firmly, and your body will steer left. For a right turn, reverse the process. Keep your wedge narrow and avoid leaning back, as it stiffens your movements and wastes energy. A handy mantra: "narrow pizza, soft knees, shins forward."
Moving On to Parallel Turns
Once wedge turns feel natural, you can start practicing parallel turns for smoother, more fluid steering. Snowfeet* Skiskates make this progression simple because their short length allows for quick pivots without the effort required for traditional skis or snowboards.
Start with a narrow wedge and gradually reduce the outward heel push until your skiskates naturally align parallel as you turn across the slope. Practice this "wedge-start, parallel-finish" method until it becomes second nature. When you're ready, try initiating turns with your skiskates already parallel. Keep them hip-width apart, tilt both knees in the direction of the turn, and let the edges guide you smoothly around.
If you find yourself slipping back into a wedge when things feel tricky, don't stress - that's just smart skiing. It's all part of the learning process!
Practice Plan and Common Mistakes to Avoid
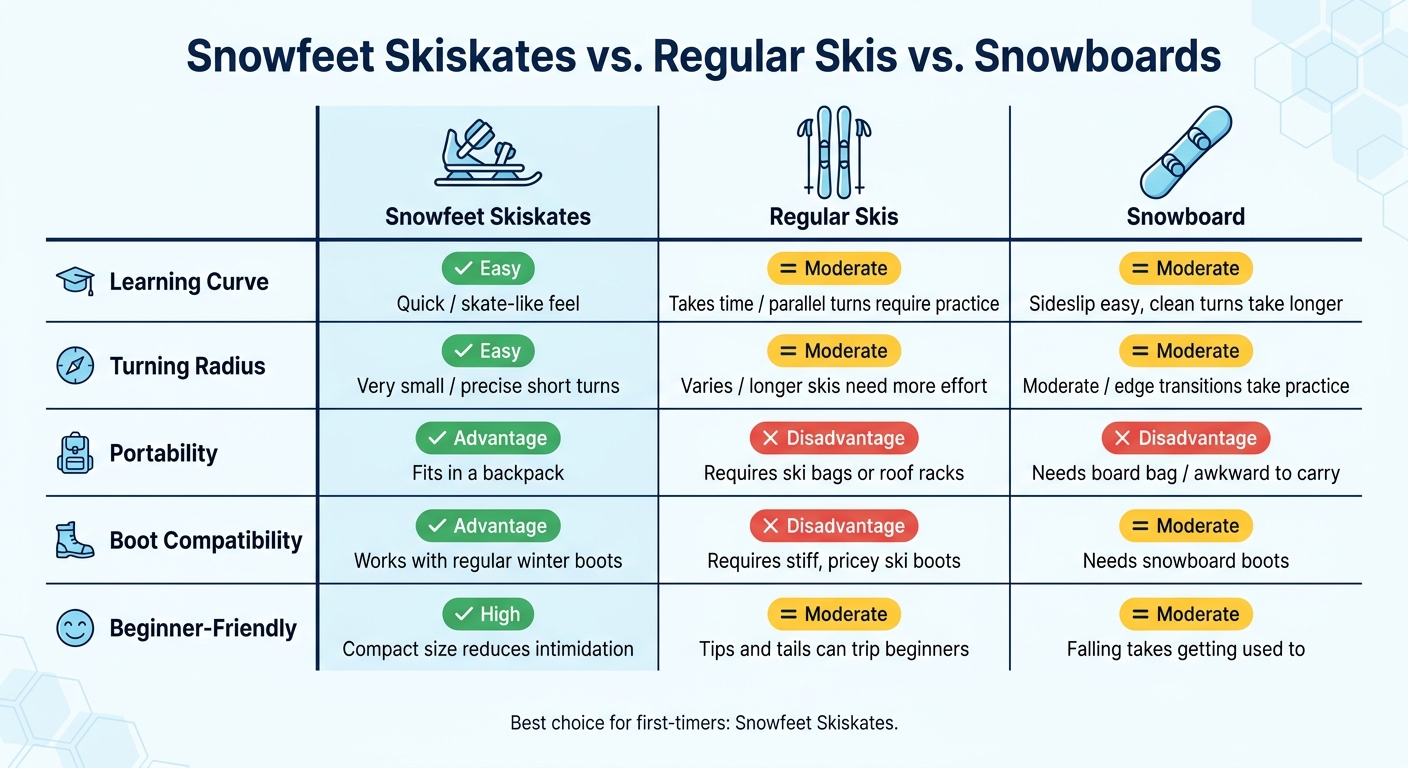
Snowfeet Skiskates vs. Skis vs. Snowboards: Beginner's Comparison
A Simple Practice Routine
Starting with Snowfeet* can be a breeze if you keep it simple and structured. Short, focused practice sessions will help you build confidence while taking advantage of the skiskates' responsive design. Here's a step-by-step routine to get you started:
- Warm up on flat snow (10 minutes): Stand with your feet hip-width apart, knees slightly bent, and shins pressing forward into your boots. Rock gently from your heels to the balls of your feet until you feel balanced. This is your "home base" stance.
- Practice gliding and balance on a gentle slope (15–20 minutes): Let the skiskates glide a short distance, then step to a stop while keeping your weight centered. Once you're comfortable, try shallow "J-turns" by tilting your knees and toes to one side before stopping. Repeat 6–10 short runs, alternating sides.
- Link turns as you progress (70–90 minutes): Start combining two or three turns before stopping. Think of the sequence: "start turn → glide → finish turn → switch sides." Wrap up your session while your turns are still clean to avoid picking up bad habits.
Over the next few sessions, build on your skills like this:
- Session 2: Work on reliable stops and clean single turns.
- Session 3: Link 4–6 turns on a full green run.
- Sessions 4 and 5: Narrow the wedge, aiming for parallel turns, and shape your turns across the hill to control speed.
Common Beginner Errors and How to Fix Them
Even with a solid practice routine, beginners often hit a few common snags. Here’s how to spot and fix them:
- Leaning back: This makes the skiskates feel unresponsive. Shift your weight forward - think "nose over toes" and keep your shins lightly pressing into the front of your boots.
- Stiff legs: Locking your knees straight throws you off balance and makes it harder to absorb bumps. Keep your legs soft and slightly bent, like you're perched on a tall bar stool.
- Turning with your shoulders: Over-rotating your upper body causes your feet to lag behind. Instead, keep your chest facing downhill and steer with your knees and feet. A helpful trick? Extend your arms as if holding a steering wheel, and let your legs do the work.
One of the great things about Snowfeet* Skiskates is their forgiving design. Their compact 44 cm length means even small foot movements can initiate a turn, so there's no need for dramatic body twisting. Correcting these habits early will help you progress faster and avoid unnecessary falls.
Snowfeet* Skiskates vs. Regular Skis and Snowboards
To see why Snowfeet* are a great choice, let’s compare them to traditional skis and snowboards:
| Factor | Snowfeet* Skiskates (≈44 cm) | Regular Skis (150–175 cm) | Snowboards |
|---|---|---|---|
| Learning curve | Quick; skate-like feel makes turns easier | Takes time; linking parallel turns requires practice | Sideslip is easy, but clean turns take longer |
| Turning radius | Very small; precise, short turns | Varies by length; longer skis need more effort | Moderate; edge transitions take practice |
| Portability | Fits in a backpack | Requires ski bags or roof racks | Needs a board bag; awkward to carry |
| Boot compatibility | Works with regular winter boots | Requires stiff, pricey ski boots | Needs snowboard boots |
| Beginner-friendly | High; compact size reduces intimidation | Moderate; tips and tails can trip beginners | Moderate; falling takes getting used to |
For casual skiers or first-timers, Snowfeet* Skiskates simplify the experience, making it less intimidating and more fun right from day one. Their compact size and ease of use eliminate many of the hurdles that come with traditional skiing or snowboarding.
Conclusion: How Snowfeet* Skiskates Make Learning to Turn Simple
Turning on snow is easier than ever with Snowfeet* Skiskates - no need for expensive lessons or bulky ski boots. This guide has walked you through the basics, from building a solid stance and practicing balance to learning wedge turns and starting parallel turns.
Thanks to their compact design, Snowfeet* Skiskates respond to even the smallest movements, removing many of the hurdles that come with traditional skis. Plus, you can wear your regular winter or snowboard boots, avoiding the hassle of rentals. This means you can focus entirely on enjoying the snow under your feet. With these features, stepping onto your first slope becomes an inviting and fun way to dive into snow sports.
For beginners, the process is straightforward: start on a gentle hill, work on your stance and balance, practice shallow glides, and ease into small turns. Short, consistent practice sessions help build confidence quickly, and most first-timers feel more comfortable with turns by the end of their first day.
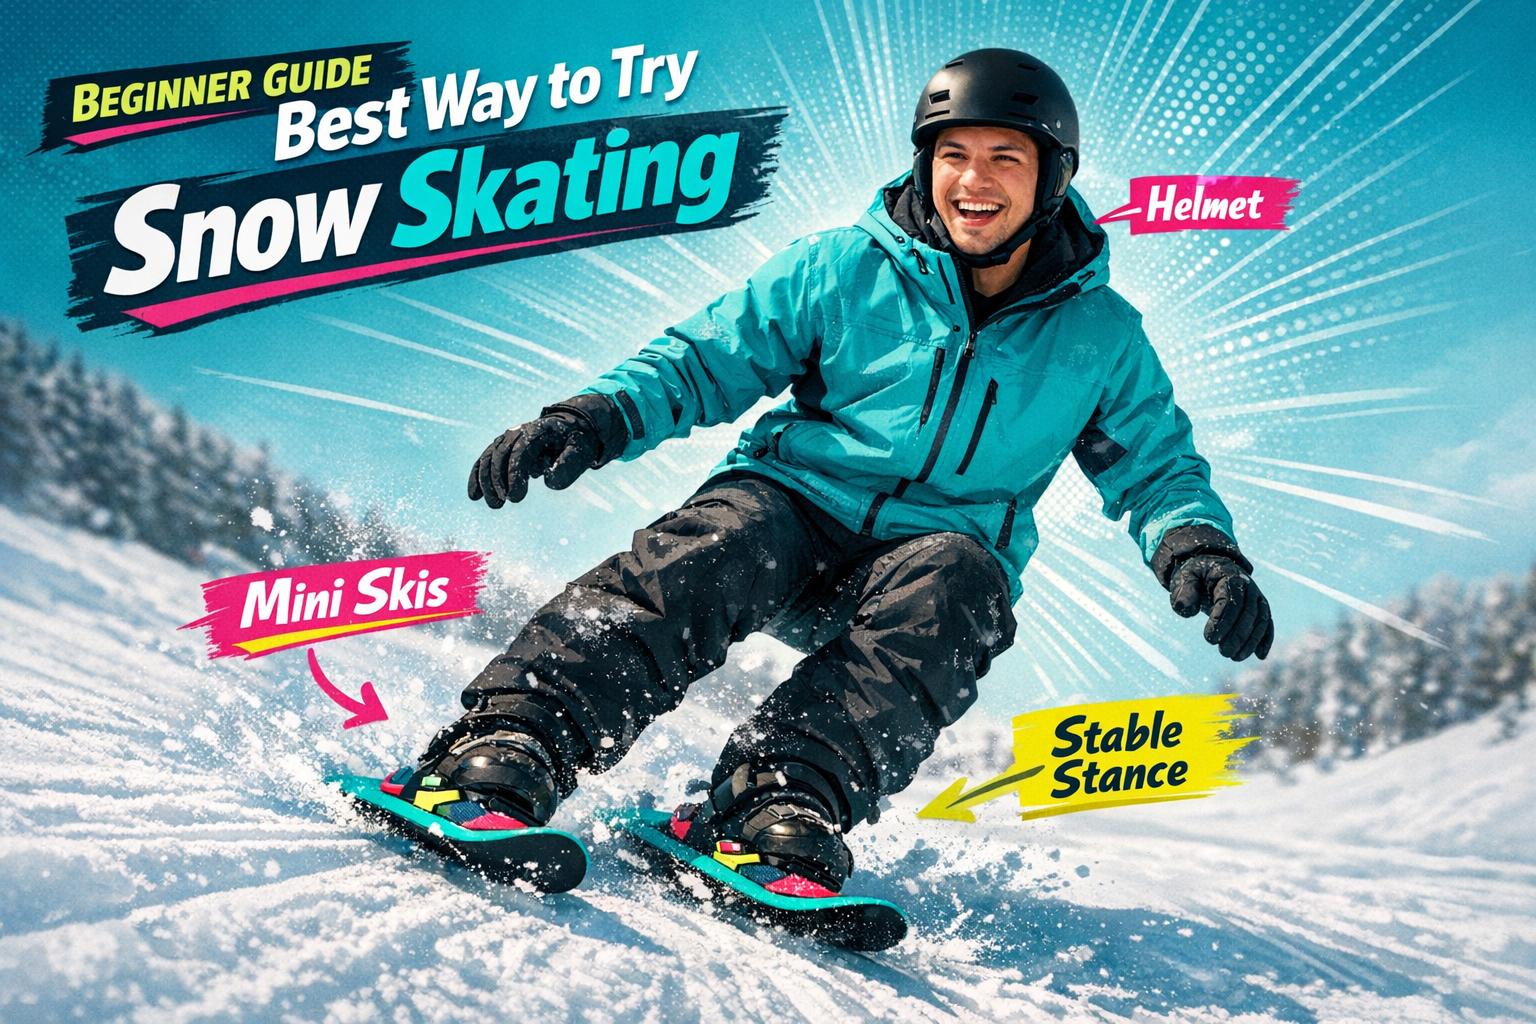
Don’t forget about safety - it makes the experience even better. Wear a helmet, gloves, and warm layers, and pick a quiet slope with minimal traffic for your early sessions.
Take it step by step, and trust in the simplicity of Snowfeet* Skiskates. Whether you’re heading to a local hill or a beginner run at a resort, this guide has you covered. Bring a friend along, take turns capturing the fun on video, and treat the whole experience as an outdoor adventure. Your first turns on snow are just around the corner!
FAQs
Do I need poles to turn on Snowfeet* Skiskates?
Nope, you don’t need poles to use Snowfeet* Skiskates. Unlike traditional skis, which often depend on poles for balance, Snowfeet* Skiskates are small and lightweight, making them super easy to turn. All it takes are simple weight shifts and ankle movements to stay in control. This leaves your arms free, so you can relax and focus on the ride. Thanks to their responsive design, they’re easier to maneuver and a lot more beginner-friendly than traditional skis.
How do I stop safely if I pick up too much speed?
To stop safely while using Skiskates, start with the beginner-friendly snowplow technique. Simply bring the tips of your Skiskates closer together and push your heels outward to create a wedge shape. If you need to stop more quickly, try the hockey stop - turn both feet sideways until they’re perpendicular to your direction of travel. Plus, many Snowfeet models come with a built-in heel brake, which makes controlling your speed a lot easier than with traditional long skis.
Can I use Snowfeet* Skiskates on beginner chairlift runs?
Snowfeet* Skiskates are a great choice for beginner chairlift runs. Thanks to their compact and lightweight design, they’re super easy to handle, especially on gentle slopes or bunny hills. Unlike traditional skis, these don’t require heavy gear or special boots, making them much simpler for newcomers to use. They’re perfect for building confidence quickly while offering a portable and hassle-free way to enjoy groomed slopes or smaller terrain.


Zostaw komentarz
Ta strona jest chroniona przez hCaptcha i obowiązują na niej Polityka prywatności i Warunki korzystania z usługi serwisu hCaptcha.