
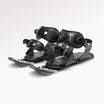
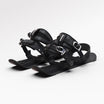
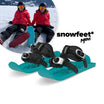
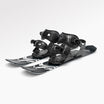
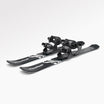
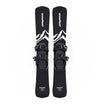
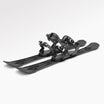
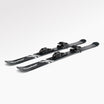
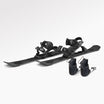
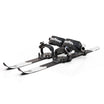
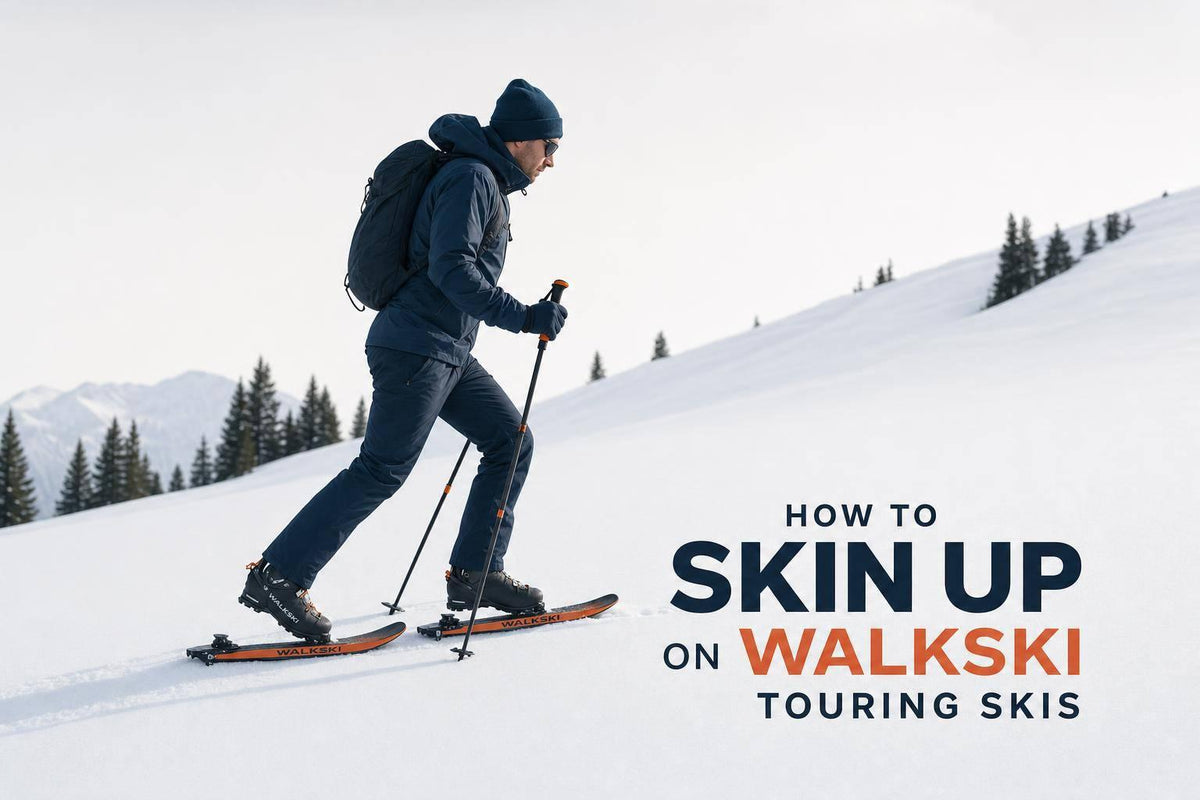
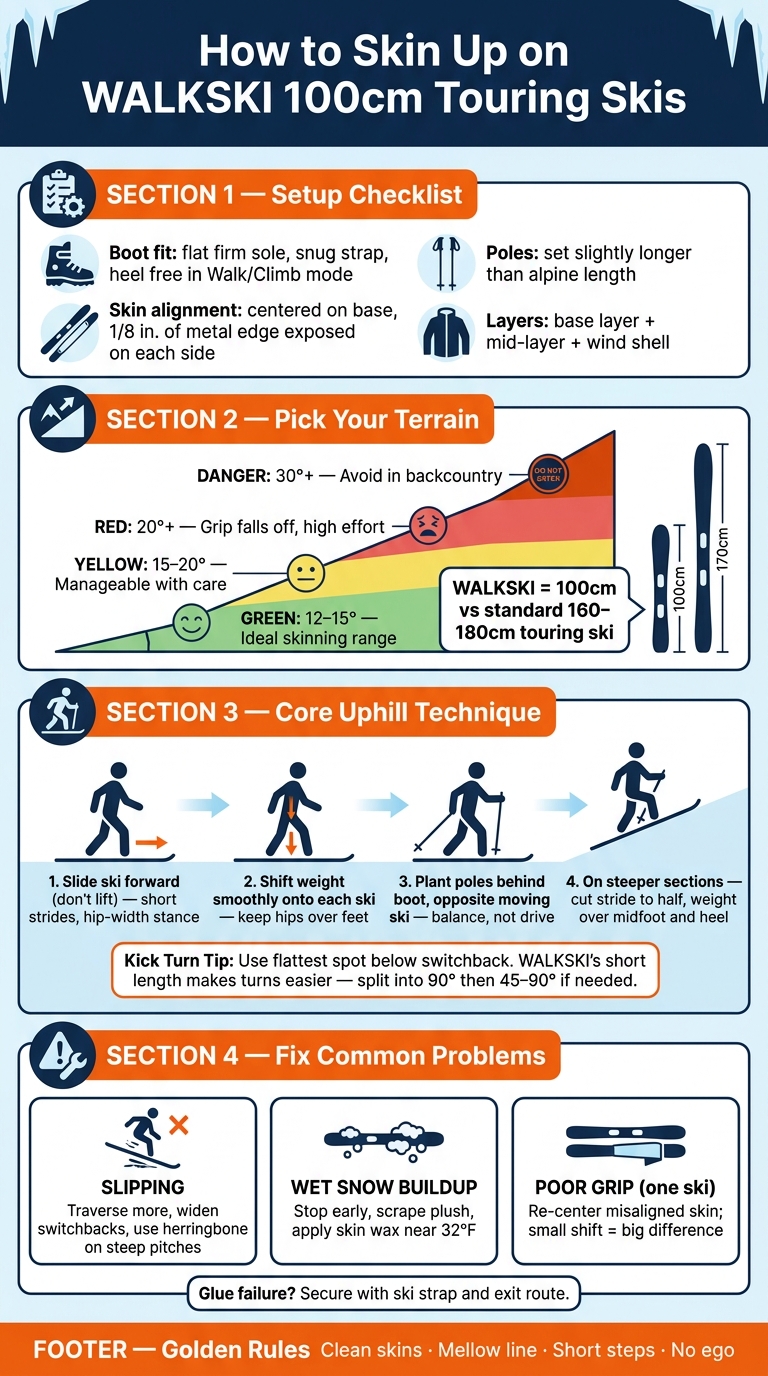
Yes, you can skin uphill on 100 cm WALKSKI skis - if you keep the setup clean, the track mellow, and your movement smooth. For most riders, the sweet spot is a skin track around 12–15°, with extra care once slopes get past 20°. Short skis give you less ski to swing around, which helps a lot in tight switchbacks and narrow uptracks.
Here’s the short version I’d tell you in the parking lot:
- Set the skis up right first. Make sure your heel moves free in walk mode, your boot feels snug, and your skins are centered with about 1/8 in. of edge showing on each side.
- Pick easy-to-moderate terrain. Short skis climb fine, but steep, icy lines can turn into a leg-burning slip fest fast.
- Slide the ski; don’t stomp it. Small steps, calm posture, and steady pole plants help the skin stay in contact with the snow.
- Fix problems early. If you slip, ice up, or lose grip on one ski, stop and sort it out before it gets worse.
- Follow uphill rules. At resorts, stick to posted uphill routes and hours. In backcountry terrain, avoid slopes above 30° and watch for gullies and hard sidehills.
A few numbers matter here. Most touring skis are about 160–180 cm long, while the WALKSKI is 100 cm. That shorter platform won’t feel the same on deep powder descents, but on the climb it can feel easier to turn, easier to place, and less awkward in tight spots. That’s a nice trade if your day starts with the uphill.
If I had to boil the whole thing down, it’s this: clean skins, mellow line, short steps, and no ego. That combo gets you up the hill with a lot less drama :)
If you want a quick visual on skinning basics, these videos help:
- How to use climbing skins on touring skis
- How to do a ski touring kick turn
- Resort uphill travel tips
So, if you’re new to skinning on short touring skis, start simple, keep your route mellow, and let the skis slide uphill instead of fighting them.
How to Skin Up on Short Touring Skis: Step-by-Step Setup & Climb Guide
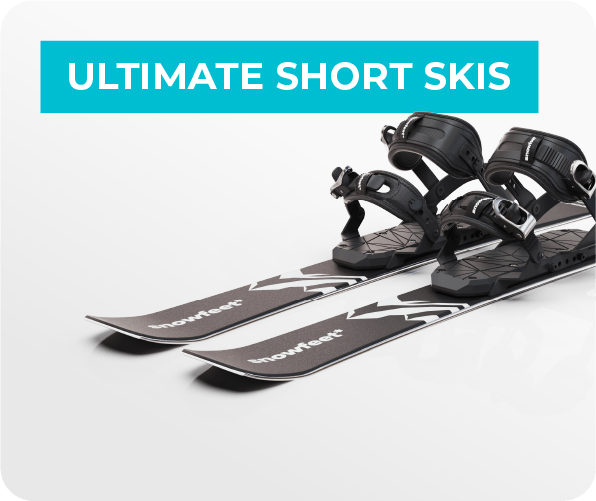
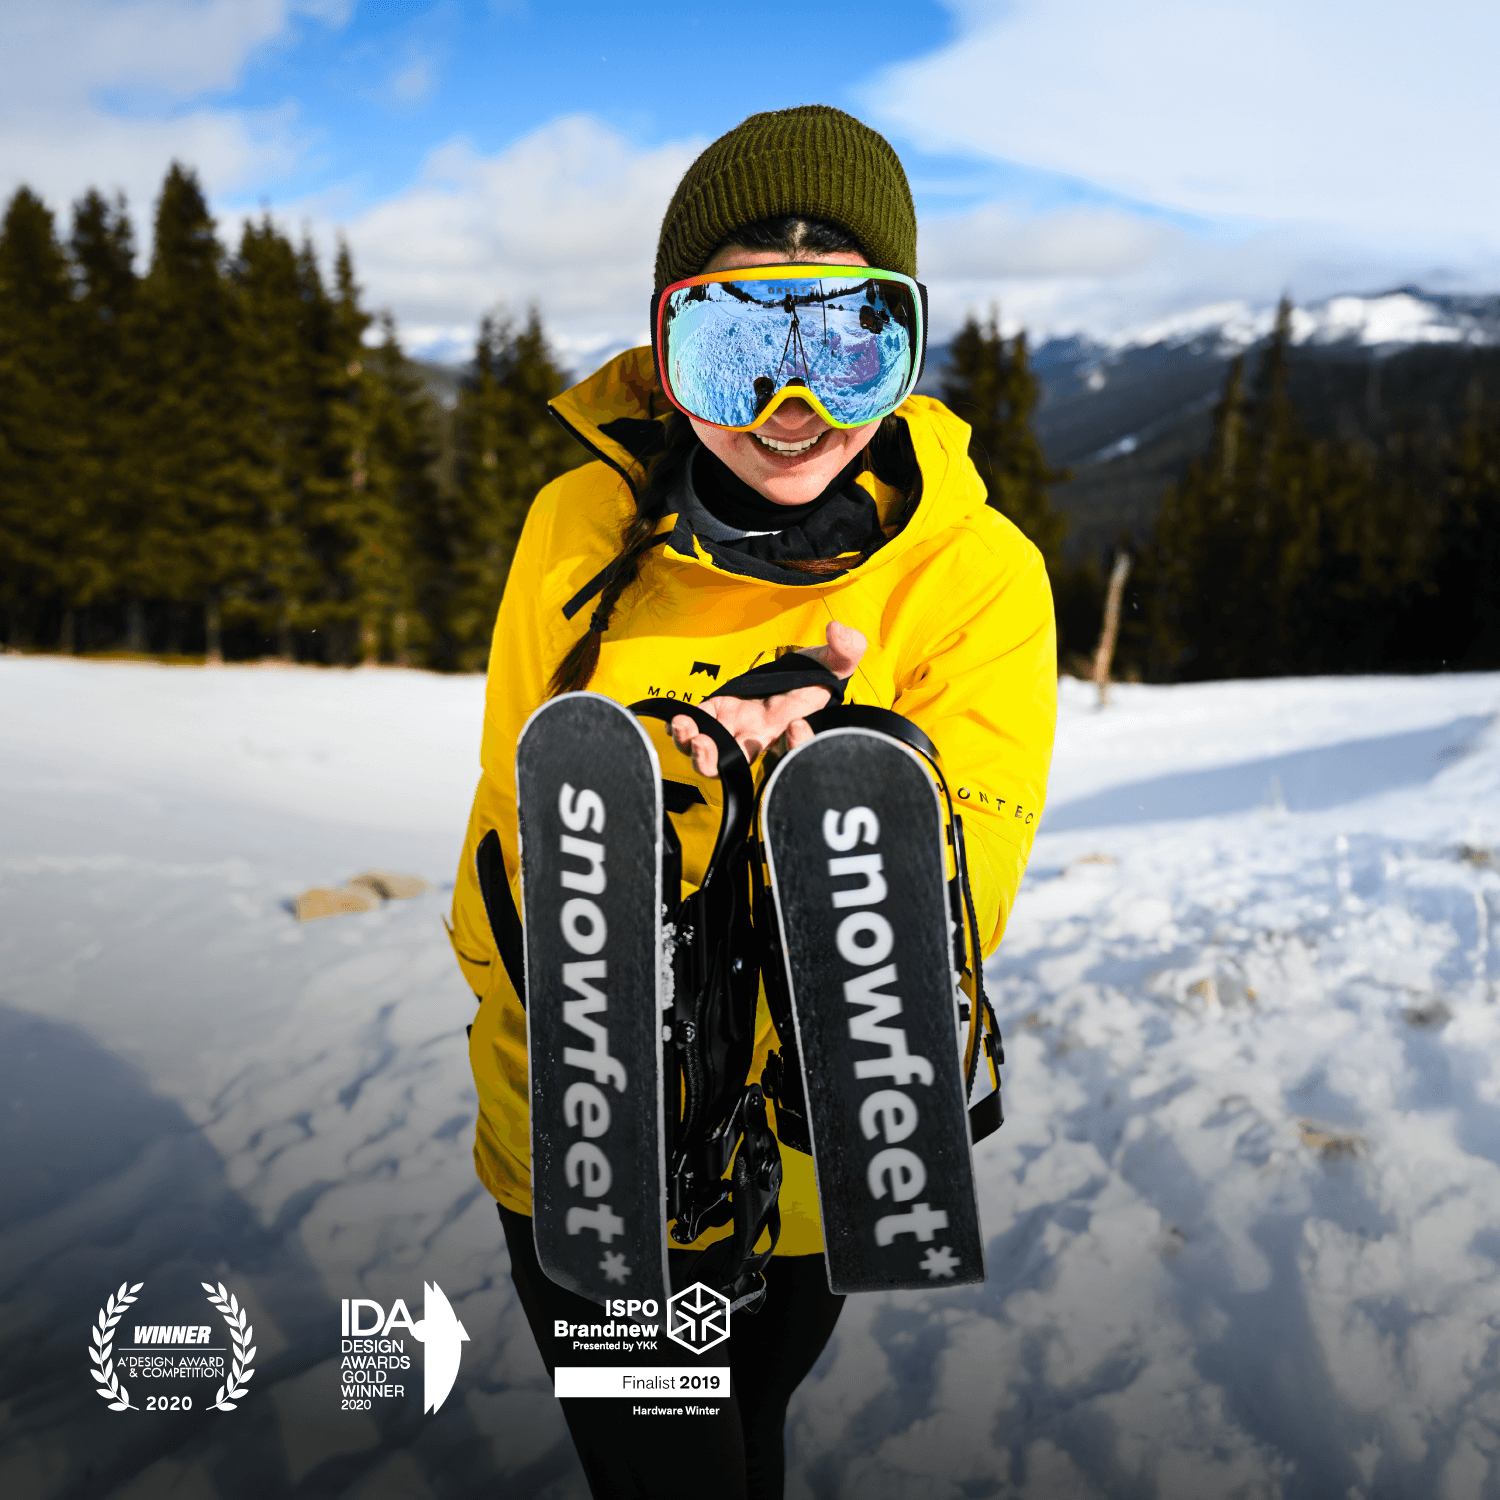
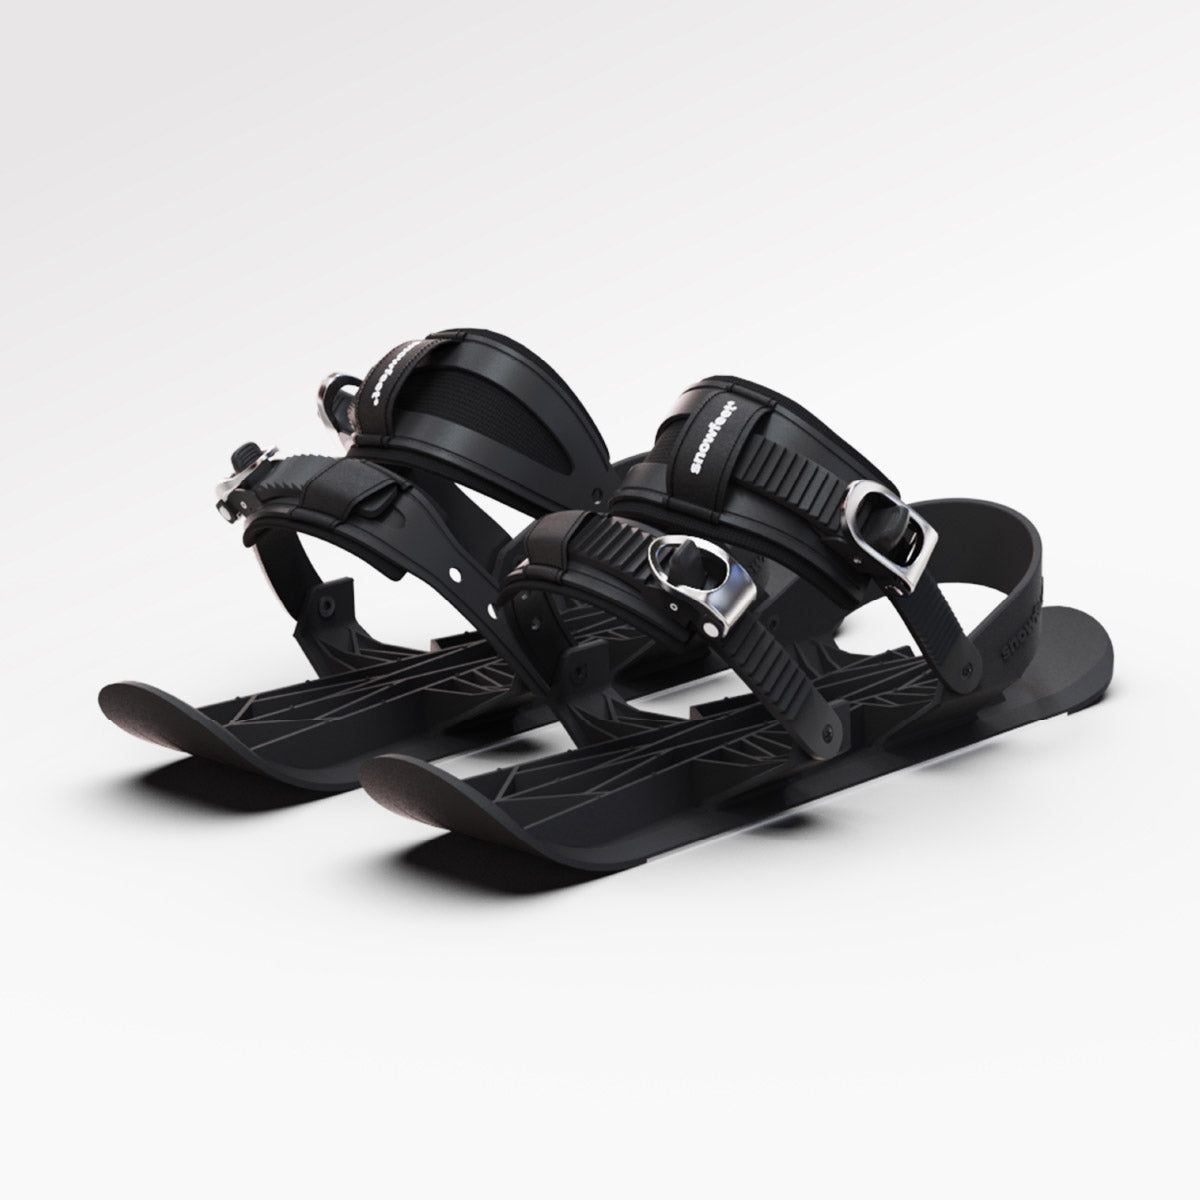
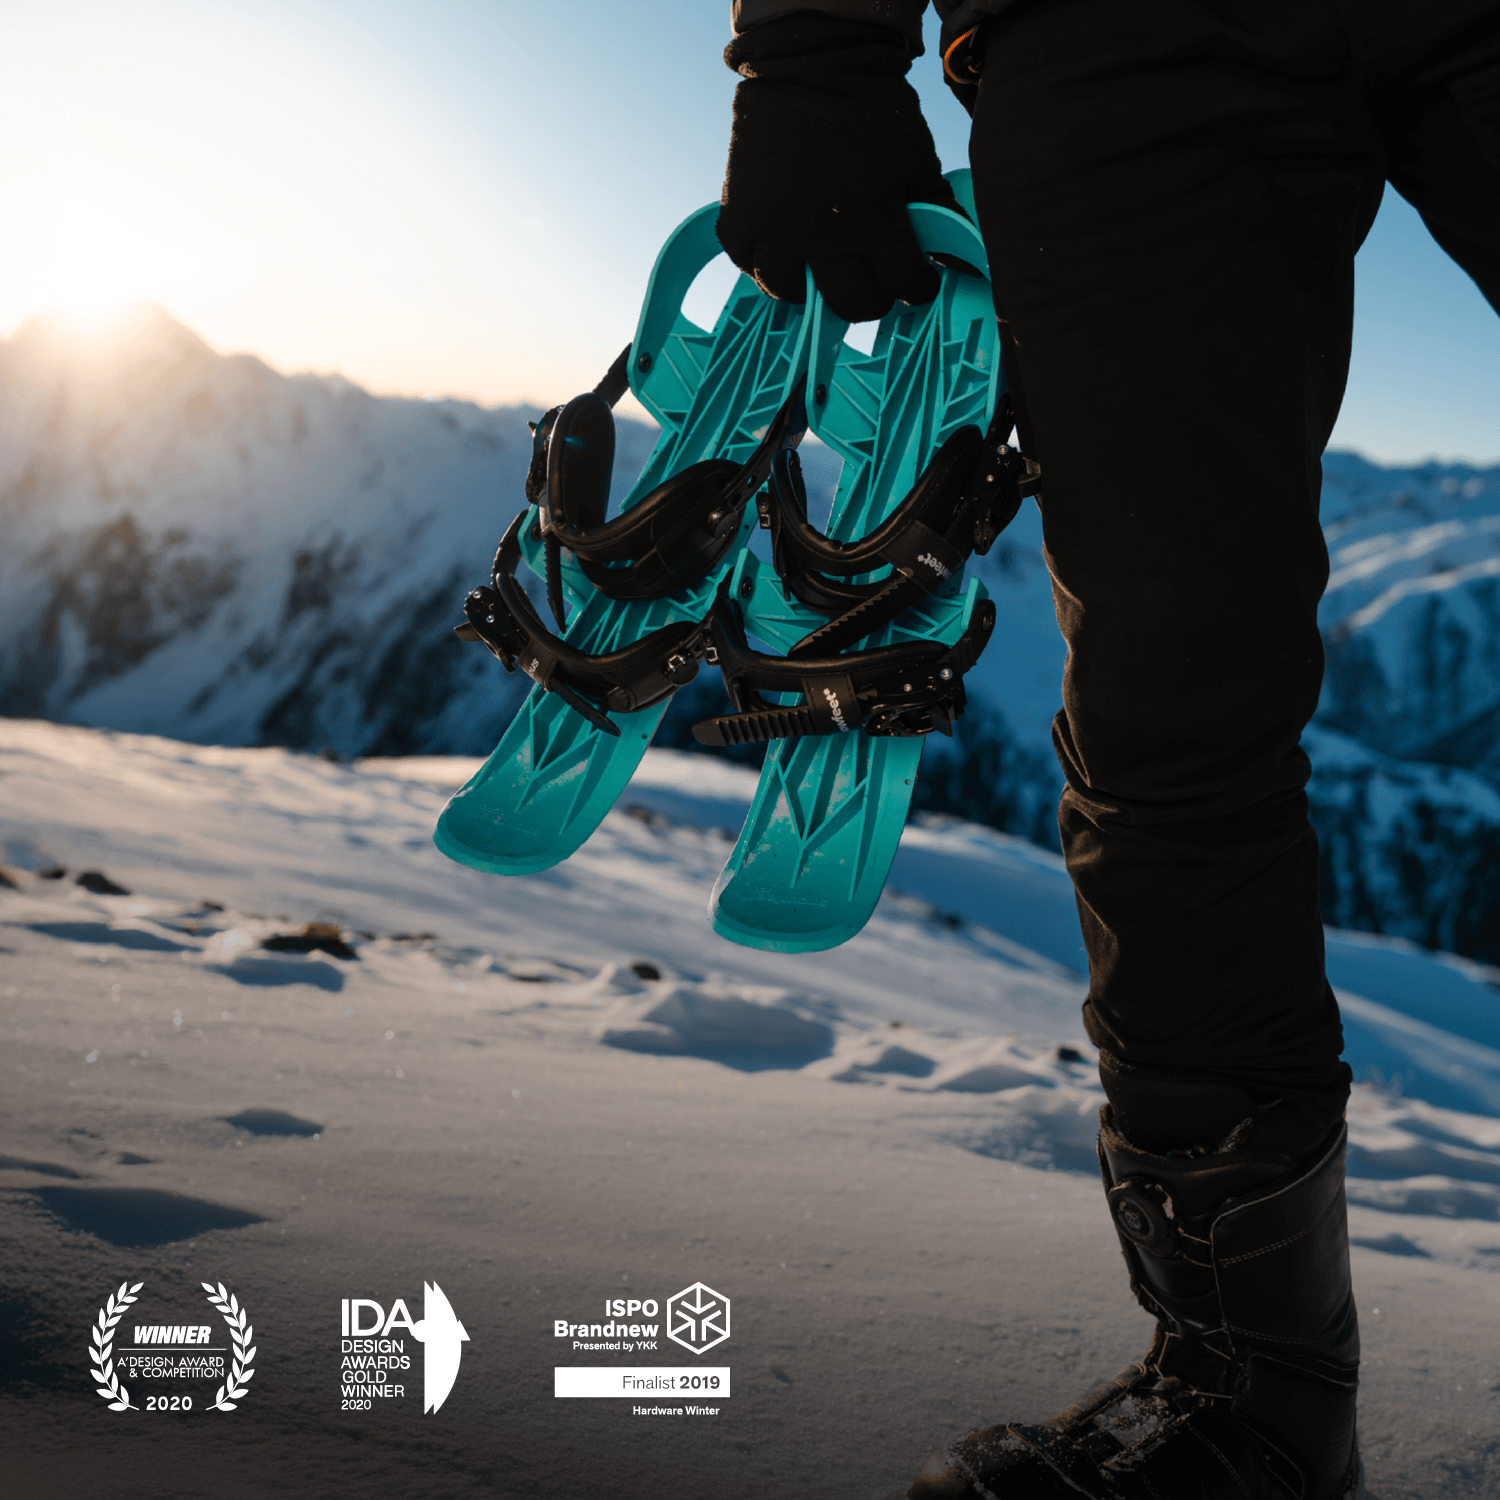
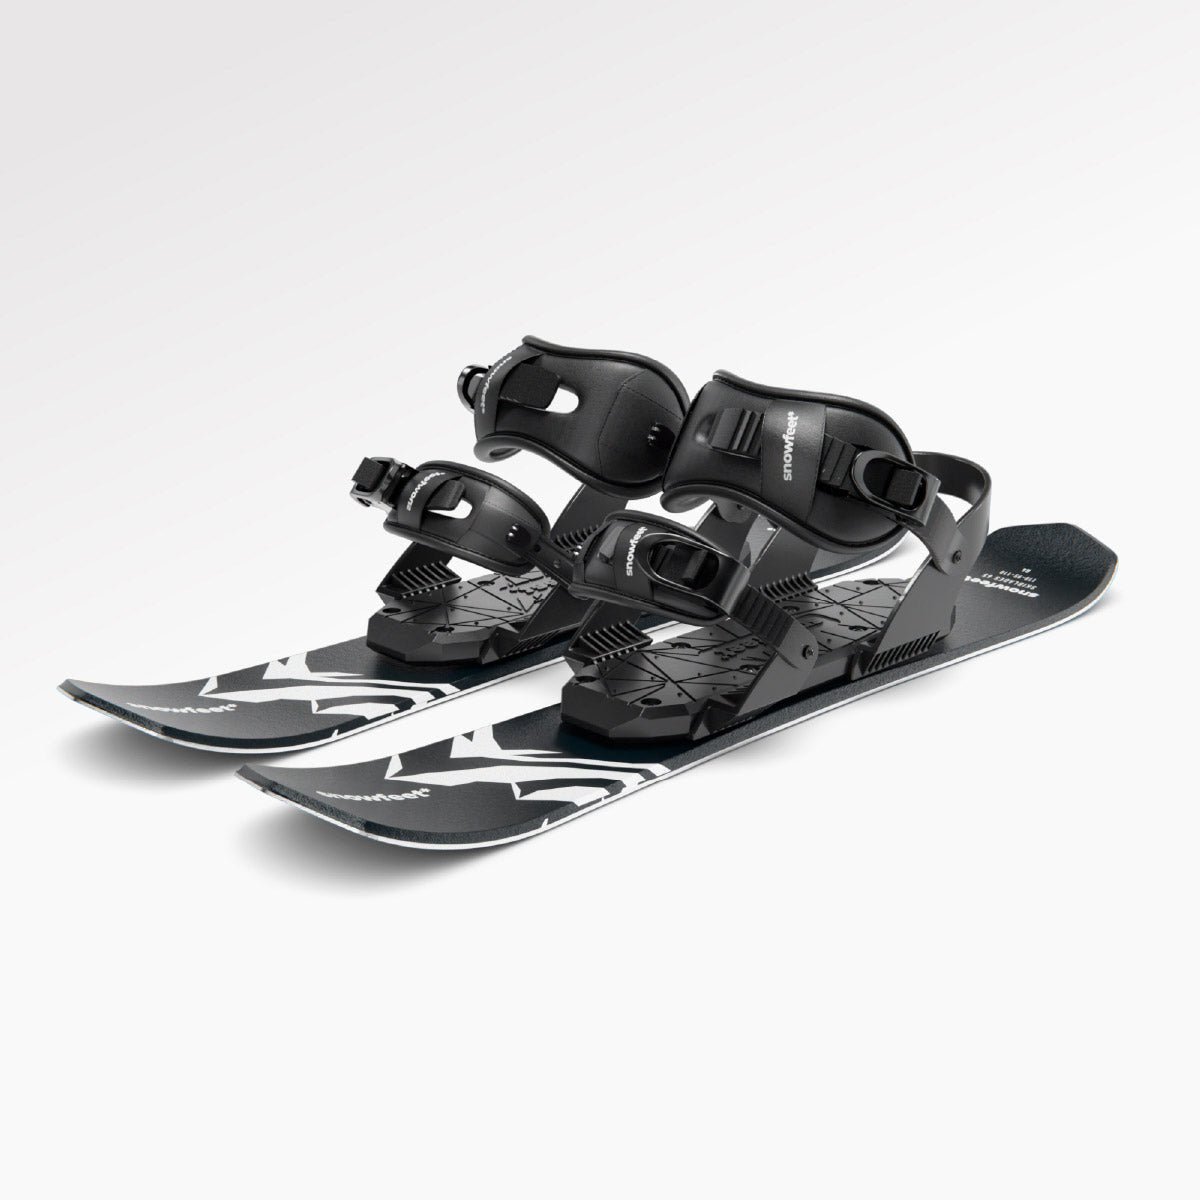
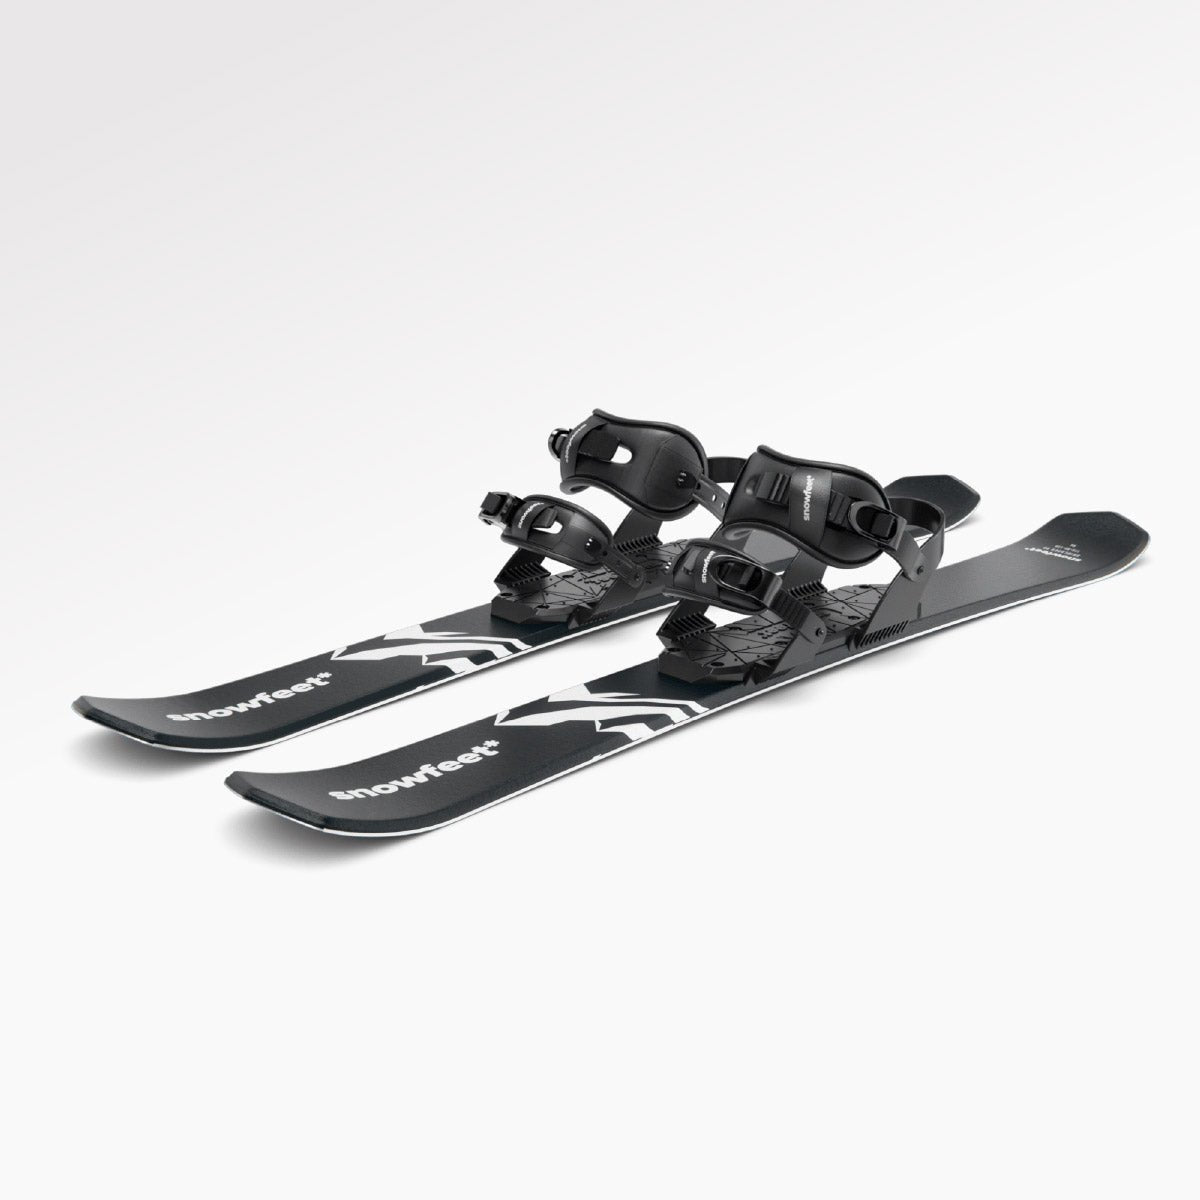
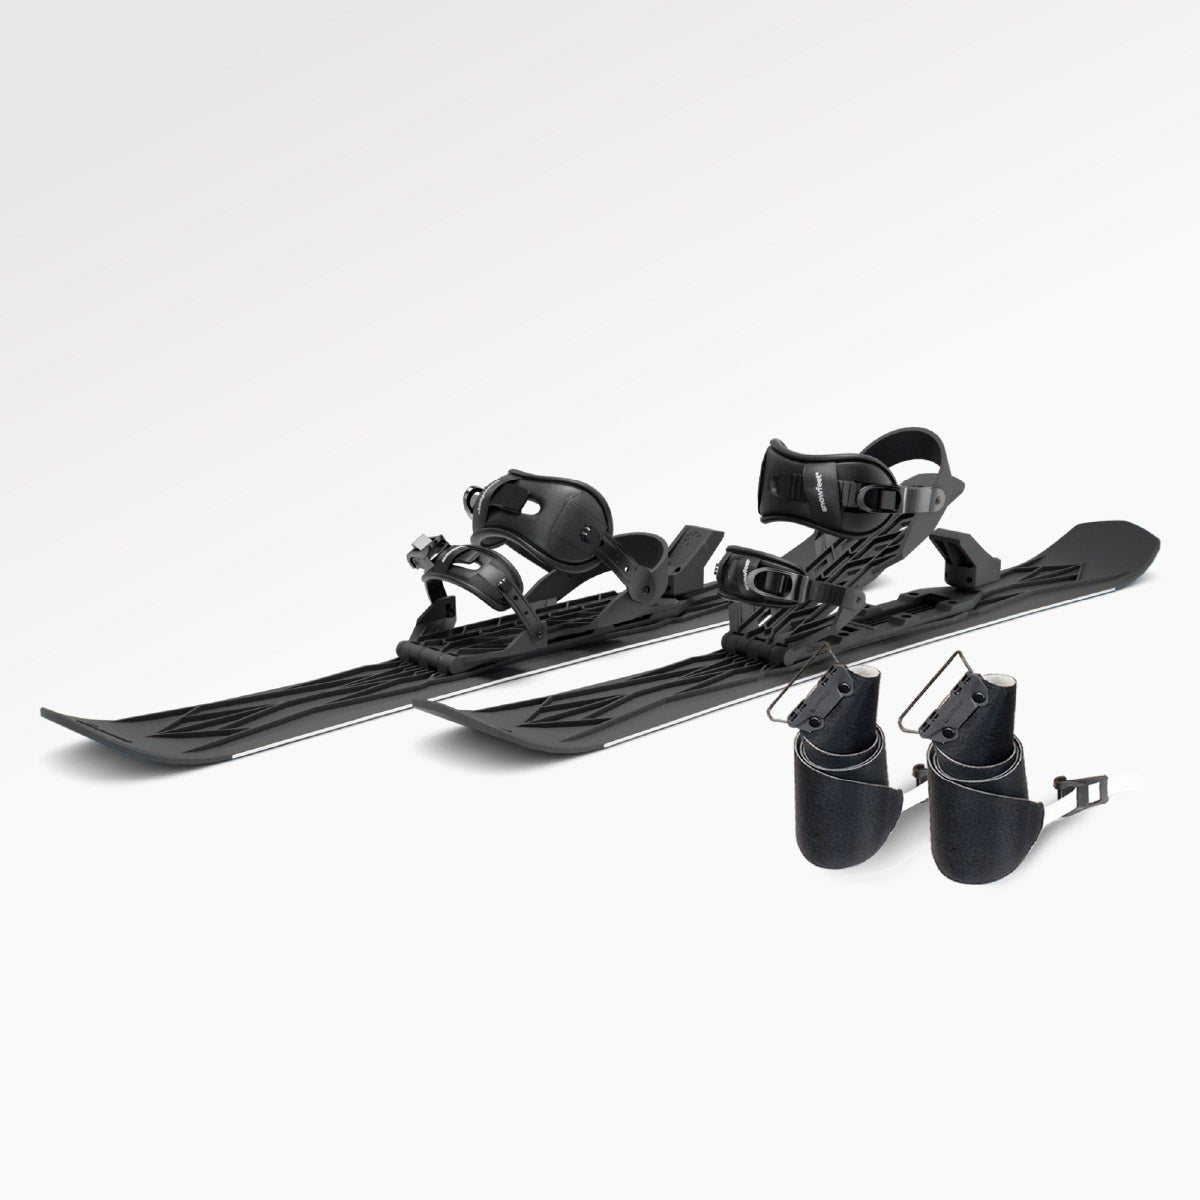
Snowfeet* WALKSKI Backcountry Touring Skis | 100 CM
How to Set Up the WALKSKI 100 cm Before You Climb
Short skis punish sloppy setup. So before you head uphill, get three things right: boot fit, heel movement, and skin alignment.
Choose Compatible Boots and Check Binding Movement
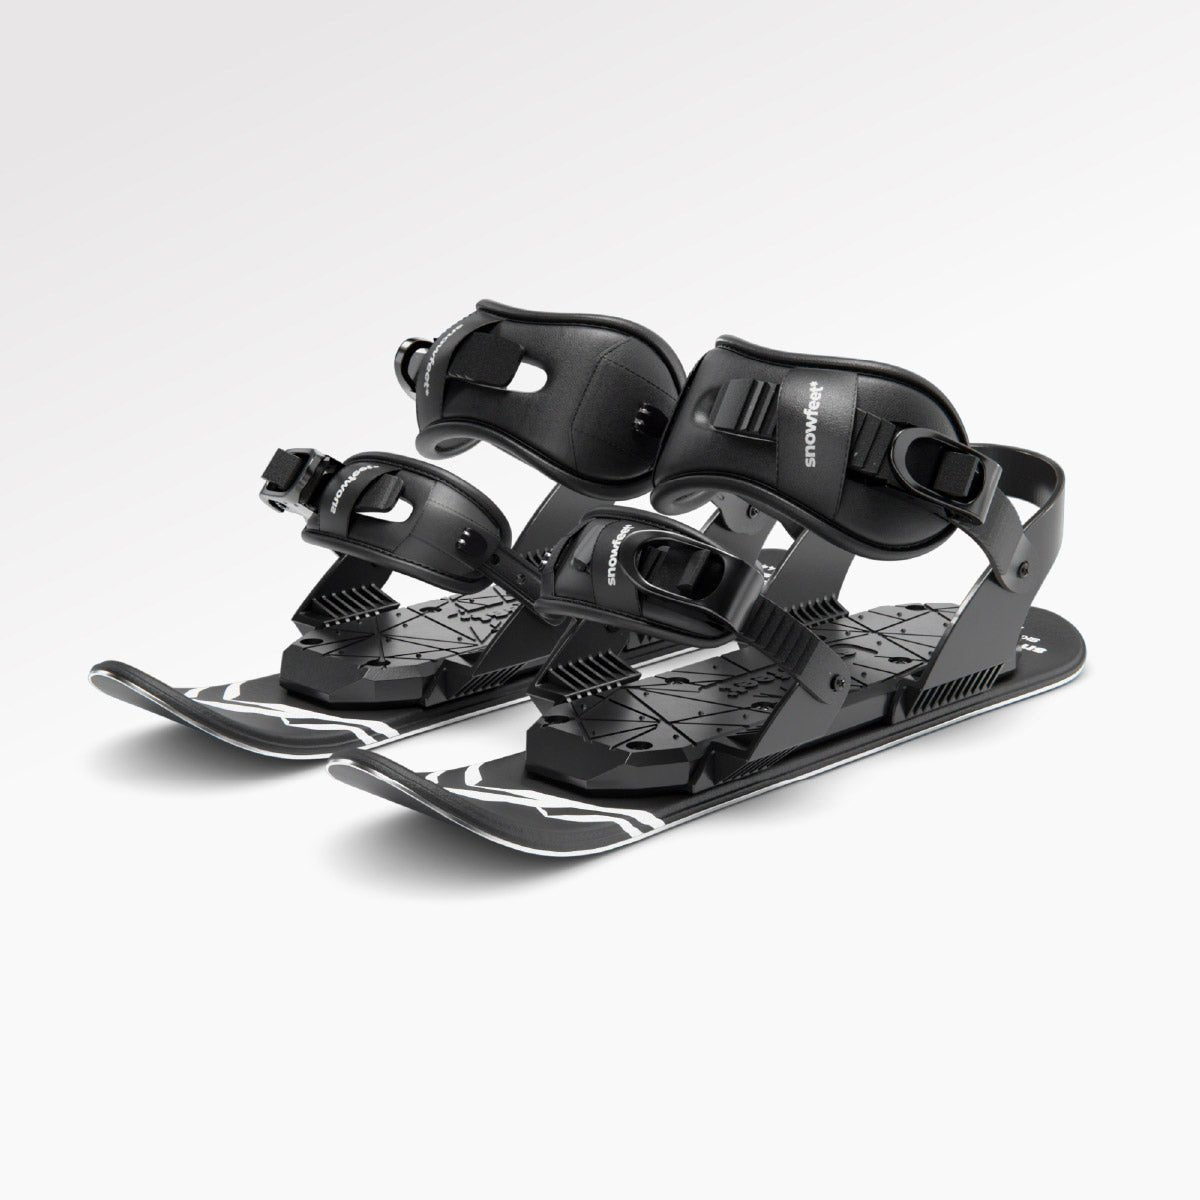
The WALKSKI universal binding works with snowboard boots (US men's 6–14.5), winter boots (US 6–14.5), and ski boots (US 4.5–14.5). Aim for a boot with a flat, firm sole and enough ankle flex to let you stride without fighting the boot. Soft snowboard boots and ski boots with walk mode tend to feel best. Stiff race boots? They can make the climb feel jerky and wear you out fast.
Set the binding to Walk or Climb mode so your heel can move free. Then strap the boot in snugly, keep the heel flat, and take a few test steps on level snow. If your heel pops up too much, tighten the ankle strap or slide the boot a bit forward. And yeah, don’t leave the binding in Ski mode for the climb. That cuts your stride short and makes uphill travel a pain.
Once the heel moves the way it should, you’re ready for the skins.
How to Attach and Center Skins on the Base
Start with a clean, dry base. Snow, ice, or old wax can mess with skin glue and make the bond weak. Give the base a quick wipe before you put skins on, most of all in cold weather when the glue may not grip as well.
Hook the tip attachment first. Then lay the skin straight down the middle of the base toward the tail. Leave about 1/8 in. of metal edge showing on each side, press the skin down from tip to tail, and clip the tail so it sits snug but not stretched. That little strip of exposed edge helps a lot on sidehills and icy spots.
After that, do one last check at the trailhead before you step in.
Pre-Climb Safety Check
Before you click in, run through this quick list:
- Skins: Fully stuck down, centered, edges exposed, no snow or ice on the glue side
- Bindings: Straps tight, heel free in the right mode, no side-to-side boot wobble
- Poles: Set a bit longer than your alpine length for uphill pushing, locks engaged
- Layers: Moisture-wicking base layer, light mid-layer, wind shell
- Route and rules: Check the resort’s uphill access status and approved routes before you go
For resort routes, bring a charged phone and basic first aid. If you’re heading into avalanche terrain, add a beacon, shovel, and probe.
How to Pick a Skin Track for Short Touring Skis
With your skins and boots dialed in, the next thing that shapes the climb is your route. A moderate, clean skin track makes the uphill feel smooth. A steep or icy line? That’s where skins start to slip, even if your setup is spot on.
Stick to Moderate Angles and Clean Switchbacks
Try to stay on slopes in the 12–15° range. Once you get past about 20°, grip starts to fall off, your legs burn sooner, and uphill progress can slow to a crawl.
One nice thing about the WALKSKI is its short length. It handles tighter switchbacks with less fuss. Set your turns on small benches or flatter spots with clean snow. If a turn is rutted or icy, don’t force it. Move a few feet uphill and reset the turn where the snow is cleaner.
Adjust Your Route for Snow Conditions and Temperature
Cold, dry snow usually grips well. Warm, wet snow is a different story. It can clump under your skins and ice them up, which is about as fun as walking uphill in socks. When that happens, use shallower angles, stop on flat spots to scrape off buildup, and carry anti-ice treatment.
Time of day matters too. Early morning firm snow is often the best window for steeper or more direct lines. As the day warms up and surface slush builds, grip gets less reliable on steeper pitches. It helps to do the harder sections first, then leave the mellower terrain for the way back.
Follow U.S. Uphill Policies and Basic Terrain Awareness
At U.S. ski areas, follow posted uphill routes and hours. Those lanes usually stick to steady, moderate angles on well-traveled snow. That’s exactly the kind of predictable terrain where short touring skis tend to work best.
In backcountry terrain, keep it simple and cautious:
- Avoid open faces steeper than 30°
- Avoid gullies and creek beds
- Avoid steep sidehills above 25–30°, where the uphill ski can slide out on hard, angled snow
- Stick to ridgelines and mellow forested slopes that break steeper exposure into short, manageable sections
Once the track is set, shift your attention to stride, grip, and pacing.
sbb-itb-17ade95
Core Uphill Techniques: Stride, Grip, Kick Turns, and Pacing
On a set skin track, short strides and steady balance matter more than brute force. Treat the climb like one linked system: posture affects traction, traction affects turning, and turning affects the pace you can keep without blowing up halfway up the hill.
Slide the Ski Forward, Don't Lift It
Don’t lift the ski like a snowshoe. Let it slide.
Stand about hip-width apart, with your hips over your feet and a slight lean from the ankles. Move each ski forward a few inches, then shift your weight onto it in one smooth motion. That calm, walking rhythm helps keep the skin in contact with the snow on every step.
For pole use, plant them a bit behind the boot and opposite the ski that’s moving forward. Use them for balance, not for driving yourself uphill. If your arms are doing too much, your stride is probably too long.
That steady rhythm helps your grip stay even as the slope gets steeper.
How to Hold Traction on Steeper Sections
When the skin track gets steeper, cut your stride to about half your normal step length. Keep your weight centered over the midfoot and heel. If you lean too far into the slope, you lighten the tail and start to slip. Soft knees and ankle flex help keep full contact on WALKSKI's short platform, where small posture changes matter more than they do on a longer ski.
If your setup has heel risers:
- Use the low riser when your calves start burning on moderate pitches
- Switch to the high riser on sustained steeps
- Drop them on flat sections, since leaving them up reduces skin contact
- If you feel pitched forward on mellow terrain, lower the risers
When the track gets tight, it’s time for a kick turn.
How to Make Kick Turns in Tight Terrain
A kick turn lets you reverse direction without giving up ground. Find the flattest spot just below the switchback. Plant both poles uphill to make a stable base. Then lift the uphill ski, swing it around, and set it down. After that, bring the other ski across. Reset your poles and keep moving.
WALKSKI's short length makes kick turns easier in tight terrain. If one big swing feels awkward, split it up. Turn the ski about 90 degrees first, then finish with another 45 to 90 degrees. No hero move needed :) just make it clean.
Pacing
Once your turns feel smooth, pacing becomes the main limit. Keep a pace where you can still talk in short sentences. If you’re gasping, slow down or take a lower-angle skin track instead of forcing a bigger stride.
Fix Slipping, Icing, and Poor Traction
How to Fix the Most Common Skinning Problems
When traction falls apart, fix the cause first. Don’t just push harder. That usually makes things worse.
Slipping often means the skin track is too steep. Traverse more. Make your switchbacks wider. On short, steep pitches, use side-stepping or a herringbone. Sometimes the fix is simple: stop fighting the hill and change your line.
Wet-snow buildup shows up most in warm weather or when temperatures sit near 32°F. Don’t wait until the skis feel like they’re dragging cinder blocks. Stop early. Knock the snow off, scrape the plush, and clear ice from the glue side by rubbing it lightly against the ski edge to break off ice. Use skin wax on wet snow.
Poor grip from misalignment is easy to spot. One ski holds, and the other slips. If one ski grips better than the other, stop and re-center the skin. A small shift can make a big difference.
If the glue fails, secure the skin with a ski strap and exit the route. Carry at least one strap in your pack for exactly this situation.
WALKSKI vs Long Touring Skis for Casual Riders
Short skis also make recovery easier when conditions change. Long touring skis are more stable at speed and offer better float in deep powder - a real advantage for experienced riders on big descents. But for most casual U.S. riders, the WALKSKI's compact size means easier kick turns, quicker pivots on narrow tracks, and less fatigue on the approach. That’s the part where uphill efficiency matters most, and where short skis can feel like a nice little cheat code :)
Conclusion: Key Habits That Make Skinning Easier
The best uphill habits are simple: stay centered, keep the track moderate, and fix problems early. Set your skins clean, hold a conversational pace, and deal with traction issues the moment you notice them. WALKSKI makes this feel less intimidating because it’s short, light, and easy to correct on the climb.
FAQs
Are 100 cm WALKSKI skis good for beginners uphill?
Yes. 100 cm WALKSKI skis are a smart pick for beginners heading uphill. At just 39 inches (100 cm) long, they’re much easier to control and turn than standard touring skis, which usually run 160 to 190 cm.
That shorter length also makes them lighter and easier to carry. And because the universal bindings work with standard winter boots or snowboard boots, you can skip the cost and hassle of buying a full set of touring-specific gear.
When should I use heel risers while skinning?
Use heel risers on uphill climbs to keep a natural, efficient stance and take some stress off your calves and Achilles. Use Climb 1 for moderate ascents. Switch to Climb 2 on steeper pitches and traverses.
Risers also help keep your weight forward, so your skins stay in contact with the snow. That means better grip and less slipping. Always use skins when using risers.
What should I do if my skins keep slipping?
First, check your technique. Stay upright and shift your weight toward your heels. That helps your skins grip better and keeps you from slipping all over the place.
Also, make sure the skin is applied smoothly, with no air bubbles. Check that the tail hardware is tight too. A loose tail clip can cause more trouble than you'd think.
On steeper terrain, use the built-in heel risers on your Snowfeet WALKSKI. They help keep your weight centered, which makes climbing feel a lot less awkward.
If you get icing or clumping, apply skin wax or scrape off the buildup. If the adhesive starts to fail, clean the ski base, keep the skins warm in your jacket during descents, or use ski straps as a temporary fix.


Legg igjen en kommentar
This site is protected by hCaptcha and the hCaptcha Privacy Policy and Terms of Service apply.