Gli splitboards sono snowboard che si dividono in due sci per le salite e si riconnettono per le discese. Sono perfetti per avventure in backcountry, offrendo accesso a polvere intatta e salvandoti dalle località affollate. Ma scegliere il tuo primo splitboard può essere complicato. Ecco una rapida panoramica:
Aspetti chiave da considerare:
- Dimensioni e peso: Abbina la dimensione della tavola al tuo peso, non all'altezza. Aggiungi 3–5 cm se porti attrezzatura. Piedi grandi? Scegli una tavola larga (255 mm+).
- Forma: I principianti dovrebbero scegliere tavole direzionali per un migliore controllo e galleggiamento nella polvere.
- Materiali e flessibilità: I nuclei in legno bilanciano durata e flessibilità. La fibra di carbonio è più leggera ma più costosa.
- Scarponi e attacchi: La maggior parte degli splitboards funziona con scarponi da snowboard normali, ma verifica la compatibilità.
Oppure, prova Snowfeet:
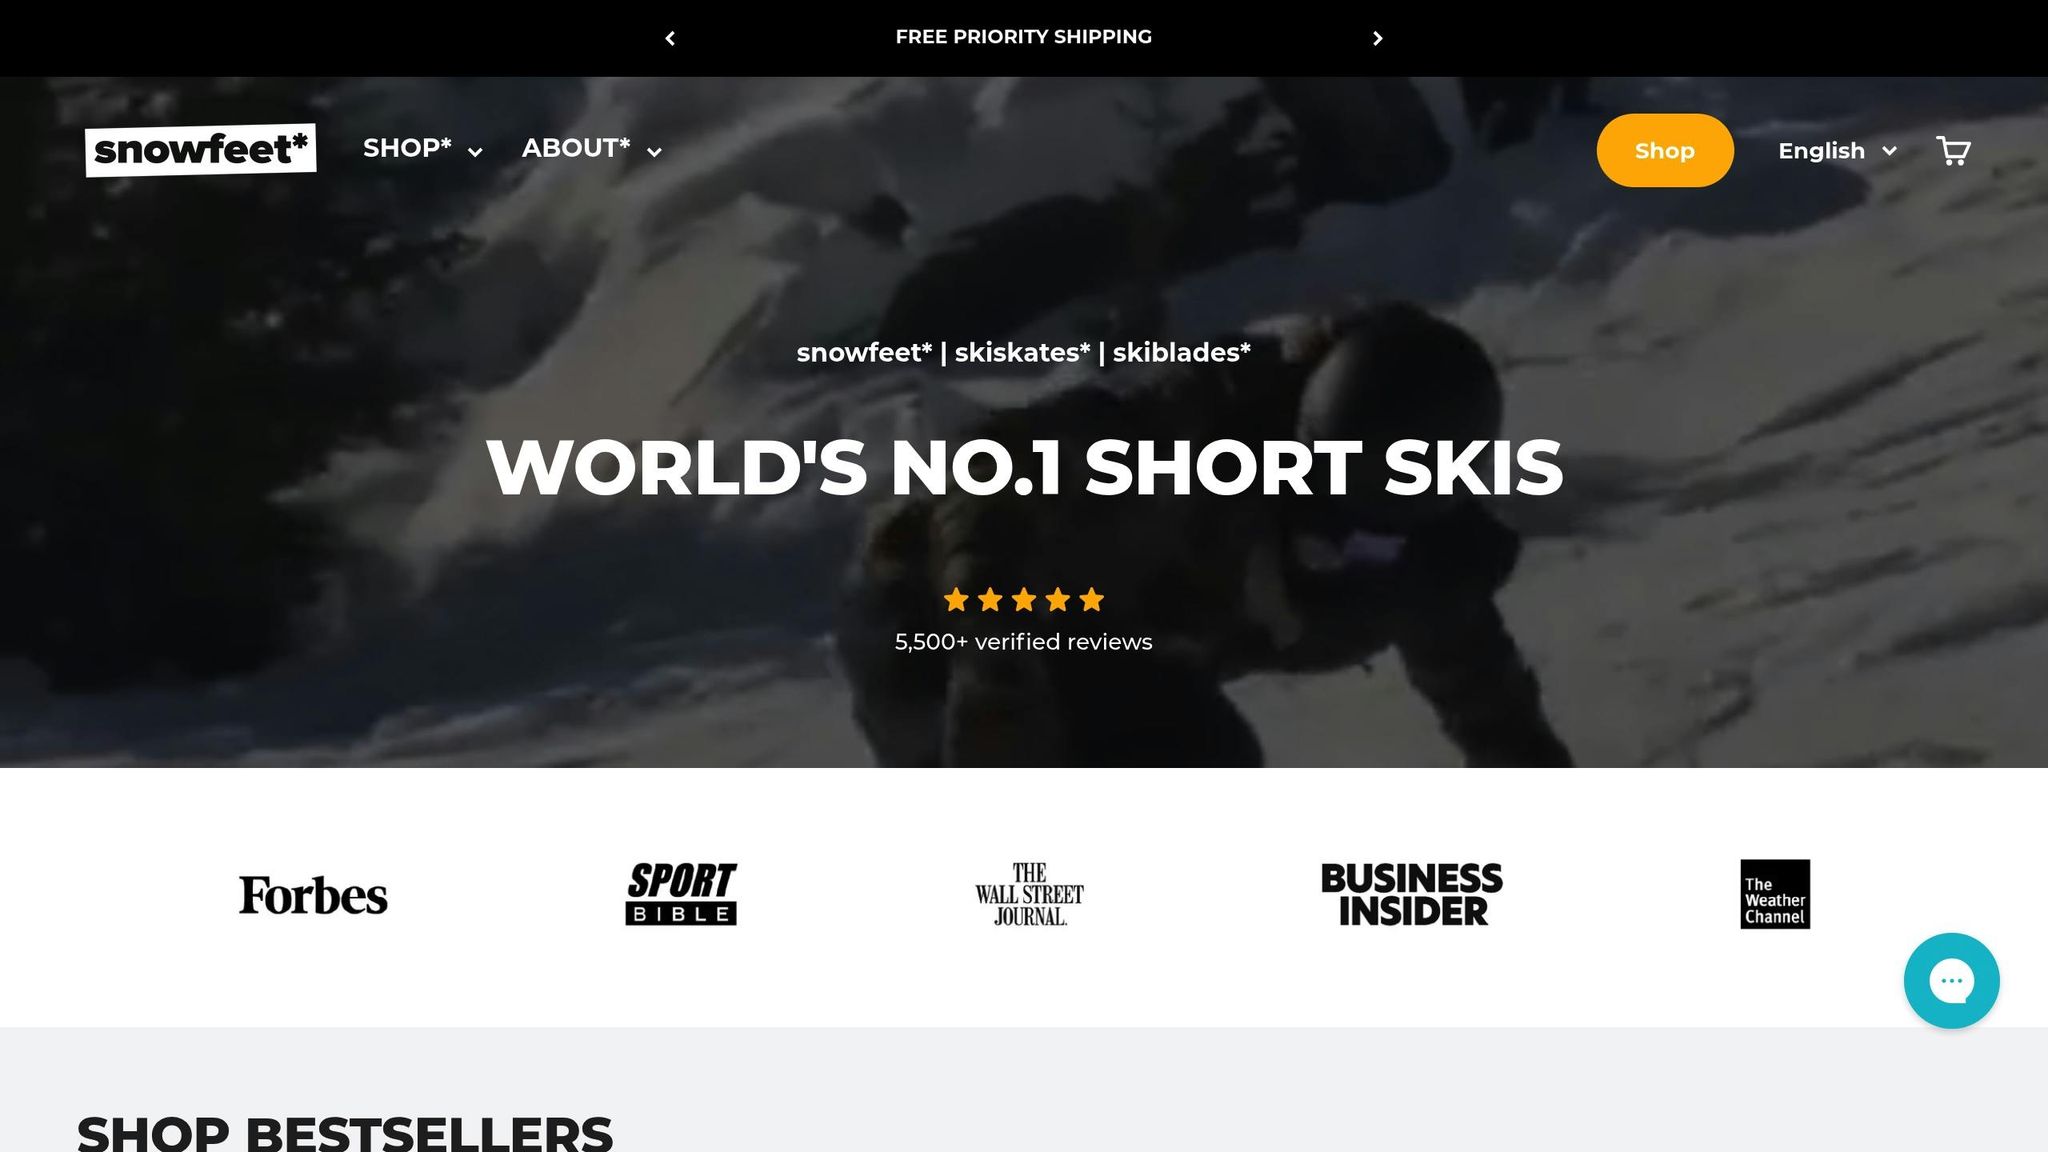
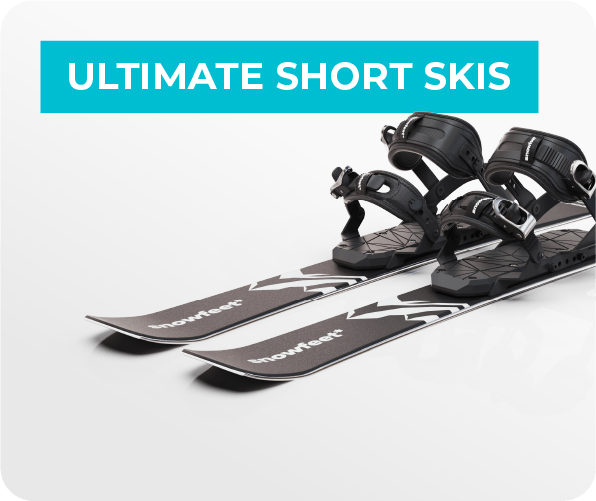
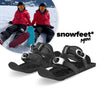
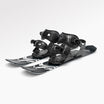
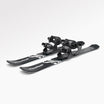
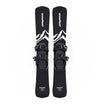
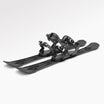
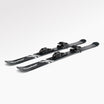
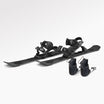
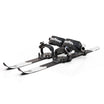
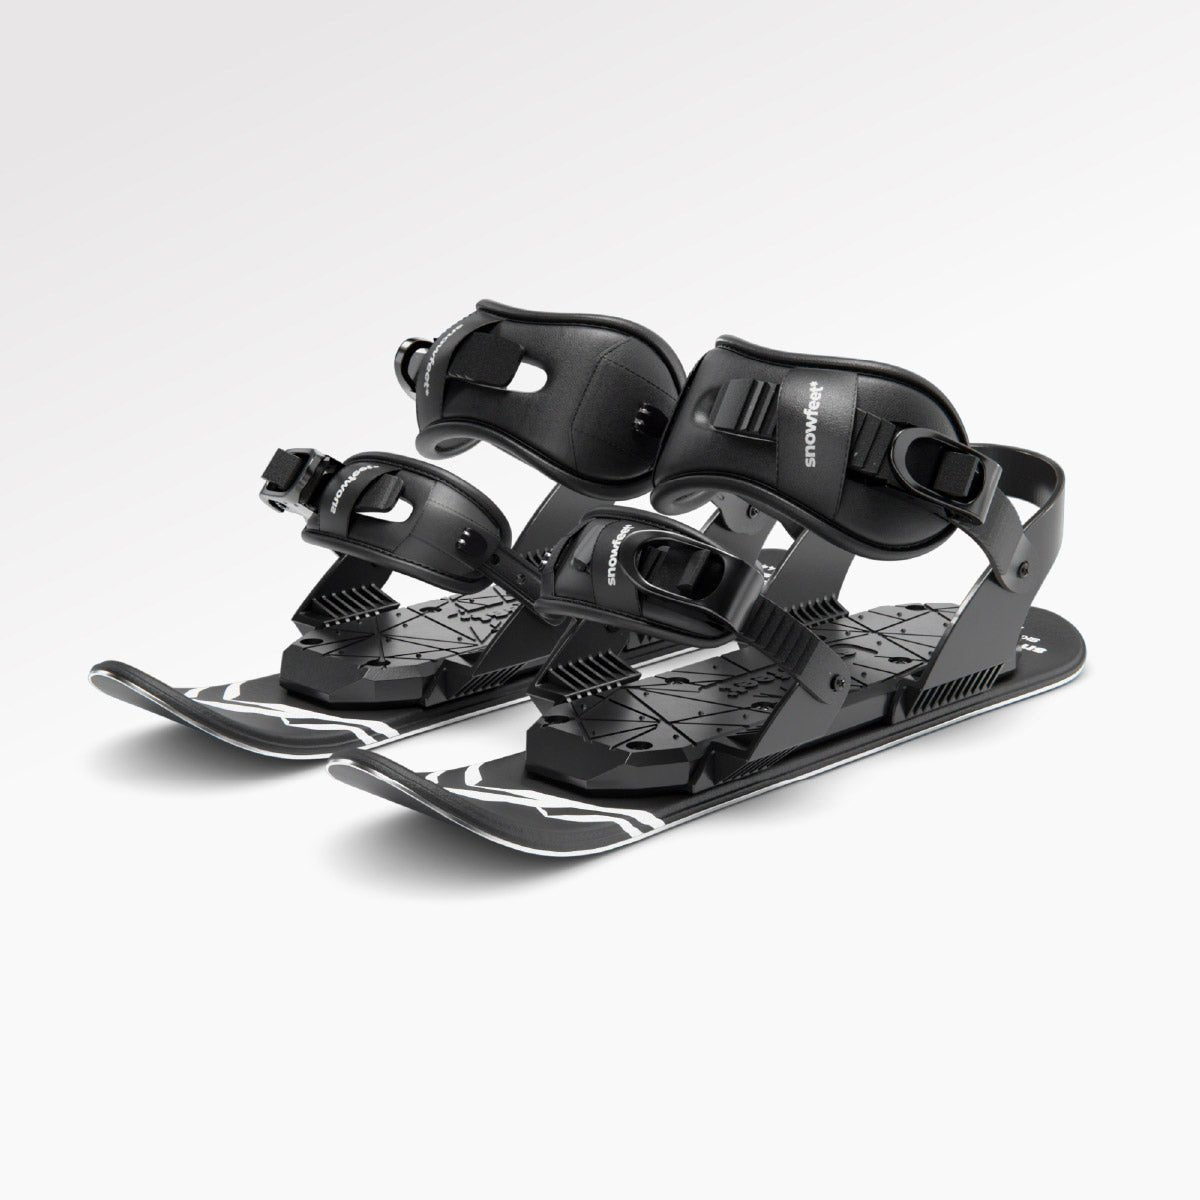
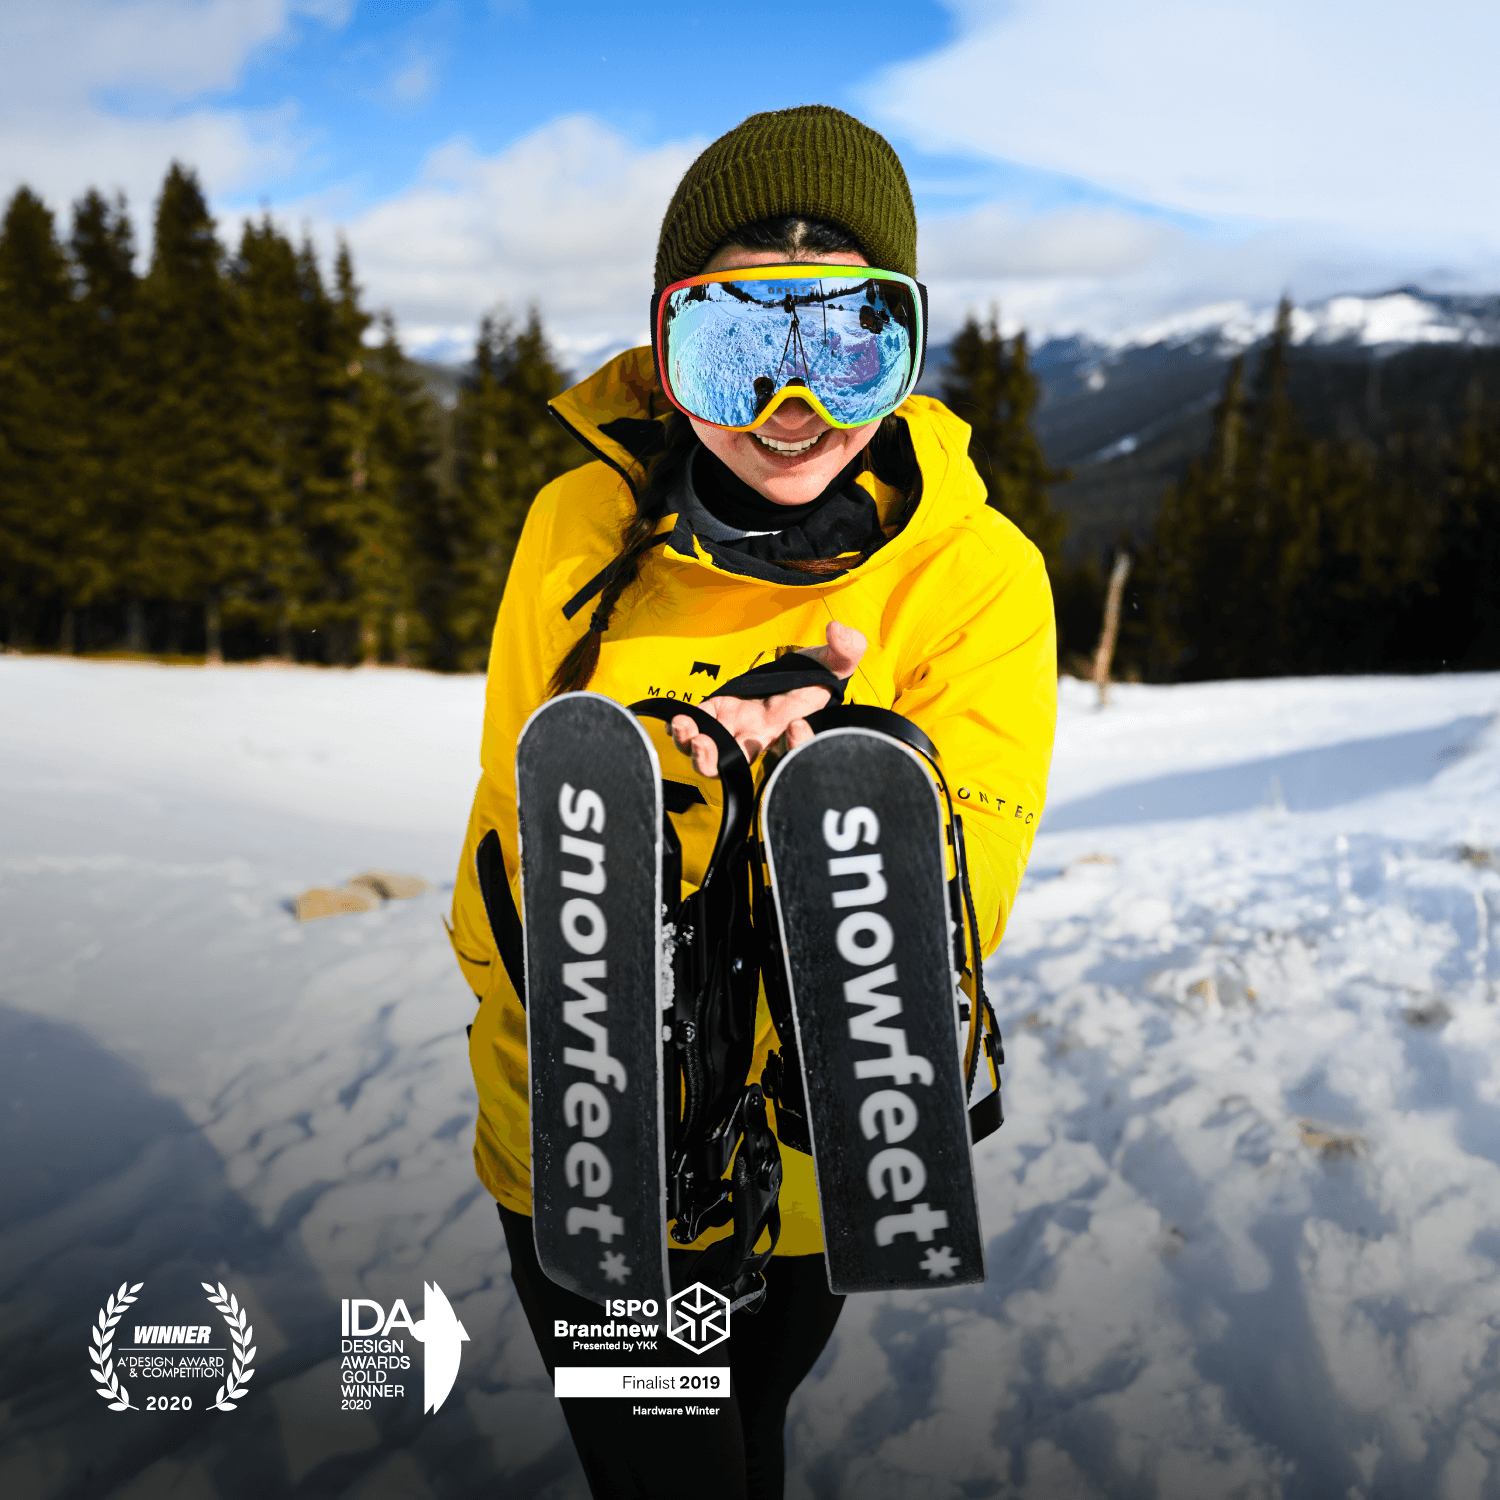
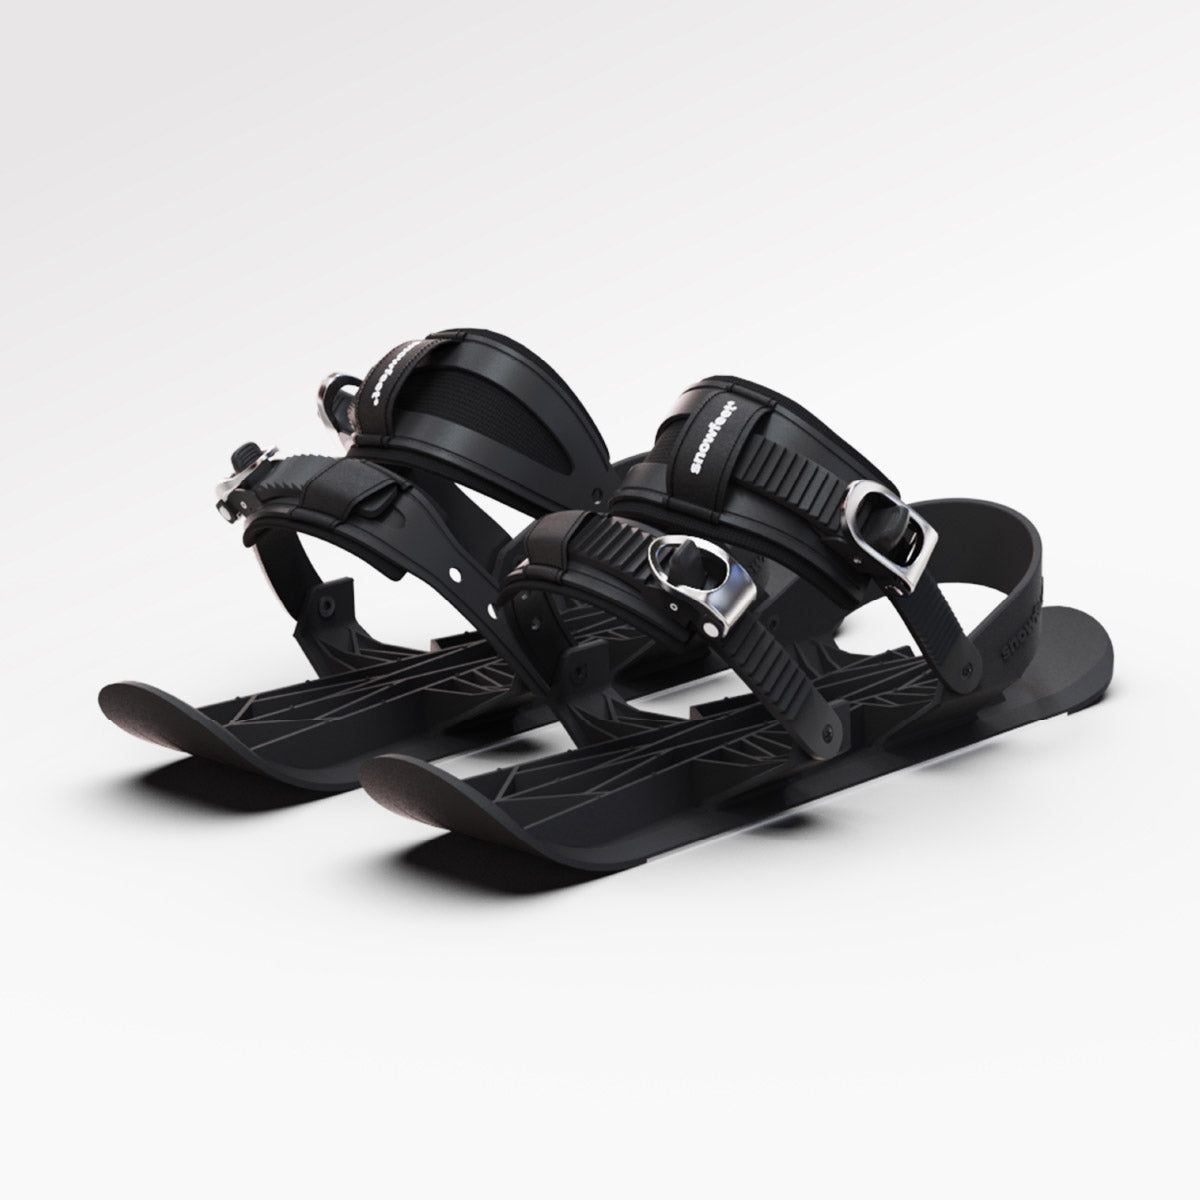
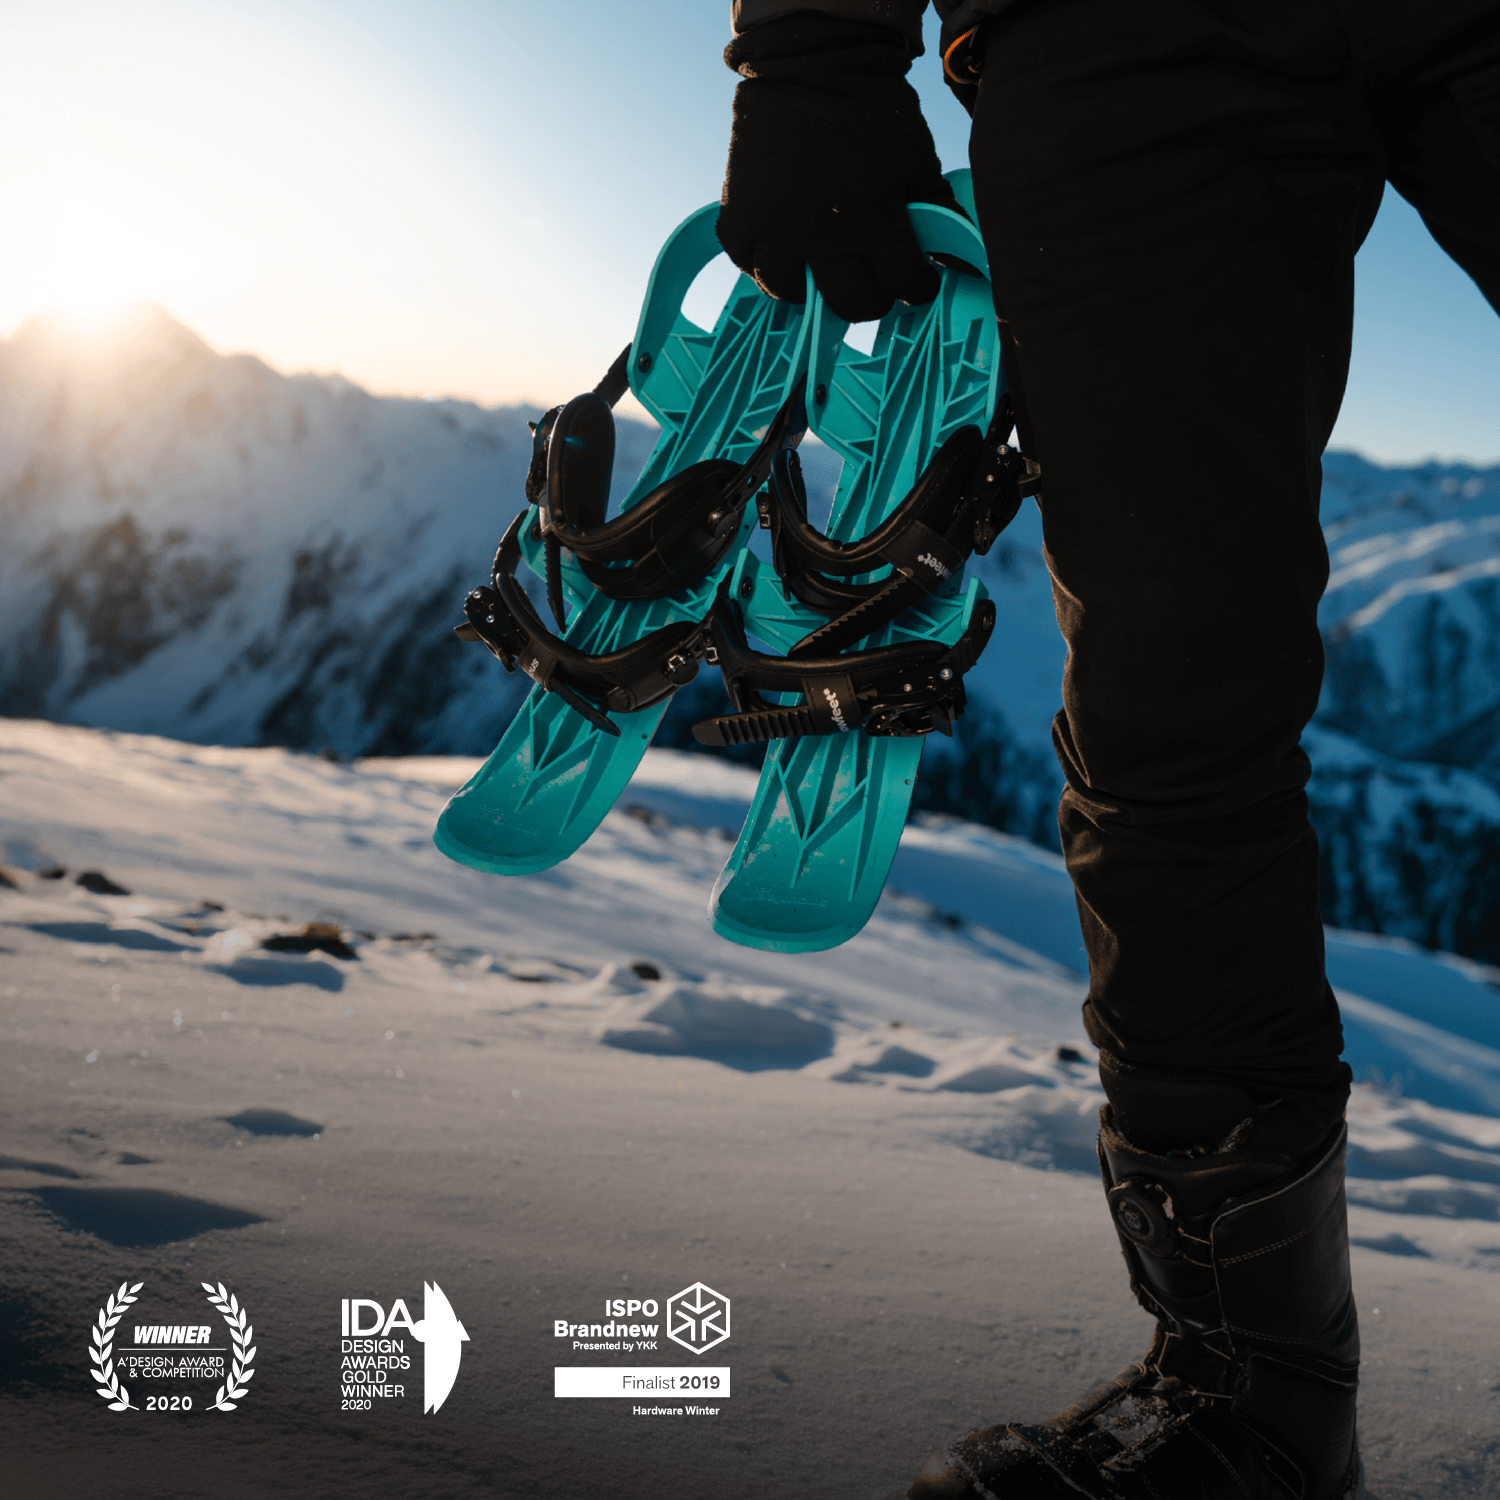
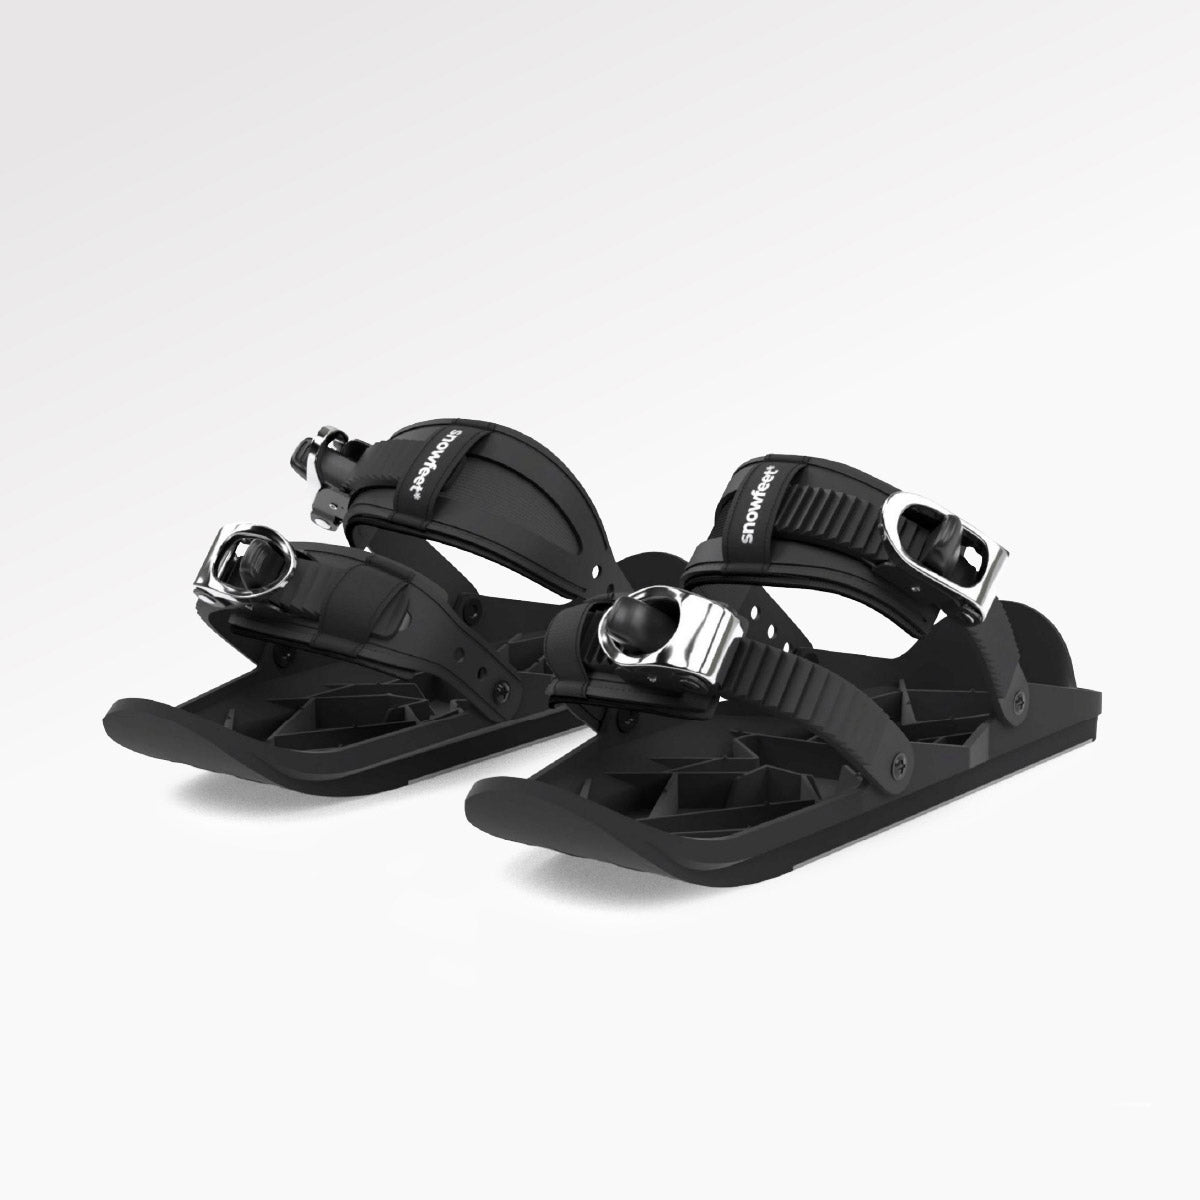
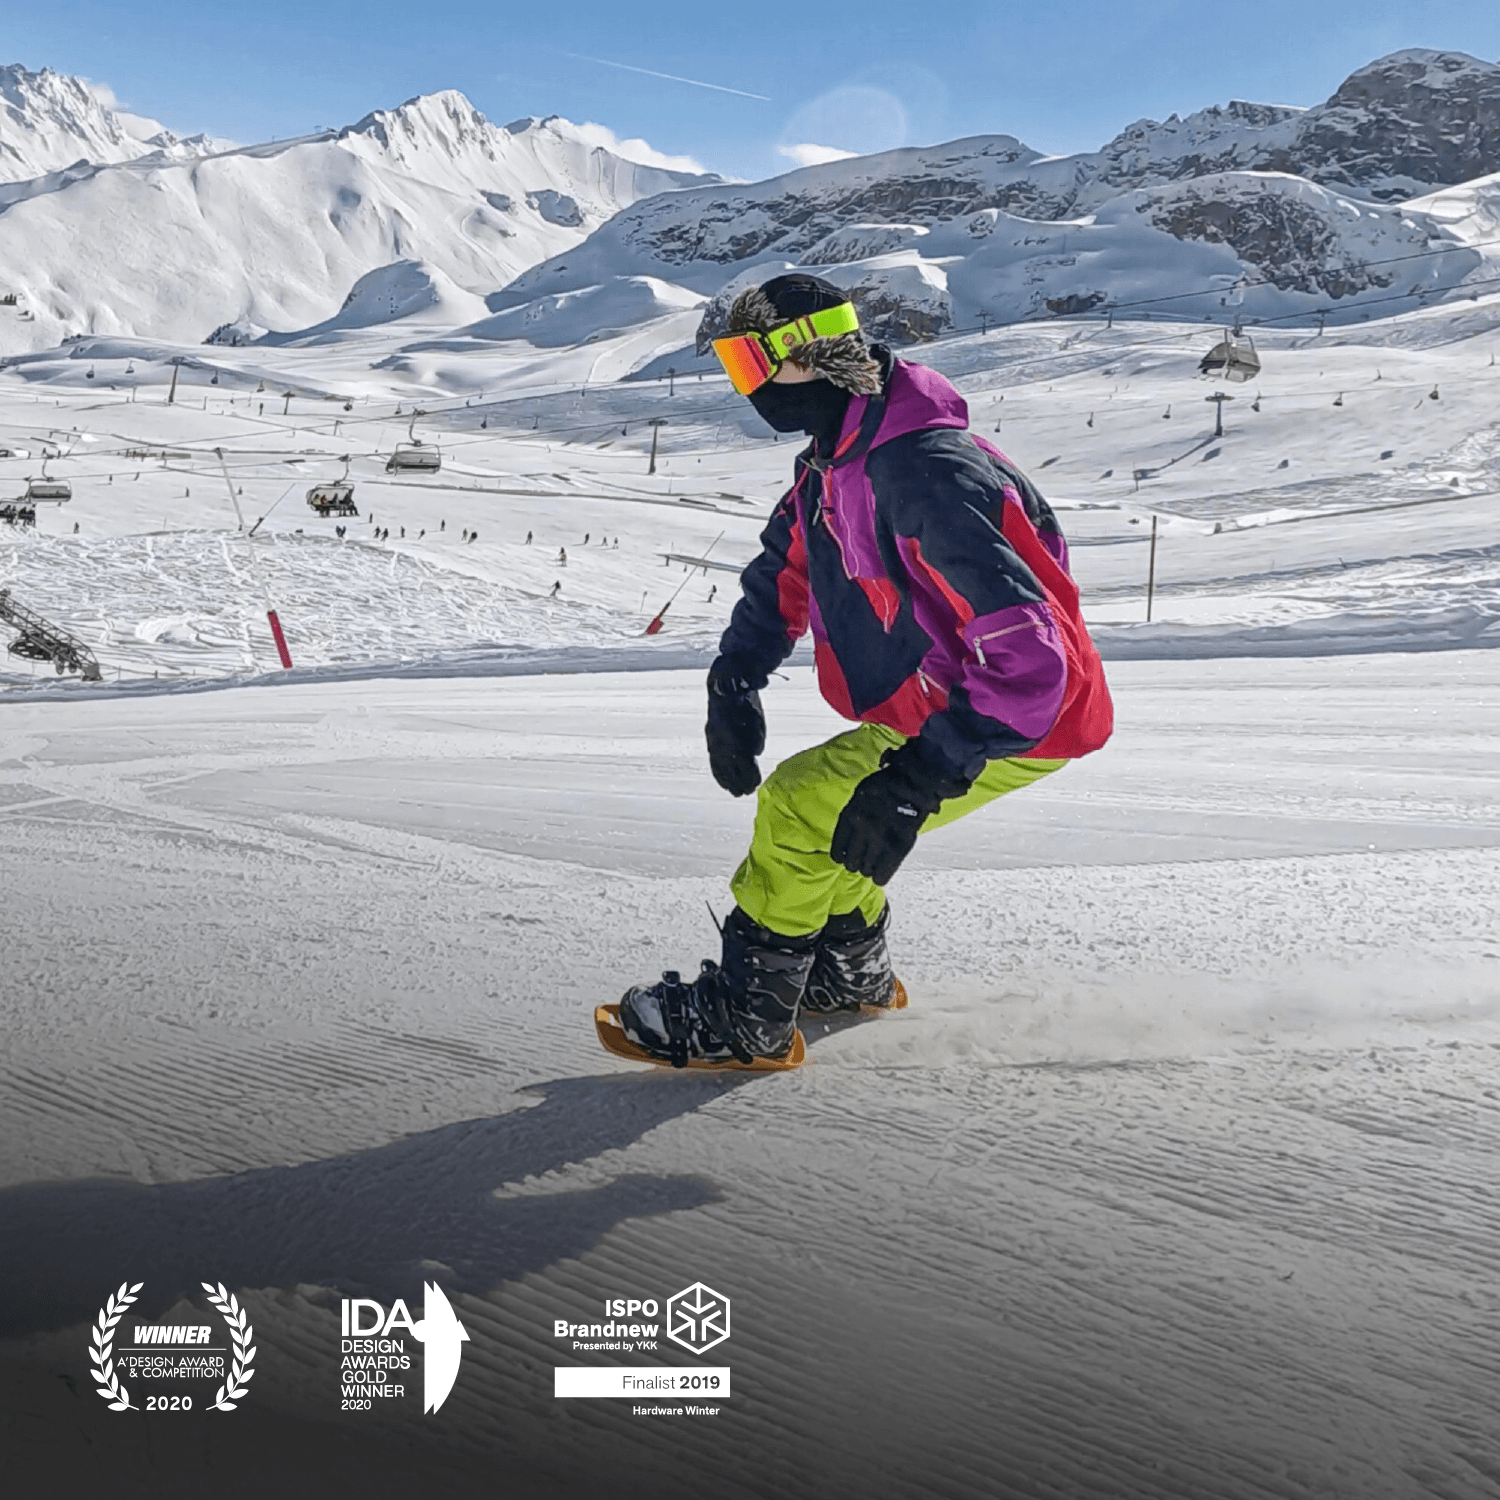
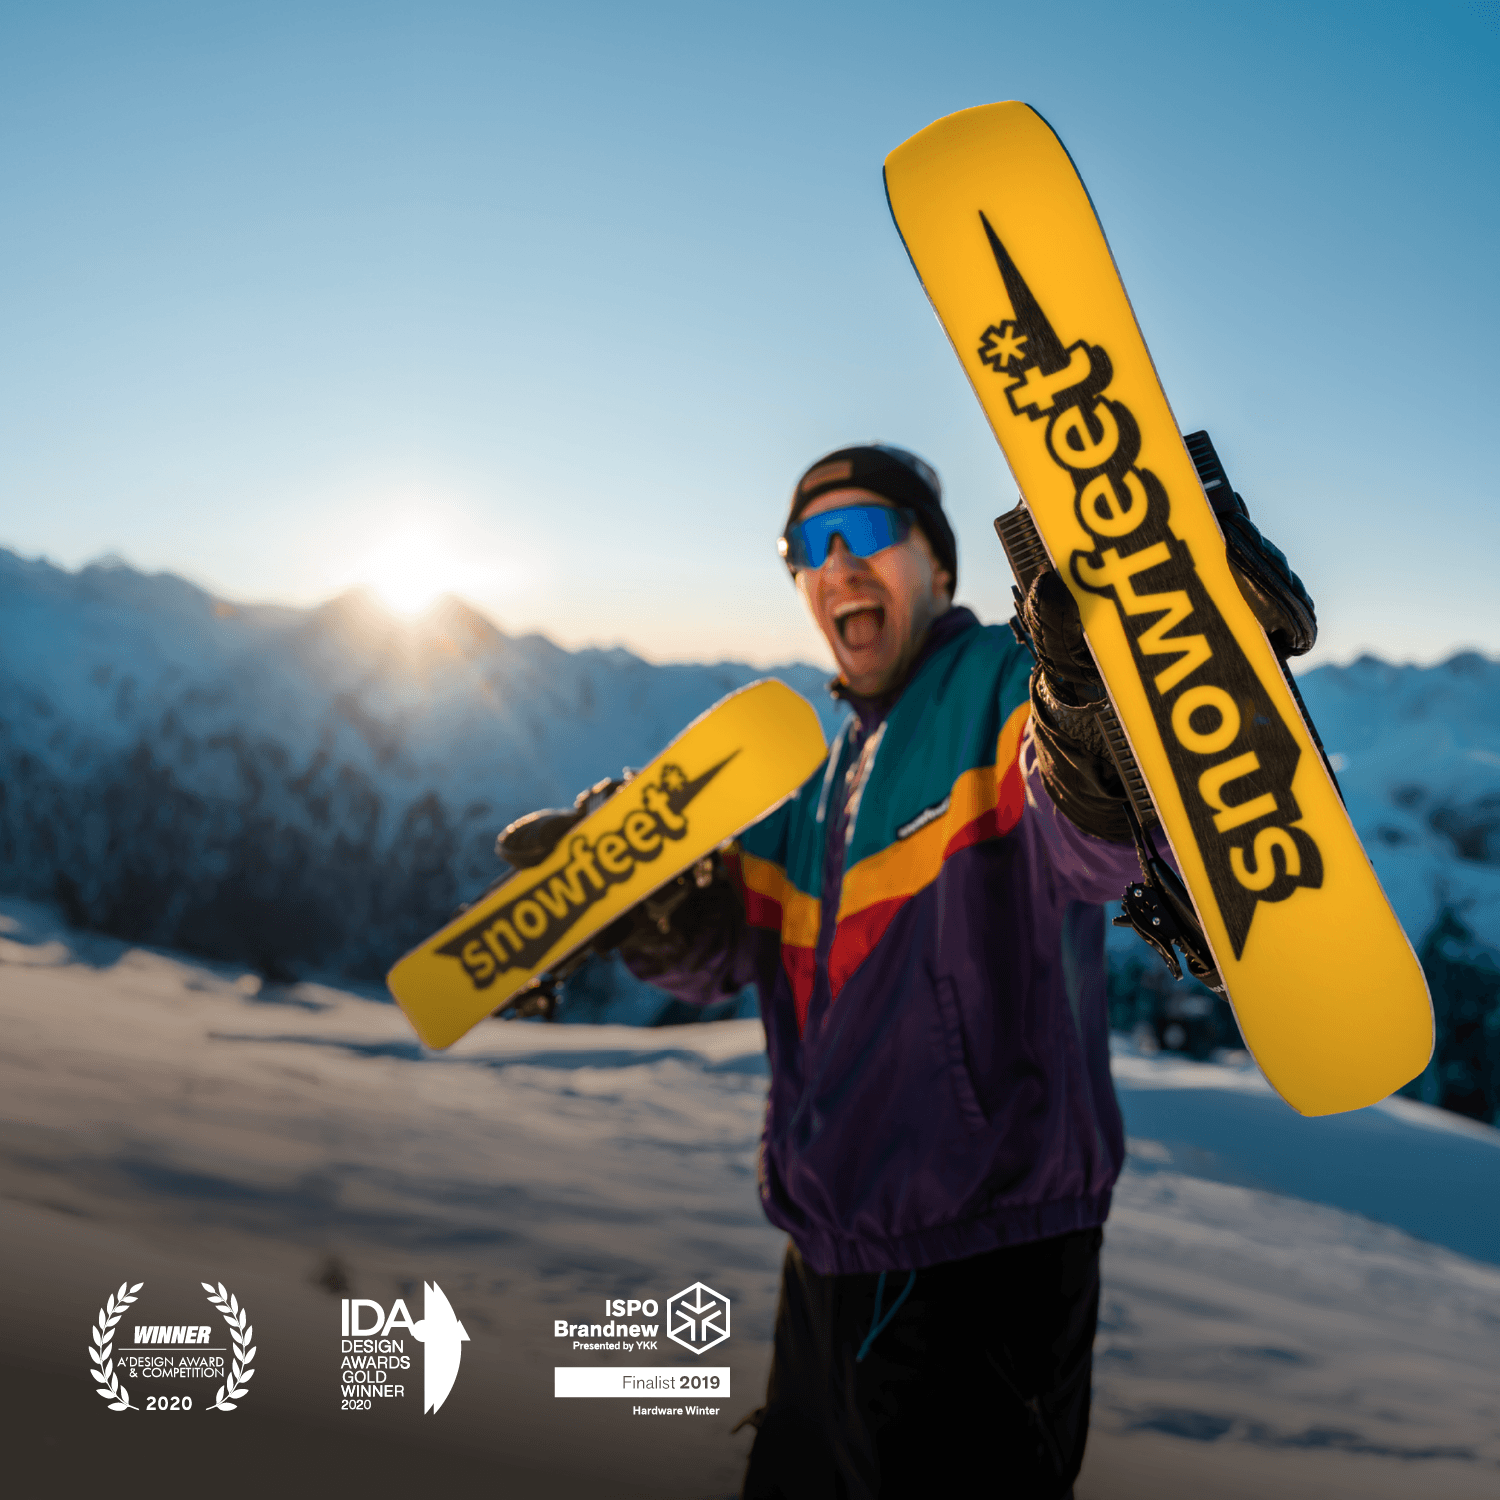
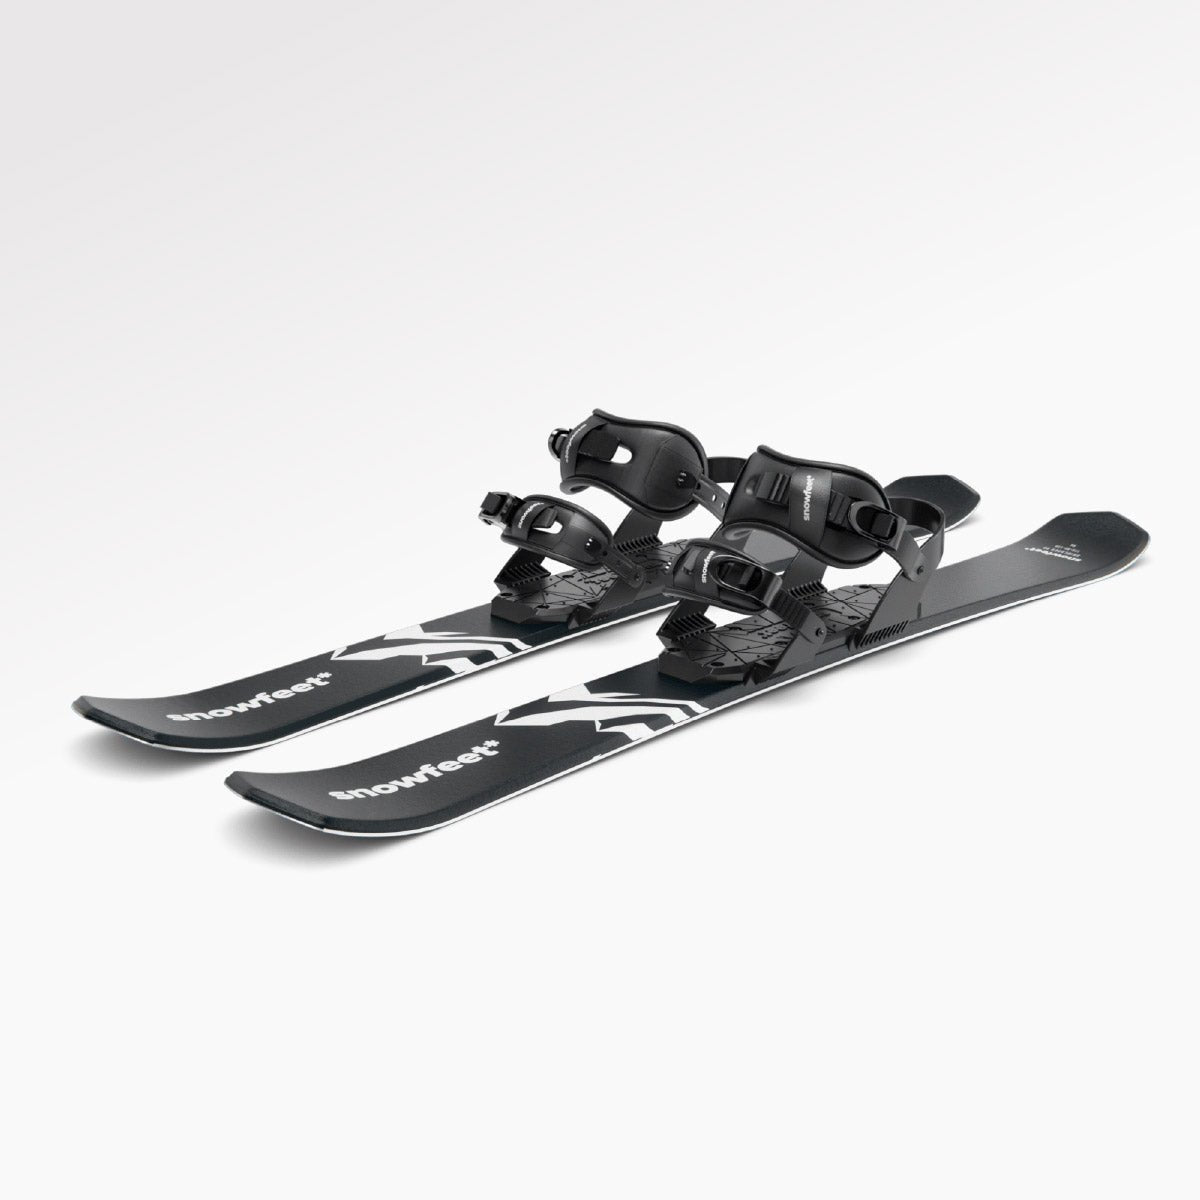
Snowfeet sono mini sci che si fissano agli scarponi da neve. Sono leggeri, portatili e più facili da imparare. Mentre gli splitboards sono progettati per polvere profonda e backcountry, Snowfeet sono ideali per piste da sci, sentieri e colline da slittino.
Tabella di confronto rapido: Splitboards vs Snowfeet
| Caratteristica | Splitboards | Snowfeet |
|---|---|---|
| Scopo | Escursioni in backcountry | Piste battute, sentieri |
| Curva di apprendimento | Ripido | Facile |
| Peso | Pesante | Leggero |
| Scarponi necessari | Scarponi da snowboard | Qualsiasi scarponcino invernale |
| Fascia di prezzo | $1,100–$2,300 | $150–$690 |
Che tu sia pronto a investire in una splitboard o voglia un'opzione più semplice come Snowfeet, l'attrezzatura giusta dipende dal tuo budget, livello di abilità e preferenze di terreno. Approfondiamo come scegliere!
STAI ACQUISTANDO LA TUA PRIMA SPLITBOARD? ECCO 6 COSE IMPORTANTI DA CONSIDERARE
Fattori principali nella scelta della tua prima splitboard
Quando scegli la tua prima splitboard, lascia che siano il tuo peso, stile di guida e il terreno che intendi esplorare a guidare la scelta - non il marketing appariscente o i grandi marchi. Questi fattori pratici avranno un impatto molto maggiore sulla tua esperienza in backcountry.
Come scegliere la misura e la forma giuste
Scegliere la giusta misura di splitboard è fondamentale sia per la sicurezza che per le prestazioni in backcountry. A differenza delle snowboard da resort, le splitboard devono gestire il peso aggiuntivo della tua attrezzatura di sicurezza offrendo comunque una buona galleggiabilità nella polvere profonda. Se porti attrezzatura extra, scegli una splitboard 3–5 cm più lunga della tua tavola da resort abituale per garantire una migliore galleggiabilità e tenuta di spigolo.
Quando scegli una misura, concentrati sul tuo peso, non sulla tua altezza. Ecco una guida rapida per aiutarti a decidere:
| Peso del Rider (lbs.) | Dimensione Splitboard (cm) |
|---|---|
| 110–120 | 128–136 |
| 115–130 | 133–141 |
| 125–135 | 139–147 |
| 135–145 | 144–152 |
| 140–155 | 149–157 |
| 150–165 | 154–162 |
| 160–175 | 159–167 |
| 170+ | 160+ |
La misura dello scarpone è importante quanto la lunghezza della tavola. Se hai piedi grandi (numero 10 uomo o più), scegli una tavola larga - almeno 255 mm in vita - per evitare che le dita o il tallone trascinino, specialmente su terreni ripidi o ghiacciati. Per la maggior parte dei principianti, una tavola direzionale è la scelta migliore. Queste tavole hanno una punta più lunga per una migliore galleggiabilità nella polvere e una coda più rigida per un controllo maggiore sulla neve più dura, rendendole perfette per le avventure fuori pista.
Materiali della Tavola e Opzioni di Flex
Gli splitboard sono costruiti diversamente dai normali snowboard perché devono resistere allo stress ripetuto di separarsi e riassemblarsi. La maggior parte utilizza nuclei in legno, che bilanciano peso, durata e flex. Alcuni marchi, come Jones e Lib Tech, incorporano nuclei in bambù per una maggiore resistenza e una guida più vivace.
Il flex gioca anche un ruolo importante nelle prestazioni della tua tavola. Gli splitboard sono tipicamente più rigidi delle tavole da resort, il che aiuta nella tenuta del bordo su pendii ghiacciati e aggiunge stabilità quando trasporti uno zaino pesante.
Per chi cerca di risparmiare peso, la fibra di carbonio sta diventando un'opzione popolare nei modelli di fascia alta di marchi come Burton, Jones e Salomon. È più leggera della tradizionale fibra di vetro ma ha un prezzo più elevato. Nel frattempo, aziende come Rossignol, Atomic, Elan e Head stanno portando la loro esperienza dallo sci alpino nel mercato dello splitboard, offrendo più opzioni per i rider.
Prima di avventurarti nel backcountry, assicurati che i tuoi scarponi e attacchi siano compatibili con la configurazione del tuo splitboard.
Compatibilità di Scarponi e Attacchi
I tuoi scarponi e attacchi sono gli ultimi pezzi del puzzle dello splitboarding. La buona notizia? La maggior parte degli splitboard costruiti in fabbrica sono progettati per funzionare con scarponi e attacchi da snowboard standard, purché tu abbia l'hardware giusto.
"Questo kit hardware è per splitboard costruiti in fabbrica che hanno inserti standard. NON è per Sawing Your Old Board (Split Kit - DIY)."
– Voile
Il kit hardware di Voile è una svolta, permettendoti di usare i tuoi attacchi da snowboard esistenti sul tuo splitboard. A gennaio 2025, Jen, un'acquirente verificata, ha usato proprio questa configurazione con il suo splitboard Salomon. Dopo aver seguito un tutorial su YouTube, ha montato con successo i suoi vecchi attacchi e ha trovato il kit un'alternativa economica all'acquisto di attacchi specifici per splitboard.
"Se un rider possiede una splitboard costruita in fabbrica con inserti, può montare i suoi attacchi da snowboard esistenti sulla Voilé Slider Track inclusa ed essere operativo. Quasi tutti gli attacchi da snowboard convenzionali sul mercato oggi sono compatibili con la Slider Track."
– Voile
Abbinare la misura dello scarpone alla misura dell’attacco (S, M, L) è anche fondamentale. Un eccessivo sporgere può far trascinare le dita o i talloni nella neve, un pericolo serio su terreni ripidi.
Se cerchi un’opzione più semplice, considera Snowfeet*. Questi prodotti funzionano con scarponi invernali normali, eliminando la necessità di setup specifici scarponi-attacchi o hardware complicato. Snowfeet* offre un modo semplice e conveniente per entrare negli sport invernali backcountry, rendendo le tue avventure invernali senza stress.
Splitboard vs Snowfeet*: Perché Snowfeet* è migliore
Le splitboard sono da tempo una scelta per le avventure in backcountry, ma Snowfeet* offre un approccio nuovo che affronta molte delle sfide associate ai setup tradizionali. Scopriamo perché Snowfeet* superano le splitboard in termini di portabilità, facilità d’uso, versatilità e costo.
Peso e facilità di trasporto
I setup splitboard possono sembrare un incubo logistico. Tra tavola, attacchi, scarponi e attrezzatura di sicurezza - per non parlare della necessità di sistemi di trasporto come portapacchi o grandi borse - c’è molto da gestire. Snowfeet*, invece, sono leggeri e compatti abbastanza da poterli mettere in uno zaino. Sono perfetti per i trasporti pubblici, spazi abitativi piccoli o anche viaggi in aereo. Inoltre, la loro dimensione significa meno fatica durante le uscite lunghe. Per fare un paragone, gli Snowblades misurano tipicamente tra 65 e 120 cm, mentre gli sci tradizionali possono arrivare da 150 cm a oltre 200 cm. Snowfeet* sono chiaramente la scelta più pratica per conservazione e trasporto.
Più facili da imparare e usare
Lo splitboarding ha una curva di apprendimento - c’è il touring in salita, la discesa e la conoscenza tecnica per gestire entrambi. Snowfeet* semplificano l’esperienza. Il loro design intuitivo li rende accessibili sia ai principianti che agli appassionati di neve esperti. Molti utenti elogiano quanto siano facili e divertenti Snowfeet*, permettendo di scendere sulla neve con una pratica minima.
Versatilità su diversi terreni
Le splitboard sono progettate con uno scopo specifico: escursioni in backcountry e neve profonda. È ottimo se ti limiti a quelle condizioni, ma limita le tue opzioni. Snowfeet*, invece, sono costruiti per la varietà. Funzionano su sentieri escursionistici, colline per slittino, piste da sci e persino snowpark. Sono anche compatibili con scarponi da snowboard, che molte persone trovano molto più comodi degli scarponi da sci tradizionali. Questa versatilità rende Snowfeet* una scelta ovvia per chiunque voglia godersi gli sport invernali senza impegnarsi in costosi skipass o attrezzature specializzate.
Confronto prezzi
La differenza di costo tra un setup tradizionale splitboard e Snowfeet* è sorprendente:
| Attrezzatura | Setup tradizionale Splitboard | Setup Snowfeet* |
|---|---|---|
| Tavola/Sci | $400–$800 | $150–$690 |
| Attacchi | $200–$400 | Incluso |
| Scarponi | $200–$500 | Usa scarponi invernali esistenti |
| Attrezzatura di Sicurezza | $300–$600 | Non richiesto |
| Costo Totale | $1,100–$2,300 | $150–$690 |
Le configurazioni splitboard possono costare da 1.100 a 2.300 dollari considerando tavola, attacchi, scarponi e attrezzatura di sicurezza. Snowfeet*, invece, costano tra 150 e 690 dollari. Sono compatibili con normali scarponi invernali e non richiedono attrezzatura di sicurezza extra o lezioni costose. Questo significa che puoi iniziare con Snowfeet* spendendo meno del solo costo dello splitboard in una configurazione tradizionale.
sbb-itb-17ade95
Consigli per chi acquista per la prima volta
Quando fai il tuo primo acquisto - che sia uno splitboard o i compatti e divertenti Snowfeet* - è importante pensare alle tue esigenze, preferenze e budget. Ecco alcuni consigli per aiutarti a orientarti tra le opzioni.
Controlla il tuo livello di abilità e le preferenze del terreno
La tua esperienza e il terreno su cui prevedi di sciare giocano un ruolo fondamentale nella scelta dell'attrezzatura giusta. Se ti piace sciare in park o su piste battute ma vuoi avventurarti in terreni fuori pista, avrai bisogno di un equipaggiamento che funzioni bene in condizioni diverse. Per gli splitboard, cerca modelli con caratteristiche come una forma direzionale, posizione arretrata e flessibilità media. Questi design aiutano a galleggiare nella polvere e offrono una presa solida sui bordi su neve dura.
Snowfeet*, invece, offrono un'atmosfera completamente diversa. Come ha condiviso un utente Reddit, mbreuer: "Li adoro assolutamente. Sono così divertenti e Snowfeet* mi fanno sentire come se stessi facendo rollerblade". Se ti senti a tuo agio con il rollerblade o il pattinaggio su ghiaccio, Snowfeet* potrebbero essere il modo più semplice per iniziare gli sport sulla neve. Brillano sulla neve battuta - pensa a piste da sci, snowpark, sentieri escursionistici o anche la tua collina locale per slittino. Mentre gli splitboard sono costruiti per la polvere profonda del backcountry, Snowfeet* sono migliori per superfici battute e possono gestire polvere fino a circa 10 cm di profondità. Evita solo pendii molto ripidi o polvere profonda con questi.
Scegli forme e dimensioni multiuso
Per i principianti, l'attrezzatura versatile è la scelta migliore. Stai ancora scoprendo le tue preferenze, quindi scegliere equipaggiamento che funzioni in varie condizioni ti offre spazio per esplorare.
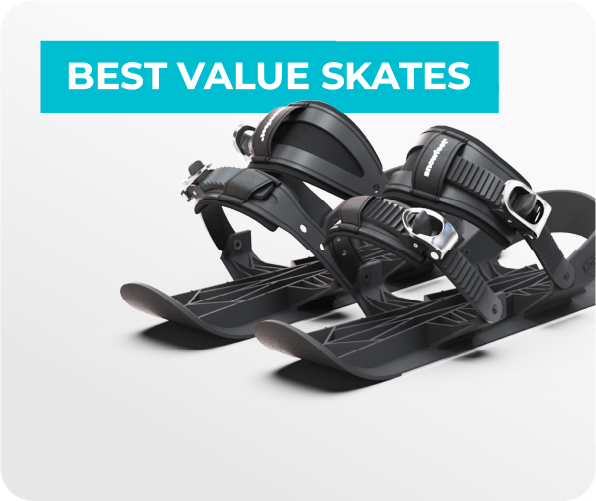
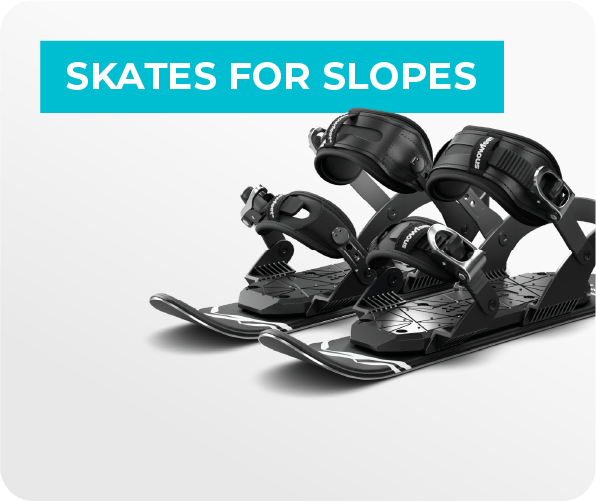
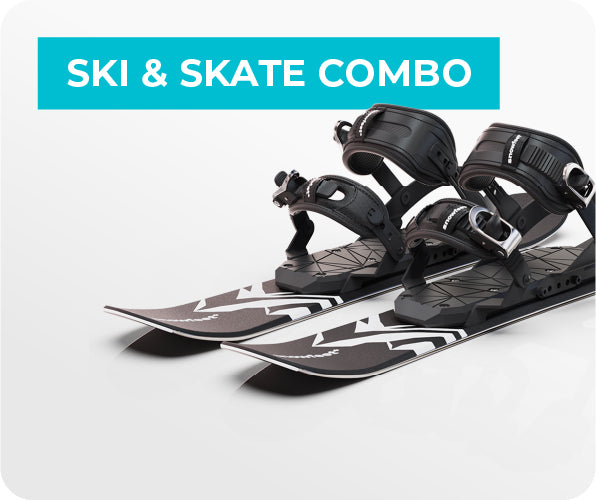
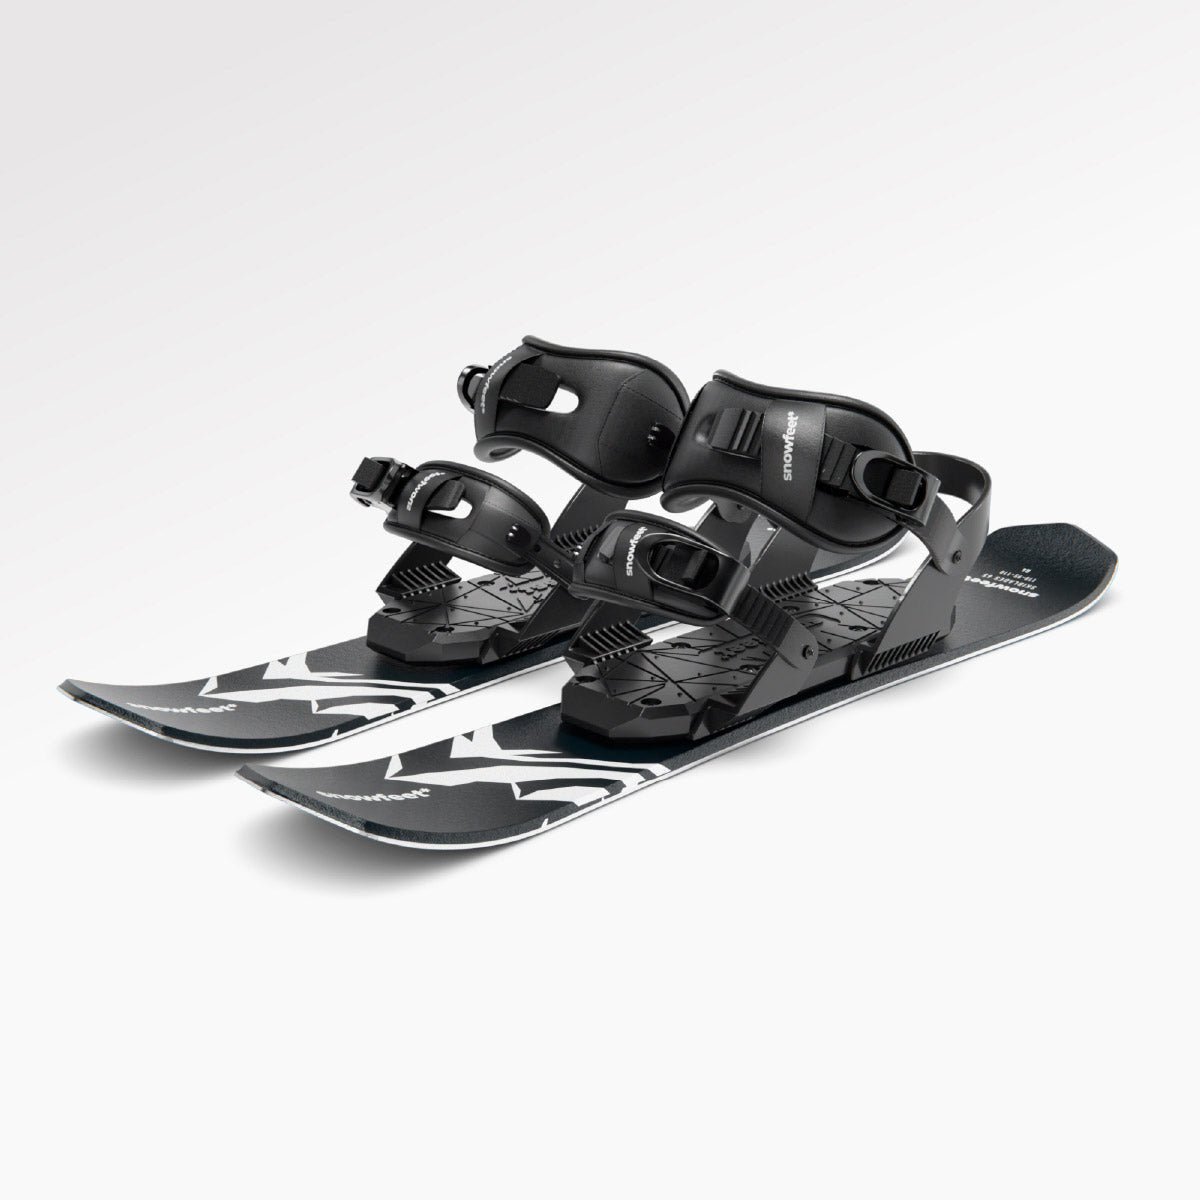
Snowfeet* rendono questa parte facile. Sono disponibili in taglie che vanno dai 38 cm dei Mini Ski Skates (a partire da 150$) ai 120 cm degli Short Skis (prezzati a 690$). Il loro design semplice significa niente tabelle di taglie complicate o vestibilità specializzate. Sono abbastanza compatti da entrare in uno zaino e funzionano con normali scarponi invernali. A differenza degli splitboard, progettati per il backcountry touring, Snowfeet* sono perfetti per piste da sci di fondo, discese o anche colline per slittino. La loro versatilità è un grande vantaggio per i principianti che vogliono mantenere le cose semplici.
Come leggere le tabelle delle taglie USA
La scelta della taglia può diventare complicata, specialmente quando si confrontano attrezzature come splitboard e Snowfeet*. Gli splitboard spesso combinano misure metriche e imperiali (ad esempio, 150–200+ cm o 59–79 pollici), il che può risultare un po' opprimente. Snowfeet* mantengono tutto semplice con una chiara misurazione in centimetri.
Ogni modello Snowfeet* ha caratteristiche di prestazione specifiche legate alla sua lunghezza. Ad esempio, i Mini Ski Skates da 38 cm sono super portatili, mentre gli Short Skis da 120 cm offrono un'esperienza di sci più tradizionale. A differenza degli splitboard, che richiedono abbinamenti precisi tra scarponi e attacchi, Snowfeet* sono molto più semplici. Basta controllare i limiti di peso e le altezze consigliate per l'utente (indicate in libbre e piedi/pollici per il mercato USA) per assicurarsi una buona vestibilità. Alcuni modelli includono attacchi, mentre altri no - quindi verifica bene cosa è incluso prima di acquistare.
La manutenzione è un altro aspetto in cui Snowfeet* si distinguono. Una rapida sciolinatura della base aiuta con la velocità e previene l'attaccamento della neve. Confrontalo con la messa a punto più dettagliata e la manutenzione richiesta per gli splitboard, e apprezzerai la facilità di Snowfeet* come opzione adatta ai principianti.
Riepilogo finale e confronto
Gli splitboard tradizionali possono essere la scelta preferita per il touring fuori pista, ma Snowfeet* offrono un vantaggio in termini di comodità, versatilità e convenienza.
Gli splitboard sono progettati appositamente per affrontare grandi montagne, ma hanno un prezzo elevato e una curva di apprendimento ripida. Noleggiare un set completo di splitboard, per esempio, può costare circa 90$ al giorno. Aggiungi il loro peso, ingombro e la necessità di competenze specializzate, e diventa chiaro che non sono l'opzione più adatta ai principianti.
Snowfeet*, d'altra parte, semplificano tutta l'esperienza. Sono leggeri, facili da trasportare e si fissano direttamente agli scarponi invernali. Questo li rende una scelta perfetta per i rider occasionali o per chi è alle prime armi. Che tu voglia divertirti dopo il lavoro o prepararti per una vacanza invernale, Snowfeet* rendono tutto senza stress rispetto a dover trasportare un intero kit splitboard.
Un altro grande vantaggio di Snowfeet* è la loro adattabilità. Mentre gli splitboard sono progettati specificamente per il terreno montano fuori pista, Snowfeet* possono gestire una varietà di ambienti. Dalle piste da sci e sentieri per sci di fondo alle colline per slittino e sentieri escursionistici, ti permettono di goderti diverse attività invernali con un solo pezzo di attrezzatura.
Ecco un rapido confronto affiancato di come si paragonano:
Tabella di confronto: Splitboard vs Snowfeet*
| Caratteristica | Splitboard tradizionali (Rossignol, Atomic, Head, Elan) | Snowfeet* |
|---|---|---|
| Peso & portabilità | Pesanti e ingombranti | Leggeri; si adattano a uno zaino |
| Curva di apprendimento | Ripido; richiede una preparazione significativa | Facile da imparare - simile al pattinaggio |
| Opzioni di terreno | Principalmente per montagne fuori pista | Adatti a piste, sentieri, colline e parchi |
| Compatibilità degli scarponi | Richiede scarponi e attacchi specializzati | Funziona con qualsiasi scarponcino invernale |
| Fascia di prezzo | $599.95–$899.95 più attrezzatura aggiuntiva | $150–$690 completo |
| Gamma di taglie | Tabelle di taglie complesse | Gamma semplice da 38cm a 120cm |
| Manutenzione | Richiede regolazioni e manutenzione complesse | Solo rapida ceratura |
| Costo giornaliero di noleggio | Circa $90 al giorno | Equivalente a meno di 8 giorni di noleggio |
Snowfeet* sono disponibili in diverse opzioni, a partire da $150 per Mini Ski Skates fino a $690 per Short Skis. Confronta questo con un setup tradizionale da splitboard, che può facilmente superare i $1.000 considerando tavole, attacchi, pelli e attrezzatura di sicurezza. Realizzati con materiali rinforzati in fibra di vetro e attacchi regolabili, Snowfeet* si adattano alle taglie di scarpe US dal 6 al 13, eliminando il problema di abbinare scarponi e attacchi. Per chi acquista per la prima volta o chi cerca un modo più semplice per godersi gli sport invernali, Snowfeet* sono una rivoluzione.
Domande frequenti
Qual è la differenza tra splitboard e Snowfeet, e quale dovrei scegliere?
Gli splitboard sono come uno snowboard che fa anche da sci. Si dividono in due pezzi, permettendoti di salire facilmente in salita su terreni backcountry. Una volta conquistata la salita, puoi riunirli per una discesa fluida da snowboard. Questa doppia funzionalità li rende la scelta ideale per gli snowboarder che si avventurano nel touring.
Snowfeet, invece, sono una bestia completamente diversa. Sono piccoli, leggeri e super facili da usare - niente attrezzatura ingombrante o configurazioni complicate qui. Perfetti per uscite invernali rapide e divertenti, sono facili da trasportare, conservare e indossare quando sei pronto a scendere sulla neve. Se comodità e portabilità sono la tua cosa, Snowfeet potrebbero conquistarti.
Allora, quale fa per te? Se ami affrontare lunghe escursioni in backcountry e salite ripide, uno splitboard è la tua scelta. Ma se cerchi qualcosa di minimalista e versatile per un mix di attività invernali, Snowfeet potrebbe essere il tuo abbinamento. Tutto dipende dal terreno, dal tuo livello di abilità e da quanta attrezzatura sei disposto a portare con te.
Come influenzano la dimensione e la forma di uno splitboard le sue prestazioni in backcountry?
La dimensione e la forma di uno splitboard possono fare la differenza nella tua esperienza in backcountry. Una tavola più lunga è la scelta ideale per stabilità e presa solida sui bordi su pendii ripidi o ghiacciati, perfetta per tour più impegnativi o avventure alpinistiche. Se stai zigzagando tra alberi fitti o affrontando terreni tecnici, una tavola più corta è molto più facile da gestire e manovrare.
La forma è altrettanto importante. Una forma direzionale combinata con un profilo camber o camber-rocker garantisce un eccellente controllo del bordo e efficienza in salita, specialmente quando le condizioni della neve sono imprevedibili. Al contrario, tavole con profili rocker o design twin-tip sono ideali per mosse freestyle o per galleggiare senza sforzo nella polvere profonda.
Se sei nuovo allo splitboarding o vuoi semplicemente qualcosa di versatile e facile da usare, i prodotti Snowfeet* meritano di essere considerati. Sono leggeri, semplici da maneggiare e funzionano bene in diverse condizioni di neve. Che tu stia scivolando su neve battuta o intagliando nella polvere fresca, Snowfeet* offre un'opzione semplice e affidabile rispetto ai marchi tradizionali di snowboard come Rossignol o Atomic.
Come posso assicurarmi che i miei scarponi da snowboard e gli attacchi siano compatibili con un nuovo setup splitboard?
Per ottenere le migliori prestazioni e sicurezza dal tuo setup da snowboard, assicurati che gli scarponi calzino perfettamente negli attacchi. Devono rimanere saldi senza troppo gioco ma permettere comunque la giusta flessibilità. Controlla che gli attacchi siano della misura corretta per i tuoi scarponi e compatibili con il loro tipo - questo è particolarmente importante se usi attacchi specifici per splitboard. Mentre la maggior parte degli scarponi da snowboard si abbina bene con attacchi a cinghia, è sempre consigliabile consultare le linee guida del produttore su misura e compatibilità per stare tranquilli.
Prodotti Snowfeet portano qualcosa di diverso sul tavolo. Sono progettati per funzionare con una varietà di calzature invernali, offrendo un opzione leggera e flessibile rispetto all'attrezzatura tradizionale da snowboard. Questo li rende una scelta eccellente per principianti o chiunque voglia un modo più semplice e senza complicazioni per godersi gli sport invernali.
Post Correlati del Blog
- Sci da Trekking o Racchette da Neve? Scegliere la Tua Attrezzatura Invernale per il Backcountry
- Migliori Sci da Backcountry & Touring del 2025: Recensioni & Guida
- Introduzione al Light Backcountry: Attrezzatura Essenziale per Esplorare Oltre i Sentieri Battuti (Senza l'Equipaggiamento Pro)
- Terreno Sciistico Est vs. Ovest vs. Midwest - Come Dovrebbe Influenzare la Tua Scelta di Sci


Lascia un commento
Questo sito è protetto da hCaptcha e applica le Norme sulla privacy e i Termini di servizio di hCaptcha.