Le ski de randonnée est difficile pour les débutants, mais c'est faisable avec la bonne préparation, le bon équipement et le bon état d'esprit. Contrairement au ski en station, vous gravirez les pentes par vos propres moyens, naviguerez sur un terrain non balisé, et prendrez des décisions de sécurité sans l'aide des pisteurs. C'est physiquement exigeant - pensez à des montées raides, de longues heures, et à porter un sac lourd. De plus, vous devrez apprendre la sécurité en avalanche, la planification d'itinéraire, et comment gérer la neige et la météo imprévisibles.
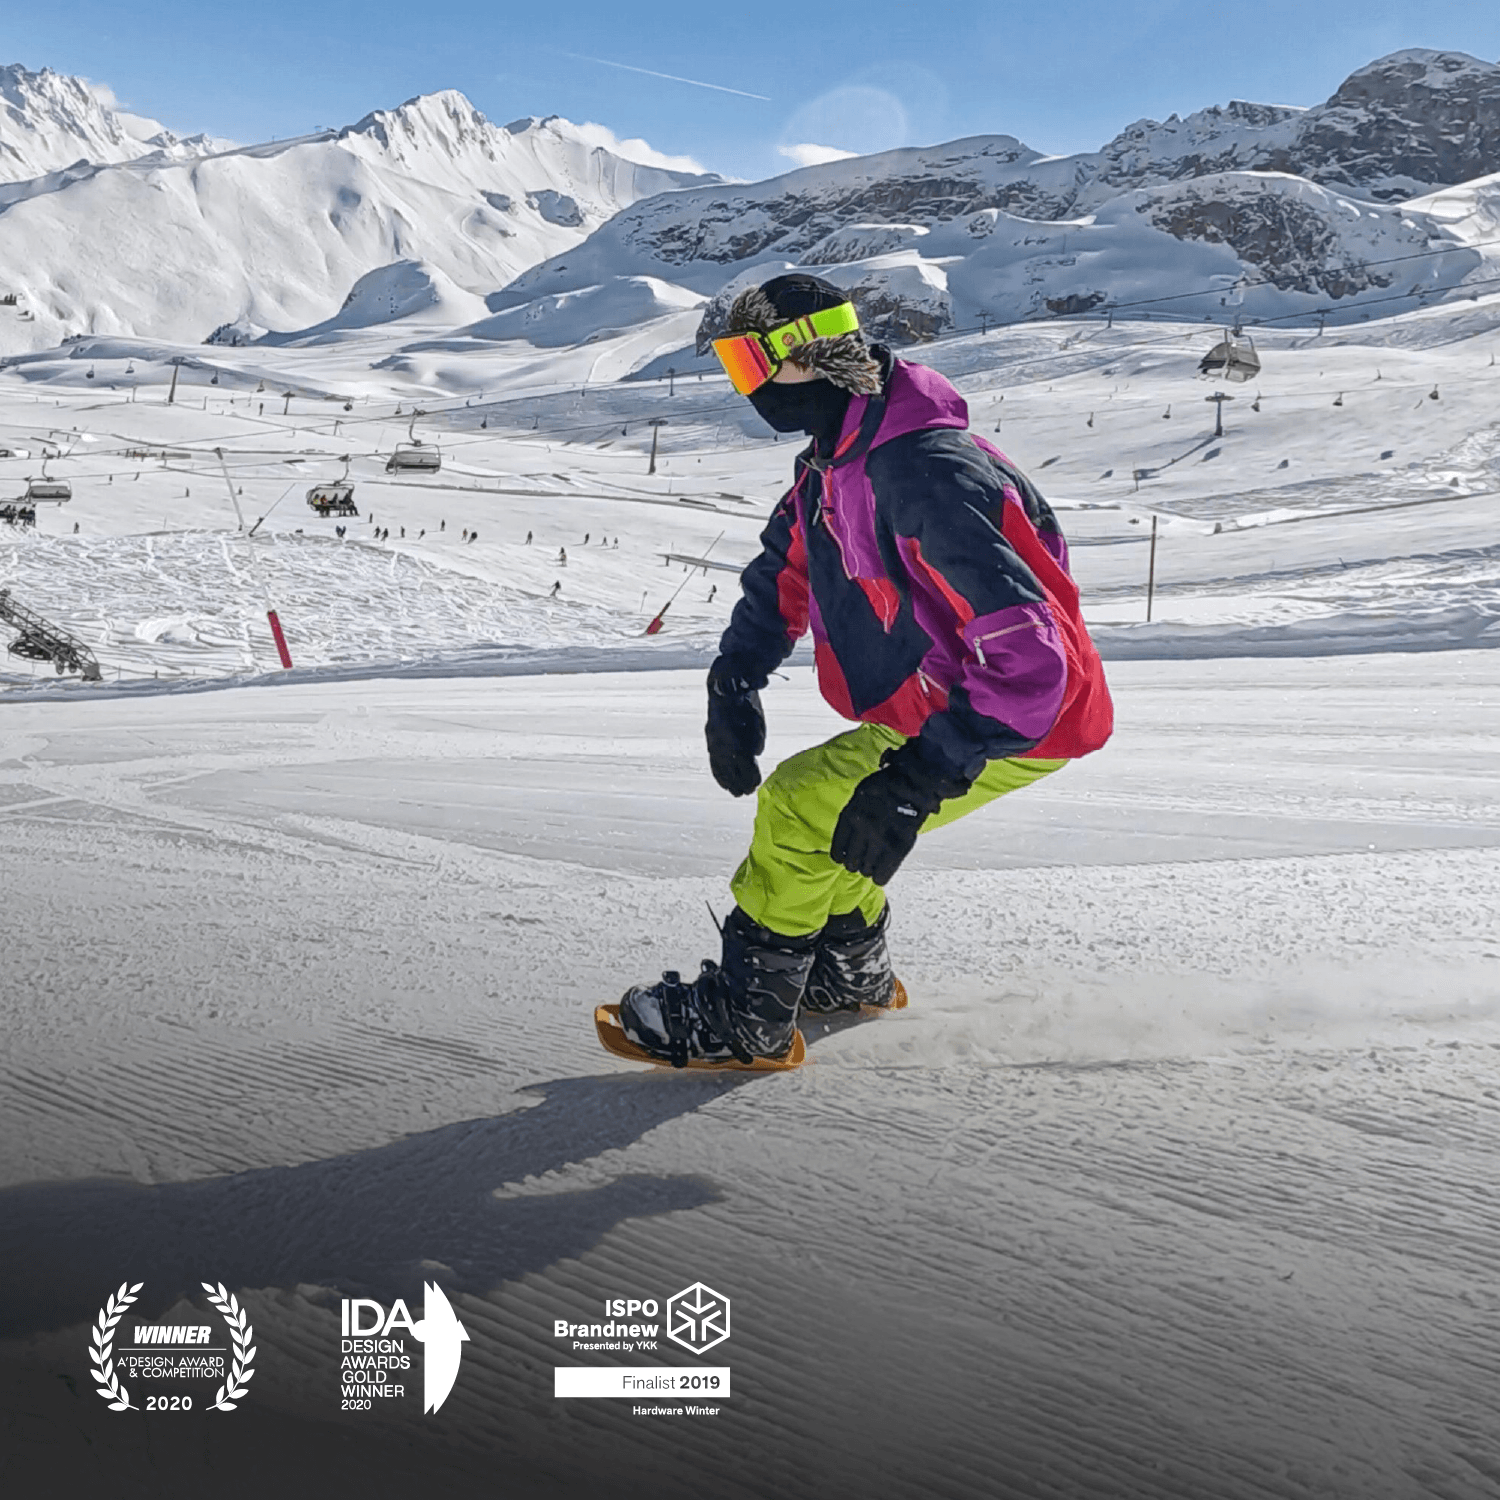
Voici la bonne nouvelle : un équipement léger comme le Snowfeet* WALKSKI peut rendre votre première sortie plus facile. Ces skis plus courts et plus légers sont adaptés aux débutants, moins fatigants à utiliser, et fonctionnent avec des chaussures d'hiver classiques. Commencez par des pentes douces, emportez l'essentiel (balise, sonde, pelle), et préparez votre endurance à l'avance. Le ski de randonnée est un défi, mais avec de la préparation, c'est une aventure qui vaut la peine d'être tentée !
Ski de randonnée pour débutants : ce que c'est vraiment là-bas !
Pourquoi le ski en hors-piste est difficile pour les nouveaux skieurs
Si vous êtes habitué au confort des pistes damées, des télésièges et des pauses chocolat chaud, le ski en hors-piste peut sembler un sport complètement différent. Et honnêtement, ça l'est un peu. Contrairement au ski en station, la randonnée hors-piste demande de nouvelles compétences, plus d'efforts et beaucoup d'autonomie.
En station, c'est facile : un télésiège vous emmène au sommet, vous descendez des pistes parfaitement entretenues, puis vous recommencez. Le ski en hors-piste ? Eh bien, vous êtes le télésiège, l'équipe de piste, le météorologue et votre propre équipe de sécurité. C'est un tout autre jeu.
Exigences physiques
Voici le premier grand réveil : vous devez mériter vos virages. Le ski en hors-piste signifie des heures de montée, souvent dans une neige profonde et sur un terrain raide, juste pour profiter d'une seule descente. Ce n'est pas pour les faibles de cœur - ni de jambes.
En station, la gravité fait la majeure partie du travail, donc il est plus facile de skier toute la journée. Mais en hors-piste, vous grimpez probablement entre 600 et 900 mètres de dénivelé en une journée, tout en portant un sac de 9 à 14 kilos. Ce sac n'est pas là pour faire joli - il est chargé de matériel de sécurité, de couches supplémentaires, de nourriture et d'eau. Vos jambes vont brûler, vos poumons supplieront pitié, et vous sentirez chaque gramme de l'équipement traditionnel lourd sur votre dos.
Et n'oubliez pas le cardio. Contrairement au ski en station, où vous pouvez vous reposer sur le télésiège entre les descentes, la randonnée en hors-piste est un effort continu. Votre rythme cardiaque reste élevé pendant que vous montez en peau de phoque, et il n'y a pas de chalet de secours douillet où se réfugier si vous êtes épuisé.
Puis il y a la neige elle-même. La poudreuse profonde semble idyllique, mais skier dans une neige jusqu'aux genoux est une toute autre histoire comparé à la glisse sur des pistes damées. Cela oblige votre tronc à travailler en surchauffe pour garder l'équilibre, et vos jambes doivent pousser contre une résistance supplémentaire à chaque virage.
C'est là que votre équipement fait toute la différence. Les équipements de randonnée traditionnels - skis longs et lourds et chaussures encombrantes - peuvent rendre l'expérience encore plus difficile. Un équipement léger comme le Snowfeet* WALKSKI peut changer la donne pour les débutants. Il est bien plus léger que les équipements conventionnels, ce qui signifie moins d'énergie dépensée à traîner le matériel et plus d'énergie pour vraiment profiter du ski.
Défis de navigation et de terrain
L'effort physique n'est qu'une partie de l'équation. Trouver où aller et rester en sécurité ajoute une couche supplémentaire de difficulté. Les stations vous gâtent avec des balises, des codes couleur pour la difficulté et des limites qui vous empêchent d'entrer dans des zones dangereuses. En hors-piste ? Vous êtes seul.
Vous devrez maîtriser la lecture des cartes topographiques, ce qui n'est pas aussi simple qu'il y paraît. Comprendre les courbes de niveau, les angles de pente et les zones potentielles d'avalanches demande de la pratique. Les appareils GPS peuvent aider, mais sans une bonne maîtrise de la navigation de base, ils ne sont pas très utiles.
L'évaluation du terrain est une autre compétence délicate. Une pente qui semble douce sous un angle peut soudainement devenir un versant dangereux de 35 degrés sujet aux avalanches. Les débutants ont souvent du mal à juger ces angles, et les erreurs de calcul peuvent entraîner de graves problèmes.
Et n'oubliez pas - il n'y a pas de patrouille de ski ici. Chaque décision que vous prenez a son importance. Si vous prenez un mauvais chemin ou si quelqu'un se blesse, c'est à vous de gérer la situation. Vous devrez constamment évaluer les conditions, les changements météorologiques et le niveau d'énergie de votre groupe pour décider quand continuer et quand faire demi-tour.
Le terrain lui-même est aussi plein de surprises. Les puits d'arbres, les falaises et les obstacles cachés ne sont pas signalés ni atténués comme en station. Sans pistes damées, vous devez faire face à des éléments naturels qui peuvent facilement faire trébucher même les skieurs expérimentés.
Variables météo et neige
Même si vous réussissez la navigation, la météo peut encore compliquer vos plans. Les stations fonctionnent dans des conditions contrôlées - la neige est damée, les plaques de glace sont signalées, et si le temps devient dangereux, les remontées mécaniques ferment. En hors-piste, les conditions changent constamment.
Les variations de température peuvent perturber la stabilité de la neige de manière parfois insoupçonnée. Une journée ensoleillée peut sembler parfaite, mais elle peut provoquer des avalanches humides sur les pentes exposées au sud. Le vent peut créer des plaques de neige instables qui paraissent solides mais peuvent se fracturer sous votre poids. Ce sont des choses auxquelles les skieurs en station pensent rarement.
La visibilité est une autre inconnue. Un matin ensoleillé peut rapidement se transformer en blizzard, avec des tempêtes soudaines ou des chutes de température rendant la situation dangereuse. Sans le filet de sécurité d'une station - chalets chauffés, pistes balisées et équipes de secours - se retrouver pris dans une mauvaise météo peut vite devenir une situation de survie.
Parlons aussi de la qualité de la neige. En une descente, vous pouvez rencontrer tout, de la glace dure comme du béton à la poudreuse profonde. Chaque type de neige demande des techniques différentes, et s'adapter à ces changements peut être difficile pour les débutants habitués à la régularité des pistes damées.
Pour réussir en pleine nature, il vous faudra plus que des compétences en ski. Il faut comprendre les conditions météorologiques, apprendre les bases de la science de la neige et développer le jugement nécessaire pour savoir quand les conditions sont sûres - ou quand il est temps de rentrer.
Équipement nécessaire pour votre première sortie en pleine nature
Vous partez en pleine nature ? Le bon équipement peut faire toute la différence. Contrairement aux pistes en station où la location est une solution rapide, le ski de randonnée demande une préparation réfléchie et un investissement dans du matériel capable de relever les défis de la nature sauvage.
Liste d'équipement de base
L'équipement de sécurité est indispensable. En tête de votre liste doit figurer un détecteur d'avalanche (aussi appelé transceiver), une sonde et une pelle. Ces trois éléments sont votre bouée de sauvetage en terrain avalancheux. Par exemple, un détecteur fiable comme l'Ortovox 3+ coûte environ 300 $, tandis qu'une sonde et une pelle ensemble peuvent ajouter 150 à 200 $. Ce n'est pas le moment de faire des économies - votre sécurité dépend d'outils fiables.
Ensuite : les couches de vêtements. Laissez le coton à la maison et optez pour des couches de base qui évacuent l'humidité, une couche intermédiaire isolante comme la polaire ou le duvet, et une coquille imperméable. Les conditions en pleine nature peuvent varier énormément, avec des températures pouvant fluctuer de 15 à 20 °C en une seule sortie. Un bon système de couches vous gardera prêt. Prévoyez de dépenser entre 400 et 600 $ pour être entièrement équipé.
Enfin, n'oubliez pas les outils de navigation. Une carte topographique, une boussole et un GPS (ou un smartphone avec des cartes hors ligne) sont indispensables. Bien que les téléphones soient pratiques, le froid peut rapidement vider les batteries. Une boussole basique, qui coûte environ 20 $, est une sauvegarde fiable qui ne dépend pas de l'électricité.
Avec votre sécurité et votre confort assurés, la prochaine grande décision concerne votre équipement de ski.
Pourquoi Snowfeet* WALKSKI est le meilleur choix pour les débutants
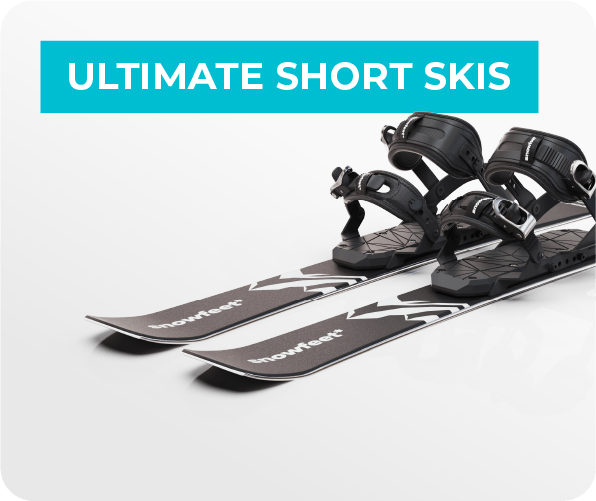
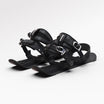
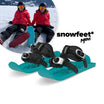
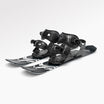
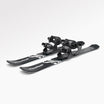
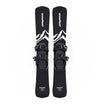
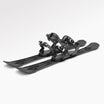
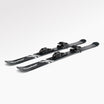
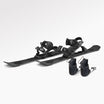
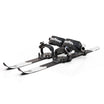
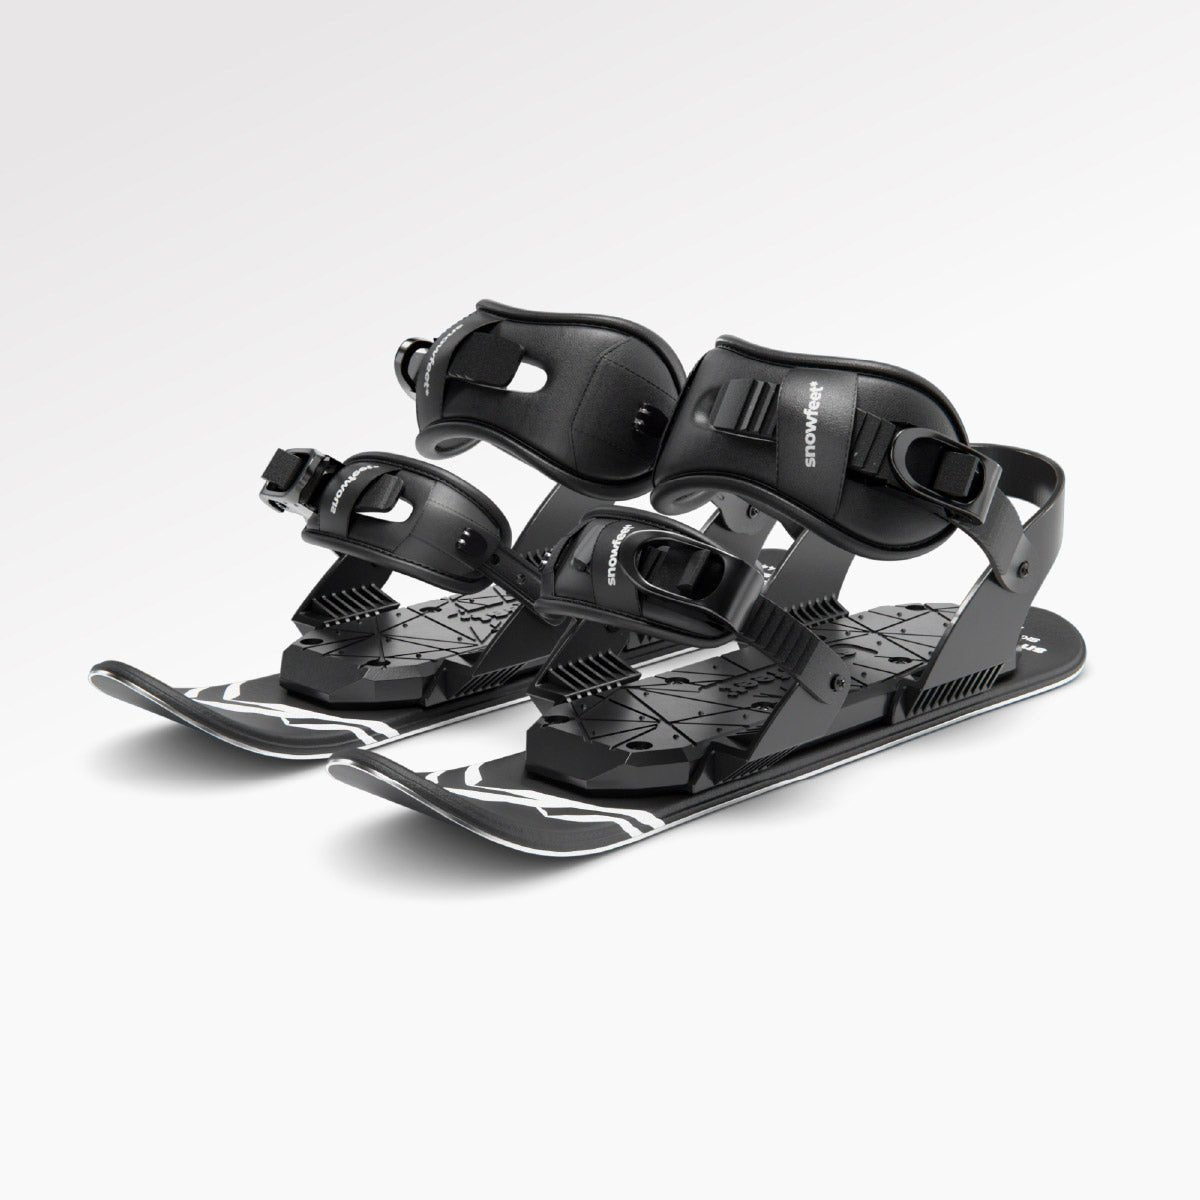
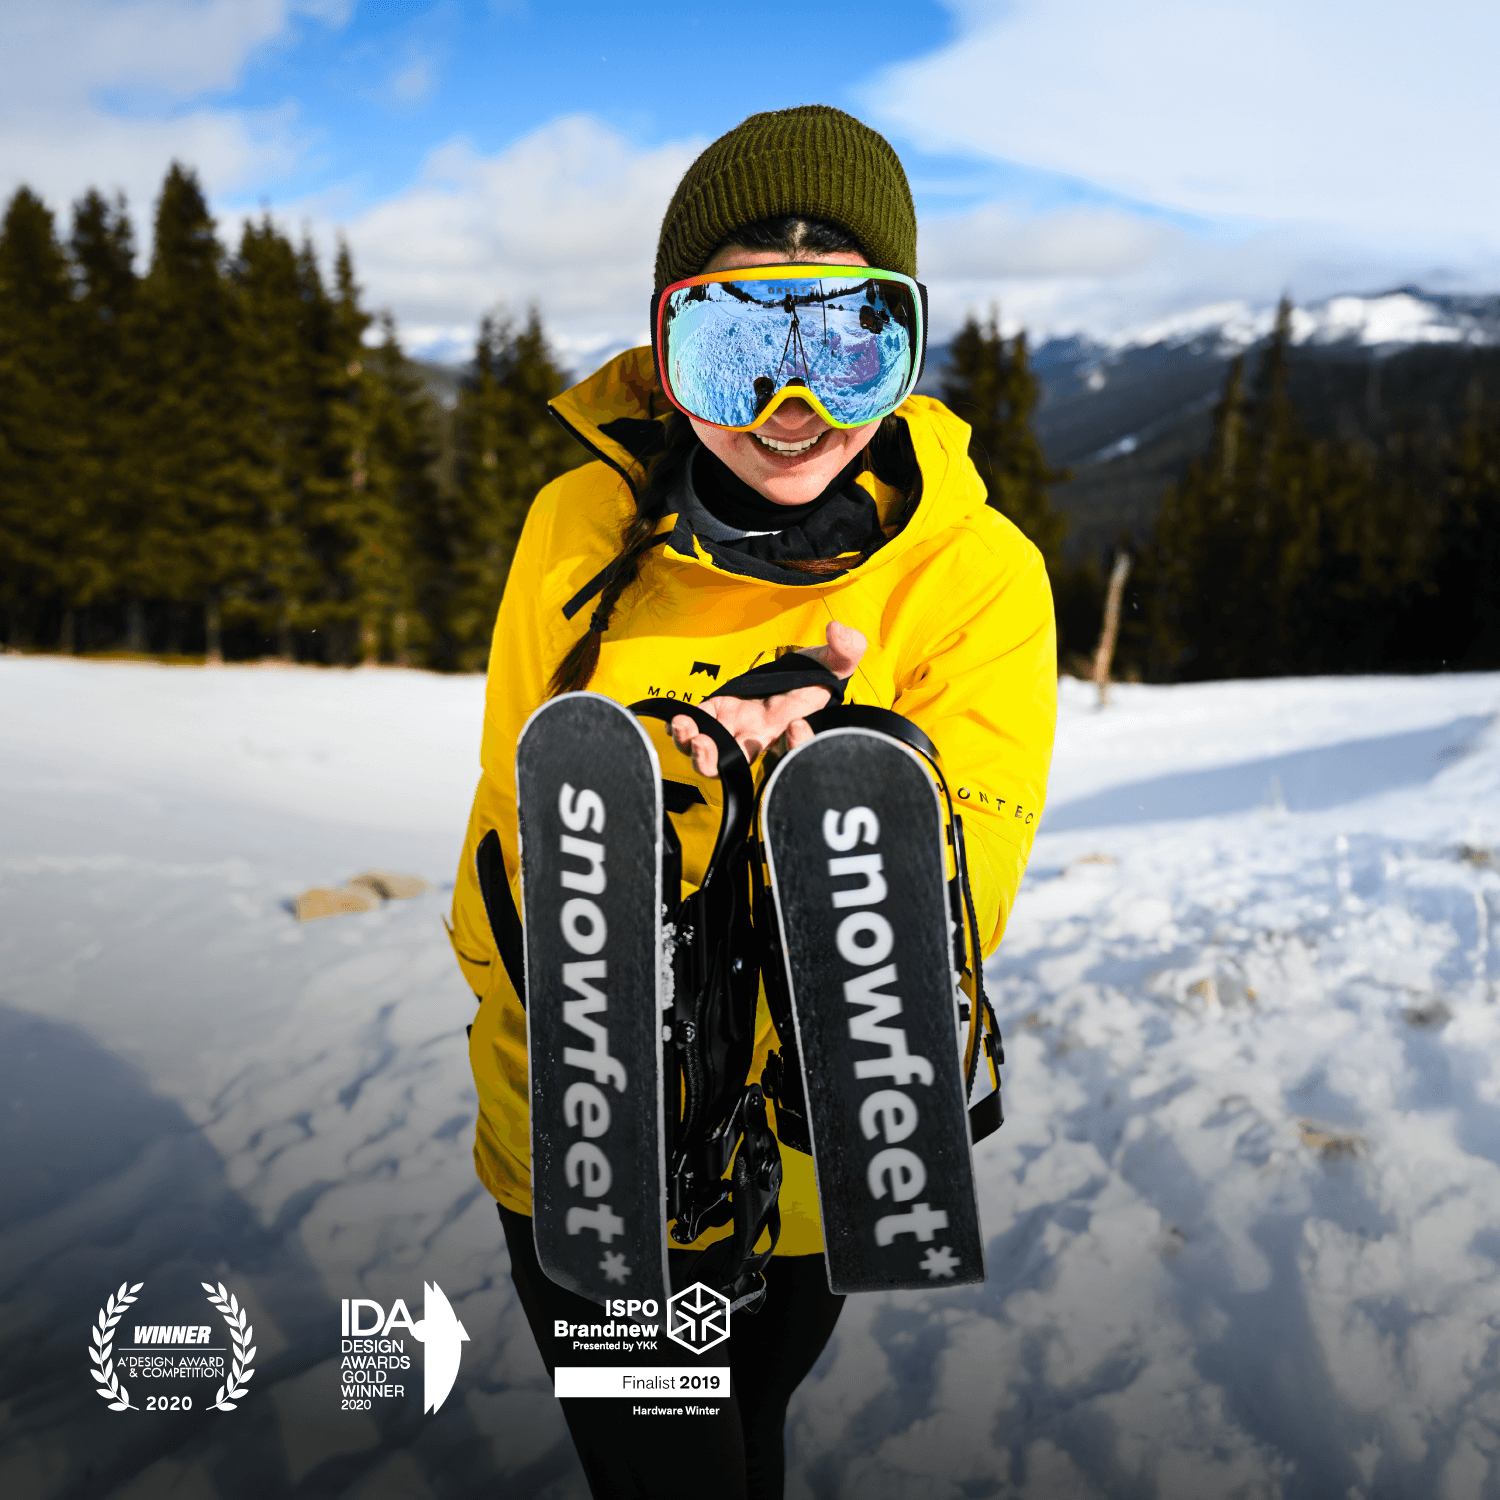
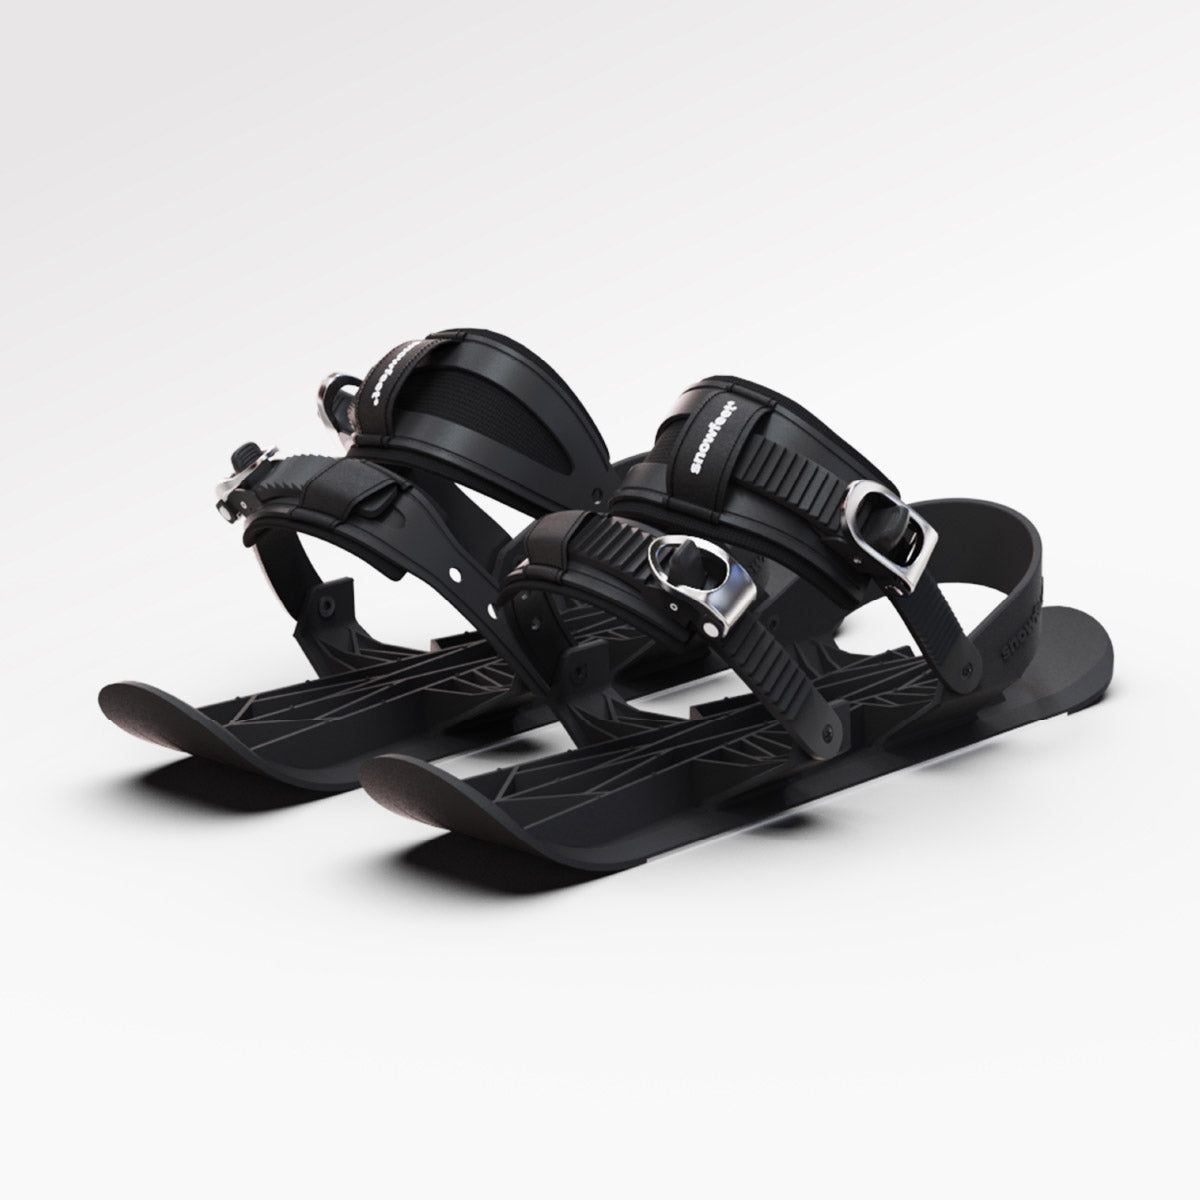
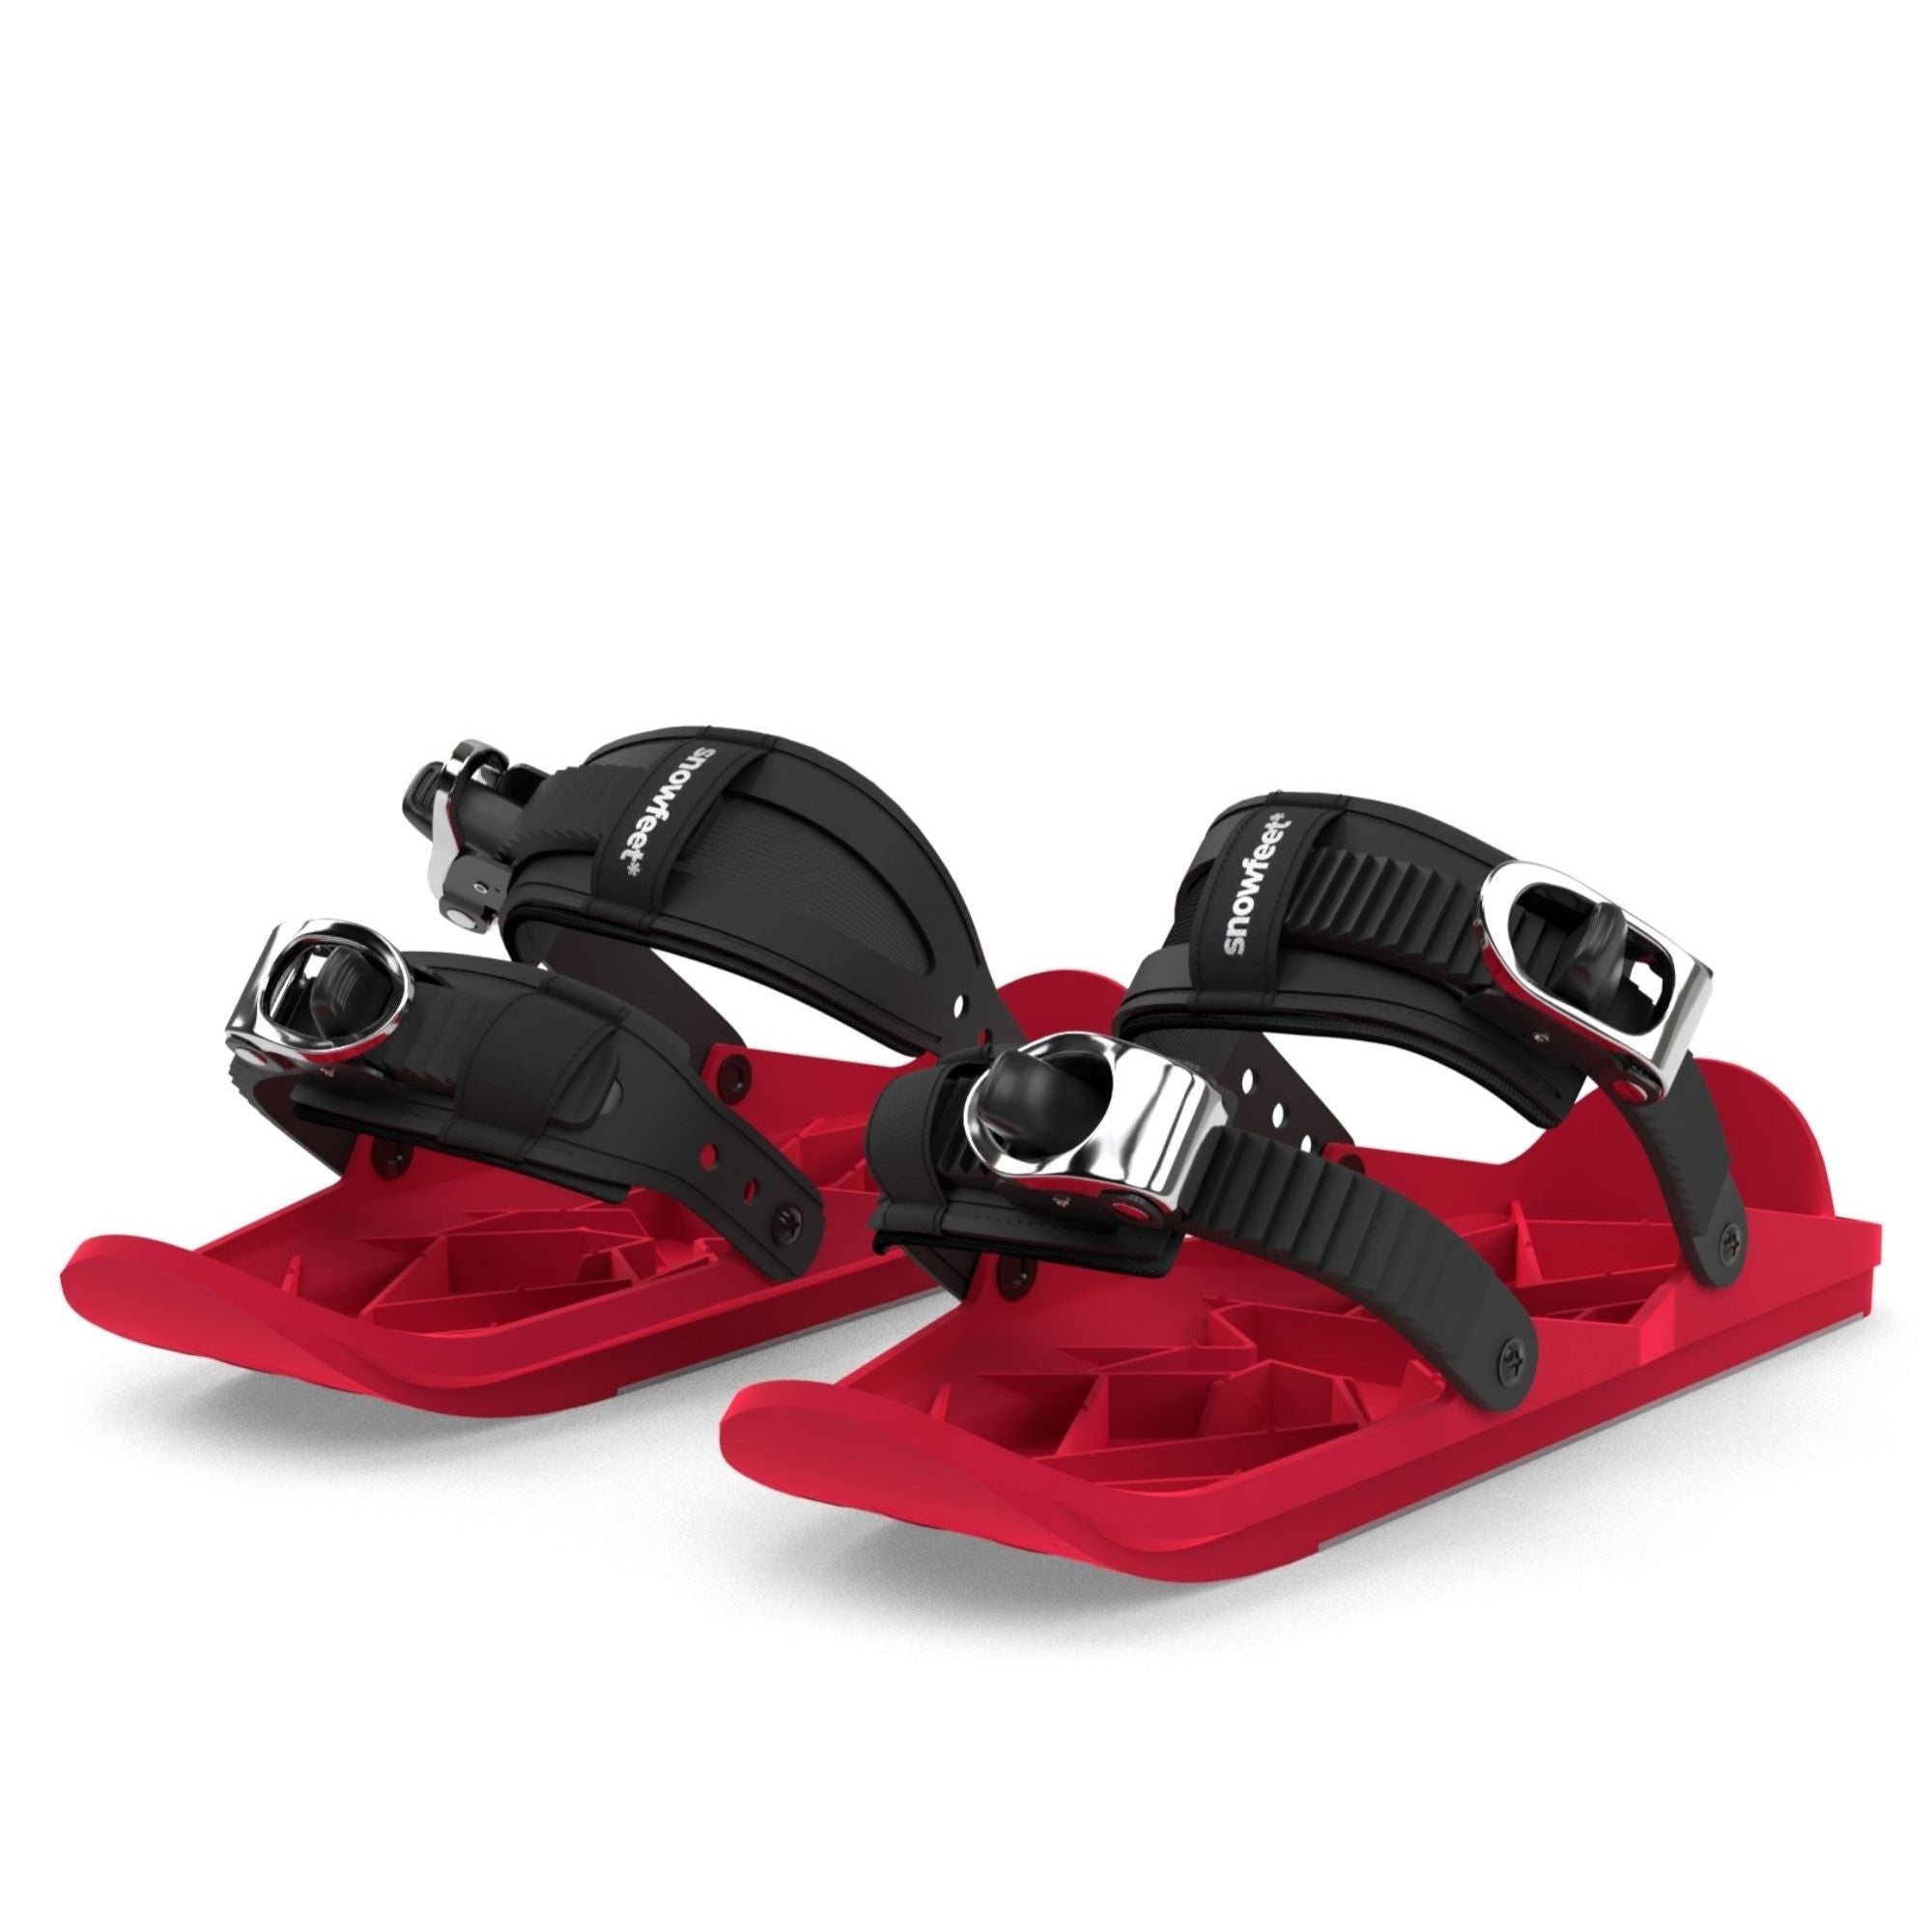
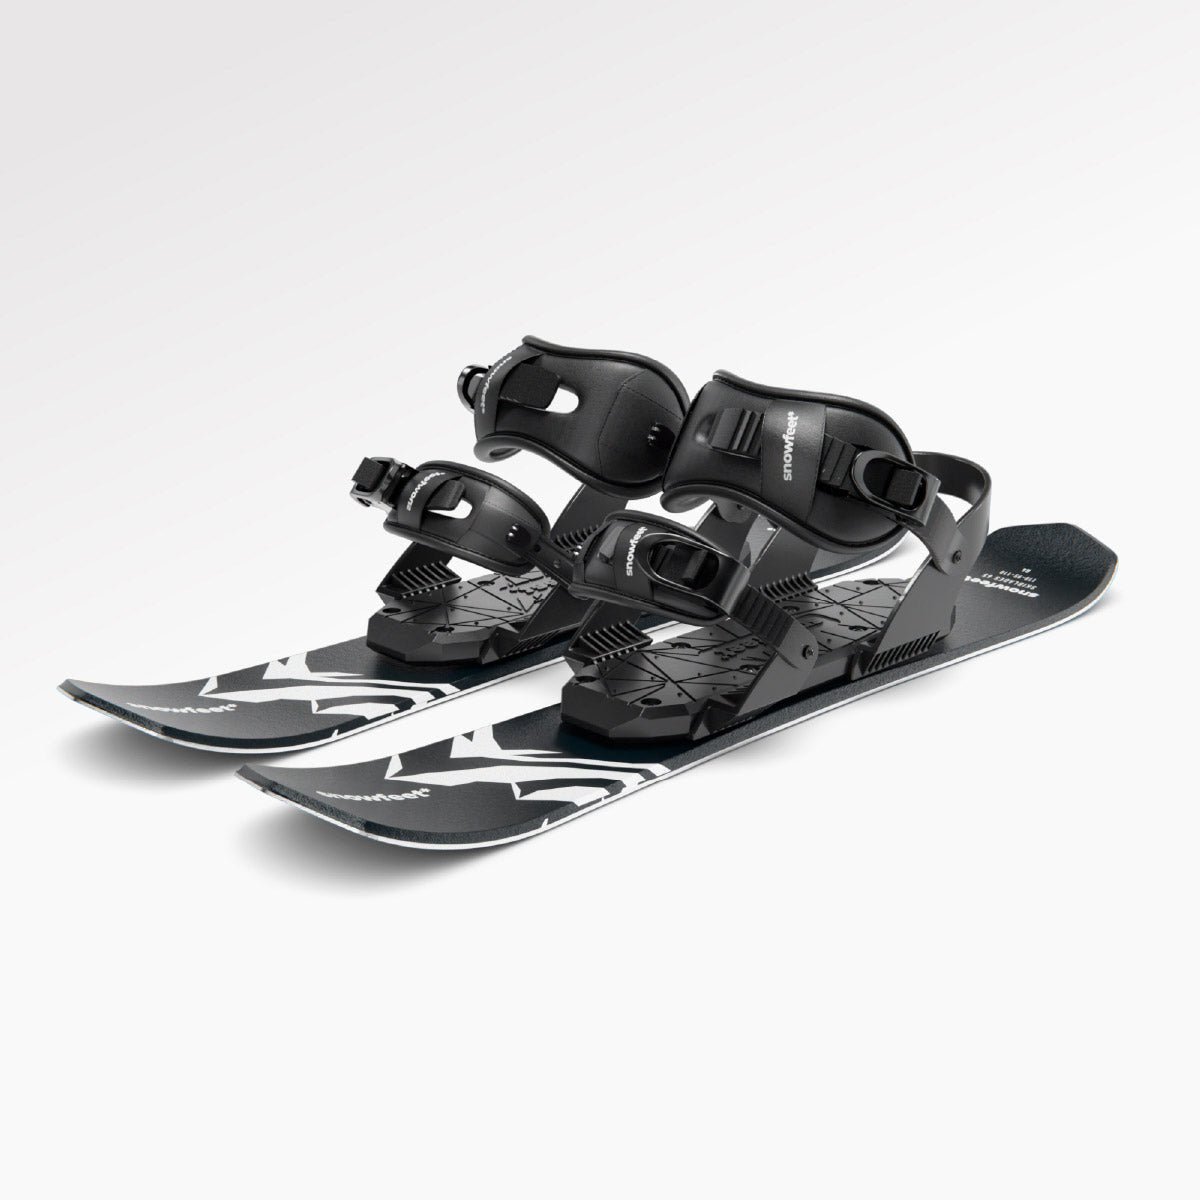
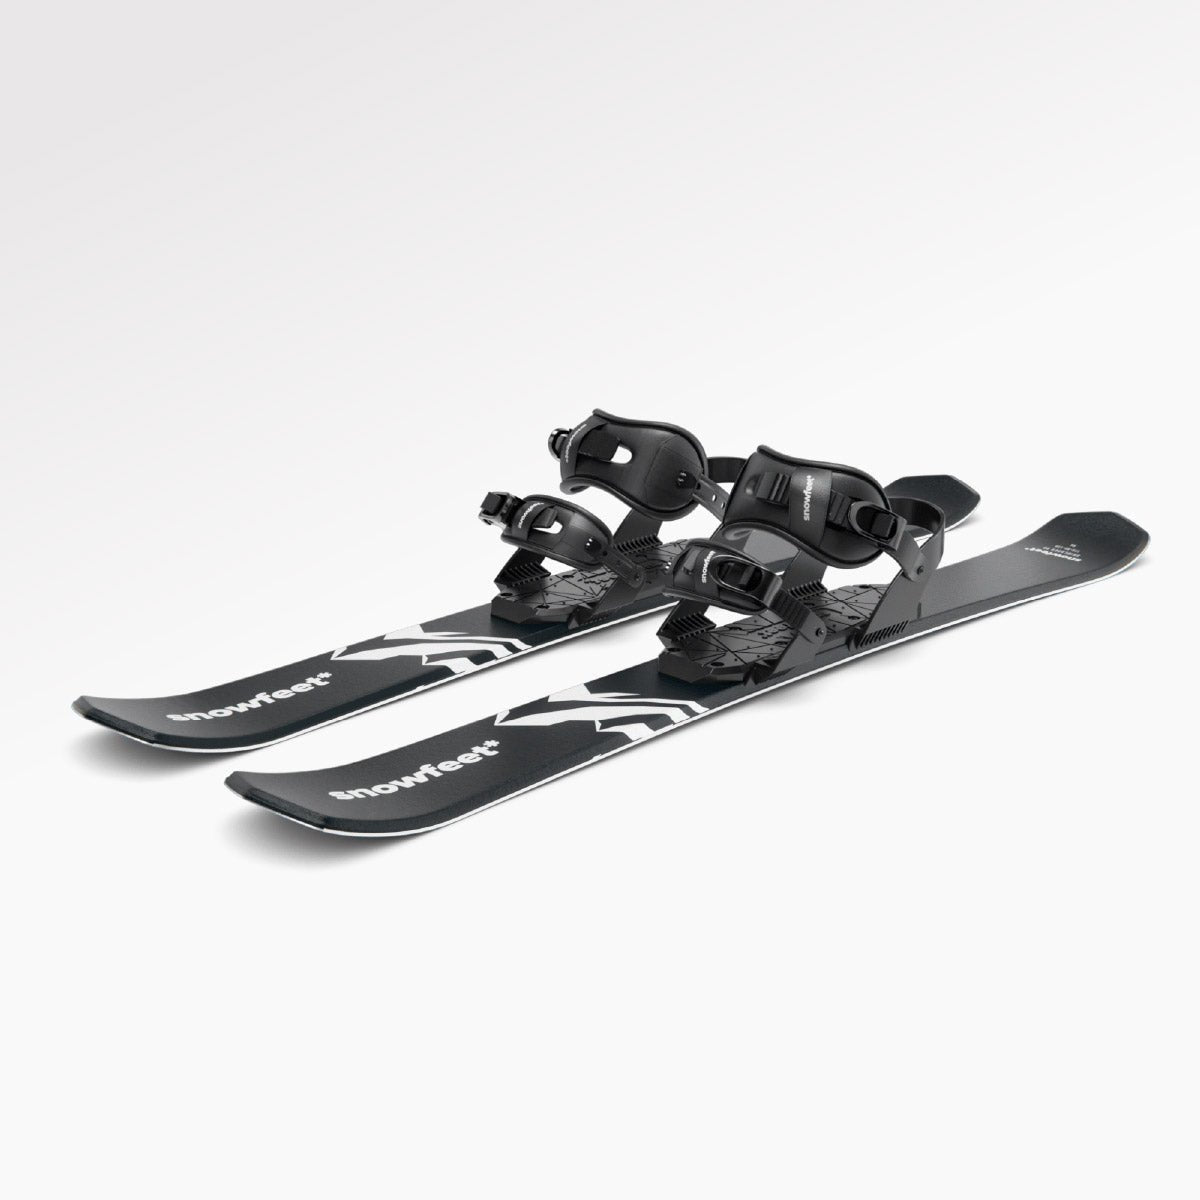
Le ski de randonnée peut impliquer de transporter un équipement lourd et compliqué, ce qui peut être écrasant pour les débutants. C'est là que Snowfeet* WALKSKI entre en jeu. Avec seulement 100 cm de long, ces skis légers changent la donne pour les novices.
Les équipements de touring traditionnels incluent souvent des skis de plus de 170 cm, des chaussures lourdes et des fixations complexes. Il peut falloir des mois pour les maîtriser, surtout pour les manœuvres délicates comme les virages en épingle sur des switchbacks raides. WALKSKI, en revanche, simplifie la vie. Leur taille compacte permet des changements de direction rapides et une navigation fluide dans des espaces étroits - sans techniques maladroites requises.
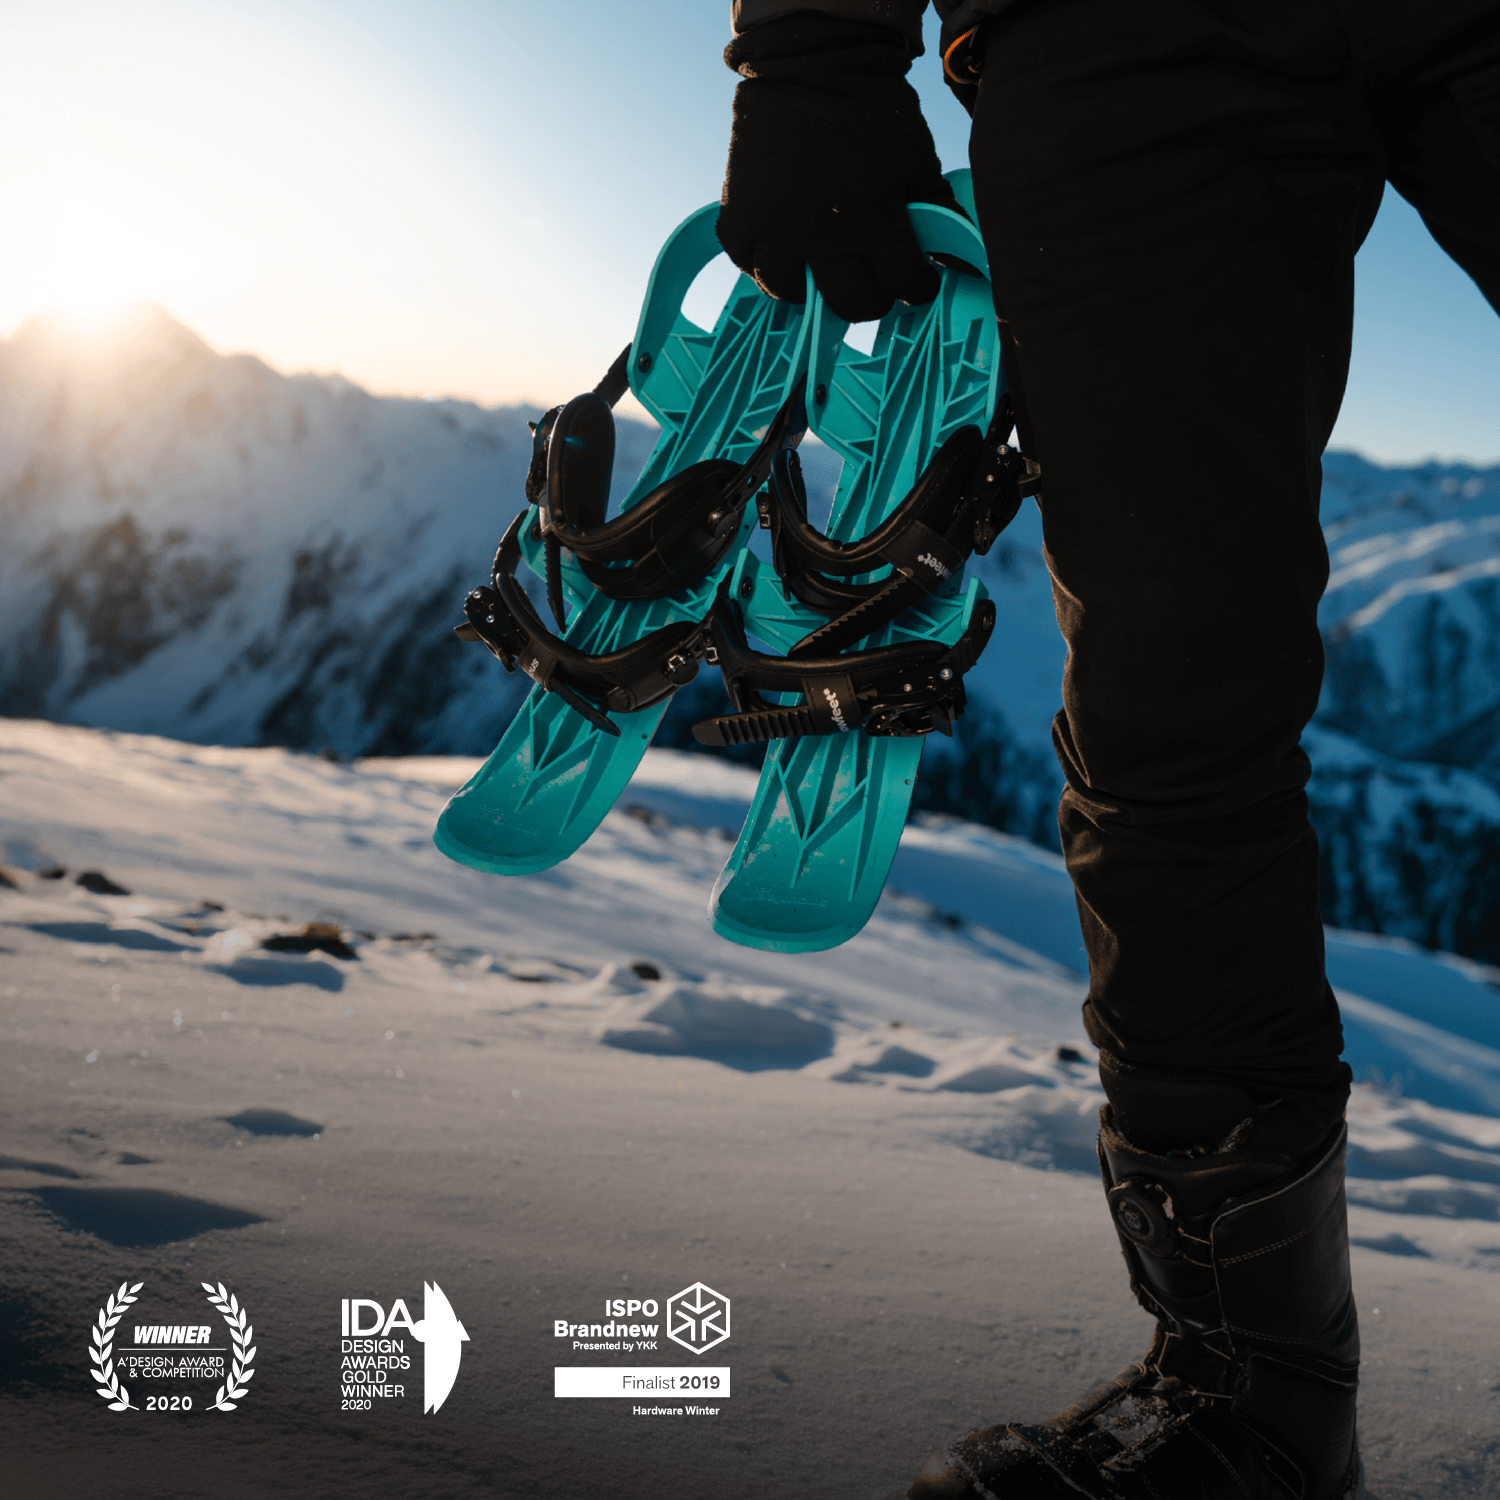
Le poids est un facteur important quand vous grimpez un terrain escarpé. Les systèmes WALKSKI sont nettement plus légers que les équipements traditionnels, ce qui signifie moins de fatigue et plus d'énergie pour la partie amusante : la descente. De plus, leur portabilité est un énorme avantage. Les systèmes WALKSKI se glissent dans un sac à dos classique, facilitant l'accès aux zones reculées sans avoir à traîner un équipement encombrant.
Le coût est un autre avantage. Un équipement de touring traditionnel - incluant skis, chaussures, fixations et peaux - peut coûter entre 1 500 et 2 000 $. Les systèmes WALKSKI, à partir d'environ 675 $, laissent plus de marge dans votre budget pour l'équipement de sécurité essentiel et les vêtements adaptés.
Snowfeet* WALKSKI vs équipement de ski traditionnel
Vous vous demandez comment WALKSKI se compare au matériel traditionnel ? Décomposons cela.
| Caractéristique | Snowfeet* WALKSKI | Skis longs traditionnels | Snowboards traditionnels |
|---|---|---|---|
| Poids | Léger et facile à transporter | Plus lourd | Plus lourd, avec la complexité supplémentaire du splitboard |
| Courbe d'apprentissage | Facile à prendre en main | Nécessite des mois de pratique | Courbe d'apprentissage plus raide pour le touring |
| Portabilité | Se glisse dans un sac à dos | Nécessite un porte-bagages de toit ou un grand véhicule | Encombrant et plus difficile à transporter |
| Coût | À partir de 675 $ | Habituellement 1 500 $–2 000 $+ | Typiquement 1 200 $–1 800 $+ |
| Polyvalence | Fonctionne avec des chaussures d'hiver ordinaires | Nécessite des chaussures de randonnée spécialisées | Compatibilité limitée des chaussures |
Une des caractéristiques remarquables de WALKSKI est la compatibilité avec les chaussures. Contrairement aux configurations traditionnelles qui exigent des chaussures spécialisées coûteuses, WALKSKI fonctionne avec les chaussures d'hiver ou de snowboard que vous possédez probablement déjà. Cela rend la transition de la randonnée au ski beaucoup plus fluide.
Un autre énorme avantage est la manœuvrabilité. Les skis longs traditionnels nécessitent souvent des virages en dérapage maladroits - soulever tout le ski et le faire pivoter de 180 degrés en équilibrant sur un pied. La longueur plus courte de WALKSKI permet des virages naturels, semblables à la marche, ce qui donne une sensation plus proche de la randonnée que de la lutte avec l'équipement.
Quant aux snowboards, les splitboards peuvent être un casse-tête. Ils sont chers, encombrants et difficiles à remonter dans des conditions difficiles. WALKSKI offre une expérience plus simple et plus fluide, surtout pour les débutants qui veulent se concentrer sur l'acquisition de compétences essentielles comme la recherche d'itinéraire et la sécurité avalanche.
Pour ceux qui débutent en hors-piste, Snowfeet* WALKSKI élimine de nombreux obstacles qui peuvent rendre ce sport intimidant. C'est une manière facile et économique de passer plus de temps à profiter des montagnes et moins de temps à lutter avec l'équipement.
sbb-itb-17ade95
Comment se préparer pour votre première sortie en hors-piste
S'aventurer en hors-piste pour la première fois, ce n'est pas seulement prendre le bon équipement. C'est se préparer au succès avec une préparation solide. De la planification de votre itinéraire au renforcement de votre forme physique, ces étapes vous aideront à vous sentir confiant et prêt à profiter de l'aventure. Et oui, avoir le bon équipement - comme Snowfeet* WALKSKI - peut faire toute la différence.
Formation avalanche et équipement de sécurité
Avant même de penser à prendre la piste, apprendre la sécurité avalanche est un impératif absolu. La formation avalanche vous enseigne comment évaluer les conditions de neige, reconnaître les dangers et utiliser les outils de sécurité essentiels comme les balises, les sondes et les pelles. Ces connaissances peuvent littéralement sauver des vies. Consultez les cours ou ateliers avalanche locaux pour commencer.
Planification des itinéraires et pratique des compétences
Commencez par un terrain facile. Pensez à des pentes douces et des zones familières où vous pouvez vous concentrer sur l'apprentissage sans vous sentir dépassé. Entraînez-vous à passer votre équipement du mode montée au mode descente chez vous pour ne pas être maladroit avec sur la montagne. Snowfeet* WALKSKI facilite cela grâce à son design simple, vous permettant de passer plus de temps à profiter de la sortie et moins de temps à ajuster des configurations compliquées.
Si vous débutez en randonnée hors-piste, envisagez de vous associer à des skieurs expérimentés ou d'engager un guide. Un guide ne se contente pas de vous montrer le chemin - il vous apprendra à lire les conditions de neige, à planifier les itinéraires et à naviguer en toute sécurité. Ce sont des compétences qui prennent du temps à acquérir, mais avoir un mentor peut accélérer votre progression.
Se mettre en forme
Le ski en hors-piste n'est pas une simple promenade - c'est un entraînement. Entre la montée et le port de votre équipement, vous aurez besoin d'un mélange d'endurance et de force pour relever le défi. Commencez l'entraînement 6 à 8 semaines avant votre première randonnée, en vous concentrant à la fois sur le cardio et la force du bas du corps.
Pour le cardio, visez 30 à 60 minutes d'exercice 3 à 5 fois par semaine. Des activités comme la course, le vélo ou la randonnée fonctionnent bien. Ajoutez une séance plus longue - de deux à quatre heures - chaque semaine pour développer l'endurance nécessaire aux randonnées d'une journée entière.
La force du bas du corps est essentielle pour la montée comme pour contrôler la descente. Essayez cette routine rapide :
- 20 squats aériens
- 20 fentes (10 par jambe)
- 20 fentes sautées (10 par jambe)
- 10 sauts en squat
Répétez le circuit 2 à 3 fois.
N'oubliez pas la stabilité du tronc - c'est votre arme secrète pour l'équilibre et le contrôle. Les planches sont un excellent choix : tenez 30 secondes, reposez-vous 10 secondes, et répétez jusqu'à ce que votre tronc dise « assez ! »
L'entraînement ne vous prépare pas seulement physiquement, il vous aide aussi à tirer le meilleur parti d'un équipement léger comme le WALKSKI. Sa conception réduit la tension sur vos jambes et votre dos, rendant ces montées un peu plus faciles. De plus, la mécanique plus simple signifie que vous pouvez vous concentrer sur la forme physique et le plaisir plutôt que de lutter avec votre équipement.
Avec la bonne préparation, vous serez prêt à affronter votre première randonnée en hors-piste avec confiance et enthousiasme !
Ce qui se passe lors de votre première randonnée de ski en hors-piste
Partir pour votre première randonnée de ski en hors-piste peut sembler un peu intimidant, mais comprendre le processus peut atténuer ces nerfs d'avant-aventure. Pensez-y comme un mélange de montée à pied, de descente en ski, et de changement d'équipement entre les deux. Ce n'est pas tout à fait comme le ski en station - cela comporte ses propres défis et récompenses qui en font une expérience inoubliable. Voici un aperçu de la façon dont cela se passe généralement.
Comment fonctionne une randonnée en hors-piste
Une randonnée en hors-piste a un rythme qui semble naturel une fois que vous l'avez fait quelques fois. Elle commence au départ du sentier, où vous vous équipez et commencez la montée. Petite anecdote : la montée représente souvent environ 70 à 80 % de votre journée.
C'est là que le WALKSKI de Snowfeet peut faciliter les choses. Au lieu de gérer un équipement lourd et complexe, il vous suffit d'attacher le WALKSKI et de commencer à marcher. Avec ses 100 cm (environ 39 pouces) de long, ces skis sont plus légers et plus maniables que les skis de randonnée traditionnels, surtout dans les virages serrés.
Lorsque vous atteignez votre objectif - qu'il s'agisse d'une crête, d'un sommet ou du haut d'une pente - il est temps de faire la transition. Avec les équipements traditionnels, cela signifie enlever vos peaux de phoque, les ranger, et ajuster vos fixations pour la descente. C'est un processus qui peut prendre quelques minutes, surtout par temps glacial. WALKSKI simplifie cette étape, vous faisant gagner du temps et évitant les tracas.
Enfin, il y a la descente - la récompense de tous vos efforts. Le ski hors-piste signifie tracer dans une poudreuse vierge, glisser sur des pentes ouvertes ou naviguer sur un terrain varié très différent des pistes damées en station. Avec un équipement épuré et un peu de préparation, vous serez prêt à tout apprécier.
Conseils pour réussir dès la première fois
Si c'est votre première fois, simplifiez les choses. Concentrez-vous sur l'apprentissage des bases et restez sur des itinéraires adaptés aux débutants. Cherchez des sentiers avec un dénivelé de 300 à 450 mètres qui prennent 2 à 3 heures à parcourir. Beaucoup d'itinéraires pour débutants ont des traces de peaux établies, ce qui facilite grandement la navigation. Le design léger de WALKSKI est parfait pour ce genre de sorties, vous permettant de vous sentir à l'aise sans le poids supplémentaire de l'équipement traditionnel.
Voici quelques conseils pour réussir votre première sortie :
- Voyagez léger. La taille compacte de WALKSKI (100 cm ou 39 pouces) signifie moins à porter comparé aux 170–180 cm (67–71 pouces) des skis de randonnée classiques.
- Commencez tôt. La météo en montagne peut changer rapidement, alors visez à terminer avant que les conditions ne se dégradent.
- Apportez l'essentiel. Des couches supplémentaires, des encas et de l'eau sont indispensables. Le ski hors-piste brûle 400 à 600 calories par heure lors des montées, donc rester alimenté et hydraté est crucial.
- Entraînez-vous aux transitions. Passez un peu de temps chez vous à passer du mode montée au mode descente. Avec WALKSKI, ce processus est plus rapide et moins compliqué, vous enlevant un souci de plus.
Problèmes courants à prévoir
Le ski hors-piste n'est pas sans ses défis. La fatigue, la neige imprévisible, les changements soudains de météo et les problèmes de navigation font tous partie de l'expérience. Monter en montée sollicite vos muscles différemment que le ski en station, et vous pourriez ressentir la brûlure après seulement 30 minutes. Prévoyez de faire de courtes pauses toutes les 20 à 30 minutes pour maintenir votre énergie.
Les conditions de neige changeantes peuvent aussi être délicates. Alors que les skis longs traditionnels peuvent sembler encombrants sur un terrain irrégulier, la longueur plus courte de WALKSKI vous offre un meilleur contrôle et facilite la récupération quand la situation devient délicate.
La navigation peut être un autre obstacle. Une fois que vous quittez les sentiers balisés, la neige peut cacher des repères familiers, ce qui rend facile de se perdre. Pour vos premières sorties, restez sur des itinéraires bien fréquentés et emportez toujours une carte, une boussole ou un GPS en secours. Avec la bonne préparation et un équipement simplifié comme WALKSKI, vous serez mieux équipé pour relever ces défis et profiter de l'aventure.
Faciliter le ski hors-piste pour les débutants
Débuter en ski hors-piste peut sembler un peu intimidant, mais avec le bon équipement et la bonne approche, ce n'est pas obligatoirement le cas. Des options légères et adaptées aux débutants comme le Snowfeet* WALKSKI et la fixation d'objectifs réalistes peuvent faire toute la différence. Détaillons cela.
Pourquoi Snowfeet* WALKSKI change la donne
Avec seulement 39 pouces, Snowfeet* WALKSKI offre une alternative légère aux skis traditionnels, qui pèsent souvent entre 8 et 12 livres la paire. Ce poids supplémentaire peut rapidement vous fatiguer, surtout si vous débutez en montée. Avec Snowfeet*, vous économiserez de l'énergie et aurez plus d'endurance pour vraiment profiter de votre temps en montagne. De plus, leur design plus court améliore la maniabilité, ce qui en fait un choix solide pour les débutants.
Restez sur un terrain adapté aux débutants
Lorsque vous choisissez vos premières itinéraires hors-piste, optez pour des zones avec des pentes douces (moins de 20 degrés) et des traces de peau établies. Ces sentiers sont plus faciles à suivre et souvent plus sûrs, surtout lorsque d'autres skieurs sont présents. Même si vous êtes équipé de tout l'équipement de sécurité du monde, restez sur des itinéraires pour débutants tant que vous apprenez encore les bases. La progression prend du temps, et il n'y a pas de course.
Simplifiez les transitions d'équipement
Les configurations traditionnelles peuvent être un casse-tête, surtout par temps glacial. Enlever les peaux de phoque, régler les fixations et réorganiser votre équipement peut sembler une corvée. Snowfeet* simplifie ce processus avec un design épuré, vous permettant de vous concentrer sur l'amélioration de votre technique plutôt que de lutter avec le matériel.
Allez-y doucement avec la forme physique
Le ski hors-piste sollicite des muscles que vous n'utilisez peut-être pas beaucoup lors du ski en station, comme les fléchisseurs de la hanche et le tronc. Plutôt que de vous lancer dans une sortie d'une journée entière, commencez par des sorties plus courtes - 1 à 2 heures avec environ 800 à 1 000 pieds de dénivelé. Cette approche progressive vous aide à développer force et endurance sans en faire trop.
Avec le bon état d'esprit, l'équipement et la préparation, le ski hors-piste peut être une aventure agréable et accessible, même pour les débutants.
FAQs
Quelles compétences et quel équipement de sécurité les débutants ont-ils besoin pour le ski hors-piste ?
Pour tous ceux qui découvrent les aventures en hors-piste, maîtriser la sécurité avalanche est absolument essentiel. Cela signifie apprendre à repérer les terrains dangereux, évaluer les conditions de neige et pratiquer des techniques de sauvetage qui sauvent des vies. S'inscrire à un cours d'une organisation de confiance comme AIARE est un excellent moyen de développer à la fois vos compétences et votre confiance.
En matière d'équipement de sécurité, trois éléments sont indispensables : un ARVA, une pelle et une sonde. Ces outils peuvent faire toute la différence en cas d'urgence. Pour les débutants, choisir le bon équipement peut aussi rendre l'expérience moins intimidante. Un matériel léger et facile à contrôler, comme les _Snowfeet WALKSKI Backcountry Touring Skis (100 cm)_*, est une option judicieuse. Ces skis compacts sont plus maniables que les skis ou snowboards traditionnels, offrant aux novices un meilleur contrôle et aidant à réduire le facteur intimidation lors de l'exploration du hors-piste.
Comment les Snowfeet* WALKSKI se comparent-ils aux skis traditionnels pour les débutants en termes de facilité et d'accessibilité financière ?
Les Snowfeet* WALKSKI offrent une excellente alternative pour les débutants qui découvrent le ski. Leur design compact et léger élimine le facteur intimidation du ski hors-piste, les rendant beaucoup plus faciles à manier que les skis traditionnels. De plus, vous n'aurez pas besoin d'investir dans des chaussures ou des fixations spéciales - ils sont conçus pour fonctionner avec vos bottes d'hiver habituelles, ce qui simplifie tout et évite les tracas.
En termes de coût, les Snowfeet* WALKSKI changent la donne. Avec des prix à partir d'environ $150, ils sont bien plus abordables qu'un équipement de ski débutant classique, qui peut facilement dépasser $600 une fois que vous prenez en compte les skis, les chaussures et les fixations. Pour toute personne débutante en ski qui cherche une option abordable, portable et simple, les Snowfeet* WALKSKI rendent les descentes plus accessibles et amusantes - sans le prix élevé ni la courbe d'apprentissage du matériel traditionnel.
Quelle forme physique faut-il avoir pour ma première randonnée à ski en hors-piste ?
Le ski hors-piste ne demande pas une forme olympique, mais avoir un bon niveau d'endurance peut rendre l'expérience bien plus agréable. Des activités comme la course à pied, le vélo ou la randonnée sont d'excellents moyens de développer l'endurance nécessaire pour les montées et le transport de votre matériel. De plus, renforcer vos jambes et votre tronc vous aidera à affronter les terrains accidentés avec aisance.
Si vous êtes nouveau dans le domaine, commencer avec un équipement léger et adapté aux débutants comme les Snowfeet WALKSKI Backcountry Touring Skis (100 cm) est une décision intelligente. Ces skis compacts sont beaucoup plus faciles à manier que les skis traditionnels, ce qui signifie moins de fatigue pour votre corps et plus de concentration pour affiner vos compétences. Une bonne base physique vous aide non seulement à suivre le rythme, mais aussi à gagner en confiance pour profiter pleinement de l'aventure !
Articles de blog connexes
- Introduction au hors-piste léger : équipement essentiel pour explorer au-delà des pistes damées (sans installation pro)
- Comment choisir des skis pour débutants en hors-piste (la sécurité avant tout !) - 2025
- L'essor du ski à propulsion humaine : pourquoi le touring est l'avenir du sport
- Première randonnée à ski en hors-piste : à quoi s'attendre (guide étape par étape)




Laisser un commentaire
Ce site est protégé par hCaptcha, et la Politique de confidentialité et les Conditions de service de hCaptcha s’appliquent.