


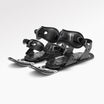
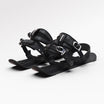
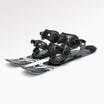
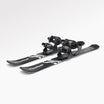
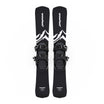
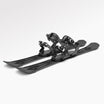
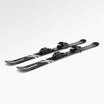
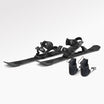
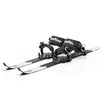
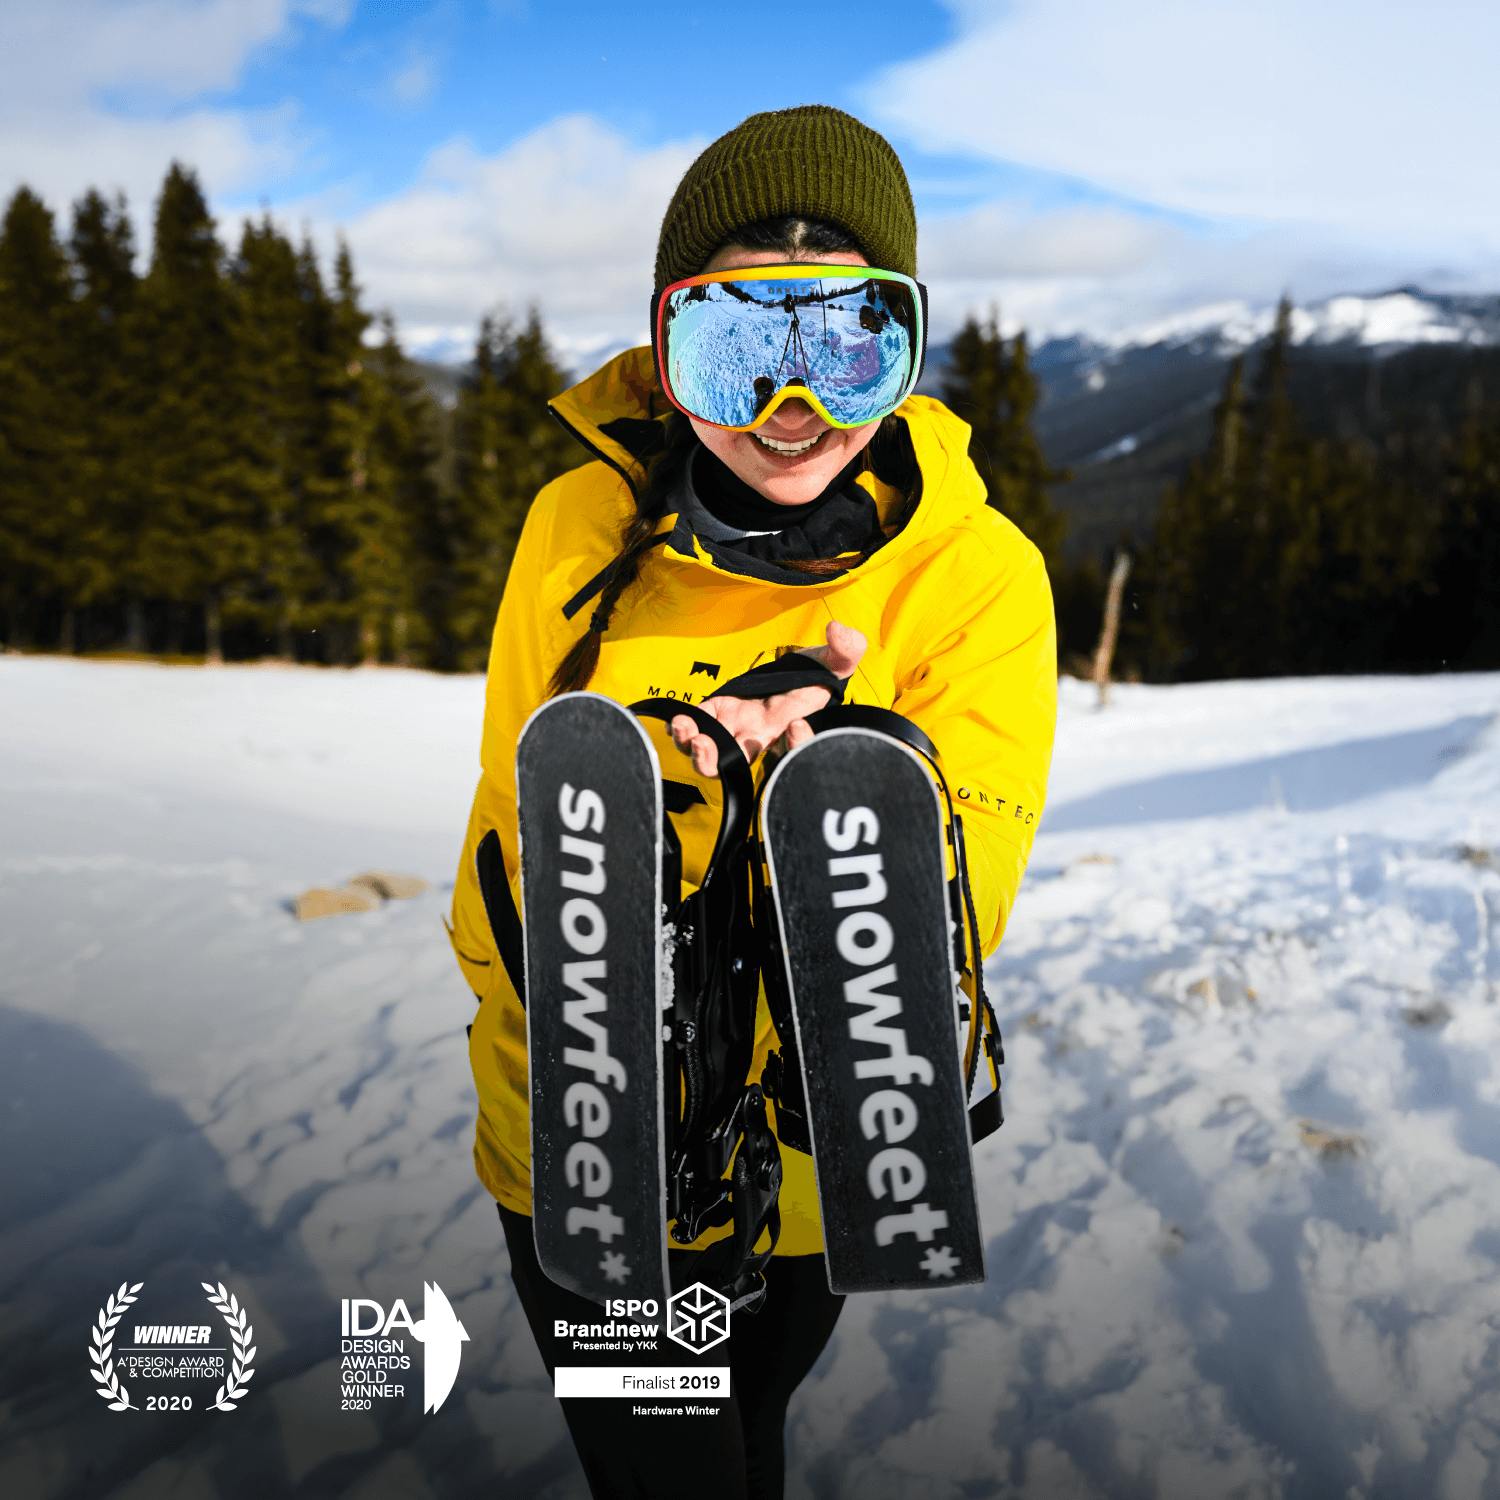
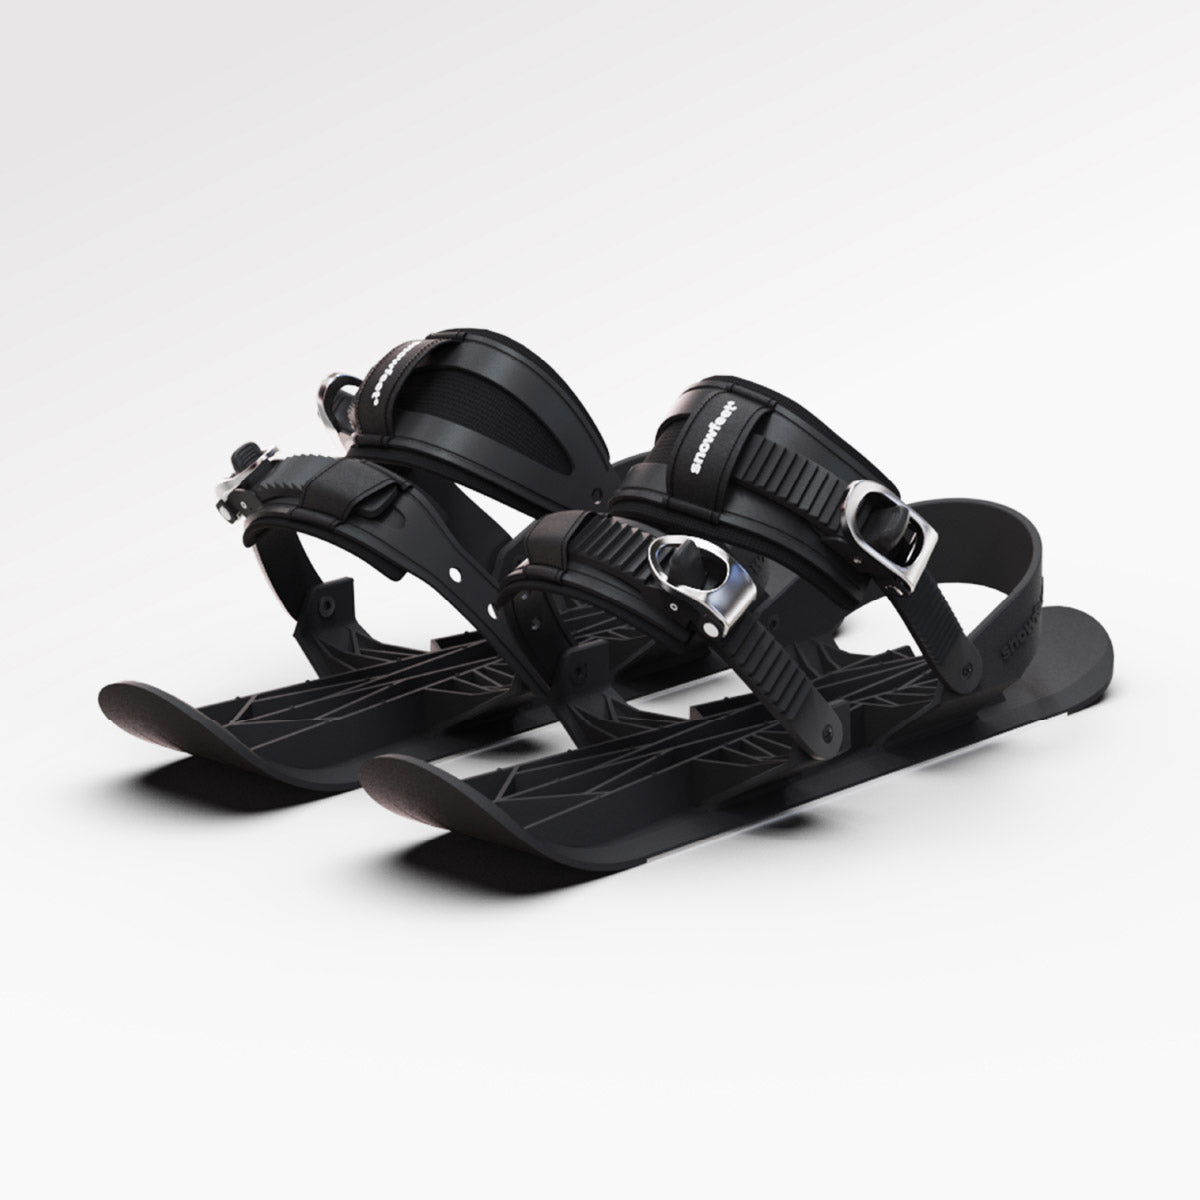
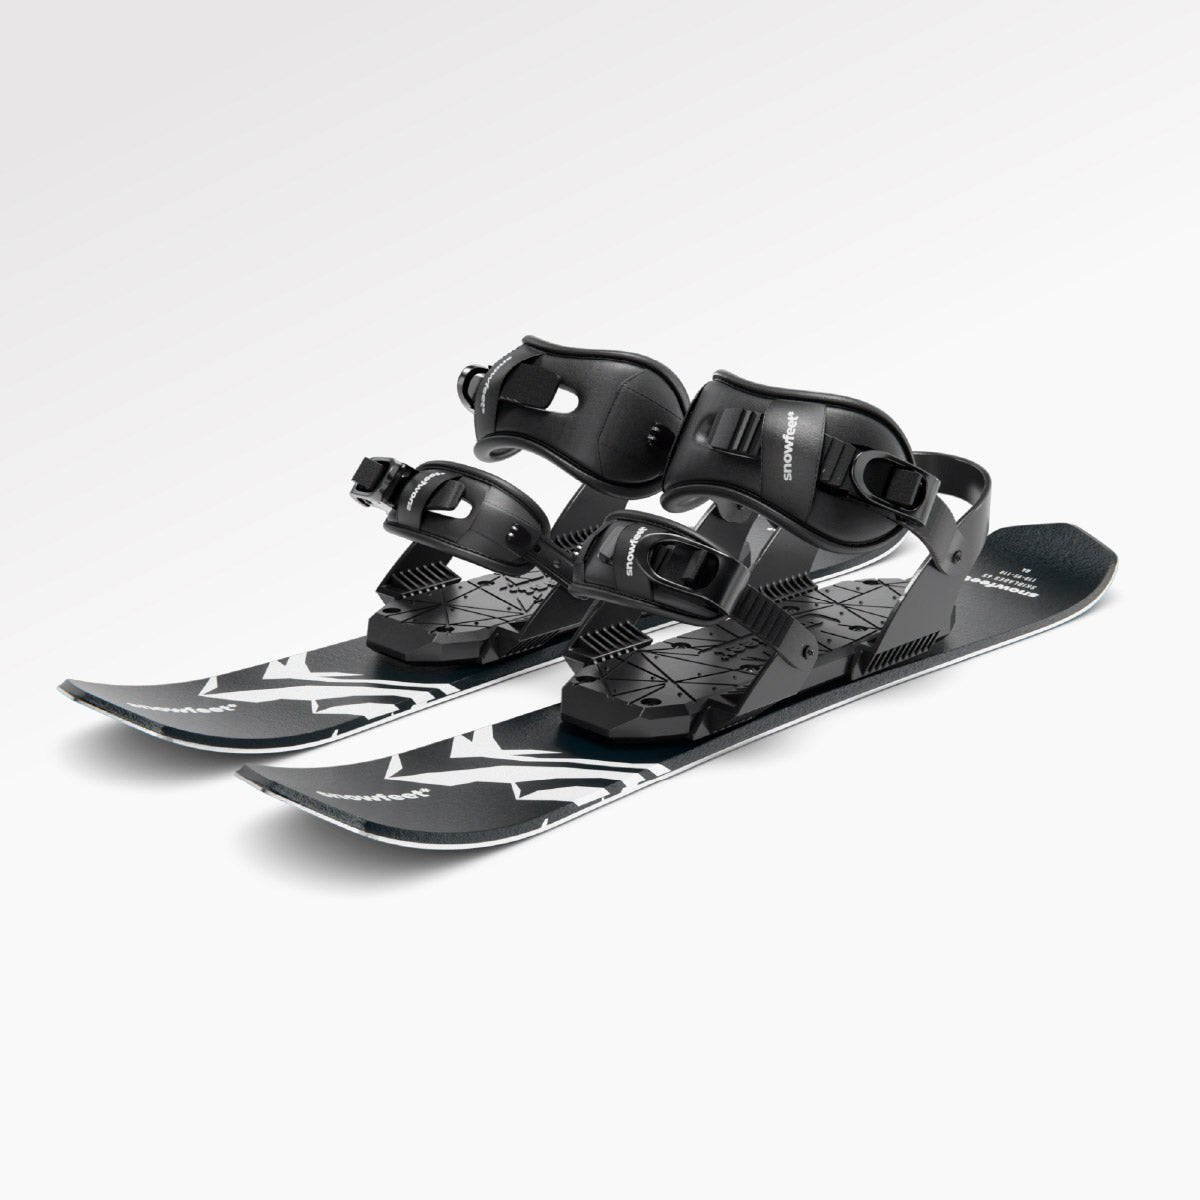
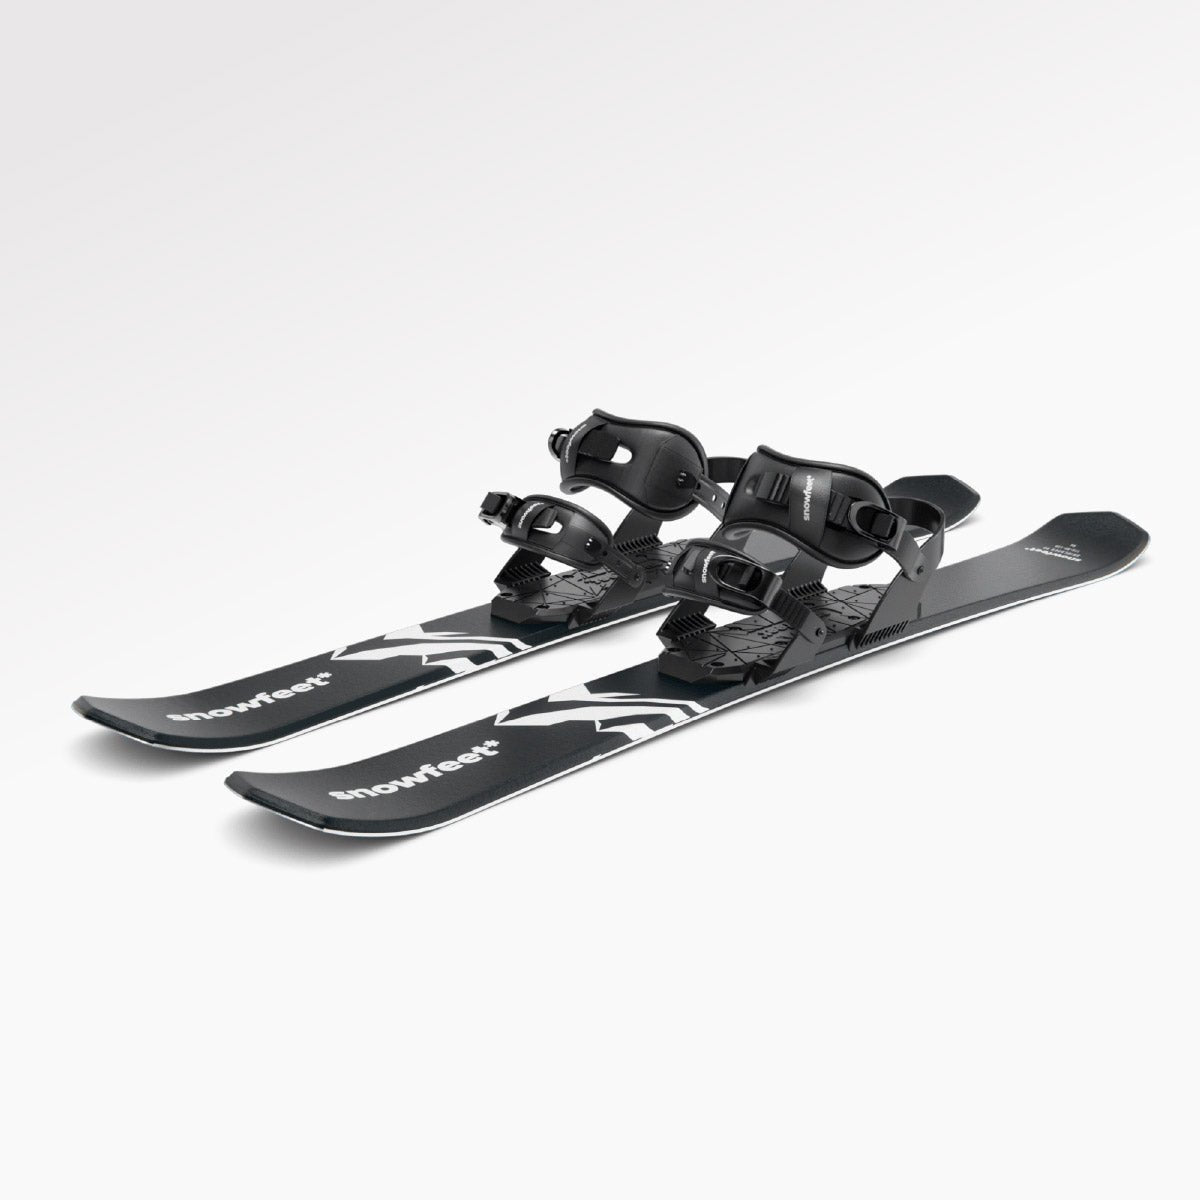
I’d choose WALKSKI for short, low-speed tours - not deep powder or fast, open descents. At 39.4 inches (100 cm) long, these skis fit on a pack and need less room for tight turns. But short doesn’t always mean light: a pair weighs about 6.9–8.8 pounds, depending on the core.
Here’s what I’d check before heading out:
- Terrain: Tight trails and mellow descents suit WALKSKI. Longer touring skis offer more float in powder and more stability at speed.
- Boot fit: The binding accepts several boot types, but size alone won’t confirm a secure fit.
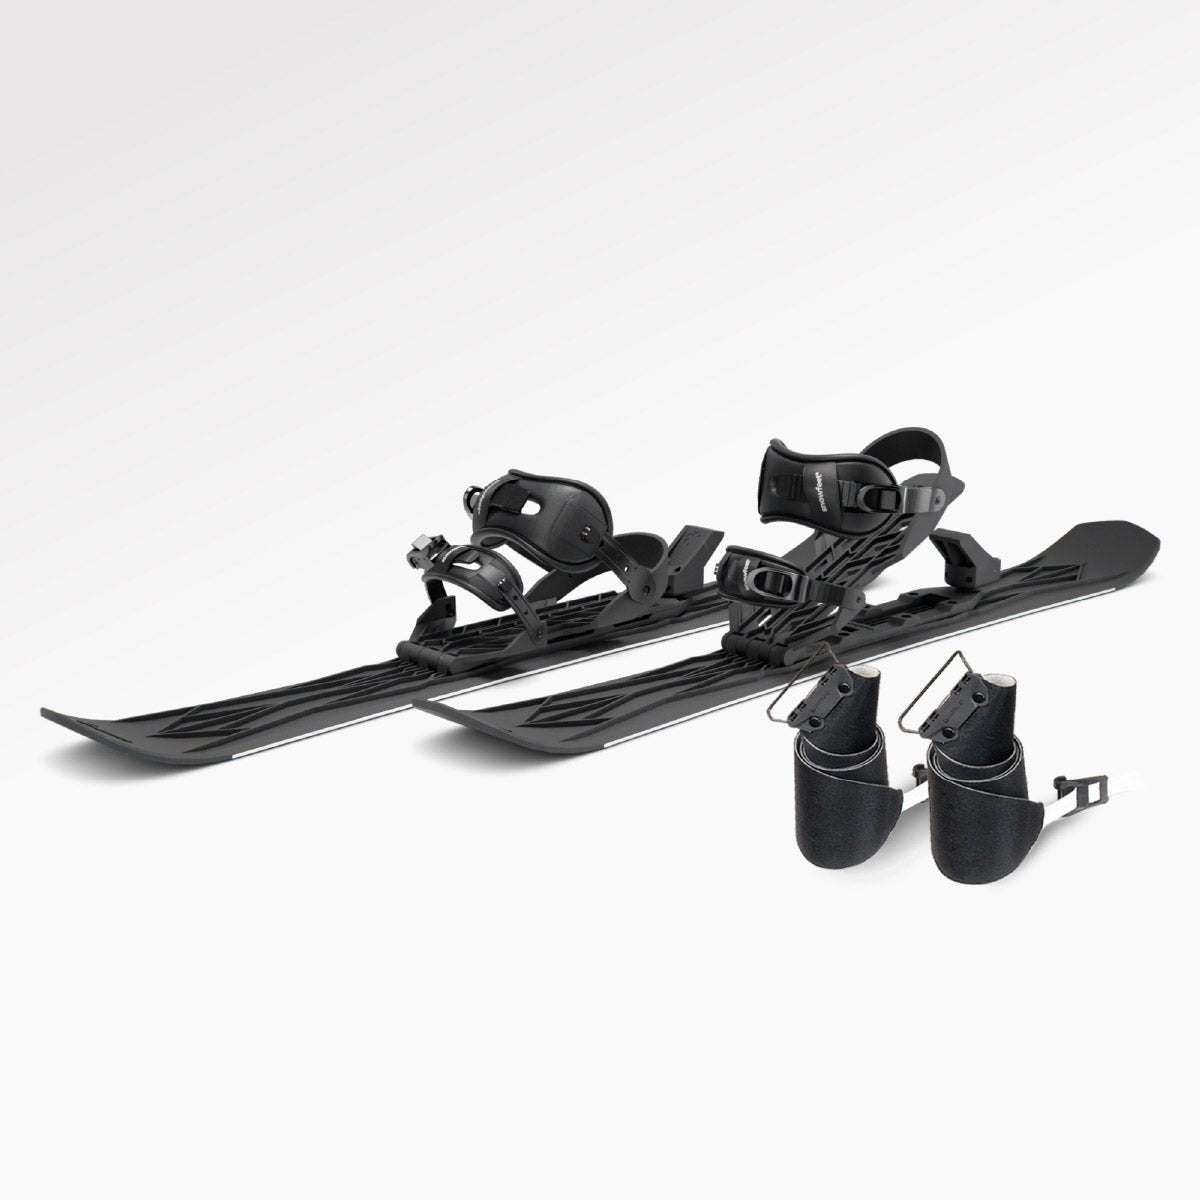
- Uphill setup: Skins provide grip. Free-heel modes and two heel lifts help with climbs.
- Downhill setup: Lower the heel lifts and lock the heels before skiing.
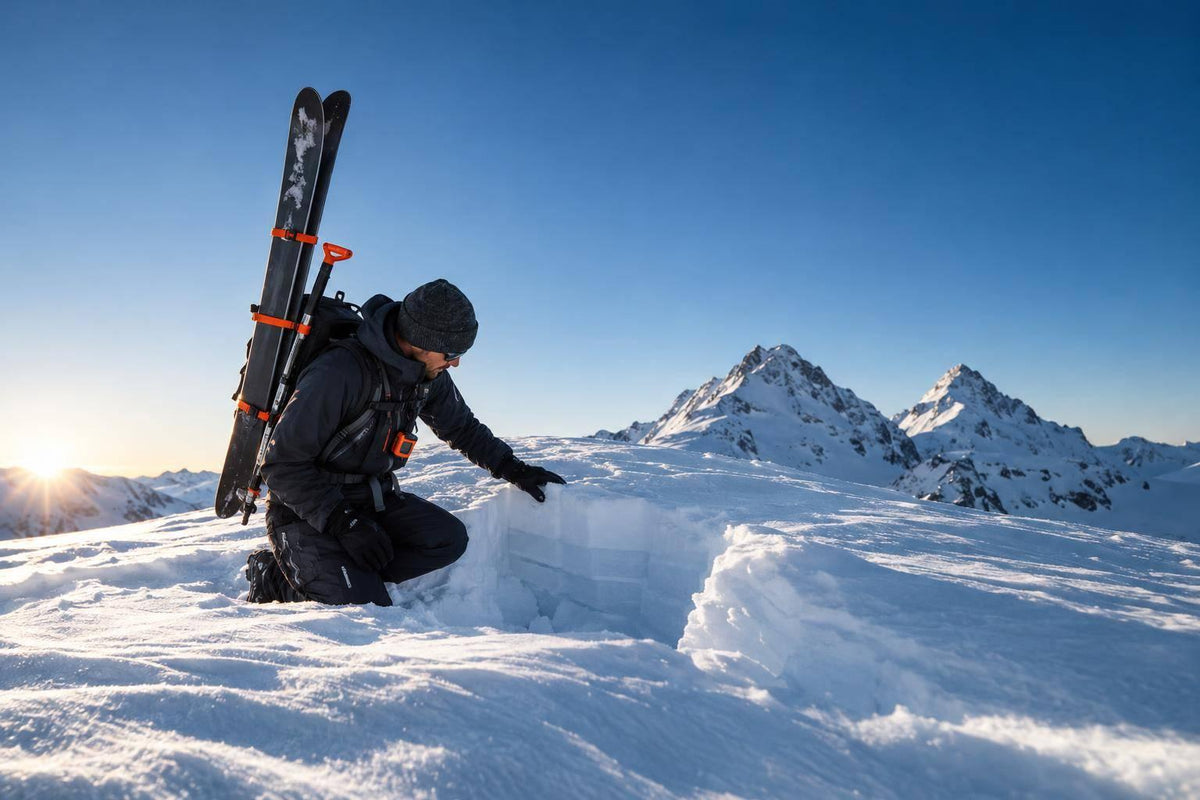
- Safety: Check the avalanche forecast, plan your route and turnaround time, and carry a beacon, probe, and shovel - with training to use them.
My take: choose for the route, not just the pack size. <u>Short skis don’t reduce avalanche risk.</u>
Snowfeet WALKSKI | Backcountry Skiing in Georgia
Carrying, Climbing, and Skiing Downhill
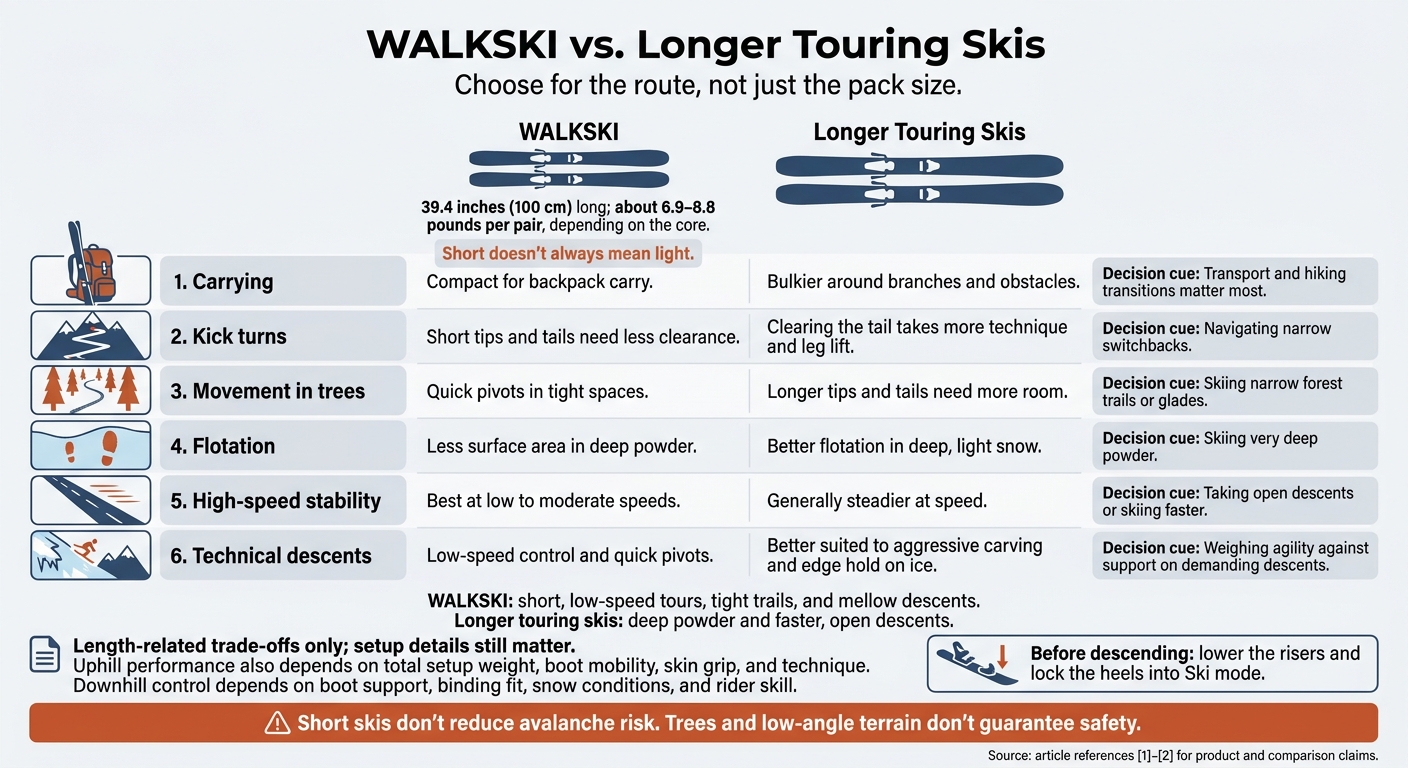
WALKSKI vs. Longer Touring Skis: Terrain Trade-Offs
With the specs covered, here’s how WALKSKI handles touring terrain.
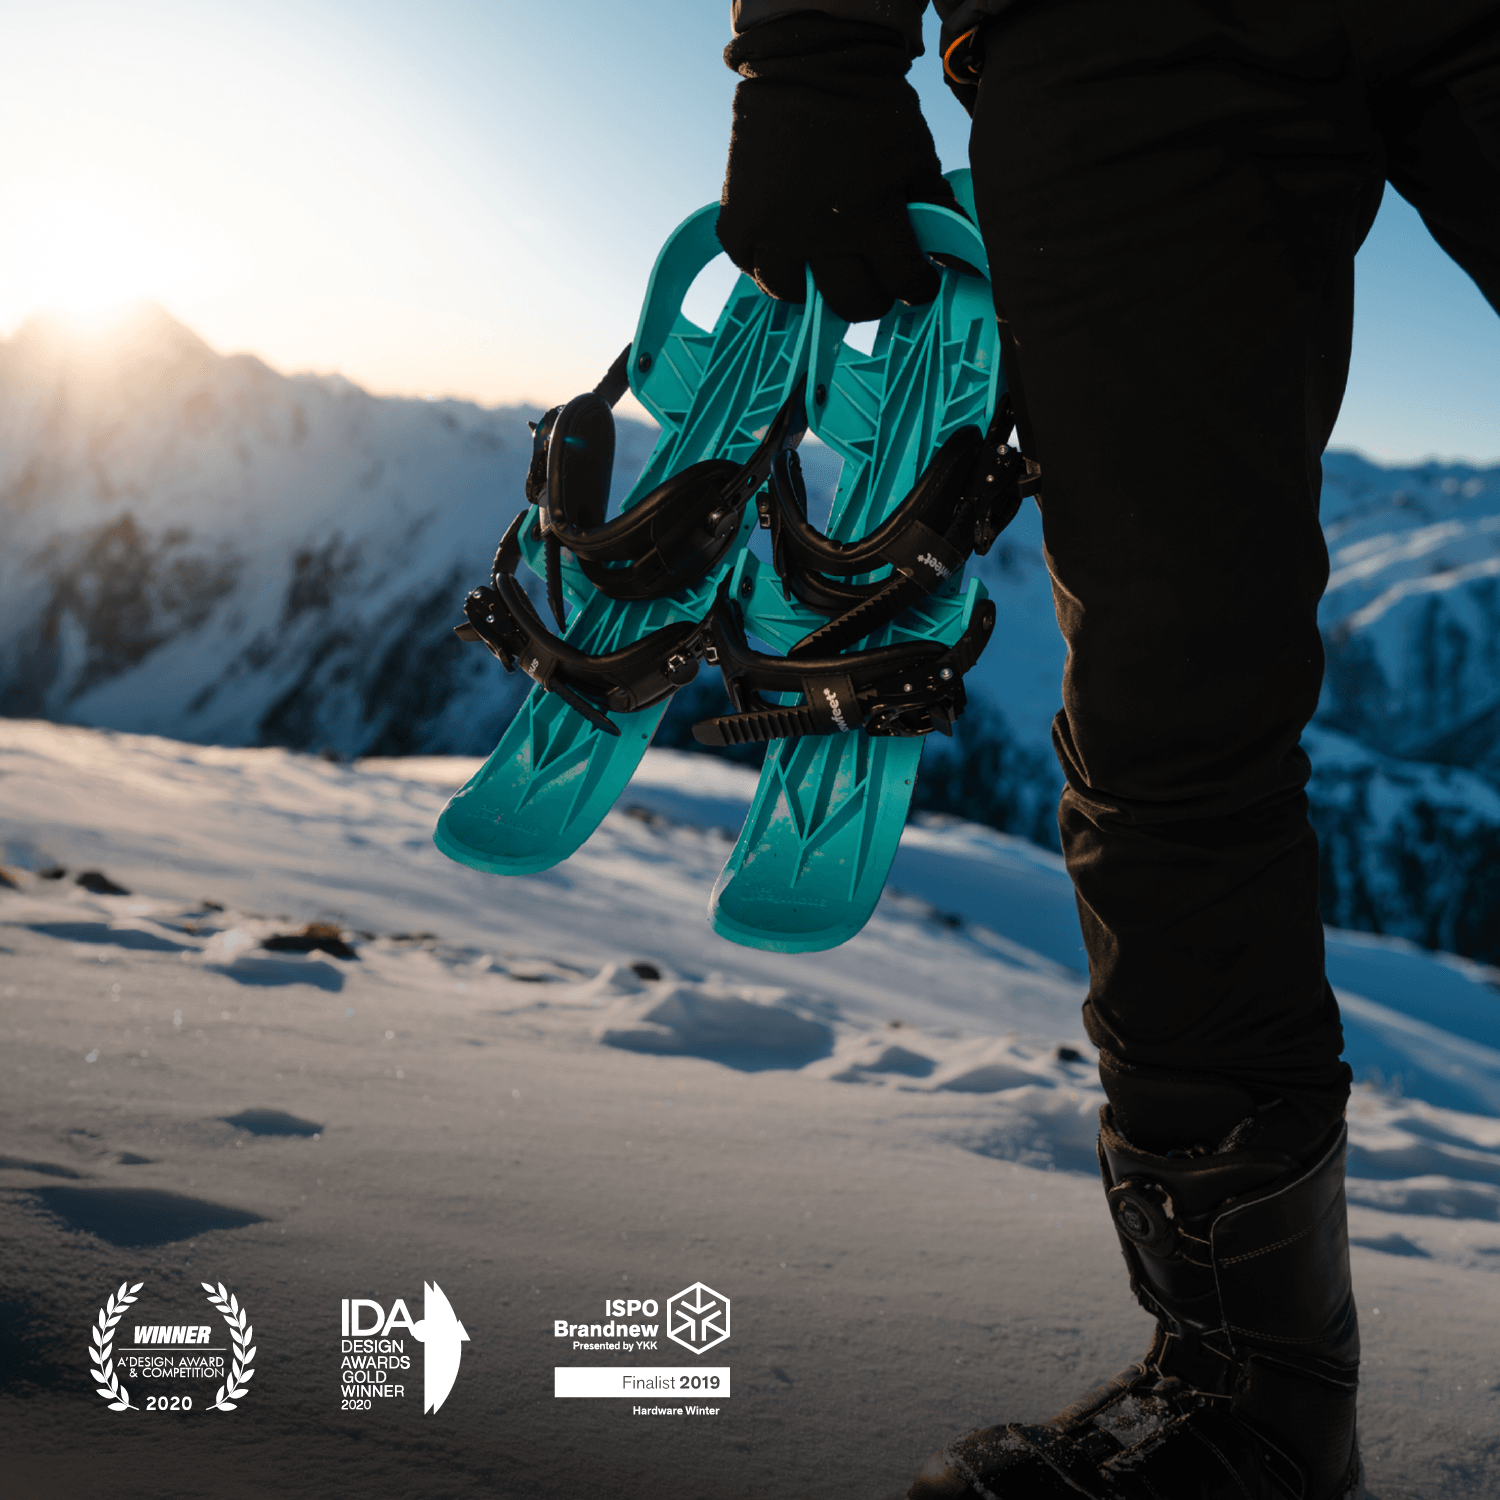
Carrying WALKSKI and Traveling Uphill
WALKSKI’s short length makes kick turns easier on narrow skin tracks and tight switchbacks. But shorter doesn’t always mean easier uphill. Total setup weight, boot mobility, climbing skin grip, and technique still matter.
Skins supply the grip. Risers mainly ease calf strain; they don’t add sidehill grip. Shorter skis also help keep the tips from getting in each other’s way, though steep or narrow terrain still calls for practiced foot placement.
Choosing Terrain and Controlling Descents
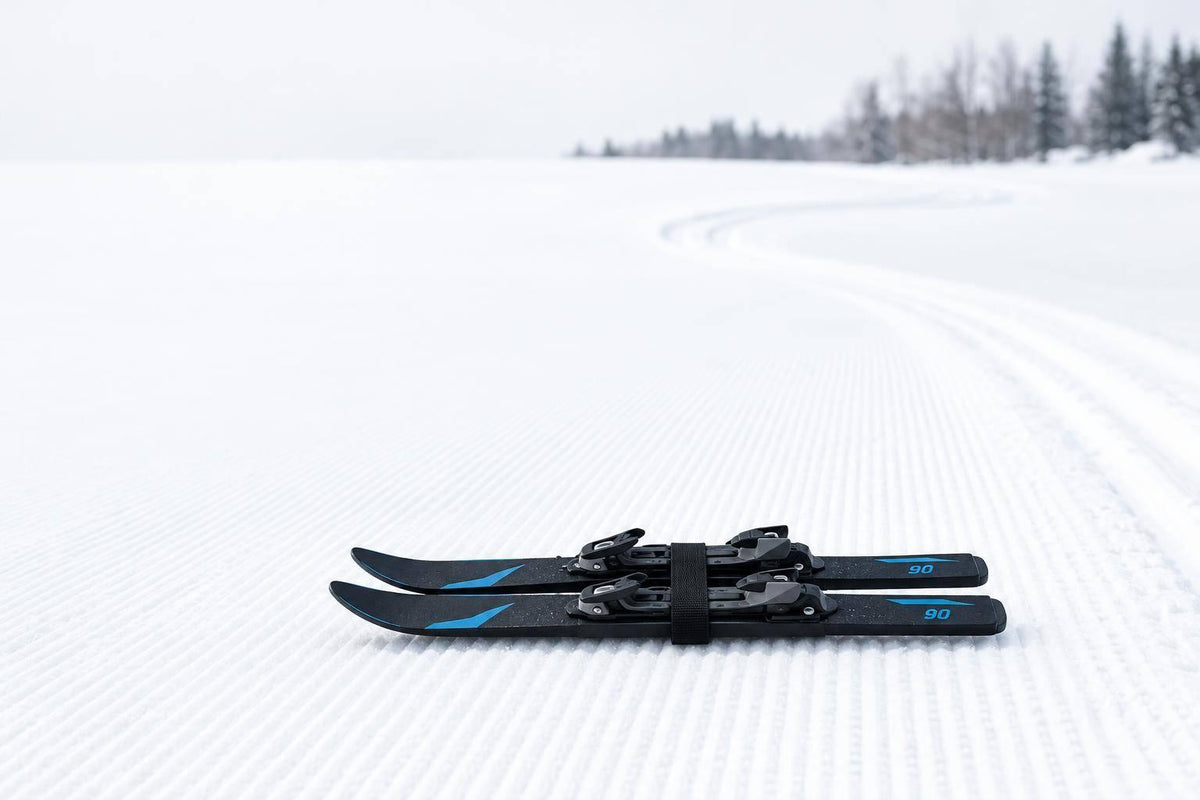
WALKSKI suits trails, firm, packed snow, and mellow backcountry terrain. That includes short hut approaches and low-angle descents where control at low speeds matters more than speed. Before heading downhill, lower the risers and lock the heels into Ski mode. Turning and stopping still depend on boot support, binding fit, snow conditions, and rider skill - not ski length alone.
Deep snow shows the shorter ski’s flotation limits. Longer touring skis remain the better pick for very deep powder. WALKSKI shines on narrow forest trails and in trees, where its short length makes pivots easier. Longer touring skis tend to feel steadier at speed and offer better edge hold on firm snow and ice.
The table below puts those trade-offs side by side.
WALKSKI vs. Longer Touring Skis
| Factor | WALKSKI 100 cm | Longer touring skis | Best choice when |
|---|---|---|---|
| Carrying | Compact for backpack carry | Bulkier around branches and obstacles | Transport and hiking transitions matter most |
| Kick turns | Short tips and tails need less clearance | Clearing the tail takes more technique and leg lift | Navigating narrow switchbacks |
| Movement in trees | Quick pivots in tight spaces | Longer tips and tails need more room | Skiing narrow forest trails or glades |
| Flotation | Less surface area in deep powder | Better flotation in deep, light snow | Skiing very deep powder |
| High-speed stability | Best at low to moderate speeds | Generally steadier at speed | Taking open descents or skiing faster |
| Technical descents | Low-speed control and quick pivots | Better suited to aggressive carving and edge hold on ice | Weighing agility against support on demanding descents |
This comparison covers length-related trade-offs; setup details still matter.
Next, match the setup to your boots, skins, and bindings before you head out.
Boots, Skins, and Touring Gear
Before ordering, confirm the exact WALKSKI 100 cm package and what’s included. Then choose boots, skins, and carry gear to match.
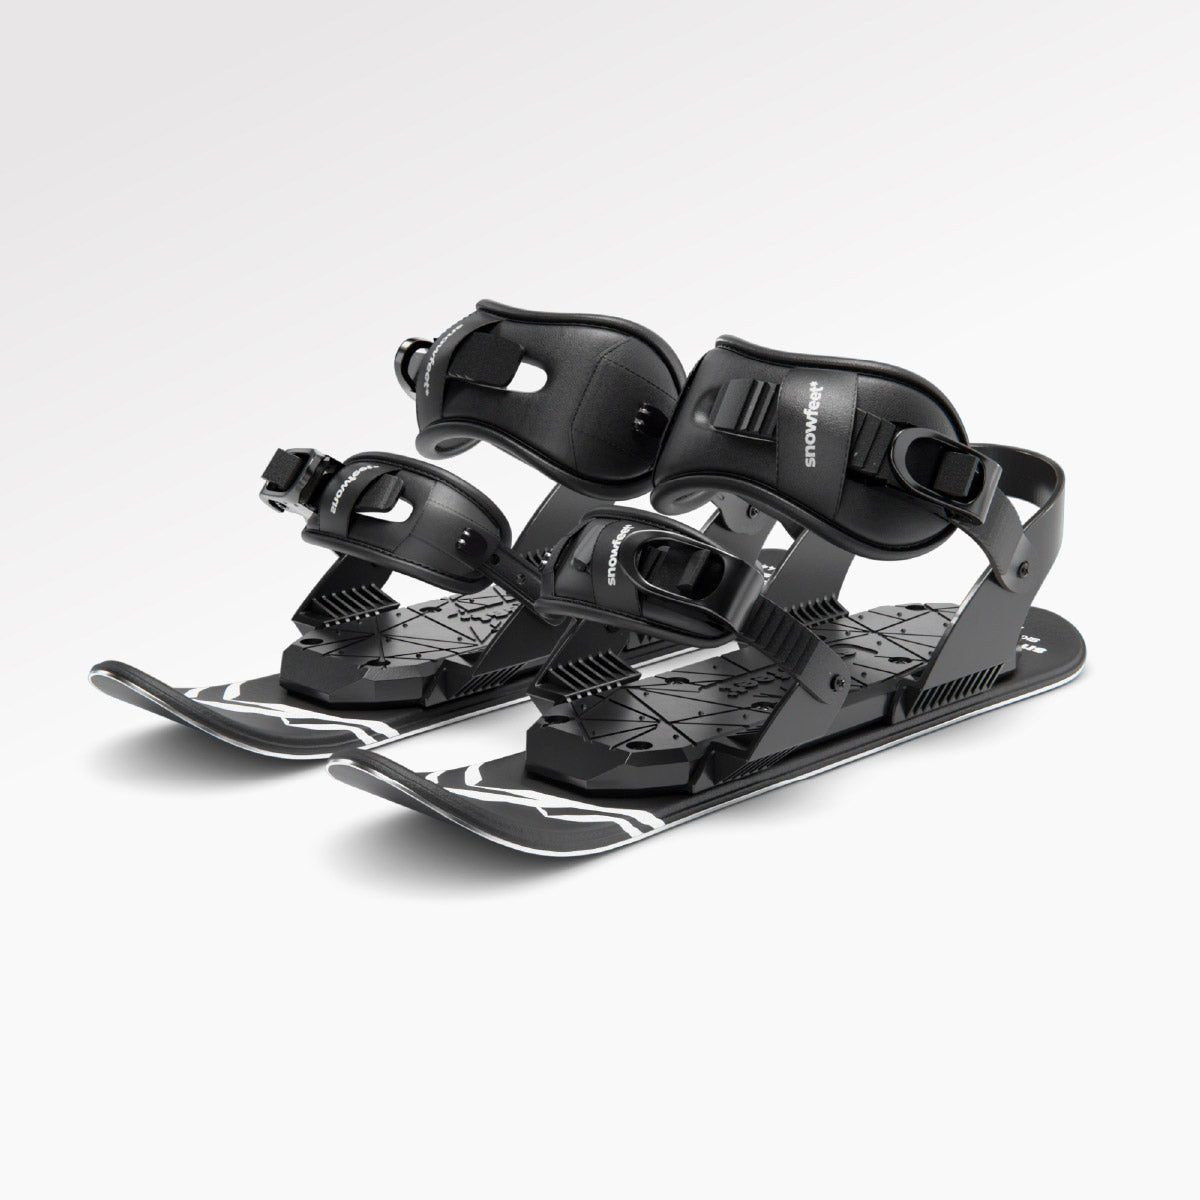
Check Boot and Binding Fit
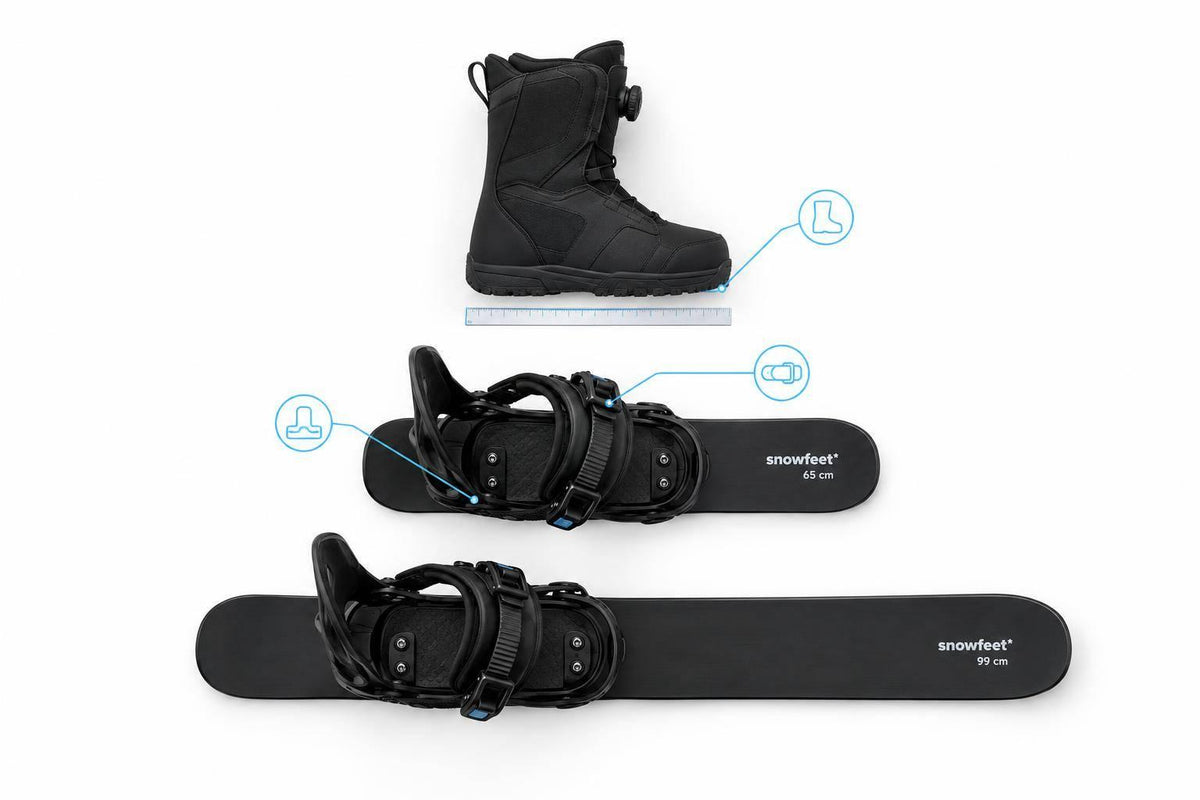
Once you know where WALKSKI fits best, check that your boots and binding work together. Official boot size ranges are:
- Ski boots: US 4.5–14.5 (EU 36–49; MP 22.5–32.5)
- Snowboard boots: US 6–14.5 (EU 38–49)
- Winter/hiking boots: US 6–14.5 (EU 38–49)
Shoe size alone does not guarantee fit. Before touring, confirm your boot model, sole shape, and the binding’s adjustment range.
Fit Skins and Practice Transitions
The skins attach with adhesive and tip and tail clips. Before your tour, practice free-heel climbing, riser changes, skin removal, and heel-locking on controlled terrain. Follow the model’s instructions when storing your skins.
Pack Your Touring Kit
Pack adjustable ski poles, a backpack with ski-carry straps, and a beacon, probe, and shovel. Check the forecast and your rescue gear before heading out.
sbb-itb-17ade95
Avalanche Awareness and Trip Planning
WALKSKI’s compact handling helps you move - it doesn’t protect you from avalanches. Even a gentle trail can cross a runout or pass below a steep start zone. Assess the whole avalanche path, including connected slopes and hazards overhead, not just the snow under your skis. Gullies, creek beds, and depressions can trap debris and deepen burials. Route choice matters just as much with a compact setup.
Check Forecasts and Set Turnaround Limits
Use the forecast to decide whether your route should stay on the plan. Compare your local U.S. avalanche center’s listed avalanche problems, likelihood, and expected size with your route’s slope angle, aspect, elevation, and overhead exposure. Check snowfall, wind loading, and temperature trends, too. Favor routes outside avalanche paths. Trees and low-angle terrain don’t guarantee safety. If you’re unsure about exposure, choose another route.
Set a firm turnaround time based on the slowest person and available daylight. Leave your route, planned return time, and emergency plan with a trusted contact. Agree on how you’ll communicate if the group gets separated. Turn back if visibility worsens, wind adds new snow loads, temperatures climb fast, or you spot signs of unstable snow. Equipment failure, a slower pace than planned, or too little daylight left also mean it’s time to head back.
Carry Rescue Gear and Practice Using It
Each person must carry working avalanche rescue gear. It improves rescue odds; it doesn’t prevent burial. Wear your transceiver on your body as instructed and complete a group transmit check. Get formal avalanche education, and practice searching, probing, and shoveling with a capable partner. If you can’t avoid exposure, travel one at a time between safe locations. That’s no substitute for cautious route choice.
Before you leave, do one last trailhead check.
Check Gear Before Departure
Make sure WALKSKI bindings, heel locks, and straps are secure. Check transceiver batteries and function, too. A compact touring setup still calls for full preparation: bring navigation tools with a backup, insulation, a headlamp with spare power, food, water, first aid, emergency shelter, communication equipment, and repair supplies. Practice transitions and companion rescue before touring, and keep the route within the least-experienced person’s limits.
Conclusion: Is WALKSKI Right for Your Outings?
After weighing ease of carrying, climbing, and downhill control, your choice comes down to route length and terrain. Snowfeet* WALKSKI suits casual backcountry outings with short approaches, tight turns, and frequent switches between skiing and hiking.
Check that the universal binding fits your boots, practice the touring modes before heading out, and stick to terrain and snow conditions that match your skill level. Choose WALKSKI for easy carrying and tight turns on short, low-speed outings. Go with longer touring skis for deep powder, long traverses, and faster descents on open slopes.
FAQs
How can I test my boots’ fit in WALKSKI bindings?
Check that your boots have flat, firm soles and let your ankles flex comfortably. Step into the bindings, choose Walk or Climb mode to free your heel, and snug up the straps.
Keep your heel flat and take a few steps on level snow. If your heel lifts too much, tighten the ankle strap or shift your boot forward in the binding. Before heading uphill, check that your boots don’t wobble from side to side.
How does my weight affect WALKSKI’s powder performance?
Heavier riders may find that the 100 cm (about 39-inch) WALKSKI sinks more easily in deep, fluffy powder. It has less flotation than longer touring skis and is designed to handle up to 4 inches of powder well. The trade-off? Easy turns and less effort uphill, rather than staying on top of deep snow.
For most casual outings, its quick response and ease of use make it a better choice that’s less tiring to ski.
How can I check my route for avalanche exposure?
Stay aware of the terrain and choose your route with care. Avoid slopes steeper than 30 degrees, gullies, creek beds, and steep sidehills where your uphill ski could slide out. Favor ridgelines and gentle, forested slopes that break up exposure to steep terrain into short sections you can handle.
Before you head out, pack an avalanche beacon, probe, and shovel - and make sure you know how to use each one.


اترك تعليقًا
This site is protected by hCaptcha and the hCaptcha Privacy Policy and Terms of Service apply.