
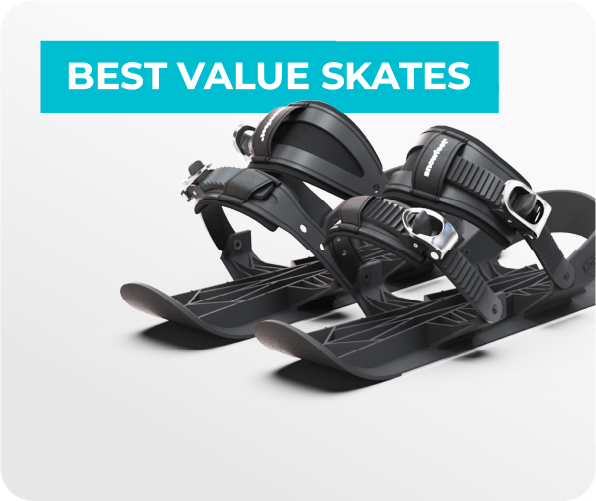
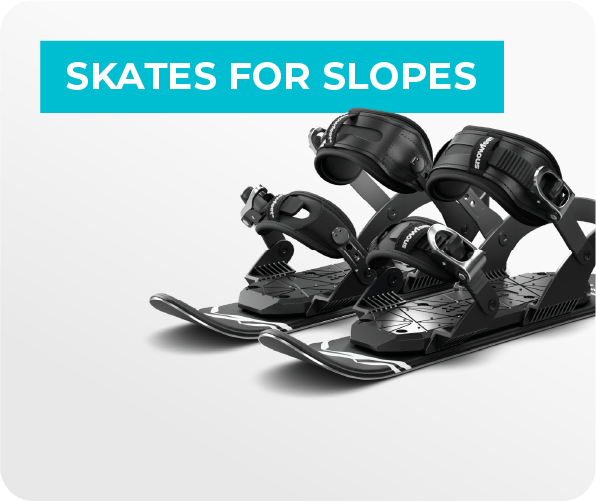
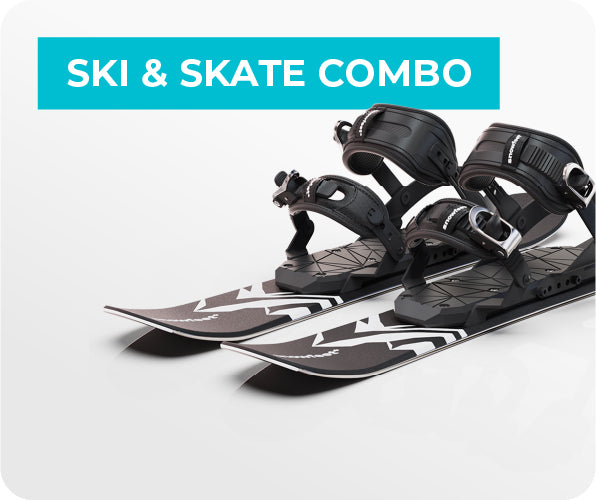
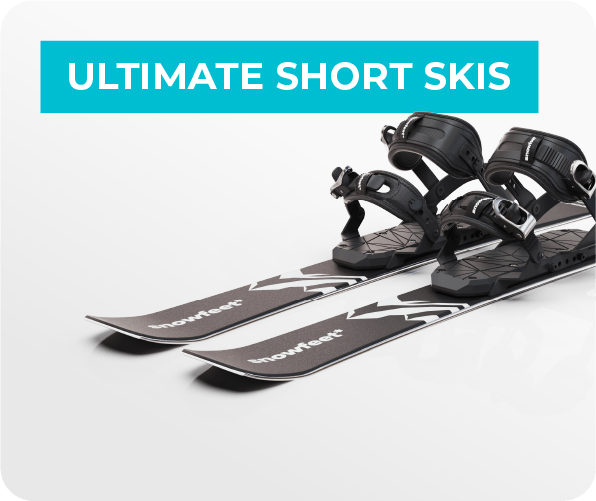
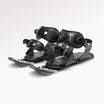
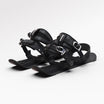
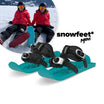
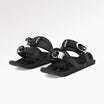
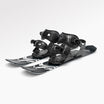
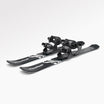
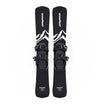
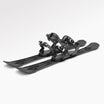
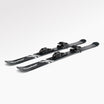
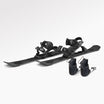
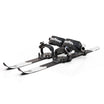
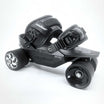
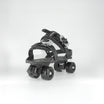
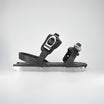
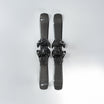
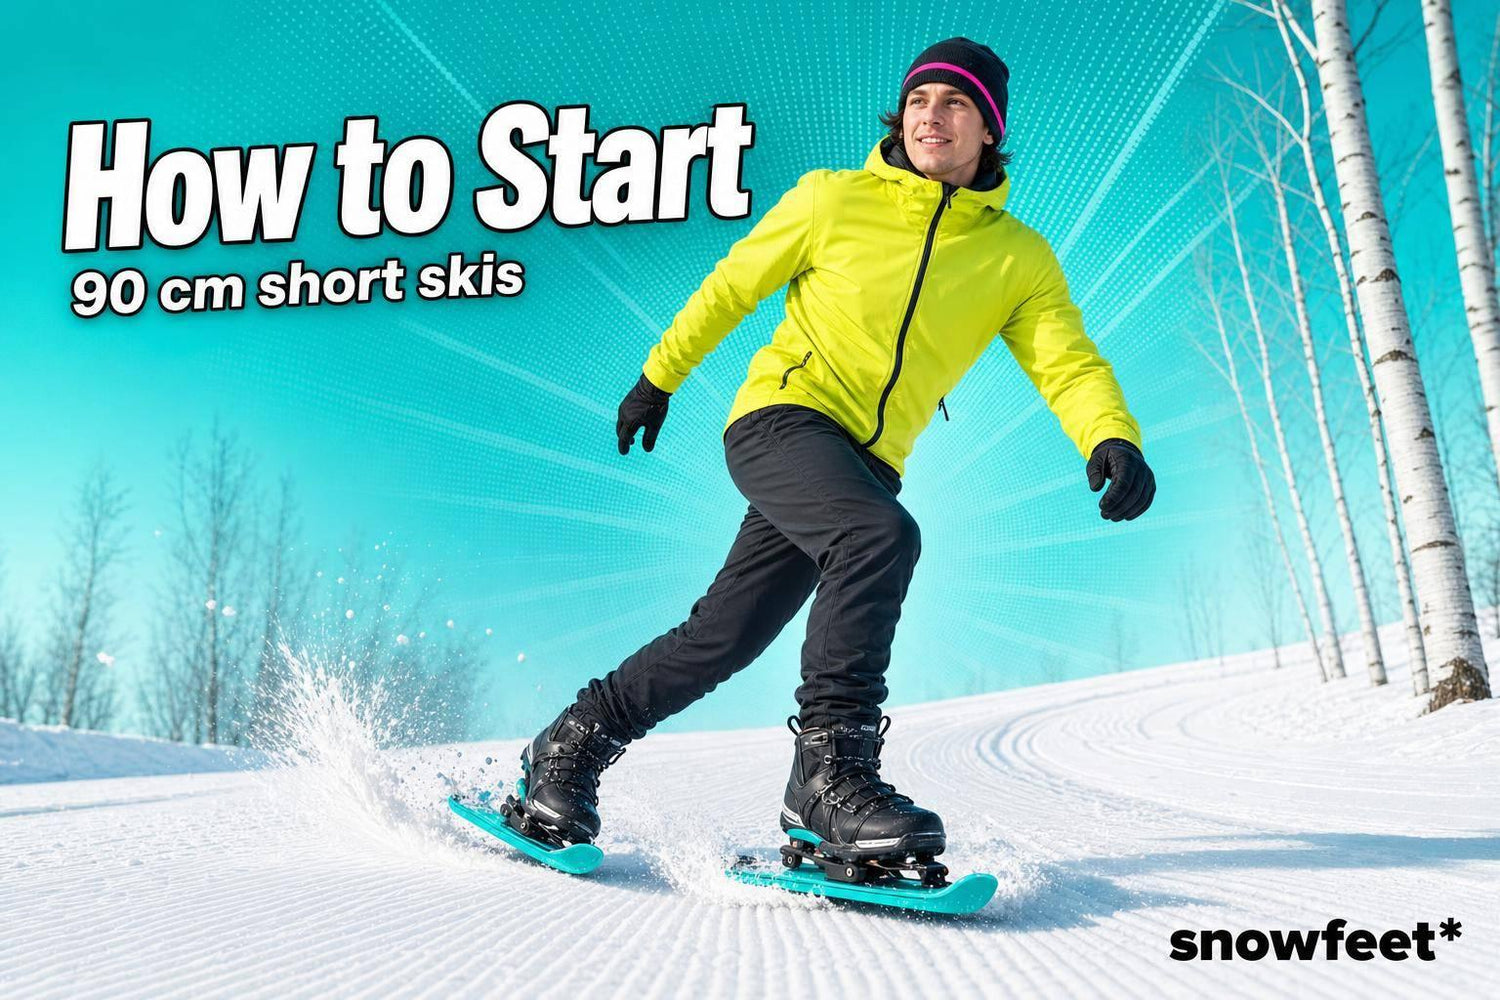
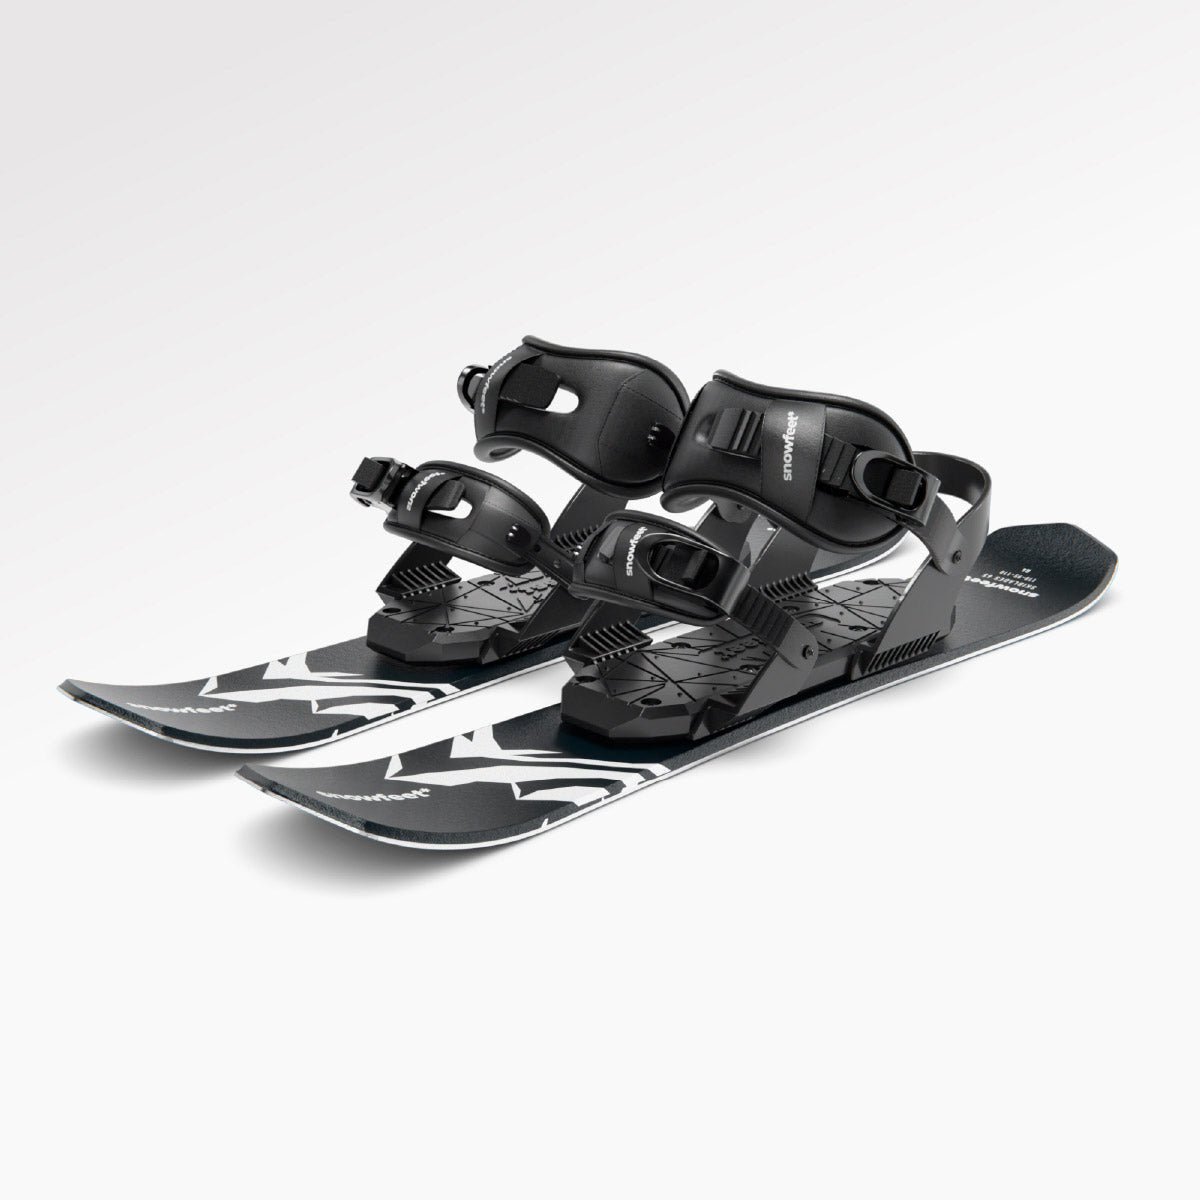
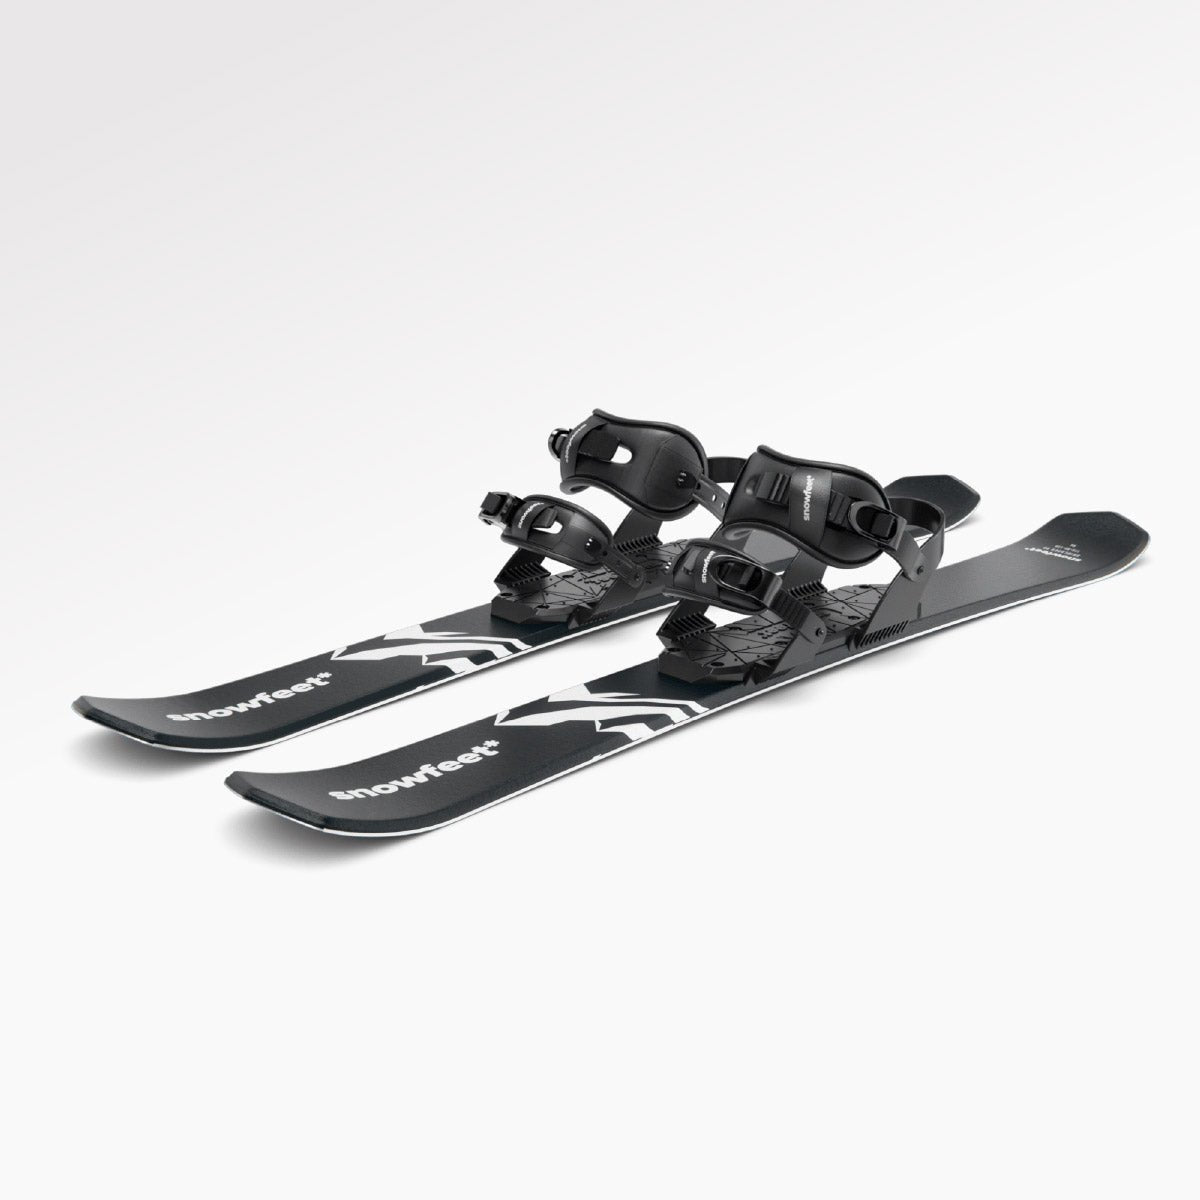
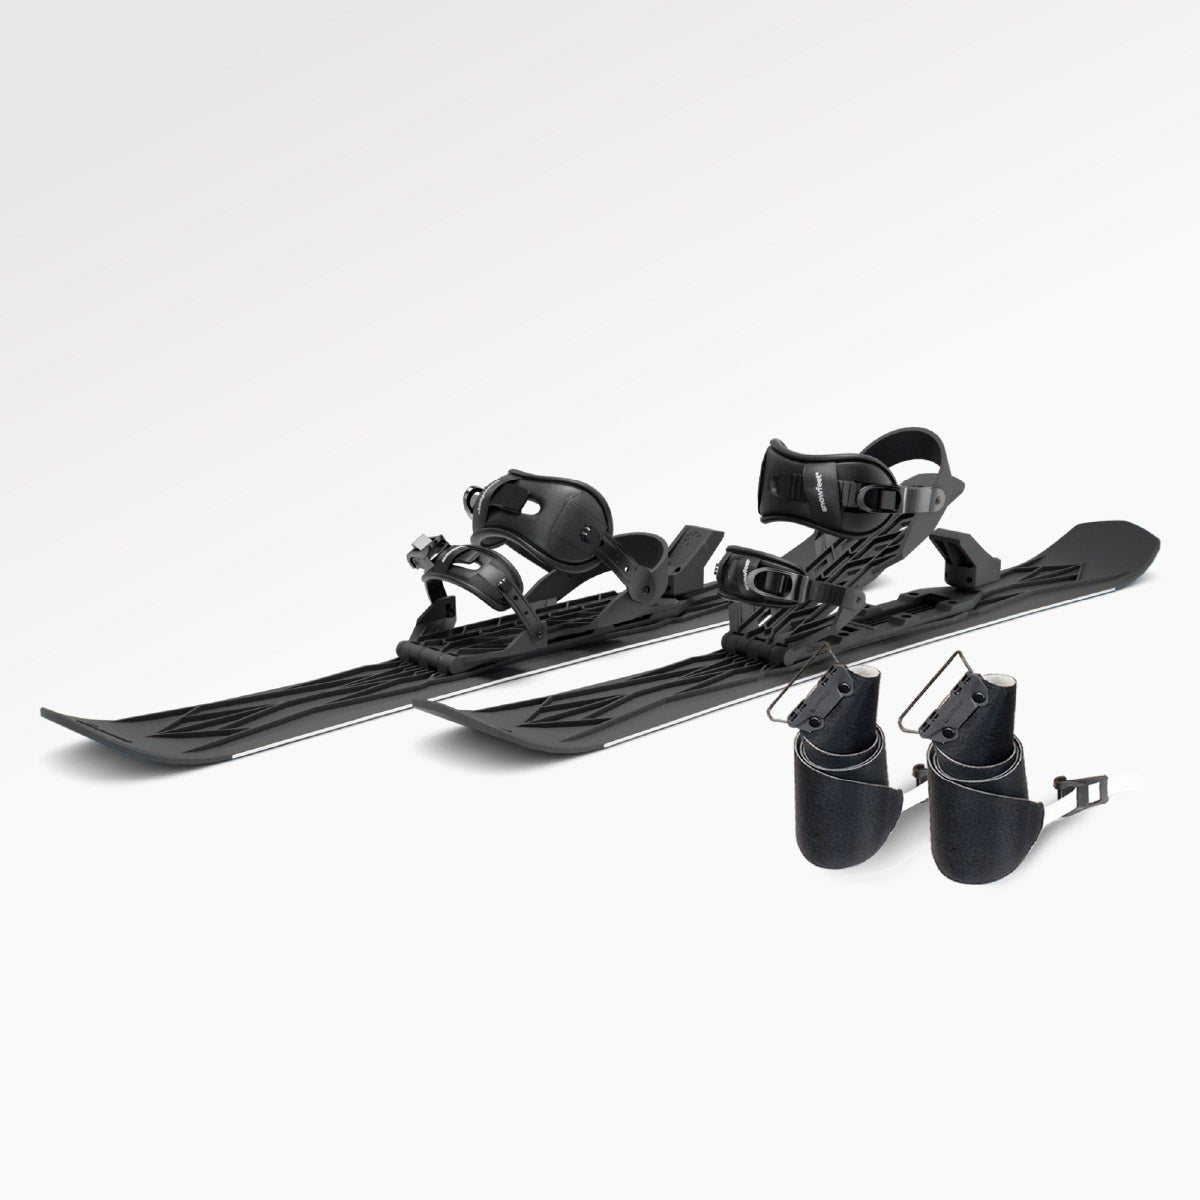
Want the short version? If you’re new to cross-country skating, Snowfeet* NORDIC 90 cm gives you a simpler first step: shorter skis, regular winter boots on some setups, and more control at low speed.
Here’s what I’d want you to know right away:
- Length: 90 cm (35 in), which is much shorter than full skate skis
- Price: starts at $450
- Boots: universal binding fits many U.S. sizes 6–13, or you can pick an NNN setup
- Best snow: flat, packed, groomed snow
- Best first move: skip poles and learn balance first
- Main trade-off: less glide on long flat sections, more control for day one
So, if your goal is easy first sessions, not long-distance speed, this setup makes a lot of sense. I’d keep it simple: wear light layers, start on flat snow, practice weight shift from ski to ski, then work on a small V-shaped skate motion. And yeah, keep your first stop slow and boring. Boring is good when snow is involved :)
A few fast facts from the article:
- Skate poles, if you use them later, are about 90% of your height
- Glide wax for 10–24°F snow can help the skis feel smoother
- Rewax about every 2–4 outings
- The short length helps with turns, storage, and car travel
Quick comparison
| Point | Snowfeet* NORDIC 90 cm | Full-length skate skis |
|---|---|---|
| Learning curve | Easier for most beginners | Harder at first |
| Turning | Easier in tight spots | Needs more room |
| Glide | Shorter glide | Better for distance |
| Storage | Fits in small spaces | Takes more room |
| Boots | Can work with winter shoes | Usually needs XC boots |
If I had to sum it up in one line: this is a good pick for beginners, families, and travelers who want to get on snow without turning it into a whole project.
For a visual start, these YouTube searches can help:
Now let’s get into the basics in plain English.
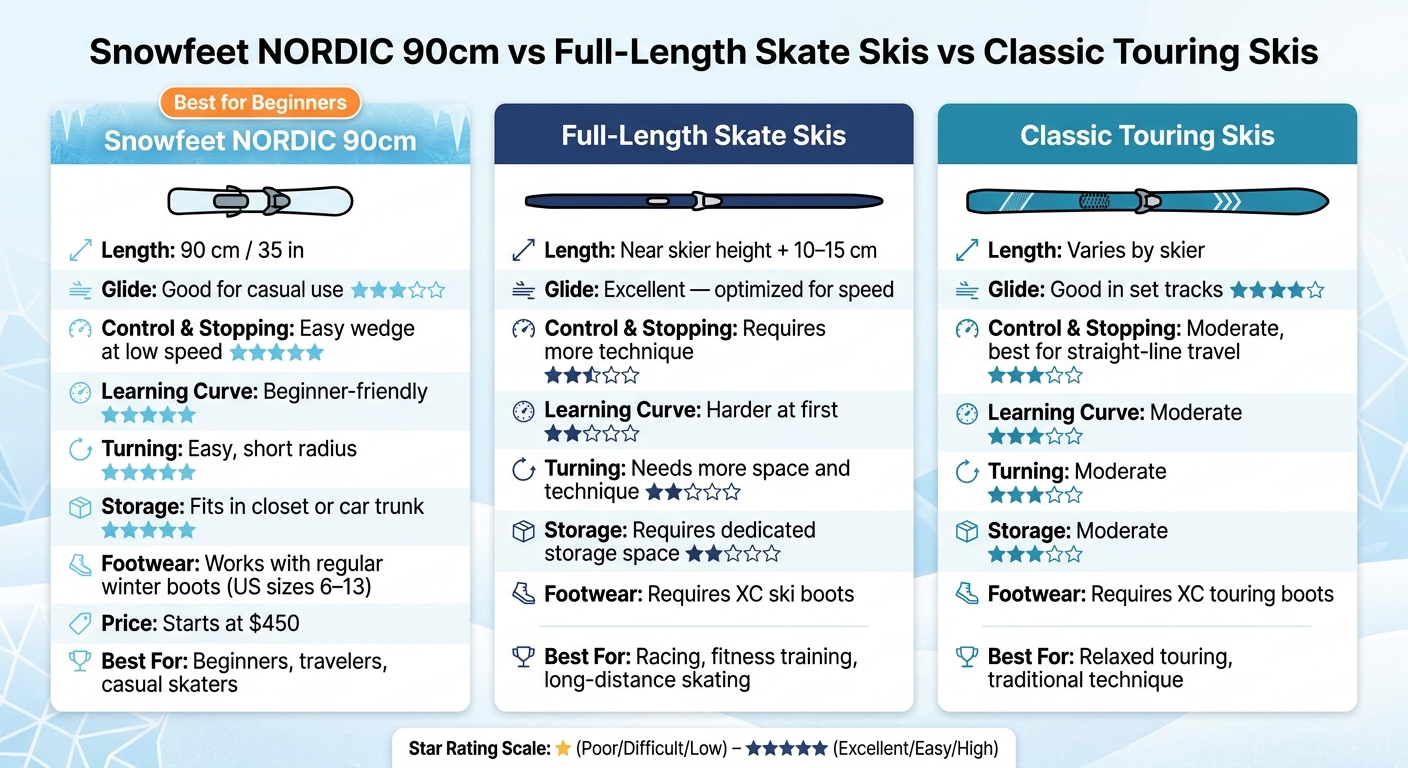
Snowfeet NORDIC 90cm vs Full-Length Skate Skis vs Classic Touring Skis
What You Need To Know About Snowfeet* NORDIC 90 cm Before You Start
How Short Nordic Skis Compare to Full-Length Skate Skis
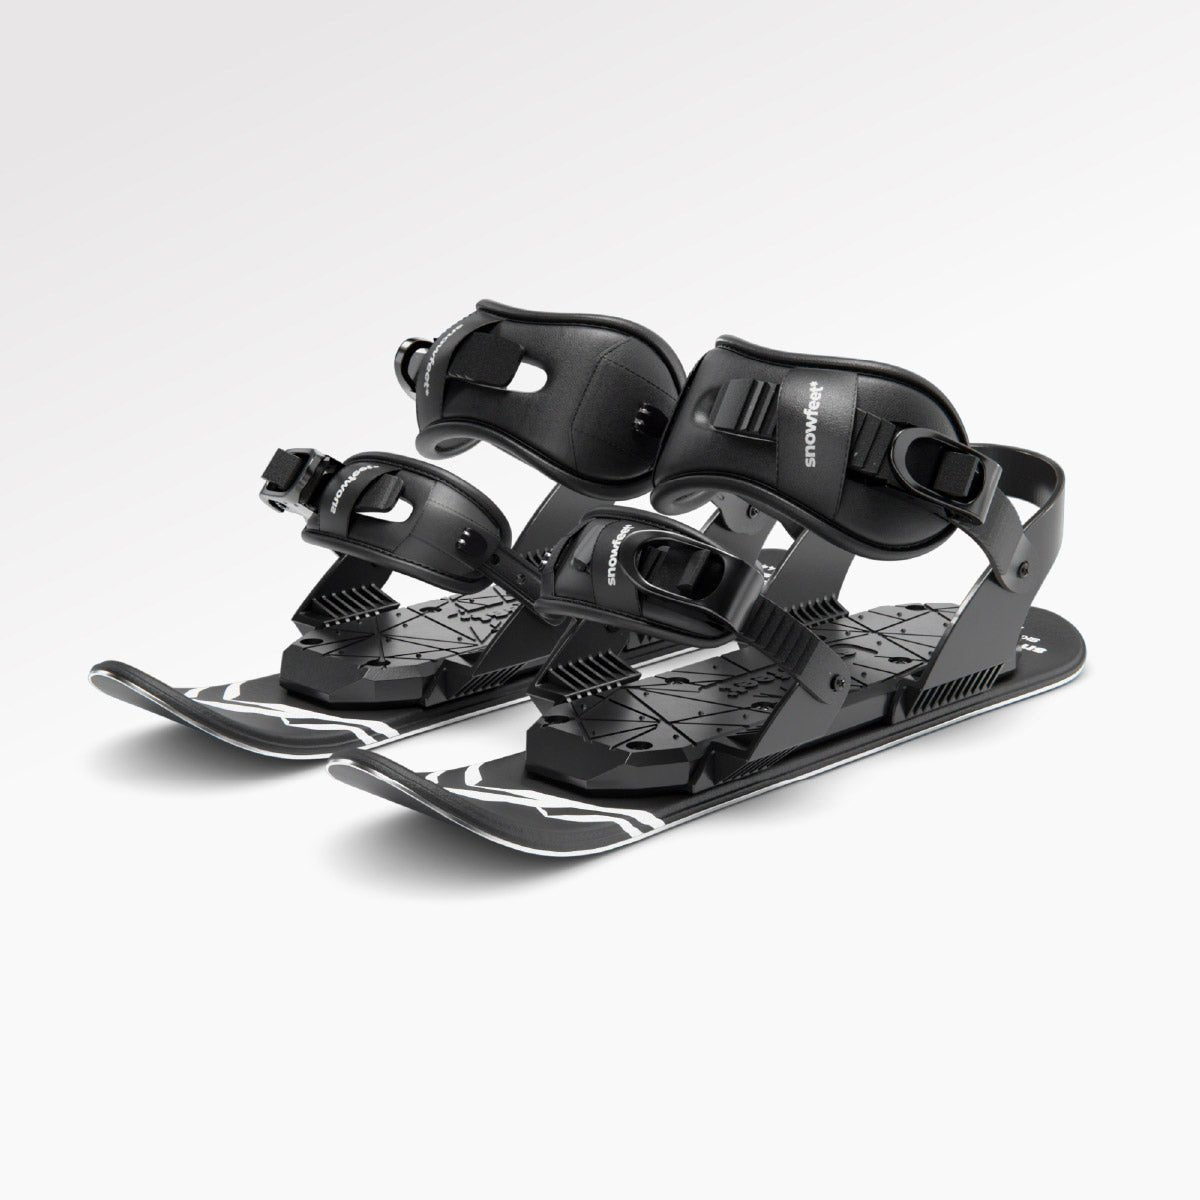
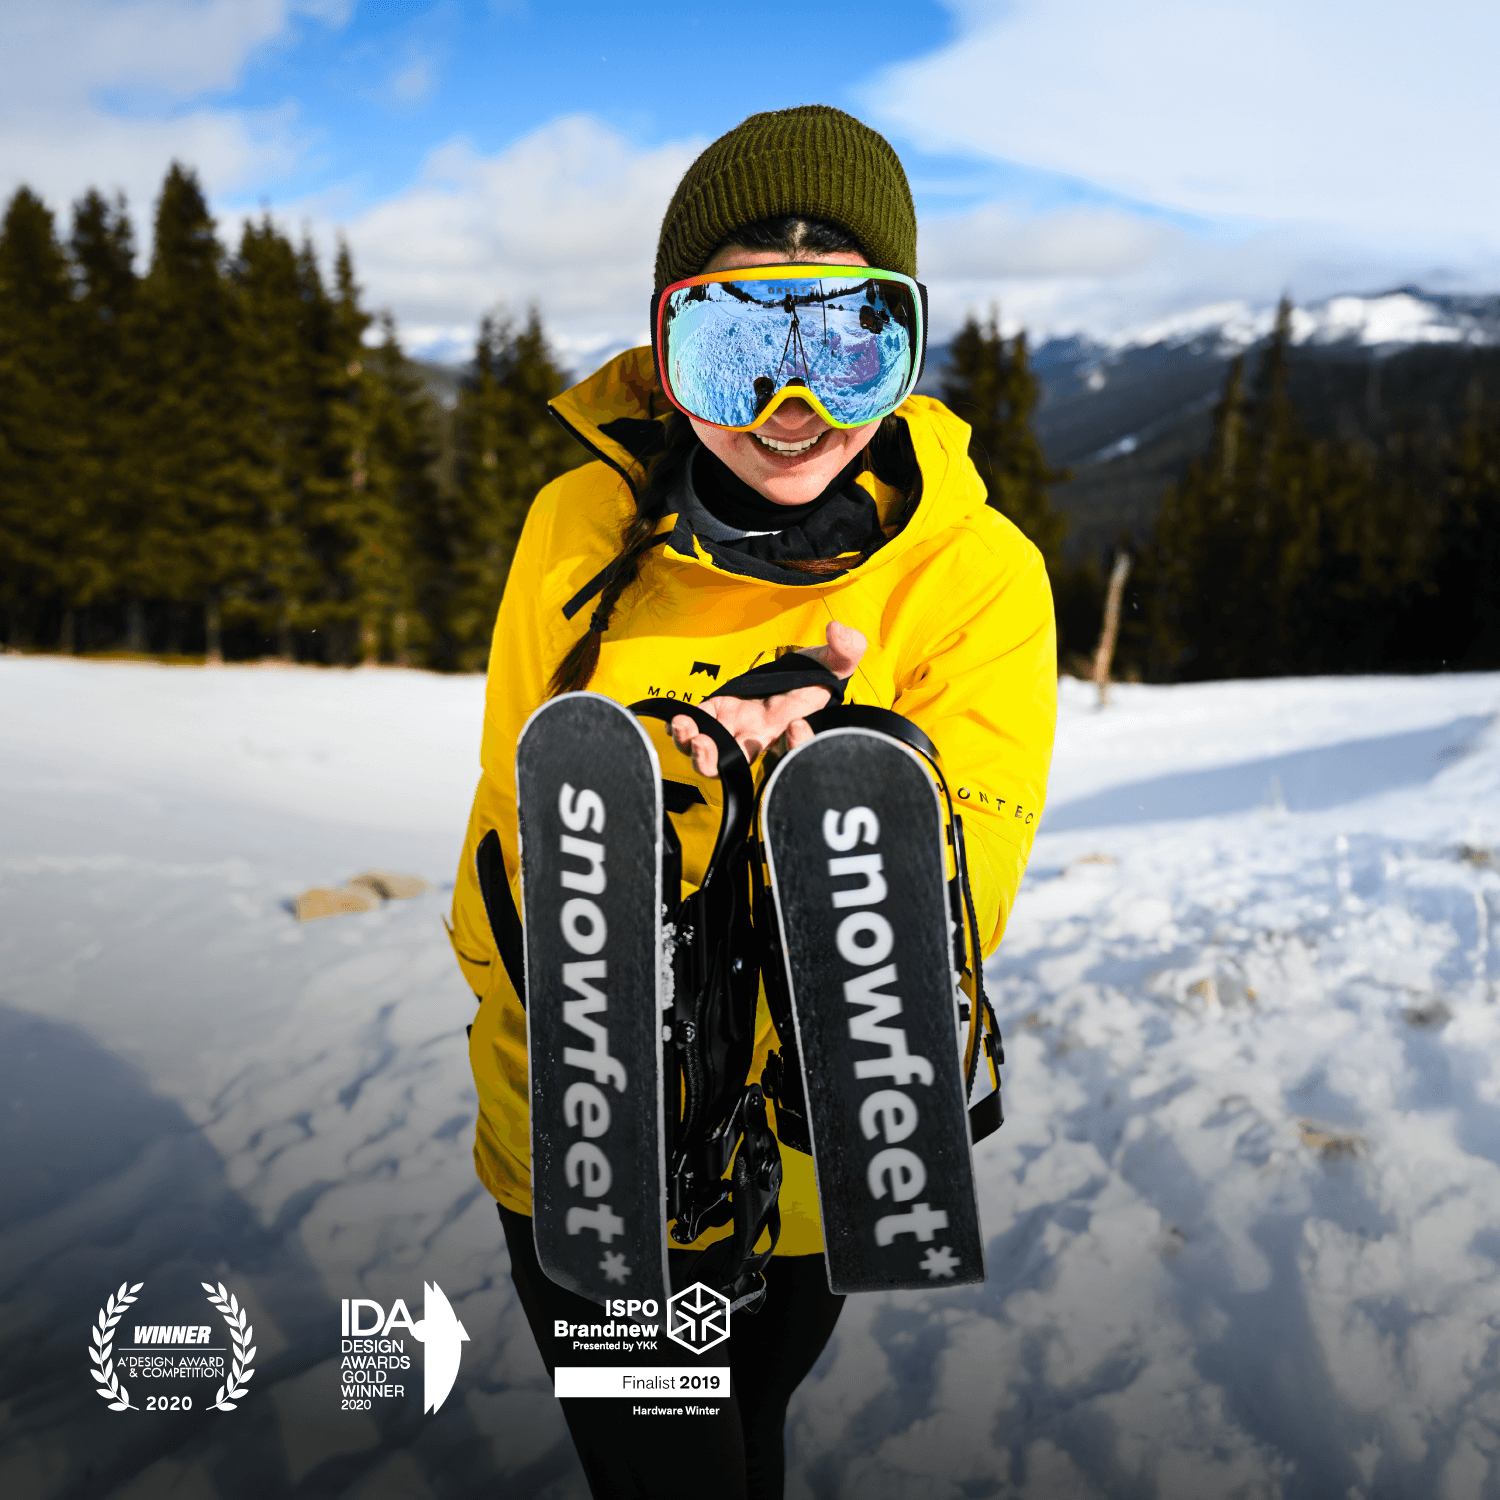
Standard skate skis are usually sized close to your height. Snowfeet* NORDIC is just 90 cm, or about 35 in, which is roughly half that length. That’s a big shift, and you feel it right away.
On snow, shorter skis turn faster and feel more like inline skates or ice skates than classic cross-country gear. You can step through tight corners, switch direction mid-stride, and fix small balance mistakes without dragging a long ski behind you. For day-one use, that makes Snowfeet* much easier to handle.
Full-length skate skis still have the edge in glide and distance. Their longer base keeps speed better on flat groomed trails and gives you more travel from each stride. If your goal is speed, training, or long miles, longer skis make more sense. If your goal is relaxed winter fun with less fuss, Snowfeet* NORDIC is often the better fit.
| Feature | Snowfeet* NORDIC 90 cm | Full-Length Skate Skis |
|---|---|---|
| Length | 90 cm / 35 in | Usually near skier height plus about 10–15 cm |
| Turning & maneuverability | Easy, short radius | Requires more space and technique |
| Glide per stride | Shorter, recreational | Longer, made for speed |
| Storage | Fits in a closet or car trunk | Needs more storage space |
| Footwear | Works with regular winter shoes | Usually requires XC ski boots |
| Best for | Casual skating, travel, beginners | Fitness training, racing, long distance |
Who Gets the Most Out of Snowfeet* NORDIC
Snowfeet* NORDIC works well for people who want simple, compact gear. Think apartment dwellers, winter travelers, and casual skaters who don’t want a full Nordic setup taking over the house.
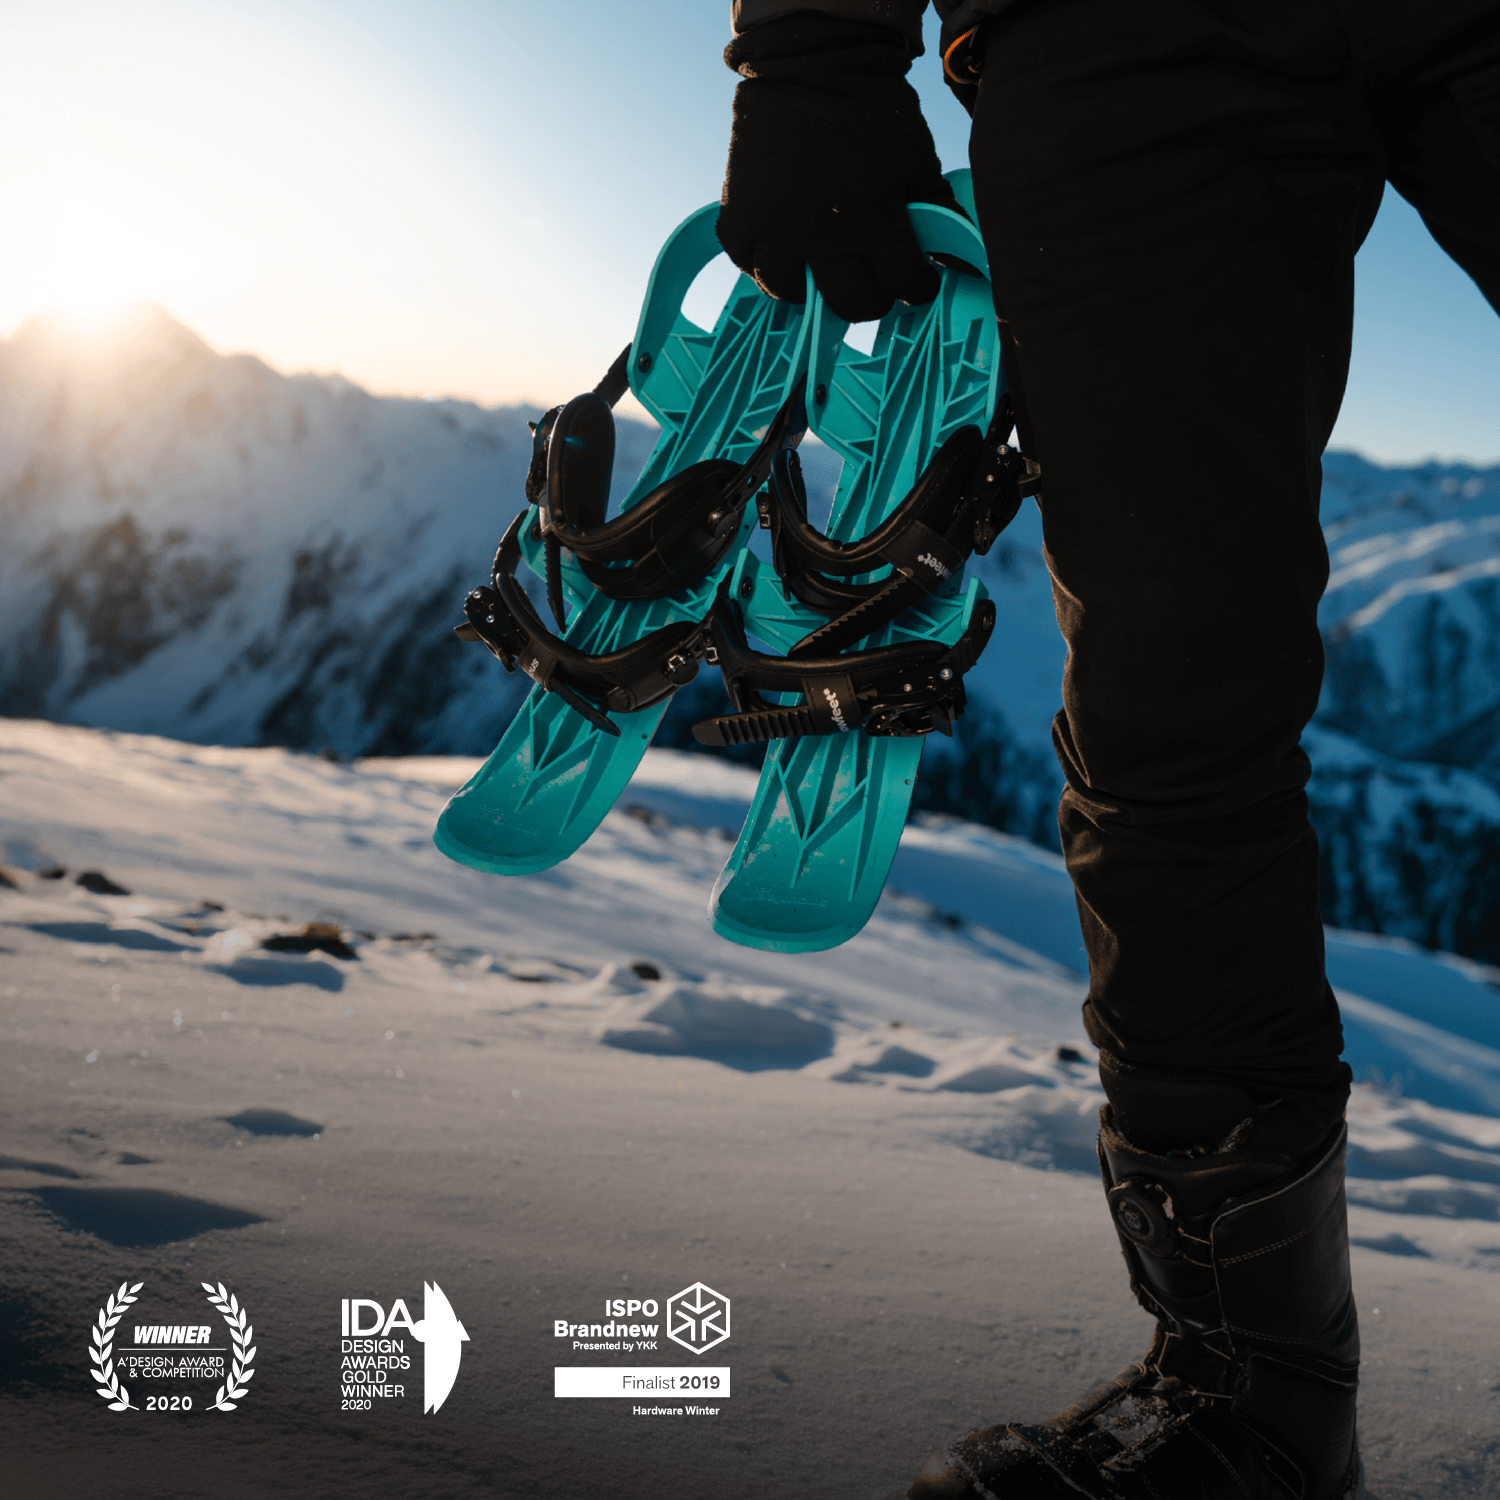
Storage is one of the biggest wins. These skis can fit in a closet, under a bed, or in the corner of a small studio. Toss them in a car trunk with your bags and go. No roof rack. No gear shuffle. No headache.
Another plus: they work with regular winter shoes in U.S. sizes 6–13. That cuts out the extra cost and hassle of buying XC boots. For a lot of people, that’s the difference between “maybe later” and “let’s go this weekend.”
Trade-Offs To Expect as a Beginner
There’s no magic trick here. You give up some glide and top-end speed on long flat sections. In return, you get more control, easier handling, and a setup that feels less intimidating.
For most beginners, that’s a good deal.
Shorter skis are easier to manage when your balance goes sideways. Drills feel less sketchy. The gear is lighter to carry too, which, let’s be honest, matters more than people admit when you’re walking from the parking lot in the cold.
Once you’re clear on that trade-off, you’re ready to pick the rest of the setup: boots, poles, and clothing.
Gear You Need and How To Set Up for Your First Session
Skis, Boots, Poles, and Clothing: What To Bring
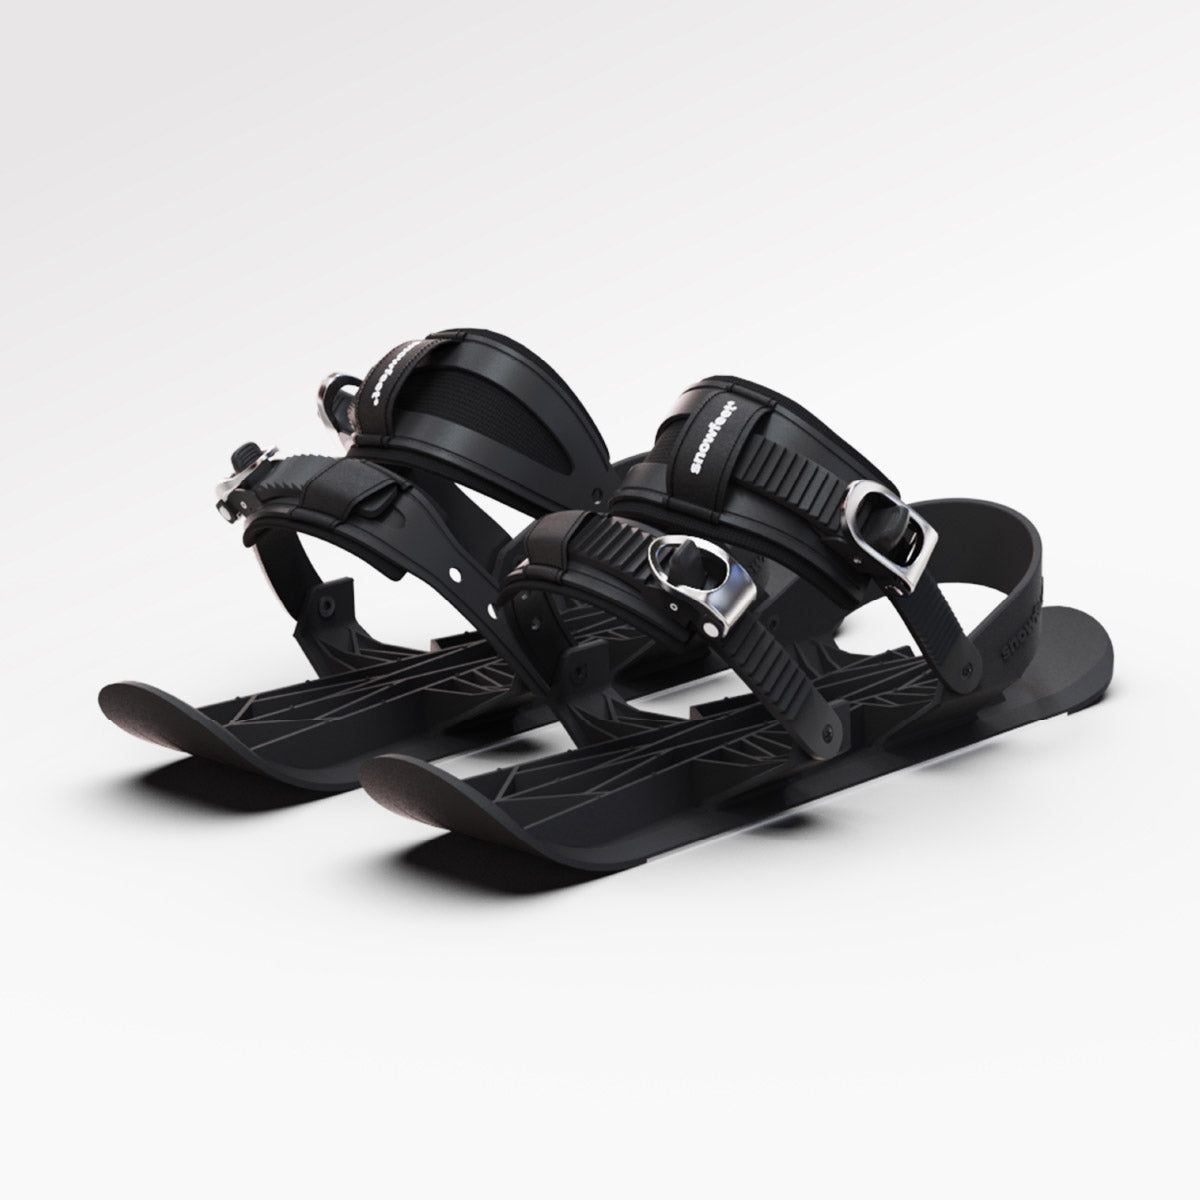
Snowfeet* NORDIC 90 cm starts at $450. You can get it with one of two binding setups: a universal binding that straps onto regular winter boots, or a Rottefella NNN version that needs matching XC ski boots. The universal binding fits most U.S. sizes 6–13.
For 15–30°F days, dress in simple layers:
- A moisture-wicking base layer
- A light fleece or thin insulated mid-layer
- A wind- and water-resistant shell
- Insulated gloves
- A hat or headband
- Non-cotton socks
Skip cotton. It holds moisture, and that gets cold fast.
For your first session, it’s smart to skip poles and just work on balance and weight transfer. That’s one less thing to think about. If you do want poles, skate-style cross-country poles are usually about 90% of your height. So for a 5'8" skier, that works out to about 155–160 cm.
With your gear picked out, the next move is to check the fit before you step outside.
How To Adjust Bindings and Check Your Fit
Before heading out, give everything a quick check. If you’re using the NNN version, make sure your boot sole matches the binding system. Check the maker markings on both parts. Then click into the binding and give the boot a gentle upward pull to make sure it’s locked in.
Your boot should sit flat on the ski, with the ball of your foot close to the ski’s balance point. Snowfeet* usually pre-sets this for you, which is nice. Once the boot is secured, stand on a flat indoor surface and shift your weight from side to side. Both skis should feel even and steady, with no side-to-side wobble.
If the boot twists with little effort, tighten the straps or closures until it stays in place. Don’t crank it down too much, though. You still want some ankle movement. A snug fit helps those first strides feel a lot less sketchy :)
Snowfeet* Accessories That Help With Glide and Upkeep
A few simple add-ons can make first outings smoother. Cold-weather glide wax made for 10–24°F (-12 to -4°C) snow helps cut drag on dry, cold snow, which is common in many parts of the U.S. during winter. Apply it, let it cool, scrape, and brush. Rewax every 2–4 outings, or any time the skis start to feel slow.
You can also get replacement straps, screws, and binding parts if something wears down. And a soft storage bag helps keep the bases clean between sessions.
Where To Go and How To Make Your First Skating Strides
Best Terrain and Snow Conditions for Day One
Once your boots and bindings feel locked in, head to the easiest snow you can find. A flat or gently rolling groomed trail is your best bet, like a beginner Nordic loop, a wide park path, or an open groomed field.
On day one, easy terrain matters even more. Short skis react fast, which is great once you get the feel for them. At first, though, that quick response can make rough terrain feel a bit twitchy.
Go for packed, slightly firm snow, and stay away from powder and ice. Packed snow helps the edges bite without sinking, so balance and push-off feel more steady. If the surface feels slick under your feet, skip it.
A few things to avoid on your first outing:
- Steep downhills
- Icy patches
- Narrow trails
Those spots can make 90 cm skis harder to handle before your body starts to learn the movement on its own.
With the snow sorted out, now it’s time to work on the thing that makes skating click: balancing on one ski.
Balance, Stance, and Weight Transfer: Where To Begin
Start by standing still on the skis. Keep a soft athletic stance: bend your knees and ankles, stack your hips over your feet, lean a little forward, and let your hands rest in front of you. Put a bit of weight toward the balls of your feet.
Then shift your full weight onto your left ski and hold it for a second or two. After that, move to your right ski and do the same. No gliding yet. You’re just getting used to what solid balance feels like on one ski at a time.
When that starts to feel less wobbly, lift the ski that isn’t carrying your weight just a little off the snow, then switch sides. These small drills help build the single-leg balance that V-skating needs.
It may feel almost too simple. That’s fine. Simple is good here. You’re teaching your body the pattern before speed gets involved.
Once that one-ski balance feels steady, move into the basic push-and-glide.
How To Do the Basic V-Skate Without Poles
Start with your skis in a small V shape, with the tips angled out and the tails a bit closer together. Gently roll your feet inward so the inside edges grab the snow. Then do this: push off the inside edge of one ski, shift your full weight onto the other ski, and glide. Bring the pushing ski back into the V, then repeat on the other side.
The rhythm is push-glide-recover. Keep it short and controlled. Think small steps, not giant lunges. Big moves usually lead to messy ones.
A few cues help a lot here:
- Keep the movement compact
- Don’t cross your ski tails
- Place each ski forward with control
- Learn the leg motion first and save poles for later
The 90 cm length helps here. It makes quick fixes easier and bad reps less punishing. So when a glide feels awkward - and yeah, some of them will - you can reset fast and try again without much drama.
sbb-itb-17ade95
How To Control Speed, Stop Safely, and Decide if Snowfeet* Is Right for You
How To Slow Down and Stop on Short Nordic Skis
Once you can glide, the next job is simple: control your speed.
Start small. Use shorter strides and lighter pushes. On flat, packed snow, that keeps things calm and easy to handle. A steady stance and soft weight shifts help too. No need to go full rocket mode on day one :)
If you need to slow down with more control, make gentle step turns across your path instead of trying to stop all at once. When you angle across the way you're moving, you scrub off speed little by little. It feels smoother, and for most beginners, it feels less scary too. Practice on flat, open snow first. Give yourself space, and stay away from traffic, trees, and steep slopes.
For a full stop at low speed, use a basic wedge. Point your ski tips slightly inward, press the inside edges into the snow, and let friction handle the rest. Shorter skis make this move easier to learn, but keep it slow and stick to flat snow at first. Bend your knees a bit and keep your weight centered. That way, if one ski slips, you’ve got a better shot at staying upright.
That trade-off is a big reason Snowfeet NORDIC feels easier for beginners* than longer skis.
Snowfeet* NORDIC vs Traditional Cross-Country Skis: Side-by-Side
If you're still on the fence, this quick comparison shows where Snowfeet NORDIC* fits.
| Feature | Snowfeet* NORDIC 90 cm | Full-Length Skate Skis | Classic Touring Skis |
|---|---|---|---|
| Glide | Good for casual use | Excellent - optimized for speed and distance | Good in set tracks |
| Stopping and control | Easier to wedge and correct at low speed | Requires more technique to control | Moderate - best for straight-line travel |
| Best use case | Casual riders, beginners, travelers | Racing, fitness, long-distance skating | Relaxed touring and traditional technique |
Long skis do win on glide and stability at higher speeds. That matters if you're training for distance or racing.
But for most recreational riders, the picture looks different. If you want something lighter, easier to carry, and less intimidating, Snowfeet NORDIC is the more practical place to start*.
Conclusion: The Straightforward Way To Start Cross-Country Skating
If you can balance, glide, and stop on flat snow, you’ve got the basics down. From there, keep it simple: find flat packed snow, practice the V-skate with short, controlled strides, and add poles once the leg motion feels natural.
_Snowfeet NORDIC 90 cm gives beginners and travelers a faster path to that point than traditional skis do._*
This Nordic Ski Can Be Attached to Any Winter Shoes | Snowfeet Cross-country Skate Skis | 90 cm
FAQs
How long does it take to feel comfortable on Snowfeet* NORDIC?
Most people get comfortable on Snowfeet NORDIC in just one day*. The short 90 cm length and low center of gravity make a big difference, so a lot of people can pick up the basics of turning and stopping in about 5 minutes.
That’s a lot faster than traditional cross-country skis, which often take weeks or even months before people feel that same level of ease. If you’ve done ice skating or inline skating, it may feel even more natural.
Can I use Snowfeet* NORDIC on ungroomed or slightly rough snow?
Yes. Snowfeet* NORDIC works on ungroomed, slightly rough snow, including groomed Nordic tracks and light backcountry conditions.
At 90 cm, it’s much shorter than standard cross-country skis, so it feels easier to turn and handle when the snow gets a bit uneven or less predictable. The built-in metal edges also help with control, which is a big plus once you leave that smooth, perfect track.
For the best ride, skip deep powder over 4 inches and steep terrain until you’ve got the basics down.
Should I choose the universal binding or the NNN setup?
Choose the Snowfeet universal binding system. Snowfeet NORDIC 90 cm skis work with regular waterproof winter shoes or snowboard boots, so you can skip the whole specialized cross-country boot setup.
With Basic, Standard, or Pro X bindings, you avoid the extra cost and hassle of NNN bindings and ski-specific boots. That means more comfort, easier packing, and a setup that’s simple to use. Nice and easy :)


ฝากความคิดเห็น
เว็บไซต์นี้ได้รับการคุ้มครองโดย hCaptcha และมีการนำนโยบายความเป็นส่วนตัวของ hCaptcha และข้อกำหนดในการใช้บริการมาใช้