
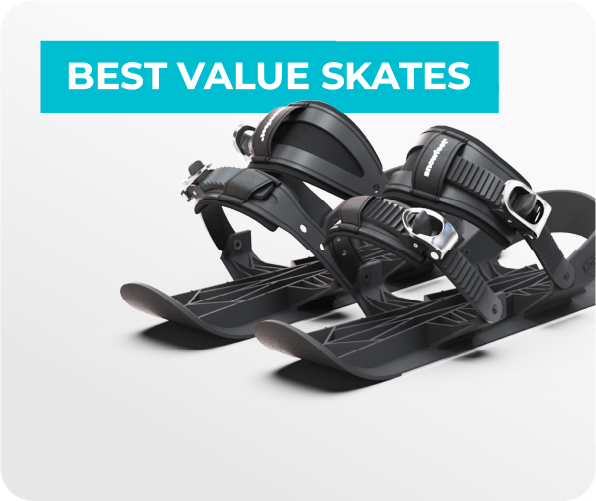
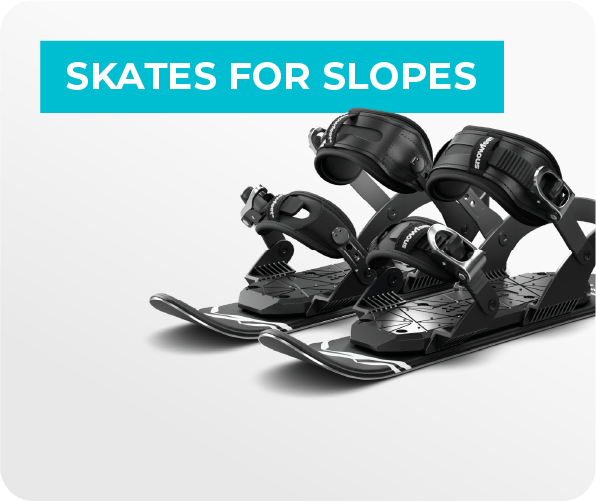
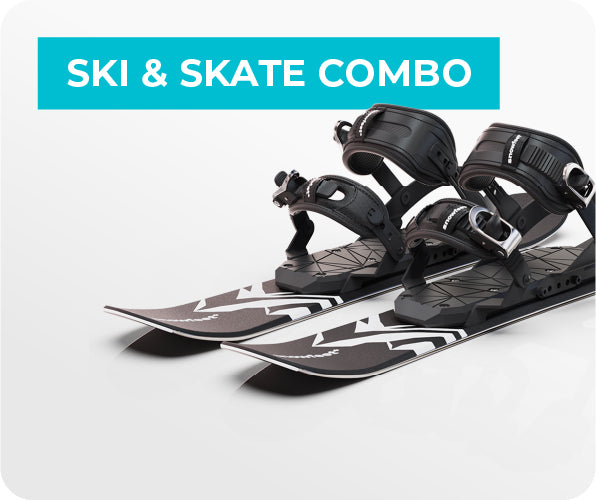
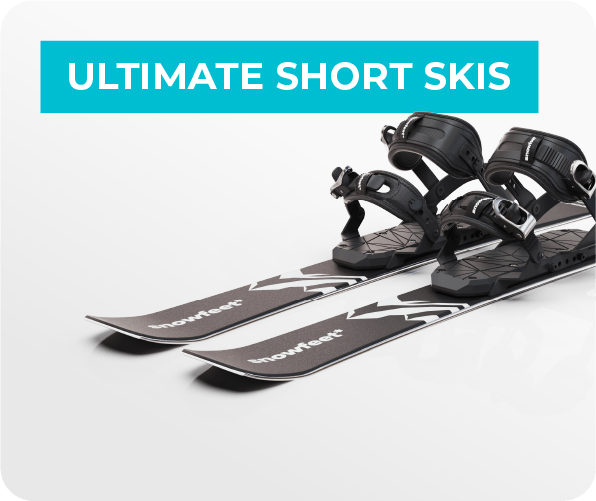
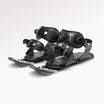
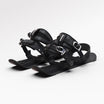
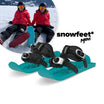
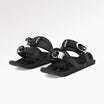
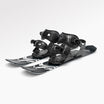
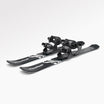
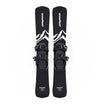
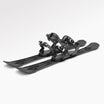
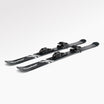
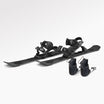
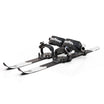
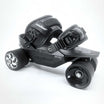
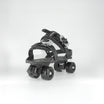
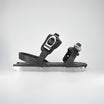
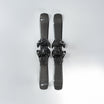
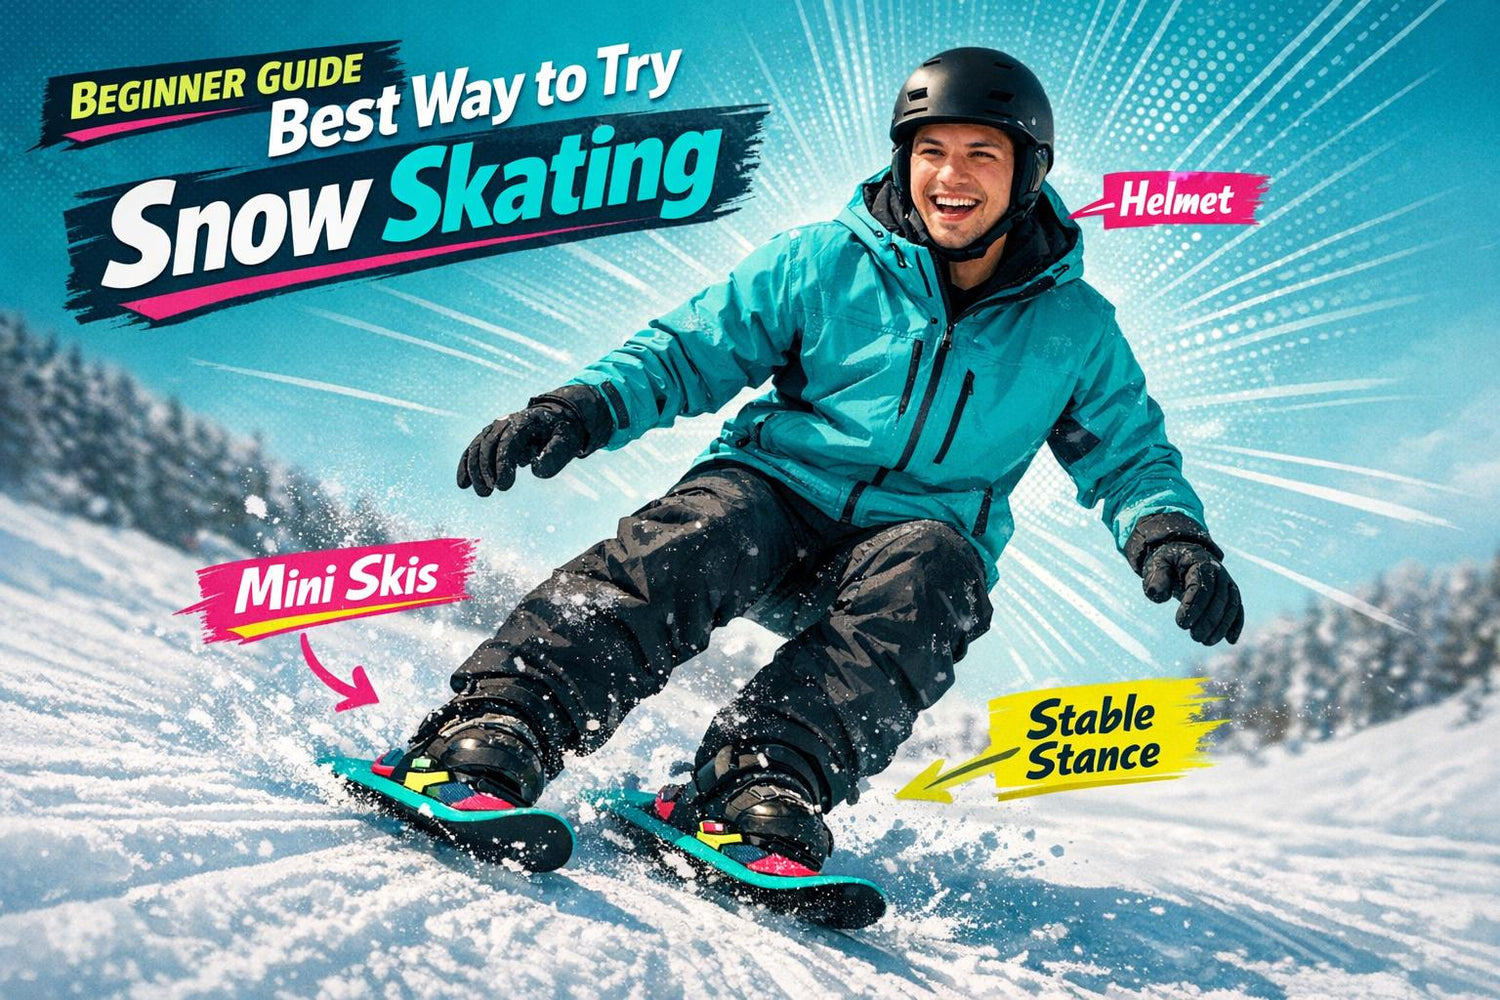
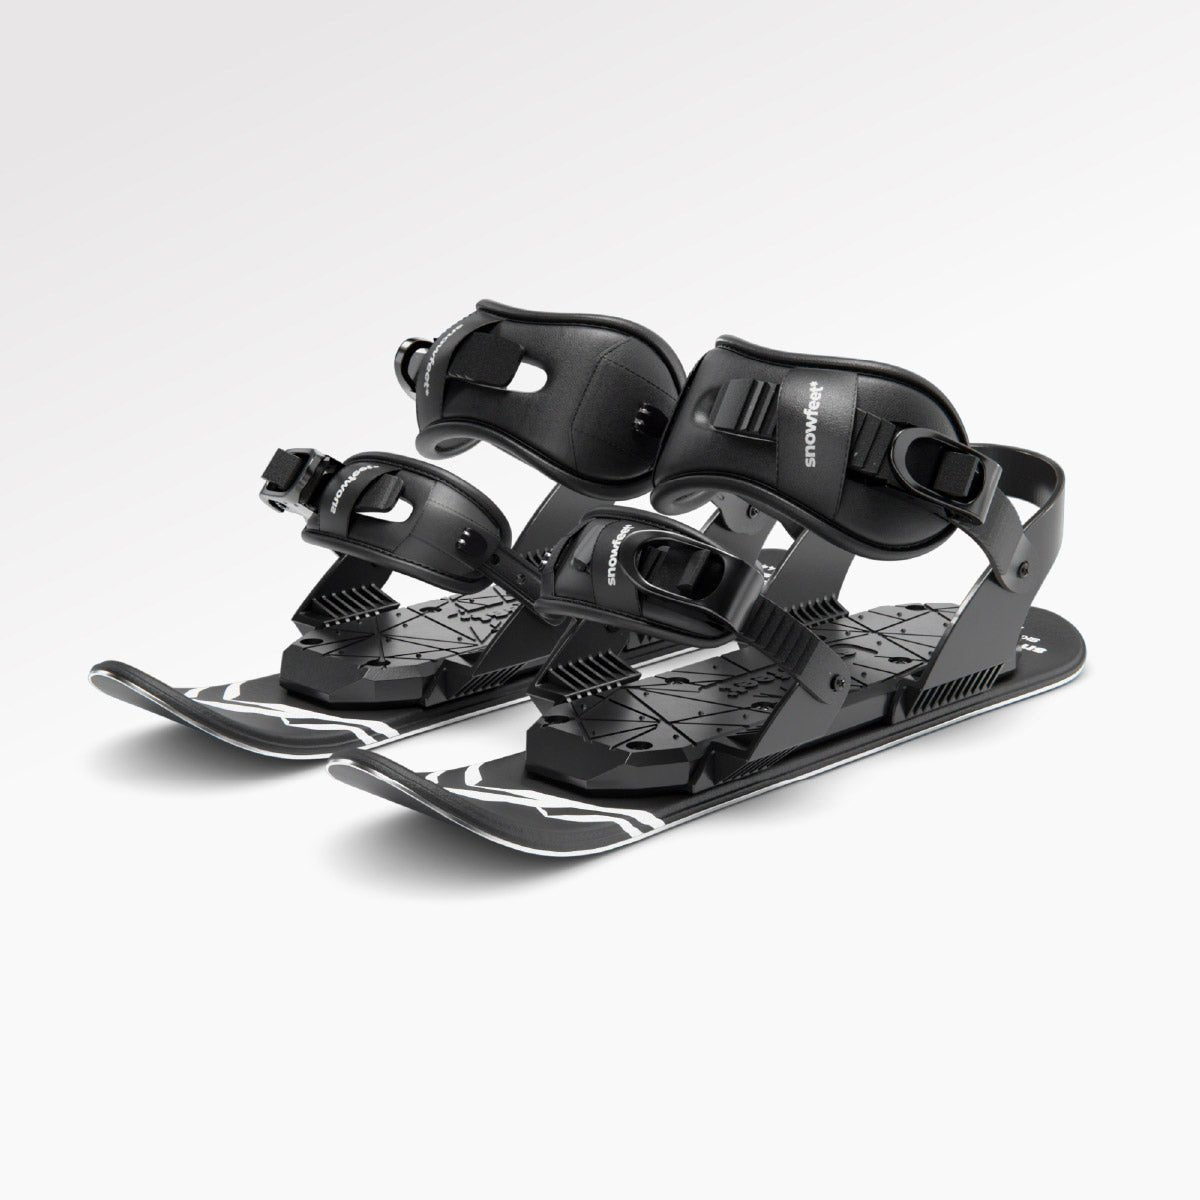
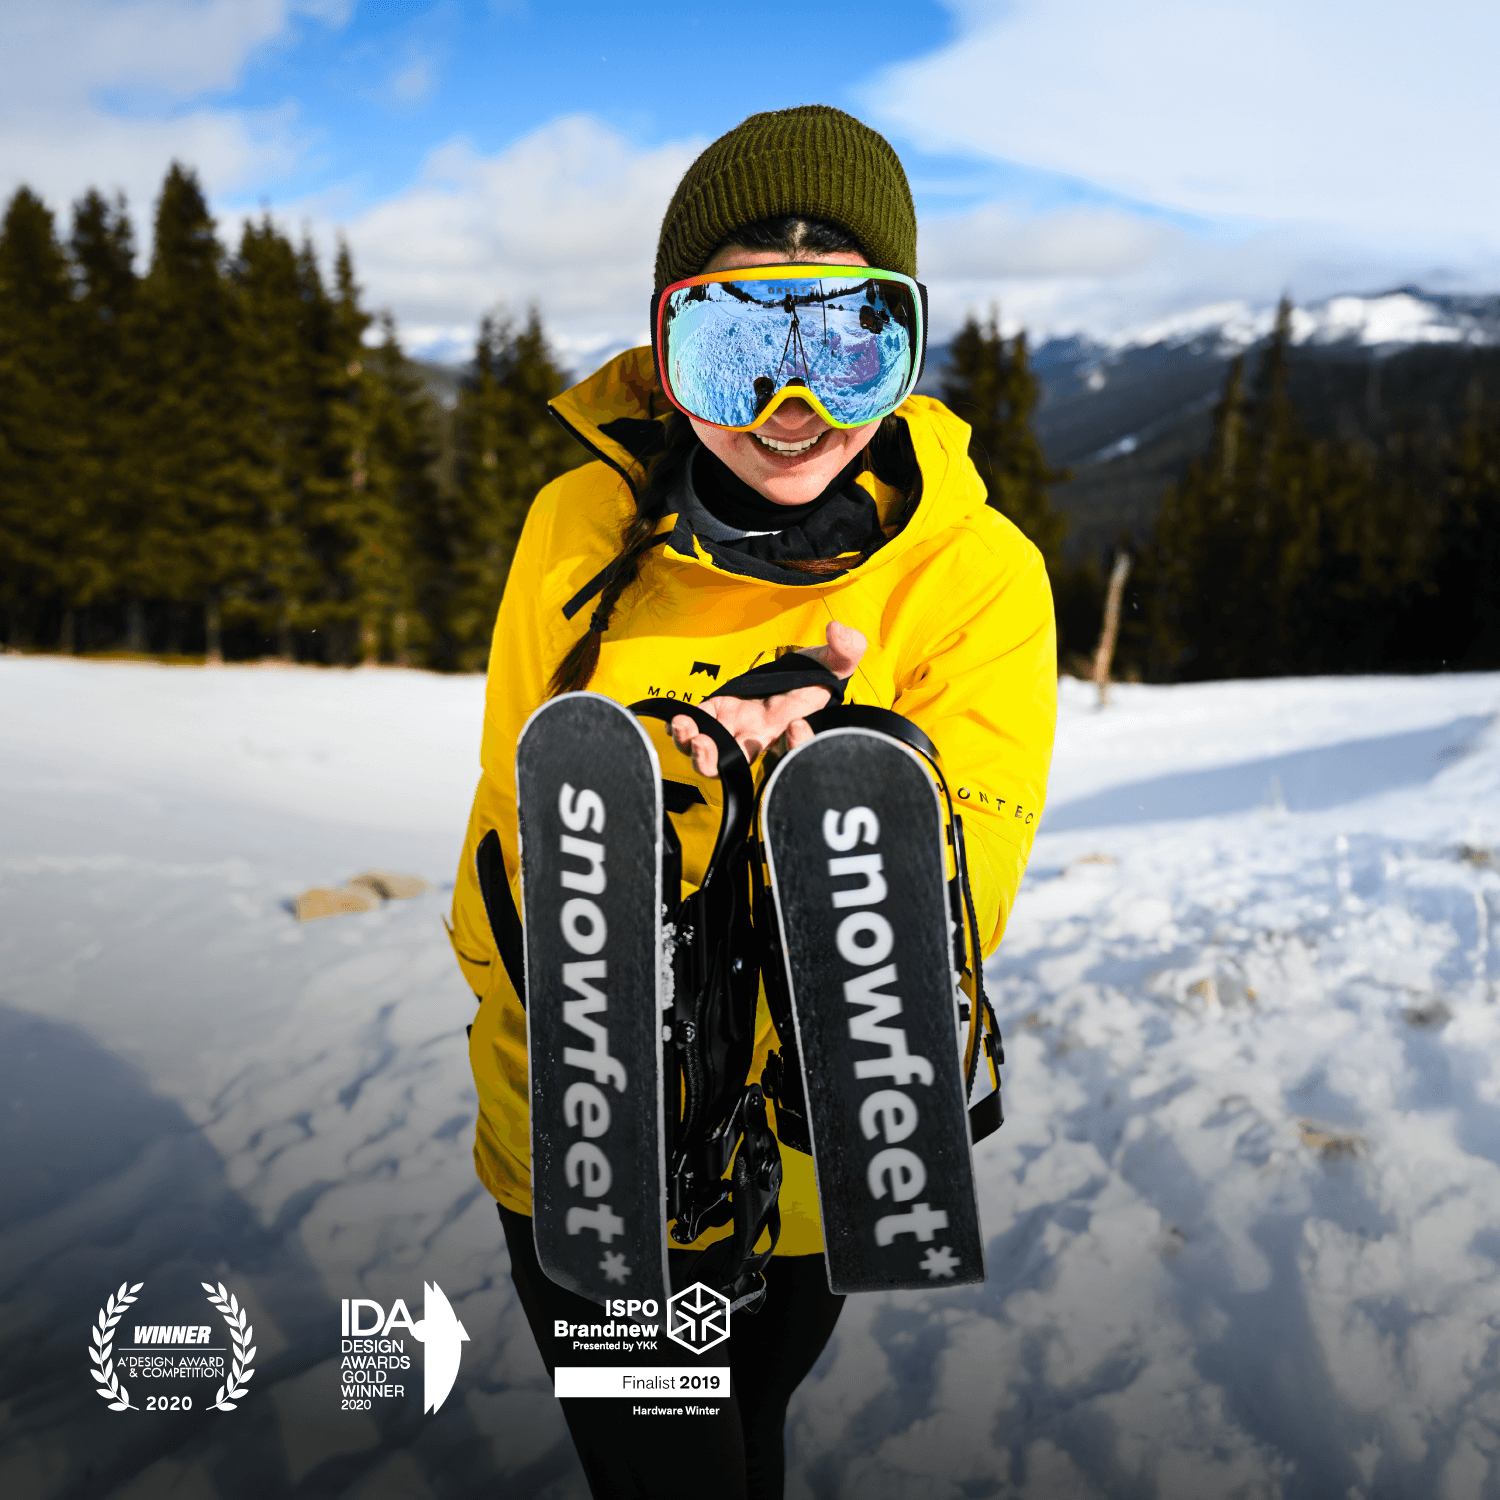
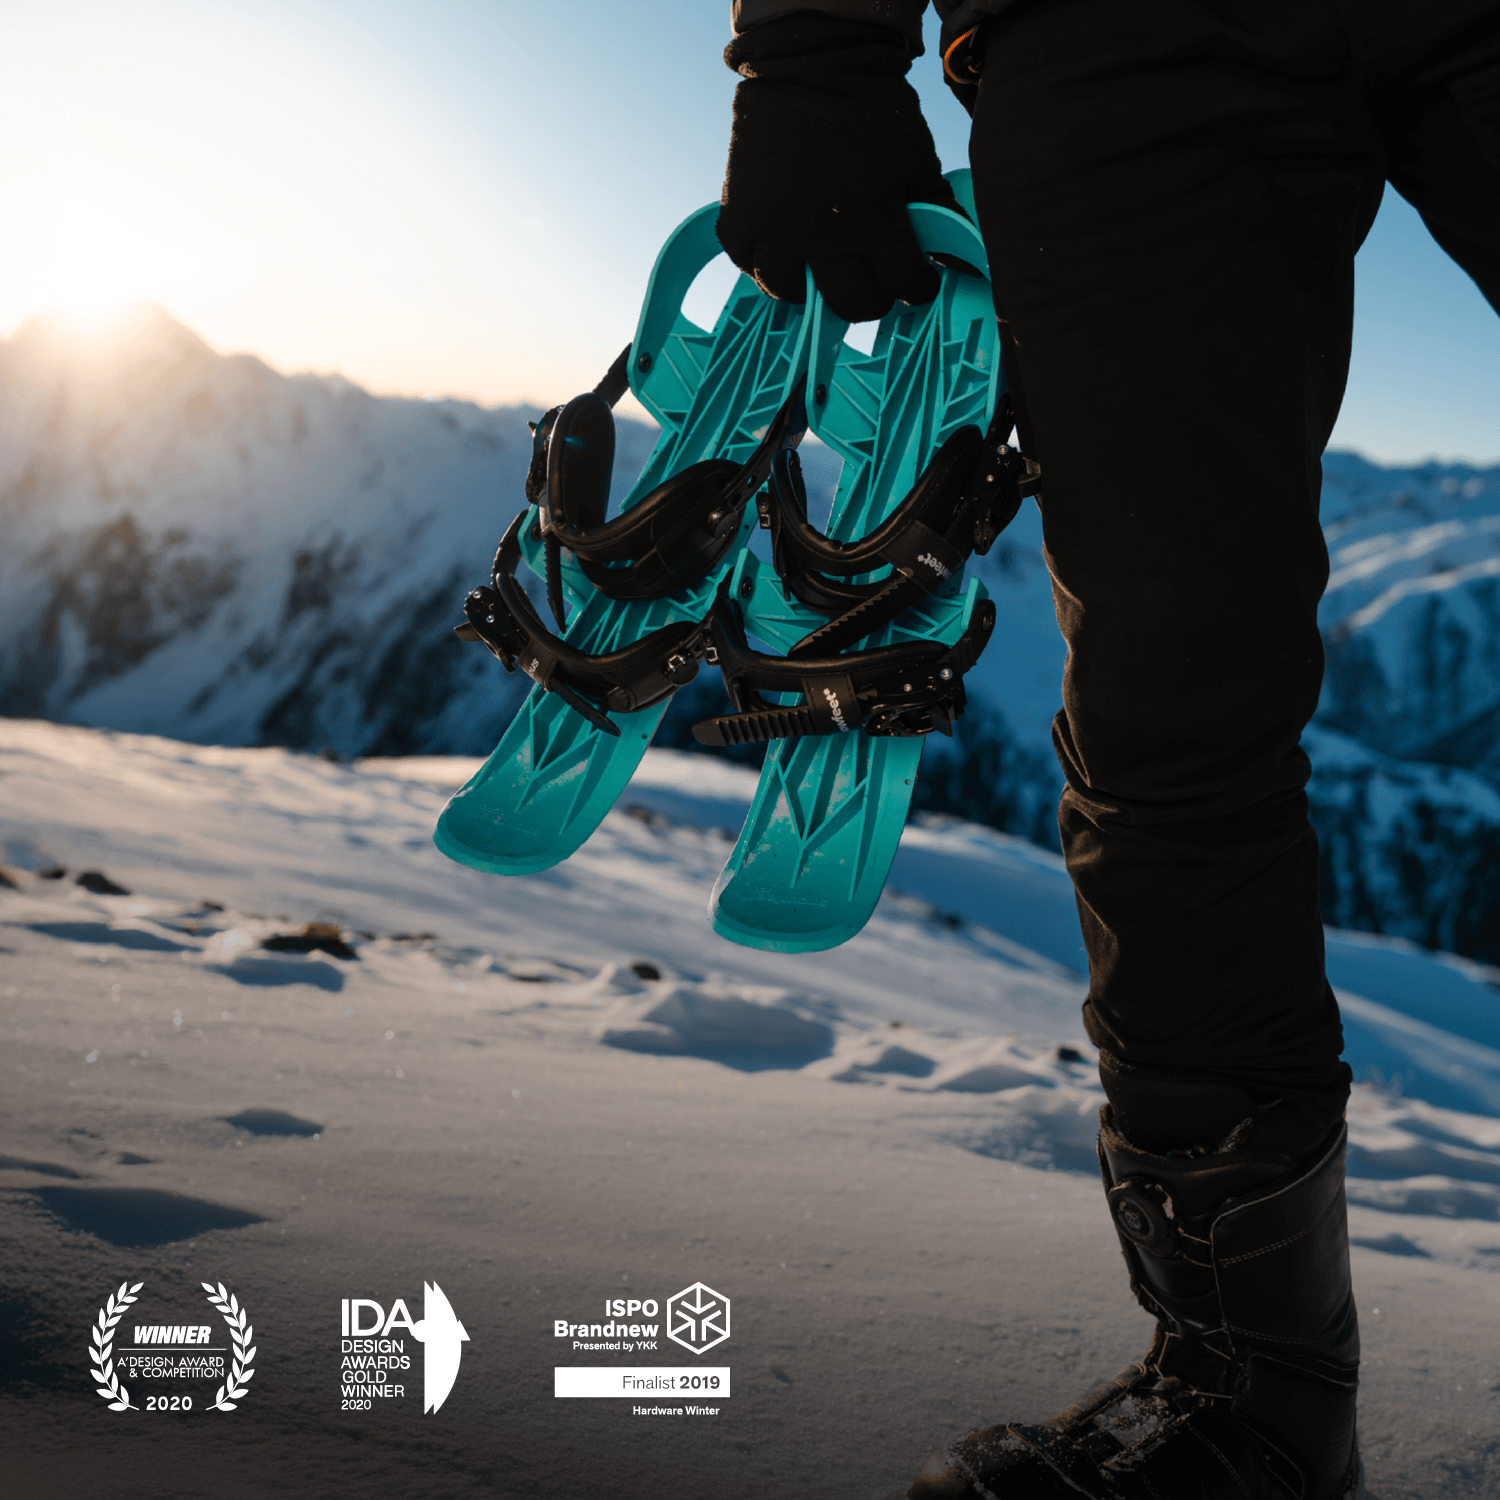
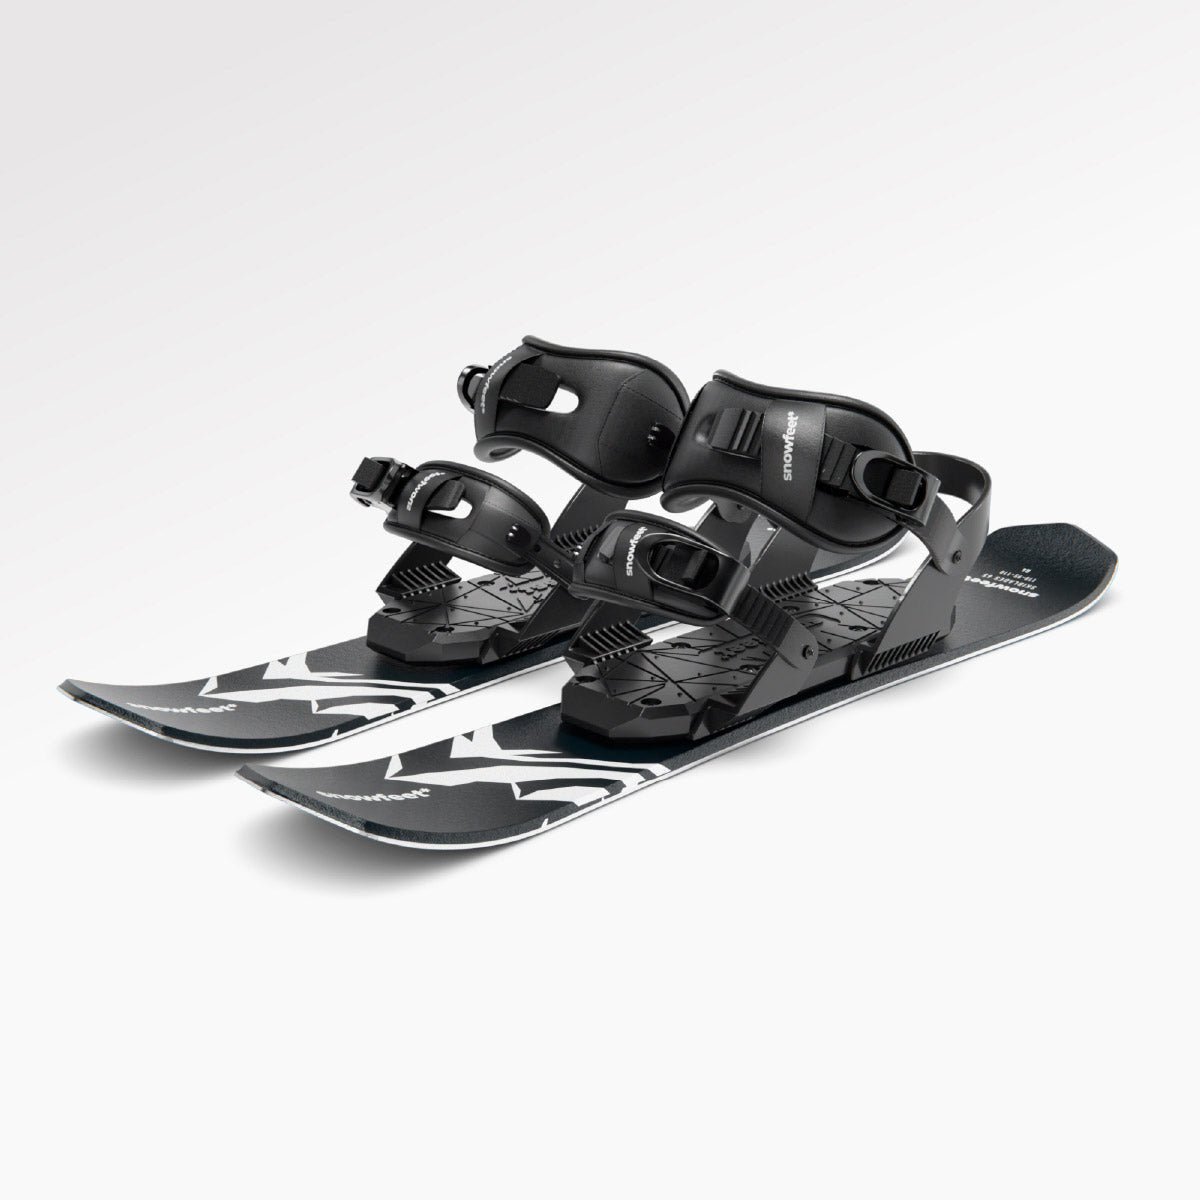
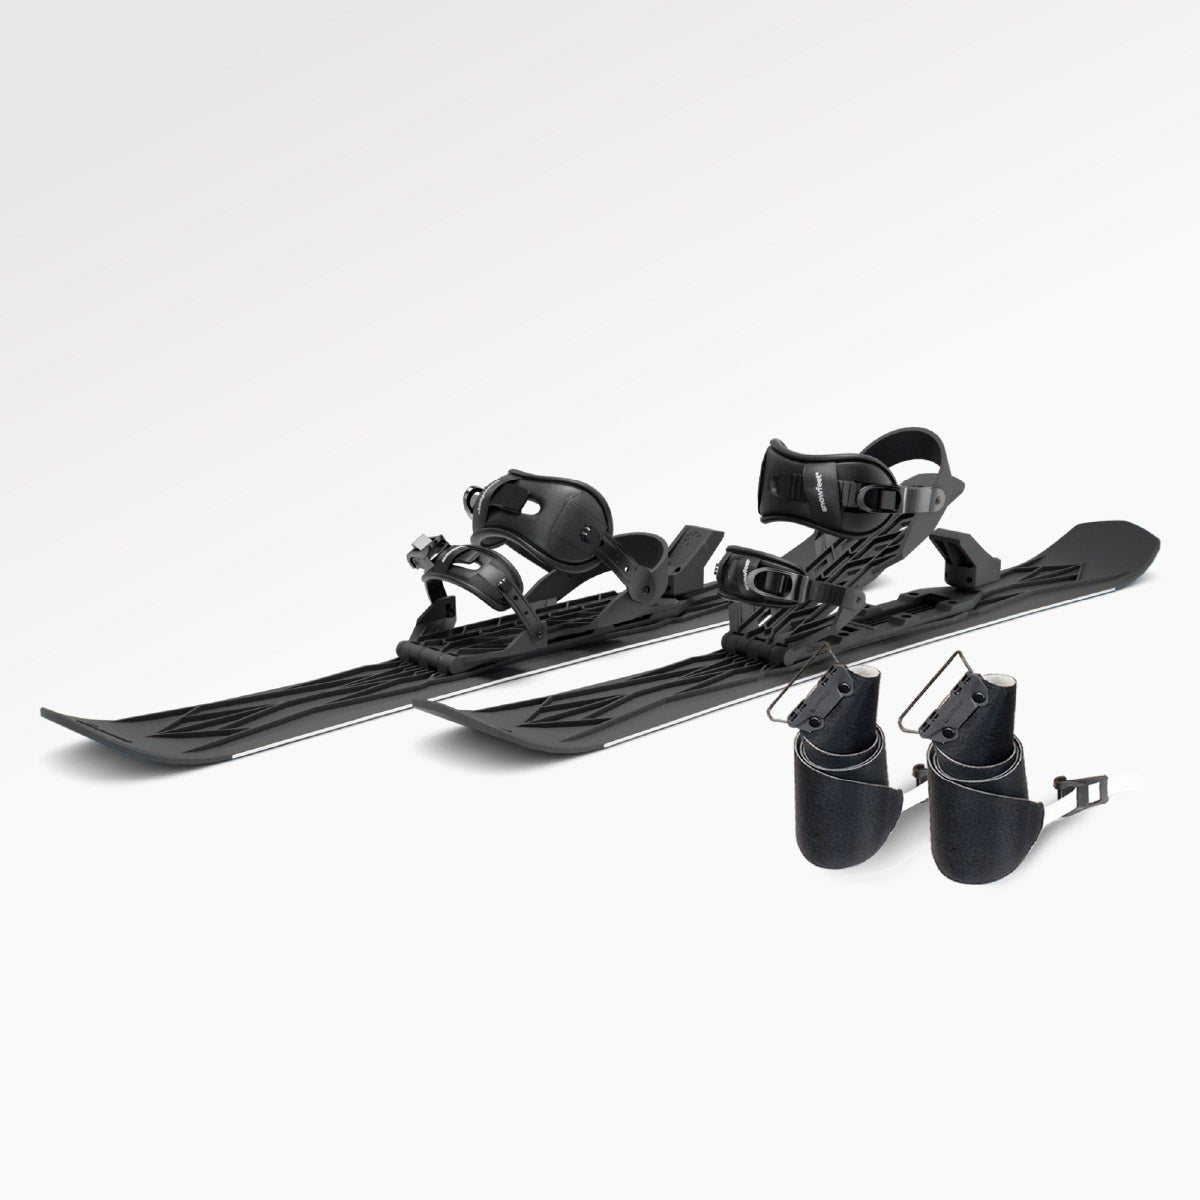
Snow skating is a fun, beginner-friendly way to enjoy winter sports without the hassle of bulky gear or a steep learning curve. Instead of skis or snowboards, you’ll strap on compact mini skis like Snowfeet*, which work with regular winter boots and fit in a backpack. It’s perfect for small hills, groomed slopes, or parks and feels similar to ice skating or rollerblading. Plus, it’s more affordable than traditional ski setups.
Here’s how to get started:
- Gear Up: Choose a Snowfeet* model that suits your skill level (starting around $250). Don’t forget a helmet, warm layers, and waterproof gloves.
- Practice Basics: Start on a gentle slope. Learn to glide, turn, and stop using simple techniques like weight shifts and heel brakes.
- Stay Safe: Always wear safety gear and stick to beginner-friendly terrain.
- Upgrade as You Improve: Once you’ve mastered the basics, you can try longer models or advanced terrain.
For beginners, Snowfeet* Mini Ski Skates (38 cm) are a great pick, while more experienced skaters might prefer the Skiskates (44 cm) or PRO (50 cm). Ready to hit the snow? Start small, stay safe, and have fun!
How to Use Snowfeet* Skiskates 44 CM | Skates for Snow | Mini Ski | Snowblades | Snowskates
1. Choosing the Right Snowfeet* Gear
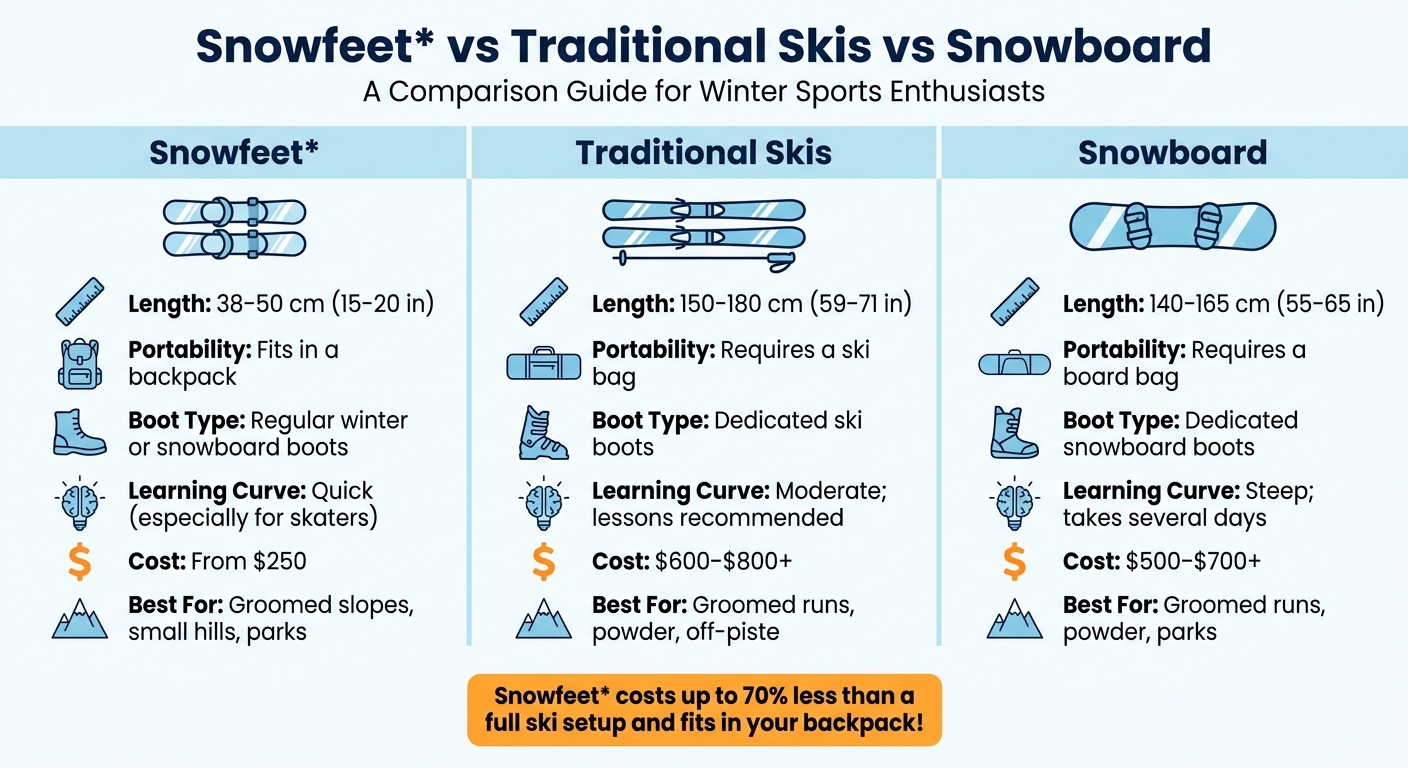
Snowfeet vs Skis vs Snowboard: Quick Comparison Guide
1.1 How Snowfeet* Compares to Skis and Snowboards
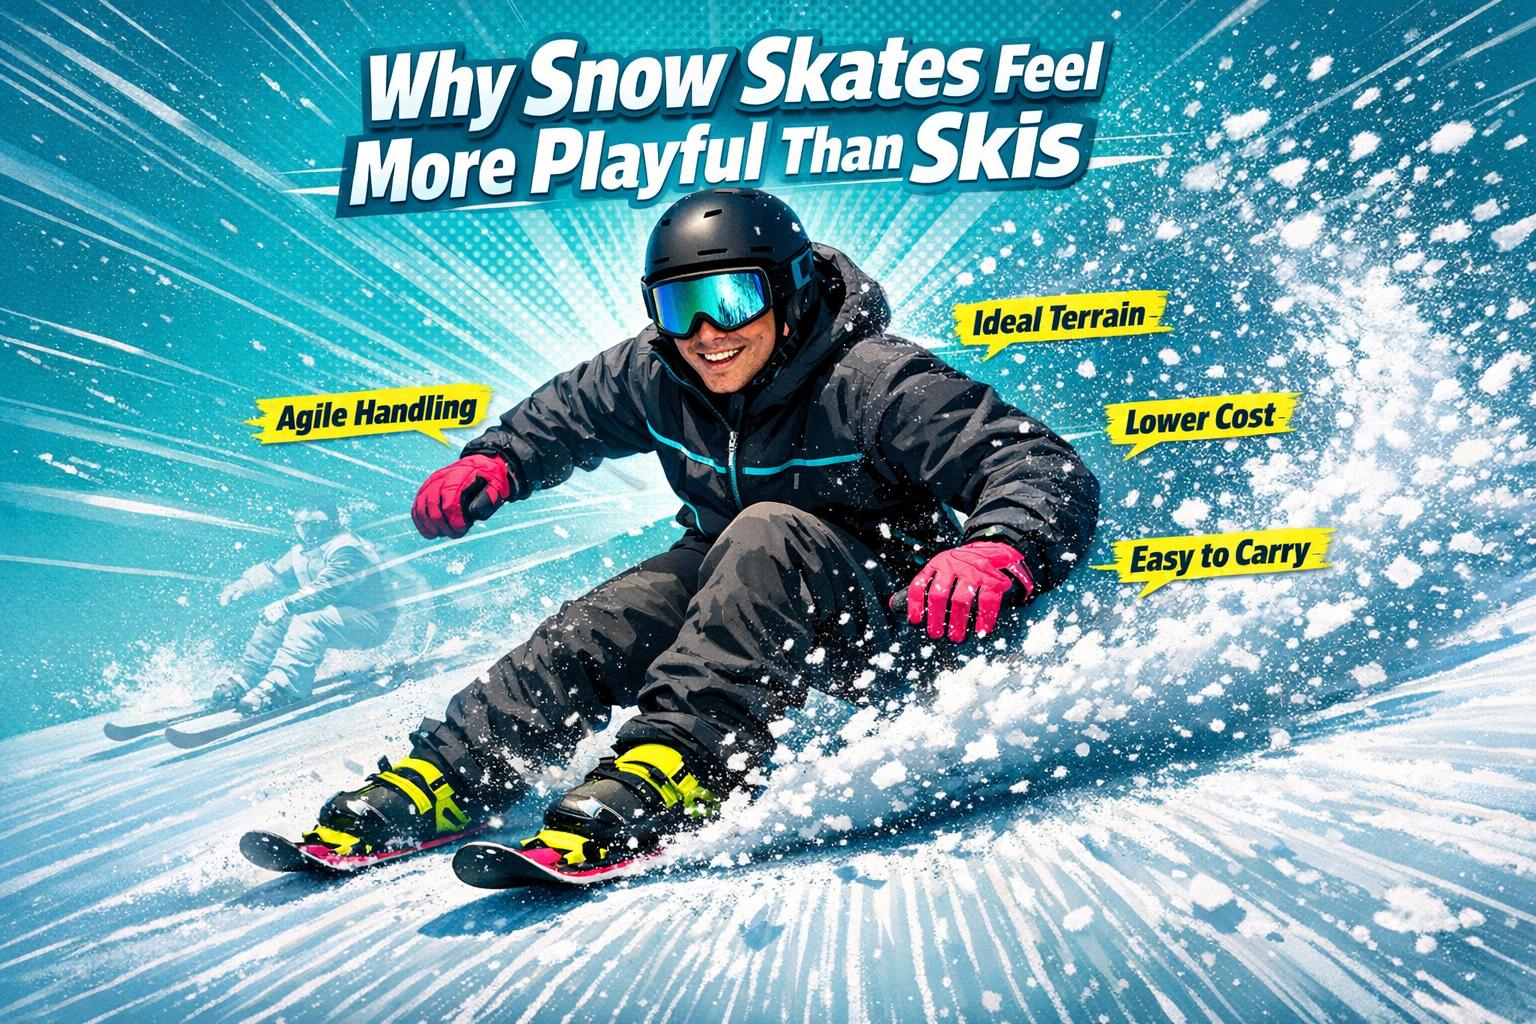
The standout difference between Snowfeet* and traditional skis or snowboards is their size. Adult skis usually measure 59–71 inches (150–180 cm) long, while snowboards come in at around 55–65 inches (140–165 cm). Snowfeet*, however, are compact - ranging from just 15 inches (38 cm) to a maximum of 20 inches (50 cm). This smaller size makes them incredibly agile.
With Snowfeet*, you don’t need those sweeping, exaggerated movements you’d use with skis or snowboards. Instead, subtle weight shifts do the trick, making the experience feel a lot like ice skating or inline skating. If you’ve ever used rollerblades, transitioning to Snowfeet* will feel natural. Snowboards, on the other hand, require both feet fixed to one board, which can take days to get comfortable with.
| Aspect | Snowfeet* (38–50 cm) | Traditional Skis | Snowboard |
|---|---|---|---|
| Length | ~15–20 in | ~59–71 in | ~55–65 in |
| Portability | Fits in a backpack | Needs a ski bag | Needs a board bag |
| Boot Requirement | Regular winter or snowboard boots | Dedicated ski boots | Dedicated snowboard boots |
| Learning Curve | Quick for skaters | Moderate; lessons recommended | Steep; takes several days |
| Best Terrain | Groomed slopes, small hills, parks | Groomed runs, powder, off-piste | Groomed runs, powder, parks |
Another big advantage? Cost. A basic ski setup - skis, bindings, and boots - can easily cost $600–$800 or more. Snowfeet*, on the other hand, start at around $250 and work with boots you probably already own. This affordability, paired with their portability and ease of use, makes Snowfeet* a great option for beginners or casual riders.
1.2 Which Snowfeet* Model Is Right for You
Snowfeet* has three models tailored to different skill levels and preferences:
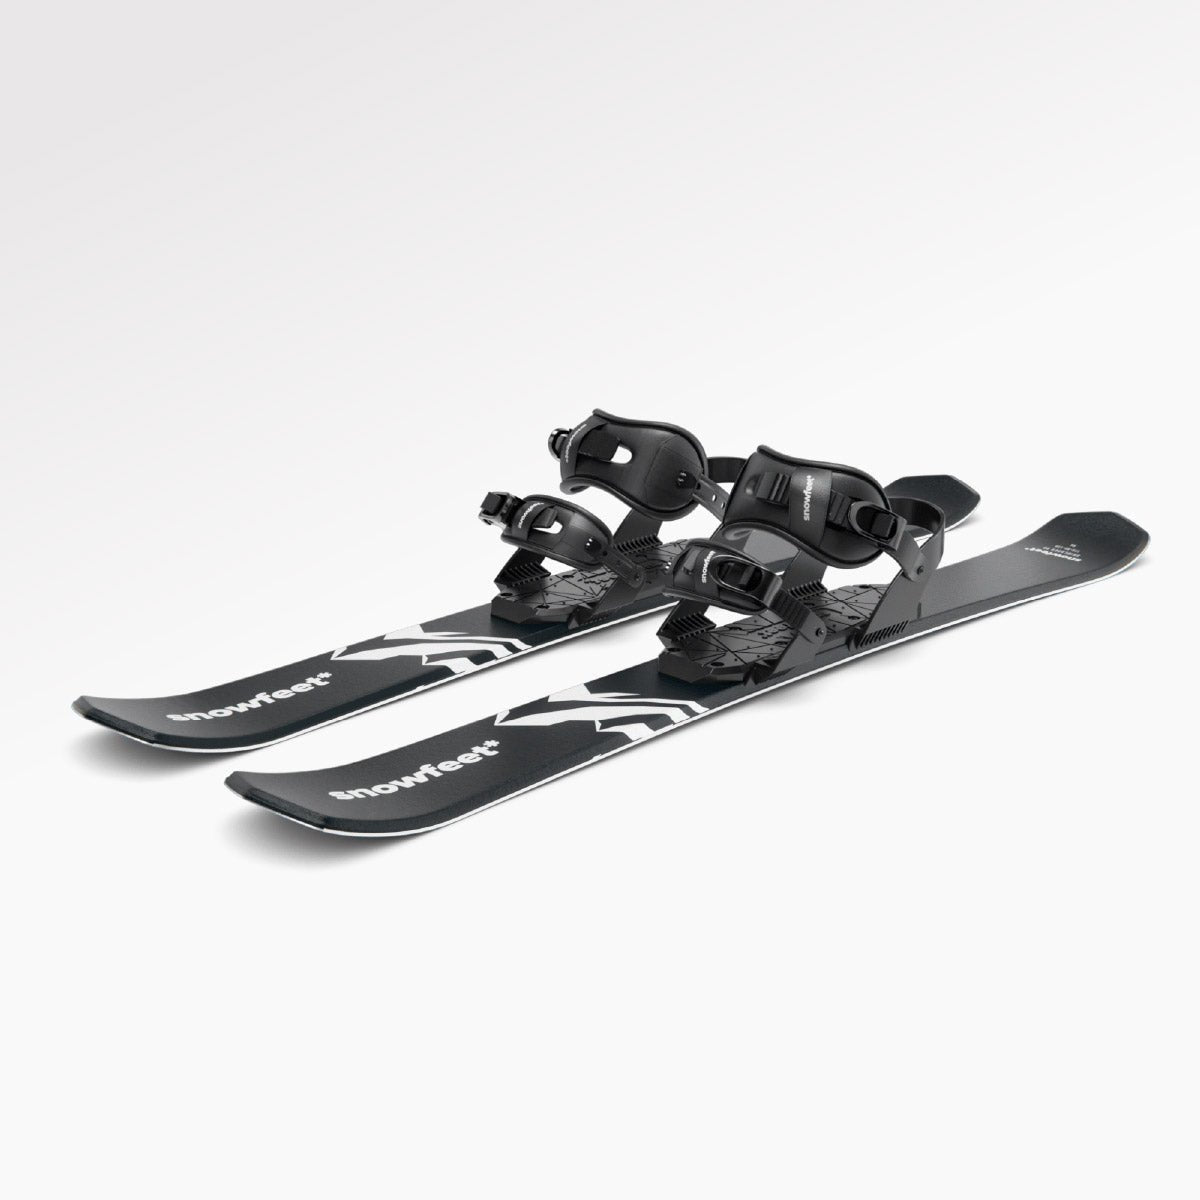
- Mini Ski Skates (38 cm, ~$250): Perfect for absolute beginners or those just looking to have fun on small hills or gentle green runs. They’re easy to strap on and take off, making them a great “try-it-out” option for anyone curious about snow skating.
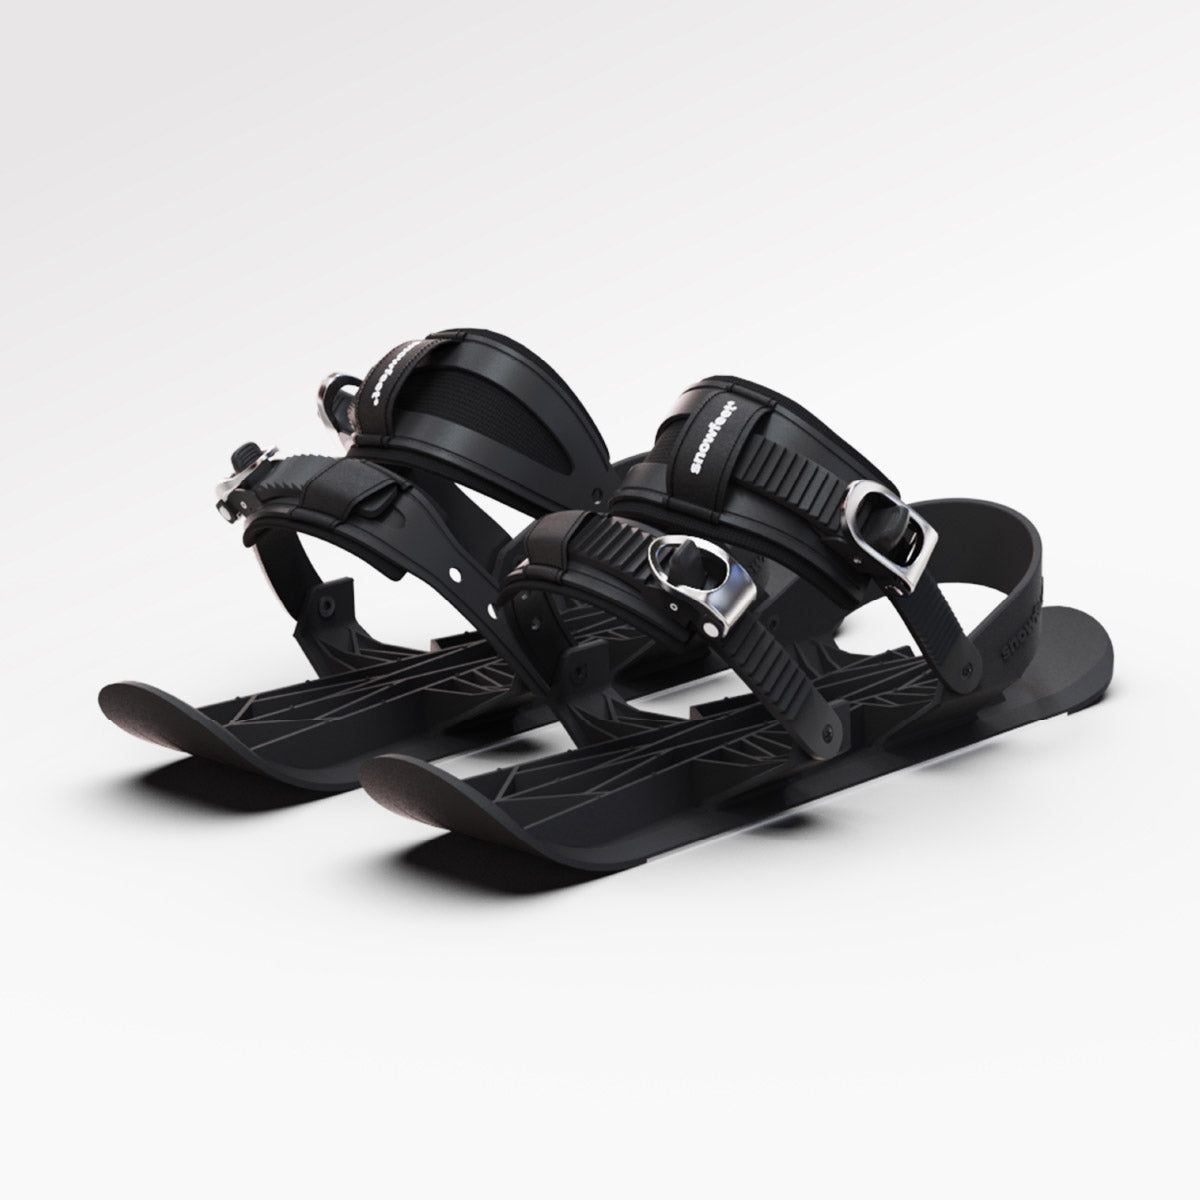
- Skiskates (44 cm, from $575): These offer a bit more edge length, which means better grip and stability on groomed runs. If you’re planning to hit green and moderate blue runs at a resort and want a balance of control and agility, this model is a solid choice.
- PRO (50 cm, $275): Designed for riders with some experience in skating, skiing, or board sports. The longer design provides better edge hold at higher speeds, making it ideal for carving smooth turns and tackling resort terrain with confidence.
| Model | Length | Starting Price | Best For |
|---|---|---|---|
| Mini Ski Skates | 38 cm (~15 in) | $250 | Beginners, small hills, casual fun |
| Skiskates | 44 cm (~17 in) | $575 | Green/blue runs, progressing beginners |
| PRO | 50 cm (~20 in) | $275 | Athletic beginners, carving, faster runs |
1.3 When Skis or Snowboards Make More Sense
While Snowfeet* shine on groomed slopes and packed snow, there are times when traditional skis or snowboards may be a better fit.
For high-speed carving on long, steep runs, full-length skis provide the stability you need. In deep powder - like the kind you find in the Rockies or Sierra Nevada - longer and wider skis or snowboards float better on soft snow. And if you’re planning full days on challenging black diamond terrain with advanced riders, traditional gear is better equipped to handle the demands.
That said, for most beginners sticking to groomed runs, Snowfeet* offer a simpler, more affordable way to enjoy the slopes. You can skip the bulky gear, save some cash, and start having fun right away.
2. How to Prepare for Your First Snow Skating Session
2.1 Gear Checklist for Beginners
To get started, you'll need the right gear. If you're new to snow skating, Snowfeet* Mini Ski Skates (38 cm, around $250) are a great beginner option. If you’re looking for more grip and control, consider Skiskates (44 cm). The boots you choose are equally important - Snowfeet* products strap onto regular winter boots or snowboard boots. Make sure your boots are stiff around the ankle. A waterproof hiking boot or a lightweight snowboard boot works well. Avoid boots that bend too easily when you flex your ankle - they won’t provide the support you need.
Safety gear is non-negotiable. A ski or snowboard helmet is essential. Skip bike helmets, as they’re not designed for snow impacts. If you’re not ready to buy, many U.S. ski resorts rent helmets for about $10–$20 per day. Wrist guards are highly recommended since beginners often use their hands to break a fall. Knee and elbow pads are optional but can help protect your joints if you’re worried about impacts.
Here’s a quick breakdown of what you’ll need:
| Item | Essential or Optional | Approx. Cost |
|---|---|---|
| Snowfeet* (your chosen model) | Essential | $250–$575 |
| Stiff waterproof winter/snowboard boots | Essential | $80–$300 (if needed) |
| Ski/snowboard helmet | Essential | $40–$150 (or rent for ~$15/day) |
| Waterproof gloves or mittens | Essential | $20–$60 |
| Goggles or polarized sunglasses | Essential | $15–$80 |
| Wrist guards | Strongly recommended | $20–$40 |
| Knee and elbow pads | Optional | $20–$60 |
| Hand and toe warmers | Optional | $2–$8 per pack |
Once you’ve got your gear, you’ll want to focus on wearing the right clothing for the conditions.
2.2 What to Wear on the Snow
Dressing properly can make or break your first snow skating experience. Stick with the three-layer system that’s popular in skiing and snowboarding. Start with a moisture-wicking base layer. Synthetic or merino wool long underwear is your best bet - leave the cotton at home since it soaks up moisture and stays damp. For your mid-layer, go with something warm like a fleece or a lightweight puffy jacket. Top it all off with a waterproof outer shell to keep you dry during falls or breaks.
When it comes to socks, less is more. A single pair of medium-weight wool or synthetic ski socks that reach mid-calf will do the trick. Doubling up on socks might seem like a good idea, but it can actually cut off circulation and make your feet colder.
Don’t forget the small stuff! A neck gaiter is great for keeping wind off your face, and SPF 30+ sunscreen is a must - even on cloudy days. Snow reflects UV rays, so protecting your skin is crucial.
2.3 How to Pick a Good Spot to Start
Now that you’re geared up, it’s time to find the right place to practice. For your first session, skip the busy ski resorts if you can. A local sledding hill or gently sloped park with packed snow is perfect. Look for a slope that’s steep enough to let you glide but not so steep that you feel out of control. A clear, flat area at the bottom is helpful for slowing down or stopping.
If you do head to a ski resort, stick to the green (beginner) learning area. Try to go on a weekday morning when it’s less crowded. Weekends, especially in the afternoon, can be overwhelming with lots of people learning to ski and snowboard at the same time. Your goal for the first session? Get comfortable gliding and practice stopping safely.
sbb-itb-17ade95
3. Step-by-Step: How to Snow Skate for the First Time
3.1 Putting on Snowfeet* and Finding Your Balance
Before you hit the slopes, take a few minutes to set up your Snowfeet* at home. Adjusting the bindings in a warm, comfortable space saves you from fiddling with a screwdriver in freezing temperatures. Use the same boots you plan to wear on the slopes and fit the straps snugly to ensure a secure ride.
"To avoid hassle on the slopes, take your time and adjust the bindings at the comfort of your home, using a screwdriver and the boots you are going to wear." - Snowfeet Official Store
Snowfeet* bindings are designed to fit most adults, accommodating US sizes 6–13 (EU 38–47). Once you're strapped in, practice standing on flat ground. Keep your knees slightly bent and your weight centered - this stance will feel natural if you've ever ice skated or played hockey. Once you're comfortable balancing, you're ready to start gliding, which we'll cover next.
3.2 How to Glide and Take Your First Skating Steps
Find the gentlest slope you can to start with - it’ll make those first steps less intimidating. Begin by standing in your balanced stance and practicing small movements. Start with a simple marching motion in place to get a feel for the Snowfeet*. Once that feels steady, try pushing off gently with one foot while letting the other glide forward.
This movement is similar to ice skating, so keep the pushes short and smooth - no need for big strides. Your first goal is to glide forward a few feet without losing balance. Once you can do this comfortably, start linking those pushes into a steady, rhythmic glide. Keep your arms slightly out to help with balance, like a tightrope walker.
3.3 How to Turn, Slow Down, and Stop
Once you’ve got the hang of gliding, it’s time to work on controlling your speed and direction. Snowfeet* come with a heel brake, which is perfect for beginners. To slow down, shift your weight back onto your heels and let the brake drag along the snow. Practice this technique on a gentle slope before trying it on steeper terrain.
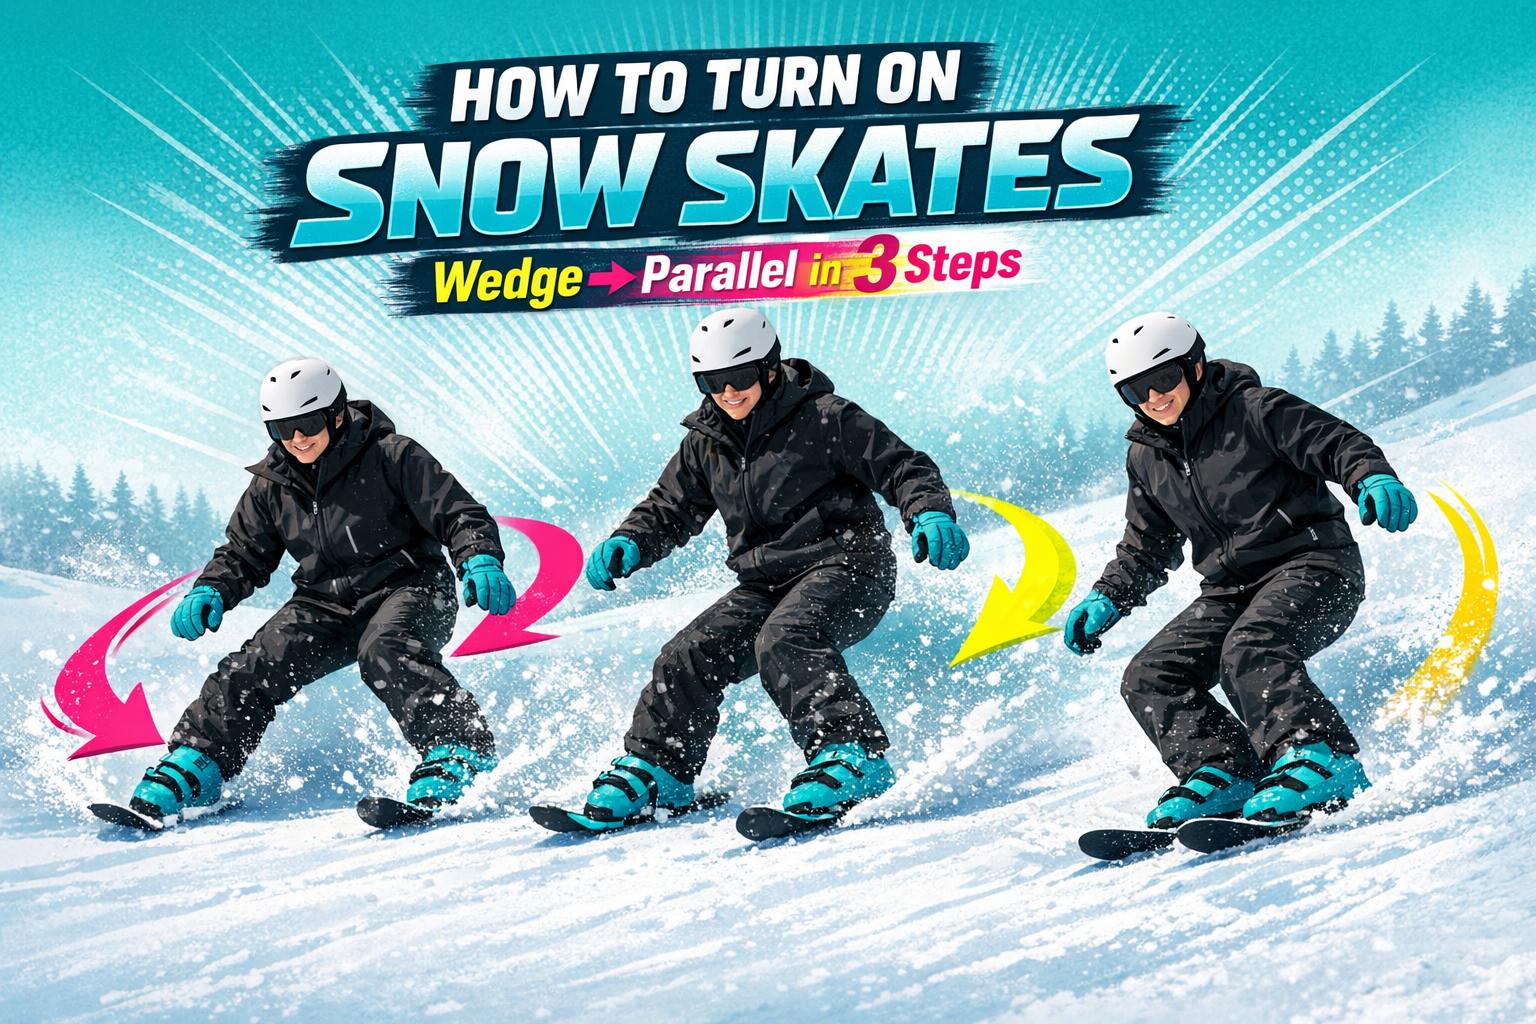
For turning, lean your body in the direction you want to go and apply light pressure to the inside edge of your Snowfeet*. The metal edges help grip the snow, giving you better control. A beginner-friendly way to slow down while turning is the snowplow technique: angle the tips of your Snowfeet* inward to form a "V" shape. This adds friction, naturally reducing your speed while guiding your direction. Once you’re comfortable, try wider, smoother turns to improve your control.
3.4 How to Fall Safely and Get Back Up
Falling is part of the learning process, so don’t worry if you take a few spills during your first hour or so.
"It takes some time and you will definitely fall now and then, but that's part of the fun." - Snowfeet Official Store
One advantage of Snowfeet* is that falling tends to be less intense compared to skiing or snowboarding. As the Snowfeet Official Store explains:
"Falling is generally much safer than falling with skis or snowboard."
When you feel yourself losing balance, try to bend your knees and fall to the side. Tuck your chin to protect your head, keep your wrists slightly bent (wrist guards are a good idea), and avoid stiffening up - it’ll make the fall easier. To get back up, roll onto your side, tuck your knees in, and use your hands to push yourself upright. The compact size of Snowfeet* makes it easier to recover quickly and get back to the fun.
4. Building Your Skills and Staying Safe
4.1 Simple Drills to Improve Balance and Control
Once you've got gliding and stopping down, it’s time to focus on drills that improve balance and control. One of the first things to master is front-to-back balance. Small weight shifts might seem minor, but they’re key to preventing falls, initiating turns, and managing your speed effectively.
Start with gentle practice runs, concentrating on one aspect at a time - bending your knees, evenly distributing weight, or lightly leaning into turns. A great drill to try is one-foot glides: lift one foot slightly off the snow for a moment, then switch. This teaches your body to adjust its center of gravity naturally. As Snowfeet* puts it:
"You have to keep the front-back balance, so it feels very natural to those who play ice hockey, ice skate, or even use inline skates."
Another helpful exercise is shifting your weight deliberately from one foot to the other. This builds the muscle memory you’ll need for smooth and controlled turns.
With these drills under your belt, you’ll not only feel more stable but also be better prepared to tackle the slopes safely.
4.2 Safe Snow Skating Habits to Build Early
Good habits make all the difference when you're starting out. First and foremost: always wear a helmet. Adding wrist guards is a smart move, especially in those early sessions when falls are more likely. Before every run, check that your binding bolts are tight - loose gear can ruin your day.
On the slopes, stick to ski resort etiquette. Yield to skiers and snowboarders ahead of you, and always stay in control of your speed and direction. And, of course, choose terrain that matches your current skill level. A slope that feels manageable is always safer than one that feels overwhelming.
Once you’ve nailed the basics and built solid safety habits, you can start thinking about upgrading your gear for bigger challenges.
4.3 Moving Up to Advanced Snowfeet* Models
When you're ready to take on more advanced terrain, upgrading to advanced Snowfeet* models can elevate your experience. For carving and ski park adventures, the Skiblades - available in 65 cm and 99 cm lengths - are an excellent choice. If deep powder is calling your name, the Snowfeet* Powder (99 cm) is designed specifically for backcountry and powder runs.
Here’s a quick breakdown of some popular models:
| Model | Length | Best For | Starting Price |
|---|---|---|---|
| Snowfeet* PRO | 50 cm | Beginners wanting more stability | $275 |
| Skiskates | 44 cm | Resort slopes, faster carving | From $575 |
| Skiblades | 65–99 cm | Carving, ski parks, advanced terrain | From $635 |
| Snowfeet* Powder | 99 cm | Deep powder, backcountry | From $675 |
Transitioning from mini skis to Skiblades is a natural next step. They keep the same skating motion you’re used to, but with added speed and stability. This makes the progression smoother compared to jumping into traditional skis or snowboards. Take your time with the upgrade - wait until the basics feel second nature before diving into more challenging gear.
5. Conclusion: Start Your Snow Skating Journey Today
Snowfeet* brings a fresh twist to winter sports with its lightweight, easy-to-use, and budget-friendly design. Unlike traditional skis or snowboards, it makes snow skating accessible to anyone - no need for years of practice or expensive trips to the slopes.
Ready to get started? Begin with a beginner-friendly Snowfeet* model. The mini skis (38 cm or 50 cm) are perfect for newcomers, while Skiskates (44 cm) are ideal if you’ve already got some skating experience under your belt. Don’t forget the essentials: a helmet, warm layers, and a gentle slope to practice on.
Once you’ve nailed the basics, you can step up your game with more advanced gear. Snowfeet* offers a range of options, from mini skis to Skiblades and Powder models, allowing you to grow your skills and tackle new challenges. Your snow skating adventure begins with that very first glide - get out there and make it happen!
FAQs
Can I use Snowfeet* at a ski resort?
Yes, most ski resorts in the U.S. permit the use of Snowfeet* Skiskates and mini skis. These devices have metal edges and secure bindings, similar to traditional skis and snowboards, which means they offer the necessary grip and control for groomed slopes and terrain parks. That said, it’s always a good idea to double-check the resort’s equipment policy ahead of time. If anyone questions their use, you can point out that Snowfeet* feature the same metal edges as standard ski gear.
Do I need lessons to start snow skating?
Nope, lessons aren’t a must to get started with snow skating. Unlike skiing or snowboarding, which can take a while to get the hang of, Snowfeet products are made to be super easy and intuitive. Most people can start carving turns in just 5–15 minutes! Spend a little time practicing balance and basic movements on flat, packed snow, and you'll be ready to enjoy your first session in no time.
What’s the best way to ride a lift with Snowfeet*?
The easiest way to ride a lift with Snowfeet* is by making the most of their lightweight design and portability. Unlike traditional skis, you don’t have to deal with awkward, heavy gear. Simply walk to the lift in your winter or snowboard boots, stash the compact Snowfeet* in your backpack, and strap them on once you’re at the top of the slope. No more battling bulky equipment in the lift line!


Lasă un comentariu
Acest site este protejat de hCaptcha și hCaptcha. Se aplică Politica de confidențialitate și Condițiile de furnizare a serviciului.