Myślisz o swojej pierwszej wycieczce narciarskiej poza trasami? Oto co musisz wiedzieć: brak kolejek do wyciągów, brak tłumów - tylko Ty, śnieg i góry. Ale zejście z przygotowanych tras do dzikiego terenu wymaga przygotowania, wiedzy o bezpieczeństwie i odpowiedniego sprzętu. Ten przewodnik wszystko Ci wyjaśni.
Kluczowe wnioski:
- Co będziesz robić: Wchodzić pod górę na nartach (tak, "zasługujesz na swoje skręty") i zjeżdżać po nietkniętym terenie.
- Co będziesz potrzebować: sprzęt do ochrony przed lawinami, kondycję i podstawowe umiejętności narciarskie.
- Dlaczego to jest wyzwanie: Nieprzewidywalny śnieg, brak ratraka i wymagania fizyczne.
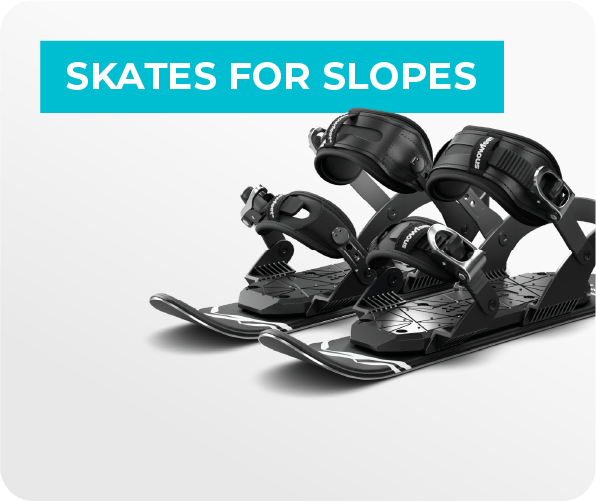
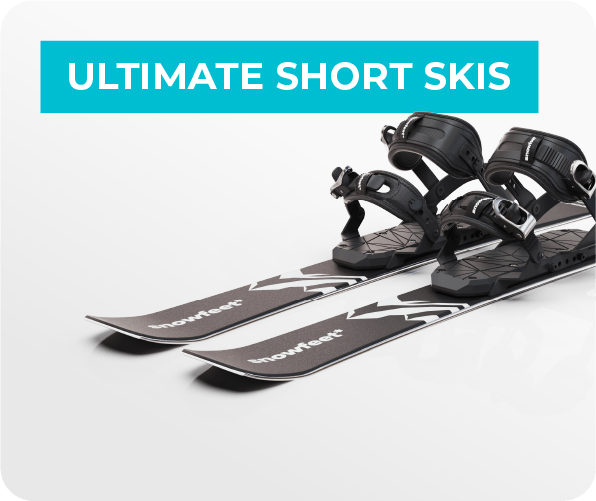
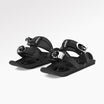
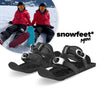
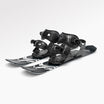
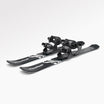
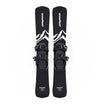
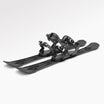
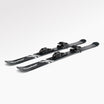
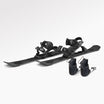
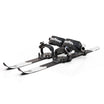
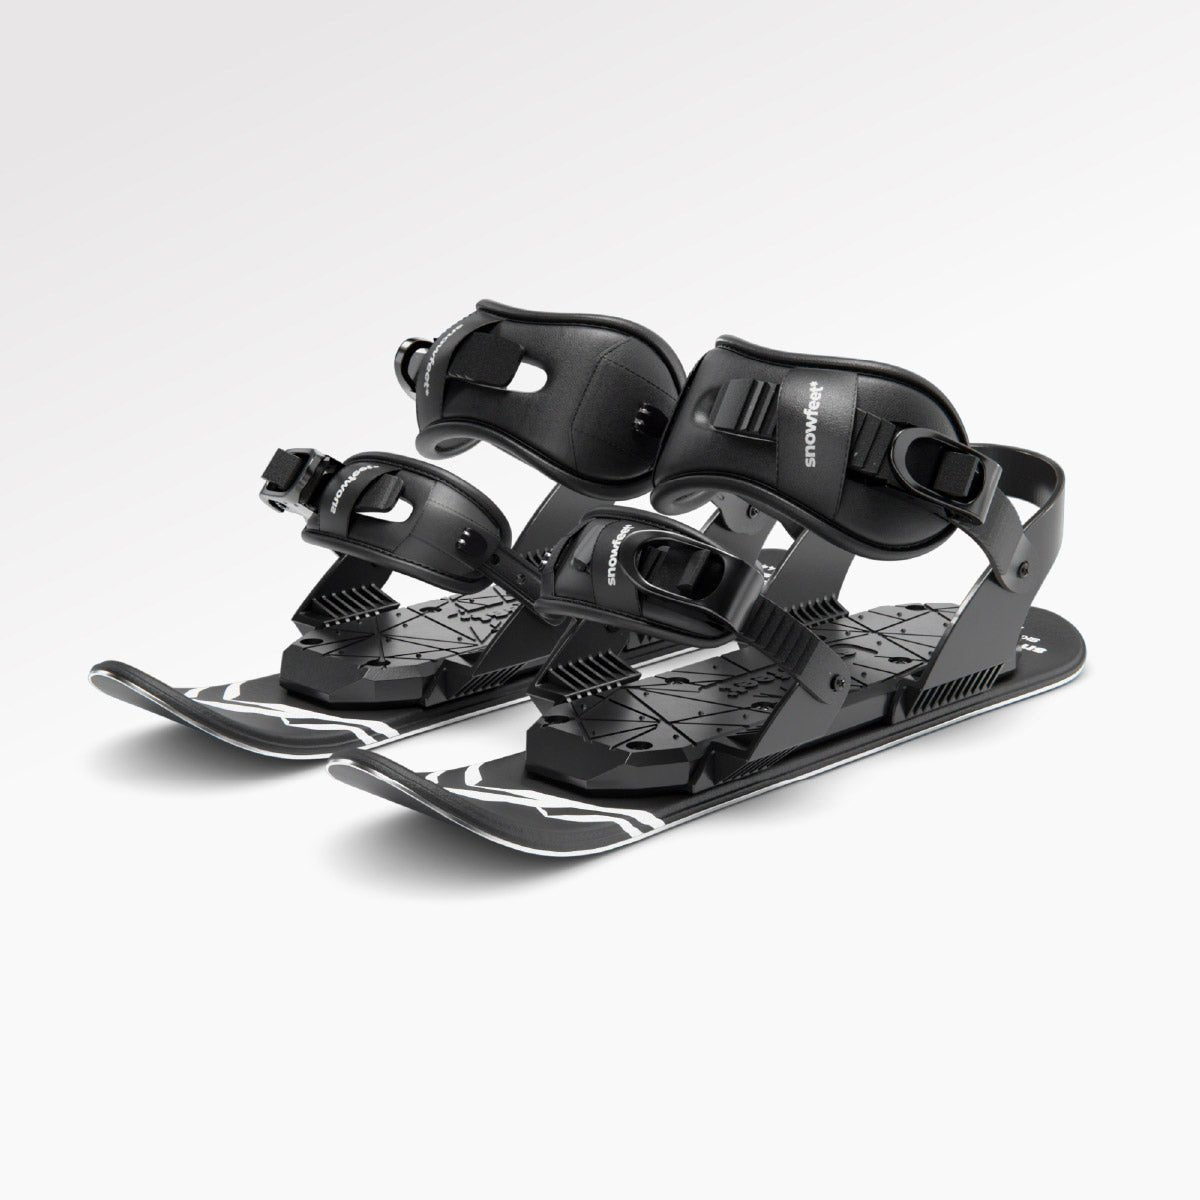
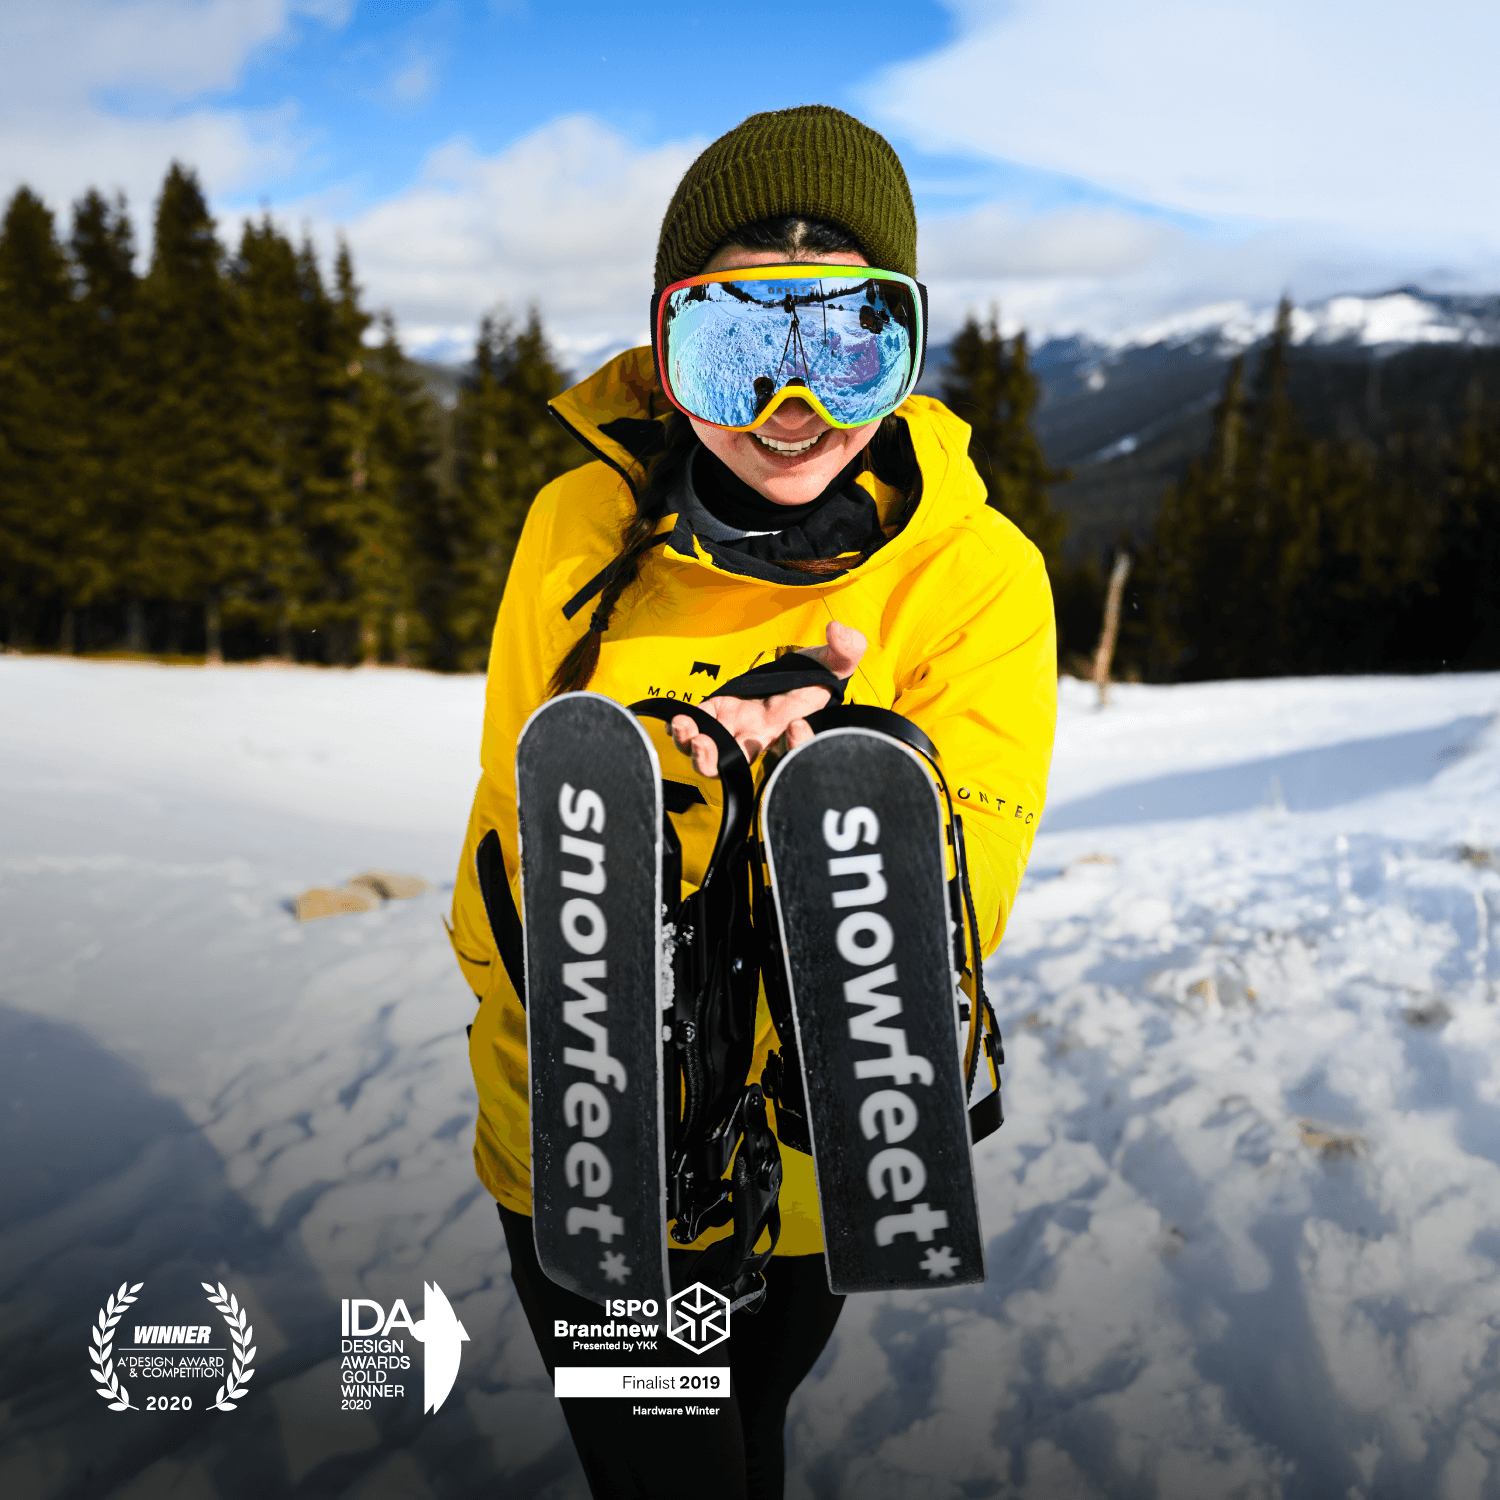
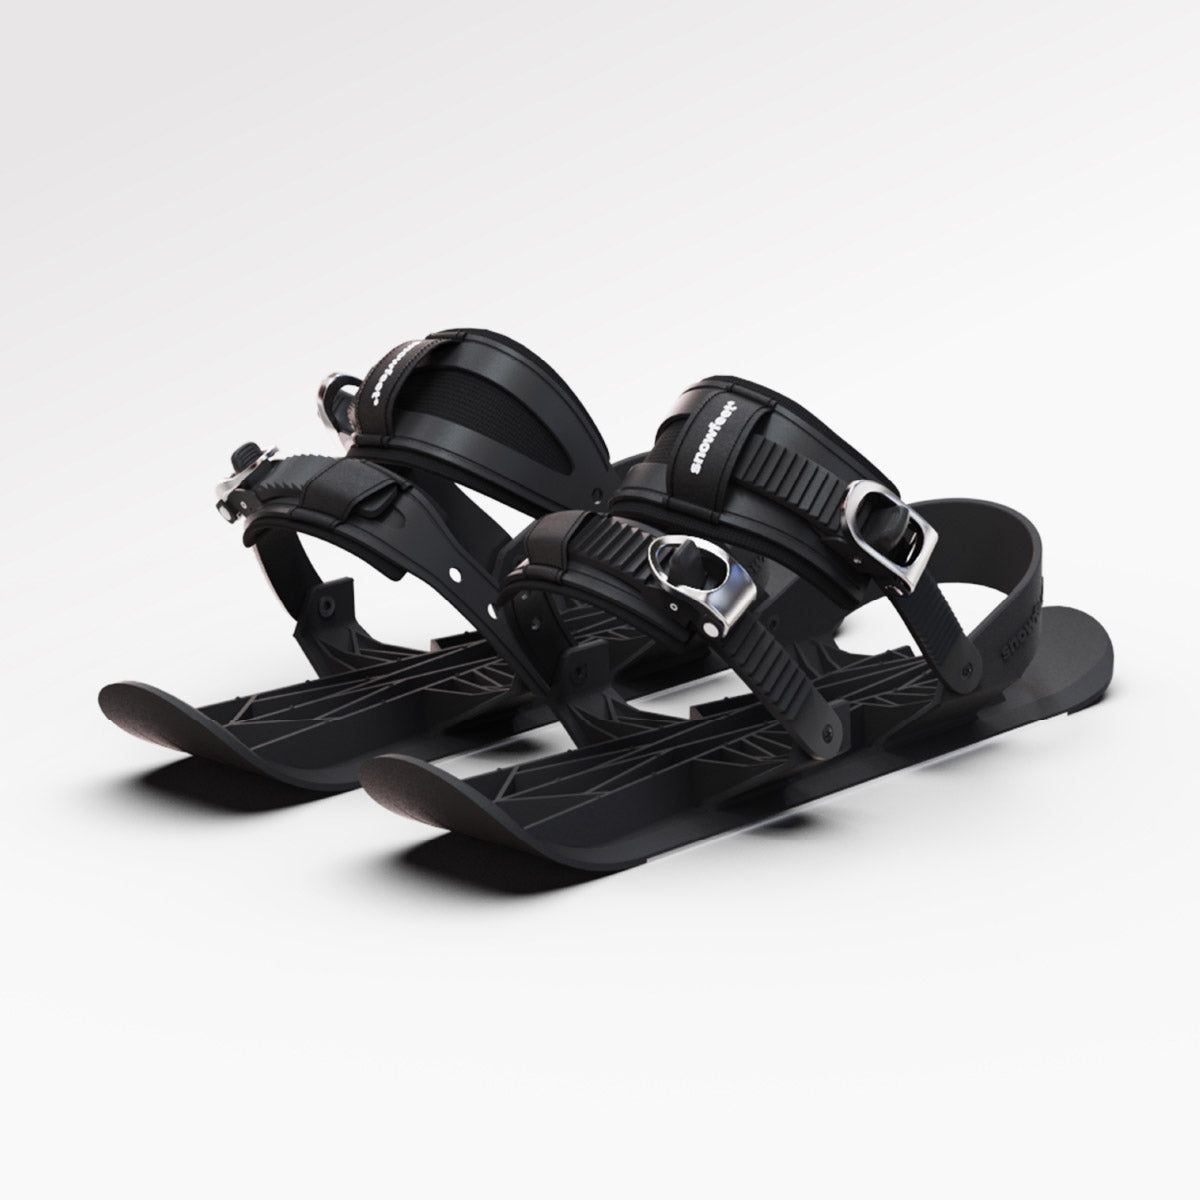
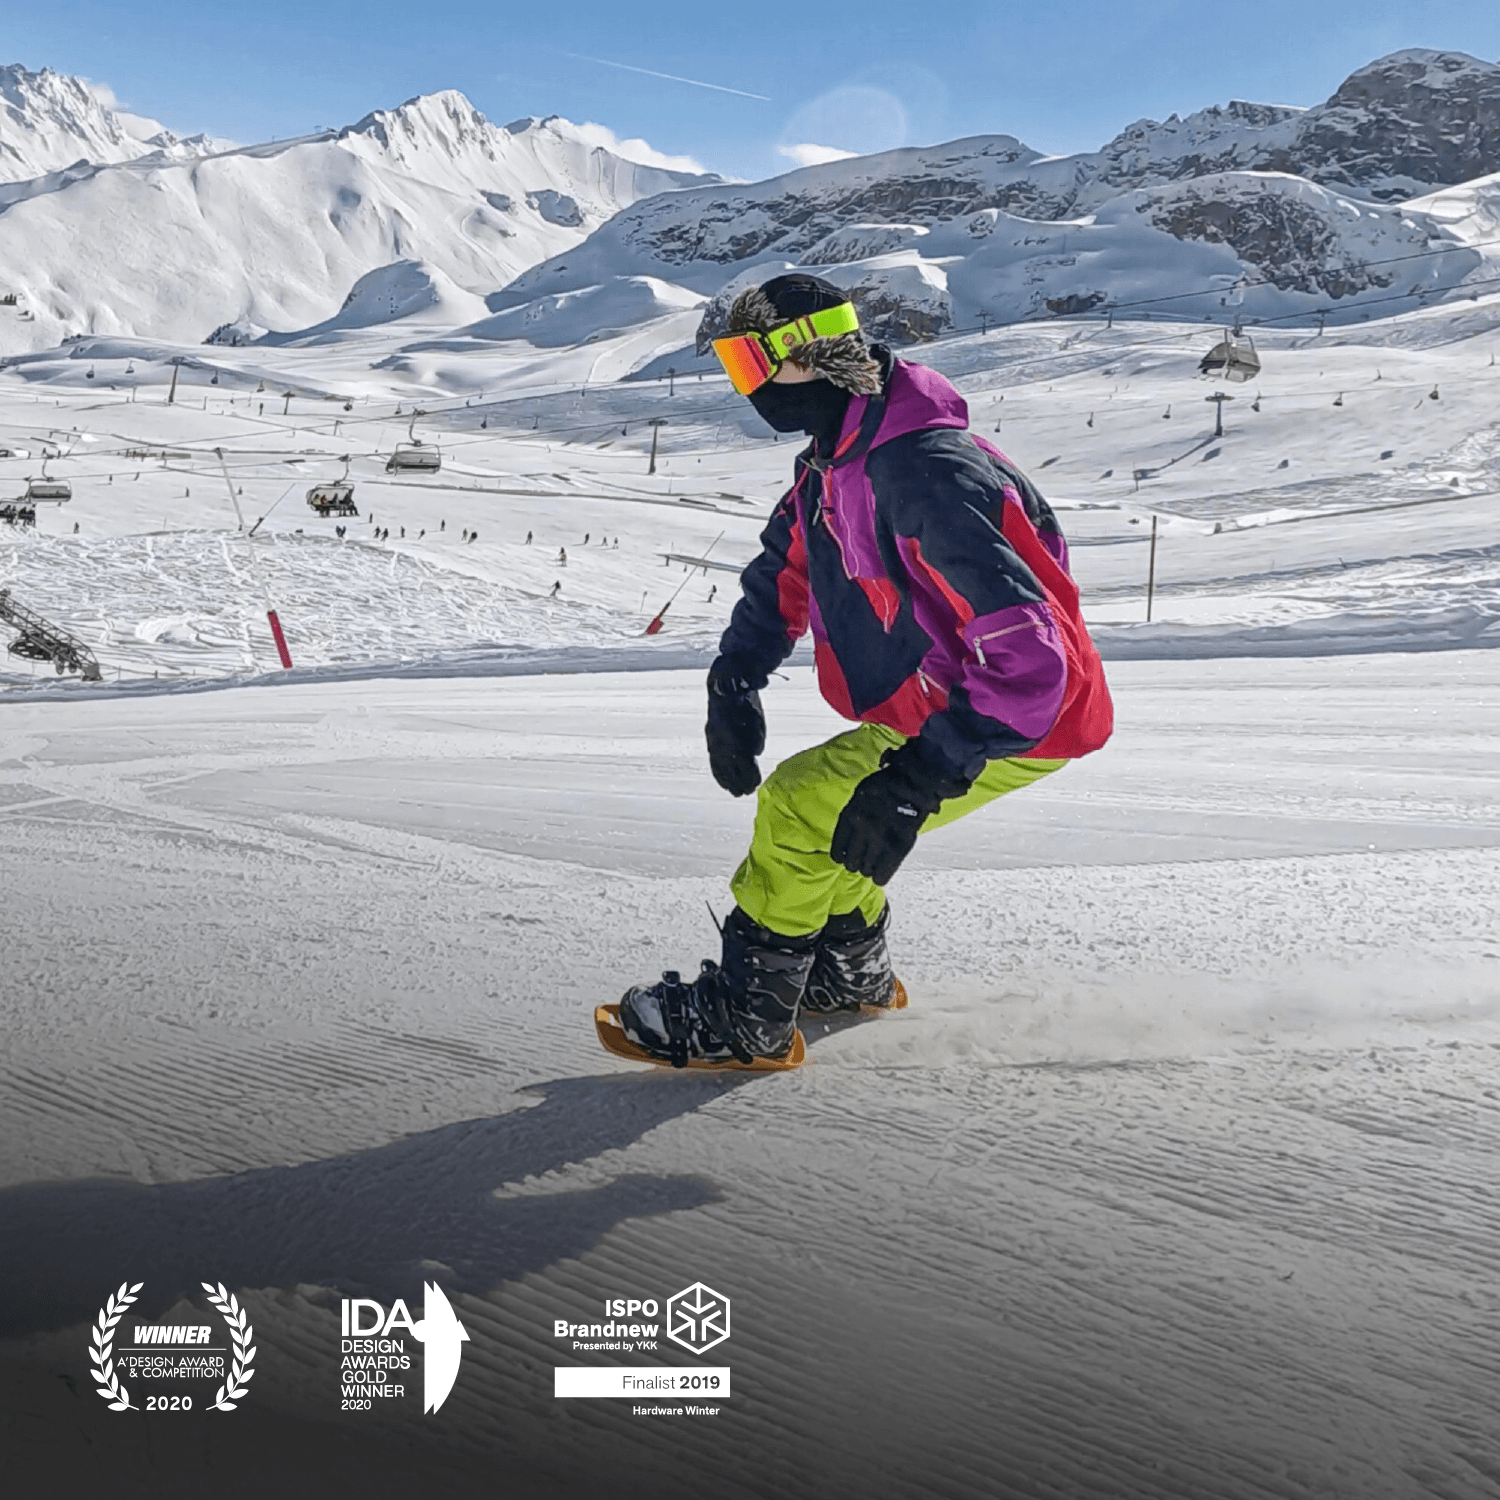
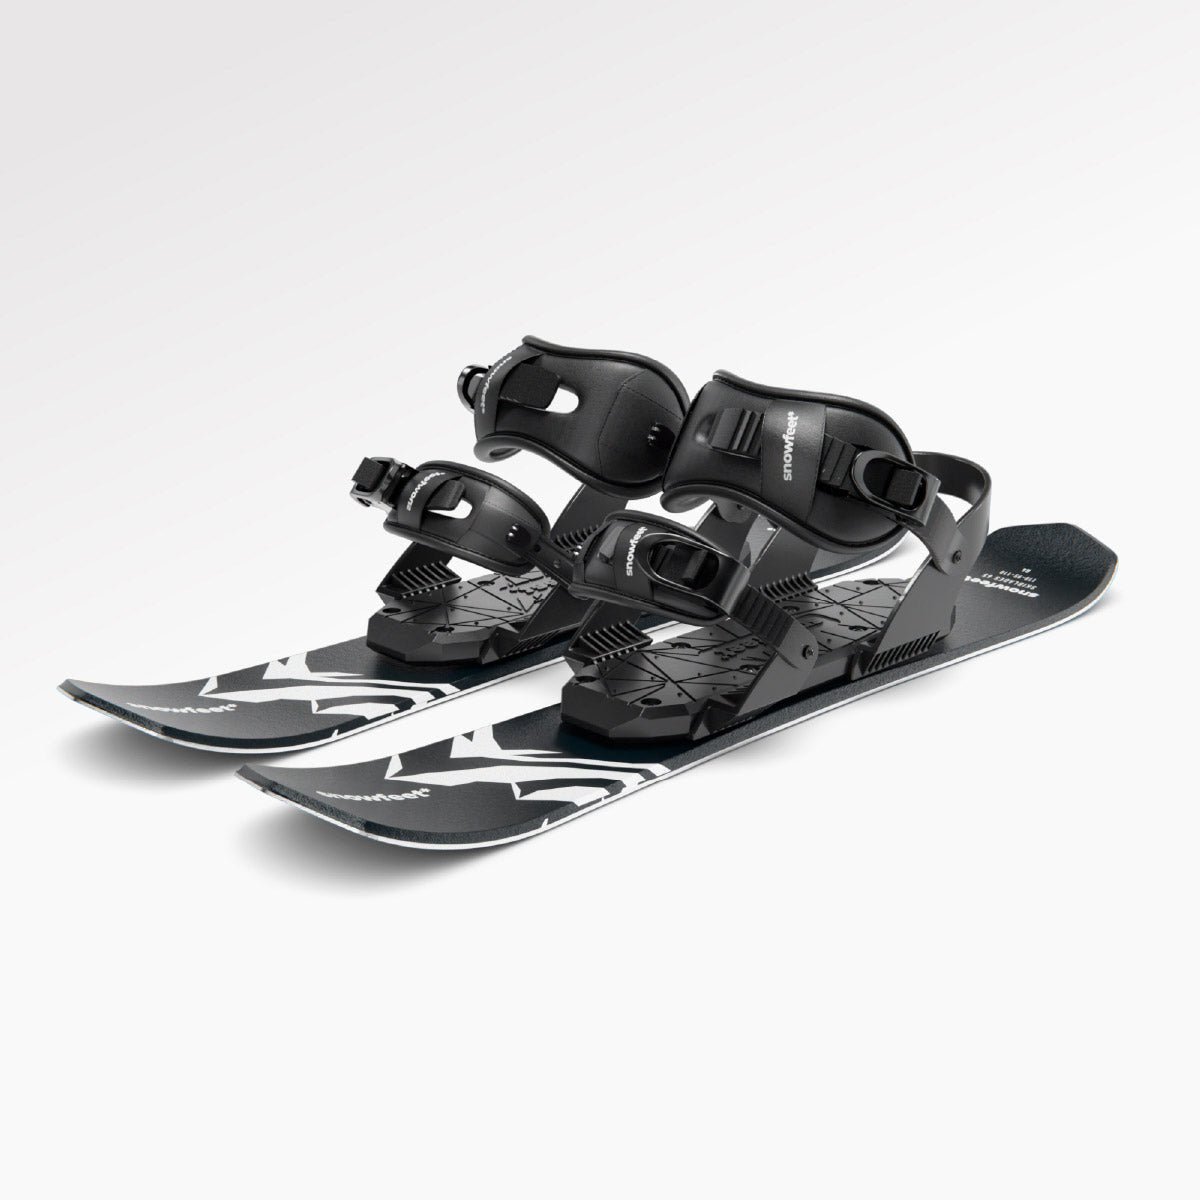
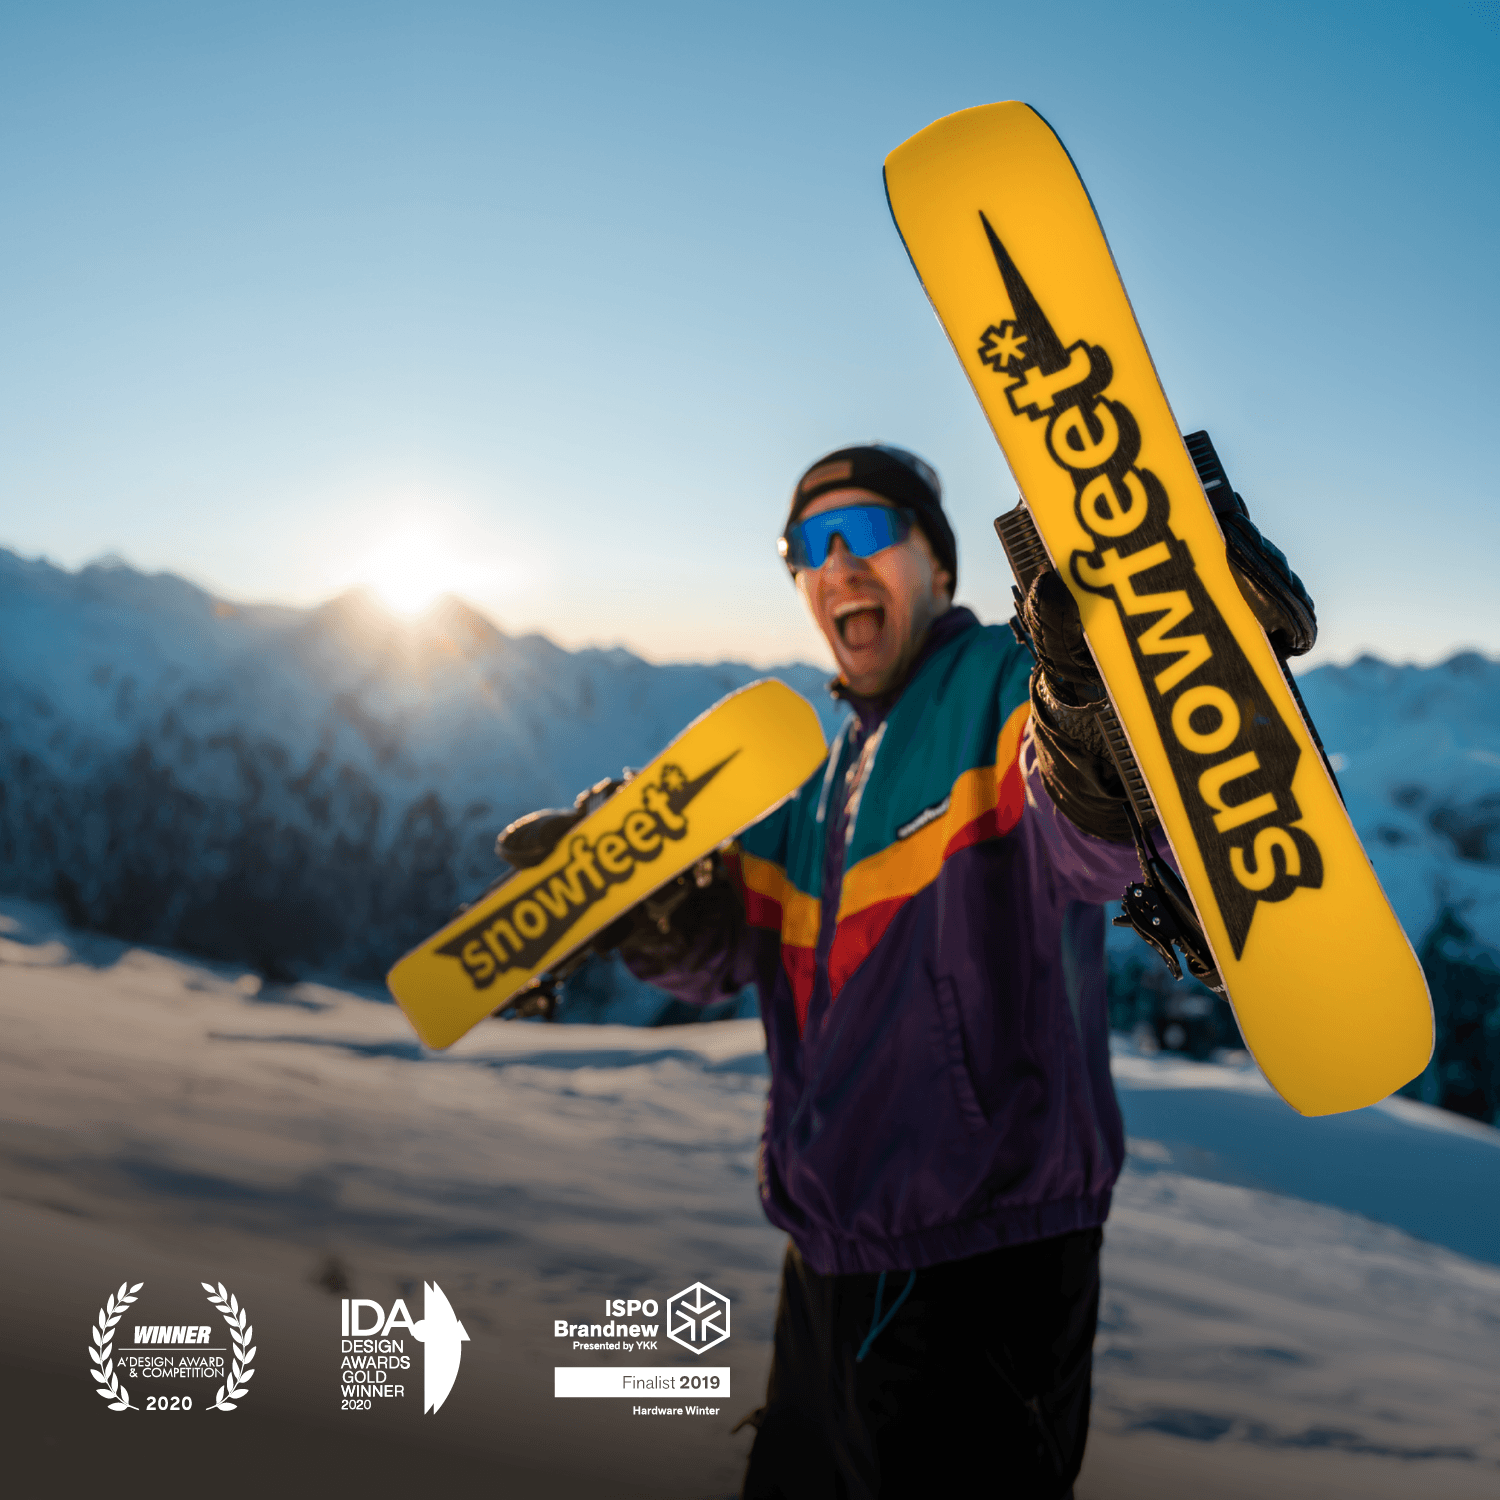
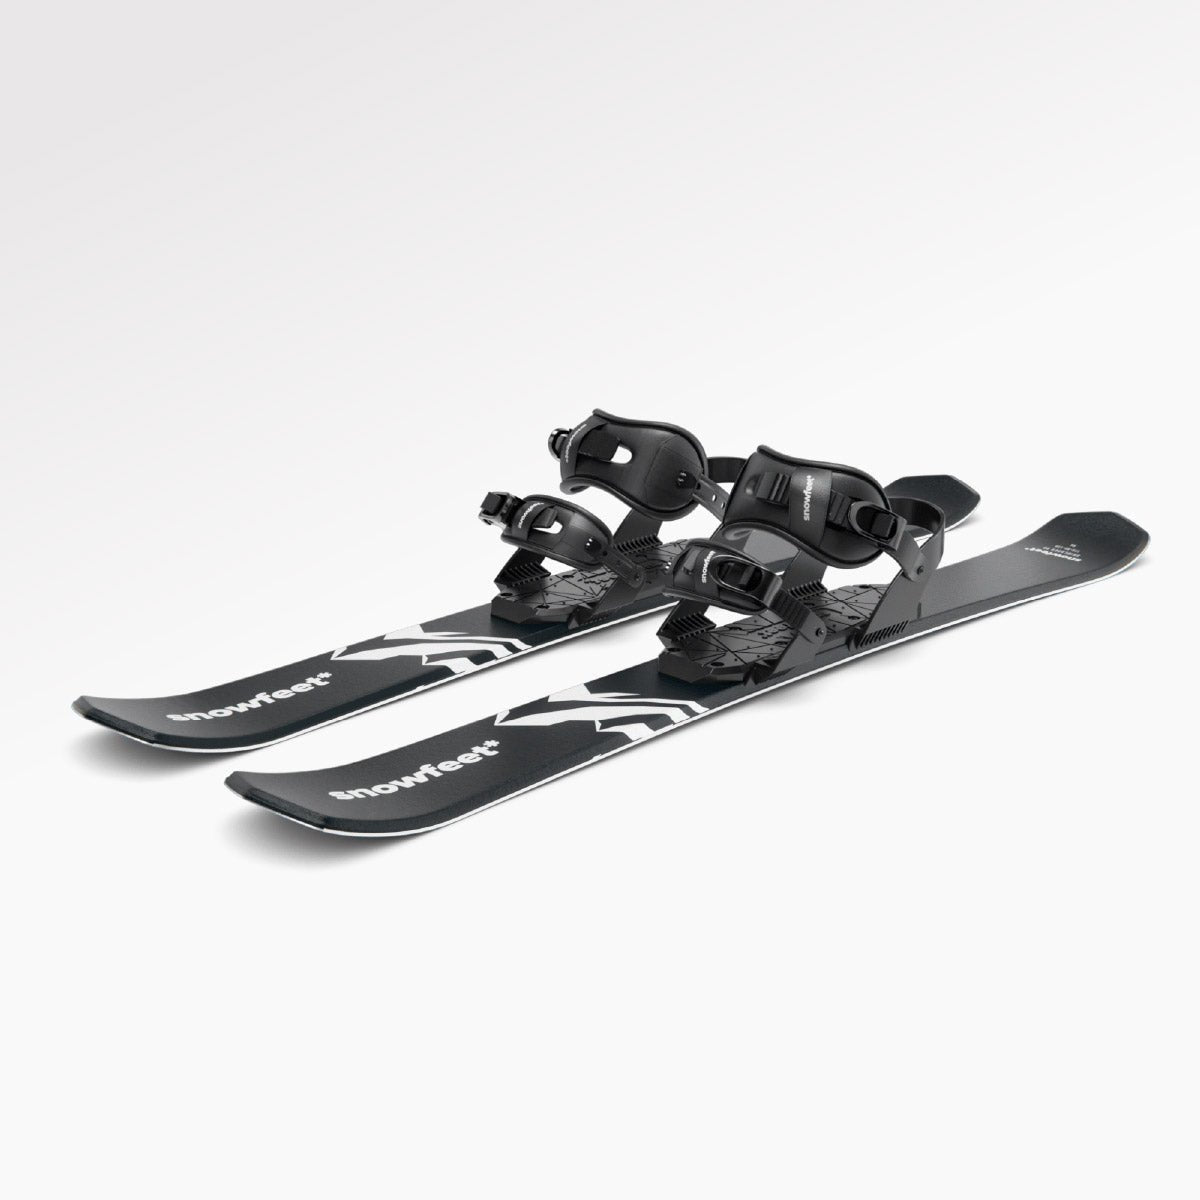
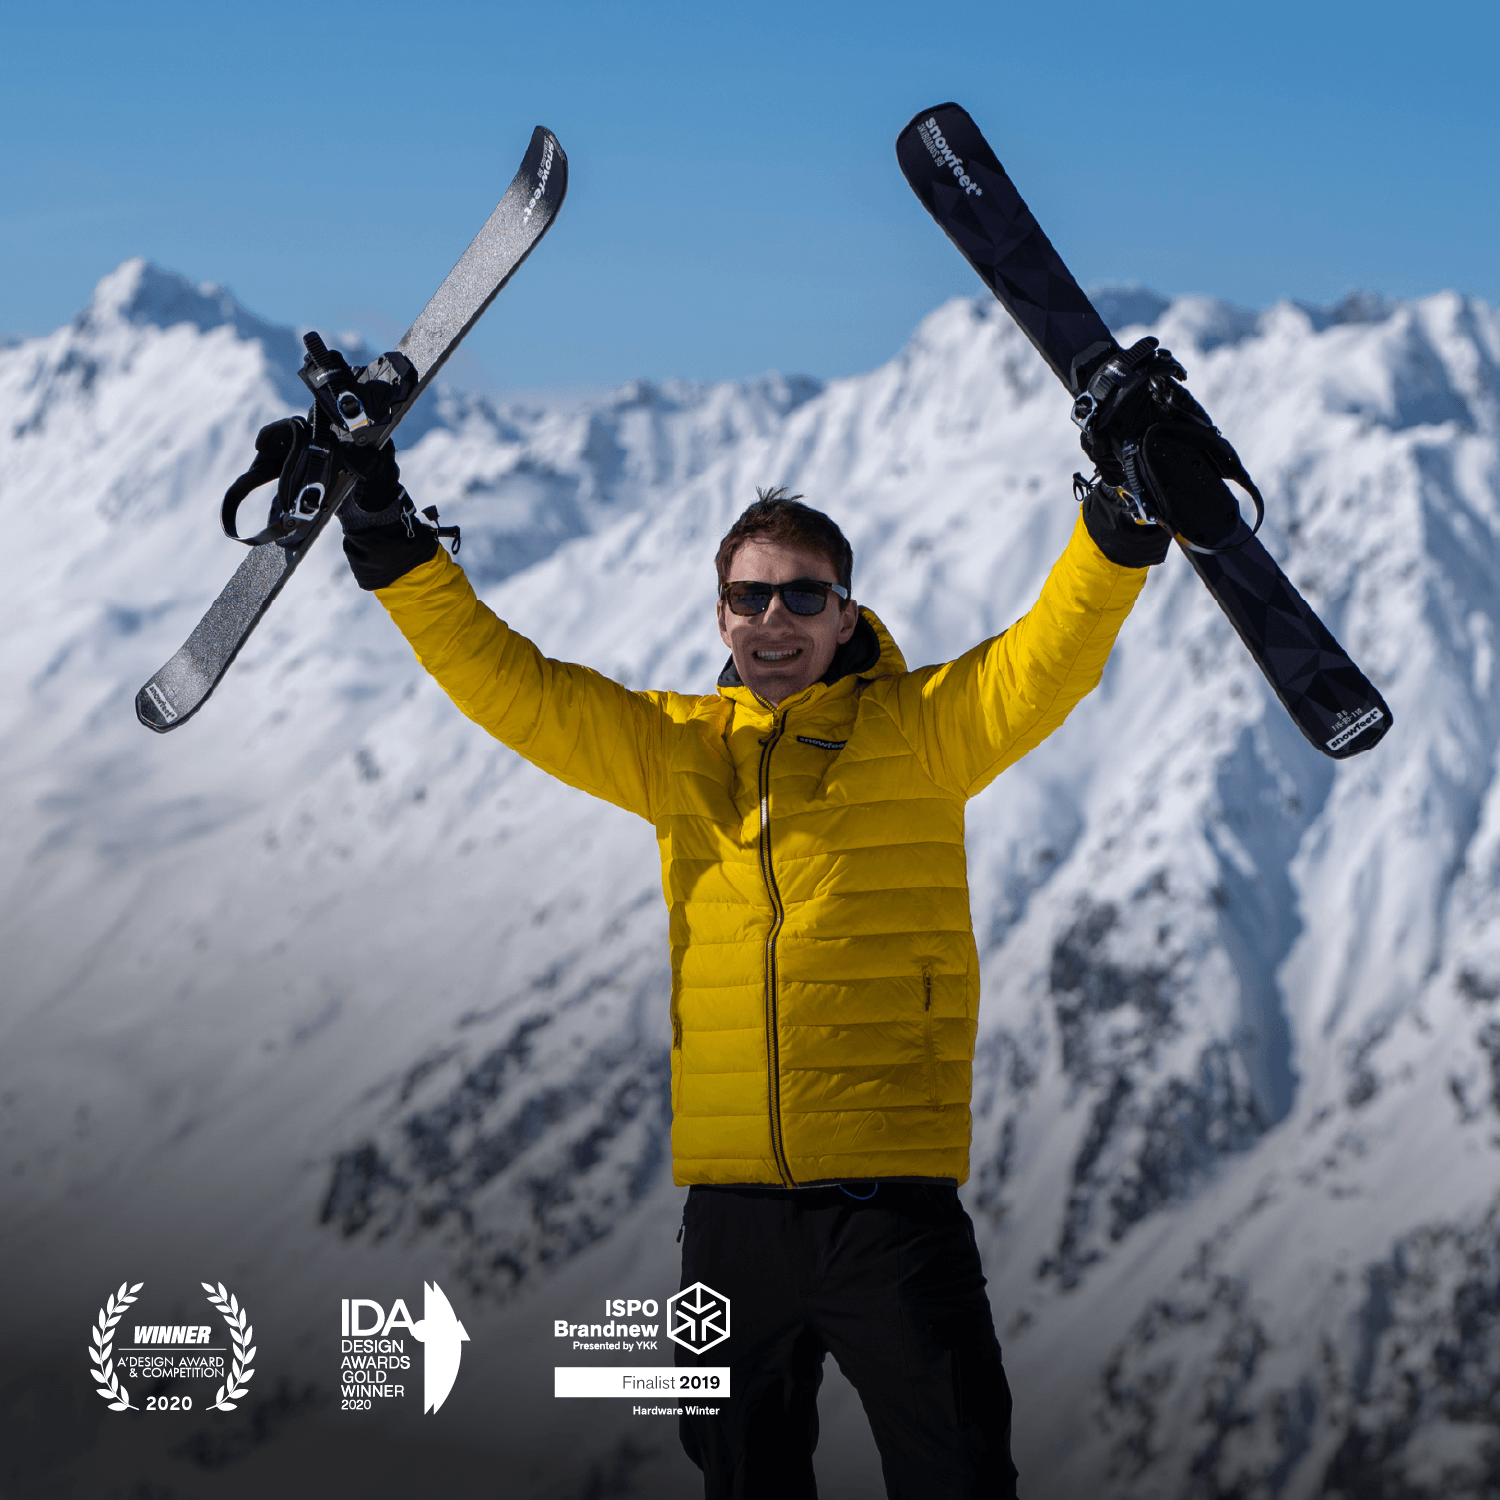
- Sprzęt przyjazny dla początkujących: Rozważ Snowfeet Walkski - krótkie, lekkie narty, które działają z normalnymi butami i upraszczają cały proces.
Przeprowadzimy Cię przez wszystko: wskazówki dotyczące bezpieczeństwa, przygotowanie kondycyjne, planowanie trasy oraz jak Snowfeet może ułatwić Twoją pierwszą wycieczkę. Gotowy? Ruszamy!
Jak wykonać pierwsze skręty na nartach poza trasami
Przygotowanie: budowanie umiejętności i planowanie wyprawy
Przygotowanie do wyprawy poza trasami to nie tylko pakowanie sprzętu – to budowanie odpowiednich umiejętności i planowanie z wyprzedzeniem, by zapewnić bezpieczną i pełną zabawy przygodę.
Szkolenie z bezpieczeństwa lawinowego i umiejętności
Zanim pomyślisz o wyruszeniu, kurs bezpieczeństwa lawinowego (np. AIARE Level 1) jest koniecznością. Kursy te uczą oceny terenu, analizy warunków śniegowych i podstawowych technik ratowniczych. Nauczysz się też prawidłowego użycia kluczowego sprzętu bezpieczeństwa, takiego jak nadajnik, sonda i łopata. Ta wiedza może dosłownie ratować życie. Połącz to z inwestycją w wysokiej jakości sprzęt ratunkowy, a zapewnisz sobie bezpieczniejsze doświadczenie.
Tu naprawdę błyszczy Snowfeet* Walkski. Dzięki lekkiej konstrukcji upraszcza Twój sprzęt w porównaniu z tradycyjnym, cięższym sprzętem turystycznym, ułatwiając skupienie się na tym, co naprawdę ważne: zachowaniu bezpieczeństwa.
Gdy masz już opanowane kwestie bezpieczeństwa, czas upewnić się, że Twoje ciało jest gotowe na wyzwanie.
Podstawy kondycji i narciarstwa
Turystyka poza trasami to nie spacer – to trening. Potrzebujesz solidnej wytrzymałości i silnych nóg, by poradzić sobie z podchodzeniem pod górę niosąc sprzęt. Zacznij trening kilka tygodni przed wyprawą, uprawiając takie aktywności jak wędrówki, wspinanie po schodach, jazda na rowerze czy bieganie. Te ćwiczenia zbudują wytrzymałość i siłę, których będziesz potrzebować.
Poza kondycją, upewnij się, że czujesz się komfortowo jeżdżąc na nartach w różnych warunkach. Tereny poza trasami nie są jak przygotowane stoki w Twoim ulubionym ośrodku – są nieprzewidywalne i mogą się szybko zmieniać. Kompaktowa konstrukcja Snowfeet* również tu pomaga. Jest lżejsza i bardziej zwrotna, co oznacza mniejsze zmęczenie i więcej energii zachowanej na najlepszą część: zjazd.
Mając opanowane umiejętności i kondycję, kolejnym krokiem jest zaplanowanie swojej przygody.
Planowanie trasy 101
Wybierz trasę odpowiadającą Twoim umiejętnościom i aktualnym warunkom. Dla początkujących szukaj opcji o umiarkowanym przewyższeniu, minimalnym ryzyku lawin i wyraźnych drogach ucieczki. Lokalne przewodniki i zasoby mogą tu bardzo pomóc. I nie zapomnij sprawdzić prognozy pogody i biuletyny lawinowe przed wyruszeniem.
Górska pogoda może się zmienić w mgnieniu oka, więc zawsze miej plan awaryjny i bądź gotów zawrócić, jeśli sytuacja się pogorszy. Snowfeet* dodaje Twojej wyprawie elastyczności, ułatwiając eksplorację bezpieczniejszego, zróżnicowanego terenu bez konieczności korzystania z ciężkiego, tradycyjnego sprzętu turystycznego.
Sprzęt, którego potrzebujesz: Dlaczego Snowfeet* Walkski wyróżnia się

Odpowiedni sprzęt może zrobić ogromną różnicę, gdy wybierasz się na swoją pierwszą wycieczkę narciarską poza trasami. Tradycyjne zestawy mogą być przytłaczające - nie wspominając o kosztach - ale istnieje prostszy sposób, by zacząć. Przyjrzyjmy się, czego potrzebujesz i dlaczego warto rozważyć Snowfeet* Walkski.
Lista sprzętu do narciarstwa poza trasami
Gdy jesteś na terenie poza trasami, bezpieczeństwo i komfort są najważniejsze. Oto co powinieneś spakować:
- Narzędzia bezpieczeństwa lawinowego: Nadajnik, sonda i łopata to niezbędne wyposażenie w sytuacjach ratunkowych.
- Niezbędniki nawigacyjne: Mapa, kompas lub urządzenie GPS, które pomogą Ci utrzymać kurs.
- Apteczka pierwszej pomocy: Bądź przygotowany na drobne urazy.
- Nawodnienie: Dużo wody, aby pozostać odświeżonym.
- Warstwowa odzież: Zacznij od warstwy bazowej odprowadzającej wilgoć, dodaj izolującą warstwę środkową i zakończ wodoodporną powłoką. Nie zapomnij o dodatkowych rękawiczkach, ciepłej czapce i zapasowych skarpetach.
- Przekąski: Wysokoenergetyczne opcje, takie jak orzechy, batony energetyczne lub suszone owoce, które dodadzą energii podczas przygody.
Jeśli chodzi o sprzęt na stoki, Snowfeet* Walkski wyróżnia się, oferując prostą, przyjazną użytkownikowi alternatywę dla tradycyjnych zestawów.
Snowfeet* Walkski kontra Długie narty i Snowboardy
Snowfeet* Walkski upraszcza doświadczenie w terenie poza trasami. Oto jak wypada w porównaniu z tradycyjnymi nartami i snowboardami:
| Cechy | Snowfeet* Walkski (100 cm / 39 in) | Długie narty | Snowboardy |
|---|---|---|---|
| Przenośność | Pasuje do plecaka | Pojemne; wymaga bagażnika dachowego lub dużej torby | Pojemne; wymaga bagażnika dachowego lub dużej torby |
| Krzywa nauki | Szybka i przyjazna dla początkujących | Umiarkowana do długiej | Umiarkowana do długiej |
| Elastyczność | Świetne do jazdy i wspinaczki | Ograniczone do narciarstwa | Ograniczone do snowboardingu |
| Kompatybilność butów | Działa z butami trekkingowymi lub zimowymi | Wymaga specjalistycznych butów narciarskich | Wymaga butów snowboardowych |
| Waga | ~1,3 kg na nartę | 2,7–3,6 kg na nartę | 3,6–5,4 kg na deskę |
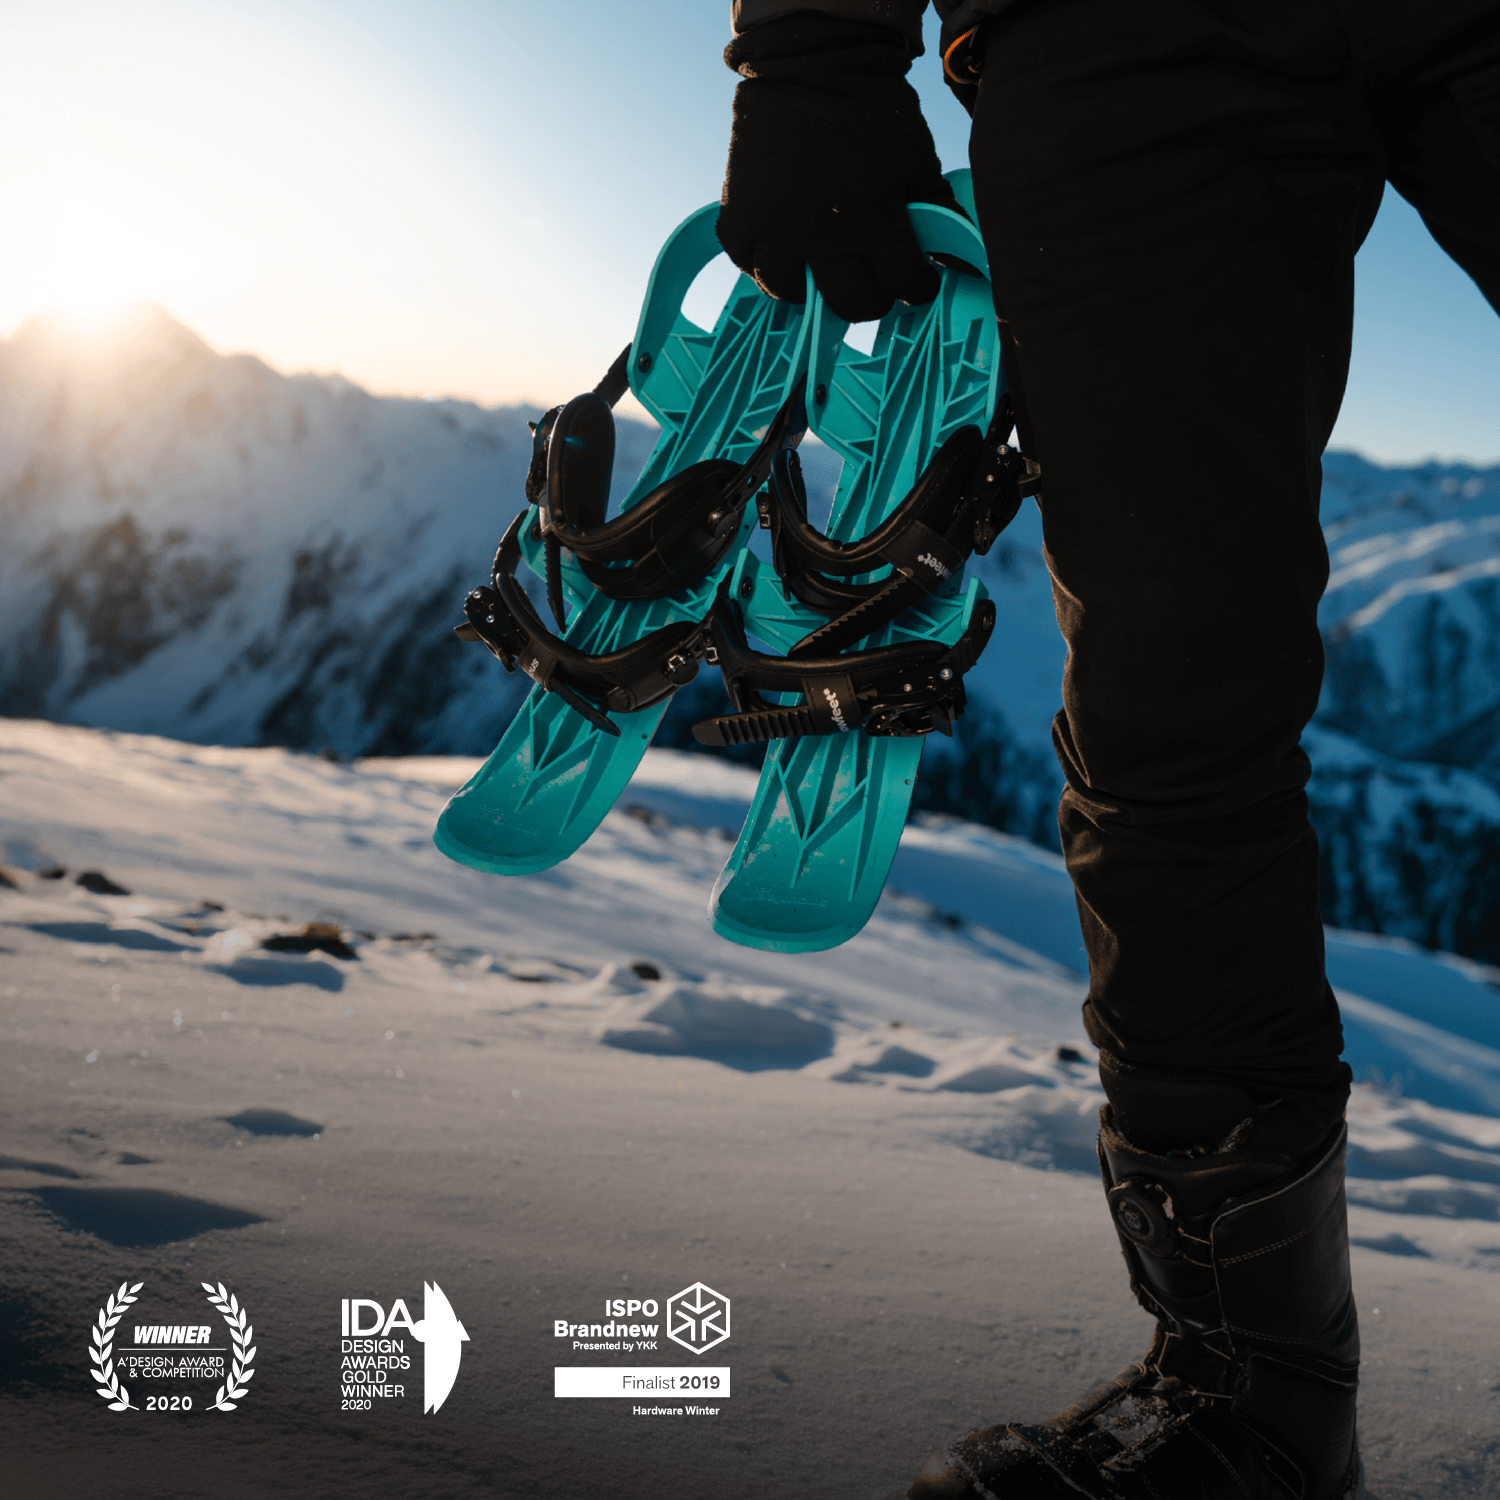
Tradycyjne narty, które zazwyczaj mają długość 160–190 cm, zajmują dużo miejsca i często wymagają dodatkowych rozwiązań do przechowywania, takich jak bagażniki dachowe. Snowfeet* Walkski natomiast mierzy zaledwie 100 cm (około 39 cali) i łatwo mieści się w bagażniku samochodu lub nawet w plecaku. Ta przenośność oznacza, że możesz wybrać się na szybki popołudniowy wypad bez kłopotu z dużym sprzętem.
Różnica w wadze to kolejny duży plus. Snowfeet* Walkski jest o około 40–50% lżejszy niż tradycyjne zestawy, co przekłada się na mniejsze zmęczenie podczas podchodzenia i więcej energii na zjazd. To konstrukcja stworzona z myślą o łatwości i efektywności.
Dlaczego Snowfeet* to idealny wybór dla początkujących
Wejście w narciarstwo backcountry może wydawać się onieśmielające, ale Snowfeet* sprawia, że jest to znacznie bardziej dostępne. Oto dlaczego:
- Przystępny punkt wejścia: Snowfeet* Walkski kosztuje od 499 do 690 USD, w porównaniu z tradycyjnymi zestawami, które mogą przekraczać 2200 USD, gdy uwzględnimy narty, buty, wiązania i foki. To znacznie mniejsza inwestycja dla osób dopiero zaczynających.
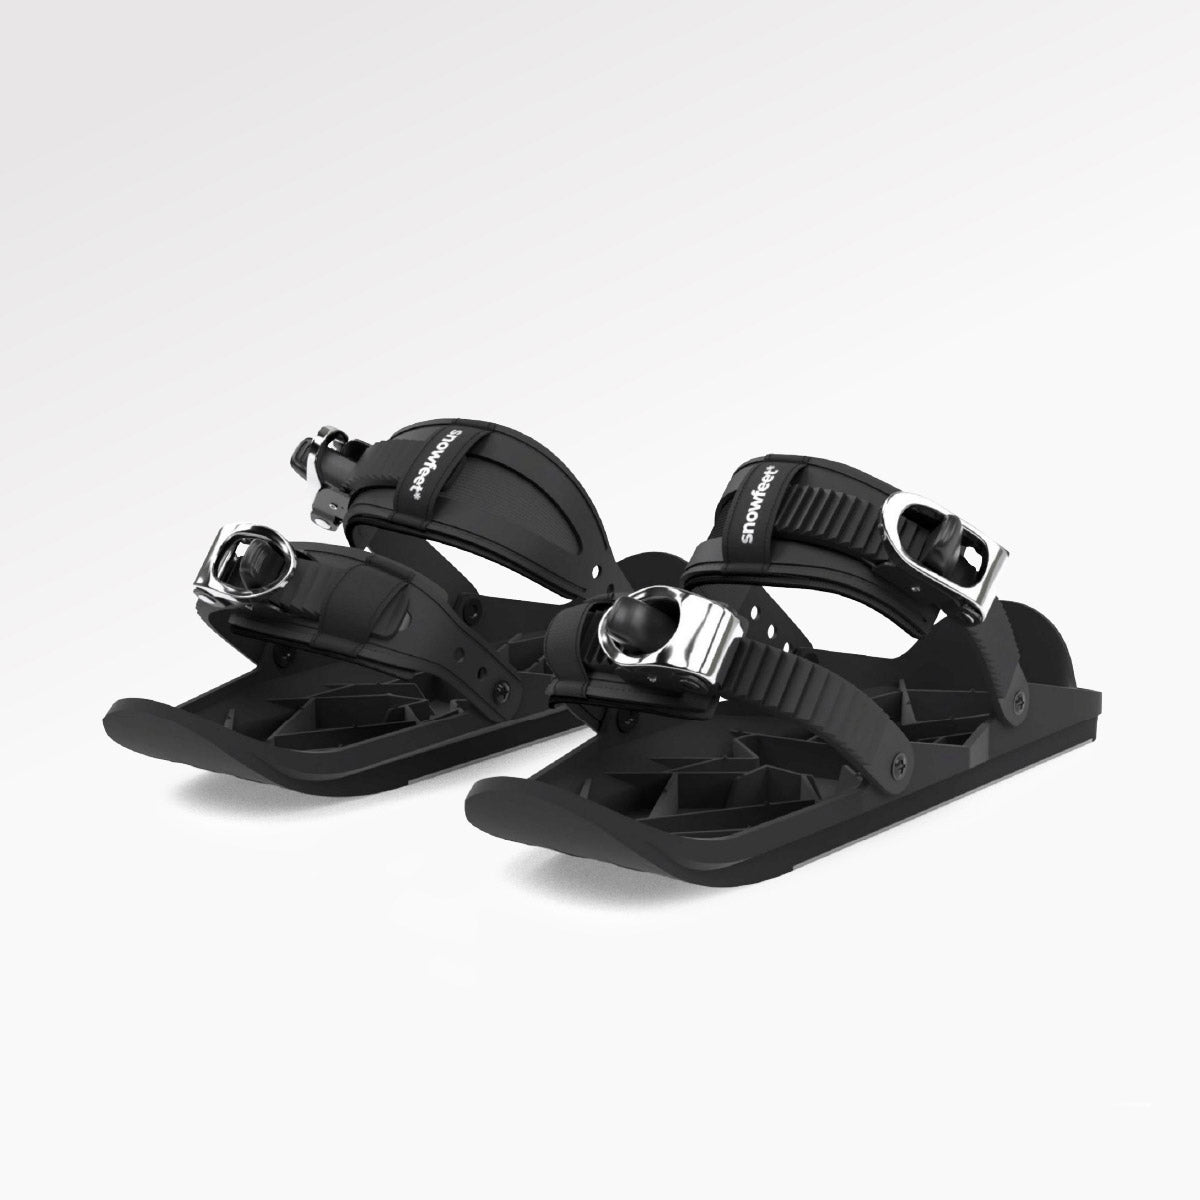
- Uniwersalne wiązania: Możesz używać ich z dowolnymi zimowymi butami, które już posiadasz – nie musisz kupować specjalistycznych butów narciarskich ani zmagać się ze skomplikowanymi regulacjami.
- Łatwe w użyciu: Pomijaj stromą krzywą nauki tradycyjnych zestawów. Nie musisz opanowywać zakrętów kick-turn, wchodzenia na foki ani przejść wiązań. Po prostu przypnij Snowfeet* i ruszaj na szlak.
Kompaktowa konstrukcja ułatwia także poruszanie się w wąskich przestrzeniach, po pagórkach i umiarkowanych stokach – idealne do budowania pewności siebie przed podjęciem trudniejszego terenu.
Snowfeet* Walkski zdobył średnią ocenę 4,5/5 gwiazdek na głównych platformach sprzedażowych, a użytkownicy chwalą jego przenośność, przystępność cenową i kompatybilność z zwykłymi zimowymi butami. To solidny wybór dla każdego, kto chce spróbować narciarstwa poza trasami, nie rujnując portfela ani nie obciążając pleców ciężkim sprzętem.
sbb-itb-17ade95
Przewodnik krok po kroku: Twoja pierwsza wycieczka w dzikie tereny
Teraz, gdy twój sprzęt jest gotowy, przejdźmy przez to, co wydarzy się podczas twojej pierwszej wycieczki w dzikie tereny. Ten przewodnik krok po kroku pomoże ci wiedzieć, czego się spodziewać od początku do końca.
Przygotowanie przed wycieczką
Przed wyruszeniem poświęć chwilę na sprawdzenie prognozy lawinowej i warunków pogodowych. Źródła takie jak Colorado Avalanche Information Center lub lokalne centrum lawinowe mają najnowsze informacje.
Następnie upewnij się, że sprzęt lawinowy wszystkich jest sprawny. Obejmuje to nadajnik, sondę i łopatę dla każdej osoby. Przetestuj nadajniki, mając jedną osobę nadającą sygnał, a pozostałych szukających. To szybka kontrola, która może zrobić ogromną różnicę.
Starannie zaplanuj trasę i ustal czas powrotu dwukrotnie dłuższy niż przewidywany czas wycieczki. Na przykład, jeśli spodziewasz się 4-godzinnej wycieczki, zaplanuj powrót po 8 godzinach, aby uwzględnić nieoczekiwane opóźnienia.
Jeśli używasz Snowfeet Walkski, przygotowania są znacznie prostsze. Nie musisz regulować wiązań ani przyczepiać fok. Po prostu przypnij je do zimowych butów i ruszaj.
Gdy wszystko jest gotowe, rozpocznij wspinaczkę pewnymi, przemyślanymi krokami.
Techniki poruszania się pod górę
Większość czasu spędzisz na wspinaczce, więc znalezienie rytmu jest kluczowe. Zacznij wolniej, niż myślisz, że potrzebujesz – zwłaszcza na większych wysokościach, gdzie tętno może szybko wzrosnąć. Wybierz tempo, które utrzymasz przez wiele godzin.
Rób przerwy co 20–30 minut, aby się nawodnić, zjeść przekąskę i sprawdzić, co u twojej grupy. Wykorzystaj te chwile, aby ocenić warunki śniegowe i zmiany pogody. Jeśli sytuacja zacznie wyglądać niebezpiecznie, nie wahaj się zawrócić.
Z Snowfeet Walkski wspinaczka pod górę jest prosta. Jego kompaktowa konstrukcja pozwala chodzić lub przesuwać się pod górę bez konieczności używania fok czy innych regulacji.
Podczas wspinaczki uważnie czytaj teren. Unikaj stromych stoków, nawisów i obszarów nawietrznych. Trzymaj się łagodniejszych nachyleń wzdłuż grzbietów lub przez gęste drzewa. Pamiętaj, że Twoja pierwsza wycieczka ma na celu budowanie pewności siebie, a nie przekraczanie granic.
Gdy dotrzesz do bezpiecznego miejsca, czas przygotować się do zjazdu.
Zjazd i przejścia
Teraz czas na zabawę – zjazd! Ale nie śpiesz się; ta faza może być trudna, jeśli nie jesteś przygotowany. Tradycyjne narty często wymagają długiego procesu przejścia, jak zdejmowanie fok i regulacja wiązań, co może narazić Cię na niebezpieczeństwo.
Z Snowfeet Walkski przejścia są dziecinnie proste. Nie ma potrzeby zdejmowania fok ani zmiany trybów wiązań. Możesz przejść z wspinaczki do zjazdu w kilka sekund, spędzając mniej czasu na niebezpiecznym terenie.
Rozpocznij zjazd kontrolowanymi skrętami, testując śnieg po drodze. Warunki mogą się szybko zmieniać – puch może nagle ustąpić miejsca skorupie lub lodowi. Częste, świadome skręty pomagają kontrolować prędkość i utrzymać panowanie nad sytuacją. Kompaktowa konstrukcja Snowfeet Walkski ułatwia to jeszcze bardziej.
Często zatrzymuj się podczas zjazdu, by zebrać grupę. Wybieraj bezpieczne, płaskie miejsca lub obszary z gęstymi drzewami, gdzie ryzyko lawiny jest mniejsze. Upewnij się, że wszyscy w grupie są obecni, zanim ruszysz dalej.
Jeśli zdecydujesz się na ponowne wspinanie, Snowfeet Walkski pozwala zacząć pod górę od razu – bez uciążliwych przejść.
Na koniec, choć zjazd może być najważniejszym momentem, nie zapominaj o bezpiecznym powrocie do punktu startowego. Zachowaj trochę energii na ostatni odcinek. Zmęczenie może prowadzić do błędów, a tego na końcu przygody chcesz uniknąć.
Wskazówki na bezpieczne i przyjemne doświadczenie
Twoja pierwsza wycieczka backcountry powinna być zarówno bezpieczna, jak i przyjemna. Oto kilka praktycznych wskazówek, które pomogą Ci poradzić sobie z wyzwaniami i w pełni wykorzystać czas na górze.
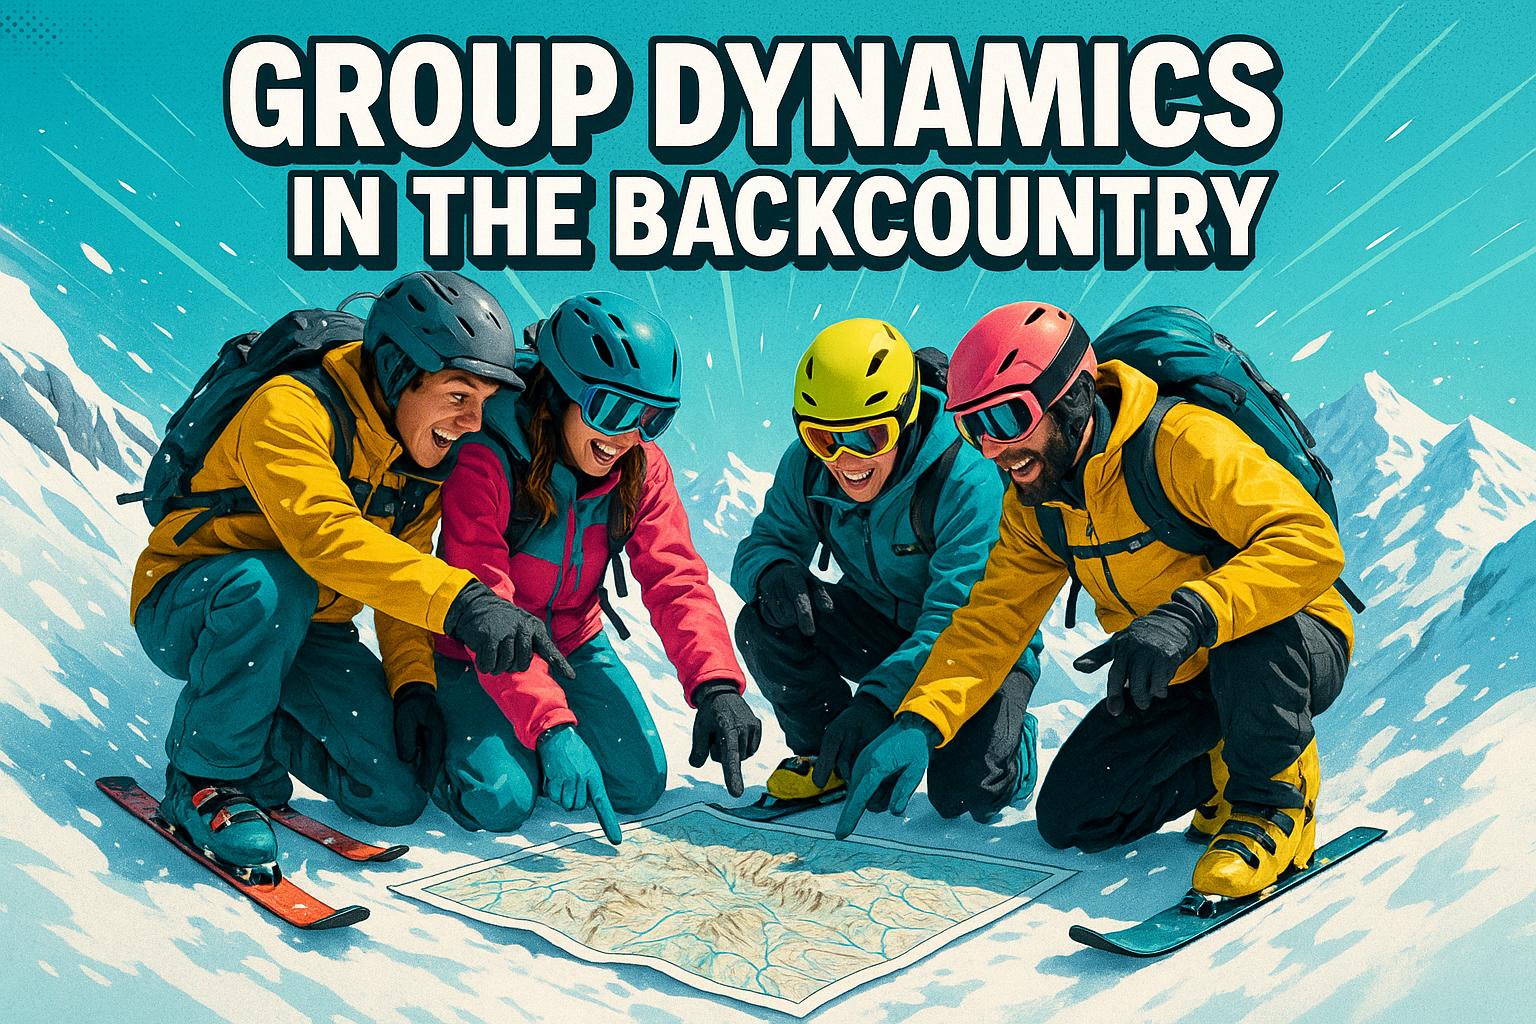
Bezpieczeństwo przede wszystkim: Dynamika grupy i zarządzanie ryzykiem
Turystyka backcountry to nie aktywność solo – zawsze idź w grupie. Optymalna liczba to trzy do czterech osób, co zapewnia równowagę między bezpieczeństwem a efektywnością. Przed wyruszeniem ustalcie jasne metody komunikacji, w tym sygnały ręczne na wypadek, gdy wiatr uniemożliwi rozmowę.
Wybierz lidera, który potrafi czytać teren i podejmować świadome decyzje dotyczące trasy. Mimo to, każdy w grupie powinien czuć się swobodnie, wyrażając obawy dotyczące bezpieczeństwa. Jeśli ktoś czuje się niepewnie co do warunków lub terenu, to znak, by zatrzymać się i wspólnie to przemyśleć.
Ustal konserwatywny czas powrotu i trzymaj się go. Pogoda w terenie może się gwałtownie zmienić - słoneczny poranek może szybko przerodzić się w oślepiającą zamieć śnieżną. Pilnuj zegarka i zostaw sobie dodatkowy czas na zjazd oraz nieprzewidziane opóźnienia.
Trzymajcie się razem, zwłaszcza w rejonach zagrożonych lawinami. Zawsze utrzymuj kontakt wzrokowy i głosowy. Przekraczając niebezpieczny teren, tylko jedna osoba powinna iść naraz, podczas gdy reszta grupy czeka w bezpiecznych strefach.
Snowfeet Walkski może faktycznie zwiększyć bezpieczeństwo grupy, przyspieszając przejścia. W przeciwieństwie do tradycyjnych zestawów narciarskich, które mogą narażać Cię podczas regulacji fok i wiązań, szybkie przejścia Snowfeet pozwalają wszystkim poruszać się sprawnie i bezpiecznie. Te grupowe praktyki zapewniają bezpieczniejszą i przyjemniejszą wycieczkę.
Wykorzystaj swoją wycieczkę jak najlepiej
Ubieraj się warstwowo i bądź gotowy na zmiany w ciągu dnia. Zacznij od lekkiego chłodu - szybko się rozgrzejesz podczas wspinaczki. Dobry zestaw to lekka warstwa bazowa, izolująca warstwa środkowa i wodoodporna powłoka. Unikaj bawełny, bo traci ciepło, gdy jest mokra.
Pakuj wysokokaloryczne przekąski i jedz często. Twoje ciało spala więcej kalorii w zimnych i wysokogórskich warunkach. Mieszanki orzechów, batony energetyczne i suszone owoce to świetne opcje. I nie zapominaj regularnie pić wody, nawet jeśli nie czujesz pragnienia.
Znajdź czas, by nacieszyć się widokami. Łatwo wpaść w wir wysiłku fizycznego i przeoczyć oszałamiające krajobrazy. Zaplanuj bezpieczne miejsca na odpoczynek i docenianie otoczenia.
Bądź cierpliwy wobec siebie i swojego sprzętu. Nauka czytania warunków śniegowych, nawigacji po trudnym terenie i obsługi sprzętu wymaga praktyki. Nie dąż do perfekcji podczas pierwszej wycieczki - skup się na stopniowym budowaniu umiejętności i pewności siebie.
Jak Snowfeet* redukuje zmęczenie i dodaje zabawy
To właśnie tutaj Snowfeet* naprawdę może odmienić Twoje doświadczenia w terenie. Tradycyjne narciarstwo poza trasami może być wyczerpujące, zwłaszcza dla początkujących zmagających się z nieporęcznym, ciężkim sprzętem. Snowfeet Walkski dosłownie odciąża - i sprawia, że przygoda staje się przyjemniejsza.
Lekka konstrukcja oznacza, że wspinaczka pod górę wymaga mniej wysiłku, zostawiając Ci więcej energii na zjazd. Dodatkowo możesz dłużej wędrować, nie czując się całkowicie wyczerpany.
Kompaktowy rozmiar 39 cali eliminuje niewygodę związaną z obsługą długich nart w ciasnych miejscach. Koniec z obawami o uderzenie partnera w wycieczce końcówkami nart lub trudnościami w manewrowaniu przez wąskie przestrzenie. Ta prostota zmniejsza stres i pozwala skupić się na zabawie.
Smukła konstrukcja Snowfeet przyspiesza także przejścia, dzięki czemu pozostajesz aktywny i ciepły, utrzymując tempo swojej przygody.
Krzywa nauki jest znacznie łagodniejsza z Snowfeet. Zamiast zmagać się ze skomplikowanym sprzętem podczas próby opanowania nowego terenu, możesz skupić się na doskonaleniu swoich umiejętności poza trasami i dbaniu o bezpieczeństwo. To szybciej buduje pewność siebie i sprawia, że przyszłe wycieczki są jeszcze przyjemniejsze.
Podsumowanie: Zacznij swoją przygodę poza trasami z pewnością siebie
Twoja pierwsza wycieczka narciarska poza trasami nie musi być przytłaczająca. Przy odpowiednim przygotowaniu, skupieniu na bezpieczeństwie i sprzęcie dopasowanym do Ciebie, wejście w ten ekscytujący zimowy świat może być zarówno ekscytujące, jak i łatwe do opanowania. Solidne podstawy tych zasad zapewnią Ci przygodę, która będzie nie tylko zabawna, ale i bezpieczna.
Dobre przygotowanie i praktyki bezpieczeństwa to podstawa każdej udanej wycieczki. Zawsze łącz się z doświadczonymi partnerami, bądź świadomy otoczenia i utrzymuj jasną oraz stałą komunikację przez całą podróż.
Dla początkujących Snowfeet Walkski oferuje lekki, przyjazny dla początkujących alternatywny sprzęt w porównaniu z tradycyjnym, masywnym wyposażeniem narciarskim. Jego przemyślany design pozwala skupić się na nauce i czerpaniu radości z doświadczenia, zamiast zmagać się z ciężkim, skomplikowanym sprzętem. Wspinaczka będzie łatwiejsza, przejścia szybsze, a poruszanie się w wąskich miejscach znacznie mniej stresujące – wszystko to bez kłopotu z długimi, nieporęcznymi nartami.
Ale to nie tylko kwestia sprzętu. Narciarstwo poza trasami to rozwijanie umiejętności i cieszenie się każdą chwilą. W miarę zdobywania doświadczenia nauczysz się czytać teren, współpracować z grupą i rozwijać niezbędny instynkt górski. Zaczynając od lżejszego, prostszego sprzętu, takiego jak Snowfeet Walkski, możesz szybciej zyskać pewność siebie, co sprawi, że każda wyprawa będzie przyjemniejsza.
Narciarstwo poza trasami to przygoda na całe życie. Twoja pierwsza wycieczka to dopiero początek wielu niesamowitych podróży przez oszałamiające, pokryte śniegiem krajobrazy. Z Snowfeet Walkski jako bramą do tego sportu, przygotowujesz się na lata bezpiecznej i satysfakcjonującej eksploracji w jednych z najpiękniejszych miejsc na Ziemi.
Idź krok po kroku, dbaj o bezpieczeństwo i przygotuj się na przygodę.
Najczęściej zadawane pytania
Jakie umiejętności i przygotowania są potrzebne na moją pierwszą wycieczkę narciarską poza trasami?
Przed wyruszeniem na swoją pierwszą wycieczkę narciarską poza trasami, ważne jest, aby zapoznać się z podstawami bezpieczeństwa lawinowego. Obejmuje to naukę prawidłowego używania nadajnika, łopaty i sondy. Zapisanie się na certyfikowany kurs bezpieczeństwa lawinowego to mądry krok – da Ci wiedzę potrzebną do bezpiecznego poruszania się w terenie.
Spędź trochę czasu na ćwiczeniach z Twoim sprzętem w domu, aby zbudować pewność siebie. Oznacza to pakowanie sprzętu, mocowanie fok i oswajanie się z wiązaniami. Jeśli to możliwe, rozważ podróż z doświadczonym przewodnikiem lub grupą. To świetny sposób na zdobycie wskazówek i technik, jednocześnie dbając o swoje bezpieczeństwo.
Dla początkujących lekki i łatwy do przenoszenia sprzęt może zrobić ogromną różnicę. Snowfeet Walkski Backcountry Touring Skis (100 cm) to fantastyczna opcja. Ich kompaktowa konstrukcja upraszcza sprawę i zmniejsza wagę, co czyni je idealnymi dla osób rozpoczynających przygodę z narciarstwem poza trasami.
Jak Snowfeet Walkski wypadają w porównaniu z tradycyjnymi nartami i snowboardami dla początkujących pod względem łatwości użycia i bezpieczeństwa?
Snowfeet Walkski są idealne dla początkujących, oferując prostotę i bezpieczeństwo, których tradycyjne narty i deski snowboardowe nie są w stanie zapewnić. Dzięki kompaktowym rozmiarom - od około 38 do 120 cm - i lekkiej konstrukcji, są łatwe do noszenia, kontrolowania i manewrowania. Dla każdego, kto zaczyna przygodę z narciarstwem poza trasami, oznacza to mniej kłopotów i znacznie płynniejsze doświadczenie w porównaniu z ciężkim, tradycyjnym sprzętem.
To, co wyróżnia Snowfeet Walkski, to ich przyjazność dla początkujących. Ich krótsza długość daje lepszą kontrolę i zmniejsza ryzyko upadku, co może znacznie podnieść pewność siebie osób dopiero zaczynających. Jeśli chcesz eksplorować teren bez stromych krzywych nauki związanych z tradycyjnym sprzętem, Snowfeet Walkski mogą być idealnym wyborem.
Jak zaplanować bezpieczną i przyjemną trasę narciarską poza trasami na moją pierwszą wycieczkę?
Planujesz swoją pierwszą narciarską wycieczkę poza trasami? Zacznij od wyboru trasy, która jest łatwa do nawigacji i dopasowana do twojej kondycji oraz umiejętności. Szukaj terenów o łagodnych stokach, minimalnym ryzyku lawin i wyraźnych punktach wyjścia na wypadek zmiany pogody. Narzędzia takie jak CalTopo lub OnX Backcountry świetnie nadają się do planowania tras, które nie przytłoczą cię. Warto też odświeżyć podstawy bezpieczeństwa lawinowego lub nawet zrobić kurs przed wyjściem.
Nie czujesz się pewnie oceniając warunki śniegowe lub zagrożenia? Wynajęcie przewodnika może zmienić zasady gry - wnosi on wiedzę i może znacznie zmniejszyć stres. Jeśli chodzi o sprzęt, początkujący mogą pokochać Snowfeet Walkski Backcountry Touring Skis (100 cm). Są lekkie, wszechstronne i idealne do eksploracji różnych terenów bez uczucia obciążenia. Przy odpowiednim przygotowaniu i właściwym sprzęcie twoja pierwsza przygoda w terenie może być bezpieczna i niezapomniana.
Powiązane wpisy na blogu
- Wprowadzenie do lekkiego narciarstwa poza trasami: niezbędny sprzęt do eksploracji poza przygotowanymi trasami (bez profesjonalnego zestawu)
- Jak wybrać narty dla początkujących w terenie (bezpieczeństwo przede wszystkim!) - 2025
- Narciarstwo poza trasami a narciarstwo w ośrodkach: dlaczego coraz więcej narciarzy wybiera off-piste
- Wzrost popularności narciarstwa napędzanego siłą ludzkich mięśni: dlaczego turystyka narciarska to przyszłość tego sportu





Zostaw komentarz
Ta strona jest chroniona przez hCaptcha i obowiązują na niej Polityka prywatności i Warunki korzystania z usługi serwisu hCaptcha.