


If I’m new to skiskates, I learn to stop before I chase speed. That’s the whole game.
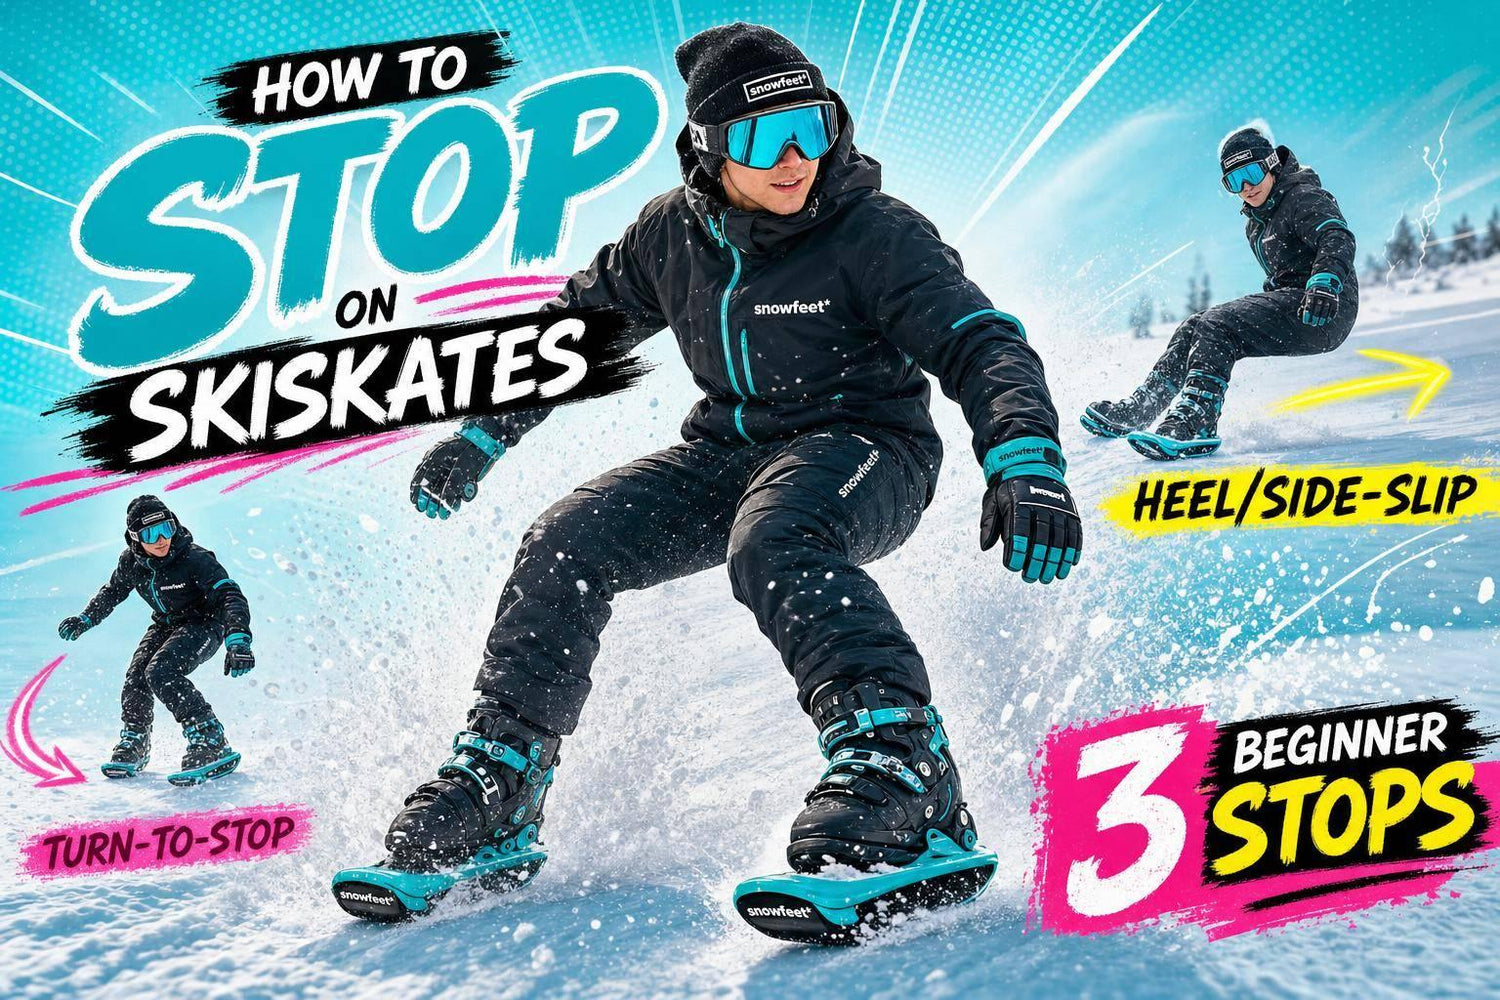
On 44 cm Snowfeet* Skiskates, I’d keep it simple: start on a gentle green run, stay centered, bend my knees, and learn 3 basic ways to slow down:
- Snowplow stop for first control
- Turn across the slope to let the hill slow me
- Light heel pressure or short side-slips for small speed checks
I’d also make sure my bindings fit right, my boots feel snug, and my edges are sharp and dry. A short platform reacts fast, so small body moves matter a lot. That’s good news for beginners. It means I can fix a shaky stop with less fuss than on long skis.
A simple first session works best:
- 10–15 minutes on flat ground first
- 10–20-foot glides into stops
- 30–100-foot short runs
- Practice both left and right turns
- Reset when form gets sloppy
Big beginner mistakes? Leaning back, letting the feet drift too far apart, and twisting the shoulders first. Yep, the usual “why am I suddenly a shopping cart?” moment :)
If I want one short takeaway, it’s this: center my weight, use edge pressure, and practice on easy snow until stopping feels boring. Boring is good here.
For a quick visual, these beginner videos can help:
- Beginner ski stopping basics on YouTube
- Side-slip drill on YouTube
- Snowplow stop tutorial on YouTube
So, if I can stop on command, the rest gets a lot less scary.
Snowfeet* & Skiskates Tutorial - How to Become a PRO Skiskater
Set Up Your Snowfeet* Skiskates and Pick a Safe Practice Area
Before you work on stopping, get your gear dialed in and choose an easy place to practice. That part matters more than most people think. If your setup feels off, stopping gets a lot harder, fast.
Check Bindings, Boots, and Edges Before Your First Run
Set your bindings to match your boots before you ride. Use the proper strap holes for the toe and ankle straps.
If you're riding on ski slopes, snowboard boots give the best fit and ankle support. That extra support helps a lot when you're getting used to balance and braking.
The 44 cm Skiskates have metal edges, so keep them sharp and dry. If the edges need work, tune them with a handy tuner or have a ski shop do it. After use, dry them off so they don’t rust.
Once everything feels snug and secure, move on to your stance.
Use a Neutral Stance That Makes Stopping Easier
Stand with your feet about shoulder-width apart and keep your knees slightly bent. Put your weight over the middle or back of your feet, not over your toes. Keep your torso centered over the skiskates.
That centered stance helps you get faster edge response when you start to brake. In plain English: the skiskates react sooner, and you feel less wobbly.
Here’s one simple trick that can help at the start: place one foot slightly ahead of the other. It’s a small tweak, but it can make you feel a lot more stable.
With your balance in a good spot, it’s time to pick the right hill.
Start on a Gentle Green Slope With Soft Snow
Start on a wide green run with groomed, soft snow. Skip steep slopes and deep powder for now. Soft, groomed snow gives beginners more grip and balance than ice.
Also, always look uphill before you start moving or make a sudden stop. That’s just smart slope etiquette, and it helps keep everyone out of trouble.
With your setup ready, you can start learning the first stop.
3 Stopping Methods Every Beginner Should Learn First on Snowfeet* Skiskates
On Snowfeet* Skiskates, stopping comes down to edge pressure and balance. The short 44 cm platform reacts fast to small movements, so you don’t need big leg swings or huge hip turns. Start with the snowplow. It gives you the most reliable control right away.
Snowplow Stop: The First Reliable Way to Slow Down
Start from a gentle glide. Turn both skiskates inward into a small V, with the V wider at the heels than at the tips. Press the inside edges into the snow. If you want to slow more, widen the V a bit more.
To come to a full stop, slowly increase the V angle and keep steady edge pressure until you stop. Keep your upper body facing downhill. That part matters. If your shoulders twist too much, the stop can get shaky fast.
Once you can slow down with a V-shape, move on to a turn-to-stop. It’s a great way to manage speed on longer glides.
Turn Across the Slope to Let the Hill Slow You Down
Start in a straight glide on an easy, wide green slope. Shift a little to the outside foot, roll onto the uphill edges, and let the skis turn across the slope until gravity does the work and slows you down. Keep the skis pointed across the slope and hold light edge pressure until you come to a full stop.
Then take a quick look at your tracks. It’s a simple check, but it tells you a lot:
- Smooth, rounded arcs usually mean you made a controlled turn
- Jagged or abrupt lines often mean the movement came too fast or too hard
If you only need a small speed check, light heel pressure works well on flat or very mild terrain.
Light Heel Pressure and Basic Side-Slips for Extra Control
Light heel pressure helps you slow a little on flat sections or very gentle slopes when you don’t have space to turn. From a slow glide, gently shift pressure toward your heels and let the rear of the skiskates drag a bit. Keep your knees bent. Don’t sit back, because that makes edge control worse.
For a basic side-slip, stand across the slope with both skiskates pointing sideways and the edges dug in. Then slowly flatten the skiskates by reducing the edge angle until they begin to slide sideways down the hill. To stop the slide, roll your ankles and knees back uphill to increase the edge angle again.
Keep the practice small at first. A few feet at a time is plenty. That’s how you build edge feel without getting in over your head.
sbb-itb-17ade95
Practice Steps and Mistakes That Make Stopping Harder
Skiskates vs Long Skis vs Snowboards: Beginner Stopping Comparison
A Simple Day-One Practice Plan on Gentle Terrain
Now it’s time to turn those early stops into muscle memory. Keep it short, calm, and repeatable.
Clip into your Snowfeet* Skiskates 44 cm and head to a quiet flat area near the base of a mellow green slope. Spend about 10–15 minutes just getting settled in. Start with the neutral stance from above:
- Feet hip-width apart
- Knees soft
- Hands in front at chest height
- Shins lightly touching the boot tongues
- Weight centered over your midfoot
Then move onto a very gentle, groomed pitch and work through this sequence:
- Short straight glides into snowplow stops - Glide 10–20 feet, then stop within 10–15 feet. Repeat until the stop starts to feel automatic.
- Turn-to-stop drills on both sides - Steer both skiskates across the slope until you come to a halt. Switch left, then right.
- Heel pressure and short side-slips - On a slightly steeper green section, practice light heel pressure and tiny edge releases. Keep your knees bent and your upper body loose.
Keep each run short: about 30–100 feet of sliding is plenty. If a stop feels messy, don’t just power through it. Reset, fix the movement, and go again. That little pause saves a lot of bad habits later.
Common Beginner Errors and How to Fix Them Fast
Snowfeet* Skiskates react fast, which is great news for beginners. Small ankle and knee changes show up right away. Since the platform is short, you can fix a shaky stop without wrestling a bunch of extra length.
Leaning back is the big one. When your weight drops onto your heels, edge grip fades and the skiskates can shoot forward. Fix it by feeling your shins press the front of your boots and keeping a slight forward bend in your ankles through each glide.
Feet too wide or drifting apart makes the snowplow stiff and tough to control. Keep your feet hip-width apart. If they start spreading or crossing, stop and reset before the habit sticks.
Turning your shoulders instead of your feet is another common slip-up. If your shoulders twist first, the skiskates won’t track cleanly. Steer from your knees and ankles, not your shoulders. Think lower body first. Your shoulders are just along for the ride.
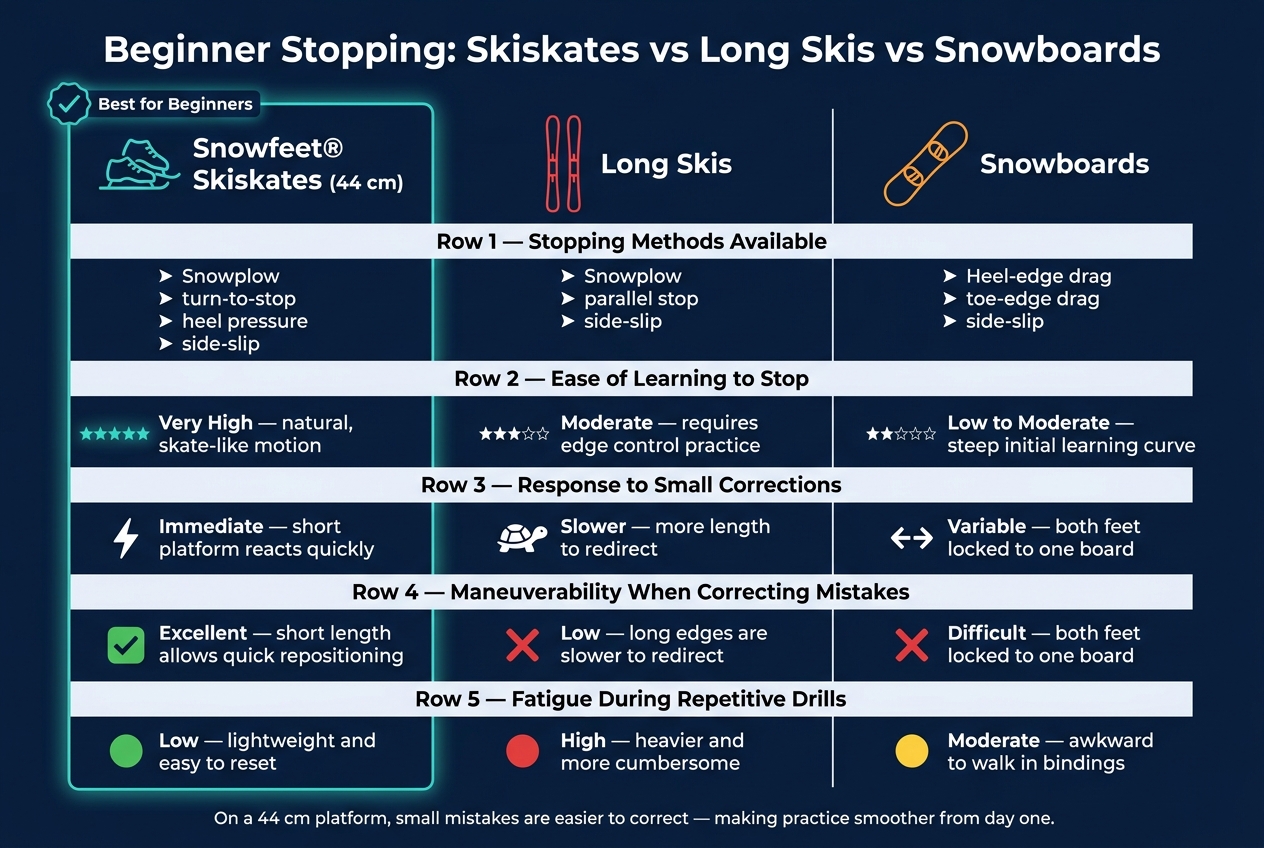
Comparison Table: Snowfeet* Skiskates vs Long Skis vs Snowboards for Beginner Stopping
This is one area where Snowfeet* Skiskates have a clear edge for beginners. They make small corrections easier, and that can make early stopping practice feel less like a wrestling match and more like actual progress.
| Feature | Snowfeet* Skiskates (44 cm) | Long Skis | Snowboards |
|---|---|---|---|
| Stopping methods available | Snowplow, turn-to-stop, heel pressure, side-slip | Snowplow, parallel stop, side-slip | Heel-edge drag, toe-edge drag, side-slip |
| Ease of learning to stop | Very high - natural, skate-like motion | Moderate - requires edge control practice | Low to moderate - steep initial learning curve |
| How fast it responds to small corrections | Immediate - short platform reacts quickly | Slower - more length to redirect | Variable - both feet locked to one board |
| Maneuverability when correcting mistakes | Excellent - short length allows quick repositioning | Low - long edges are slower to redirect | Difficult - both feet locked to one board |
| Fatigue during repetitive drills | Low - lightweight and easy to reset | High - heavier and more cumbersome | Moderate - awkward to walk in bindings |
Use the table as a quick gut check: on a 44 cm platform, small mistakes are easier to correct, and that makes practice smoother from day one.
Conclusion: Build Control First, Then Speed
Start with the basics: stay centered, keep your knees bent, and don’t lean back. Then head to a gentle green slope and work in a simple order: snowplow, turn-to-stop, then heel braking. That path keeps things clean and easy to follow.
Short sessions usually beat long, exhausting ones. You stay sharper, your legs don’t turn to mush, and your stopping gets better with each run.
That’s also where Snowfeet* Skiskates 44 cm shine. They’re easier to control than long skis or a snowboard, so beginners can spend less time fighting the gear and more time building balance and learning how to stop.
Keep your boots snug. Keep your edges sharp. Get control first, then let speed come later.
FAQs
How long does it usually take to learn to stop confidently on skiskates?
There’s no set timeline, but most beginners get better at stopping with steady practice over a short stretch, often within a few sessions.
If you practice on gentle slopes and stick to simple drills, many Snowfeet skiskates users can learn to stop in a safe, confident way within a few hours or after a handful of outings.
What should I do if I keep leaning back when I try to stop?
Stay balanced and centered. Keep your ankles, knees, and hips softly bent so your center of mass stays low. Don’t stand tall, and don’t lean back.
Try to stay compact and steady, with your hips and shoulders facing forward. Don’t twist your torso. Practice this low, calm stance on gentle slopes so you can build confidence and control.
Can I practice stopping on skiskates without doing a full ski run?
Yes. Beginners can practice basic stopping skills and balance drills on flat areas, mellow terrain, or small slopes before moving to bigger runs.
Simple drills, like zigzag knee bends and balance work, help you build control and confidence in a safe setting. That way, you can improve step by step before taking on a full run.


Legg igjen en kommentar
This site is protected by hCaptcha and the hCaptcha Privacy Policy and Terms of Service apply.