
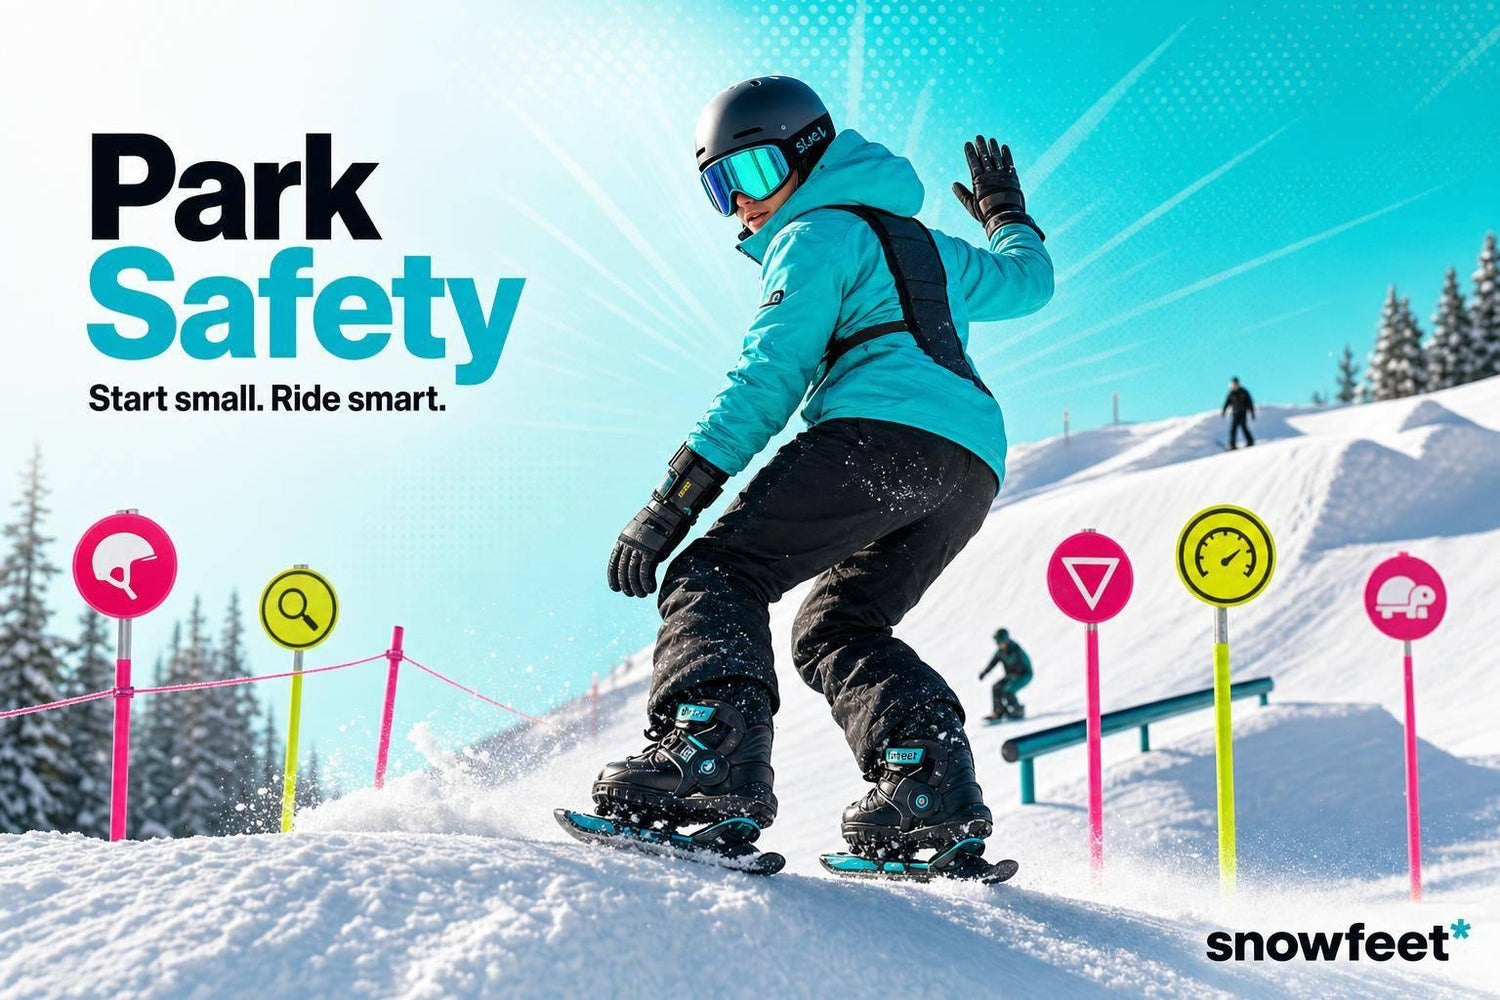
Most terrain park crashes happen before the trick starts. In my view, the best way to stay safe is simple: pick smaller features, check the setup, wait for a clear line, and stop when you’re tired.
Here’s the short version:
- Start in XS or S parks if you’re new
- Use Park SMART: Start Small, Make a Plan, Always Look, Respect, Take It Easy
- Scope your first lap and re-check features after snow or light changes
- Watch speed, lip shape, landing, and runout
- Never drop in blind and don’t cut in from the side
- Wear a helmet and use extra protection for rails and boxes
- Skip features when wind, flat light, traffic, or tired legs mess with your judgment
A lot of U.S. resorts use the same park safety rules, which helps keep things clear for everyone on the hill. And yeah, that matters when riders are moving fast and landings get crowded.
What I take from this article is pretty clear: safe park riding isn’t about going big. It’s about making clean calls, lap after lap :) If I can control my speed, read the feature, and leave room for other riders, I cut down my risk by a lot.
If you want a good visual on park basics, these are worth a look:
My quick takeaway: terrain parks reward patience. If a feature looks off, feels off, or the line isn’t clear, I pass. There’s always another lap.
⚠️ you should care about ski flex
How to Ride Terrain Parks Safely, Step by Step
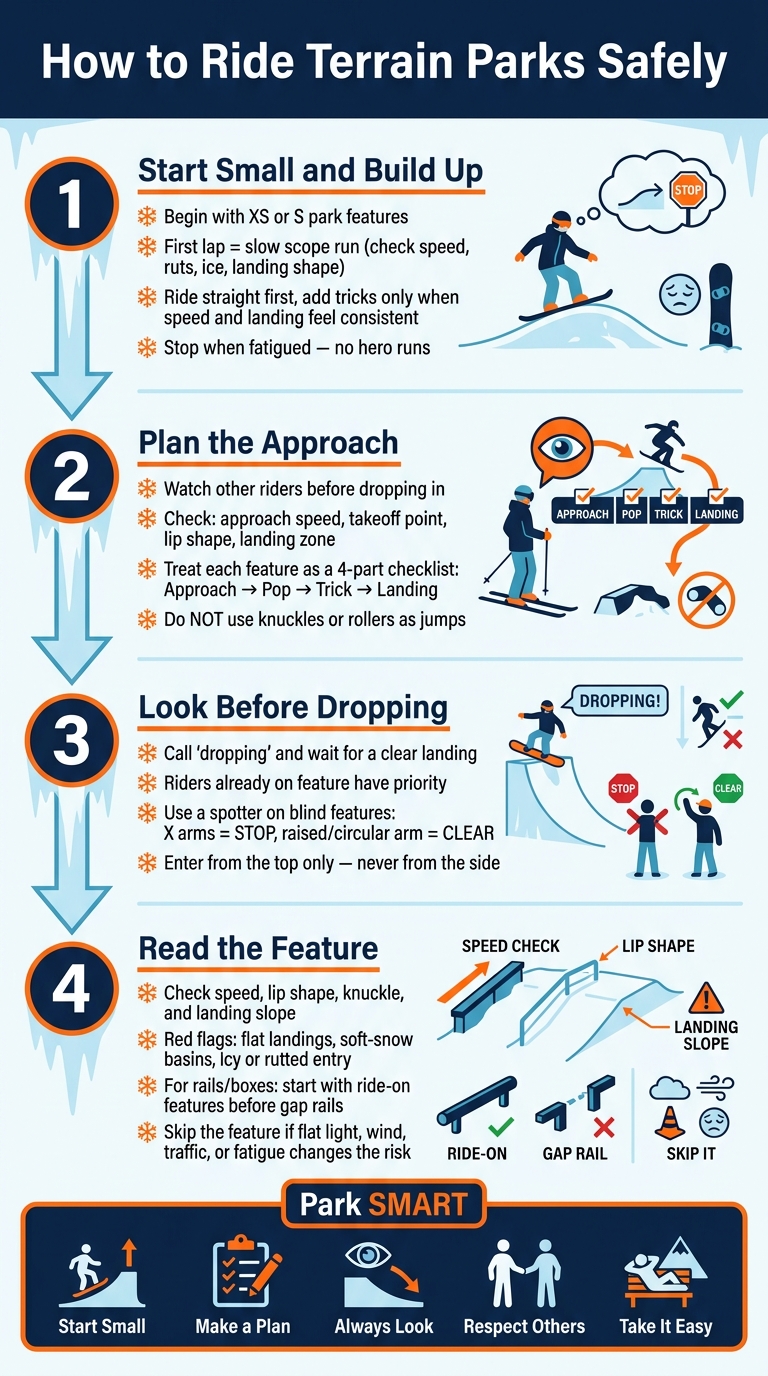
Terrain Park Safety: Step-by-Step Guide for Every Feature
Start Small and Build Up Slowly
Use Park SMART on every feature: warm up, inspect, then move up only when the line feels clean.
Start with XS and S features for warmup laps before you go bigger. Your first lap of the day - and your first lap after any break - should be a slow scope run. Check your speed, look for ruts, watch for icy spots, and study the landing shape. On the feature itself, take a slow look first. Then ride it straight once. Add tricks only when your speed and landing feel steady lap after lap. If fatigue kicks in or your form gets sloppy, shut it down. No hero points for a tired last run :)
Once the feature feels manageable, dial in your speed and body position before you leave the lip.
Plan the Approach, Takeoff, Trick, and Landing
Watch a few riders before you drop in. That helps you check speed, line, and takeoff point. Pay attention to where they begin their approach and whether they use small speed checks before takeoff. Snow changes all day. Soft snow, ruts, and icy patches can mess with speed fast.
Do not use knuckles or rollers as jumps.
Treat each feature as its own job. Plan the approach, pop, trick, and landing before you commit. Think of it like a four-part checklist, not one big blur.
After you map your line, check the landing zone and the riders already on course.
Look Before Dropping and Respect Other Riders
Riders already on the feature have priority because they can't adjust speed mid-air.
Call "dropping", wait until the landing is clear, then exit the runout right away. On blind features, use a spotter. Arms crossed in an X means stop, and a raised arm or circular motion means the line is clear. Enter from the top only. Do not enter from the side under ropes.
How to Read Jumps, Rails, and Park Conditions
Once the line is clear, read the feature itself: speed, shape, and landing. That’s the whole game.
Check the Shape of Jumps and Landings
Walk or ride to the side of a jump and look at the lip, takeoff, knuckle, and landing slope. You’re trying to spot the best landing zone - the sloped part built to take the hit.
A flat, or almost flat, landing is a red flag. Same deal with a soft-snow basin. That kind of landing can feel fine until it very much does not.
Take a straight air or an easy first run to check your speed and see how the landing feels. If you can’t see the full landing and runout from the drop-in point, use a spotter before you commit. No shame in that. It’s just smart.
Inspect Rails and Boxes Before First Use
Use that same scout-first habit on rails and boxes. Check them from the side before your first try. Look at the approach, entry ramp, surface, landing, and runout.
Watch for:
- Ice, deep ruts, or uneven entry ramps
- Gaps, sharp edges, or sticky plastic on the surface
- Flat landings, soft-snow basins, or crowded runout traffic
Start with ride-on features, where the snow ramp leads right onto the surface with no gap. They’re more forgiving. Gap rails ask for more commitment and give you less room to bail if something feels off. That’s not the place to wing it.
Know When to Skip a Feature
Shape is only one piece of the call. Skip the feature if flat light, changing snow, wind, traffic, or fatigue changes the line.
If the landing looks blind, or your speed doesn’t match what you’re seeing, take the ride-around and come back later. Better to pass once than pay for it all day.
sbb-itb-17ade95
Gear Up and Choose Equipment That Supports Control
After you read the feature, take a look at the gear you’ll use on it. Once you know what’s in front of you, your setup should help you stay in control, not fight you.
Wear a Helmet and Park-Specific Protection
Start with a properly fitted helmet. For rails and boxes, add impact shorts and a spine protector. If you snowboard, wrist guards are a smart call too. And make sure your boots fit snugly so your stance stays stable.
Then check the tool under your feet. Your skis, board, or skiblades should be tuned for clean takeoffs and steady, predictable landings.
Set Up Skis, Boards, or Skiblades for Consistent Handling
Tune your edges and set your bindings right. This stuff matters more than people think.
- Edges that are too sharp can catch on rails
- Bad binding setup can throw off balance and control
Small setup issues can turn an easy park lap into a sketchy one fast.
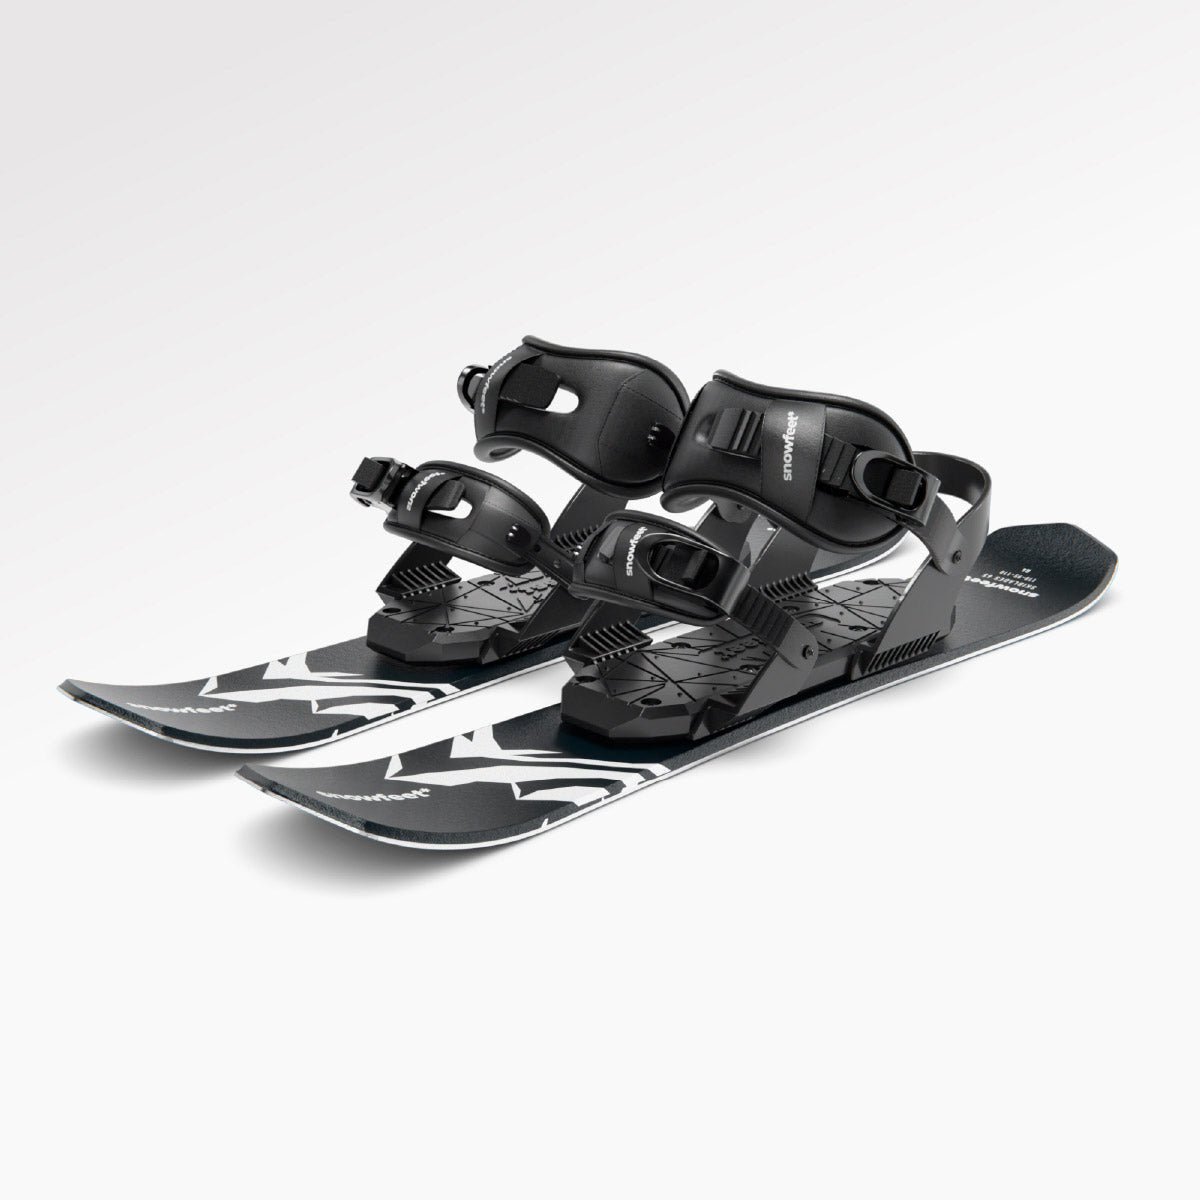
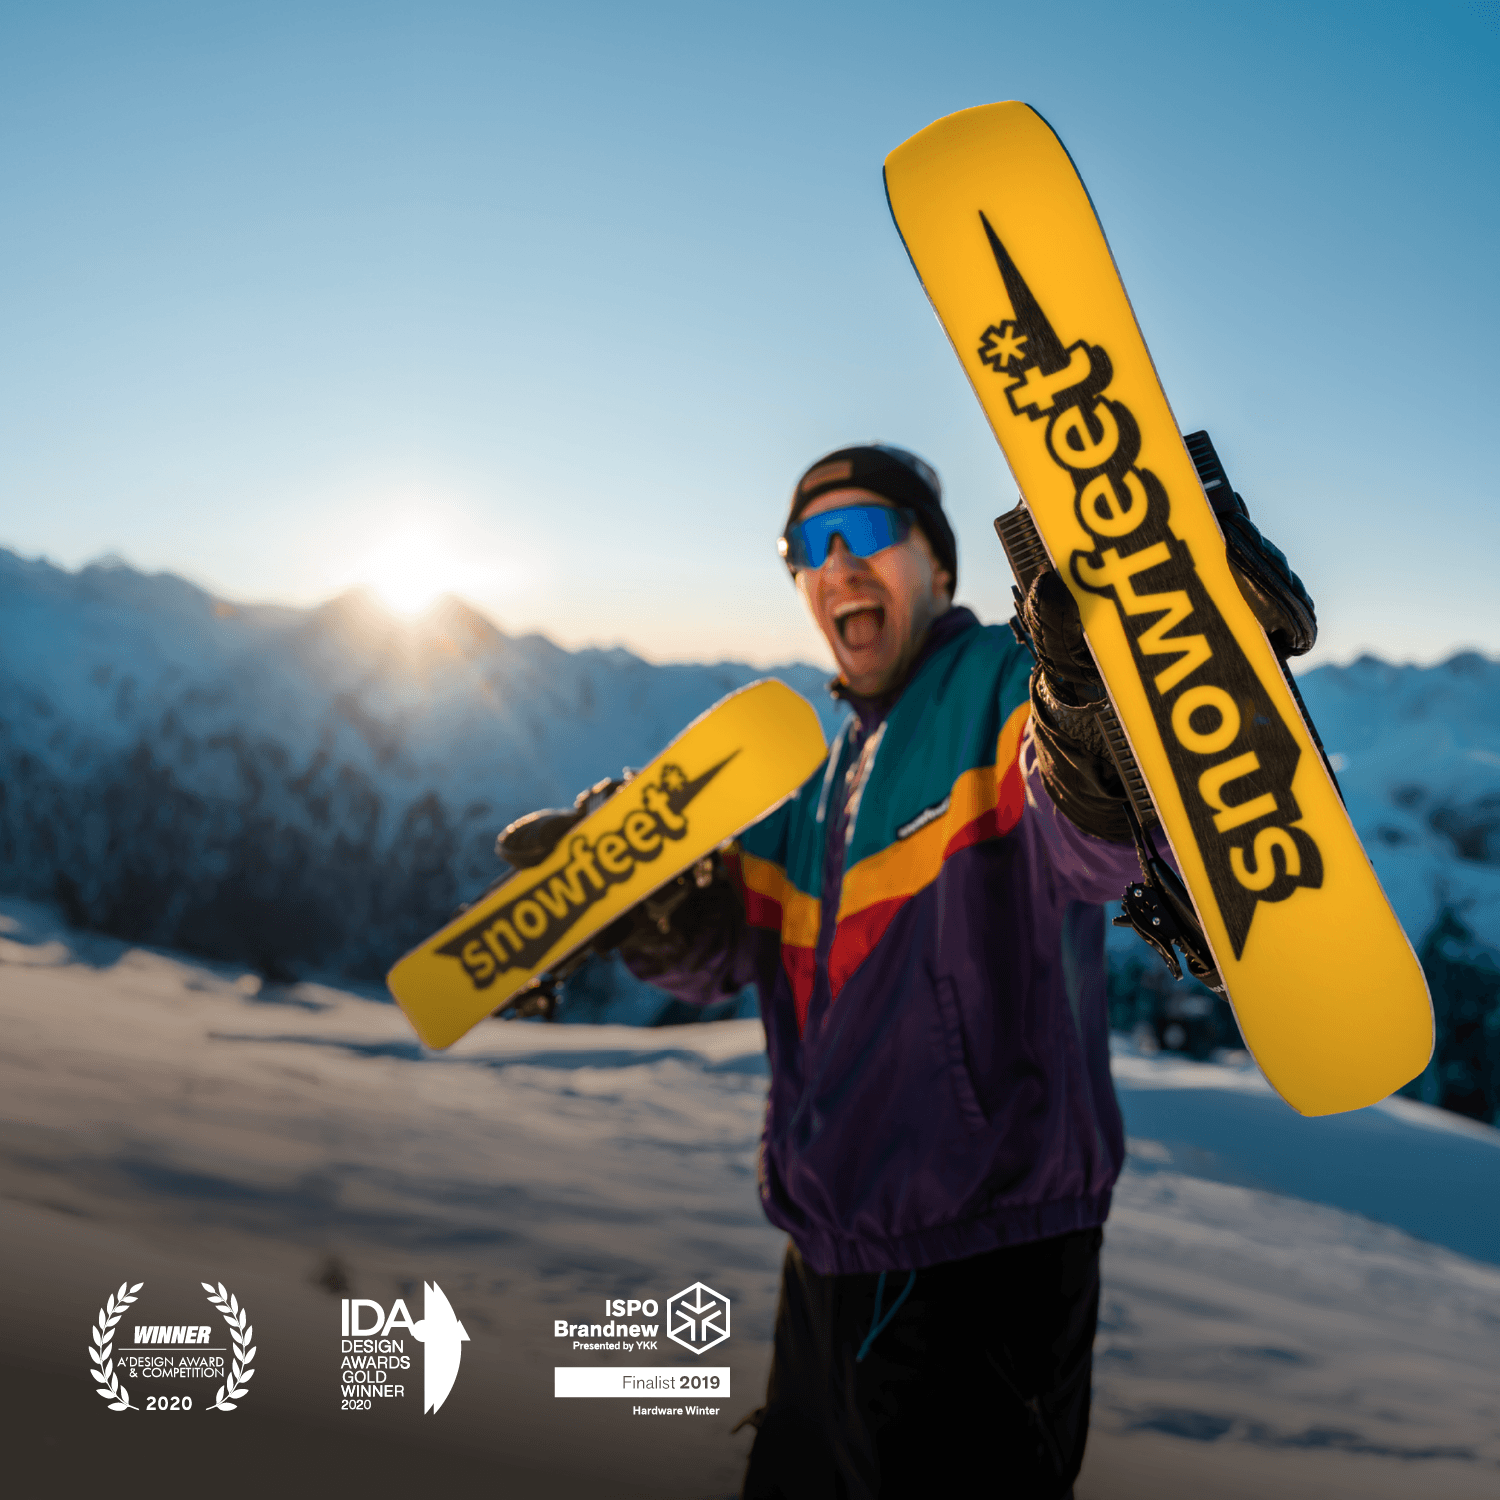
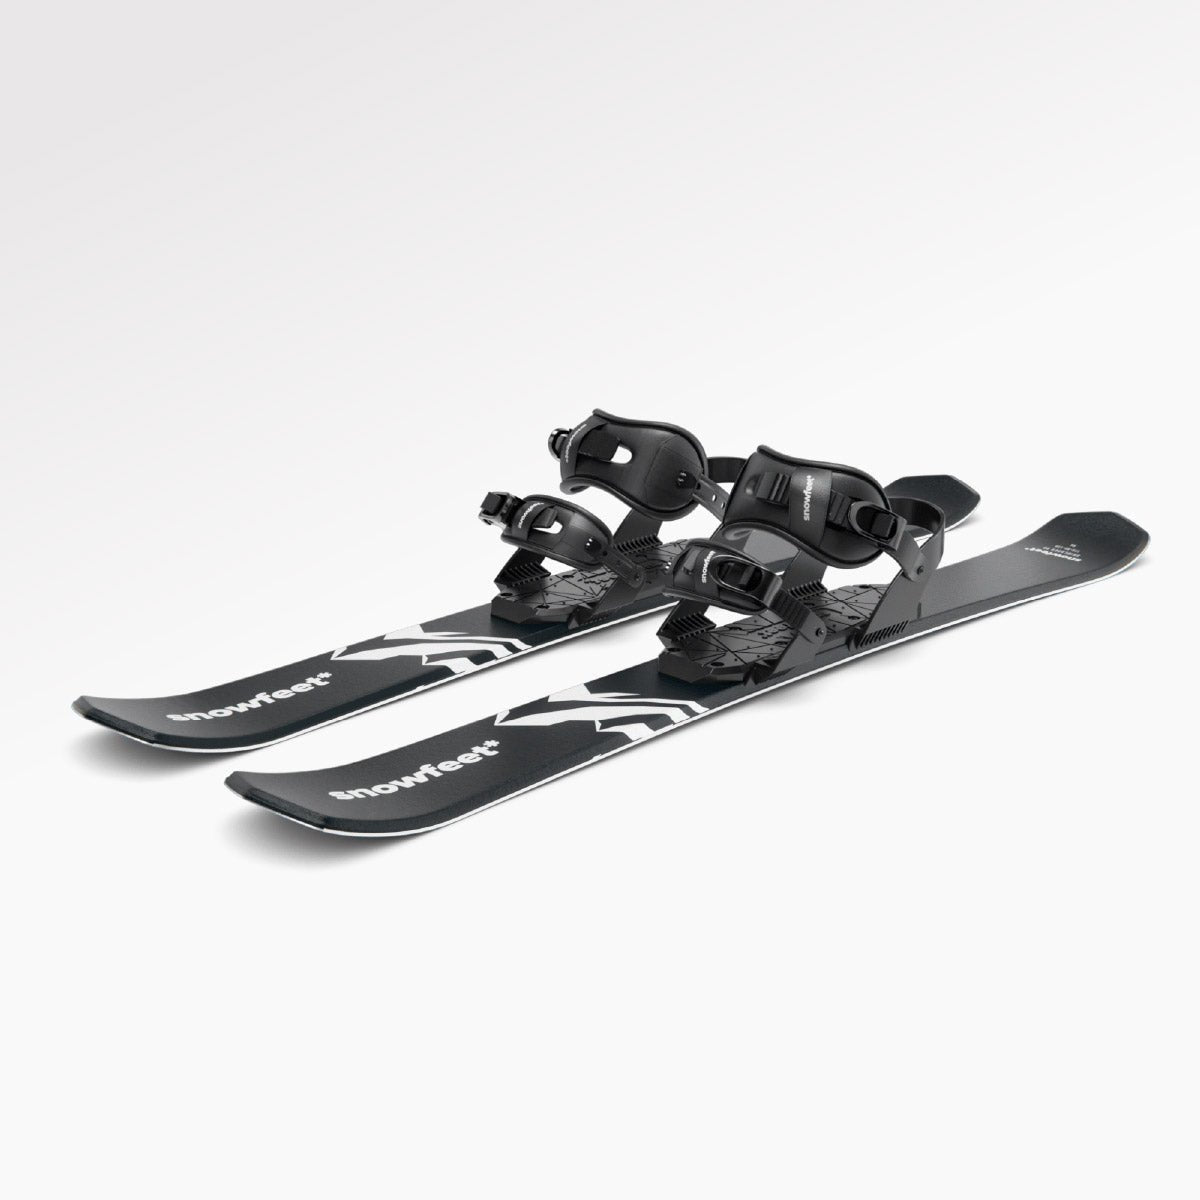
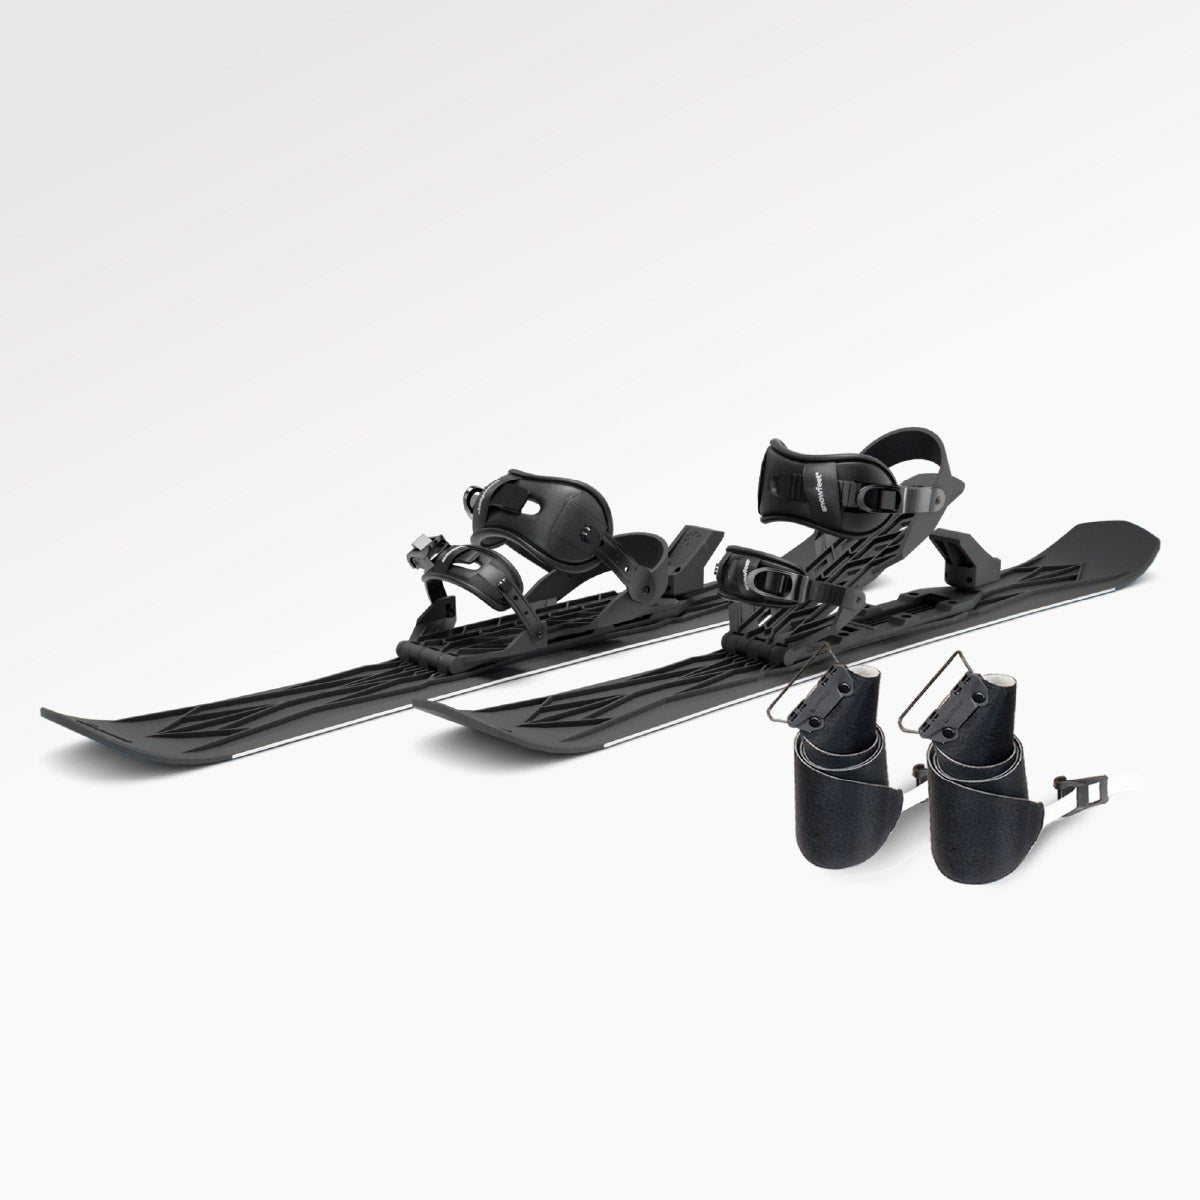
Why Short Skis Like Snowfeet* Skiblades Help Casual Riders Progress in Parks

If you’re a casual rider who cares more about control than all-out speed, shorter setups can make park laps feel a lot smoother.
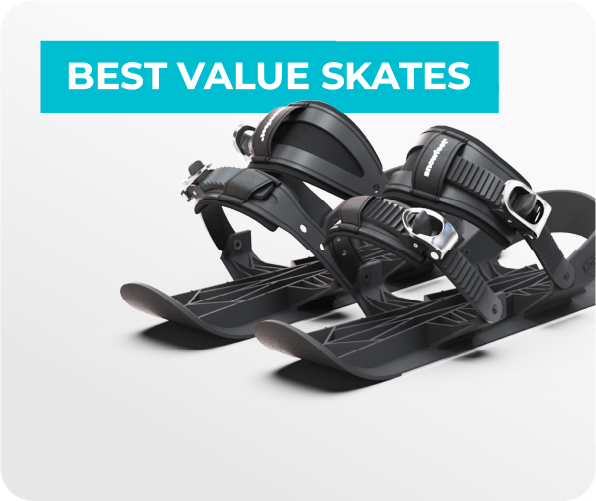
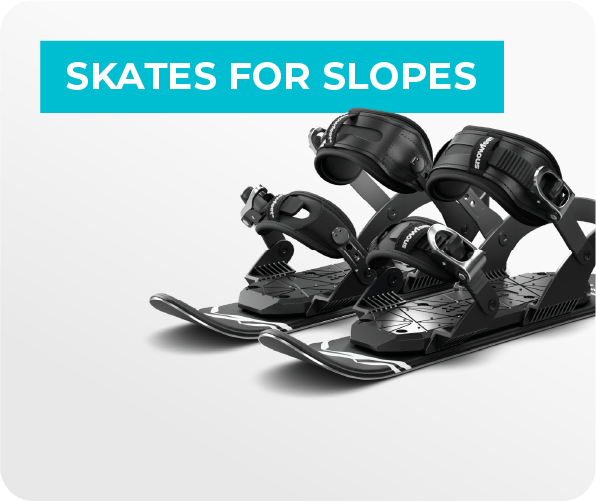
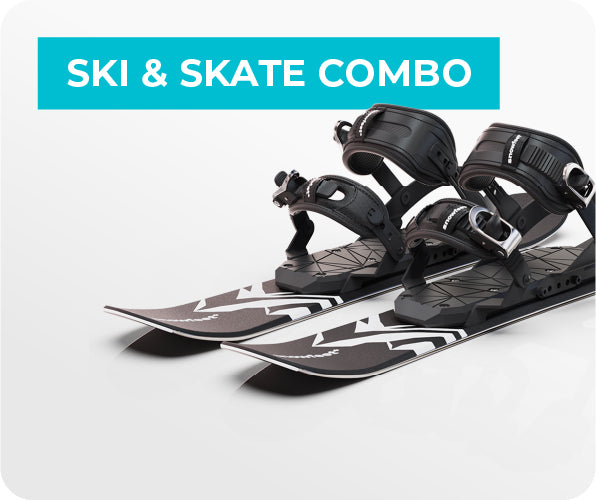
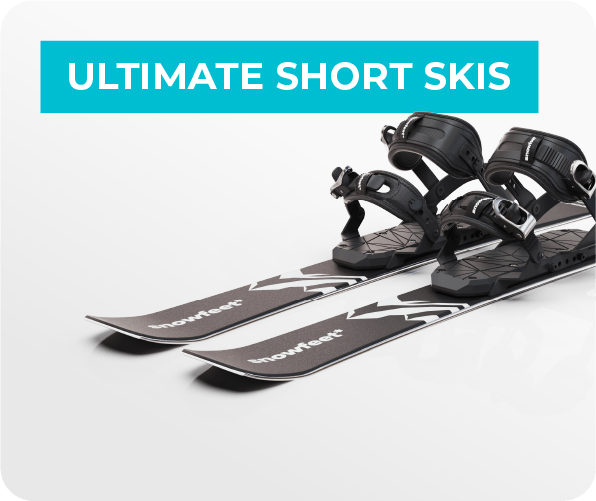
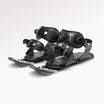
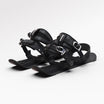
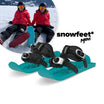
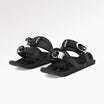
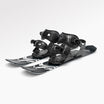
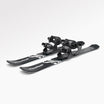
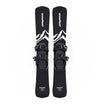
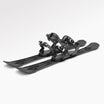
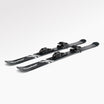
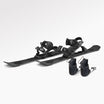
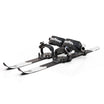
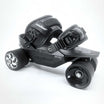
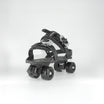
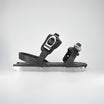
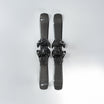
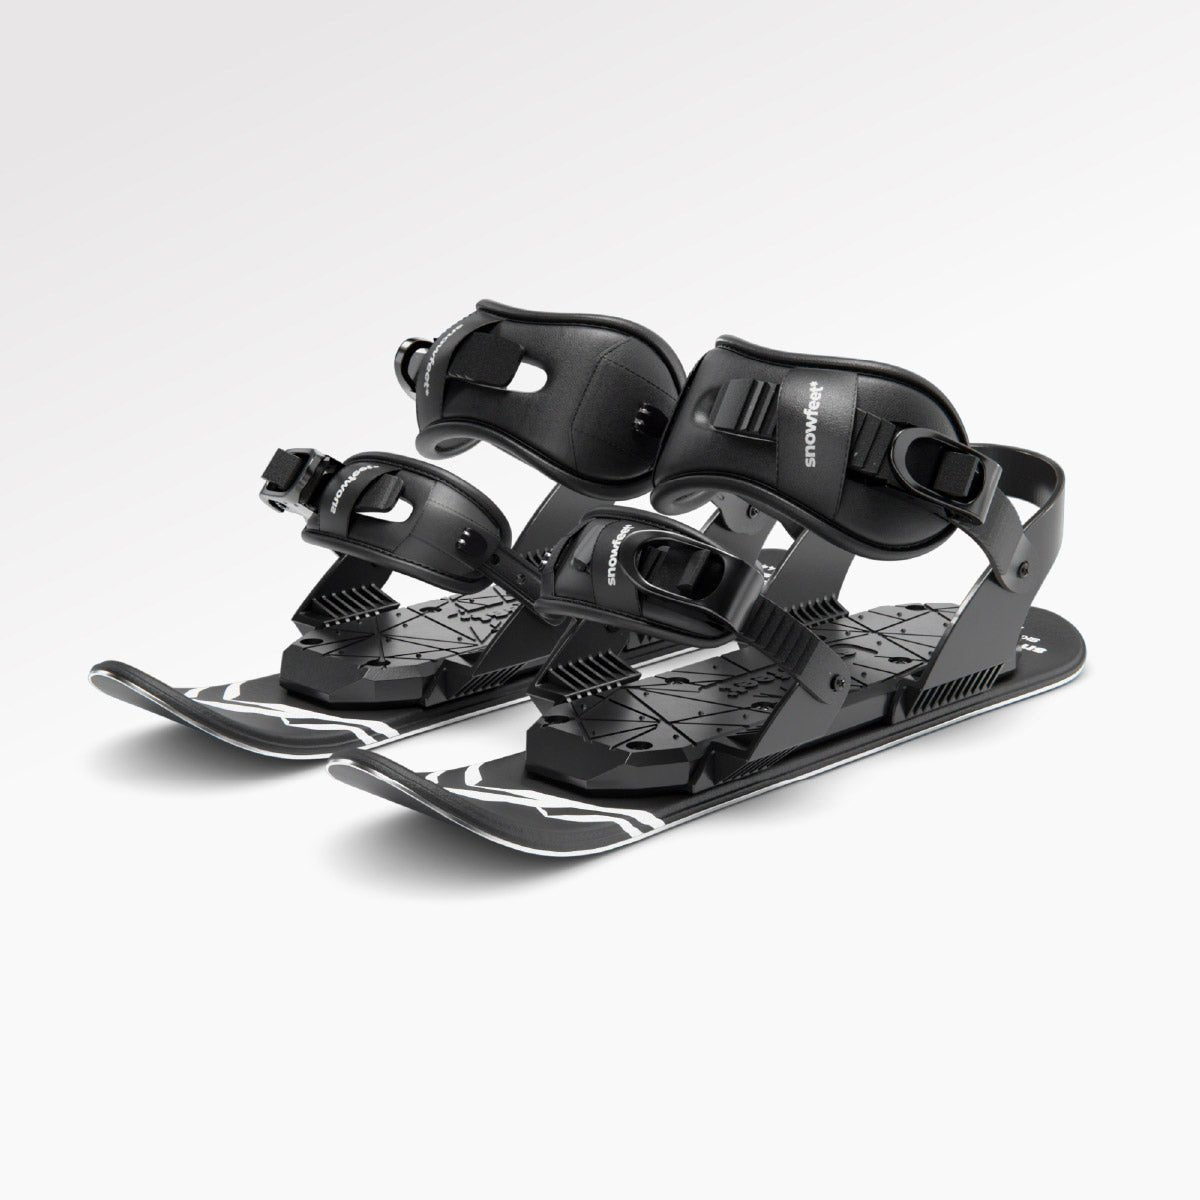
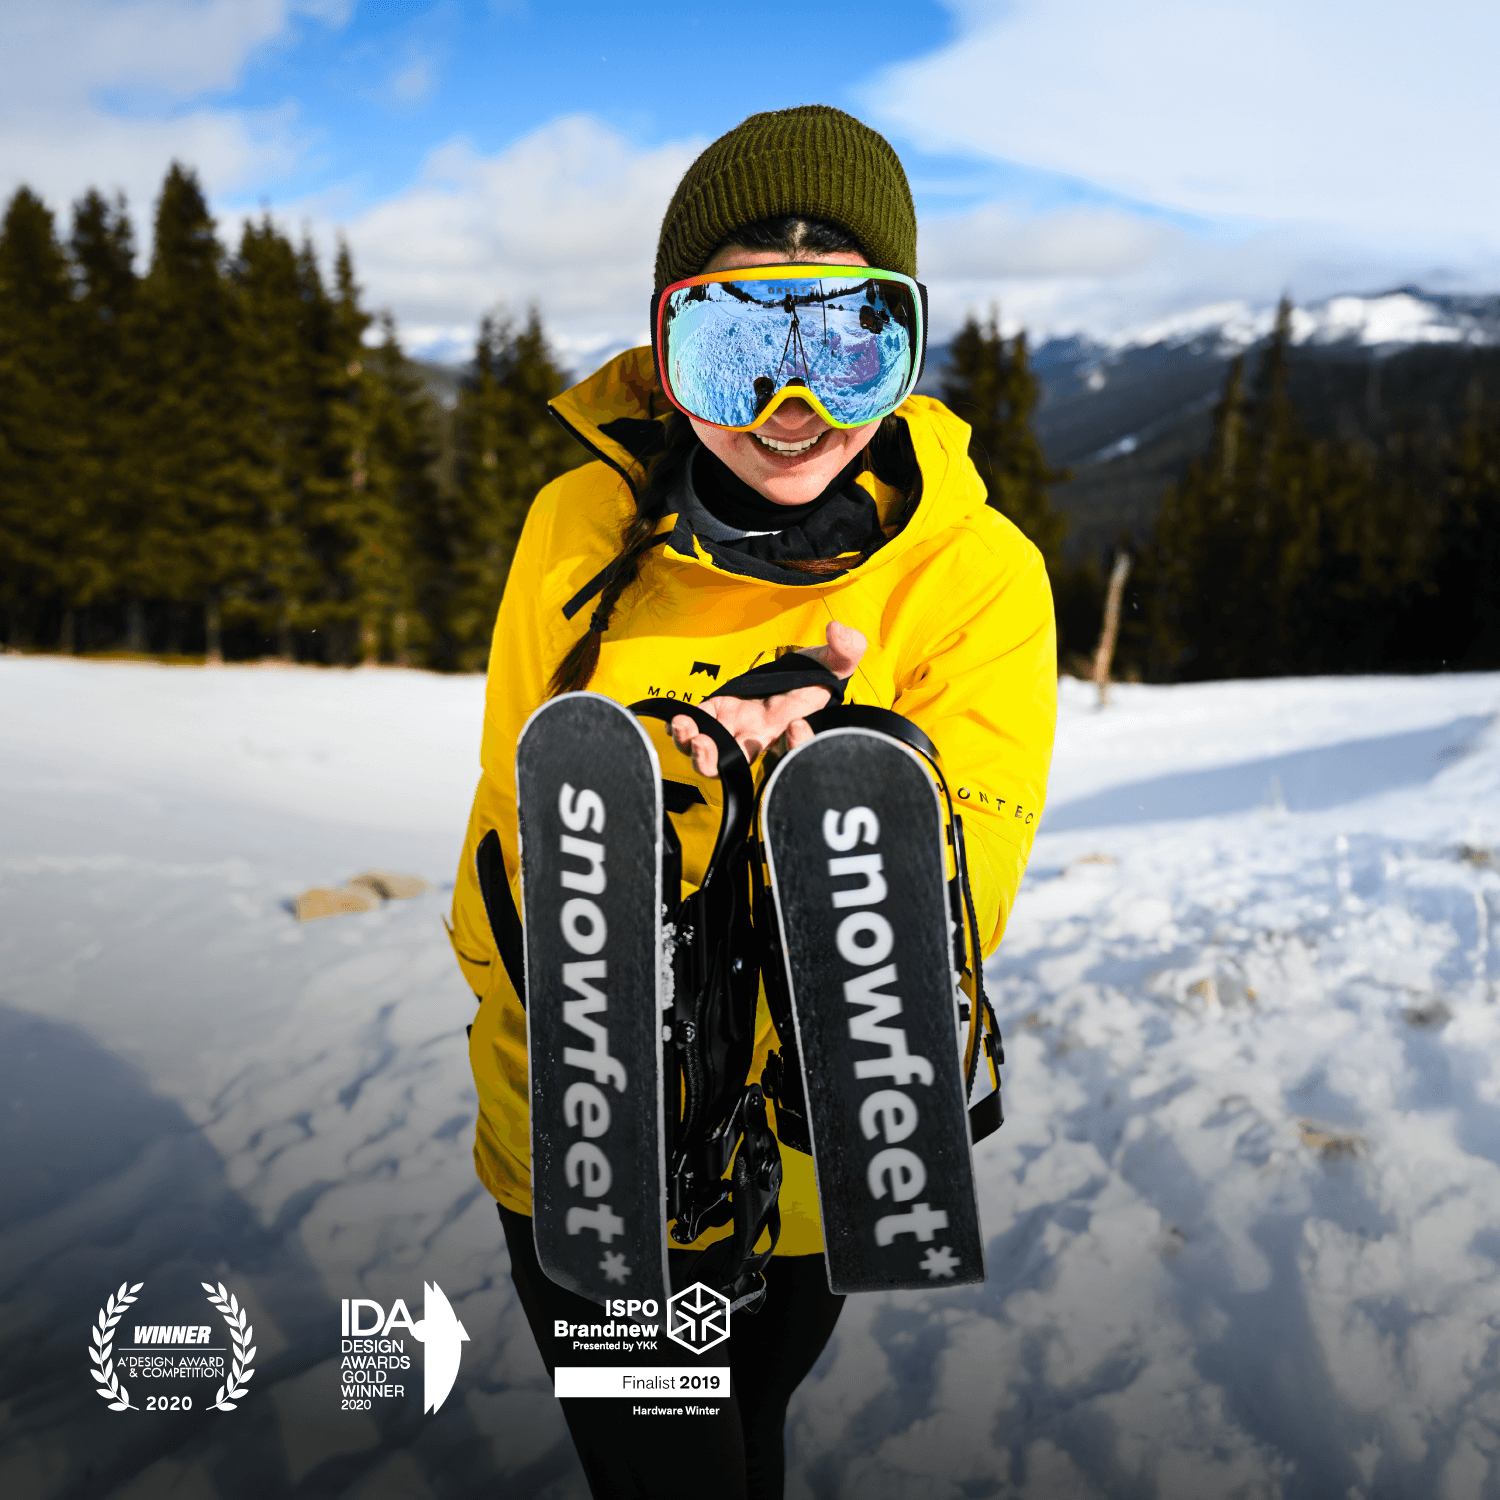
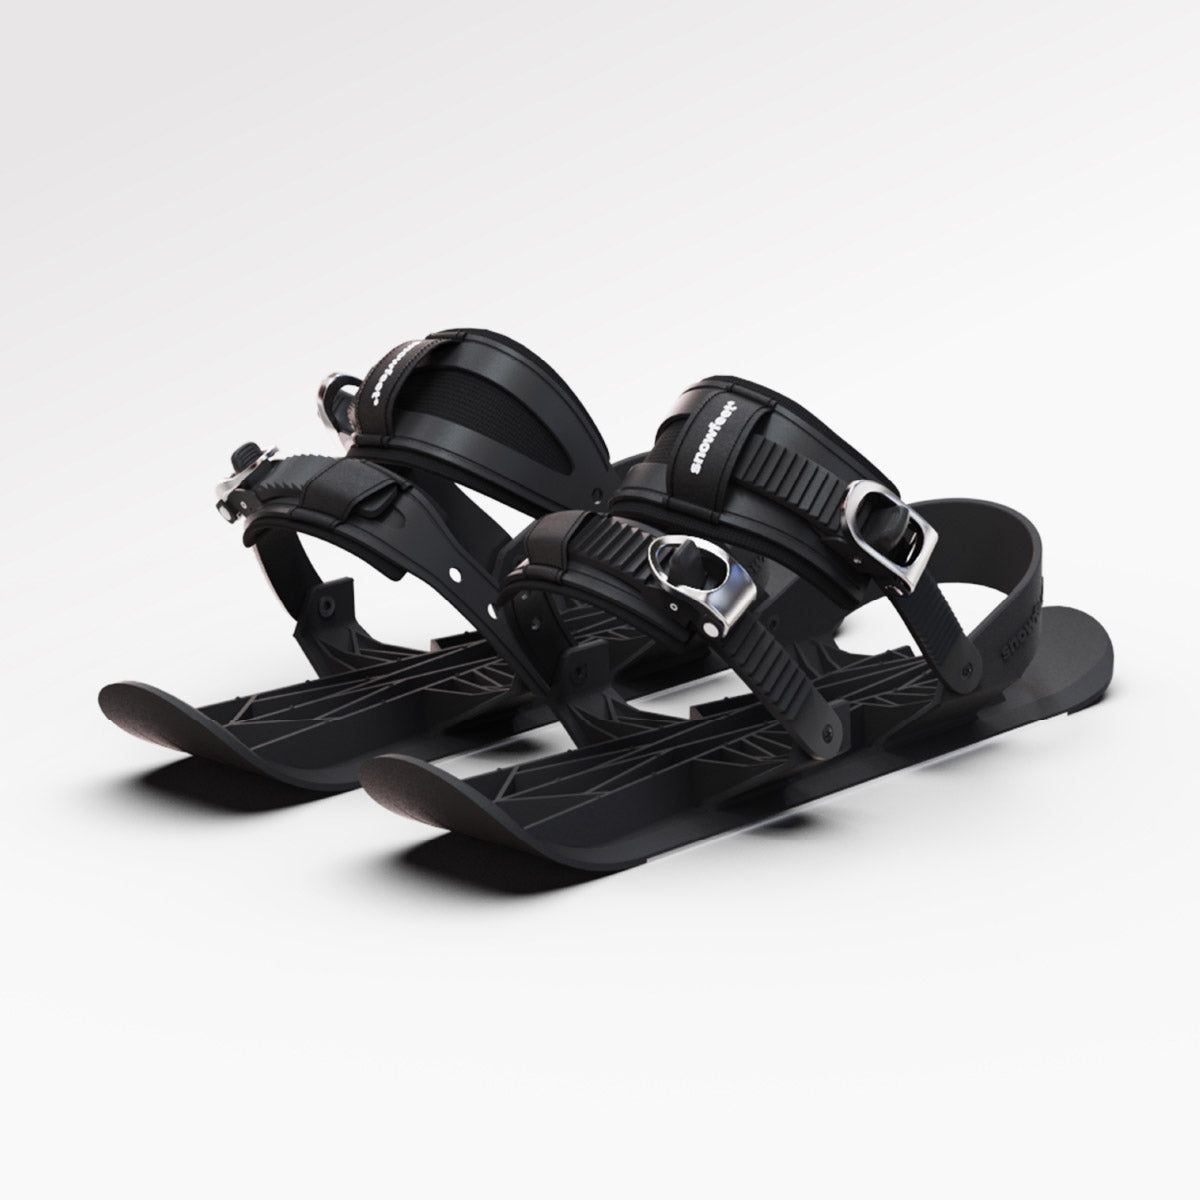
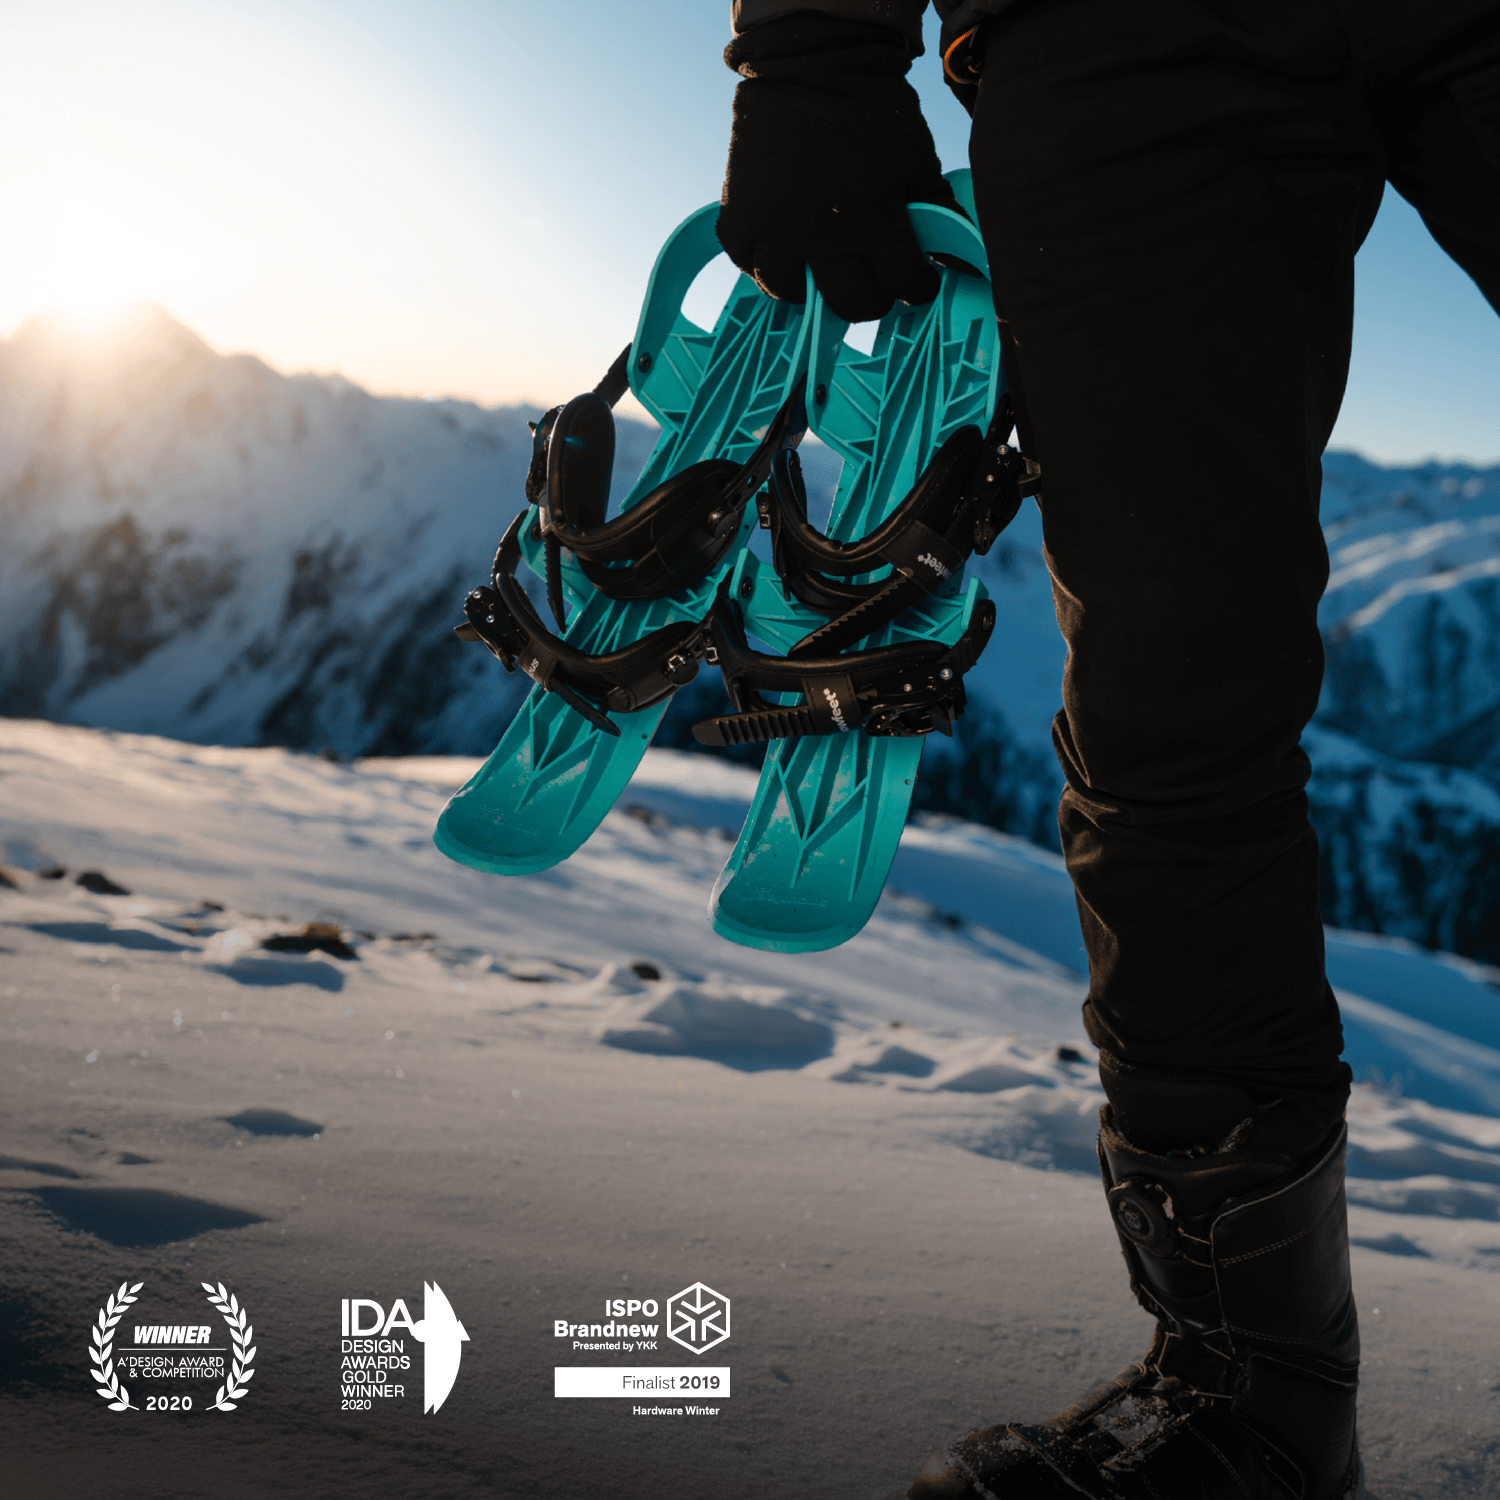
Long skis do one job well: they stay calmer at high speeds and on big landings. But on small and medium features, shorter gear has a clear edge. Snowfeet* Skiblades and Skiskates are lighter and shorter than standard skis, so they spin faster and feel easier to handle on smaller park features.
No gear choice replaces reading the feature and matching your speed. But the right setup makes safer progress a whole lot easier :)
Conclusion: Safe Progression Is the Real Terrain Park Skill
The safest riders are the ones who keep coming back to the basics.
Safe park riding comes from slow progression. Start small, inspect every feature, respect traffic, and wear proper protection every run. If the feature or the snow changes, the smart move is often to walk away. Skip any feature when flat light, soft snow, or tired legs change the risk.
For casual riders, shorter skis like Snowfeet* Skiblades can make spins and landings easier to control on smaller features.
Progress bit by bit, stay honest about your level, and the skills will follow.
FAQs
How do I know if a park feature matches my skill level?
Check terrain park signs for feature size. You’ll usually see XS to XL. Start on XS or S and build your skills step by step. A lot of resorts also use colors:
- Blue for beginner
- Red for intermediate
- Black for advanced
Before you try any feature, do a scope run. That means taking a lap to watch other riders first and check a few things:
- The takeoff
- The landing
- The speed you’ll need
If you’re not sure, skip it. No shame there. Just pick an easier feature and keep rolling.
What should I check before hitting a jump or rail?
Always do an inspection run before you hit the feature. That’s how you figure out the speed you need for the sweet spot. Snow changes fast, and park features can ride a lot different from one day to the next. So don’t assume a jump or rail will feel the same as last time.
Scope the feature from above and look for anything sketchy, like a sharp kink in a rail or a dip in the landing. Check that the landing is clear. If the feature has a blind spot, use a spotter. And before you drop in, make your intent clear so everyone knows what you’re doing.
Are Snowfeet* Skiblades good for beginners in terrain parks?
Yes. Snowfeet* Skiblades are a solid pick for terrain park beginners because their short, light build makes them easier to move and control than long park skis.
That shorter length helps with:
- quick pivots
- tighter turns
- faster recovery when a trick goes sideways
And that can help new riders feel more in control, which matters a lot in the park.
The 65 cm model gives you the most agility. The 120 cm version gives you more stability on jumps.


Deja un comentario
Este sitio está protegido por hCaptcha y se aplican la Política de privacidad de hCaptcha y los Términos del servicio.