


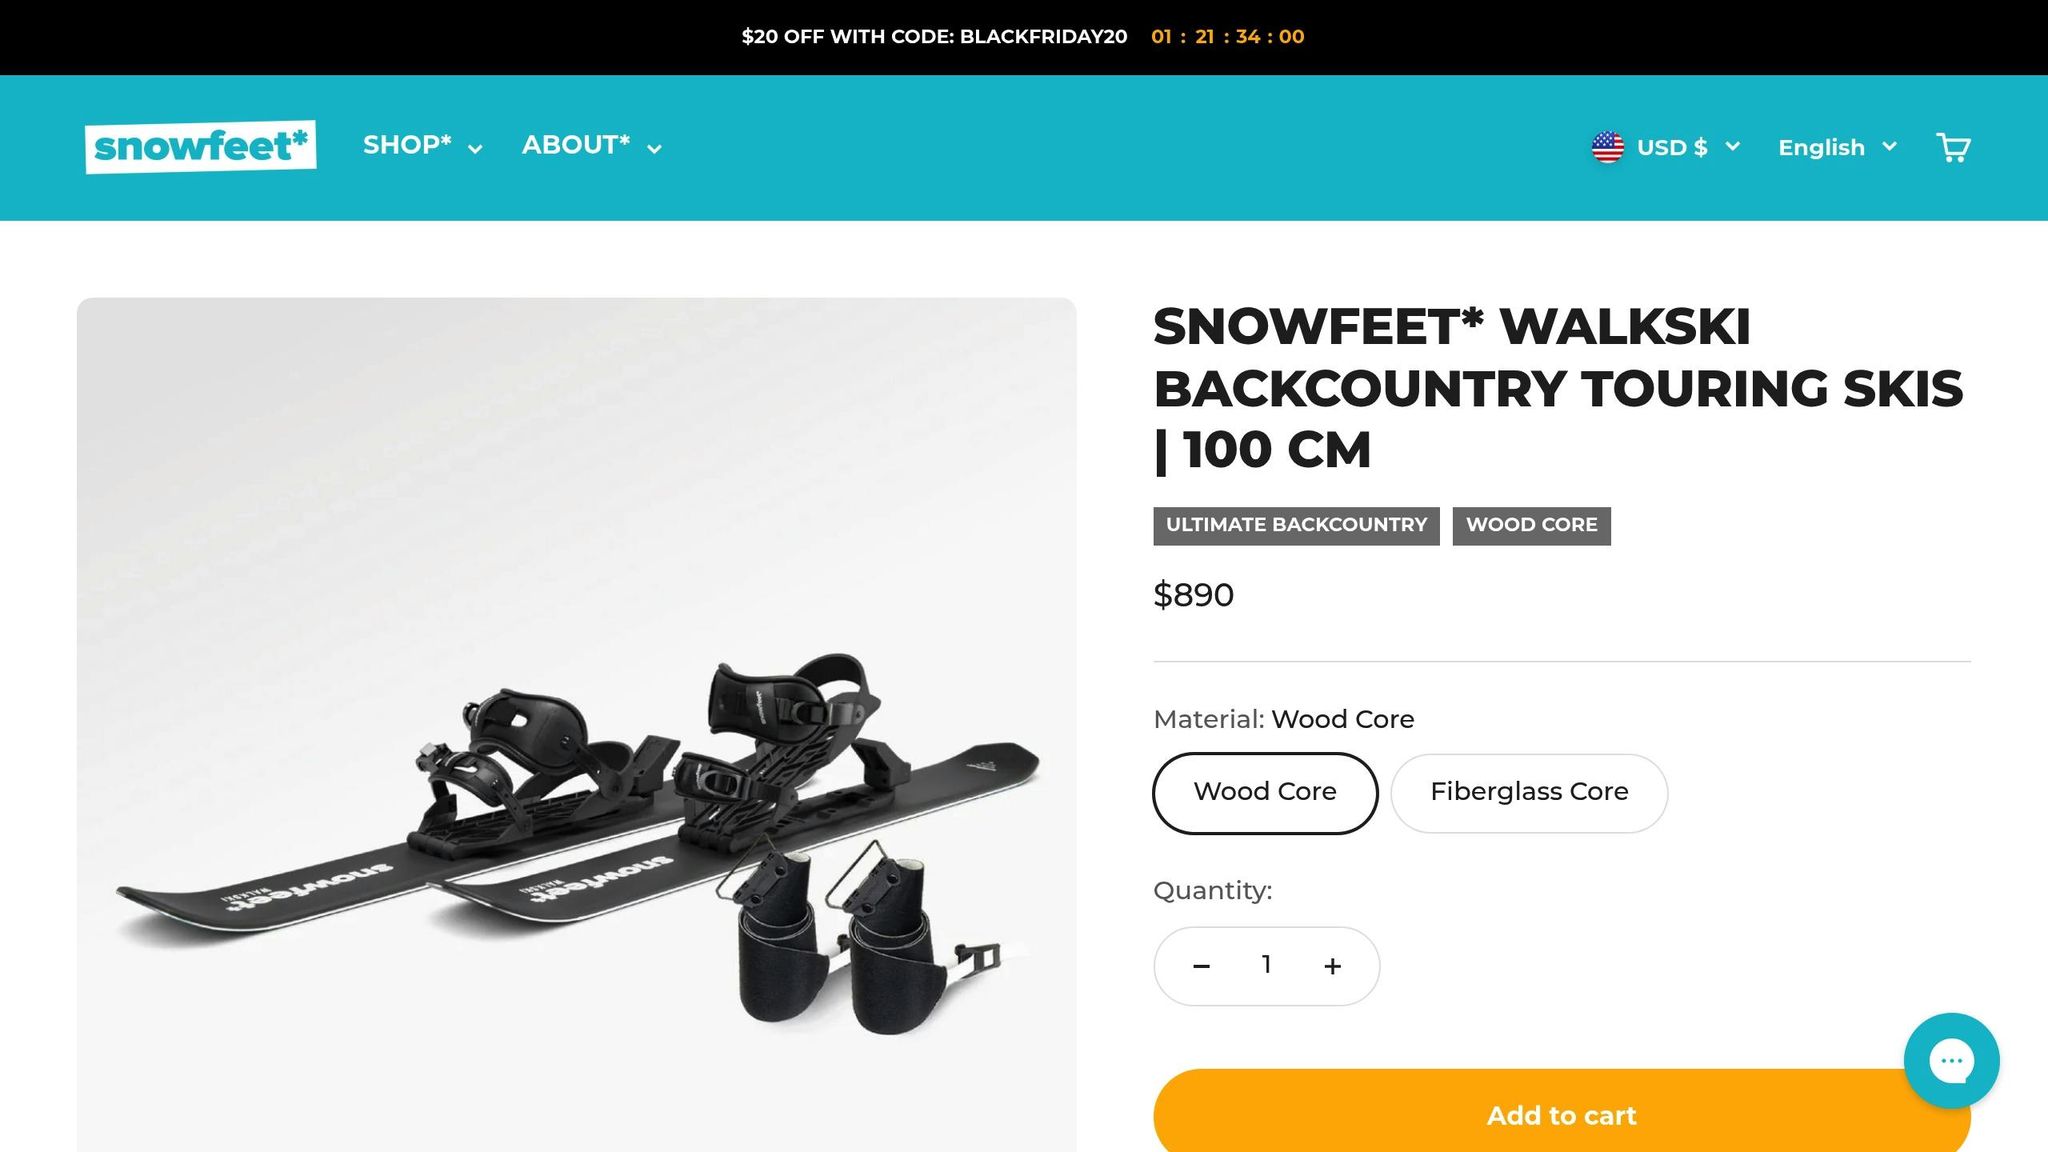
Cuando la pendiente se vuelve empinada, subir recto no siempre es una opción. Ahí es donde entran los giros de impulso: te ayudan a cambiar de dirección de manera eficiente y a conservar energía. Un giro de impulso es simple: levanta un esquí, gíralo 180° y sigue con el otro esquí. Pero aquí está el problema: los esquís largos y pesados pueden hacer que este movimiento sea complicado. Entra el Snowfeet* WALKSKI, un esquí compacto de 39 pulgadas diseñado para hacer que los giros de impulso sean más suaves y la subida más fácil.
Por qué WALKSKI marca la diferencia:
- Longitud corta: Sin puntas de esquí incómodas cruzándose.
- Ligero: Menos fatiga con cada paso.
- Pieles de ascenso integradas: Agarre confiable sin equipo extra.
- Fijaciones universales: Usa tus botas de invierno o de senderismo habituales.
Ya seas nuevo en el esquí de travesía o un explorador experimentado del backcountry, el WALKSKI simplifica el viaje cuesta arriba y hace que esos giros complicados se sientan naturales. Además, a $499, es una alternativa económica a configuraciones que a menudo cuestan más de $2,000. ¿Listo para hacer que las subidas empinadas sean menos intimidantes? Vamos a desglosarlo paso a paso.
Consejos para esquiar en montaña: cómo hacer kickturns
Cómo dominar los giros de impulso: guía paso a paso
Aprender giros de impulso con el Snowfeet* WALKSKI puede ser muy fácil cuando lo divides en pasos simples. Gracias a su diseño compacto y ligero, esta técnica se siente mucho más sencilla en comparación con los esquís de travesía tradicionales, que a veces pueden sentirse voluminosos durante una rotación.
Preparándose para los giros de impulso
Antes de lanzarte a tu primer giro de impulso, elige una pendiente moderada para practicar. Comienza plantando tus bastones a unos 45 cm cuesta arriba para crear un triángulo estable. Mantén las rodillas ligeramente flexionadas, el core activado y distribuye el peso de manera uniforme; esta configuración es clave para el equilibrio.
Tómate un momento para revisar tus fijaciones. Aunque el WALKSKI ligero reduce la tensión en tus botas, asegurar un ajuste firme sigue siendo esencial. Sentir la nieve a través de los esquís te da la retroalimentación necesaria para mantener el equilibrio mientras te mueves.
Una vez que estés listo, sigue estos pasos para clavar tu giro de impulso.
Instrucciones para giros de impulso
- Planta tu bastón de subida a una distancia de un brazo para mayor estabilidad.
- Desplaza todo tu peso sobre el esquí de bajada.
- Levanta tu esquí de subida, gíralo 180° y plántalo paralelo pero en dirección opuesta. El diseño compacto del WALKSKI hace que esta rotación sea suave y rápida.
- Una vez que el esquí de subida esté en su lugar, transfiere tu peso sobre él.
- Levanta tu esquí de bajada, gíralo y alinéalo con el esquí de subida.
Termina el movimiento reequilibrando tu postura y volviendo a plantar los bastones. Todo el proceso debería tomar entre 10 y 15 segundos, y con el WALKSKI, se siente aún más rápido.
Errores comunes y cómo corregirlos
¿Pierdes tracción durante un giro? Eso suele ser señal de una distribución desigual del peso. Si te inclinas demasiado hacia adelante, perderás agarre. Para corregirlo, desplaza tu peso ligeramente hacia atrás, manteniéndote erguido con el peso sobre los talones. Esto ayuda a que el esquí agarre la nieve y te mantiene en control.
Para principiantes, practica estos movimientos en pendientes más suaves hasta que te sientas seguro. A medida que le tomes el ritmo, podrás enfrentar terrenos más empinados y desafiantes. Con práctica constante, encontrarás que los giros de impulso con el Snowfeet* WALKSKI son seguros y eficientes, incluso en pendientes difíciles.
Snowfeet* WALKSKI vs esquís y snowboards tradicionales

Cuando navegas por senderos empinados o perfeccionas giros de impulso, el equipo que usas puede hacer que tu experiencia sea excelente o frustrante. El Snowfeet* WALKSKI ofrece una nueva perspectiva sobre los esquís de travesía y snowboards tradicionales, destacando tanto en maniobrabilidad como en eficiencia. Vamos a ver cómo se compara con las opciones convencionales.
Tabla comparativa: Snowfeet* WALKSKI vs equipo tradicional
| Característica | Snowfeet* WALKSKI | Esquís de travesía tradicionales | Snowboards tradicionales |
|---|---|---|---|
| Longitud | 39 pulgadas (100 cm) | 67–75 pulgadas (170–190 cm) | 59–65 pulgadas (150–165 cm) |
| Peso | Ligero y compacto | Más pesado y voluminoso | Moderado a pesado |
| Dificultad de giro de impulso | Apto para principiantes | Se requiere habilidad avanzada | No aplicable |
| Compatibilidad de botas | Cualquier bota de invierno/de senderismo | Requiere botas de esquí especializadas | Requiere botas de snowboard |
| Pieles de ascenso | Incorporado | Compra separada necesaria | No aplicable |
| Curva de aprendizaje | Fácil de aprender en un día | Toma semanas a meses | Toma semanas a meses |
| Precio | $499 | ~$2,200 setup promedio | ~$1,500+ setup promedio |
| Portabilidad | Cabe en una mochila | Requiere una bolsa para esquís o portaequipajes de techo | Requiere una bolsa para snowboard |
Esta comparación lado a lado destaca por qué el Snowfeet* WALKSKI es una opción sobresaliente, especialmente en cuanto a facilidad de uso y portabilidad.
Por qué el Snowfeet* WALKSKI destaca en los giros de impulso
El diseño compacto del WALKSKI es un cambio radical para los giros de impulso. Los esquís tradicionales a menudo requieren habilidades avanzadas para ejecutar esta maniobra, habilidades que pueden tomar semanas o meses en desarrollarse. Con el WALKSKI, incluso los principiantes pueden dominar la técnica en un solo día.
Su longitud de 39 pulgadas hace que las rotaciones cuesta arriba sean más controladas y menos cansadas. Imagina tratar de pivotar un esquí de 39 pulgadas frente a uno de 75 pulgadas: no hay comparación. La longitud más corta significa giros más rápidos y suaves con menos esfuerzo, lo cual es una gran ventaja cuando enfrentas subidas empinadas.
Los usuarios mencionan frecuentemente la agilidad y facilidad que aporta el WALKSKI. Jakub F, un fan del WALKSKI, compartió sus pensamientos:
"Con estos mini esquís, te sientes mucho más ágil, rápido y, sobre todo, cómodo. Sin hebillas, sin botas pesadas: solo póntelos y listo."
¿Otra ventaja? Las pieles de ascenso integradas hacen que las transiciones sean fluidas, para que puedas concentrarte en el viaje en lugar de lidiar con equipo extra. Y a $499, el WALKSKI cuesta una fracción de los setups tradicionales, que a menudo superan los $2,200. Es una opción accesible que no escatima en rendimiento ni diversión.
sbb-itb-17ade95
Consejos expertos para subir cuesta arriba de manera eficiente
Enfrentar terrenos empinados no tiene que dejarte completamente agotado. Con el diseño inteligente del Snowfeet* WALKSKI, subir cuesta arriba se vuelve mucho más fácil y menos cansado. Su marco ligero de 39 pulgadas es lo suficientemente compacto para darte mejor control y maniobrabilidad mientras ayuda a reducir la fatiga durante ascensos largos. Estas características hacen del Snowfeet* WALKSKI un cambio radical para el movimiento cuesta arriba.
Mejores métodos para el movimiento en ascenso
Una clave para escalar eficientemente son las pieles de foca integradas del WALKSKI. Estas pieles incorporadas proporcionan un agarre constante y permiten un deslizamiento suave hacia adelante; esta técnica, conocida como skinning, hace que subir pendientes más empinadas sea menos agotador. Al distribuir tu peso de manera uniforme, las pieles aseguran una tracción sólida sin requerir esfuerzo extra.
Cómo las características de Snowfeet* te ayudan a escalar mejor
Snowfeet* ha incorporado características para que el ascenso sea aún más suave. La construcción ligera del WALKSKI y su fijación de talón libre con 4 posiciones te permiten moverte de forma natural, reduciendo la tensión en tus pantorrillas y tendones de Aquiles. Su diseño compacto facilita la navegación en senderos estrechos y curvas cerradas, y la fijación universal funciona con tus botas de invierno o de senderismo habituales, sin necesidad de equipo especial.
Consejos de seguridad para terrenos empinados
Dominar la técnica adecuada y usar el equipo correcto es solo el comienzo. Mantenerse seguro en la montaña requiere buen juicio y preparación. Aunque el Snowfeet* WALKSKI, con su diseño compacto de 39 pulgadas, ofrece un control excelente, es mejor para terrenos moderadamente empinados y preparados. Evita áreas con alto riesgo de avalanchas y usa estos consejos para detectar peligros y preparar tu cuerpo para ascensos desafiantes.
Detectando peligros en el terreno
El esquí de travesía presenta desafíos únicos que no encontrarás en las pistas preparadas de los resorts. Las placas de hielo, por ejemplo, pueden ser especialmente complicadas. Las pieles de foca integradas del WALKSKI proporcionan un agarre extra, ayudándote a mantener la estabilidad cuando la superficie se vuelve resbaladiza.
La nieve fresca puede ocultar obstáculos como rocas o troncos, especialmente en condiciones de baja visibilidad. Gracias a su diseño ágil, el WALKSKI permite cambios rápidos de dirección cuando estos peligros aparecen inesperadamente.
Los senderos estrechos entre árboles son otro desafío común. Los esquís más largos pueden ser un problema en estas situaciones, obligándote a maniobras incómodas o incluso a quitártelos. El diseño reactivo del WALKSKI facilita la navegación en estos espacios estrechos, reduciendo el riesgo de enganchar las puntas de los esquís en las ramas o de hacer giros demasiado amplios.
Al enfrentarte a terrenos empinados o nieve profunda, la precaución extra es clave. Las áreas cerradas y las pendientes propensas a avalanchas pueden volverse peligrosas rápidamente. Siempre respeta los cierres de senderos y las señales de advertencia, y sigue rutas que se adapten a tu equipo. La fijación universal de talón libre del WALKSKI, con cuatro posiciones ajustables, mejora el equilibrio y el control en condiciones difíciles, reduciendo el riesgo de caídas y lesiones.
Consejos para calentamiento y flexibilidad
Antes de enfrentarte a terrenos empinados, prepara tu cuerpo con un calentamiento adecuado. Los estiramientos dinámicos para tus pantorrillas, tobillos y caderas son una excelente manera de prepararte para el movimiento natural del WALKSKI.
Concéntrate en mantener una postura erguida para evitar tensiones innecesarias. El diseño ligero del WALKSKI ayuda a reducir la fatiga, así que comienza en pendientes suaves y avanza progresivamente. Con su fijación de cuatro posiciones, puedes ajustar tu postura según sea necesario para mayor comodidad y control.
Mantén tus músculos calientes y no te excedas: mantener la relajación y la estabilidad es clave.
"Más cortos y más sensibles que los esquís tradicionales, perfectos para navegar senderos estrechos y terrenos variados."
– Snowfeet*
Esta capacidad de respuesta puede marcar la diferencia cuando necesitas reaccionar rápido. Ya sea para esquivar un obstáculo oculto o adaptarte a condiciones cambiantes de nieve, la maniobrabilidad del WALKSKI supera a la de los esquís de travesía tradicionales, más voluminosos y pesados.
Por qué los Snowfeet* WALKSKI hacen que los giros de patada sean simples
El diseño de 39 pulgadas del WALKSKI elimina las complicaciones para dominar los giros de patada. Como destacamos en nuestra guía, su tamaño compacto hace que pivotar en crestas empinadas o curvas cerradas se sienta natural y fácil. No más maniobras torpes, solo respuestas suaves y rápidas en espacios reducidos.
Lo que realmente distingue al WALKSKI es cómo mejora tu técnica. La fijación universal de talón libre te brinda un control preciso, mientras que su construcción ligera reduce la fatiga durante esas repetidas zancadas cuesta arriba. Además, no necesitas equipo sofisticado: ya sea que uses botas de senderismo, botas de snowboard o incluso zapatos de invierno normales, el WALKSKI funciona con todos.
"¡Absolutamente! Los Snowfeet* WALKSKI están diseñados para ser fáciles de aprender y controlar, incluso para esquiadores primerizos. Su longitud más corta facilita los giros y maniobras, mientras que su construcción ligera asegura una experiencia más suave y menos intimidante."
– Snowfeet Store
¿Otra característica destacada? Las pieles de foca integradas. Estas proporcionan un agarre confiable sin necesidad de accesorios adicionales, manteniendo tu equipo simple para que puedas concentrarte en tu técnica. Ya seas un principiante que se inicia en el esquí de montaña o un montañista experimentado enfrentando ascensos difíciles, el diseño indulgente del WALKSKI ayuda a que cada subida sea más eficiente y agradable.
Preguntas frecuentes
¿Cómo se desempeñan los Snowfeet* WALKSKI en terrenos empinados en comparación con los esquís de travesía tradicionales?
Snowfeet* WALKSKI están diseñados para enfrentar terrenos empinados y complicados, ofreciendo una alternativa ligera y compacta a los esquís de travesía tradicionales. Con solo 100 cm de longitud, son mucho más cortos que los esquís normales, lo que los hace súper fáciles de manejar. Ya sea que estés haciendo giros de patada o pasando por espacios estrechos, estos esquís hacen que parezca casi sin esfuerzo.
Lo que distingue a Snowfeet* WALKSKI es lo portátiles que son. A diferencia de la sensación voluminosa y pesada de los esquís de travesía tradicionales, estos son muy fáciles de llevar, especialmente durante esas agotadoras subidas. Están diseñados con simplicidad y agilidad en mente, lo que los convierte en una excelente opción para aventureros de backcountry que quieren un equipo fácil de usar sin sacrificar rendimiento.
¿Cuáles son los errores comunes que cometen los principiantes al practicar giros de impulso con Snowfeet* WALKSKI y cómo pueden mejorar?
Los principiantes suelen enfrentar dos desafíos comunes al aprender giros de impulso con Snowfeet* WALKSKI: mantener una postura estable y desplazar el peso correctamente. Para superar estos problemas, enfócate en construir una base sólida y equilibrada plantando firmemente tus esquís antes de iniciar el giro. Luego, al desplazar el peso, levanta ligeramente la rodilla para mantener el movimiento fluido y controlado.
El diseño ligero y compacto de Snowfeet* WALKSKI facilita los giros de impulso, pero como cualquier habilidad, requiere práctica para perfeccionarlos. Comienza en pendientes moderadas para ganar confianza y mejorar tu técnica. Con tiempo y esfuerzo, notarás lo mucho más fácil y divertido que es escalar terreno empinado con Snowfeet*, especialmente comparado con esquís tradicionales o tablas de snowboard.
¿Qué precauciones de seguridad y limitaciones de terreno debo considerar al usar Snowfeet* WALKSKI para esquí de backcountry?
Al usar Snowfeet WALKSKI* para esquí de backcountry, la seguridad siempre debe ser lo primero. Antes de salir, asegúrate de revisar los pronósticos de avalanchas y las condiciones meteorológicas actuales. Las pendientes con ángulos entre 30° y 45° son particularmente riesgosas para avalanchas, por lo que se requiere precaución extra. Evita trampas de terreno como barrancos, acantilados o áreas con acumulación pesada de nieve. Además, no olvides llevar el equipo de seguridad esencial: un beacon, sonda y pala, y lo más importante, saber cómo usarlos.
El diseño compacto y ligero de Snowfeet WALKSKI* te ofrece mejor agilidad y control comparado con los esquís tradicionales, especialmente en terrenos estrechos o complicados. Su longitud más corta los hace más fáciles de manejar, pero es crucial seguir rutas que se adapten a tu nivel y estar atento a las condiciones cambiantes. Aunque Snowfeet WALKSKI* hace que escalar y explorar áreas empinadas de backcountry sea más accesible y divertido, la preparación adecuada es clave para asegurar que tu aventura sea tanto disfrutable como segura.


Deja un comentario
Este sitio está protegido por hCaptcha y se aplican la Política de privacidad de hCaptcha y los Términos del servicio.